Hello diyhub community I am new to this community, but not before commenting briefly who I am, as I will be here regularly posting my work, My name is Miguel Cambar, I design a variety of products, from kitchen, household items, remodeling, musical instruments, etc.. I have come to this community thanks to @irenenavarroart who has patiently taught me to develop myself little by little in hive, particularly has shown me this community in which I am sure I will feel comfortable sharing with you. That said, let's get back to what we came here for.
Hola comunidad de diyhub soy nuevo en esta comunidad, , no sin antes comentar brevemente quien soy, ya que estaré por aquí regularmente publicando mis trabajos, Me llamo Miguel Cambar, , diseño una gran variedad de productos, desde cocina, artículos de hogar, remodelación, instrumentos musicales, etc. He llegado a esta comunidad gracias a @irenenavarroart quien pacientemente me ha enseñado a desenvolverme poco a poco en hive, particularmente me ha mostrado esta comunidad en la cual estoy seguro que me sentiré a gusto compartiendo con ustedes. Dicho esto vamos a lo que vinimos.
The present publication I come to show you the process of elaboration of a kitchen knife for bread dough cuts, better known as grignette, it serves to avoid accidents in the kitchen workshop when manipulating the blade directly with the hand, in addition with it we can make clean cuts in the bread dough prior to baking, in this way we avoid that the bread in its process of increasing volume does not break due to the hardness of the crust of the bread product of the baking.
La presente publicación vengo a mostrarle el proceso de elaboración de una navaja de cocina para cortes de masa de pan, mejor conocida como grignette, sirve para evitar accidentes en el taller de cocina al manipular la hojilla directamente con la mano, además con ello podemos realizar cortes limpios en la masa del pan previo a su horneado, de esta manera se evita que el pan en su proceso de aumento de volumen no se rompa debido a la dureza de la costra del pan producto de la cocción.
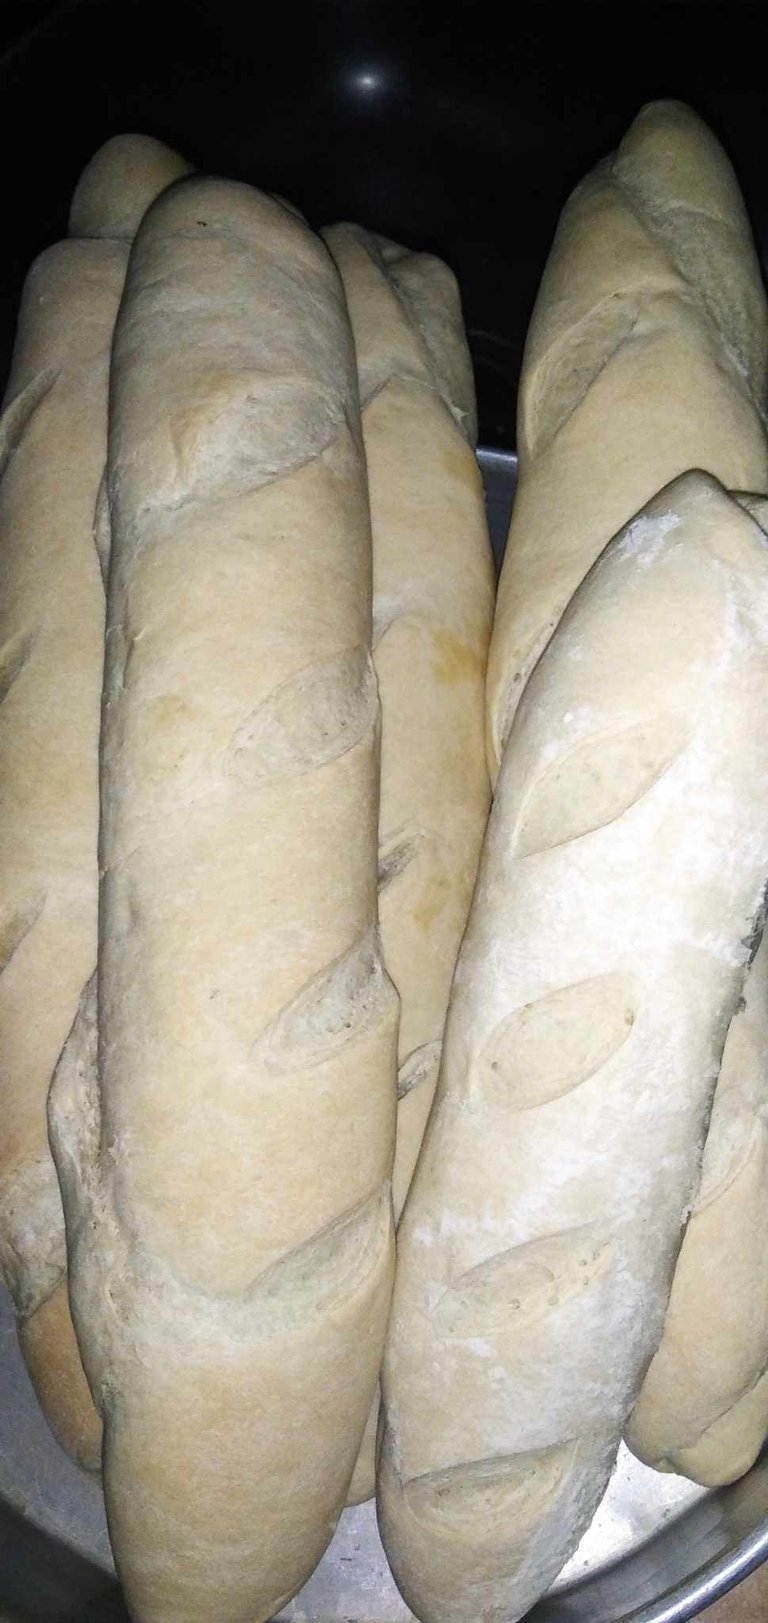 The cuts are used to prevent the bread from cracking during baking/Los cortes sirven para que el pan no agriete en el momento del horneado.
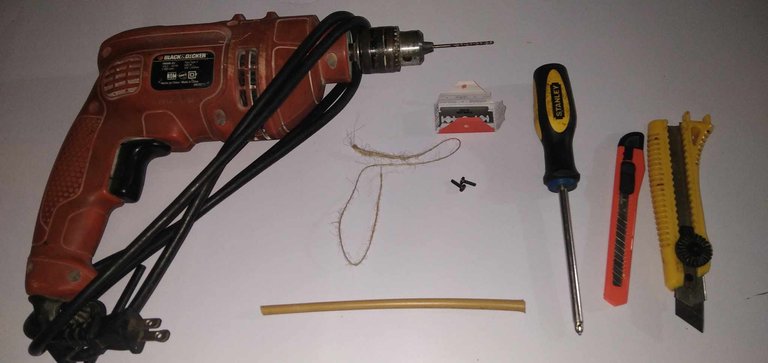
 The materials to be used are the following:
- Wand, preferably soft wood, 10 cm long.
- Blade.
- Cutter or exacto.
- 10 cm of cord.
- Drill.
- 1/8" drill bit.
- 2 screws of 1/8.
- Screwdriver.
- Wand, preferably soft wood, 10 cm long.
- Blade.
- Cutter or exacto.
- 10 cm of cord.
- Drill.
- 1/8" drill bit.
- 2 screws of 1/8.
- Screwdriver.
Lo materiales a utilizar son los siguientes:
-Varita de preferencia madera suave, de 10 cm de largo.
-Hojilla.
-Cutter o exacto.
-10 cm de cordón.
-Taladro.
-Broca de 1/8.
-2 tornillos de 1/8.
- Destornillador.
Step 1:
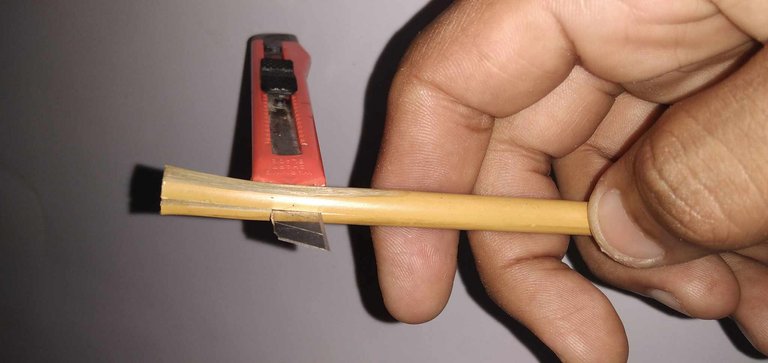
We grab the cutter and carve the sides of the wand or handle at its tip, looking to make a rectangular shape, the measure should match the length of the blade.
Paso 1: Agarramos el cutter y tallamos los laterales de la varita o mango en su punta, buscando hacer una forma rectangular, la medida debe coincidir con el largo de la hojilla.
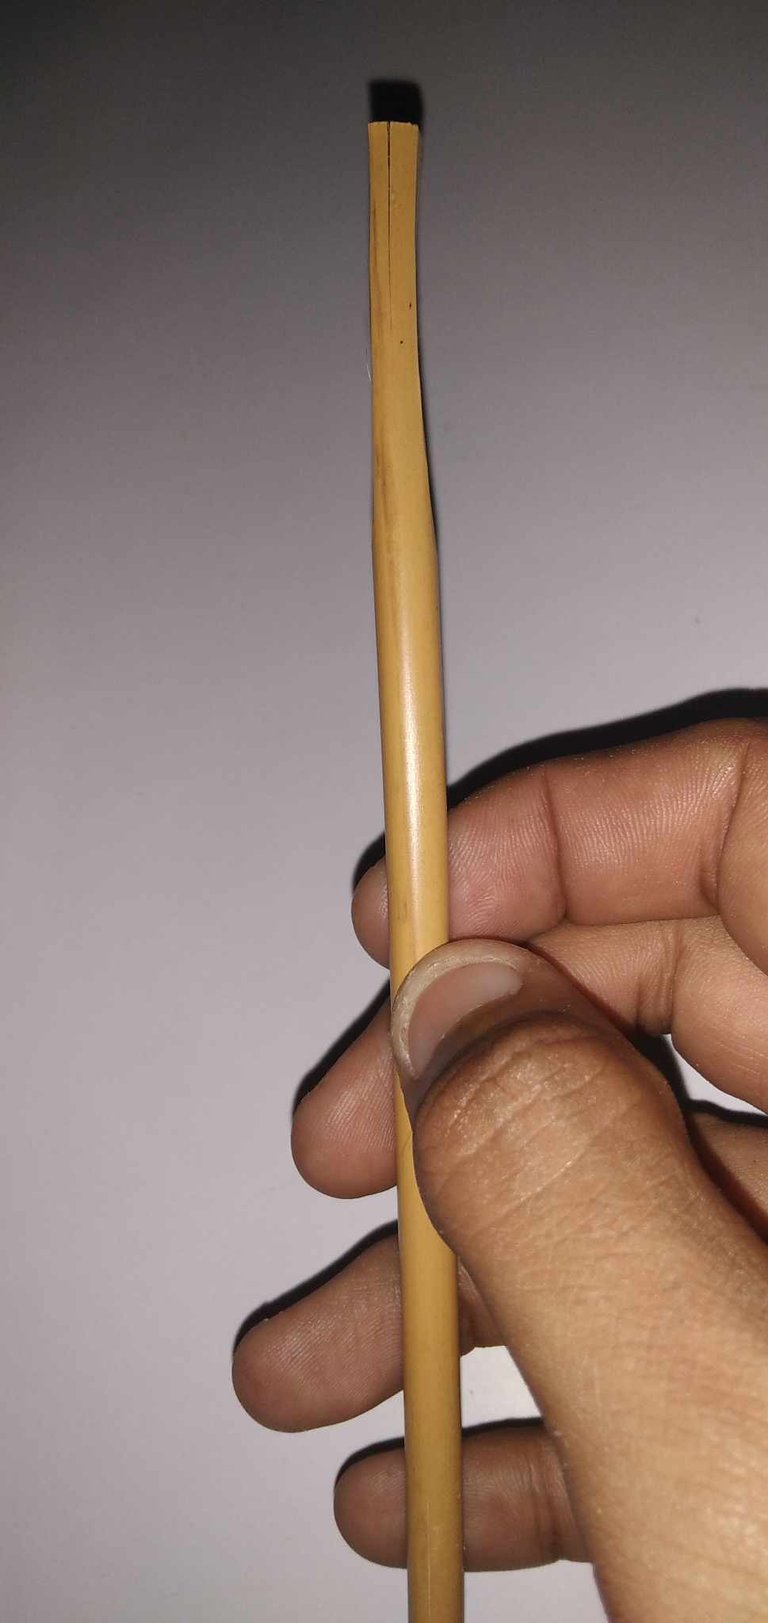
Step 2:
With the cutter we are going to make an incision in the middle of the rectangle, this is done with the intention that the blade rests inside it.
Paso 2: Con el cutter vamos a realizar una incisión en medio del rectángulo, esto se realiza con la intención que la hojilla repose dentro de éste.
Step 3:
We install the drill bit in the drill and drill 3 holes, 2 at the top with a distance of 1 cm each, and the third at the base of the handle.
Paso 3: Instalamos la broca en el taladro y realizamos 3 orificios, 2 en la parte de arriba con una distancia de 1 cm casa uno, y el tercero en la base del mango.
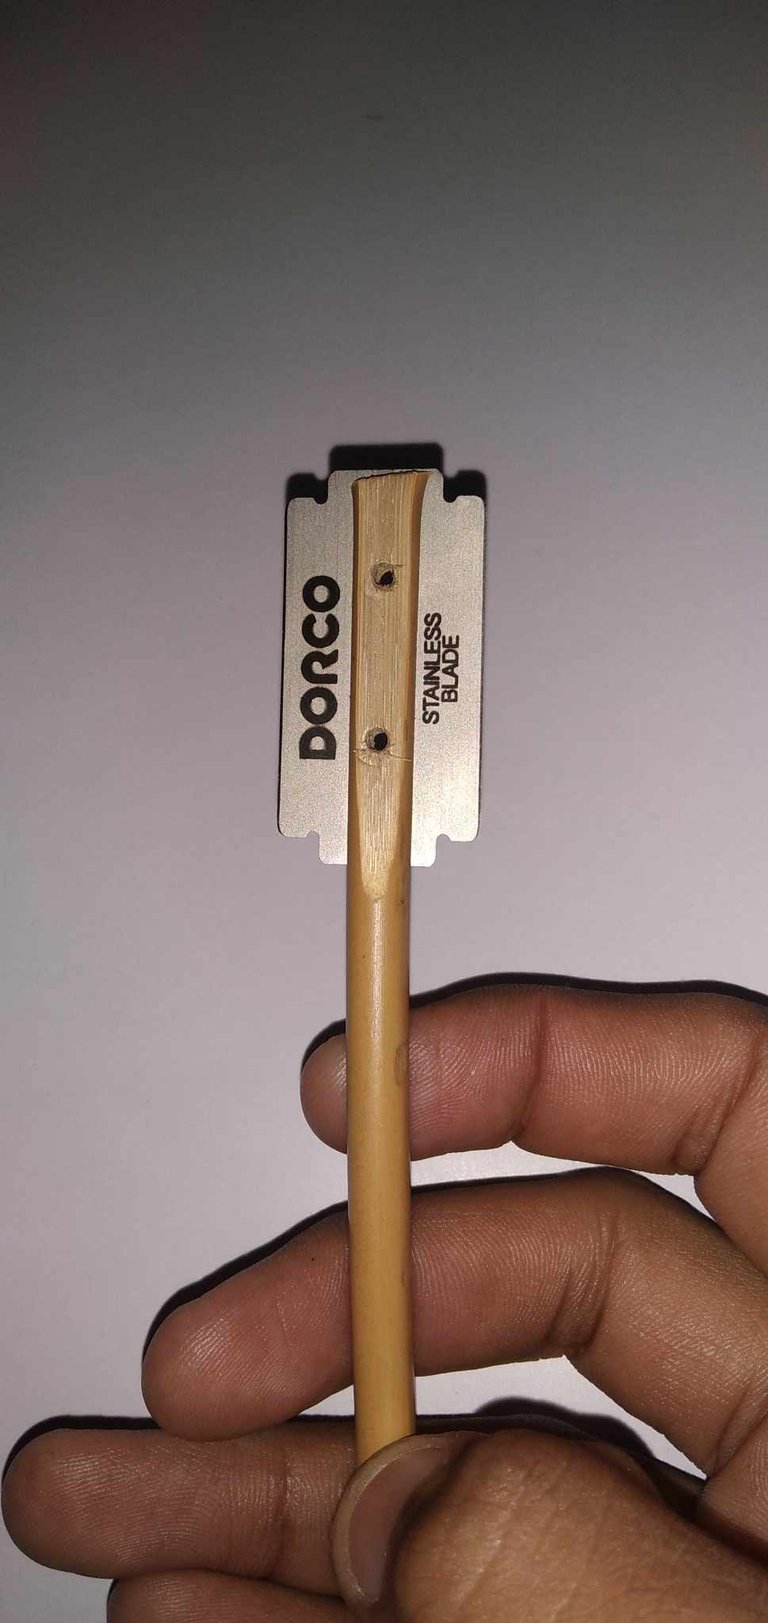
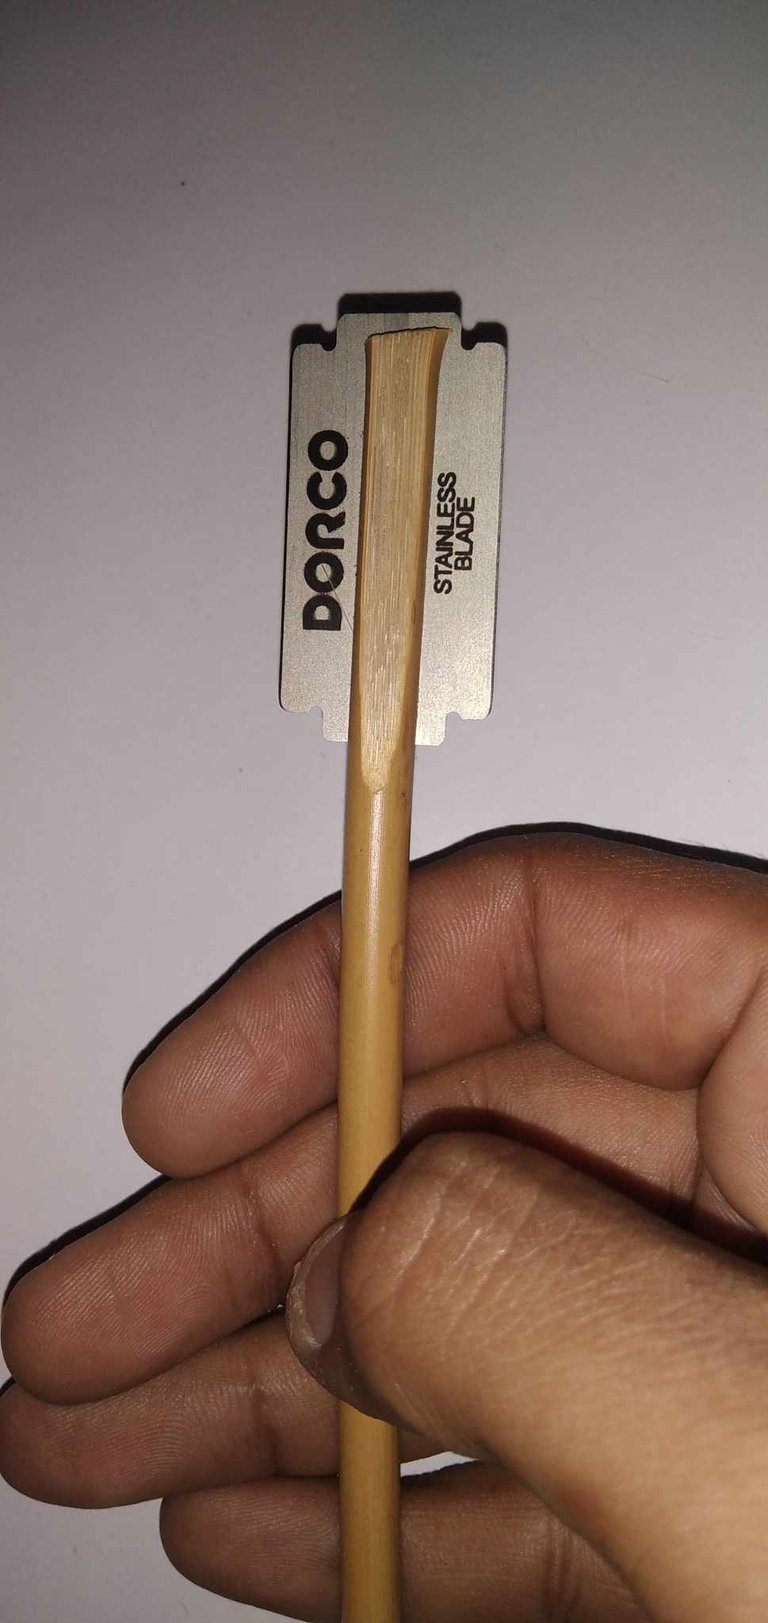
Step 4: Install the blade and put the screws, as you can see this is to keep it.
Paso 4: instalamos la hojilla y ponemos los tornillos, como se puede apreciar esto sirve para mantenerla fija.

Step 5: at one end of the cord we tie a knot, the other end we pass it through the hole in the base, we pull and twist, there should be a piece left to join it with the end where we tied the knot, and it is ready.
Paso 5: en un extremo del cordón hacemos un nudo, el otro extremo lo pasamos por el orificio de la base, halamos entorchamos, debe quedar un pedazo para unirlo con el extremo donde hicimos el nudo, y listo queda así.

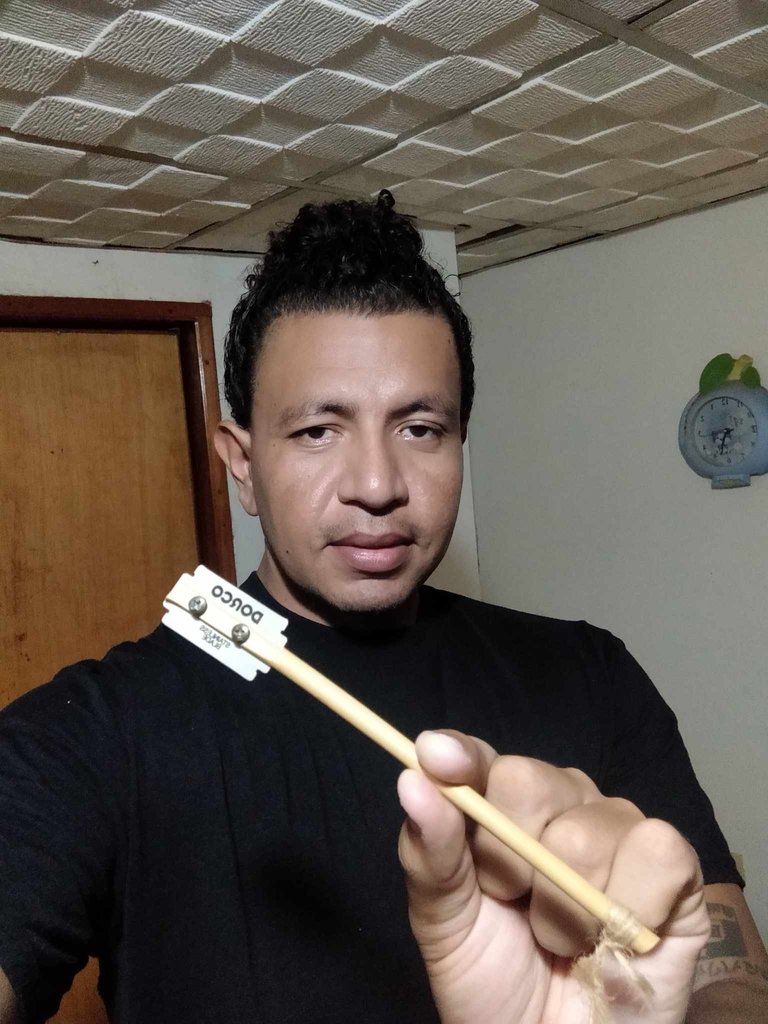
To make the knife safer, you can make a synthetic leather sheath, due to the time and that I did not have the material at the moment, I decided to make the knot at the base to hang it in a place out of reach of children.
Para hacer que la navaja sea más segura, pueden hacer una funda de cuero sintético, debido al tiempo y que no contaba al momento con el material, decidí hacer el nudo en la base para así colgarlo en un lugar fuera del alcance de los niños.
This was all, I hope you liked this publication, I look forward to your reception and suggestions, until a next post.
Esto fue todo, espero que haya sido de agrado esta publicación, espero con agrado su recepción y sugerencia, hasta un próximo post.
Bienvenido a la comunidad amigo...la verdad me gustó mucho el tutorial esta herramienta no solamente me sería útil en la cocina, también en el taller de manualidades. Me encantó tengo que hacer una para mi. Gracias por compartir y esperamos verte seguido por aquí.
@zonaescolar, sorry! You need more to stake more $PIZZA to use this command.
The minimum requirement is 20.0 PIZZA staked.
More $PIZZA is available from Hive-Engine or Tribaldex
Hola @zonaescolar gracias por tus buenas palabras, espero estar pronto publicando y compartiendo con ustedes nuevos contenidos.
Bienvenido Miguel , me alegra mucho que finamente subieras tu primera artesanía, yo feliz de apoyarte en cuanto pueda para que sigas creciendo en Hive.
Me parece que hiciste un excelente tutorial con un paso a paso detallado y claro.
Me gusta mucho que tu mismo hagas tus instrumentos de trabajo para la panadería, se pueden hacer cortes geniales y decorativos en los panes con esa herramienta, no sabía que tenia ese nombre.
Gracias por compartir con nosotros tu conocimiento. Abrazos 🤗
Gracias a ti Irene por mostrar este mundo y saber guiar de manera muy paciente cómo podemos crecer aquí, compartir experiencias, y mostrar las cosas utiles que pueden servir a otros.
la elaboración de esta herramienta, aparte del gusto por ir creando con nuestras propias manos también alivia un costo, cumple su trabajo perfectamente como una hecha de manera industrial, me alegro que te haya gustado a tí, espero este post también llegue a muchas personas.
Muy práctica la herramienta sr. La seguridad ante todo . Me gusta que se puede desarmas par así higiene incluso
Sin duda alguna, se puede desarmar para efectos de mantenimiento, para cambiar la hojilla, parece frágil pero bien puede hacer su trabajo por mucho tiempo.
Bienvenido a nuestra comunidad de artesanos DIY @miguelc88, llegaste de la mano de una grandiosa y admirable persona como lo es @irenenavarroart la cual me ayudó muchísimo en mis inicios.
Genial paso a paso, espero ver mucho más de tu parte por acá. Te deseo todo el éxito del mundo...
Bendiciones ✨
!DIY
Muchas gracias por tomarte un momento de tu tiempo para leer y comentar mi post, exactamente, hemos tenido la gracia de que nos han extendido su mano amiga, con la mayor voluntad del mundo, estoy seguro que con contancia y motivación seguiré estando por estos medios.
Wow , this is so new to me yet it will be useful to have a knife we can handle that won’t bring injury to us. Welcome to the community and thanks for sharing your creative process
Hola, @monica-ene gracias por tomar un tiempo para leer el post, me siento complacido de saber que esta información puede servir a mucha gente.
Excelente, no sabia que debia ser una navaja con la cual hacer estos cortes, y mucho menos su nombre, muy interesante tu post!
Mucho éxito!
Hola @yetsimar gracias por pasar y leer mi post, la navaja es muy útil, claro está que se puede trabajar con solo la hojilla si no se tiene el mango a la mano, pero, pero☝️, primero la sanidad en la elaboración de comida.
https://reddit.com/r/blogs/comments/1amb6g2/tutorial_to_make_a_grignette_style_kitchen_knife/
The rewards earned on this comment will go directly to the people( @irenenavarroart ) sharing the post on Reddit as long as they are registered with @poshtoken. Sign up at https://hiveposh.com.
Yay! 🤗
Your content has been boosted with Ecency Points, by @miguelc88.
Use Ecency daily to boost your growth on platform!
Thanks Ecency.
We are happy to have you bud
Thanks for sharing your work with us
Thank you for reading and giving your opinion, these interactions motivate me to continue publishing and sharing knowledge with you.
You can query your personal balance by
!DIYSTATSInteresante tu publicacion no sabia eso, bueno no se hacer pan😅
Hola @lismarcarolina2 hacer pan es una de las cosas más nobles que hay en el mundo, en febrero del año pasado sabía muy poco sobre ello, hoy en día me ha tocado hacer instrumentos para solventar cosas de ultimo momento. Si te llama de alguna forma la atención mi consejo es que te animes.