Hello DIYHUB
Happy Tuesday, everyone! How are you all doing, and how did you spend your night? I hope all was great, and if you ask me, it was amazing.I am happy to share a post here in this community that is all about do-it-yourself instructions on how to sew a car seat. This may be a tutorial as well as a skill that is very important to learn. I love learning from others, which is why others learn from me too.
I am looking forward to contributing to the growth of this community and its ecosystem because anyone who learns this for free will be encouraged to visit this community so that he or she can learn too.Since I joined this community, I have learned a lot from others, which is why I am sharing this post for others to learn from me too.
I want us to learn together some of the processes I followed to make this beautiful seat; if you check the after and before photos below, you will see the difference.
Here is the seat after sewing it.
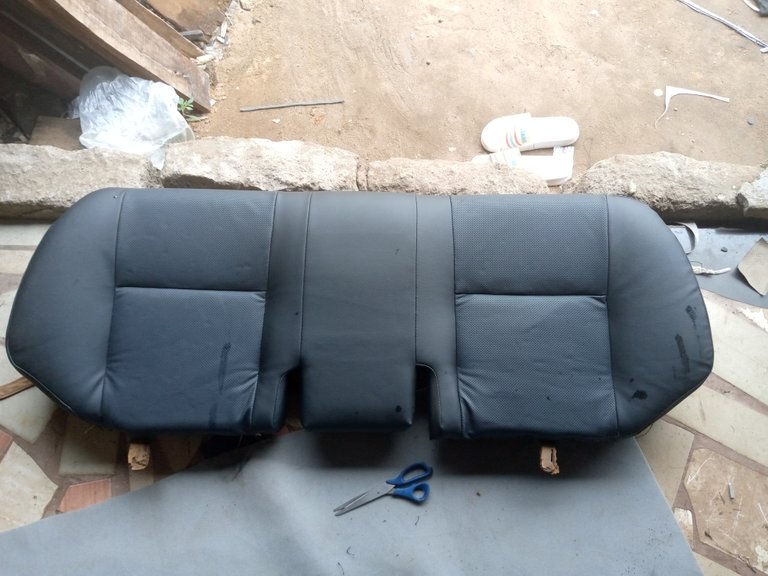
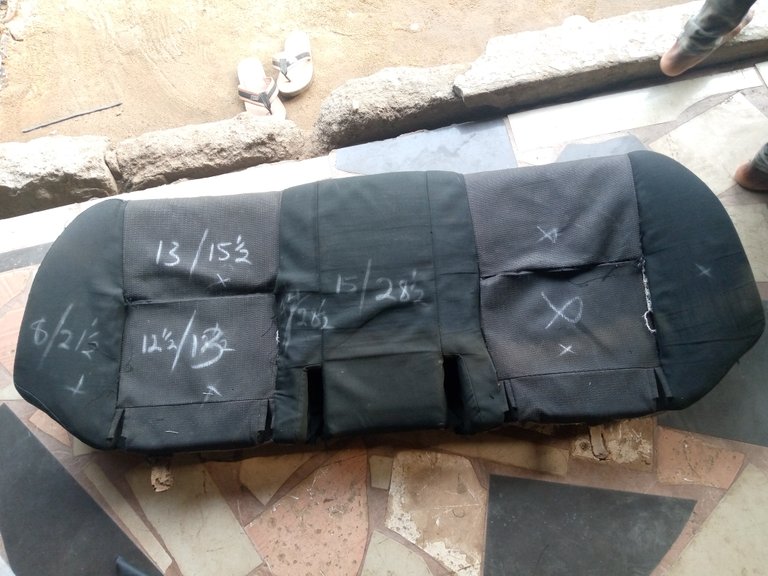
Before this seat looked nice like this, it took me some steps to achieve it.
Here is the seat before
Here are the steps I follow to make the seat real:
Step 1: The first thing I did was loosen the seat from the car and bring it to my shop.
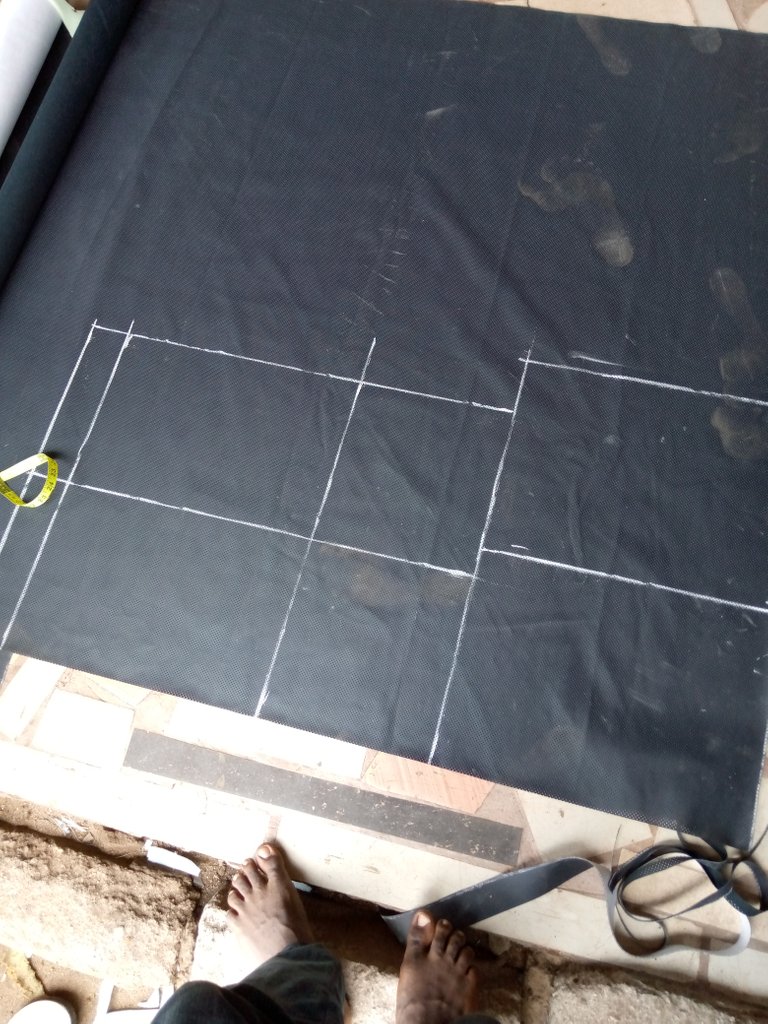
Step 2: I choose the type of soap and the color I will use that will fit with the interior of the car. In this case, the interior is black, so I chose a black plain lather at the sides and a sport lather at the center of the seat.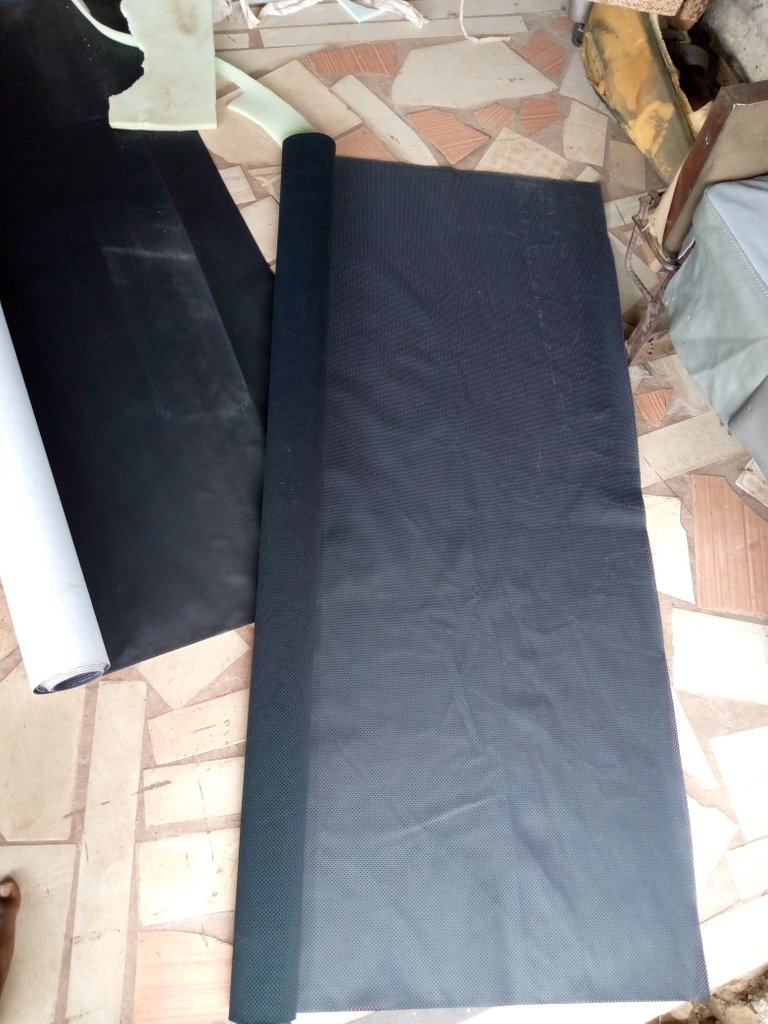
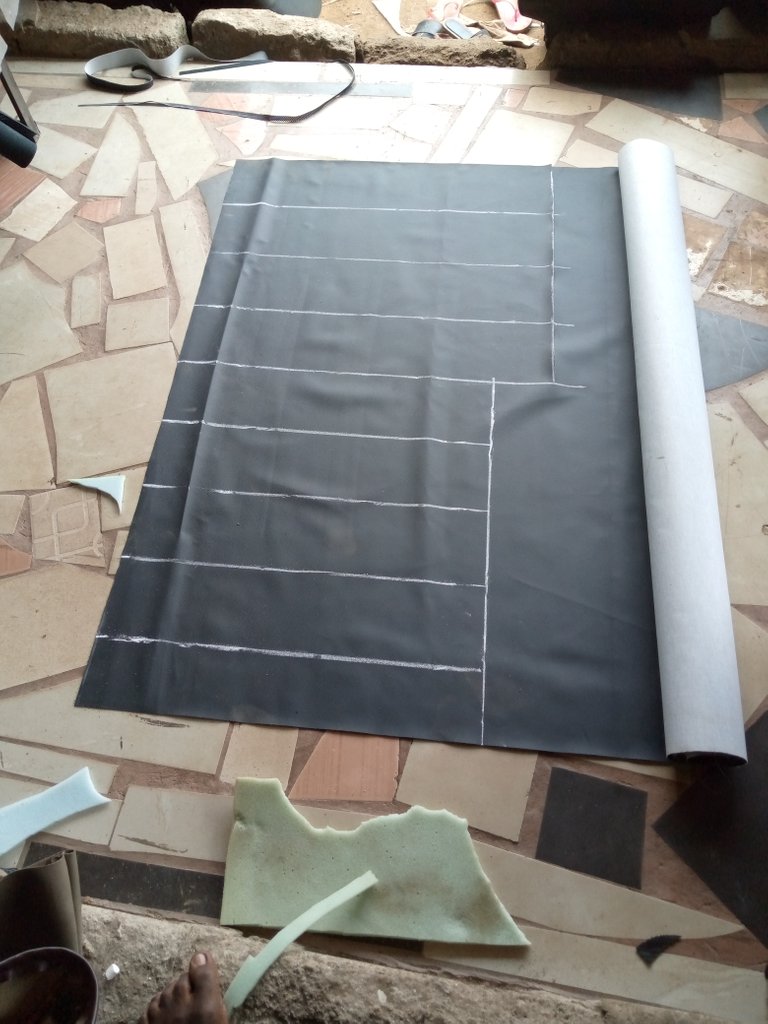
Step 3: I now use my sawing tape to take the measurement of the seat at every join.
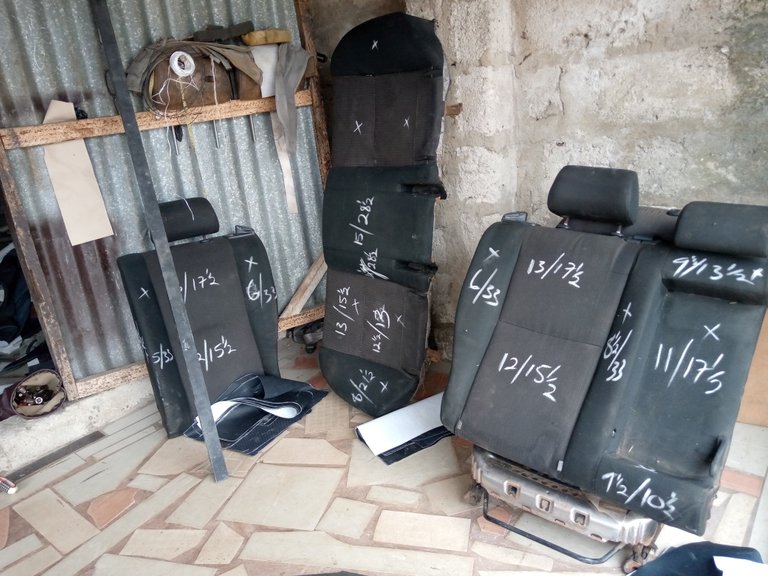
has the back seat completed, but I was only able to finish the sitting because it is not easy work.
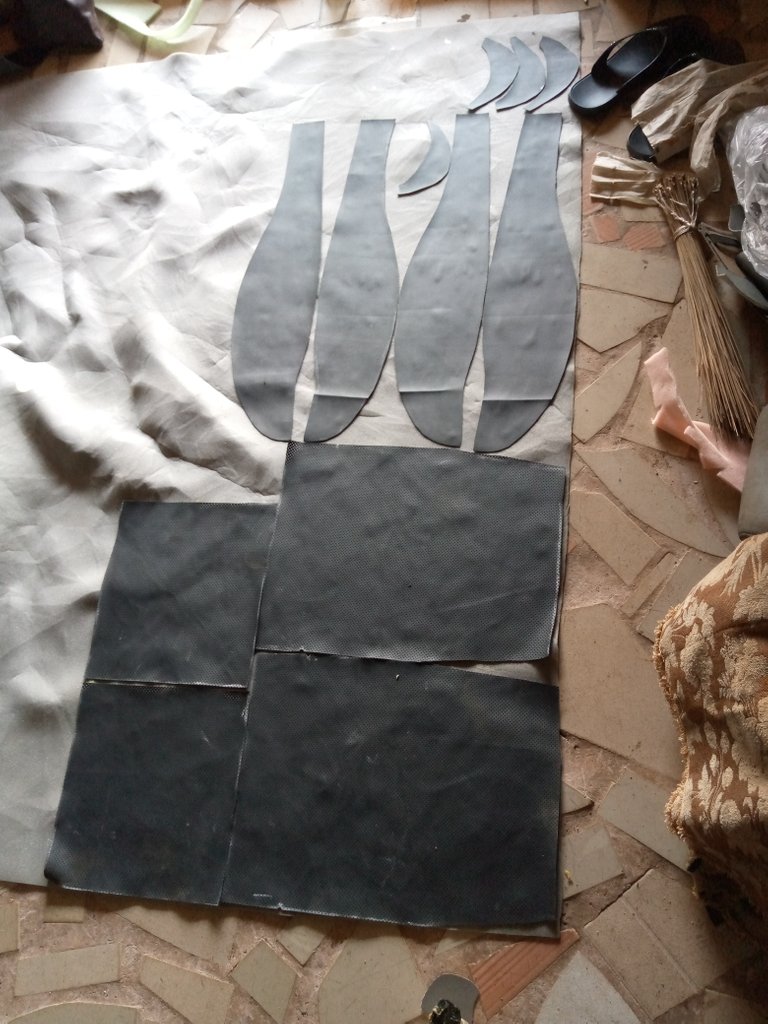
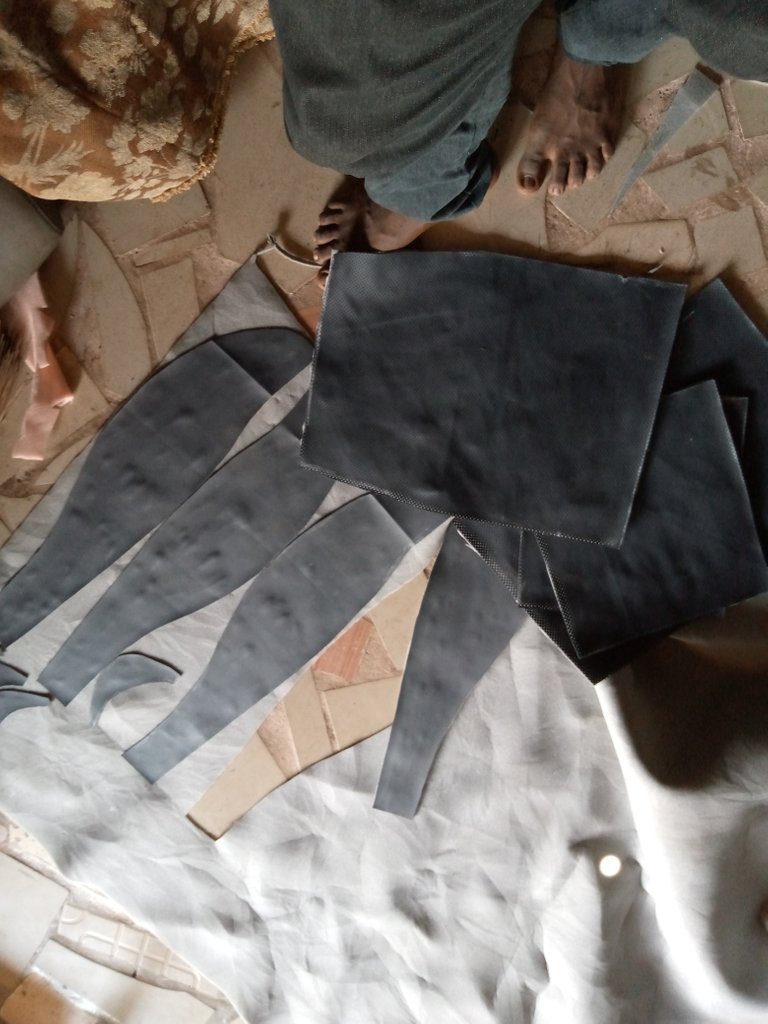
Step 4: I now transfer the measurement to my lather and cut it out, then shape it to the way I need it in the seat.
Step 5: After shaping it, I then use a car roof material to gum the new leather just to make the lather smooth and have body. Then I cut it out for sawing.
Before I did the next step, I was very hungry, so my neighbor cooked rice. I joined them to eat, and it was amazing.
Step 6: I now saw the shape lather Together with the help of my sawing machine, we formed the shop so that the seat is as it was before.
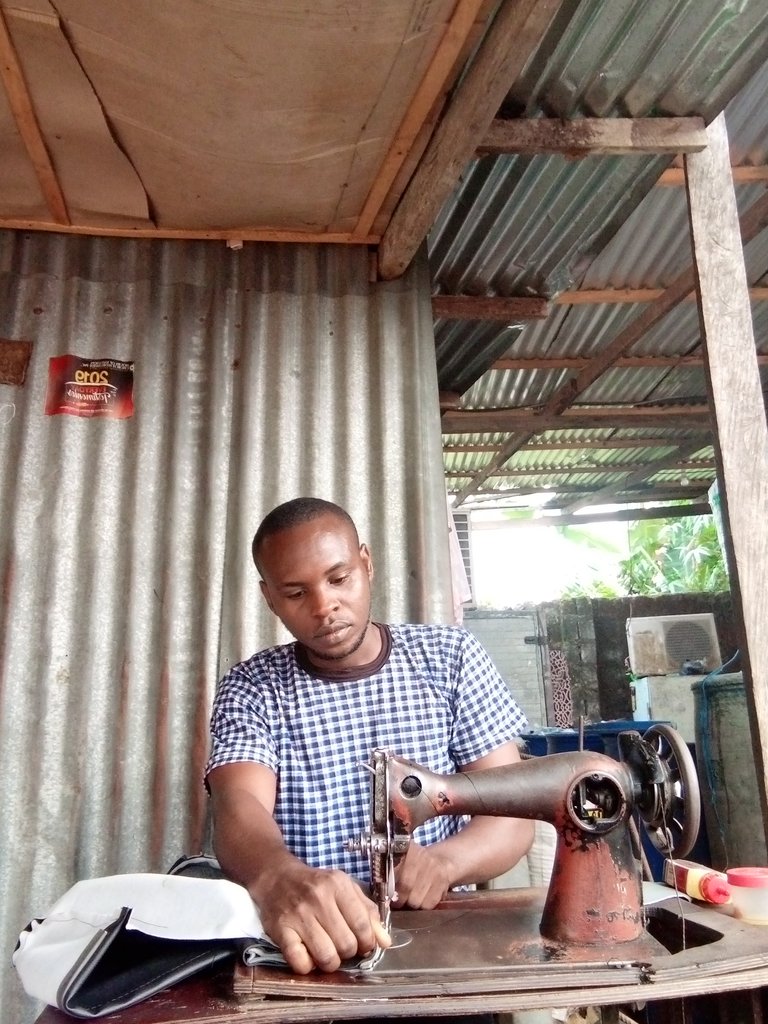
Step 7: Done with the sawing, I now cover the seat with my new lather.

Step 8: Finally, after covering the seat with my new lather, the seat is now ready, and here is the outcome.
This is great work. That is all I have for today. I hope you love my post. Don't fail to at least comment. I love you all.
The rewards earned on this comment will go directly to the people( @samuell12 ) sharing the post on Twitter as long as they are registered with @poshtoken. Sign up at https://hiveposh.com.
nice work mate. I would suggest you show more detailed process of your work. Maybe a video
To do a video will take too long
Nice one, your explanation covers everything you done a great work and I love it just a nice hand work weldone here
Yay! 🤗
Your content has been boosted with Ecency Points, by @mosesessien.
Use Ecency daily to boost your growth on platform!
Support Ecency
Vote for new Proposal
Delegate HP and earn more