🪡Ladies pants🪡 (English)
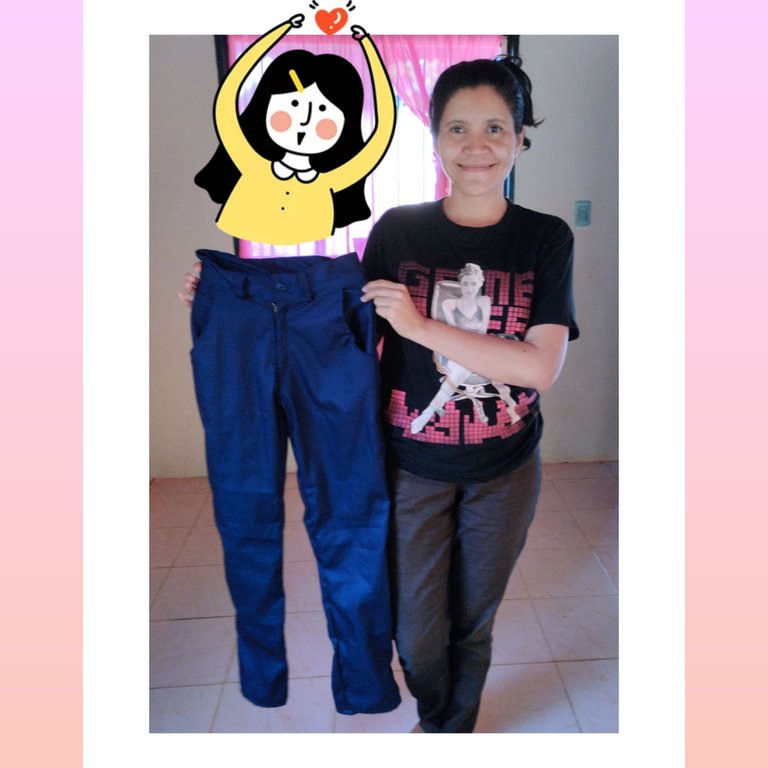
Hello friends of sewing I am happy, because I have come to show you how to make these ladies' pants, in navy blue drill fabric
Today I bring you this project, the step by step, the cut and the preparation of this pants
💥These were the materials used💥
Sewing machine
Ball point needle number 16
Scissors
Navy blue thread (cone)
Fabric two meters.
Measuring tape
pins
patterns
Button
Marker
👍 Steps🪡✂️🧵🧣🪡
✨Steps to cut the fabric✨
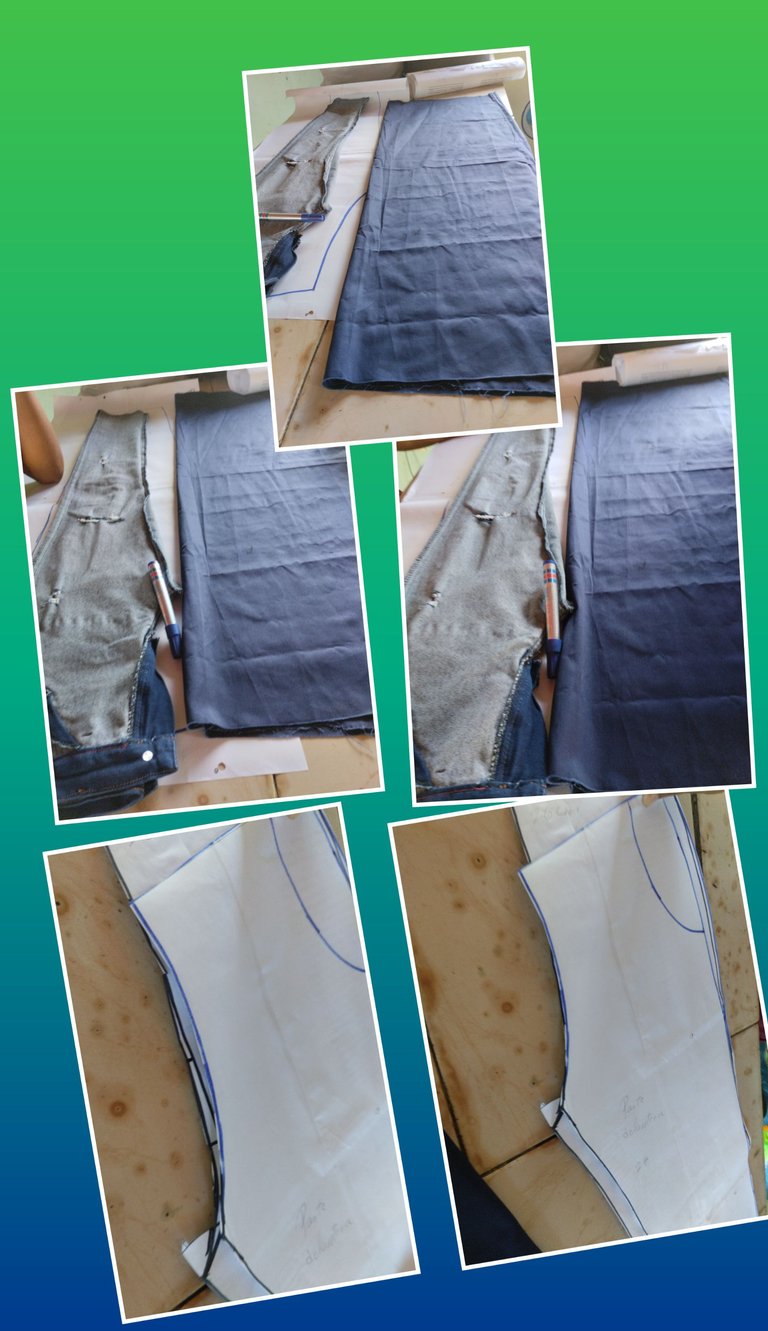
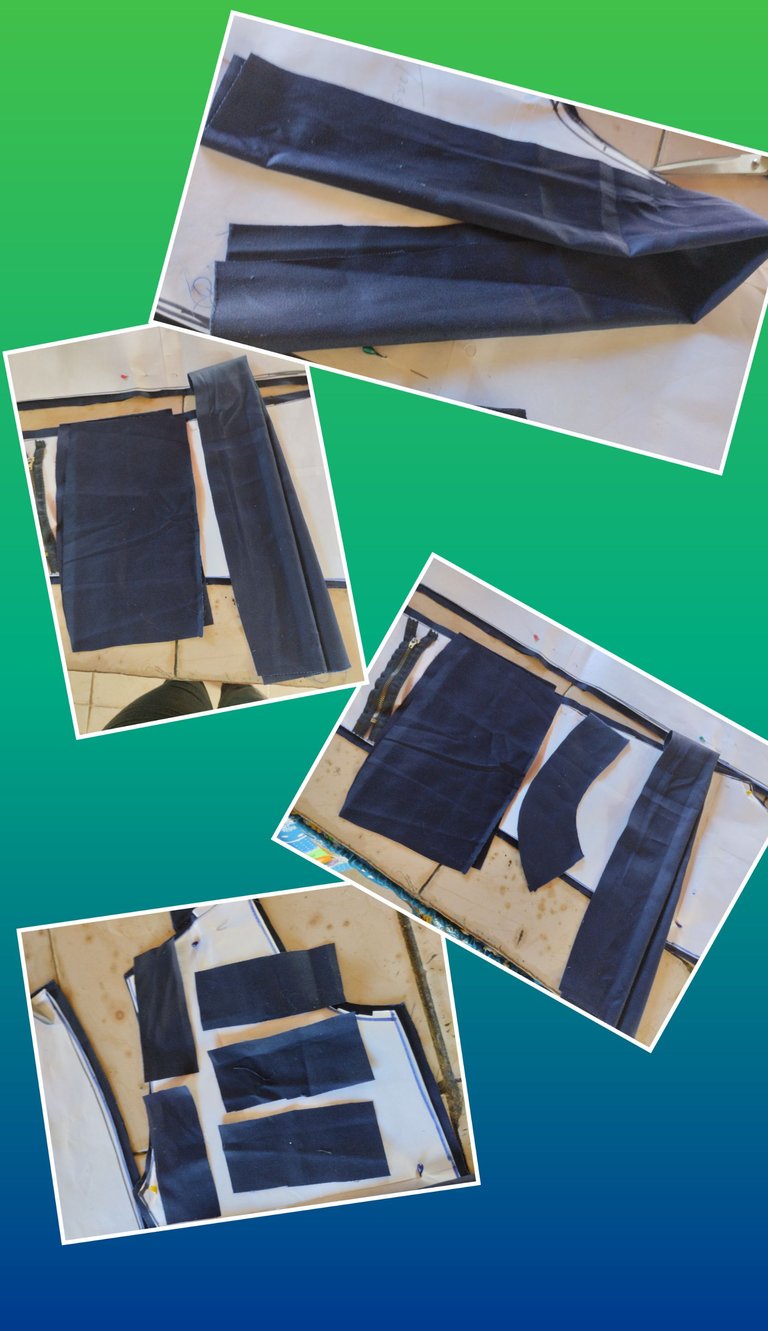
The elaboration process began with taking a pair of pants as a pattern and passing it on a Bond paper with extra centimeters.
🧵🪡✂️ Front and back of the pants
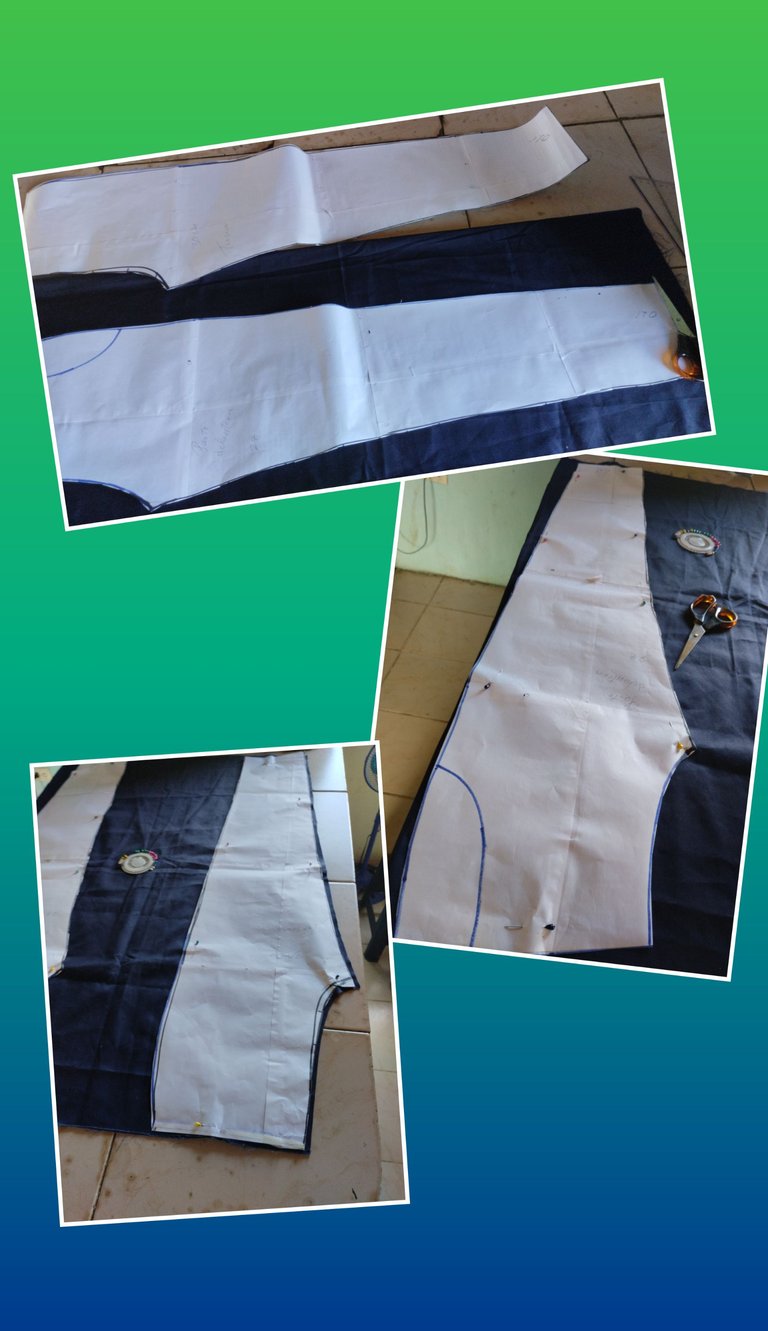
🧵🪡✂️The pockets on the right side and the left side of the pants
🧵🪡✂️ The waistband and its pins
🧵🪡✂️ A piece of fabric to cook the zipper, the closure.
🧵🪡✂️ White linings, for the front pockets, right and left


✨Steps in the Sewing ✨
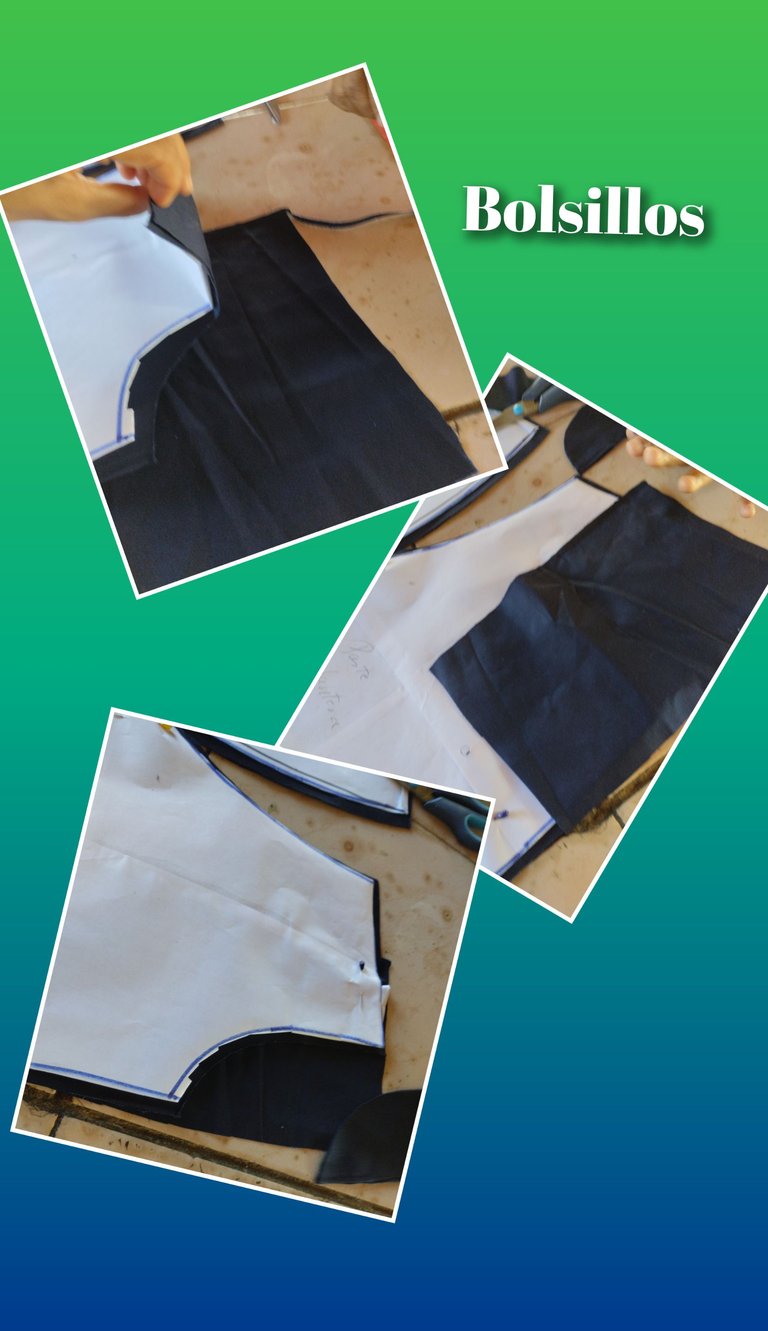
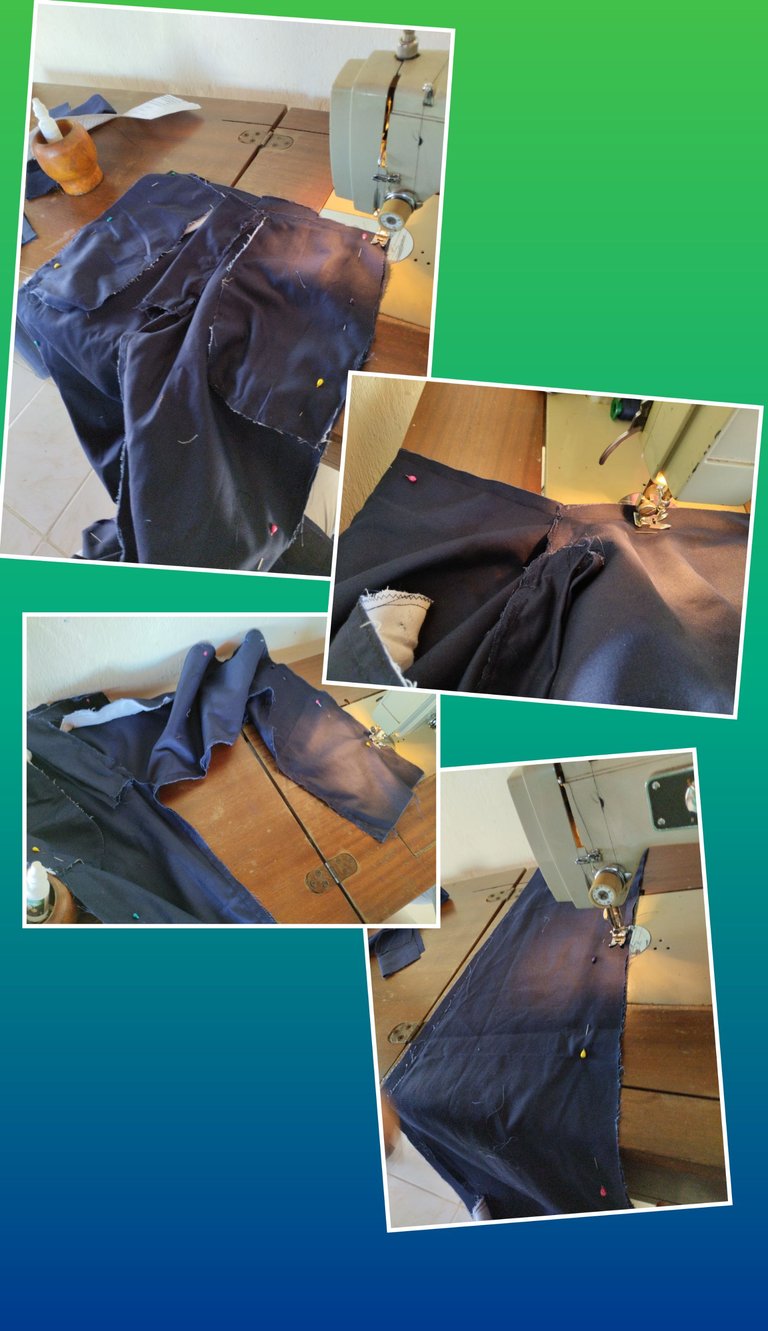
✂️🪡🧵We start with how beautiful it is to make for ourselves, I take the front of my pants and start to sew the piece of the shot that goes in the pocket.
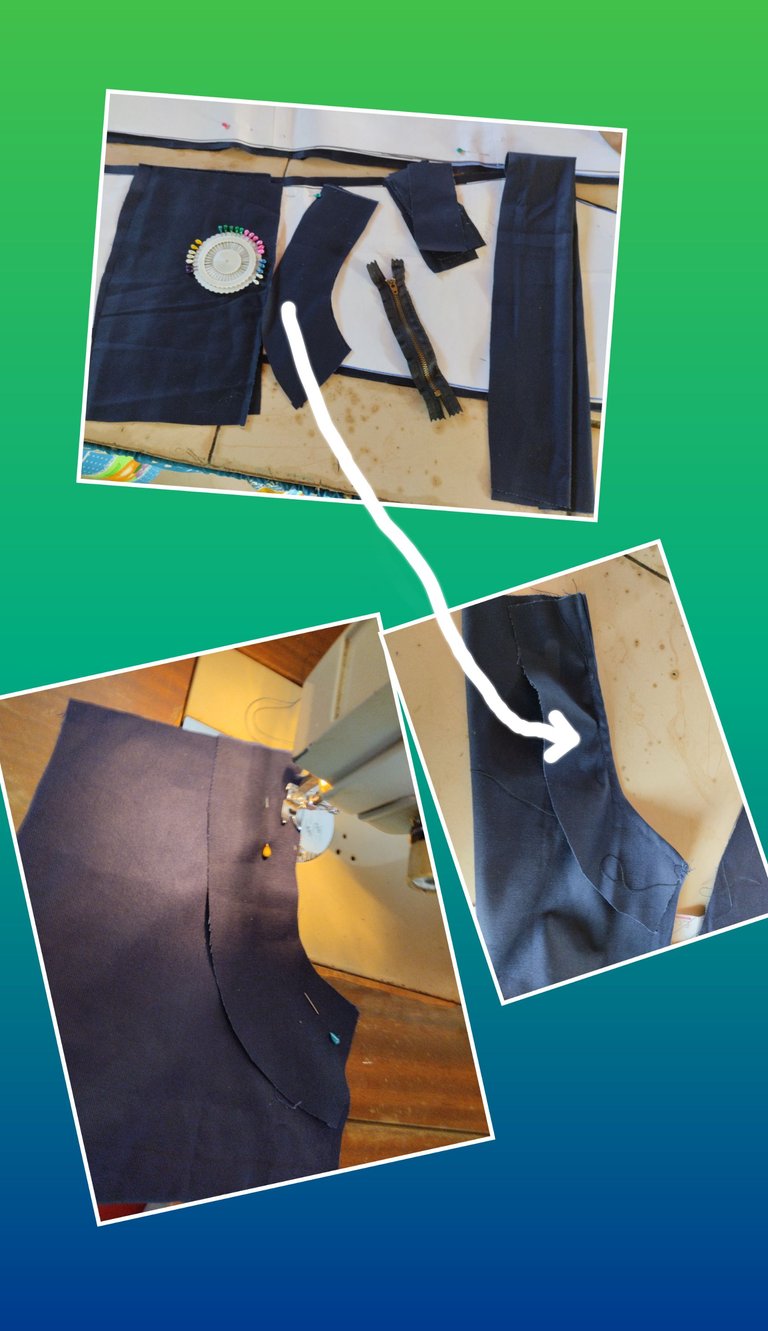
✂️🪡🧵Now I begin to sew the lining of the white pocket
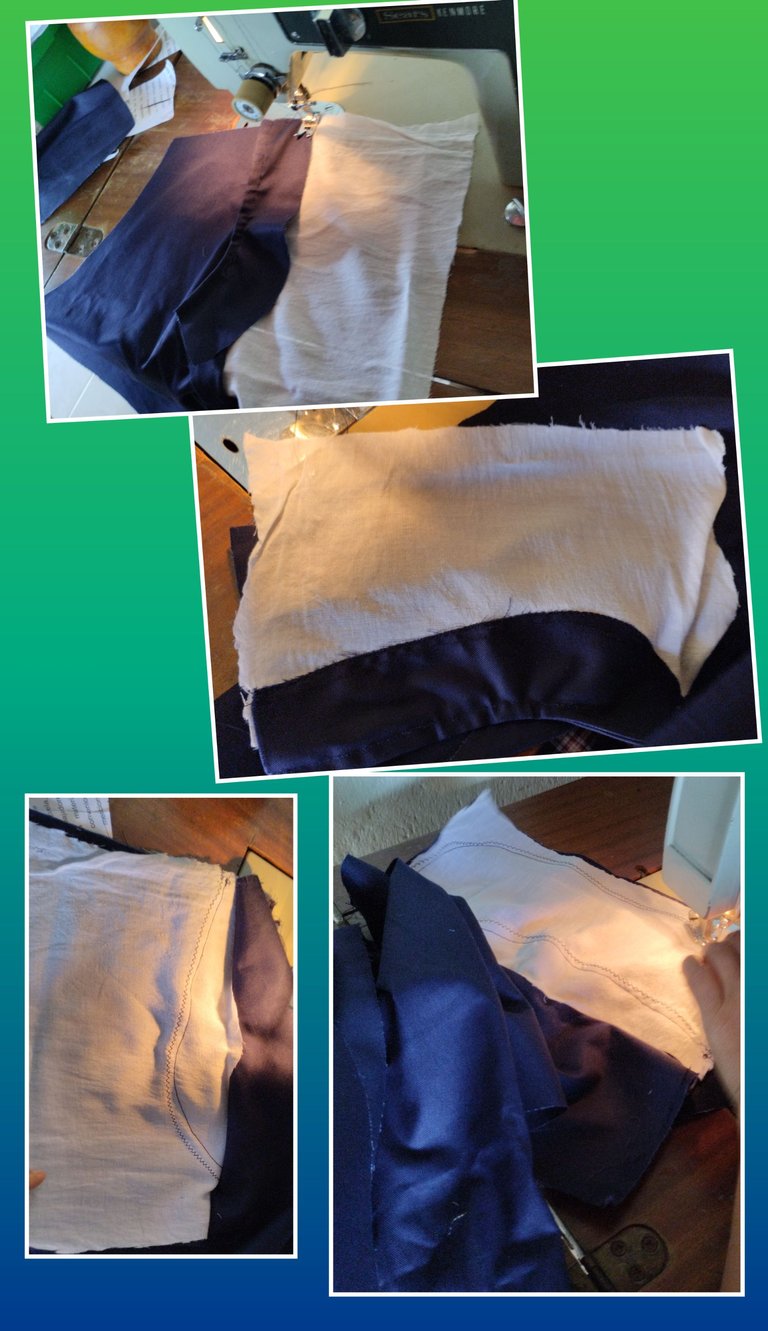
🧵🪡✂️When sewing the lining of the pocket, we attach the piece of fabric cut as a pocket.
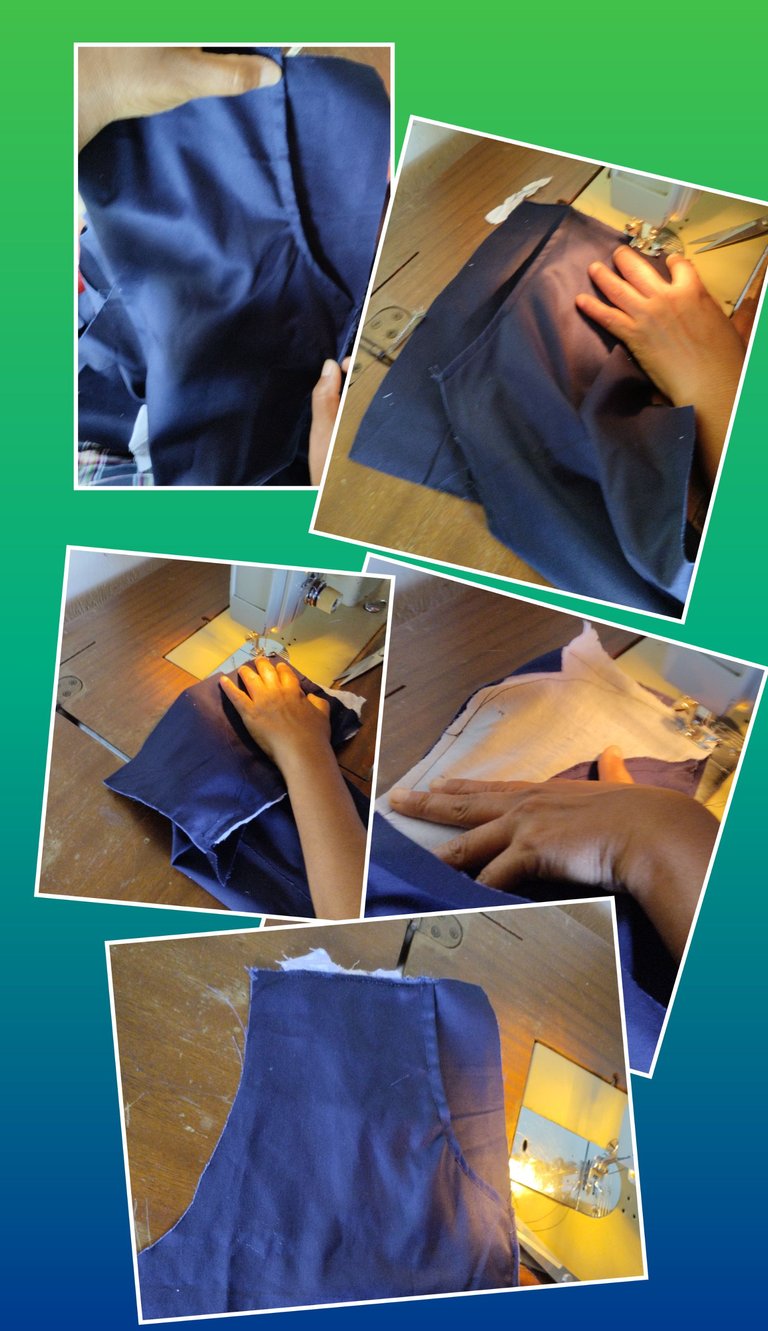
🧵✂️🪡This procedure is required to be done on the front of the right and left side of the pants.

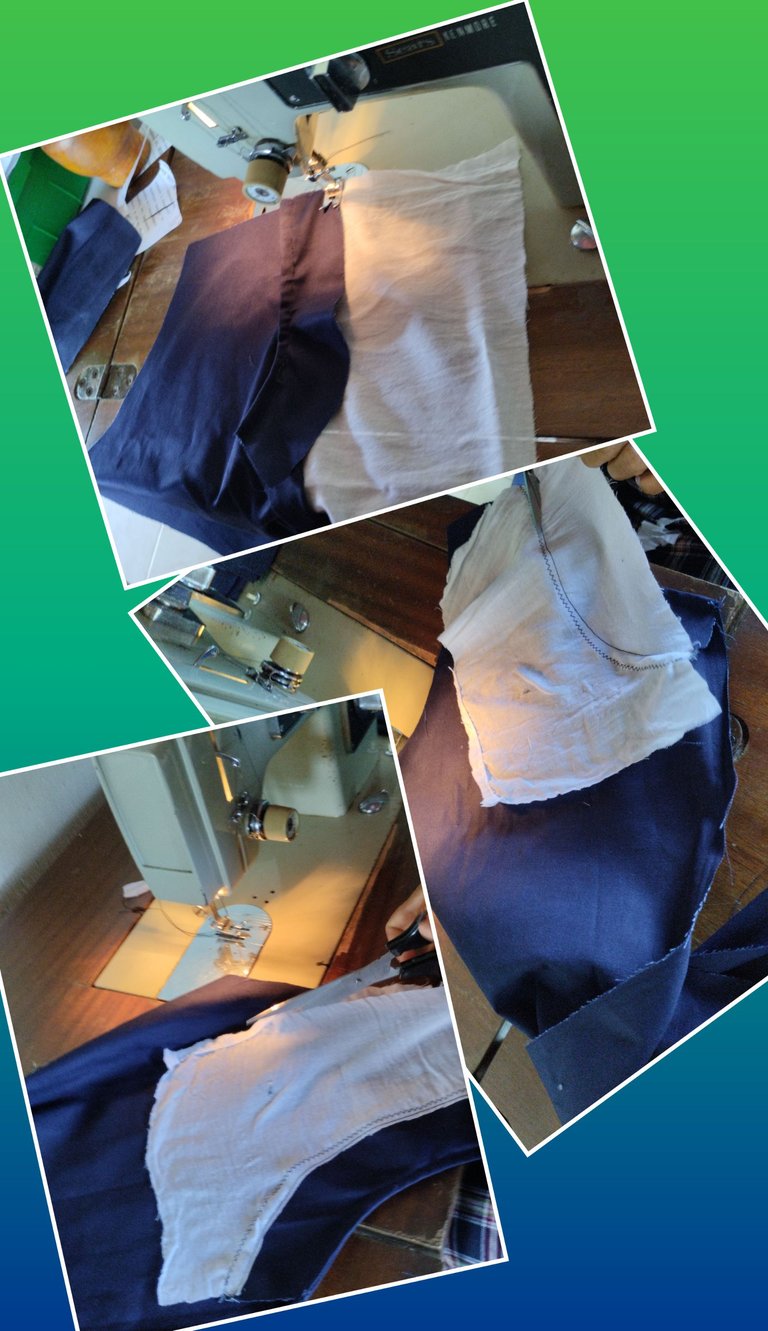
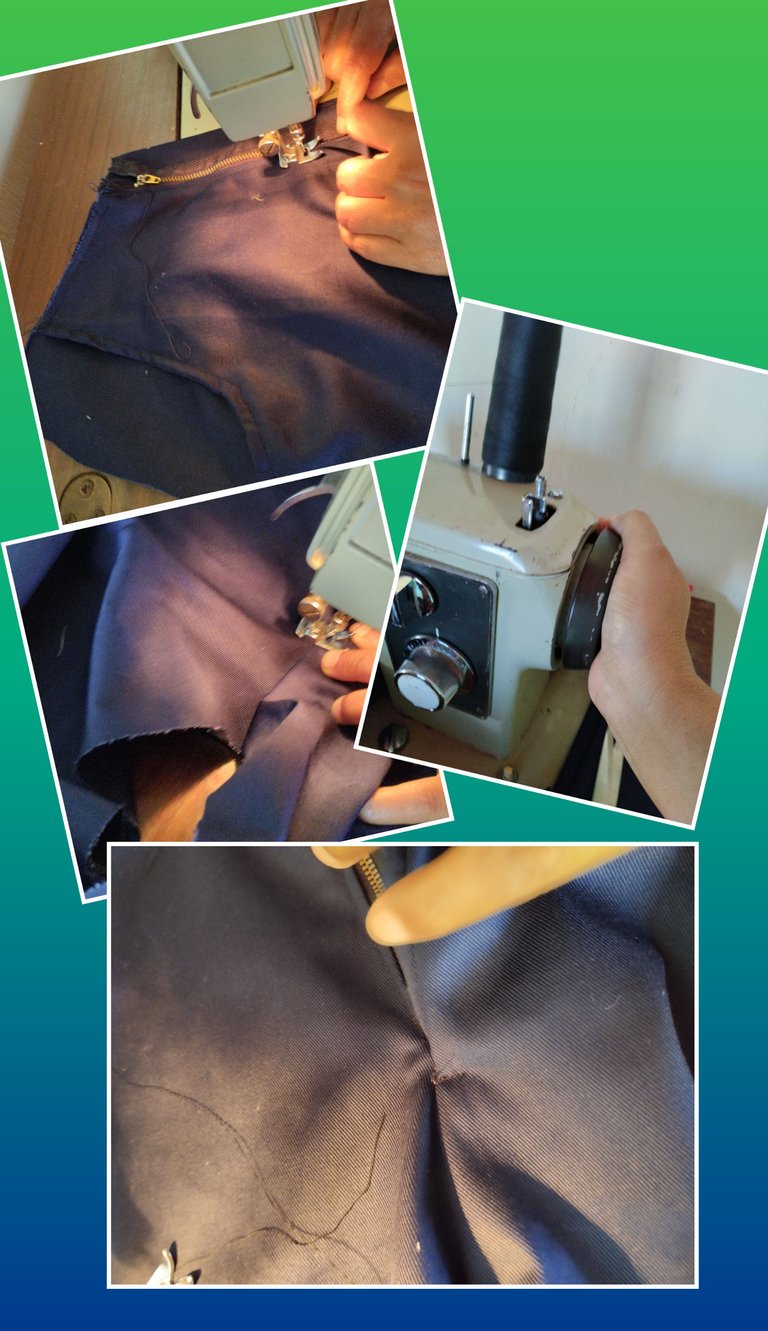
🧵✂️🪡Having the left and right front part of the seam ready for the pockets, now we are going to sew the zipper on the closure
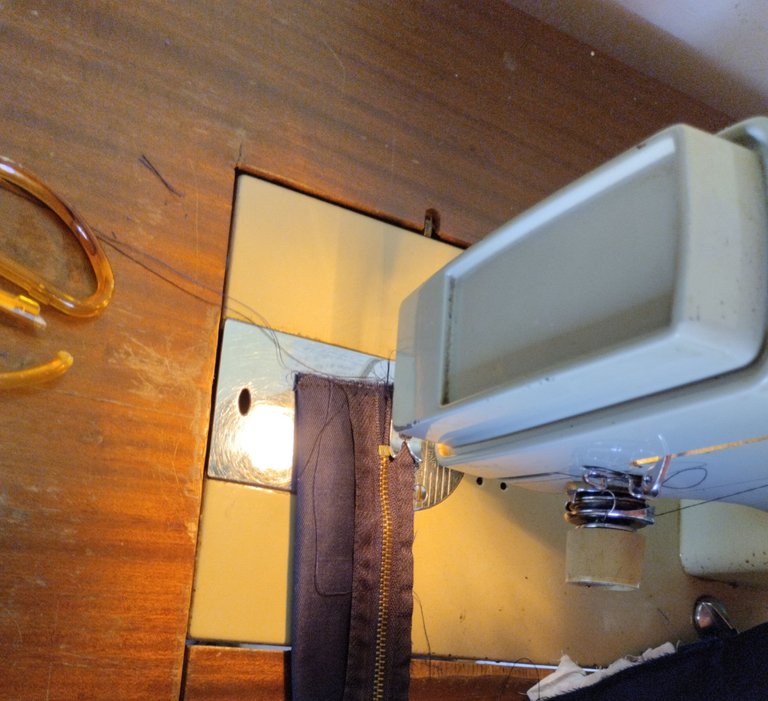
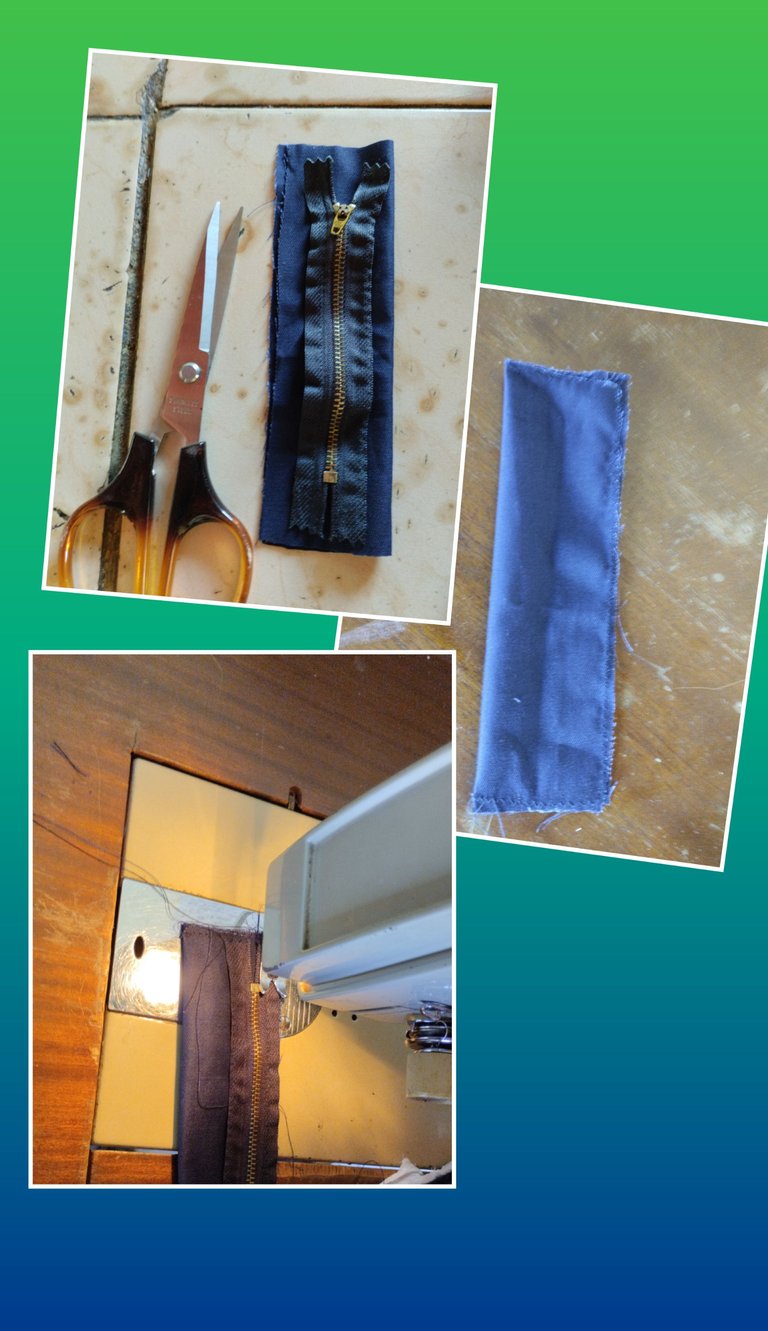
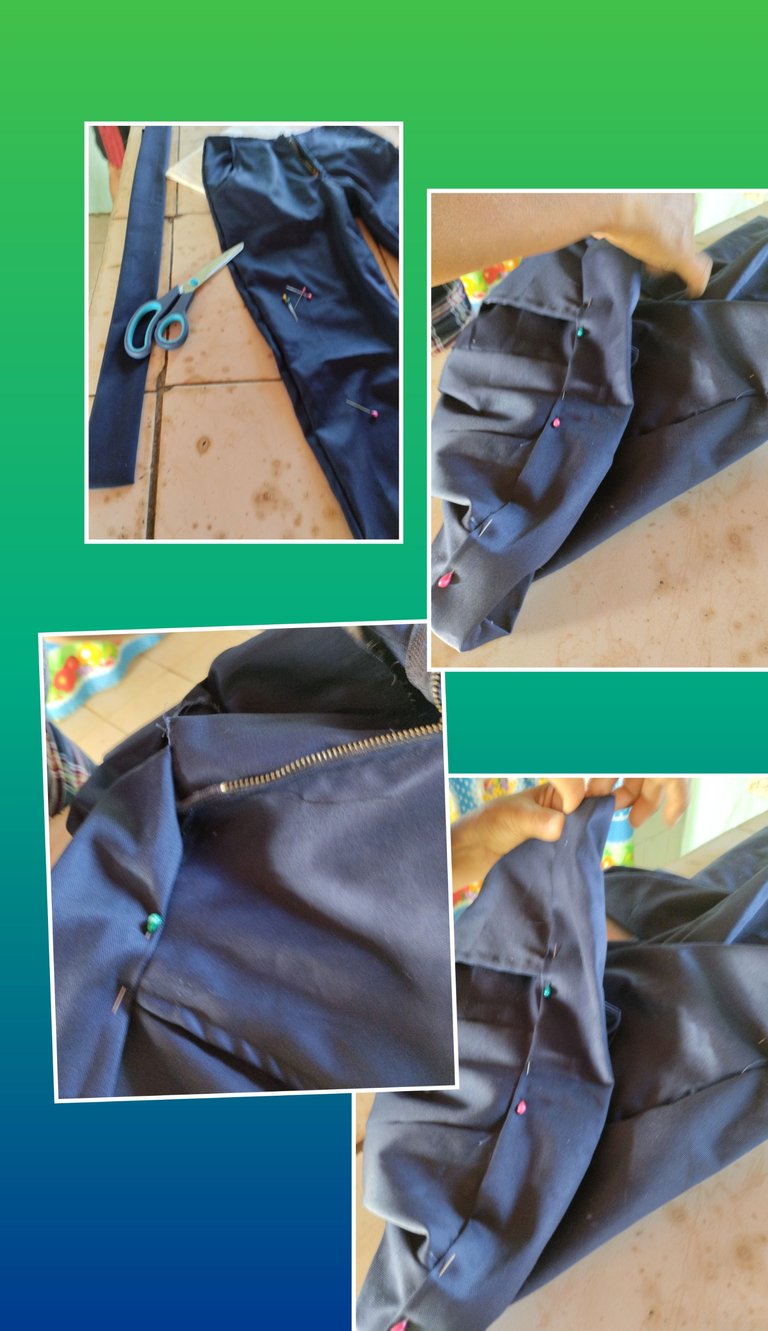
🧵🪡✂️ When sewing the zipper on the piece of fabric, now we take the front part of my pants, on the left side, and we begin to sew the zipper on one side and since the fabric is very thick, we will do this procedure by sewing manually on the sewing machine. sew, in order not to break the needle.
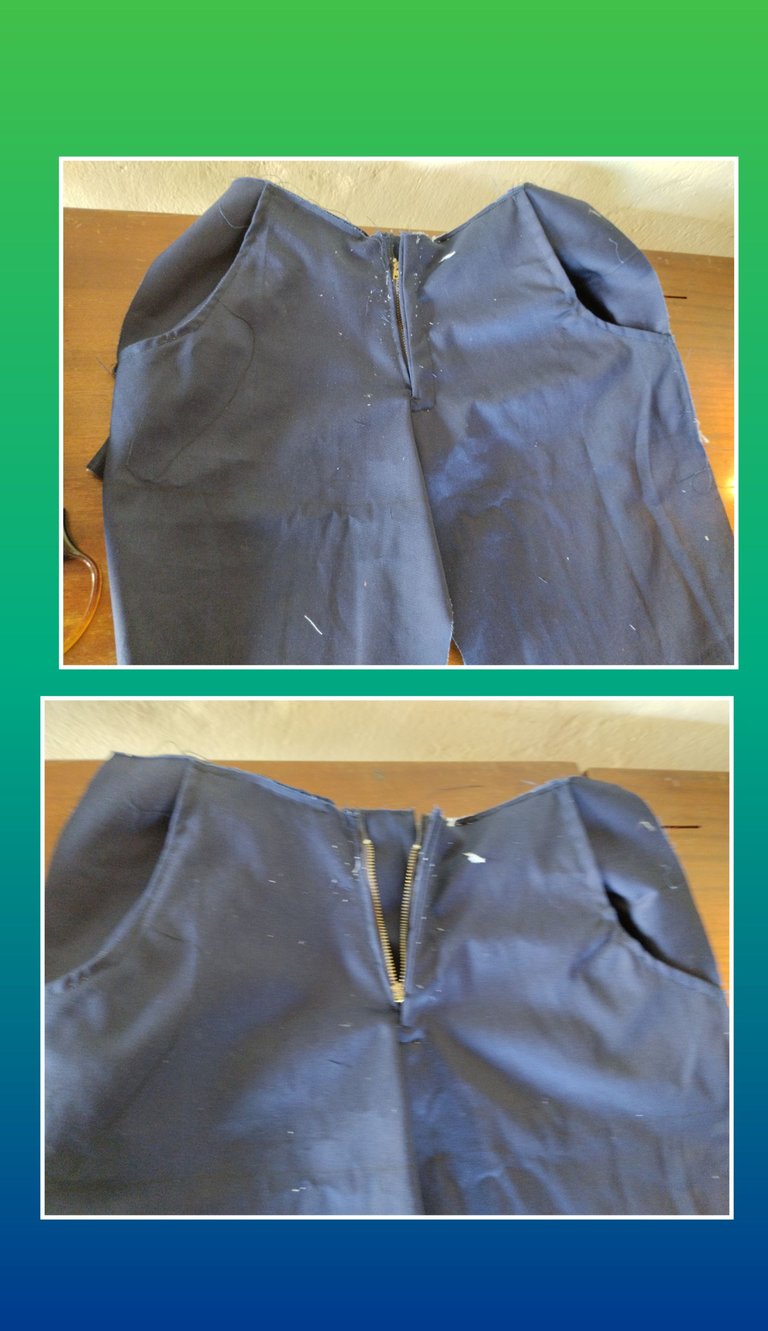
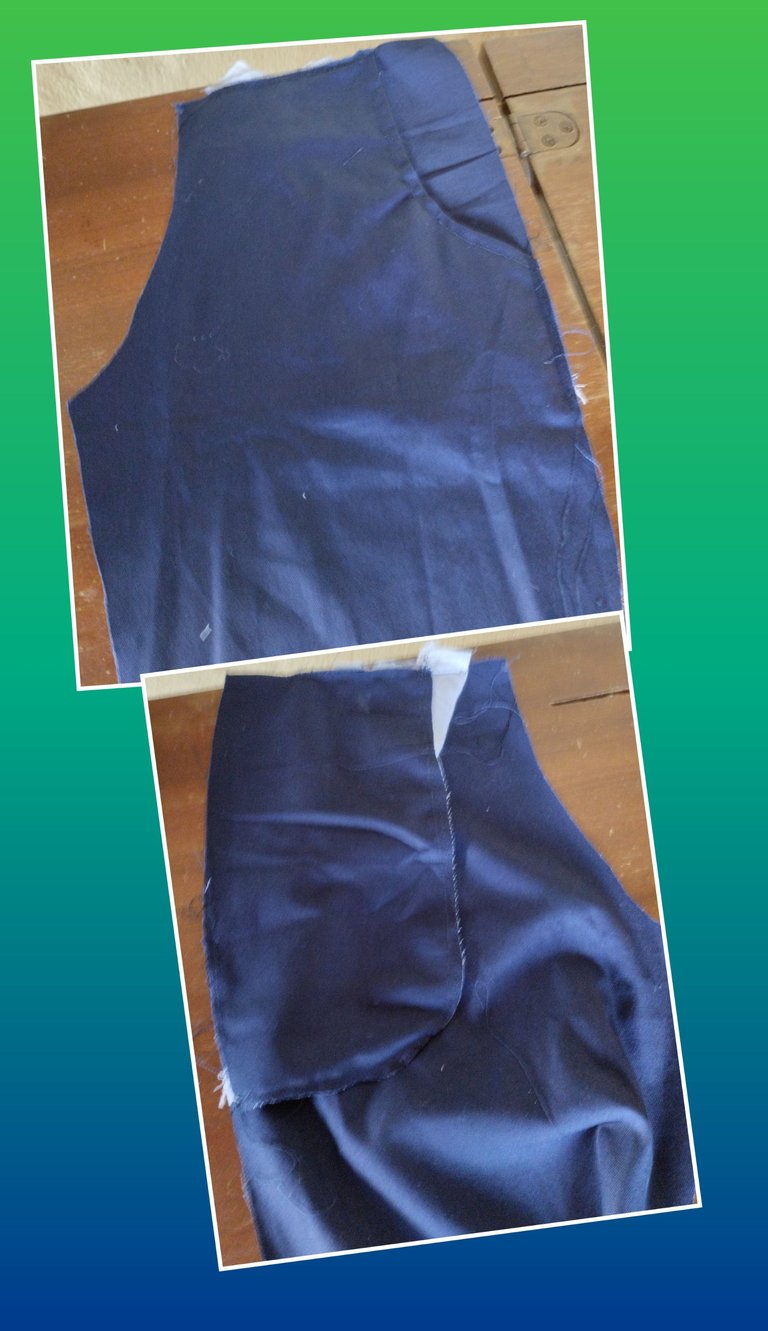
🧵🪡✂️ I continue now taking the back pieces, left and right to join the between the legs, then half a centimeter clamps are made
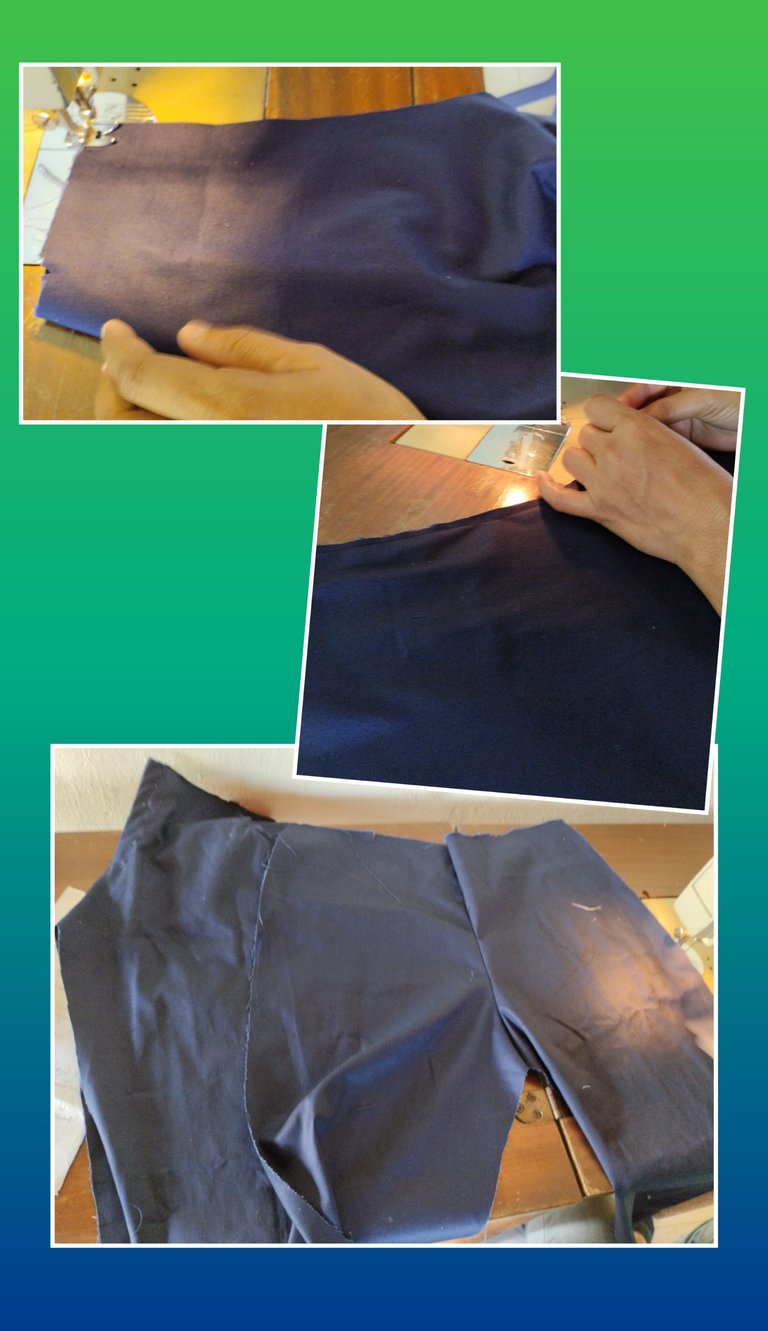
🧵🪡✂️ then pins are taken and placed joining the front and back of the pants, to secure the garment and sew.
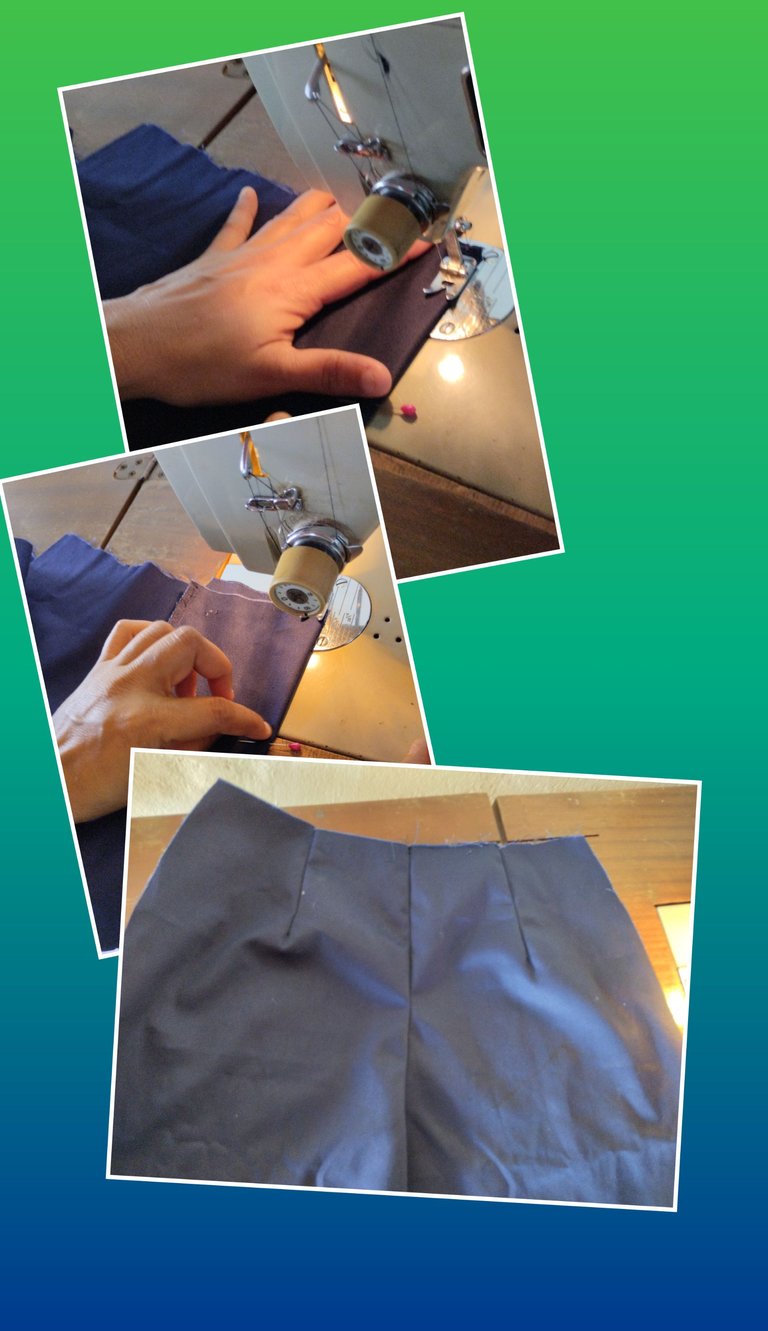
🧵🪡✂️ I continue with the sewing of the pins to attach them to the waistband.

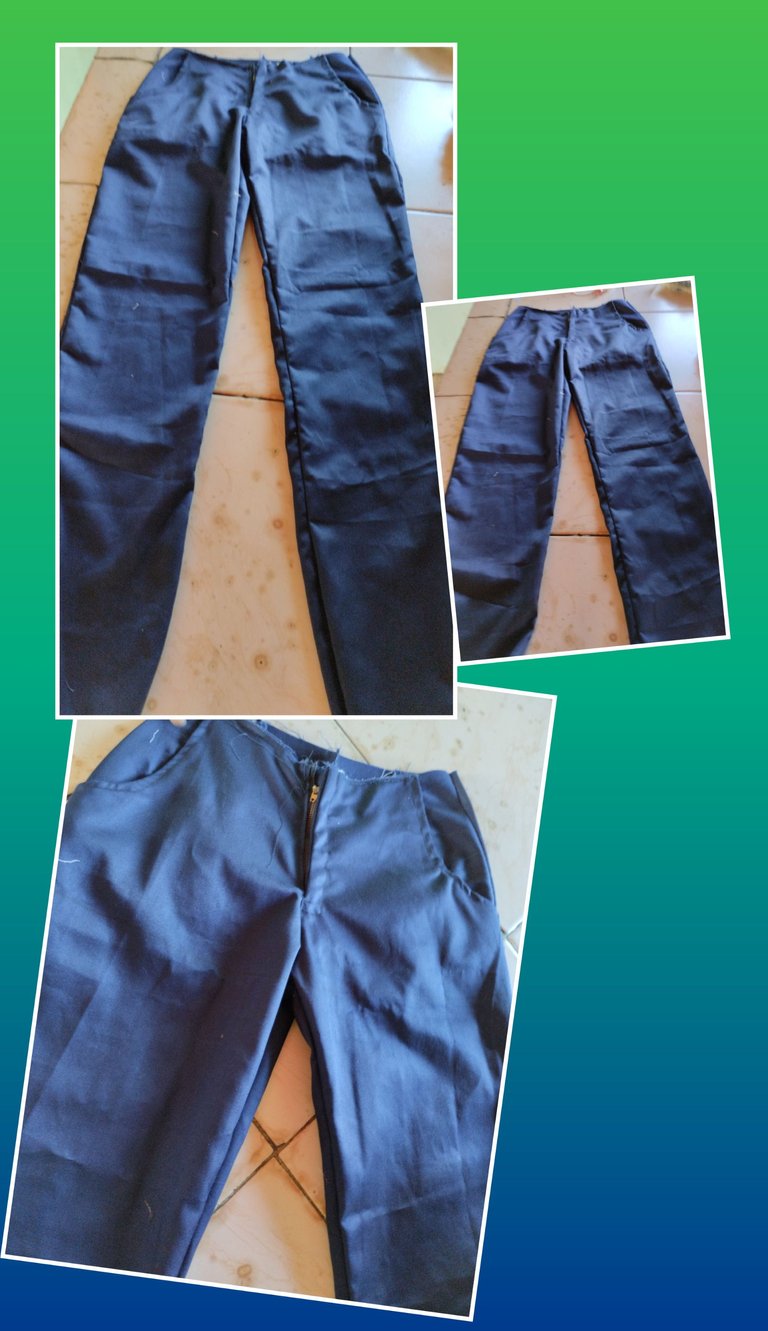
🧵🪡✂️ This is how my beautiful pants are turning out
🧵🪡✂️ I continue now placing the waistband on the pants with the pins
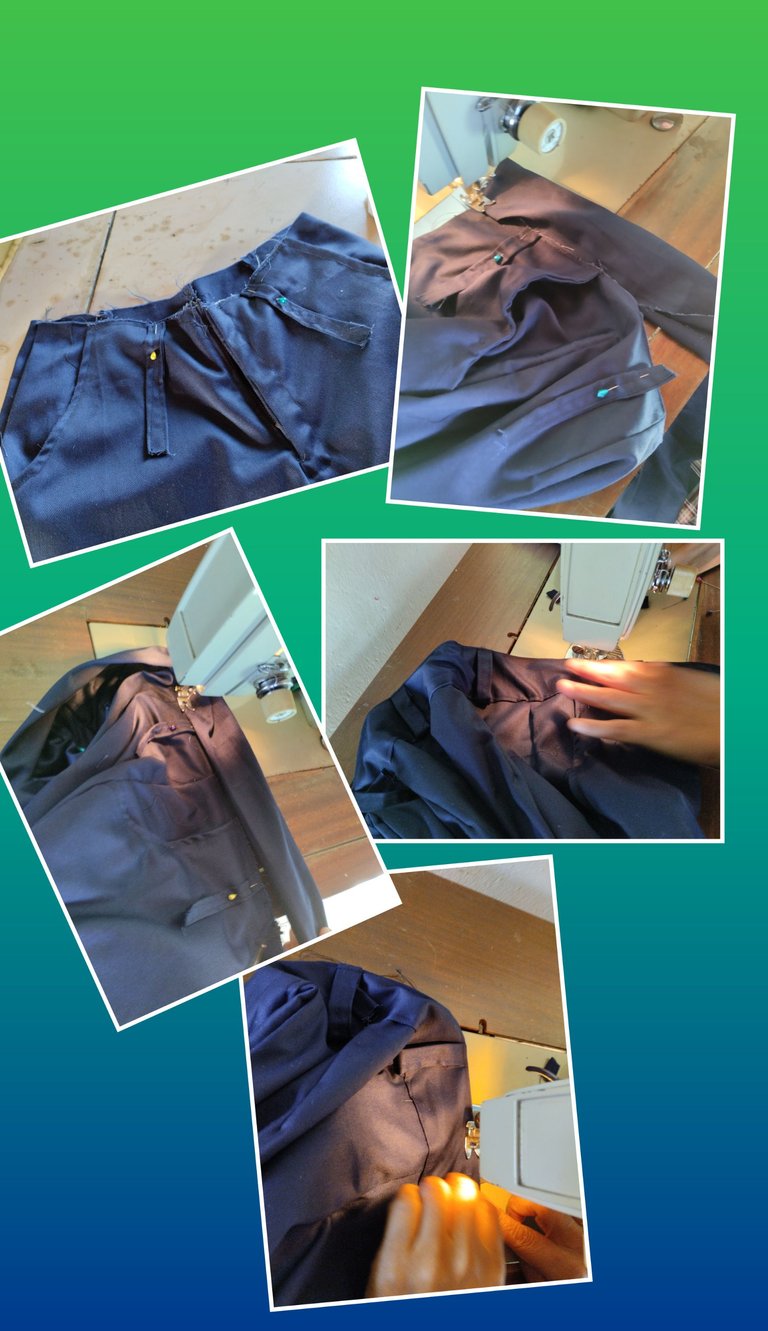
🧵🪡✂️ I continue now placing the button manually and sewing the hem of the pants.

🪡Pantalón de dama🪡 (Español)
Hola amigos de la costura🧵 feliz me encuentro, porque les vengo a enseñar cómo realice este pantalón de dama, en tela drill azul marino
Hoy les traigo este proyecto, el paso a paso, El corte y la confección de mi pantalon, me tomo un par de días terminarlo, más lo logré, eso me hace muy feliz.
💥Estos fueron los materiales utilizados💥
Máquina de coser
Aguja punta bola número 16
Tijera
Hilo color Azul marino(cono)
Tela dos metros.
Cinta métrica
Alfileres
Patrones
Botón
Marcador
👍PASOS 🪡✂️🧵🧣🪡
✨Pasos para Cortar la tela✨
El proceso de elaboración empece con tomar un pantalón como patrón y pasarlo en un papel Bond con centímetros de más.
🪡✂️🧵Parte delantera y trasera del pantalón
🪡✂️🧵Los bolsillos del lado derecho y del lado izquierdo del pantalón
🧵✂️🪡La pretina y sus pasadores
🧵✂️🪡Un pedazo de tela para coser la cremallera, el cierre.
🪡✂️🧵Forros de color blanco, para los bolsillos delantero, derecho he izquierdo,
✨Pasos en la Costura 🧵 ✨
🧵🪡✂️Empezamos con lo hermoso que es confeccionar para nosotros mismos,Tomo la parte delantera de mi pantalón y empiezo a cocer la pieza del tiro que va en la parte del bolsillo.
🧵🪡✂️Ahora empiezo, a coser el forro del bolsillo de color blanco
🧵🪡✂️Al coser el forro del bolsillo, anexamos el pedazo de tela cortada como bolsillo.
🧵🪡✂️Este procedimiento es requerido hacer en la parte delantera del lado derecho y del lado izquierdo del pantalón.
🧵🪡✂️Al tener la parte delantera izquierda y derecha de la costura listo los bolsillo, ahora vamos a coser la cremallera el cierre
🧵🪡✂️ Al coser el cierre en el pedazo de tela, ahora tomamos la parte delantera de mi pantalón, del lado izquierdo y empezamos a coser el cierre de un lado y como está muy gruesa la tela, tomaremos a hacer este procedimiento cosiendo manualmente en la máquina de coser, con la finalidad de no partir la aguja.
🧵🪡✂️ Continuo ahora tomando las piezas traseras, izquierda y derecha para unir las entre pierna, luego se hacen unas pinzas de medio centímetro
🧵🪡✂️ luego se toma alfileres y se coloca uniendo la parte delantera y la parte trasera del pantalón, para asegurar la prenda y coser.
🧵🪡✂️ Continuo con la costura de los pasadores para anexarlos en la pretina.
🧵🪡✂️ Así va quedando mi hermoso pantalon
🧵🪡✂️ Continúo ahora colocando la pretina en el pantalón con los pasadores
🧵🪡✂️ continúo ahora colocando el botón de manera manual y coser el ruedo del pantalón.
💃FELIZ POR SU VISITA🤗
🤗HAPPY FOR YOUR VISIT💃
🫧🤳 Las fotos son de mi autoría, fueron tomadas por mi teléfono Redmi 10C, Las imágenes son editadas, mediante la aplicación Editor de foto Collage GridArt.
Images Taken with Redmi 10C🤳🫧
🧑💻Traductor Utilizado: Deepl translator
Use of the Deepl translator to translate texto into English.🧑💻
Congratulations!
Your post has been manually curated and reblogged.
You can follow our curation trail on Hive.Vote
If you want to support us and the authors we vote for you can upvote this comment or delegate some Hive Power to our account. Thanks!
Propose a worthy post by mentioning us in the post or in a comment.
We reblog curated posts, follow us if you wish to see them in your feed.
Nice pants 😅
I wanted to go out a get one today and then I saw your post.
Nice haha
!DIY
!discovery 30
Your comment is beautiful, thanks for going through my post
💓
This post was shared and voted inside the discord by the curators team of discovery-it
Join our Community and follow our Curation Trail
Discovery-it is also a Witness, vote for us here
Delegate to us for passive income. Check our 80% fee-back Program
thank you so much
The waist band I think would make it fit nicely. Great work
I appreciate your appreciation, making the waist part took me a long time, thanks for your comment. happy
You can query your personal balance by
!DIYSTATSThanks You
Exitos bella, ¡Saludos!