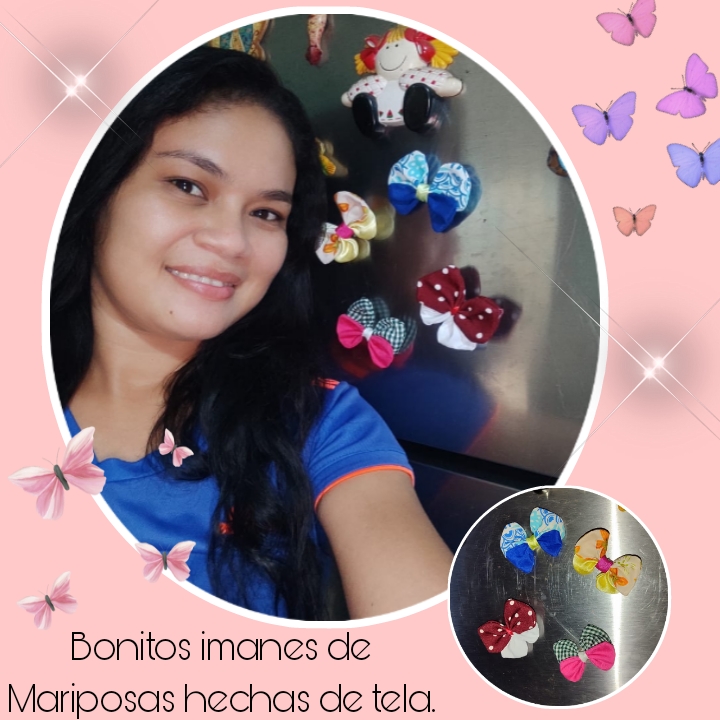
Un saludos muy especial mi gente creativa, que Dios les bendiga grandemente...!! Seguimos creando cosas hermosas en telas, cosas muy alegres pues a llegado la primavera, una temporada armoniosa, colorida que nos inspira y nos trae infinidades de ideas.
A very special greeting my creative people, may God bless you greatly...!! We continue creating beautiful things in fabrics, very happy things because spring has arrived, a harmonious, colorful season that inspires us and brings us endless ideas.
Las mariposas son seres vivos muy cautivadores que provoca mimetizar todas sus características en todos su aspectos; muchos materiales como madera, foami, fieltro o como es mi caso en telas resultan ideales para esto.... He pensado muchísimo como por fin terminar con mis sobras de tela, porque la verdad no quiero desecharlas por nada del mundo, no se imaginan lo que me cuesta concretar algo con ellas, pero disfruto cada proyecto de provecho y más que todo el resultado del trabajo... Hoy en la mañana puse manos a la obra en crear mariposas con imanes para adornar mí nevera, mariposas coloridas de tela, que si nos ponemos a pensar, bien podríamos darles varios usos, podrían ser unas coletas para niñas, un adorno para un vestido, una blusa, un regalo etc... Asi que si te gustan, de mucho puede servirte este tutorial que te muestro a continuación, acompañame hasta el final.
Butterflies are very captivating living beings that cause us to mimic all their characteristics in all their aspects; Many materials such as wood, foam, felt or, in my case, fabrics are ideal for this... I have thought a lot about how to finally end up with my leftover fabric, because the truth is I don't want to throw them away for anything in the world, you can't imagine which is difficult for me to specify something with them, but I enjoy every profitable project and most of all the result of the work... This morning I got to work creating butterflies with magnets to decorate my refrigerator, colorful fabric butterflies, If we think about it, we could give them several uses, they could be pigtails for girls, an ornament for a dress, a blouse, a gift, etc... So if you like them, this tutorial that I show you can be very useful to you. then join me until the end.
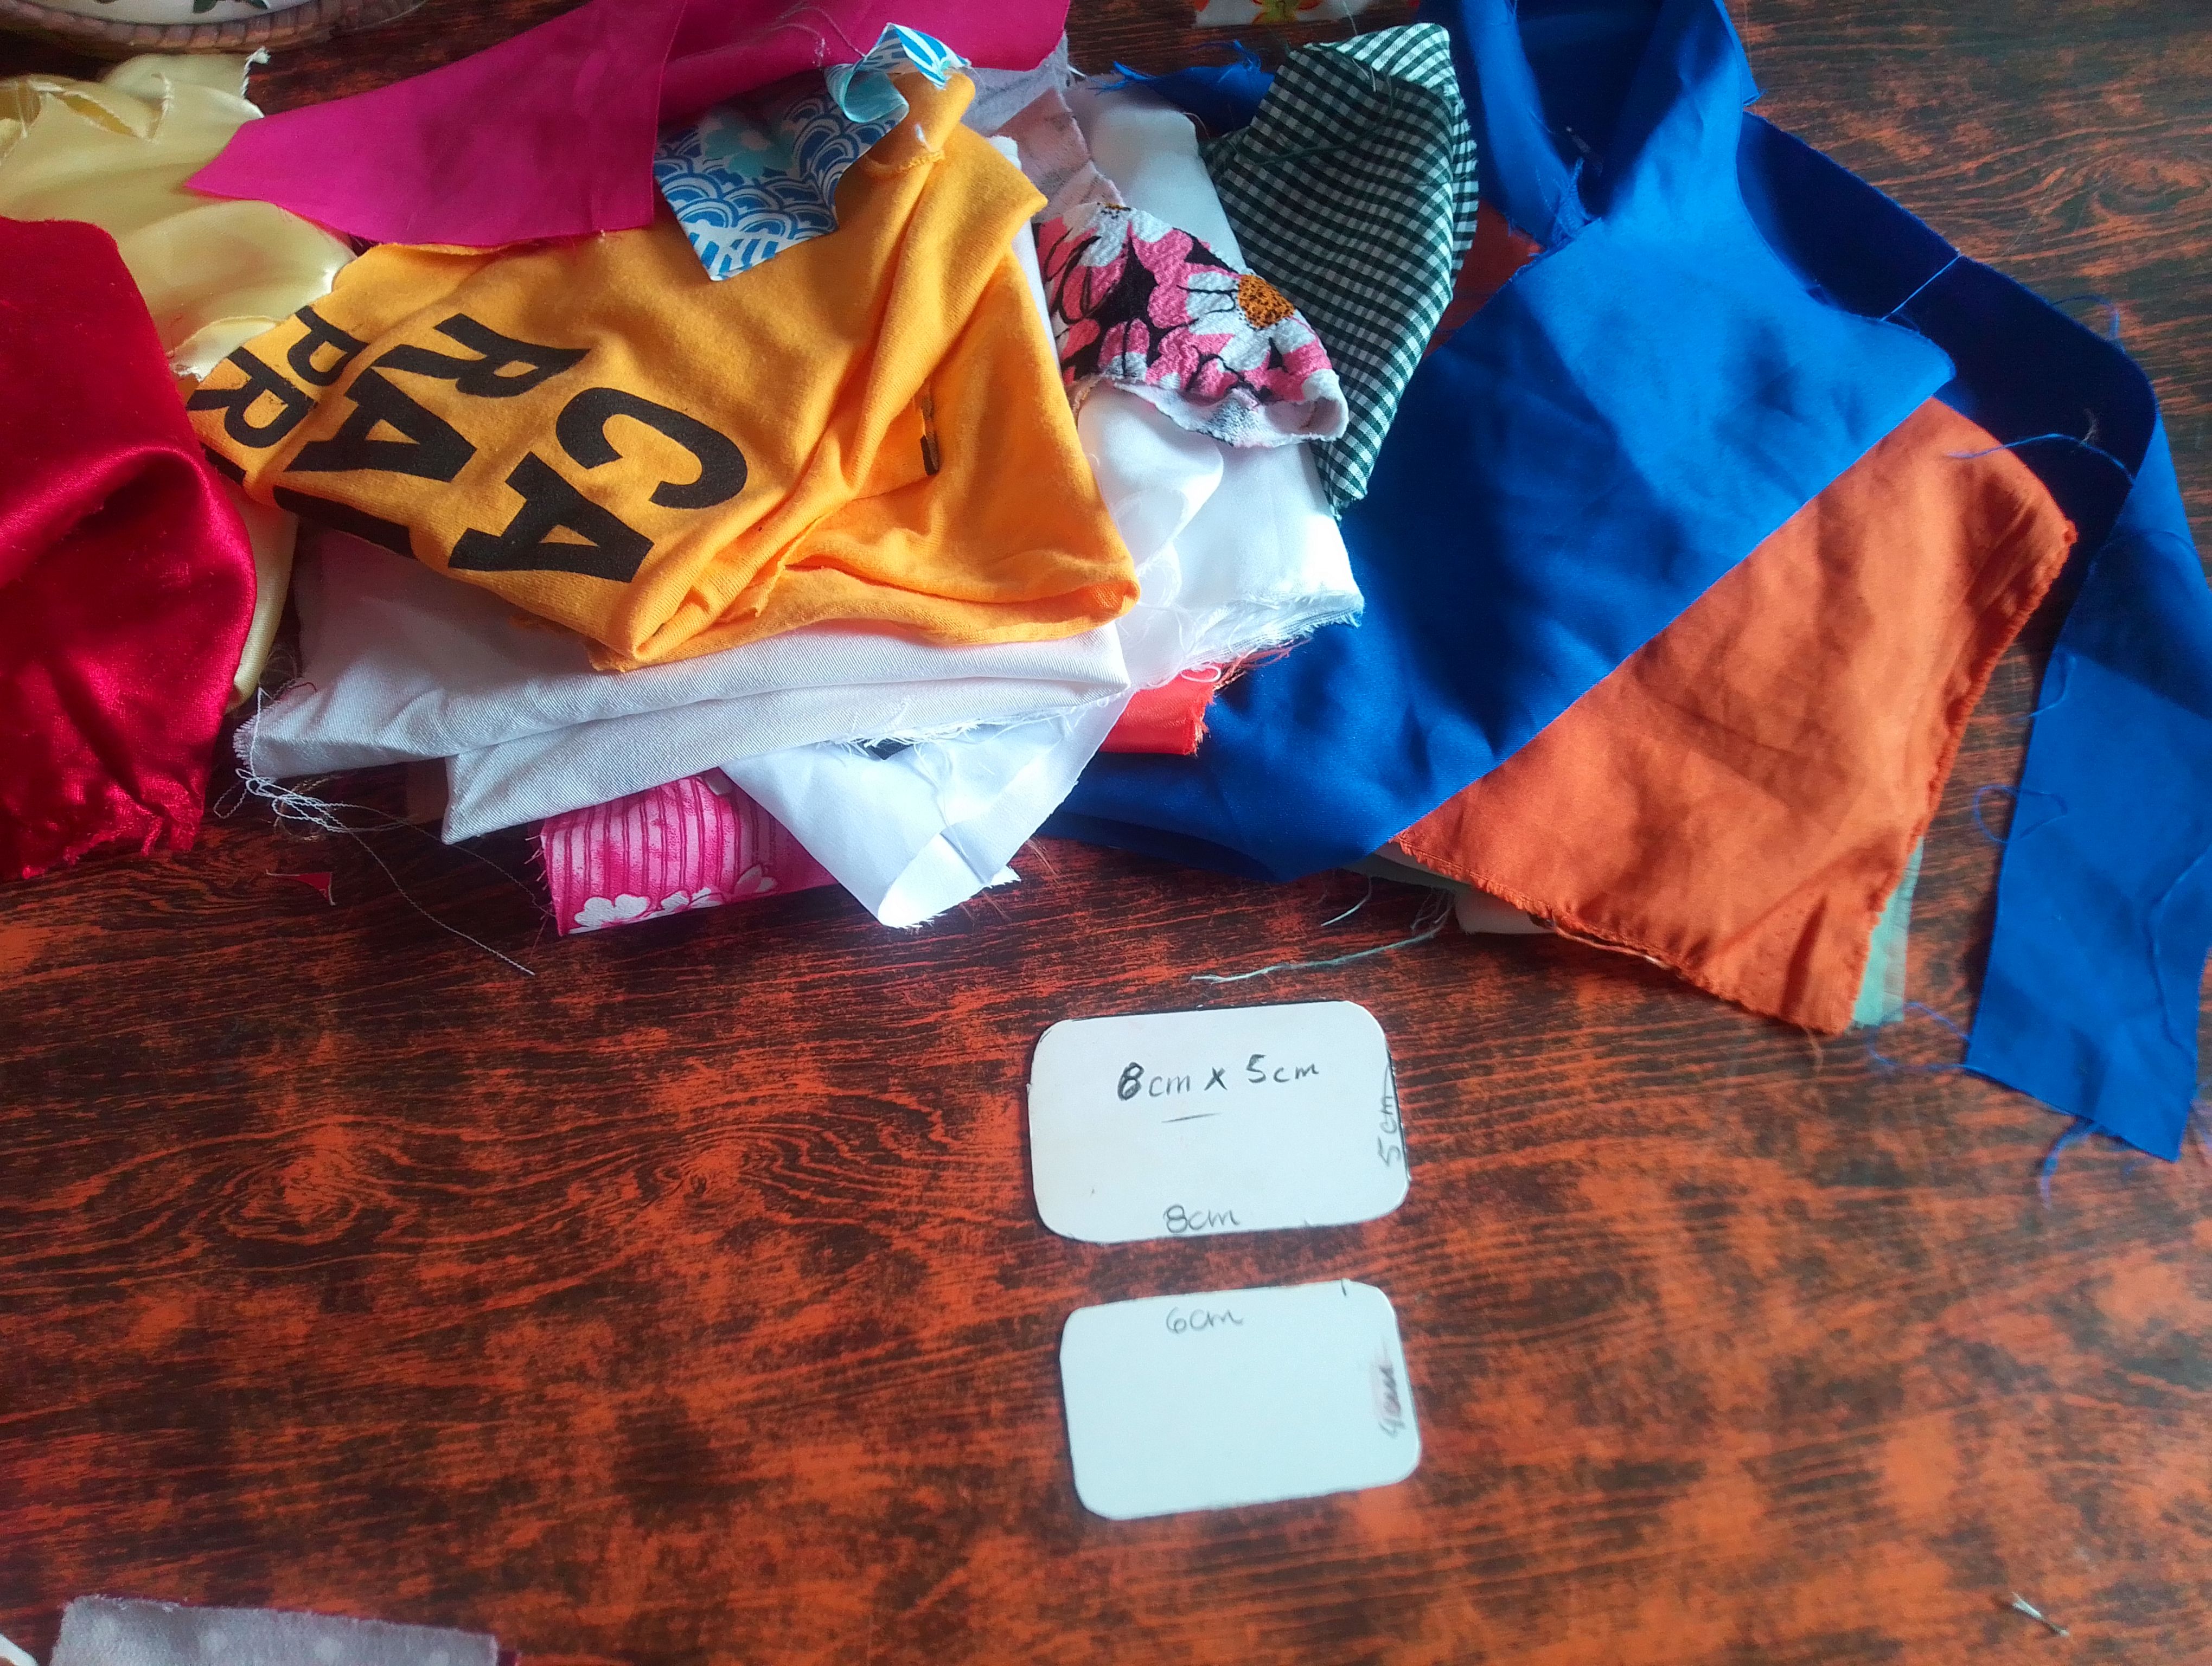
Materiales que necesitas:
- Tela.
- Tijeras.
- Hilo y aguja.
- Alfileres
- Cintas.
*Imanes. - Silicon.
- Máquina de coser.
- Fabric.
- Scissors.
- Thread and needle.
- Pins
- Tapes.
*Magnets.- Silicon.
- Sewing machine.
(PROCEDIMIENTO)
Paso 01
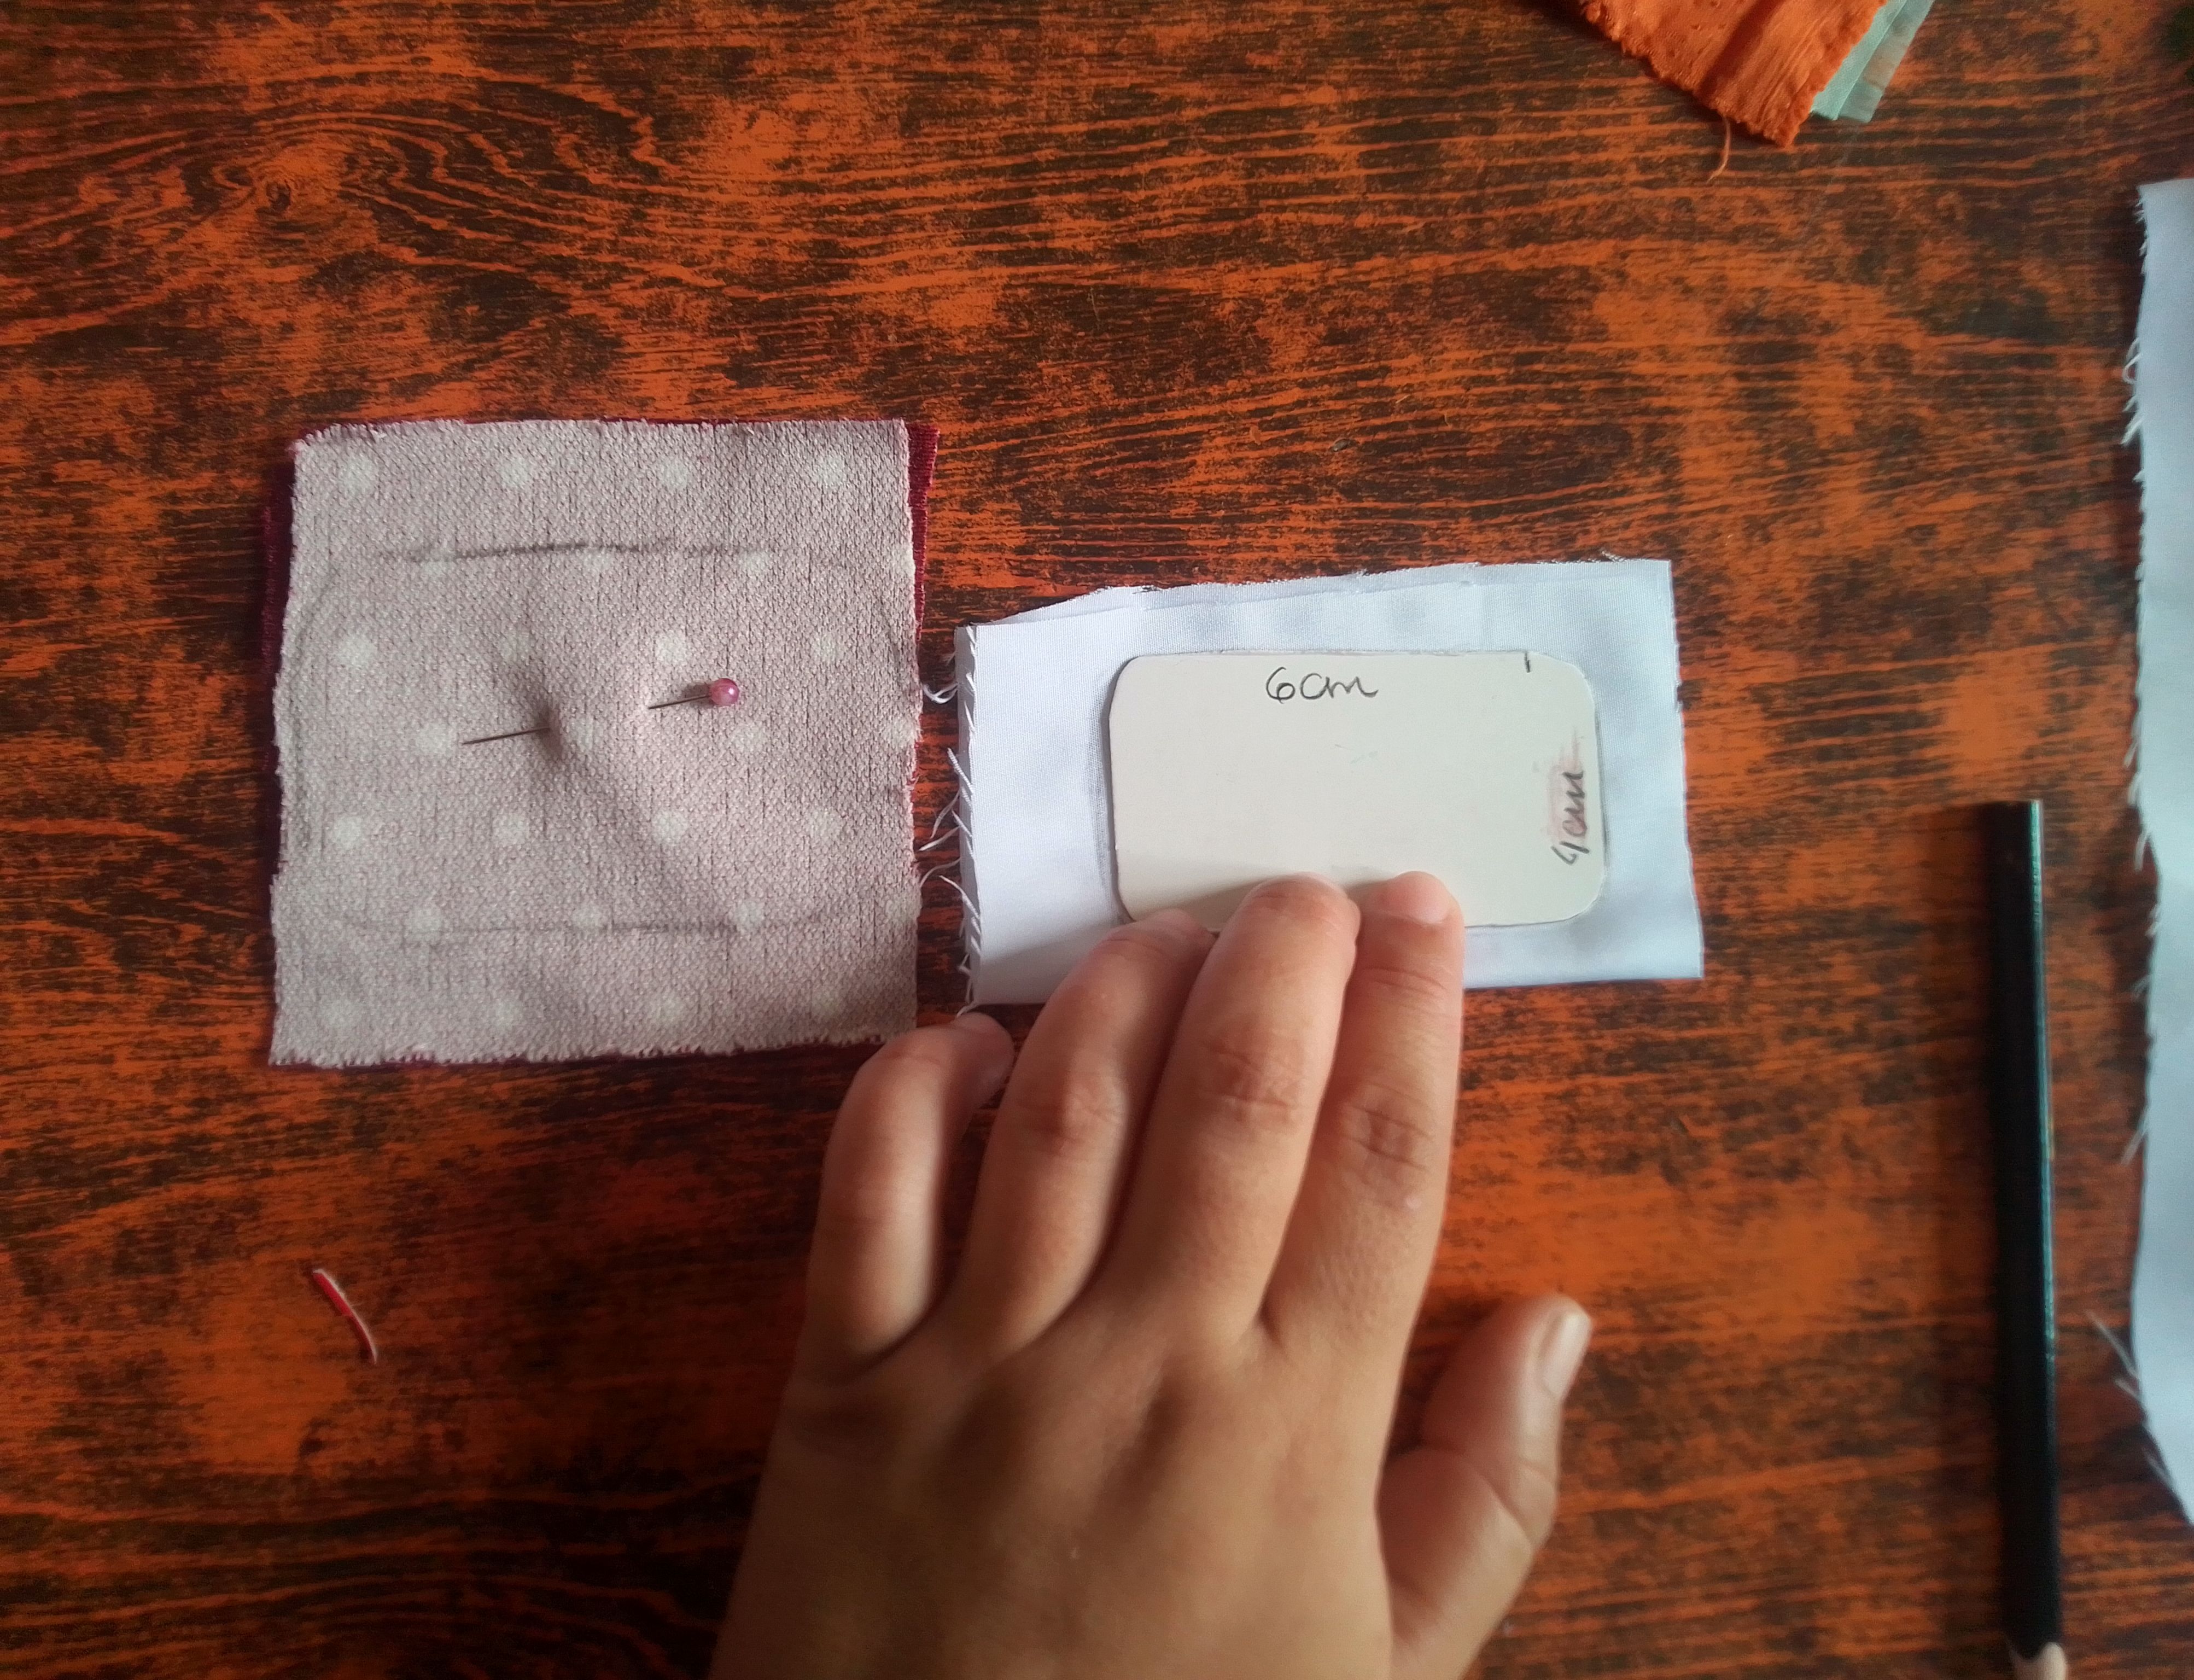
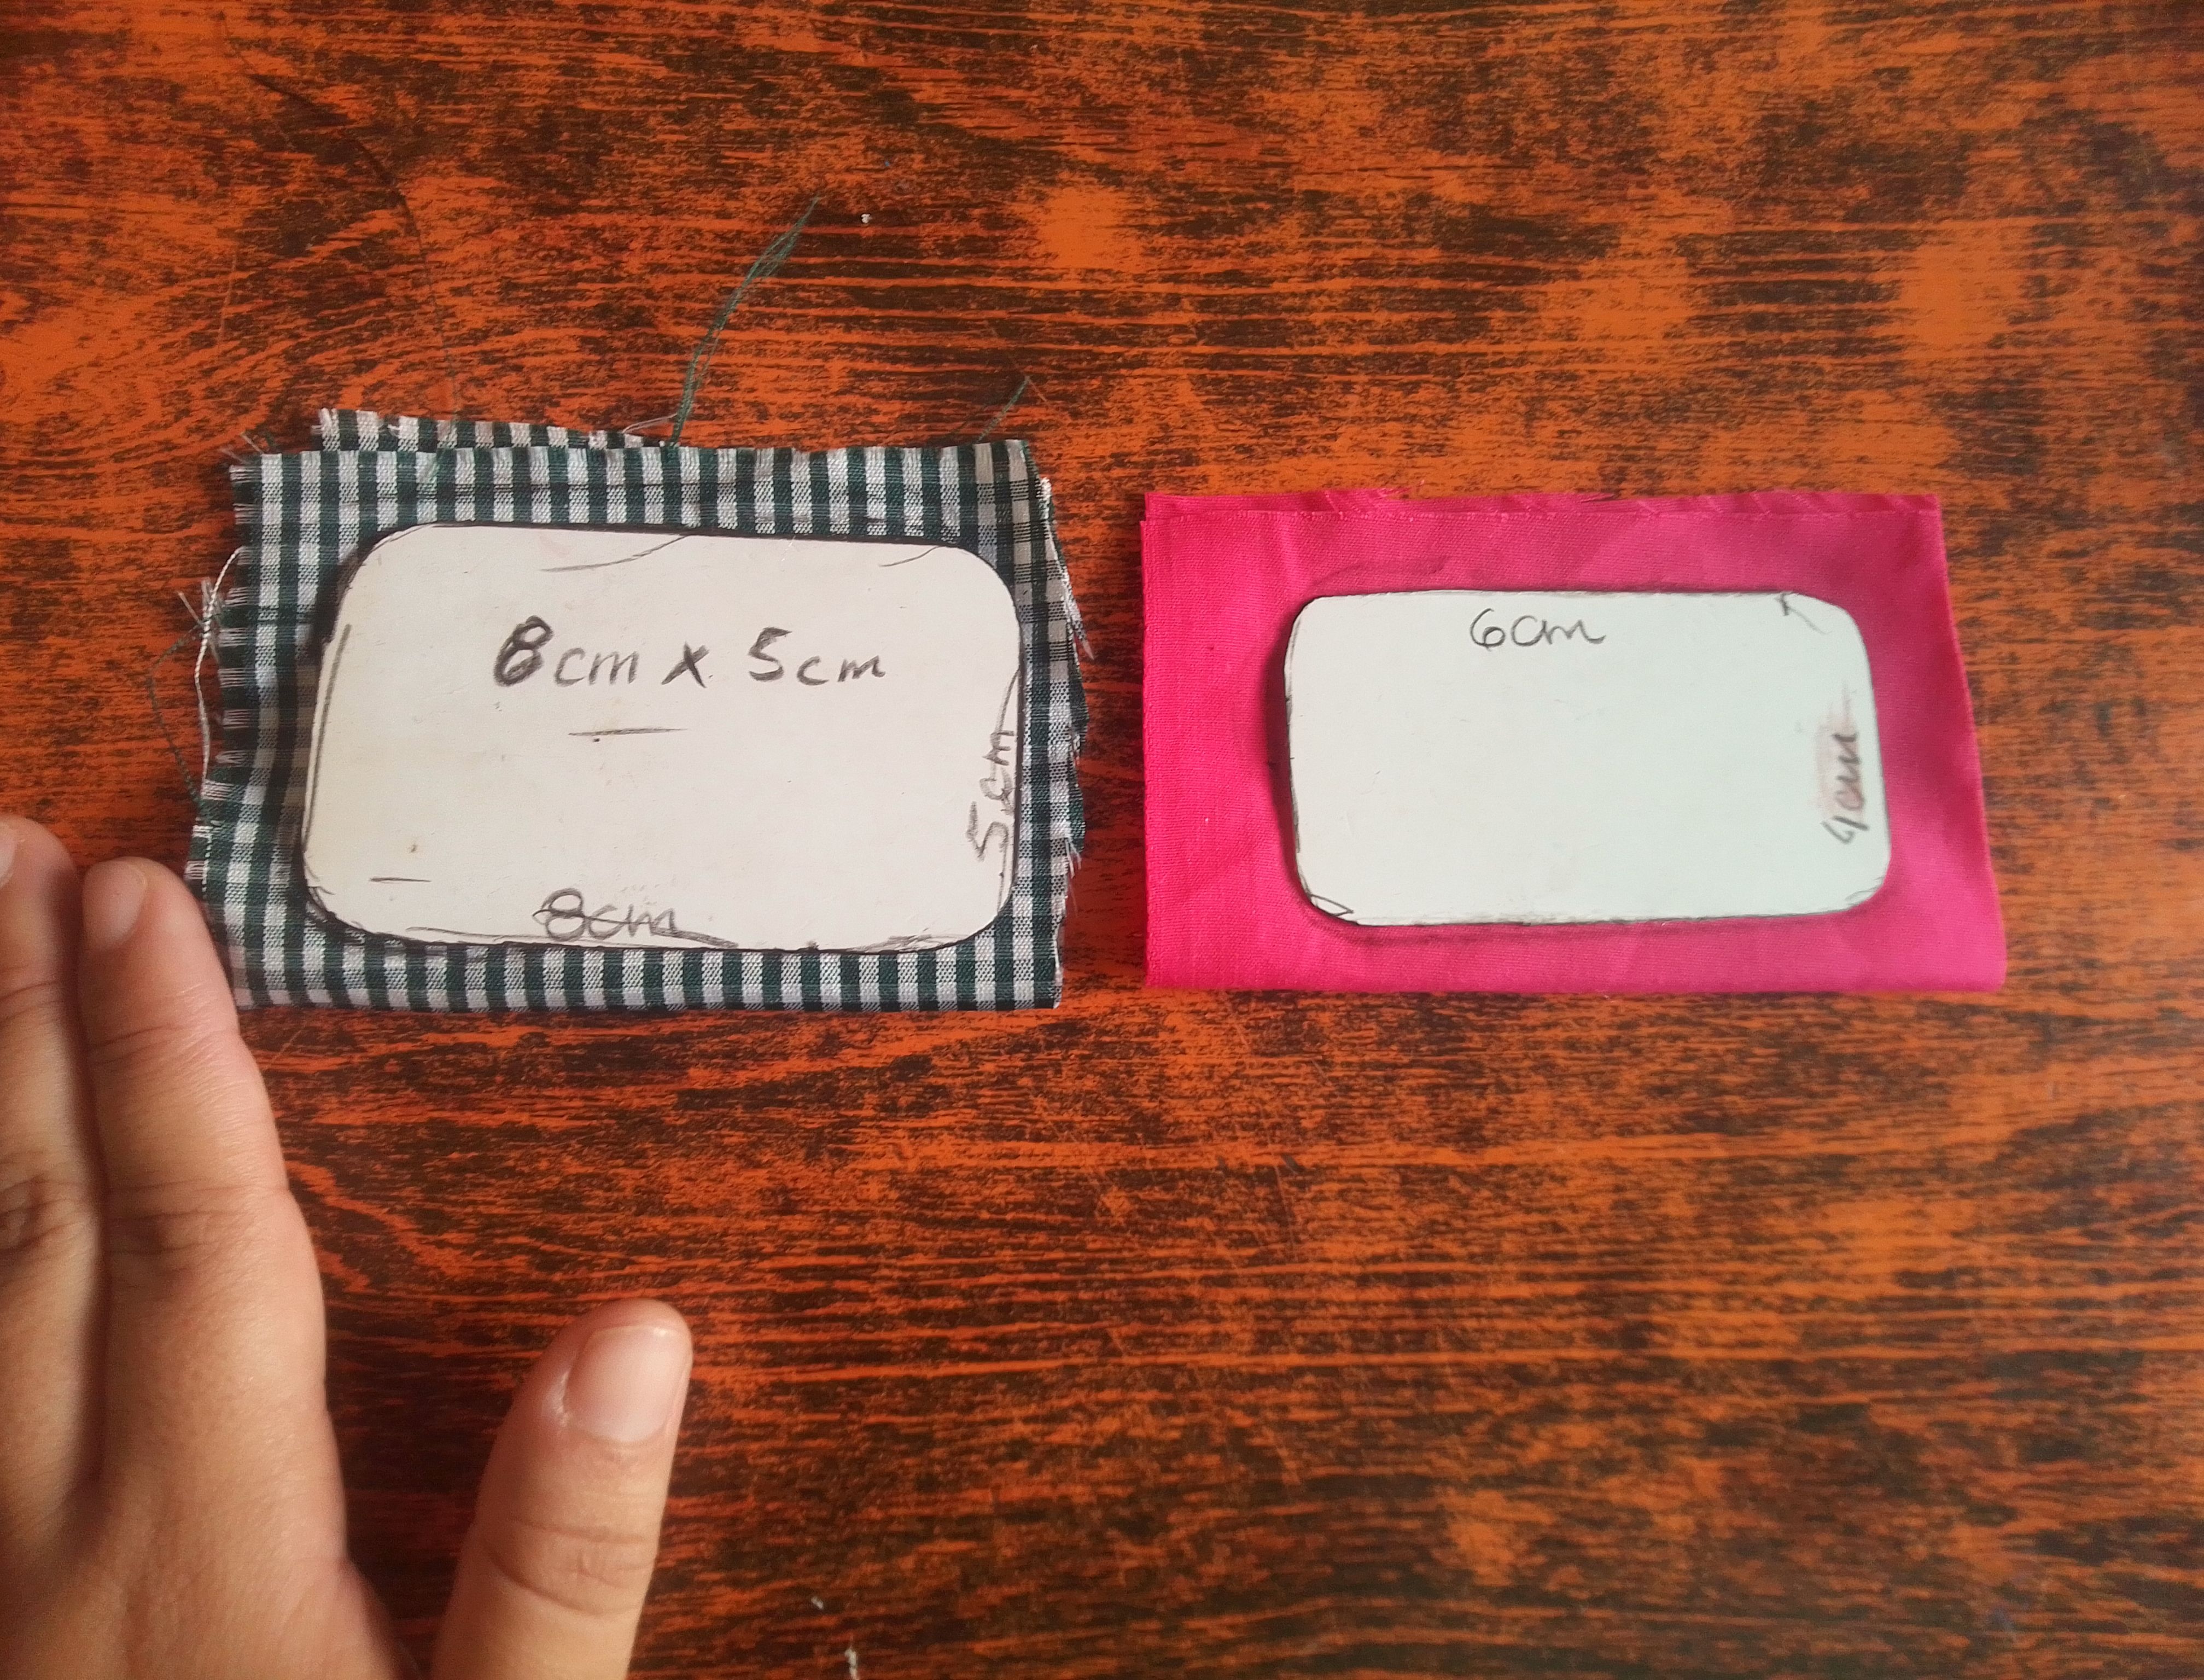
Para hacer estás mariposas de tamaño pequeño, dibujé un patrón sobre un carton de dos rectángulos, uno con una media de 8cm de largo por 5cm de ancho, luego hice corte curvo en las cuatro esquinas. También dibuje uno más pequeño de 6 cm de largo por 4cm de ancho y tambien le hice le mismo corte en las esquinas. Procedo a tomar trozos de tela, enfrentó los derechos, sujeto con un alfiler y coloco mis patrones para trazar el contorno.
Step 01
To make these small-sized butterflies, I drew a pattern on a cardboard of two rectangles, one with an average of 8cm long by 5cm wide, then I made curved cuts in the four corners. I also drew a smaller one 6 cm long by 4 cm wide and I also made the same cut in the corners. I proceed to take pieces of fabric, face them right sides, secure them with a pin and place my patterns to trace the outline.
Paso 02
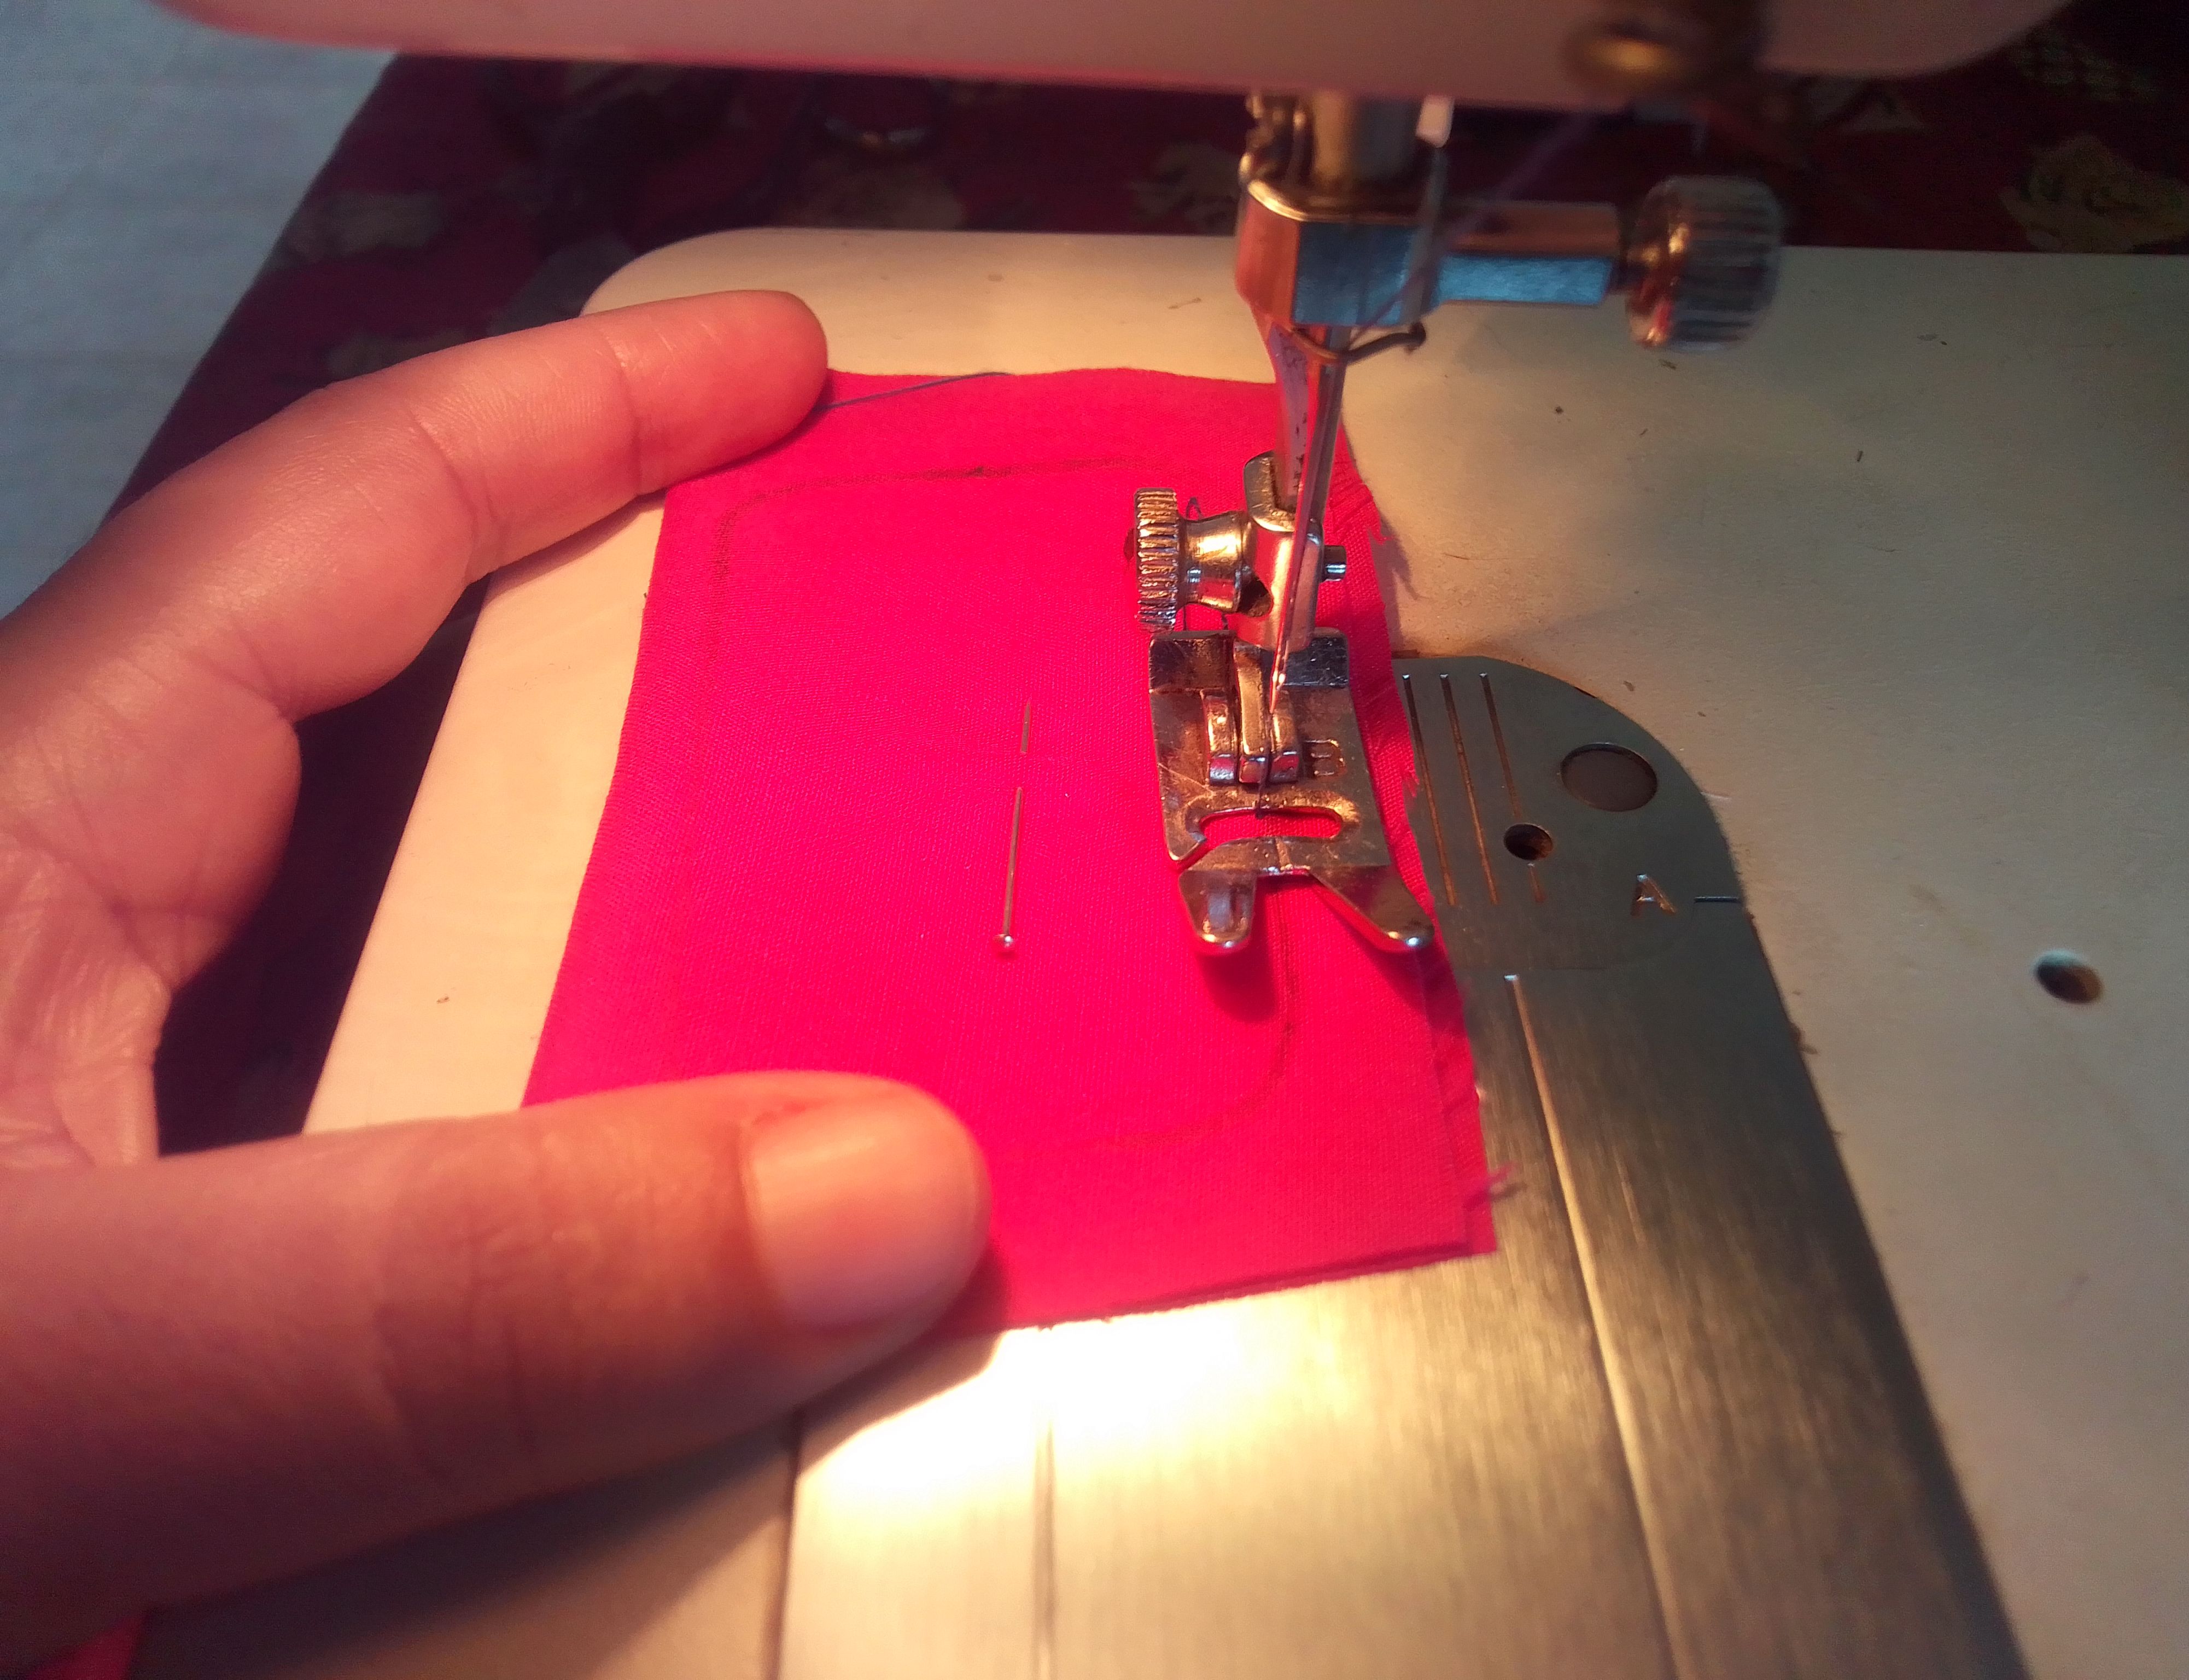
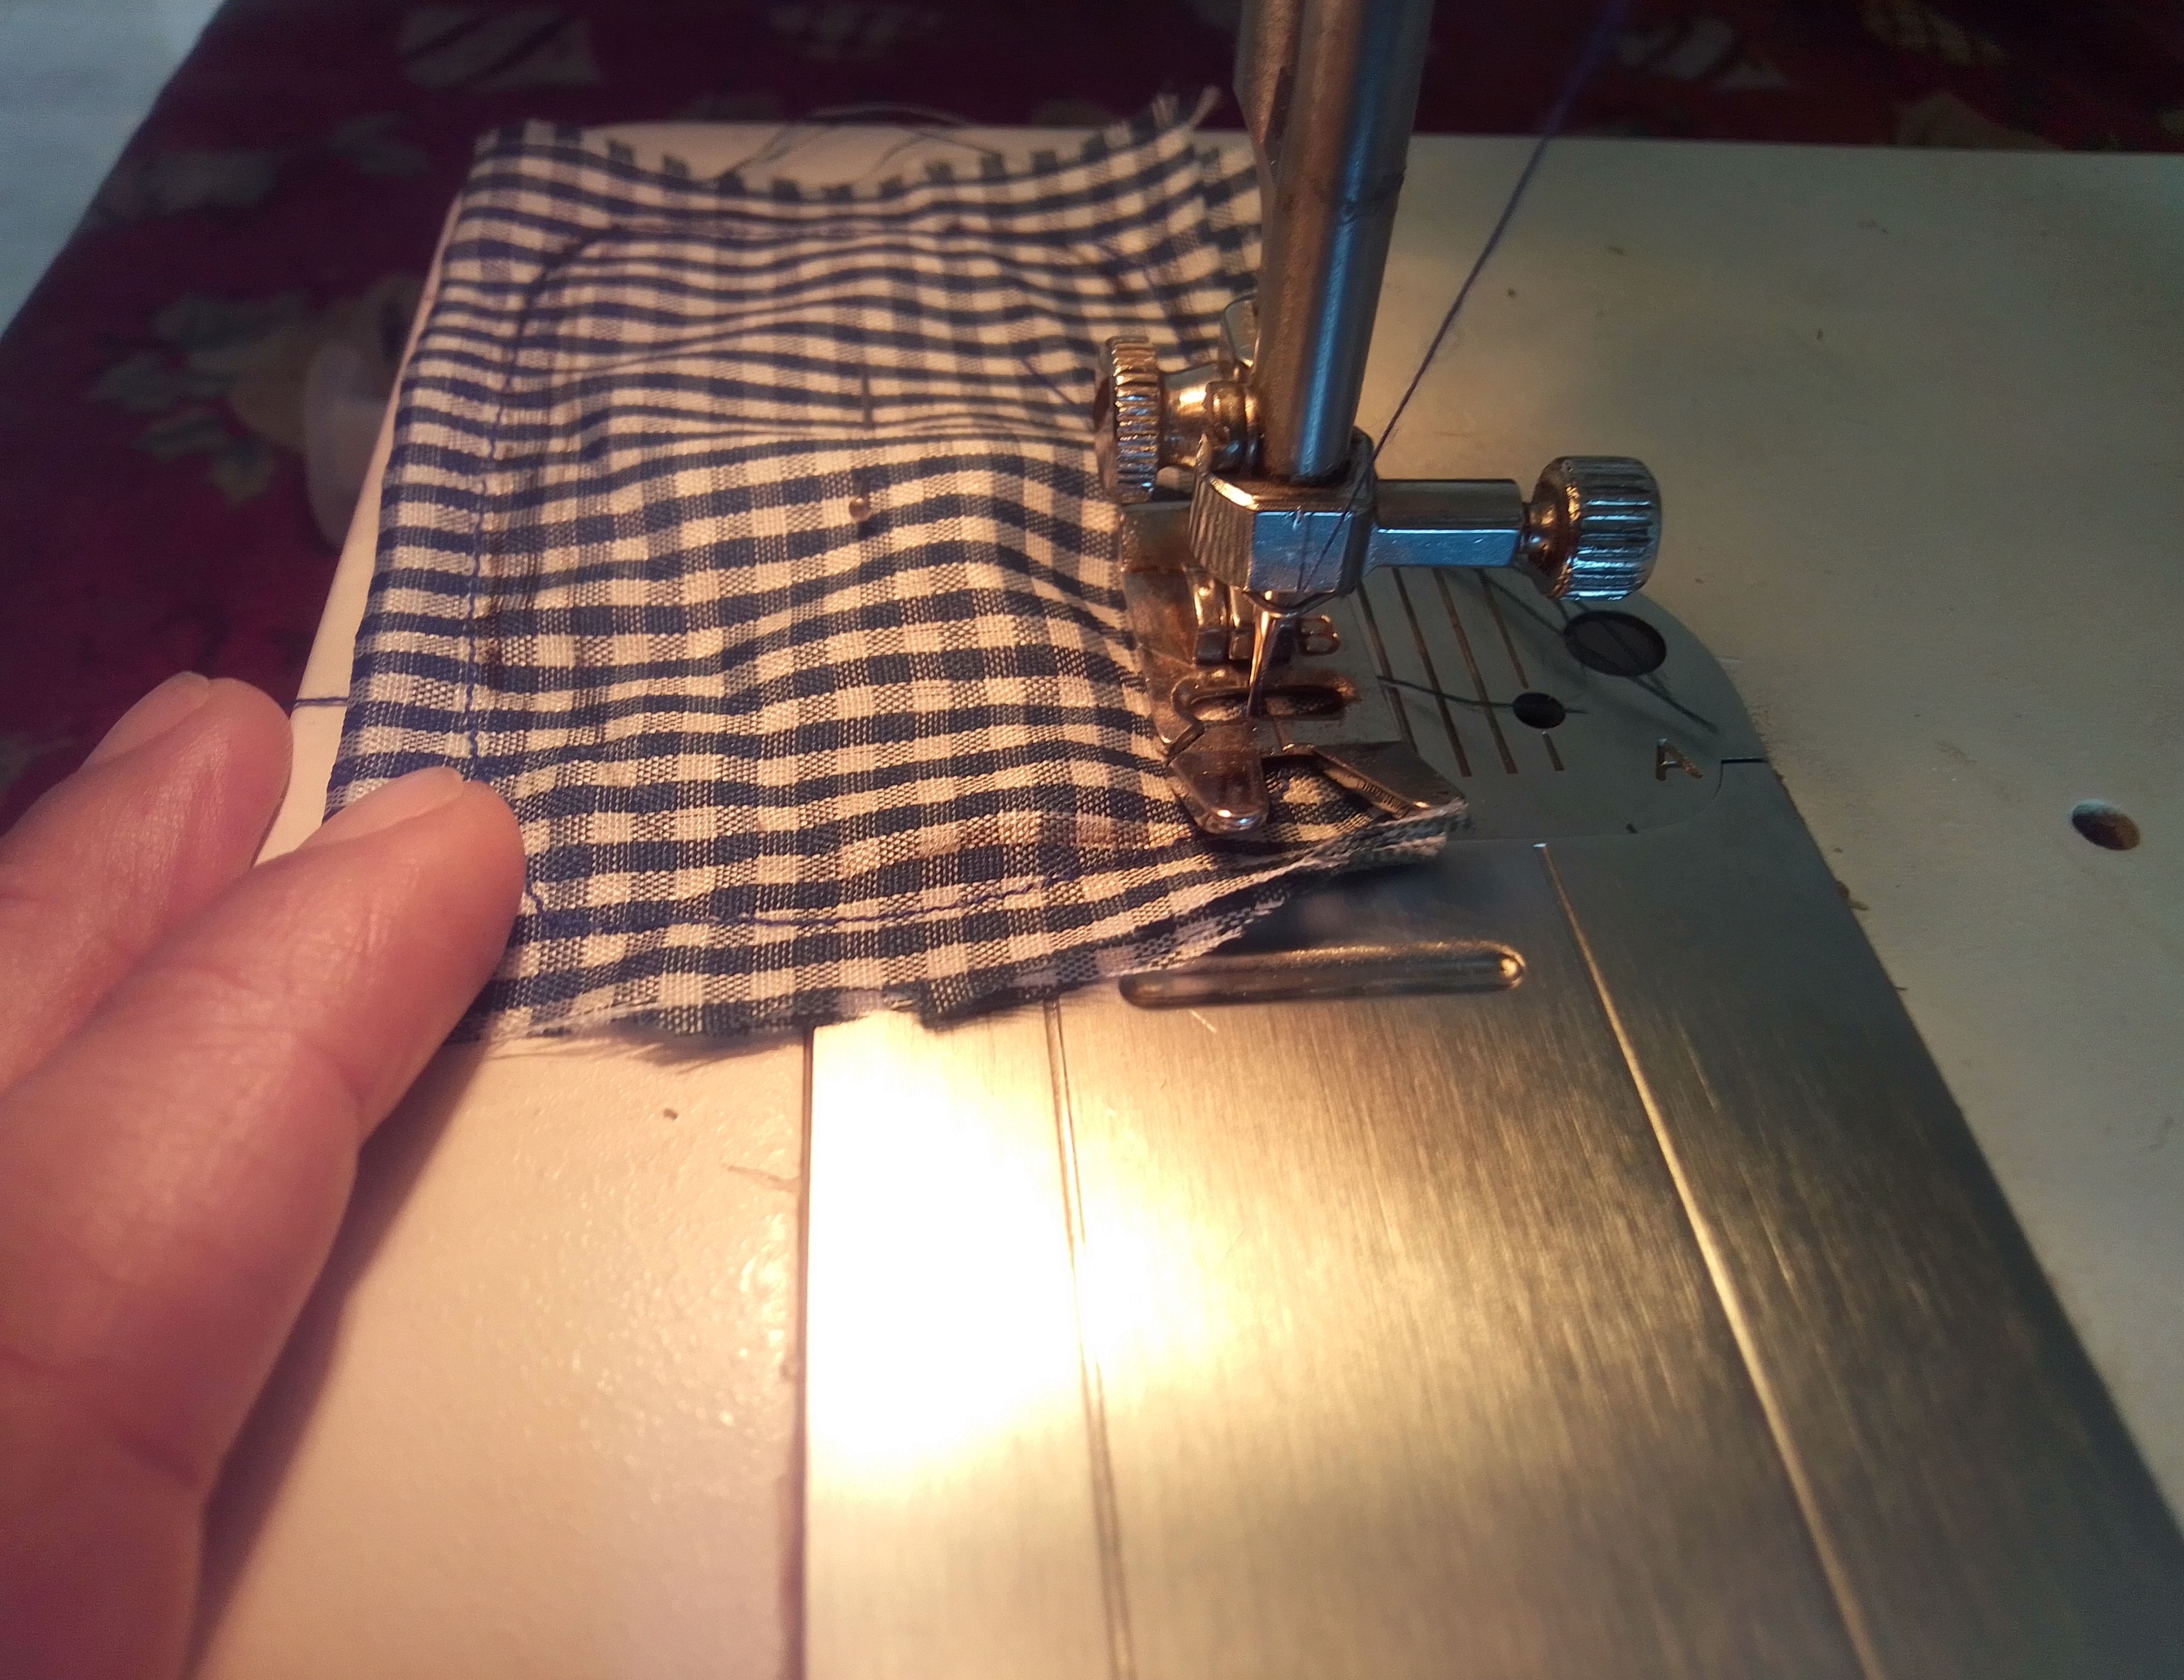
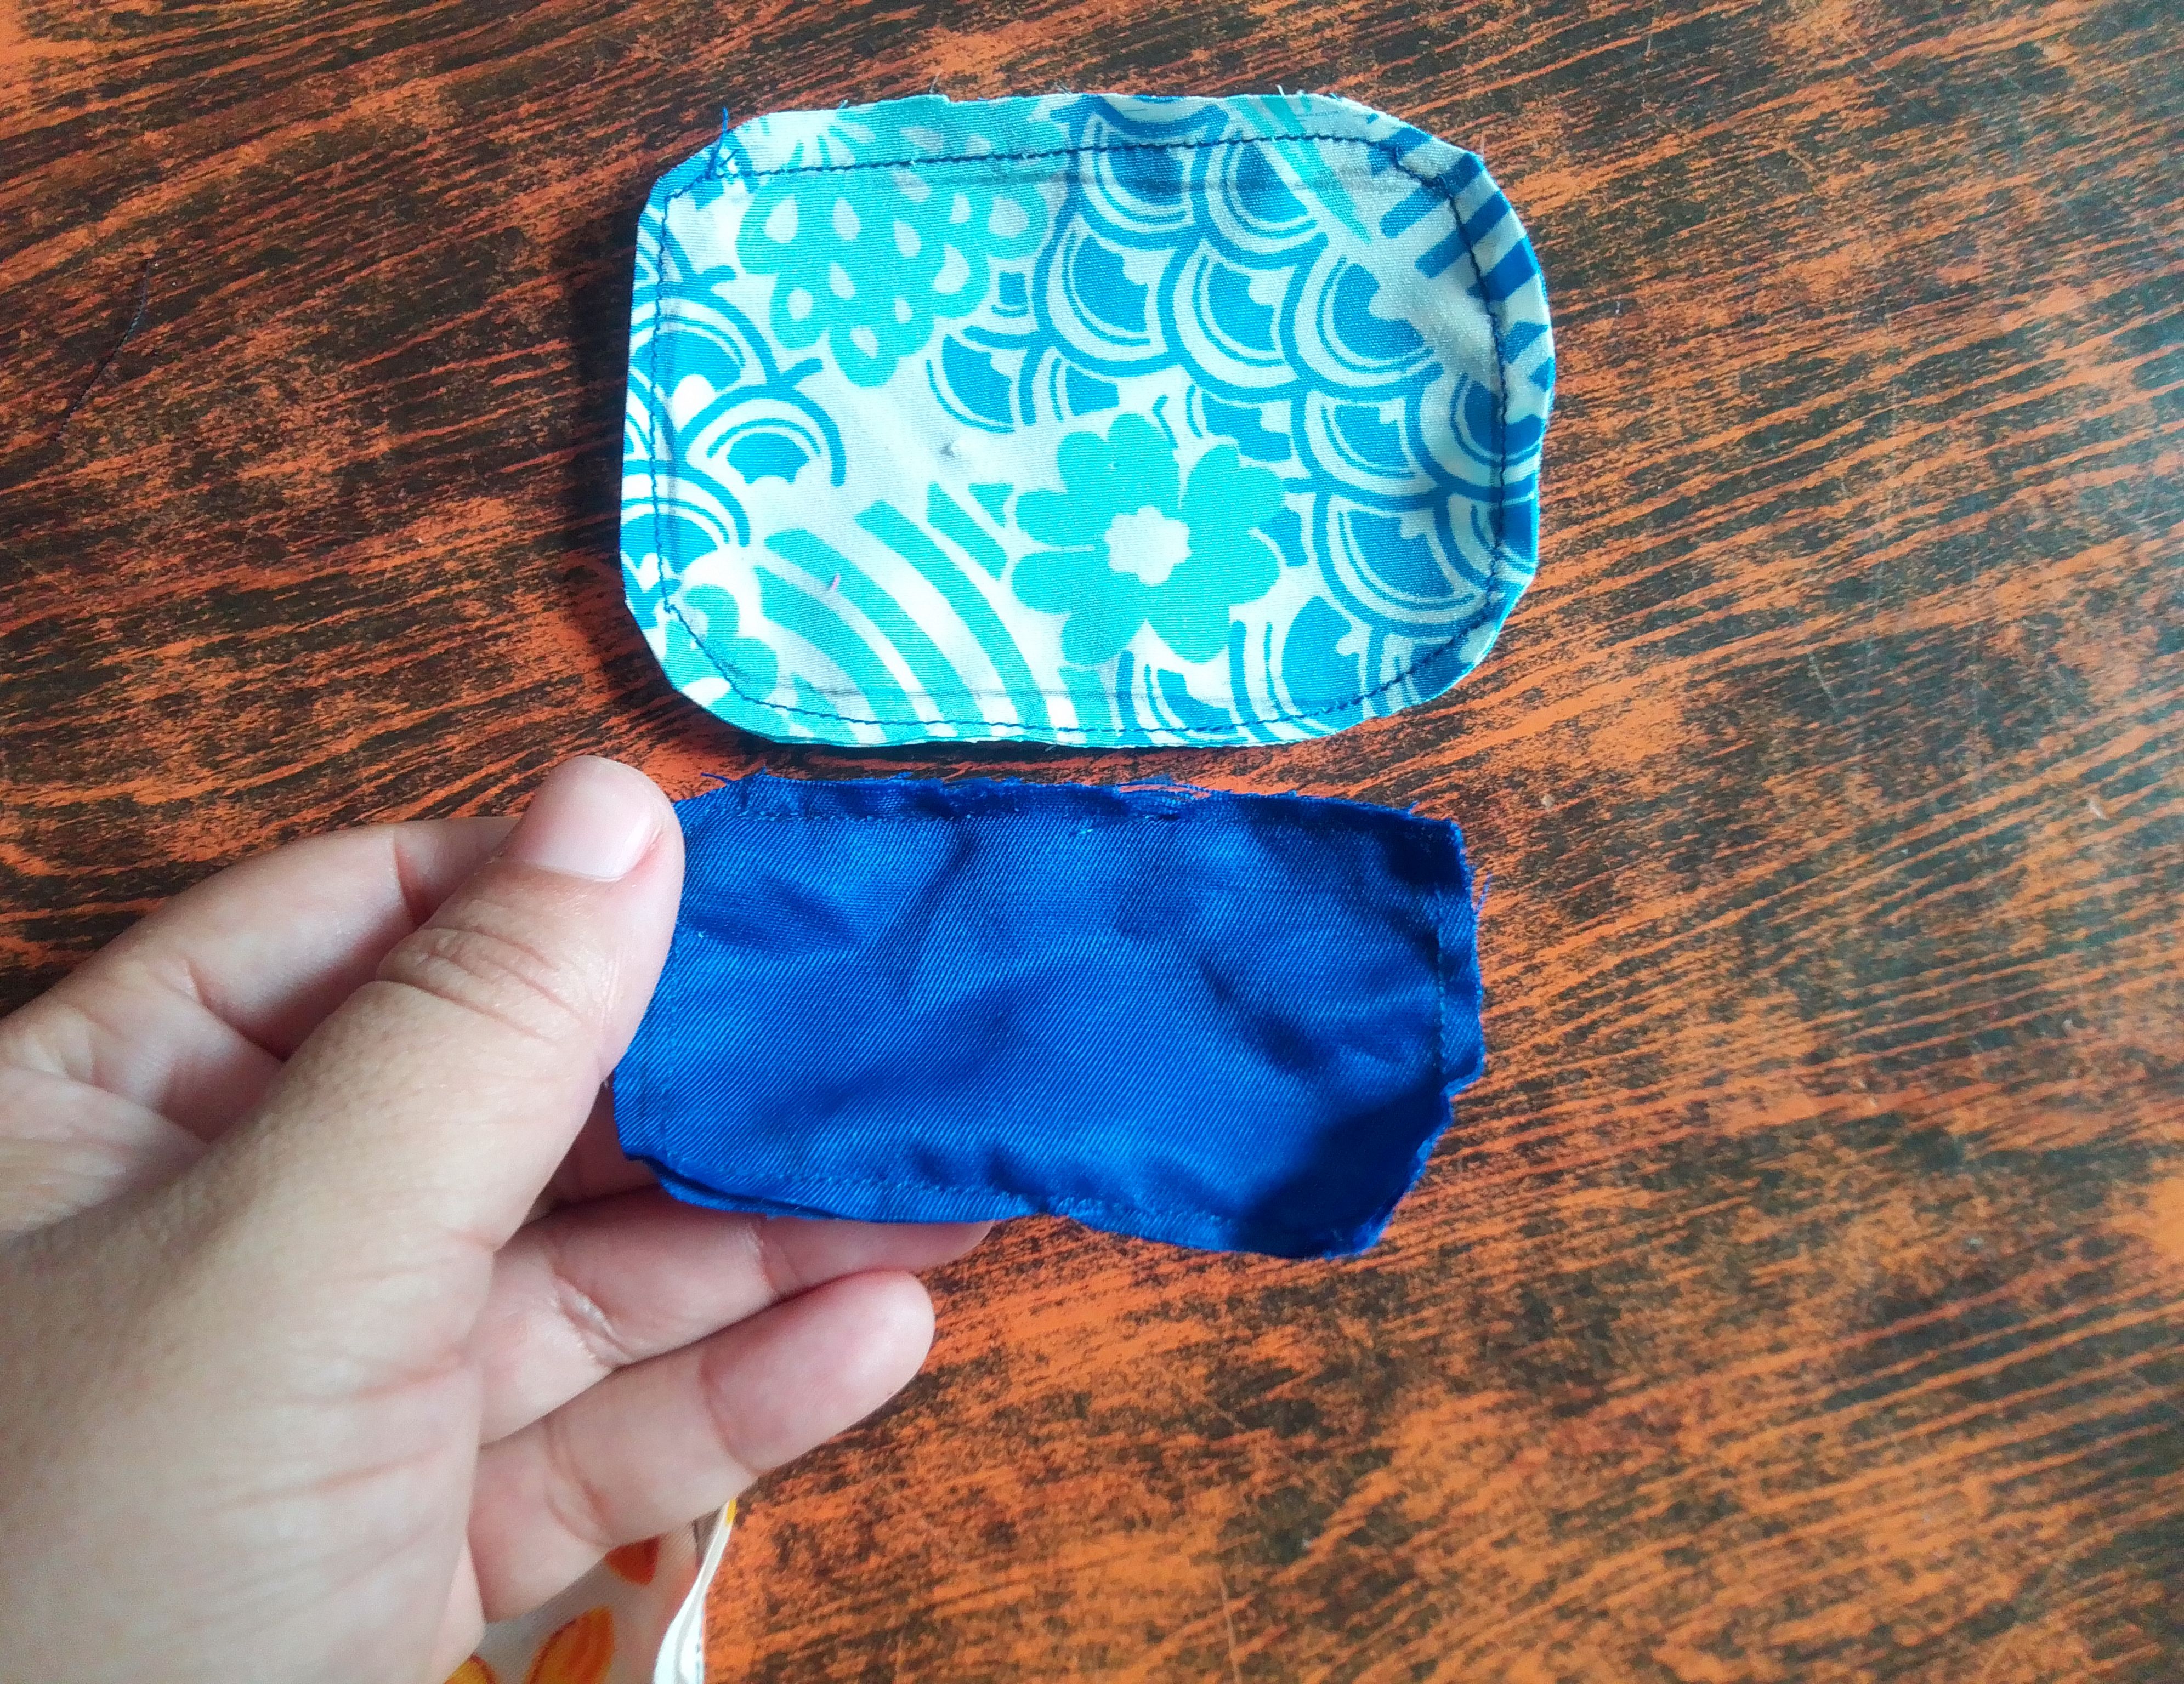
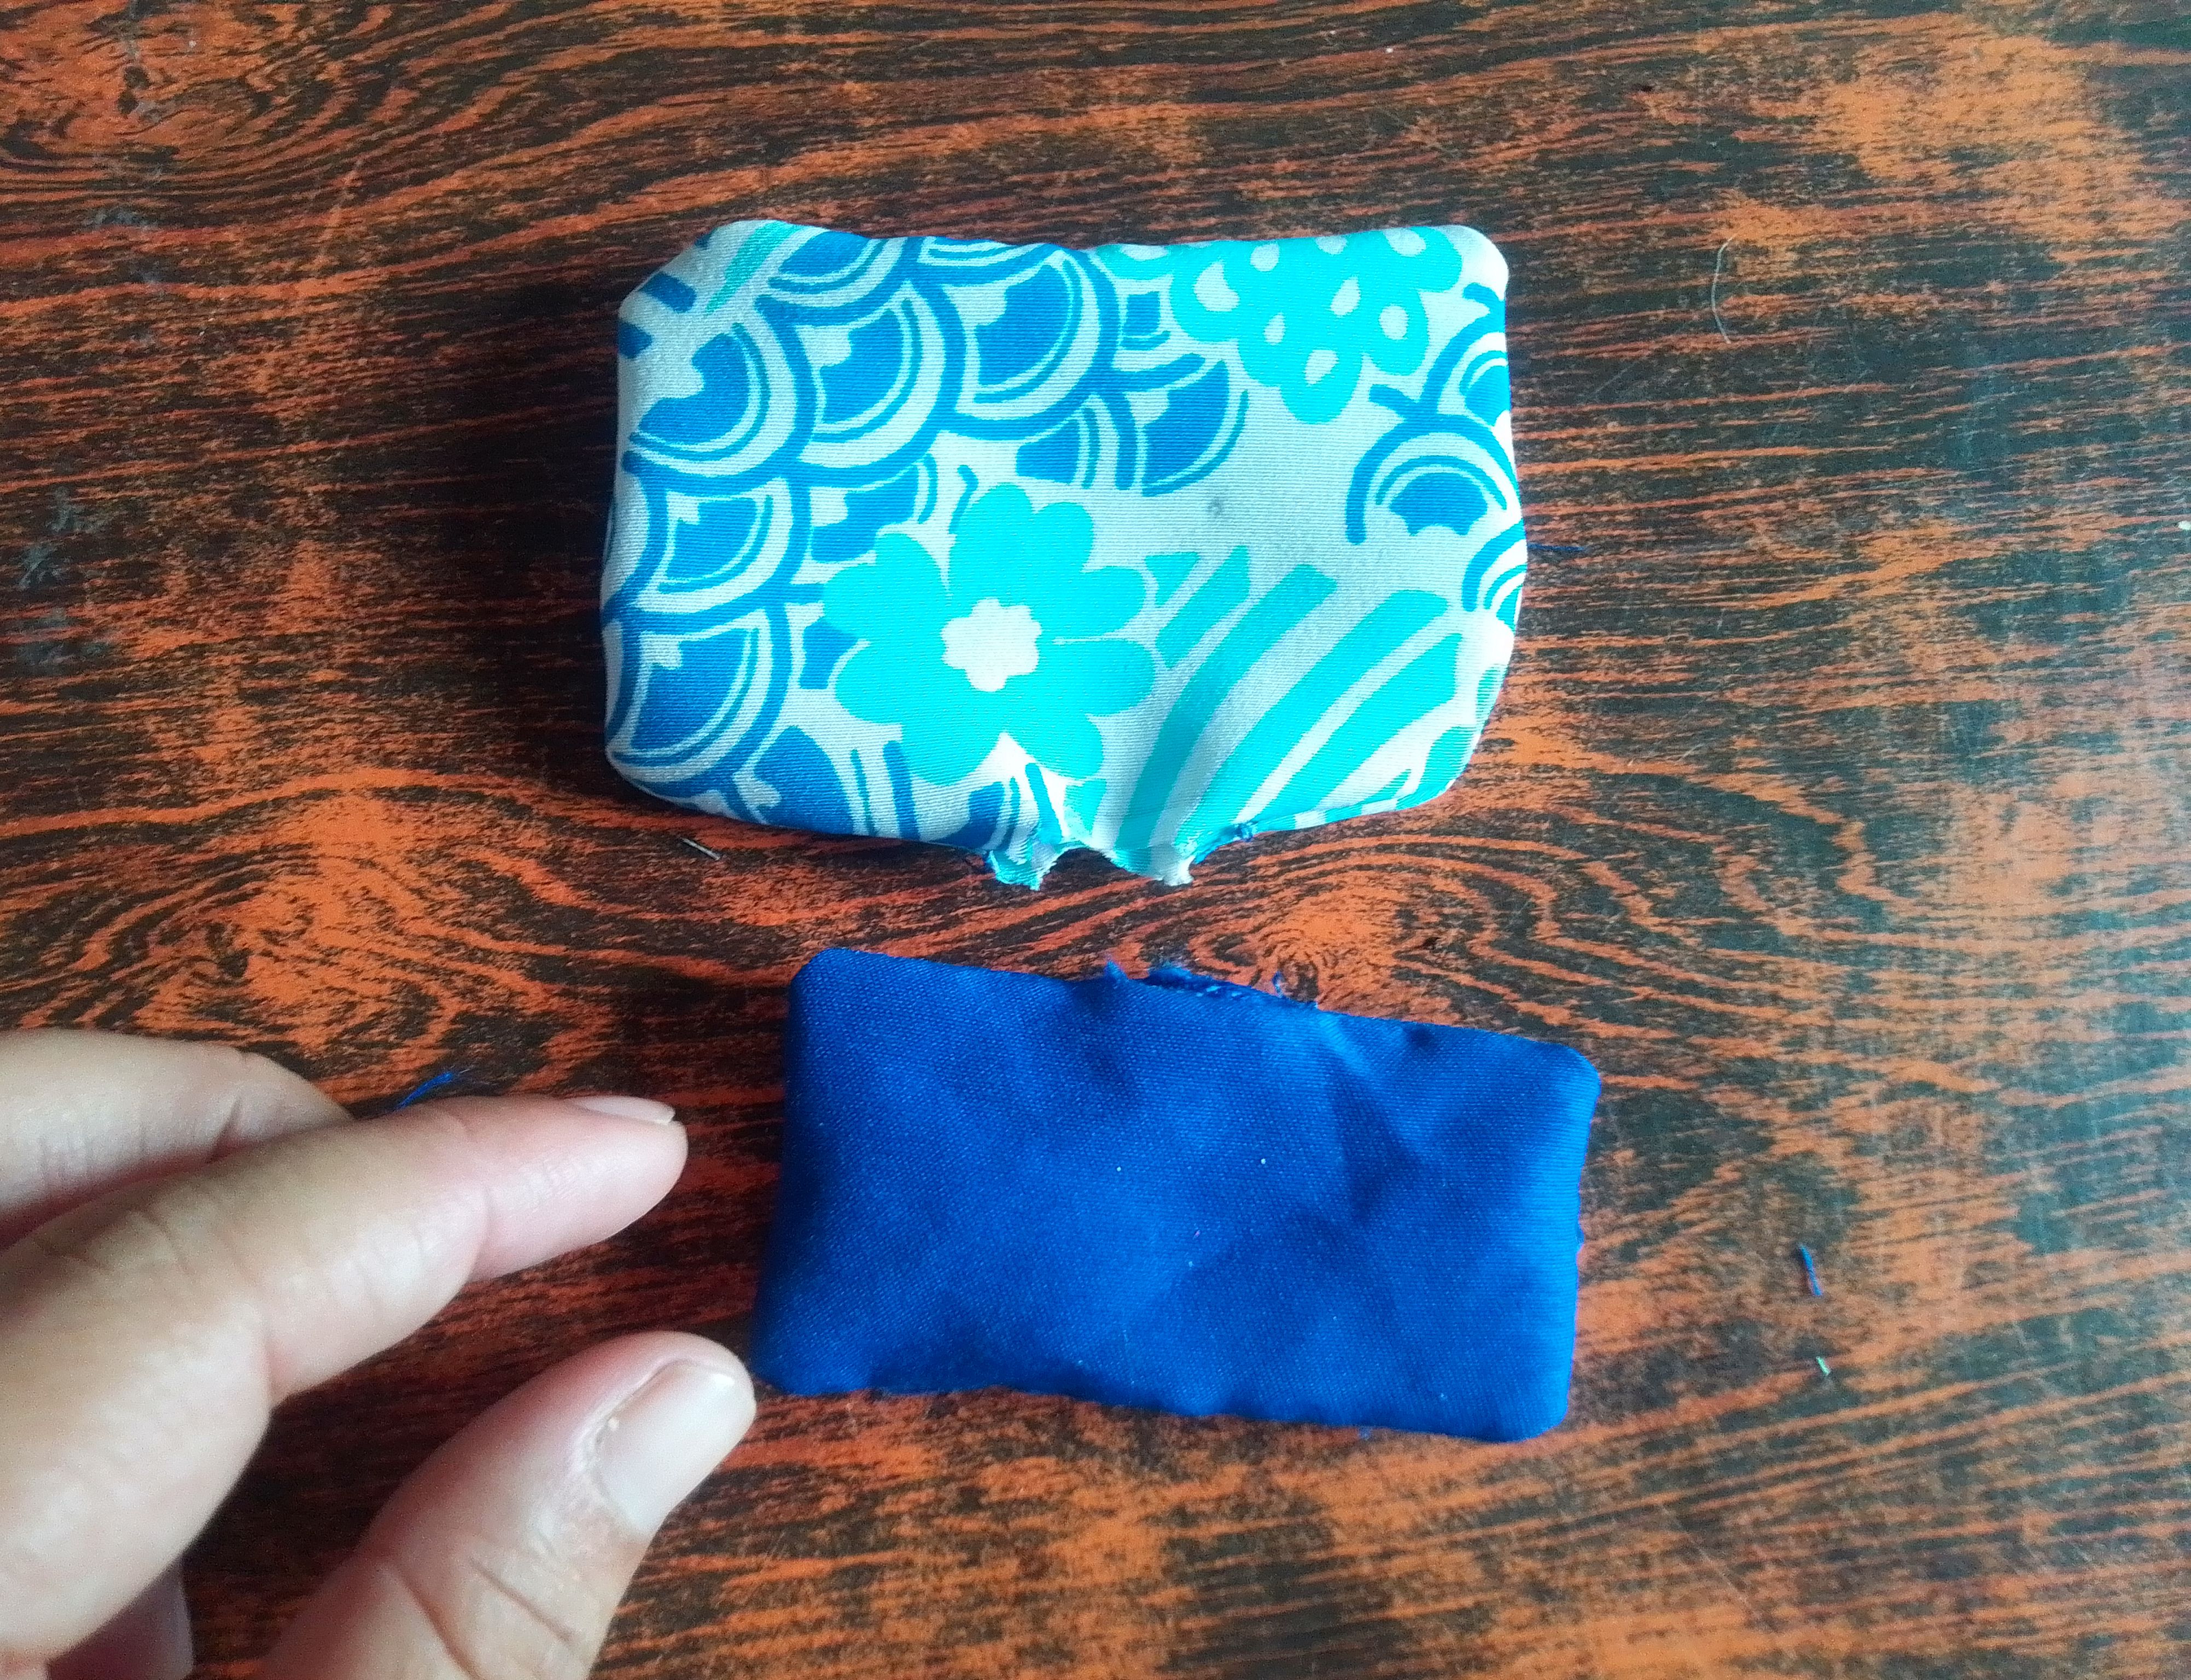
Paso costura en la máquina dejando un espacio sin coser y corto los excedentes de tela.. Luego me ayudo con la punta de las tijeras oara voltearlos por el orificio, sello esa parte con costura y ubico la pieza más pequeña sobre la mas grande, tomando en cuenta el centro.
Step 02
I sew on the machine, leaving a space without sewing and cut off the excess fabric. Then I help myself with the tip of the scissors or turn them through the hole, seal that part with sewing and place the smallest piece on the largest, taking into account the center.
Paso 03
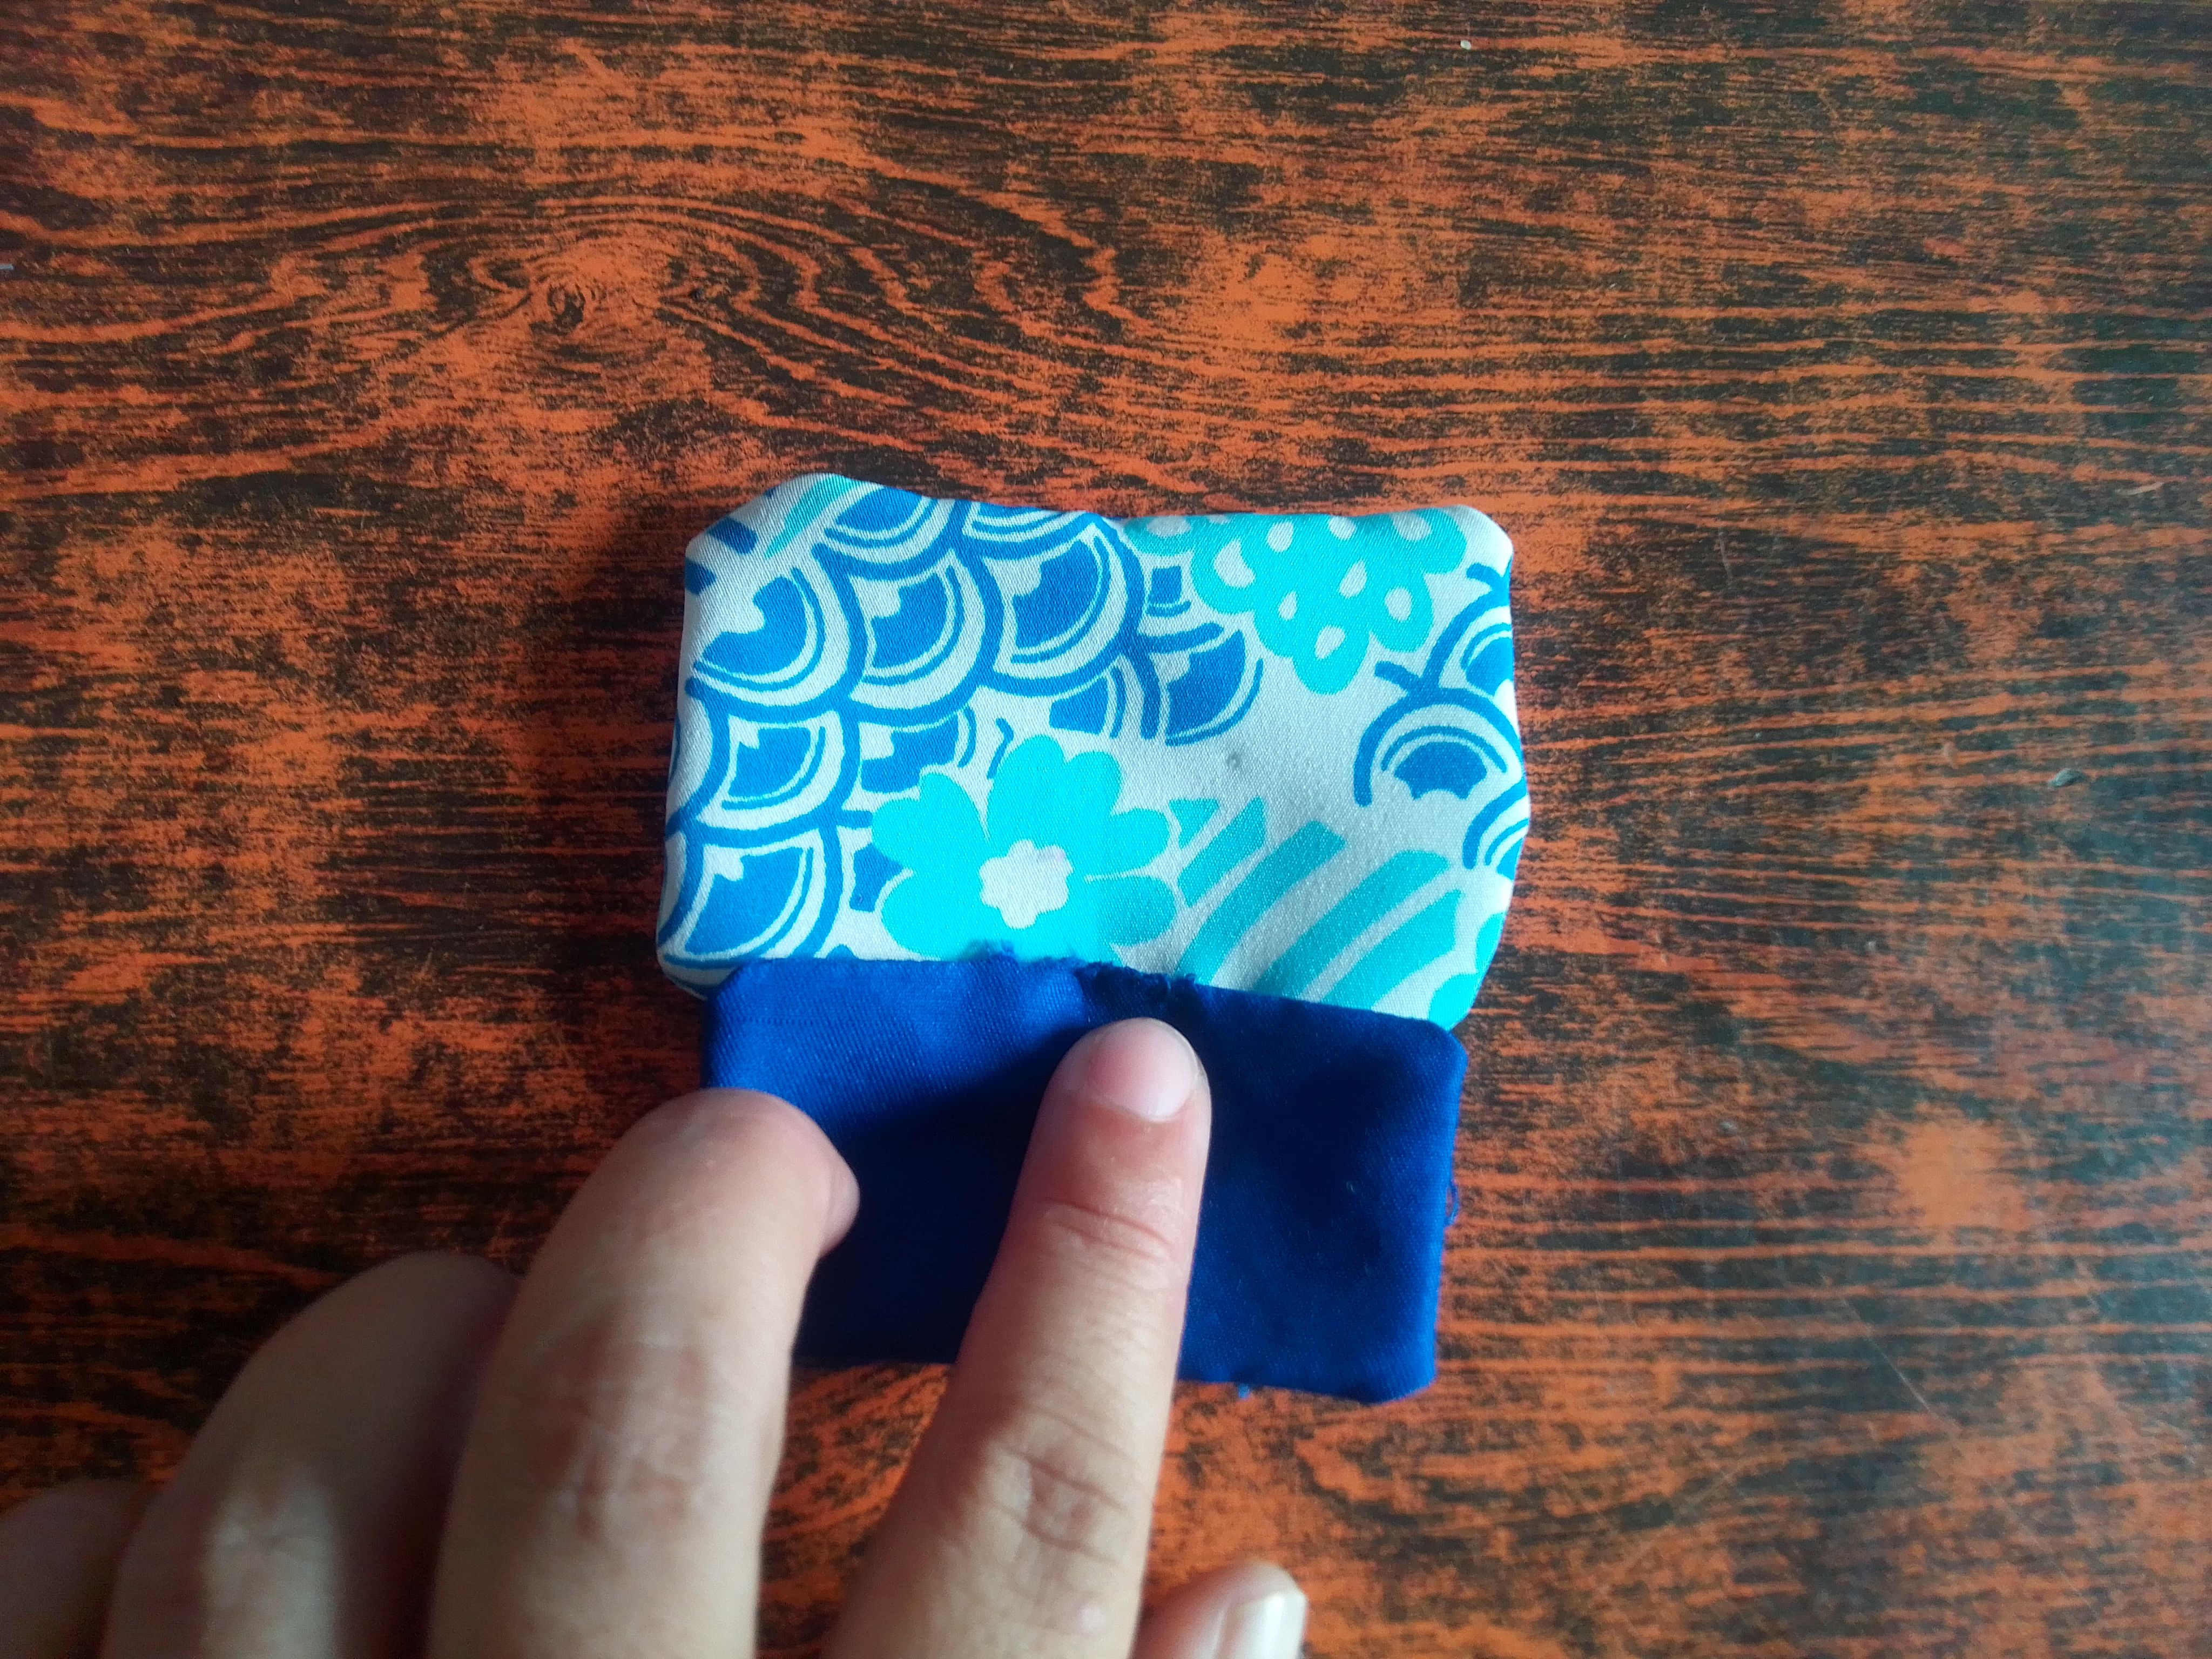
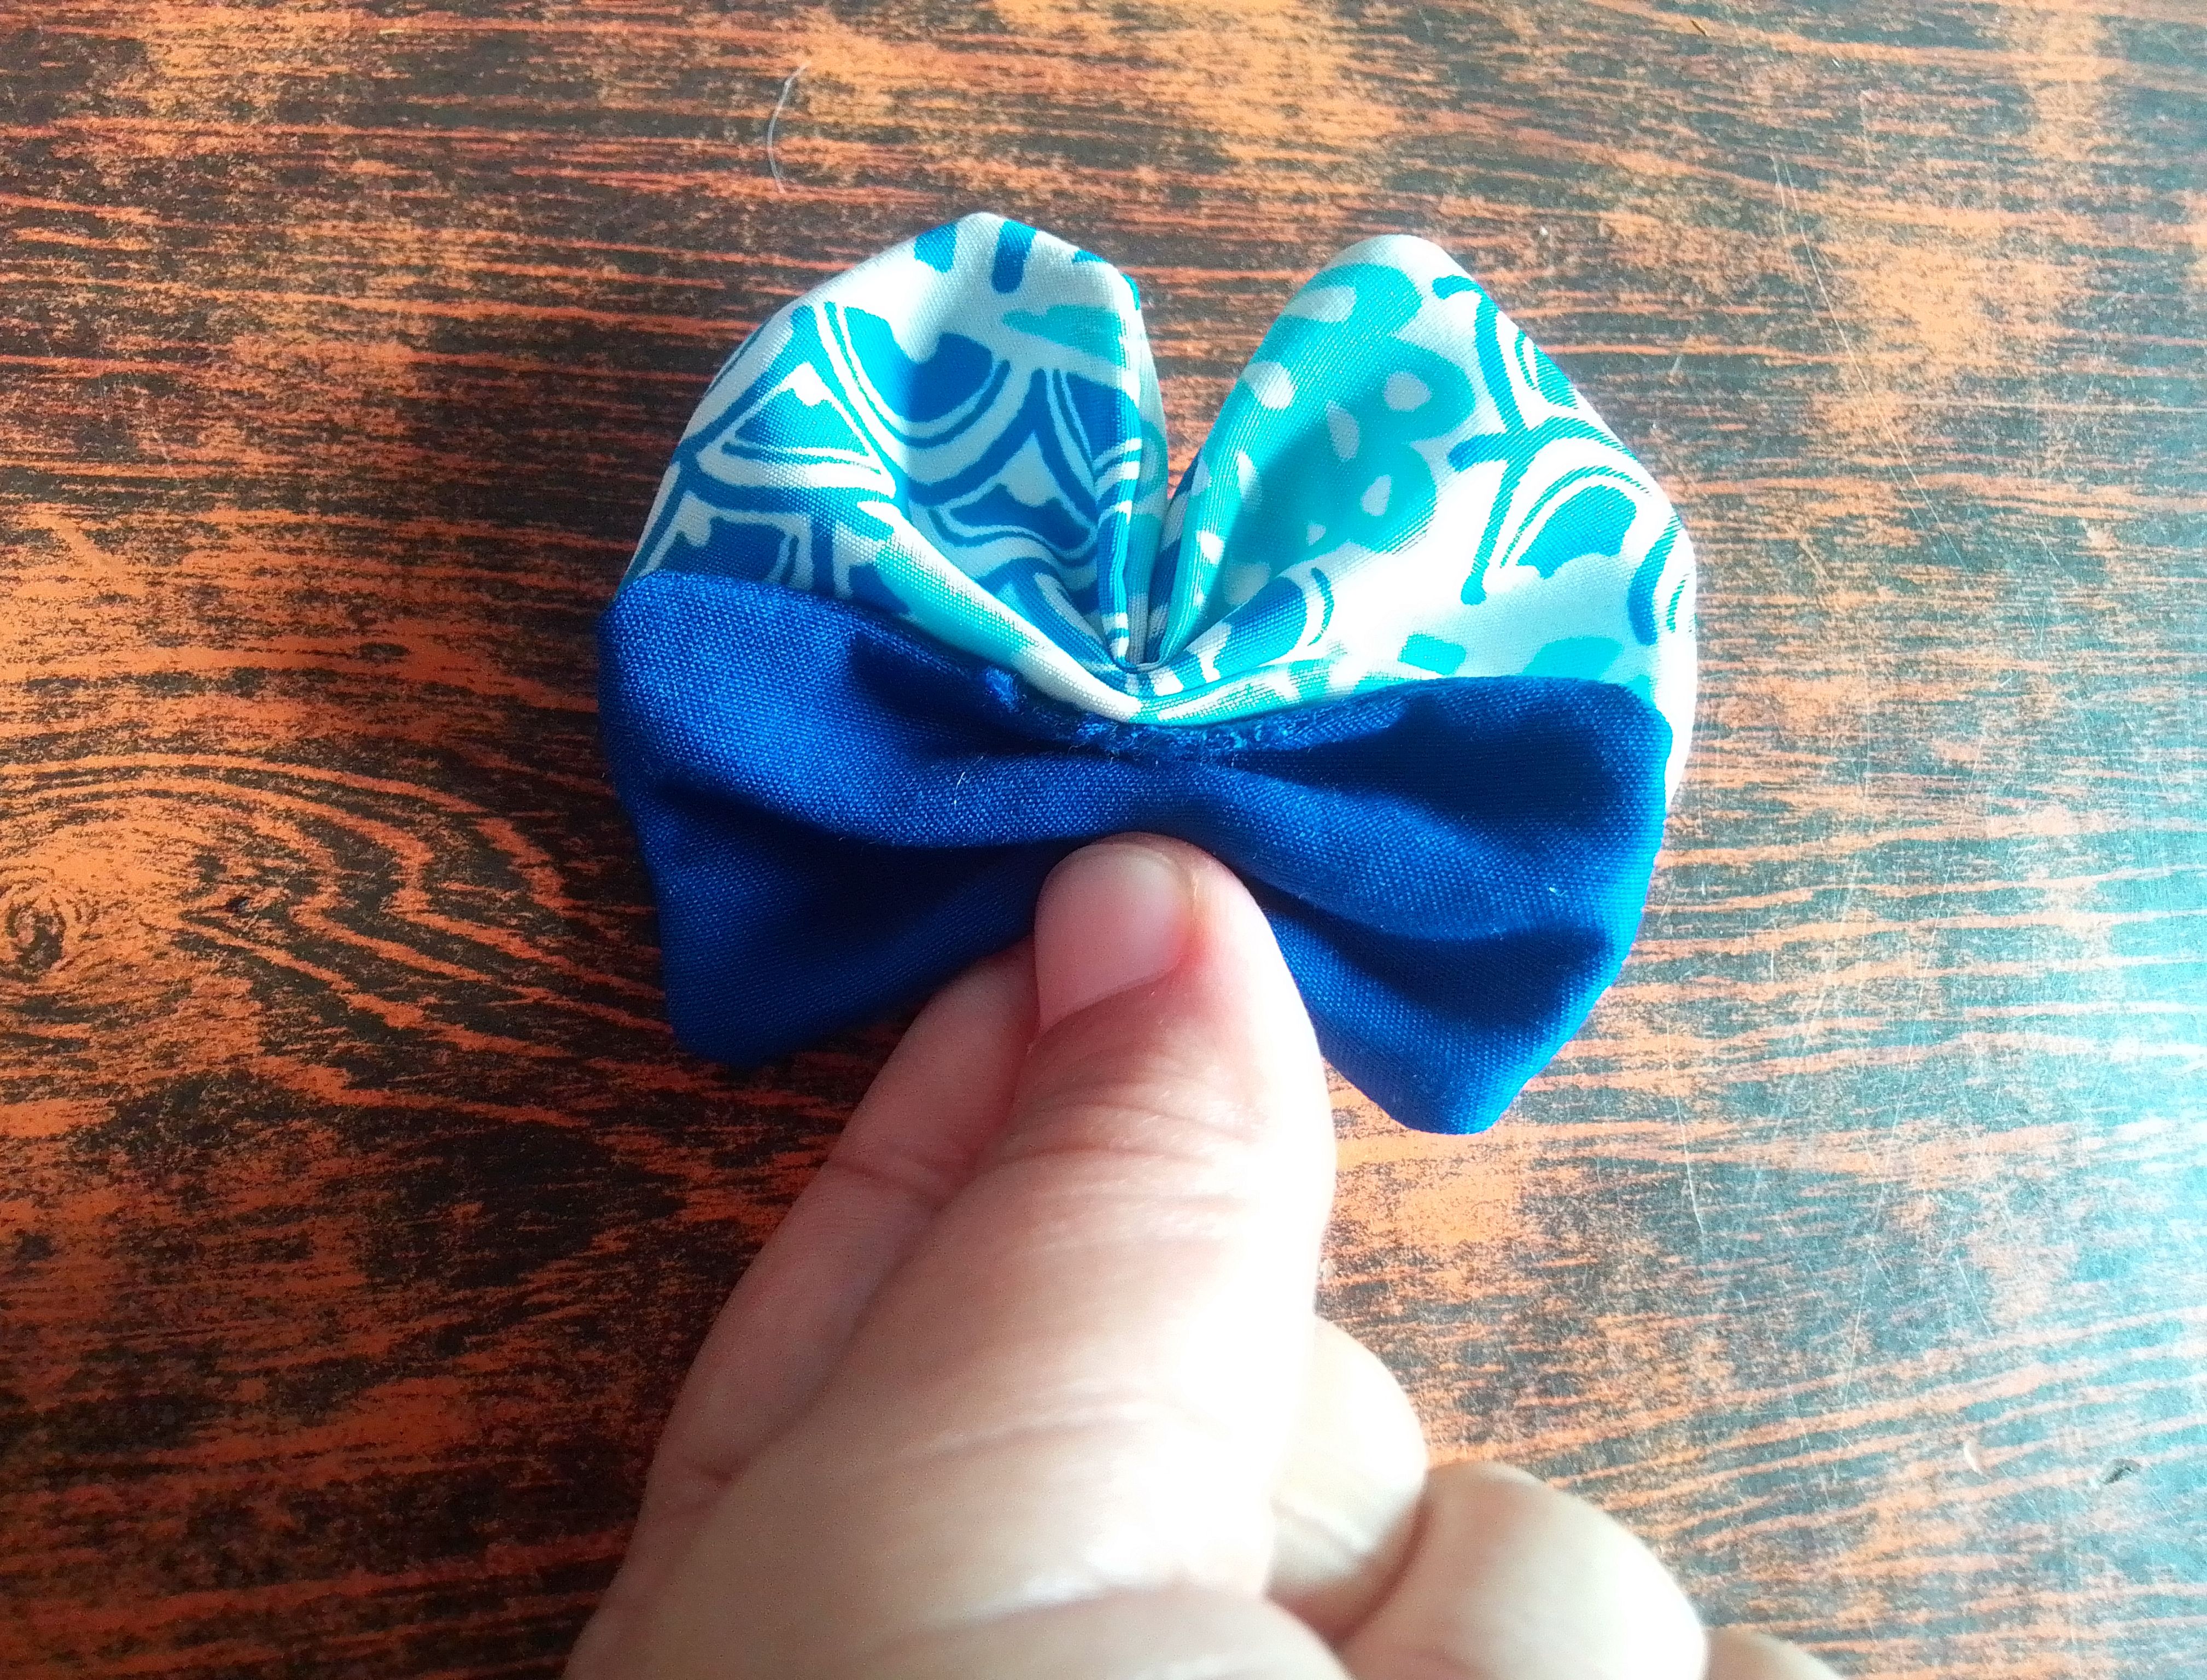
Con mi hilo y aguja, a mano voy a hacer una costura hilvanada y fruncimos ambos piezas.
Step 03
With my thread and needle, by hand I am going to make a basted seam and we gather both pieces.
Paso 04
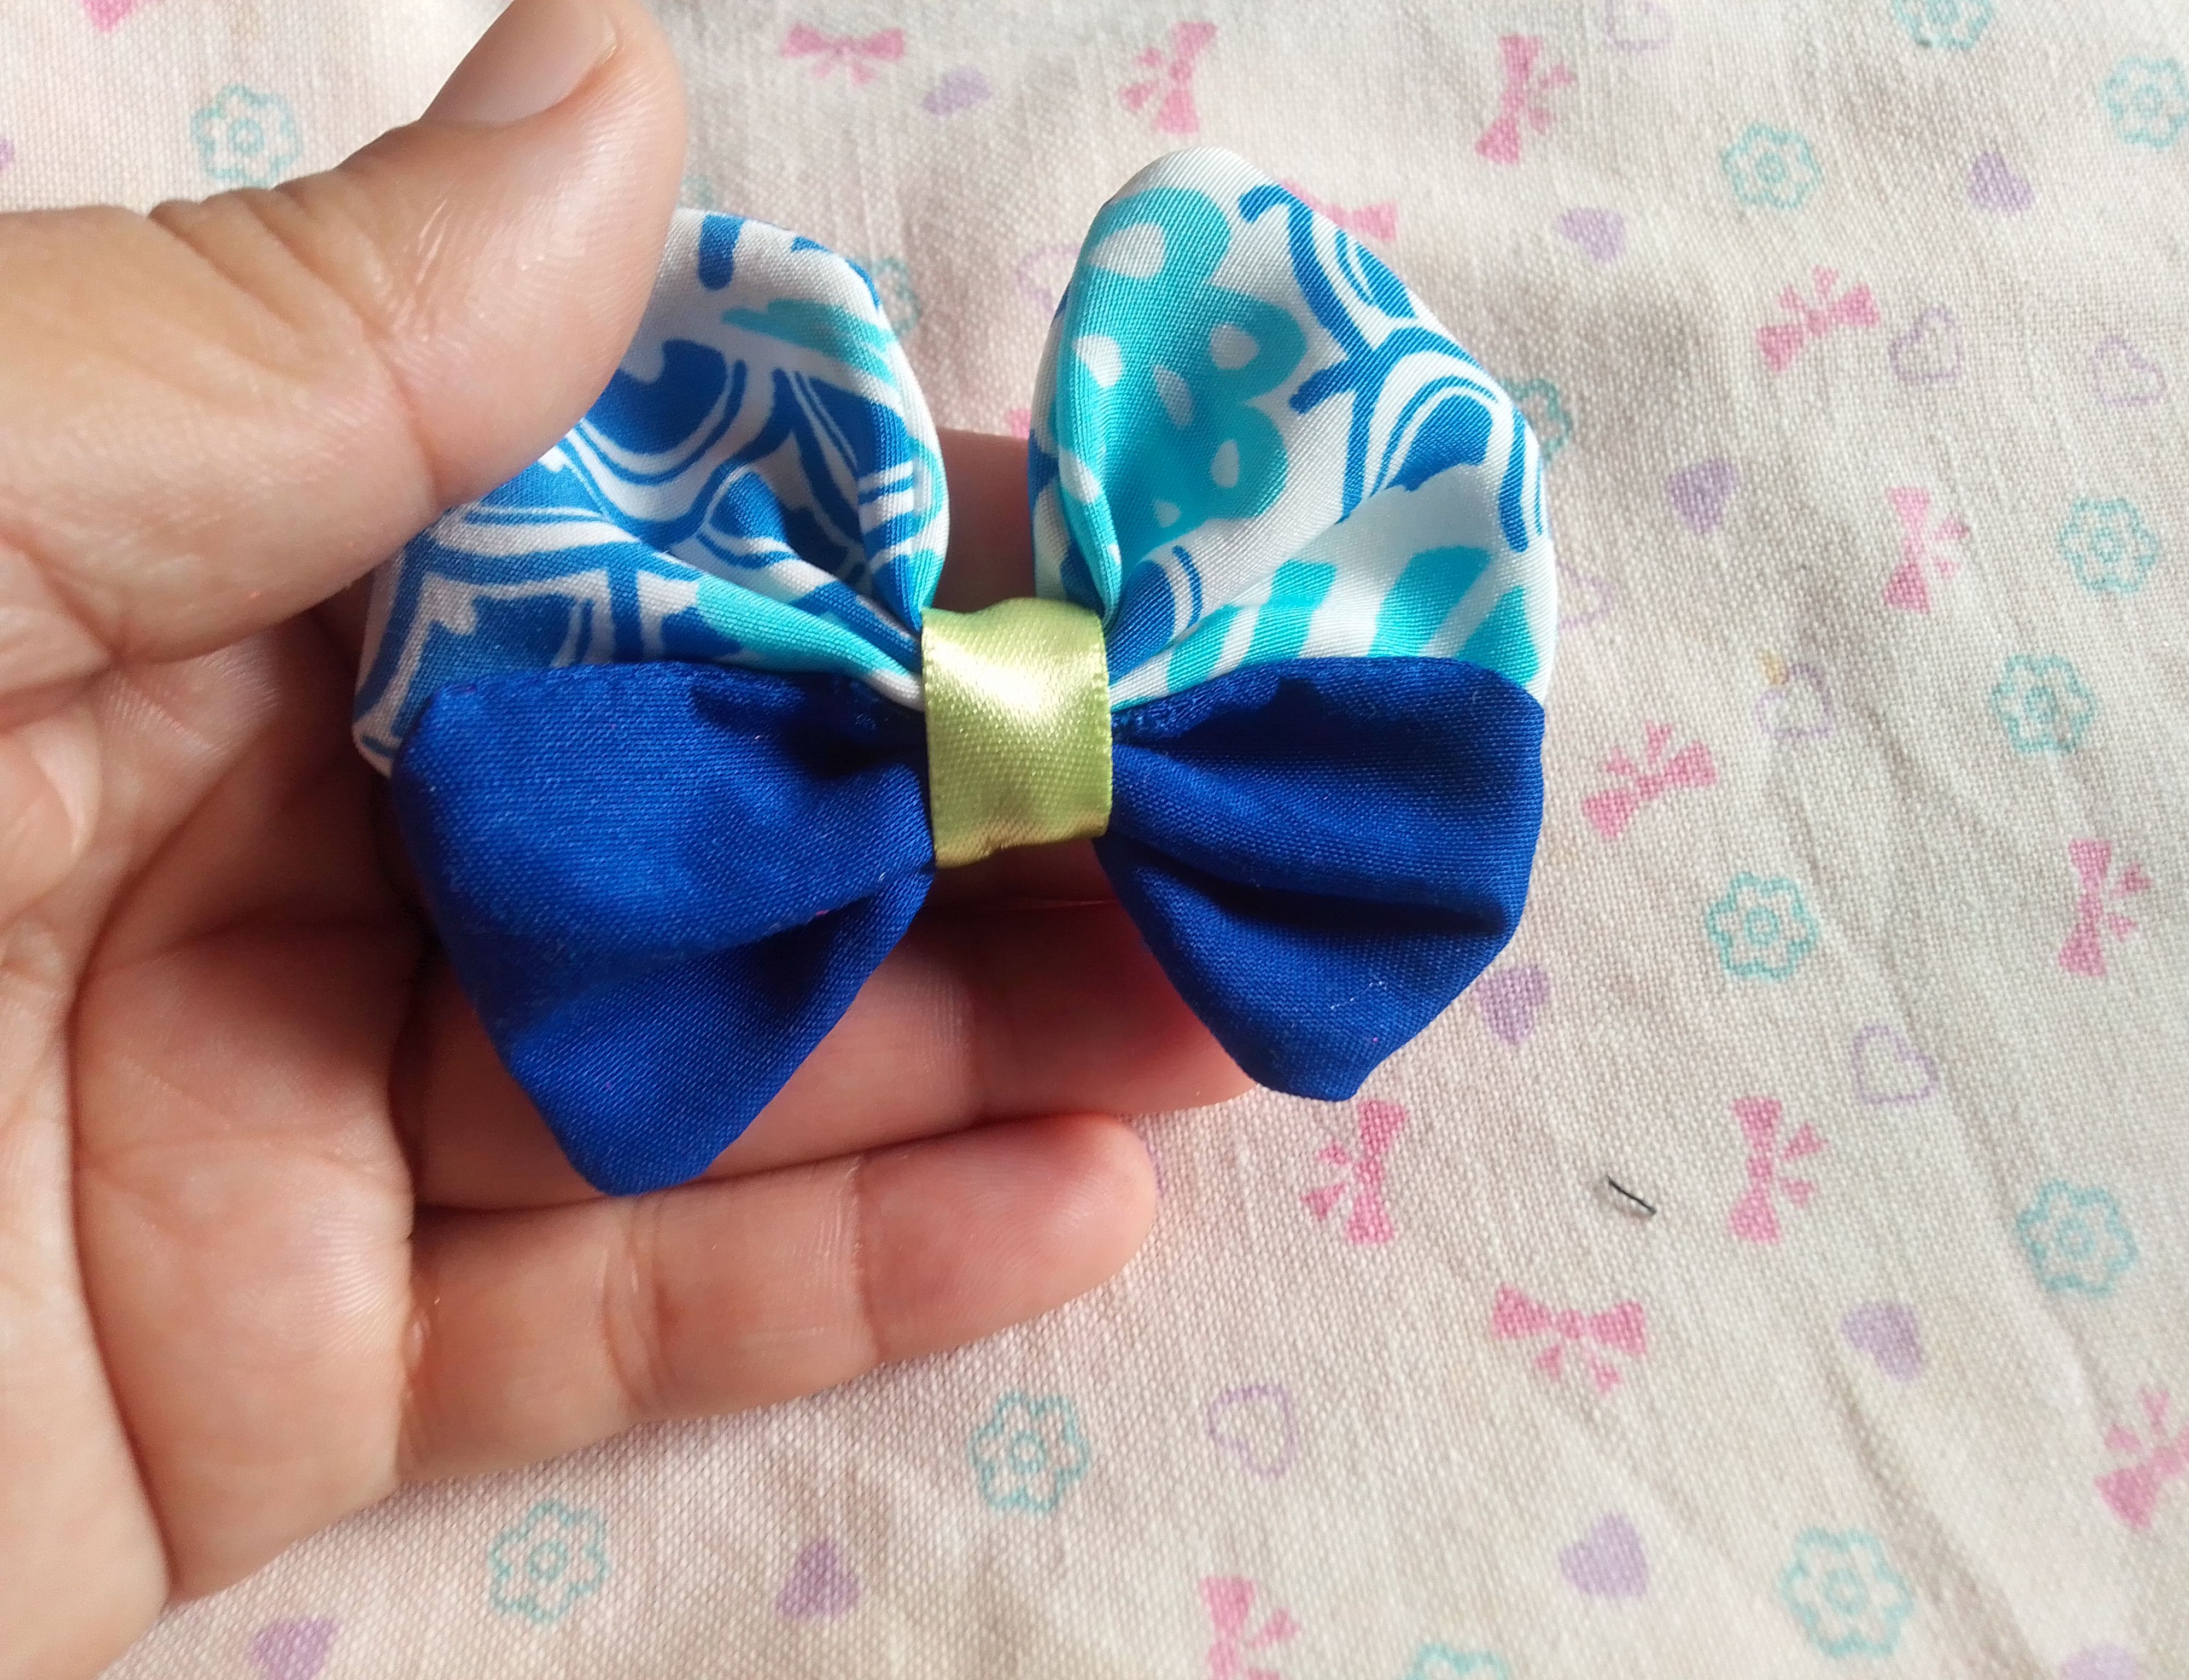
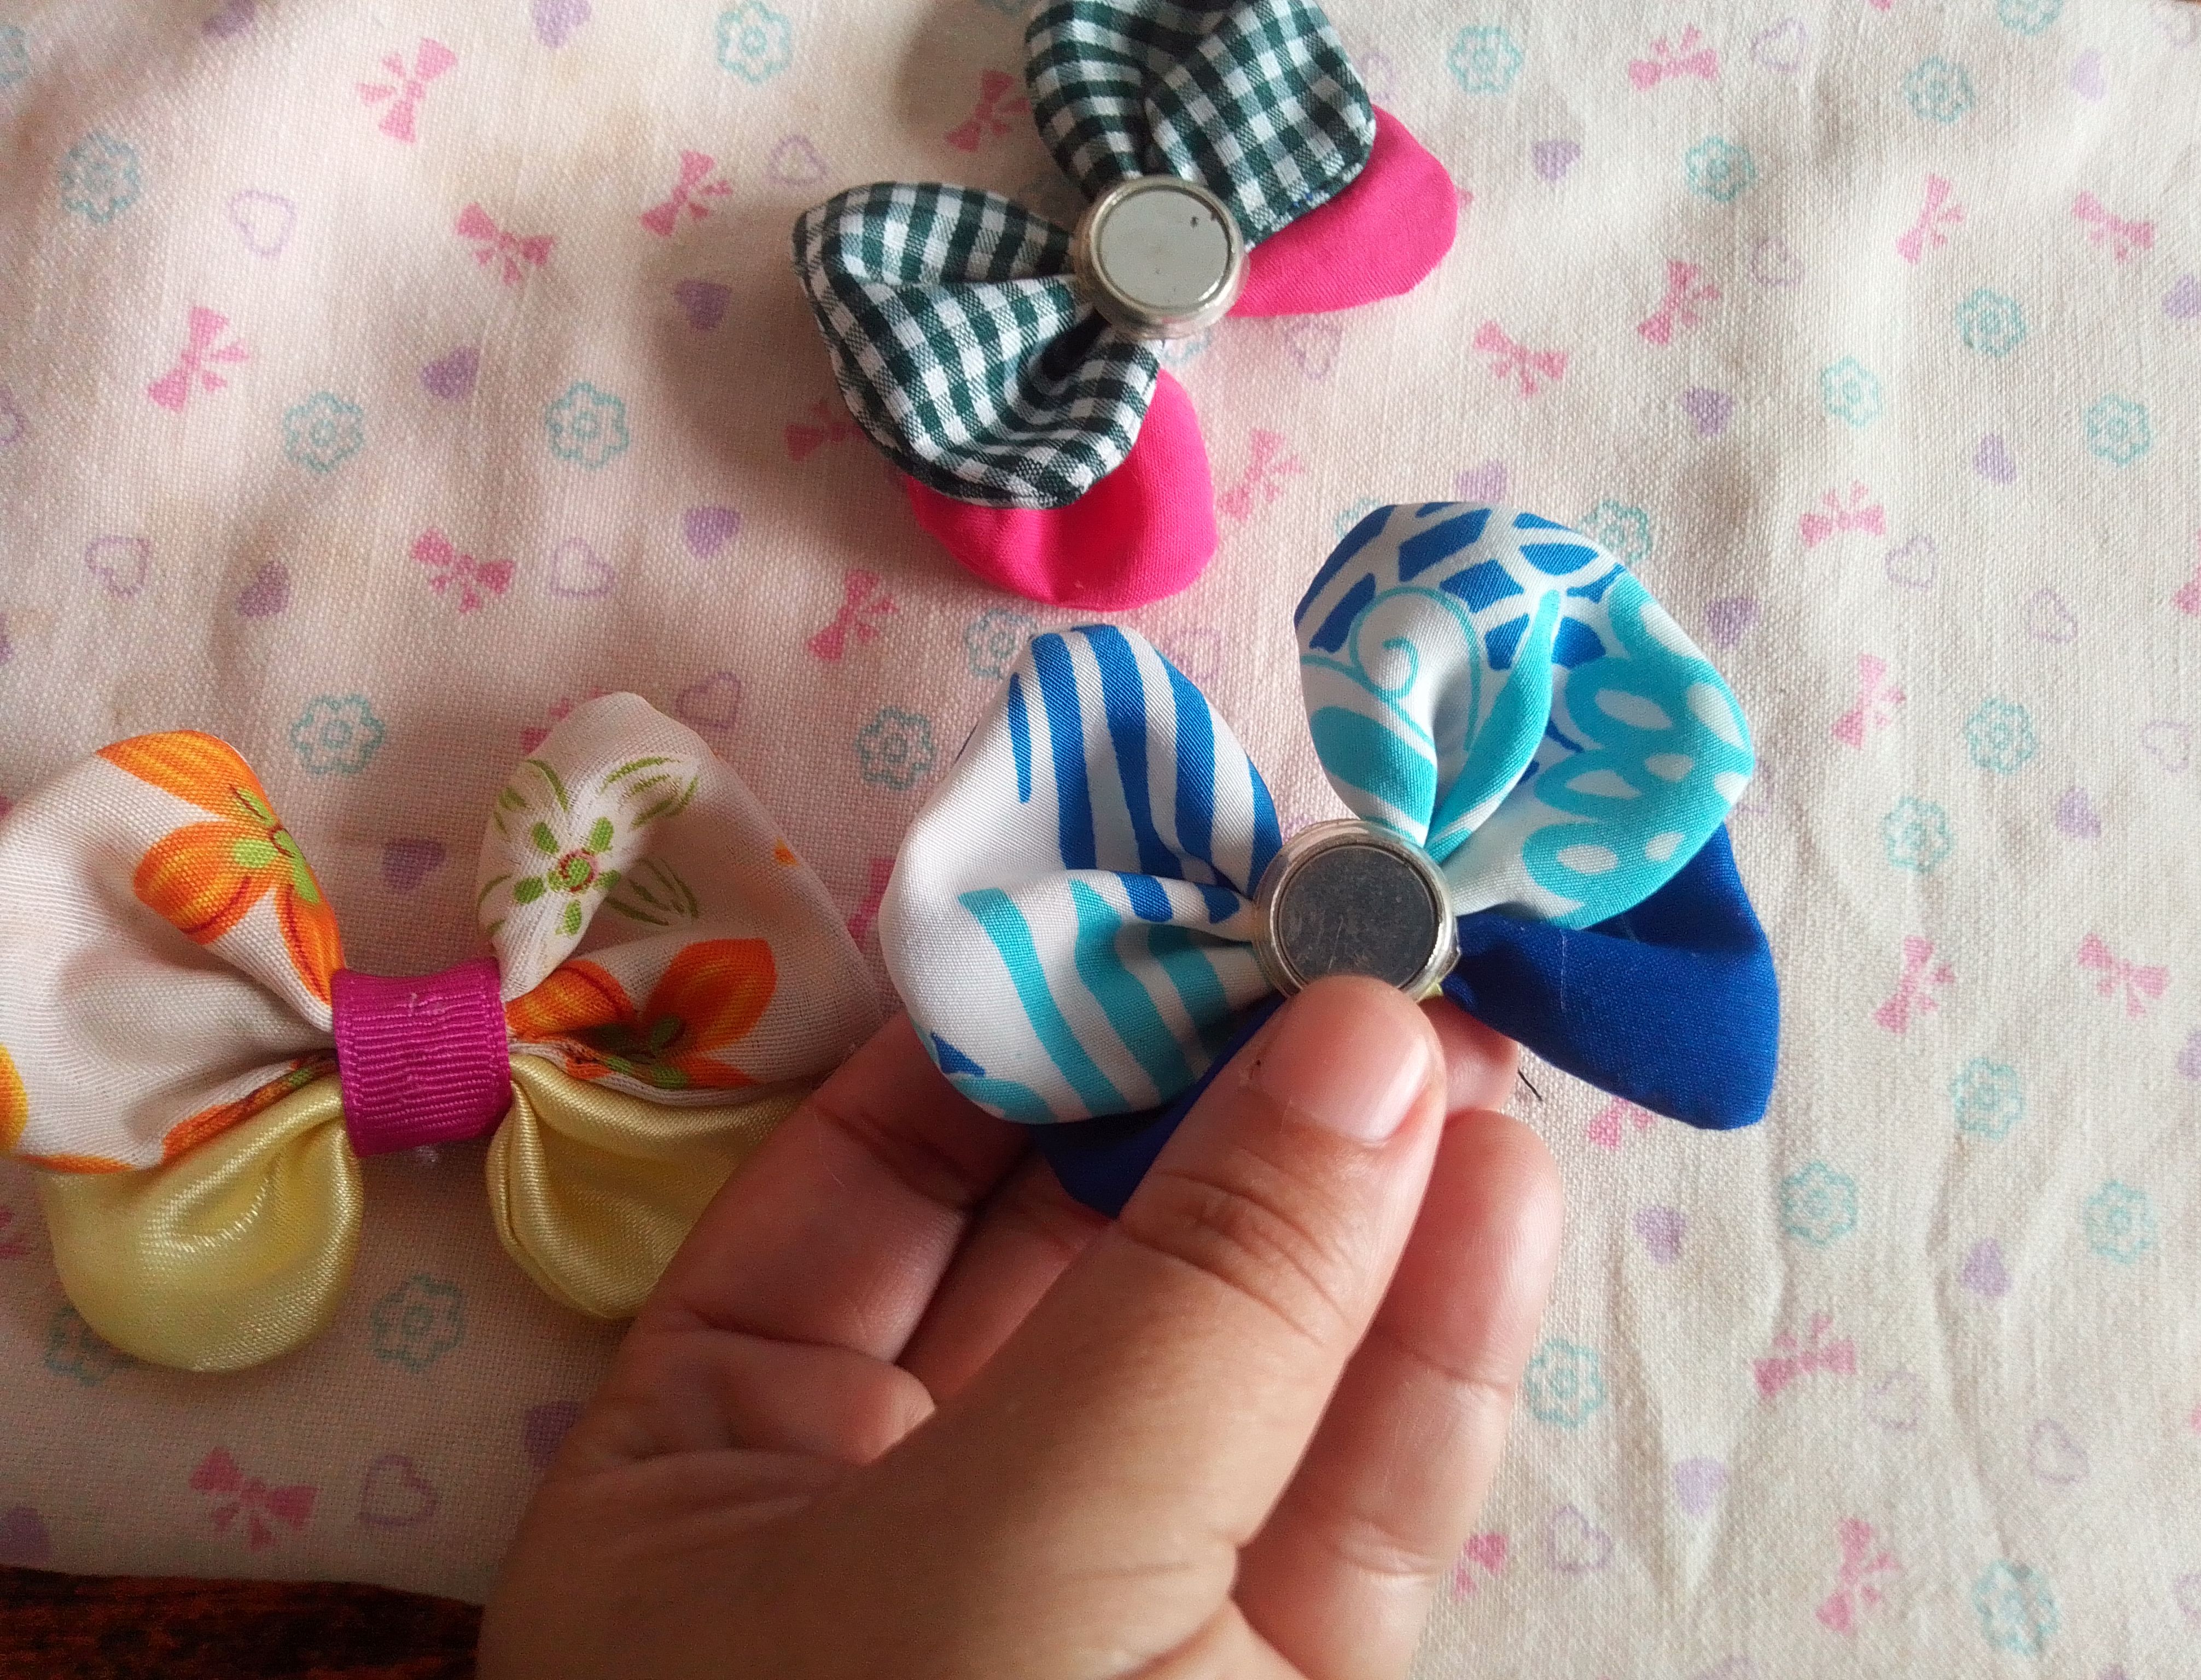
El centro lo cubrimos con una cinta fina para tapar la unión y voy a pegar con silicón el iman en la parte posterior. Combinamos los colores de tela y tendremos preciosas mini mariposas decorativas.
Step 04
We cover the center with a thin tape to cover the joint and I am going to glue the magnet to the back with silicone. We combine the fabric colors and we will have beautiful mini decorative butterflies.
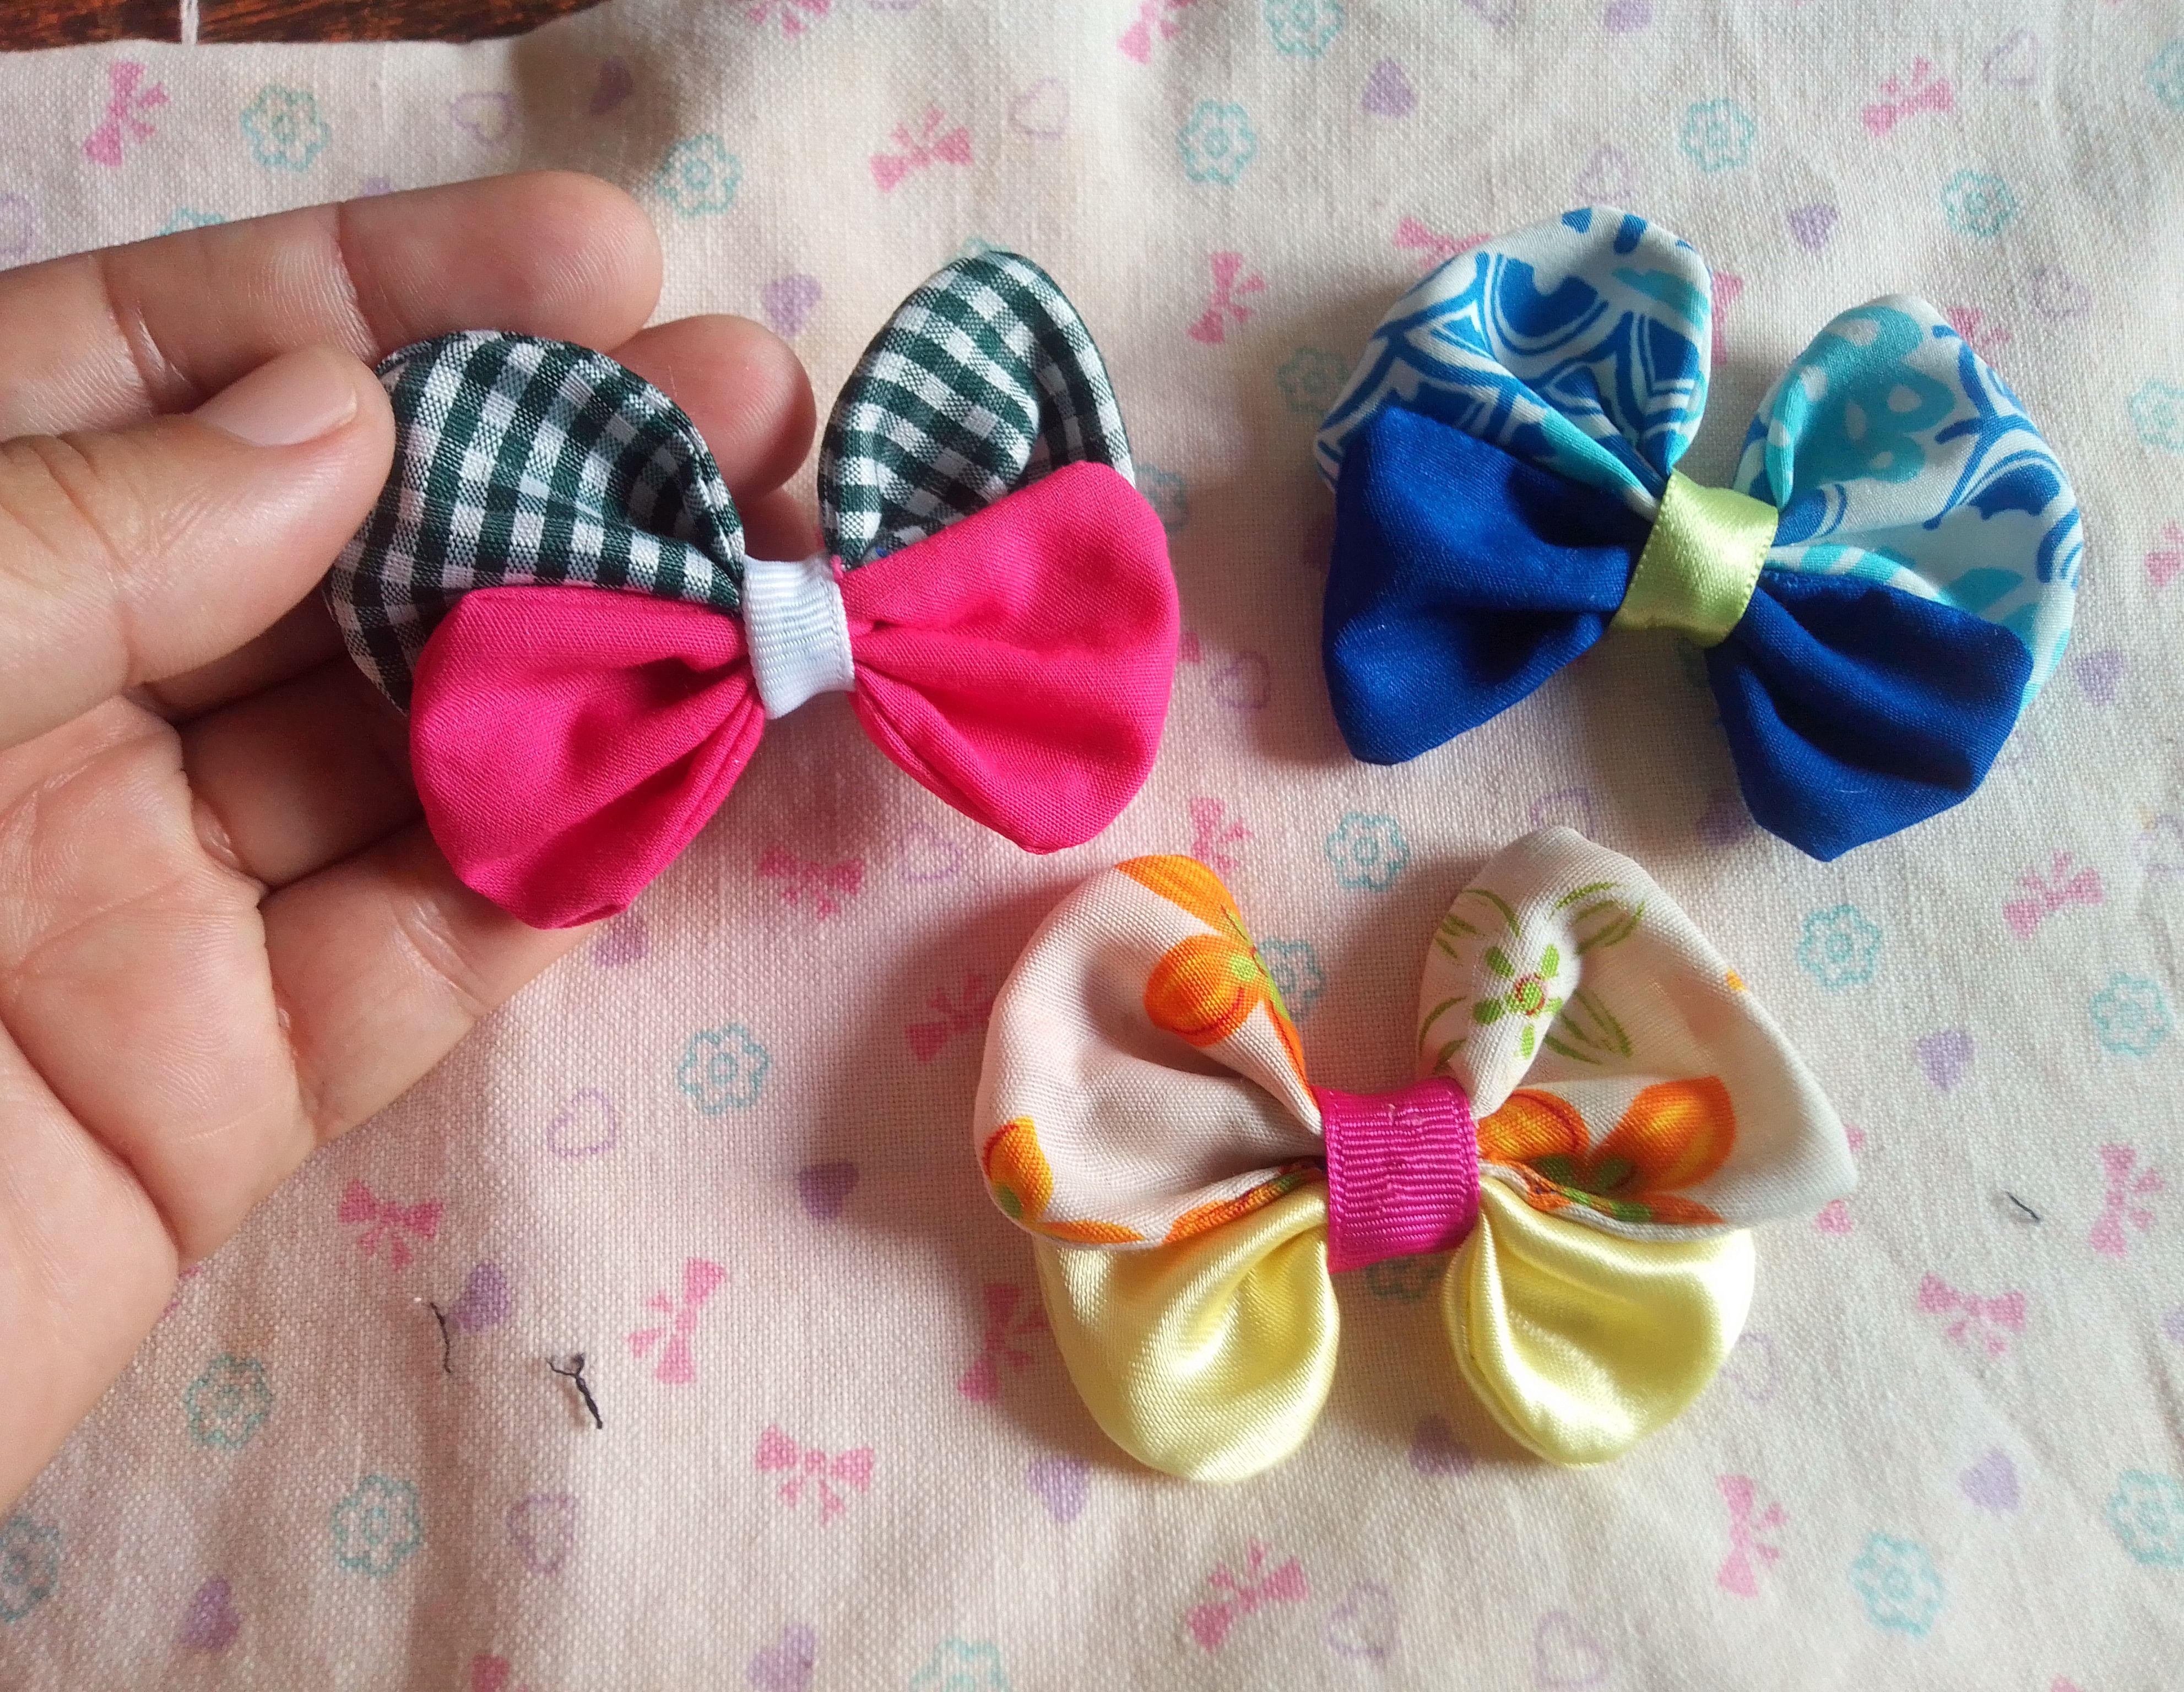
Resultado!
Trabajé este proyecto con varias texturas de tela, pero yo pienso que la ideal es la Micromed, por su textura sedosa y firme que facilita todo el trabajo.. Pero solo es una sugerencia, la verdad es que podemos hacerla en muchos tipos de tela solo hay que tener un poco más de paciencia y delicadeza. Aproveche que estaba emocionada haciéndolas y elaboré un para de colas escolares para niña.
I worked on this project with several fabric textures, but I think the ideal one is Micromed, because of its silky and firm texture that makes all the work easier.. But it's just a suggestion, really The thing is that we can make it in many types of fabric, you just have to have a little more patience and delicacy. I took advantage of the fact that I was excited making them and made a pair of school tails for a girl.
Ñ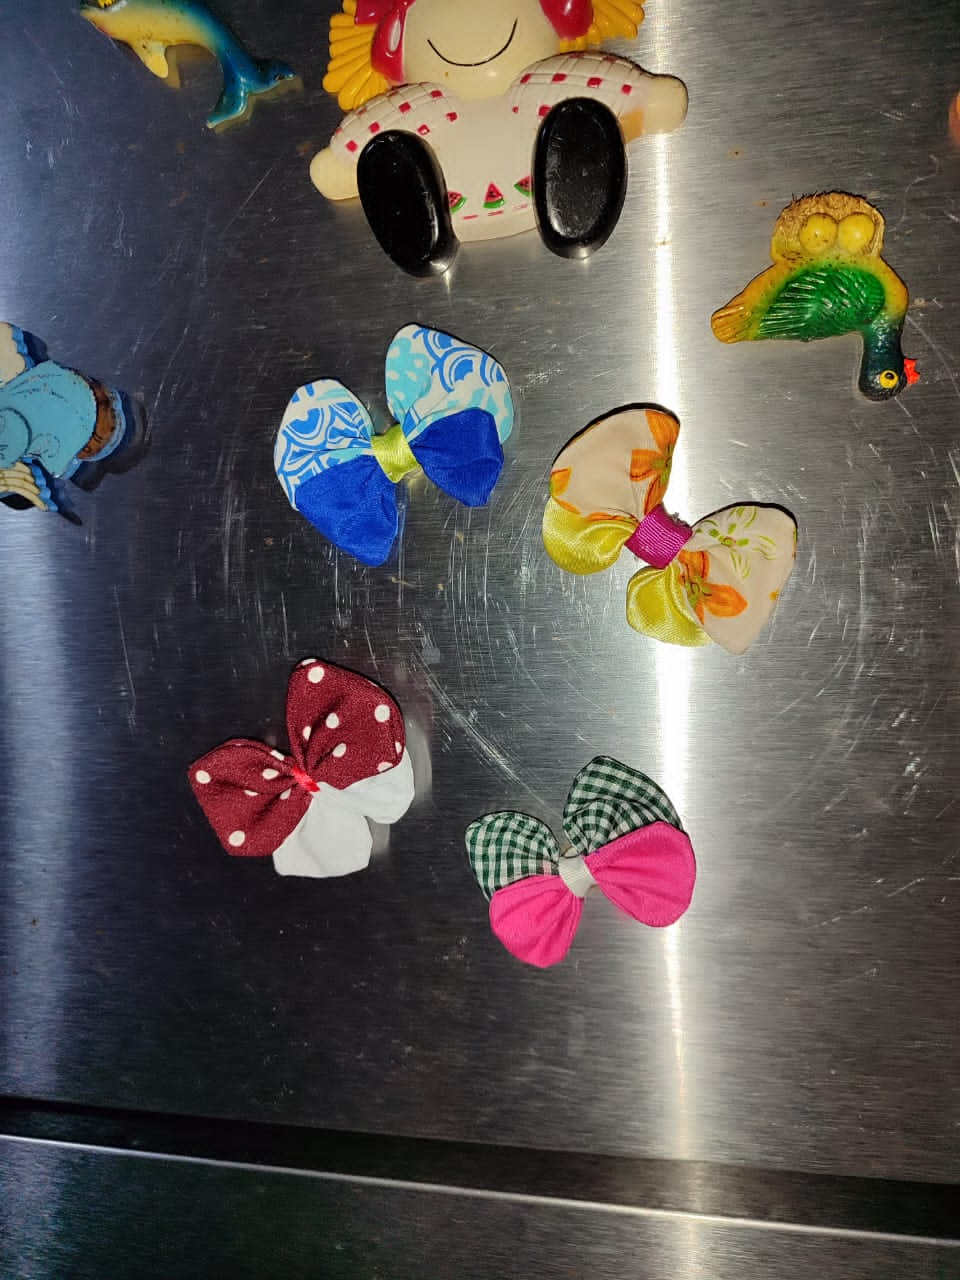
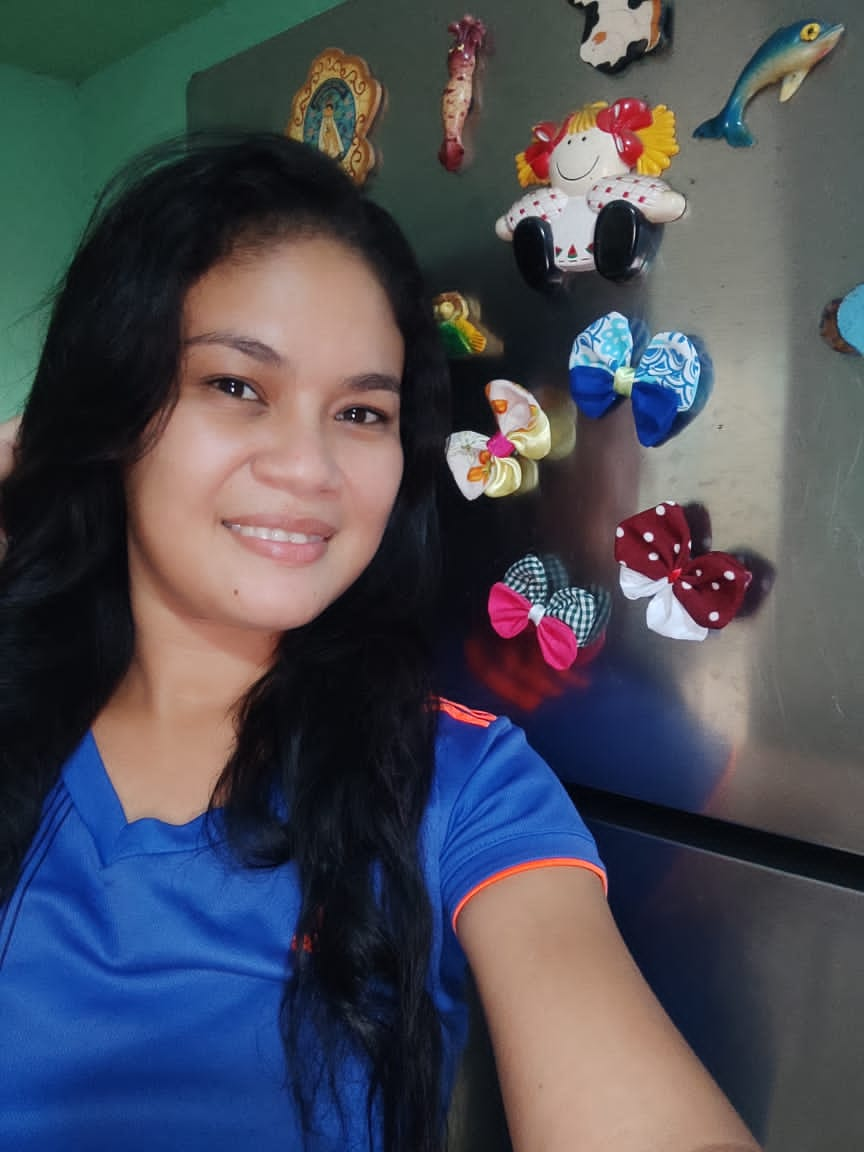
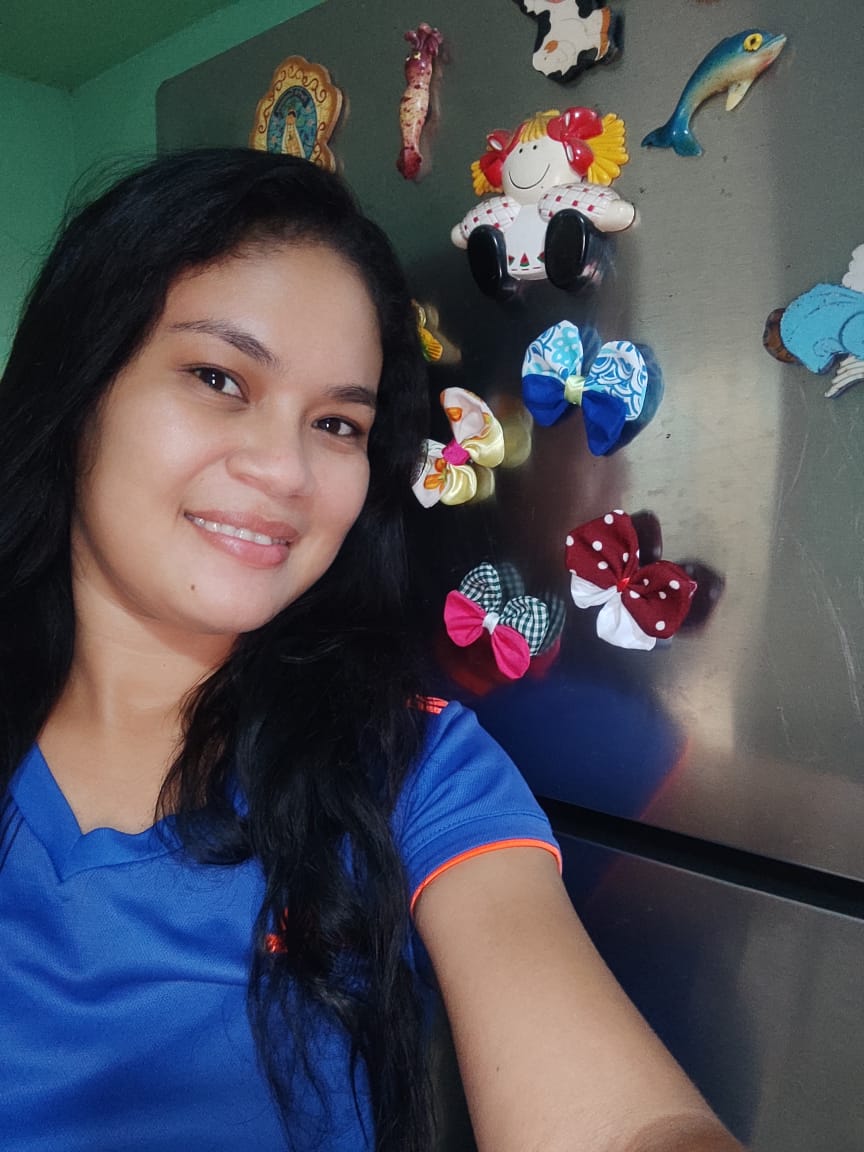
Con este lindo resultado hemos llegado al final, espero les guste.. Gracias por visitar mi publicación, hasta pronto!
With this nice result we have reached the end, I hope you like it. Thank you for visiting my publication, see you soon!
Congratulations @razielmorales! You have completed the following achievement on the Hive blockchain And have been rewarded with New badge(s)
Your next target is to reach 50000 upvotes.
You can view your badges on your board and compare yourself to others in the Ranking
If you no longer want to receive notifications, reply to this comment with the word
STOPCheck out our last posts:
están muy bellos, genial para decorar y con materiales sencillos y fáciles, excelente!
they are very beautiful, great for decorating and with simple and easy materials, excellent!
Gracias bella! Así es..! Son multifuncionales estás mariposas.. feliz día para ti!
¡Felicitaciones!
Estás participando para optar a la mención especial que se efectuará el domingo 9 de junio del 2024 a las 8:00 pm (hora de Venezuela), gracias a la cual el autor del artículo seleccionado recibirá la cantidad de 1 HIVE transferida a su cuenta.
¡También has recibido 1 ENTROKEN! El token del PROYECTO ENTROPÍA impulsado por la plataforma Steem-Engine.
1. Invierte en el PROYECTO ENTROPÍA y recibe ganancias semanalmente. Entra aquí para más información.
2. Contáctanos en Discord: https://discord.gg/hkCjFeb
3. Suscríbete a nuestra COMUNIDAD y apoya al trail de @Entropia y así podrás ganar recompensas de curación de forma automática. Entra aquí para más información sobre nuestro trail.
4. Visita nuestro canal de Youtube.
Atentamente
El equipo de curación del PROYECTO ENTROPÍA