Feliz tarde bonita comunidad creativa! Que alegría encontrarnos nuevamente con una nueva idea. Últimamente me ha entretenido mucho ver tutoriales de diademas, creo que se han vuelto el accesorio favorito para mí niña y por supuesto para mí también. Sinceramente es el único accesorio que se deja en el cabello puesto, me dice que no le molesta y hasta ella misma sabe colocarselo. Tomando en cuenta su comodidad, he optado por crearle todas las que pueda hacerle para que luzca hermosa; he tenido la oportunidad de ver bellezas en redes sociales y por acá también pero el diseño que les mostrarte a continuación me encanto.
Happy afternoon beautiful creative community! What a joy to meet again with a new idea. Lately I have been very entertained to watch headband tutorials, I think they have become the favorite accessory for my girl and of course for me too. Honestly, it is the only accessory that is left in her hair, she tells me that it doesn't bother her and she even knows how to put it on herself. Taking her comfort into account, I have chosen to create as many as I can to make her happy and make her look beautiful; I have had the opportunity to see beauties on social networks and here too, but I loved the design that I will show you below.
Me emociona cada vez que inició la creación de una y causa mucha ansiedad ver el resultado, debido a que los cruzados parecen verse dificultoso, pero la verdad es que son más sencillos de lo que crees. Pienso que este accesorio es hermoso, pero creo que mientras mas grueso sea más llamativo y bonito luce, bien sea que lo lleve puesto una niña, una adolescente o una dama, así que en esta ocasión te mostrare como puedes hacer este diseño de diadema gruesa con un cruzado peculiarmemte hermoso, elaborado con una linda tela estampada en animal print. Acompáñame hasta el final.!!
I get excited every time I start creating one and it causes a lot of anxiety to see the result, because the crusaders seem difficult, but the truth is that they are easier than you think. I think that this accessory is beautiful, but I think that the thicker it is, the more striking and beautiful it looks, whether it is worn by a girl, a teenager or a lady, so this time I will show you how you can make this thick headband design with a peculiarly beautiful crossover, made with a beautiful animal print fabric. Accompany me until the end.!!
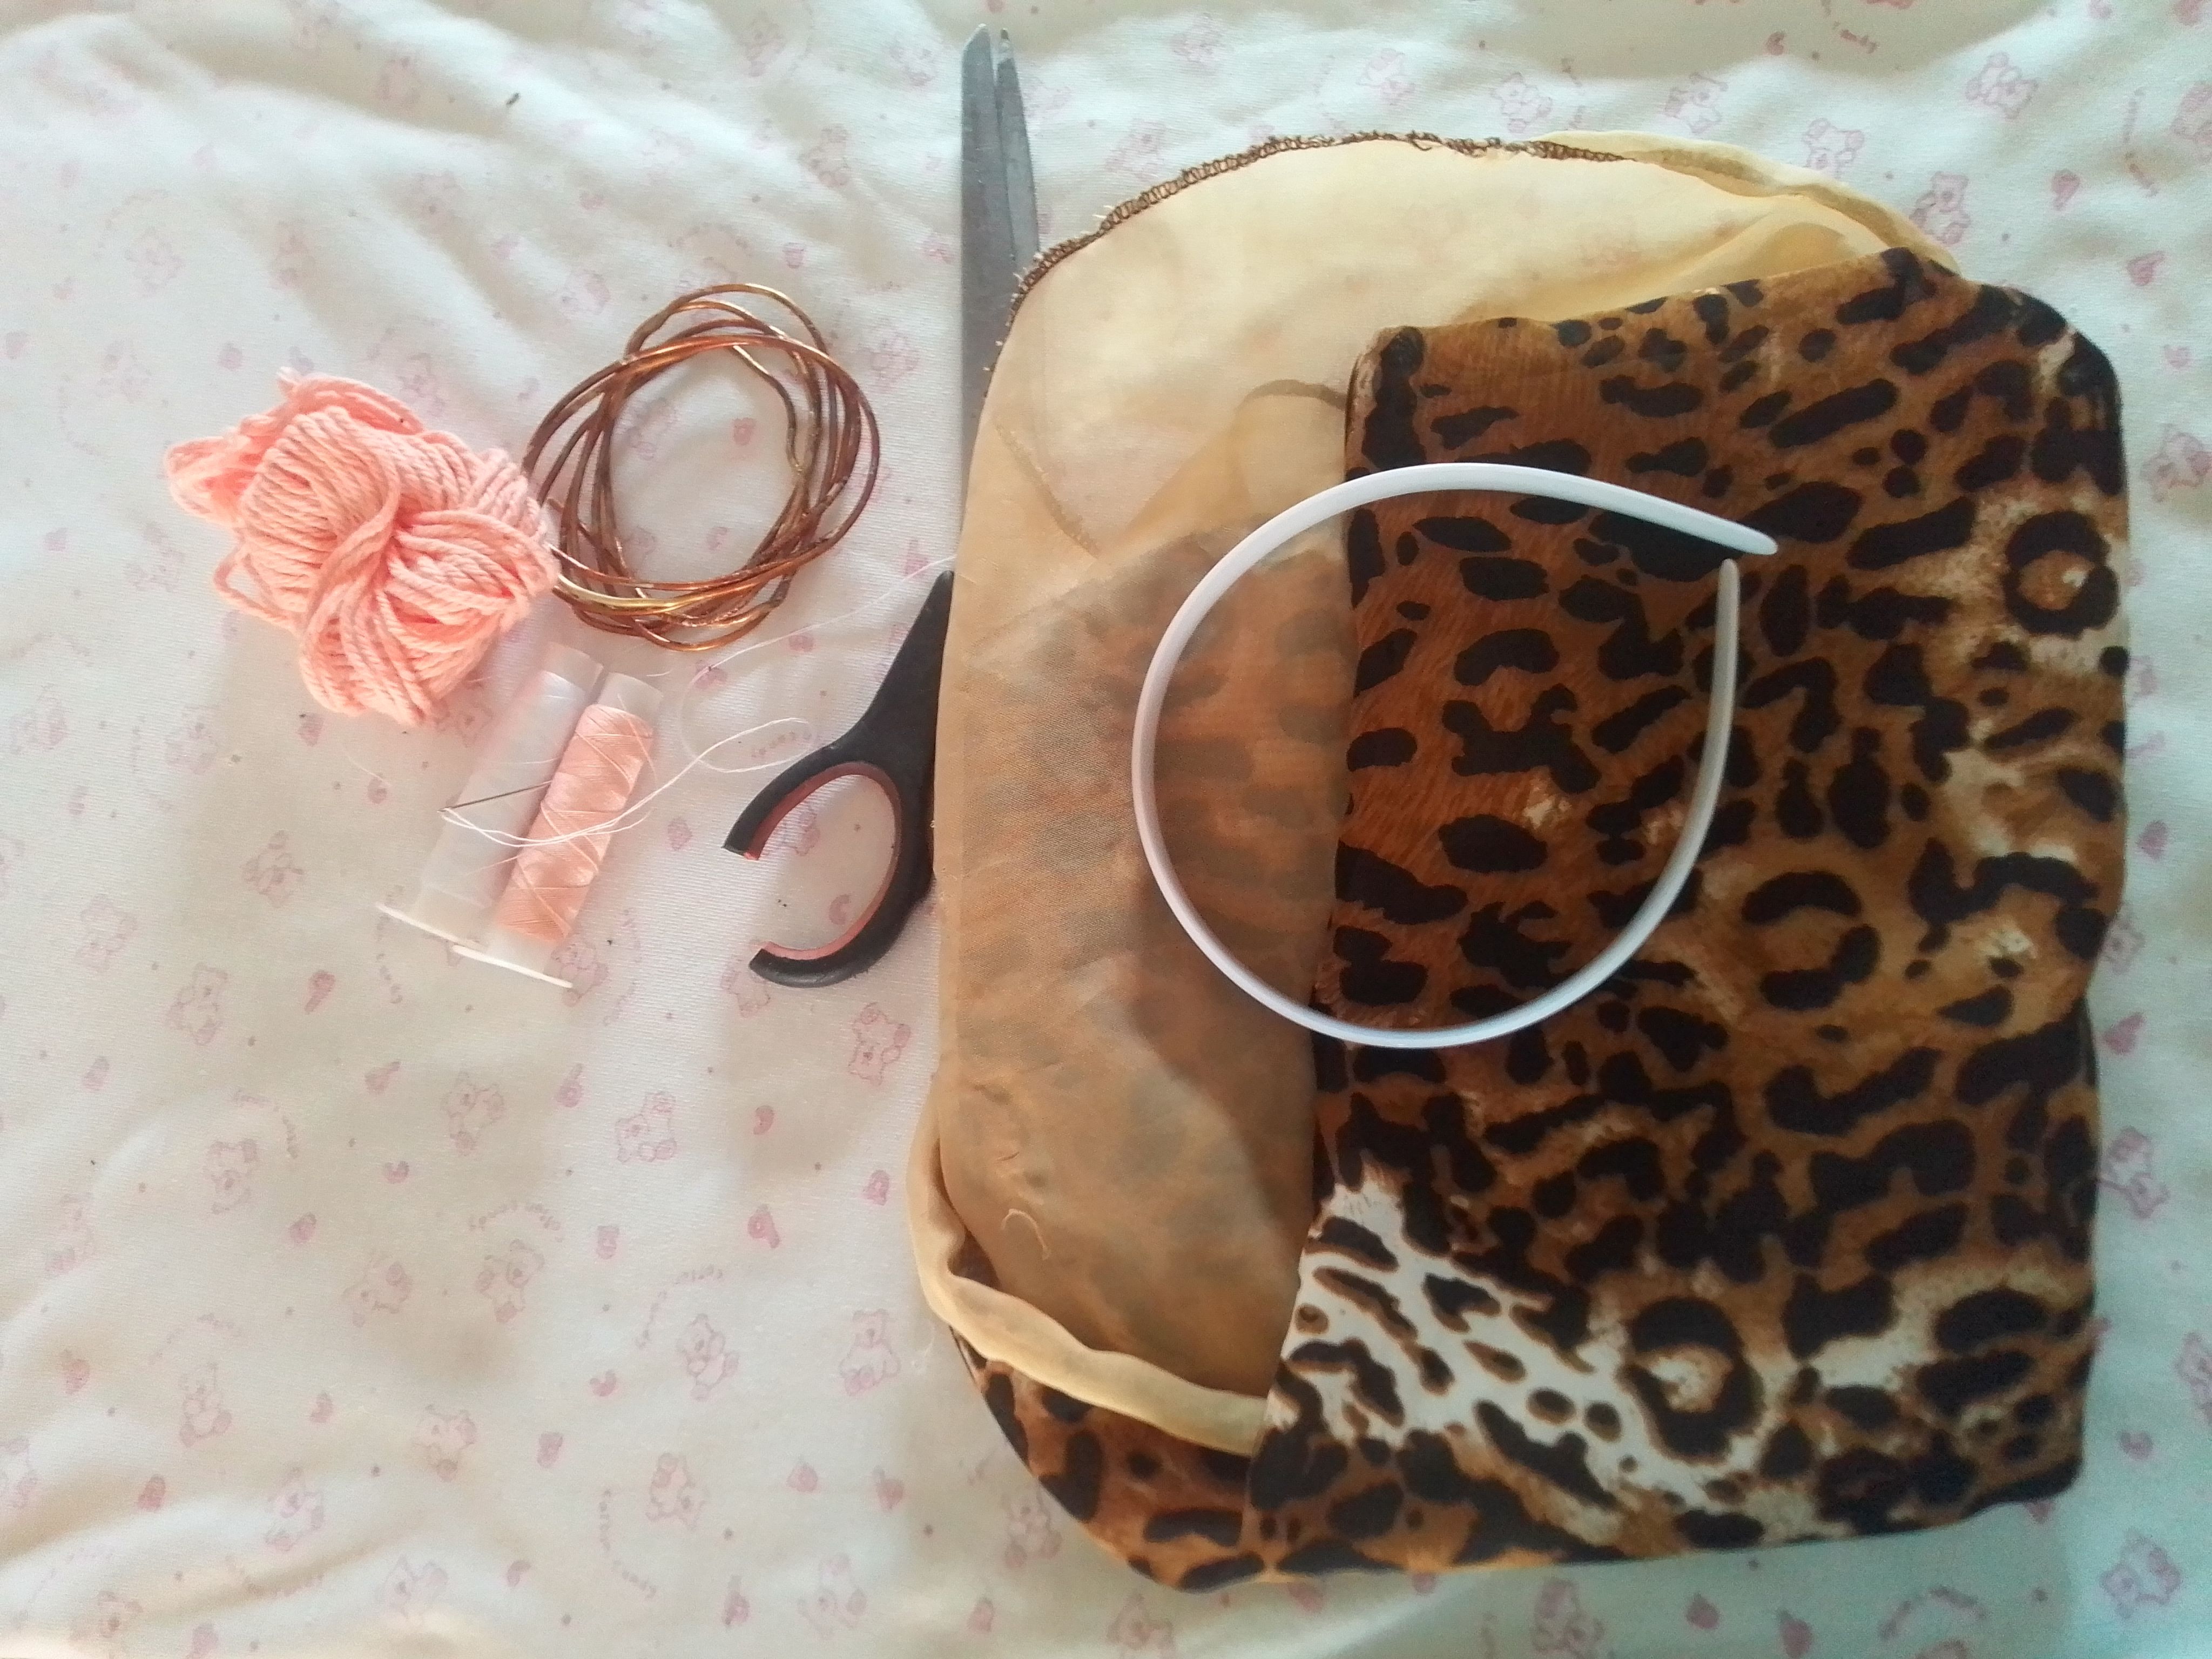
Materiales que necesitas:
- Tela estampada de animal print
- Tijeras.
- Hilo y aguja.
- Alambre de aluminio.
- Cintillo de metal o plástico.
- Estambre.
Materials you need:
- Animal print fabric
- Scissors.
- Thread and needle.
- Aluminum wire.
- Metal or plastic headband.
- Stamen.
(PROCEDIMIENTO)
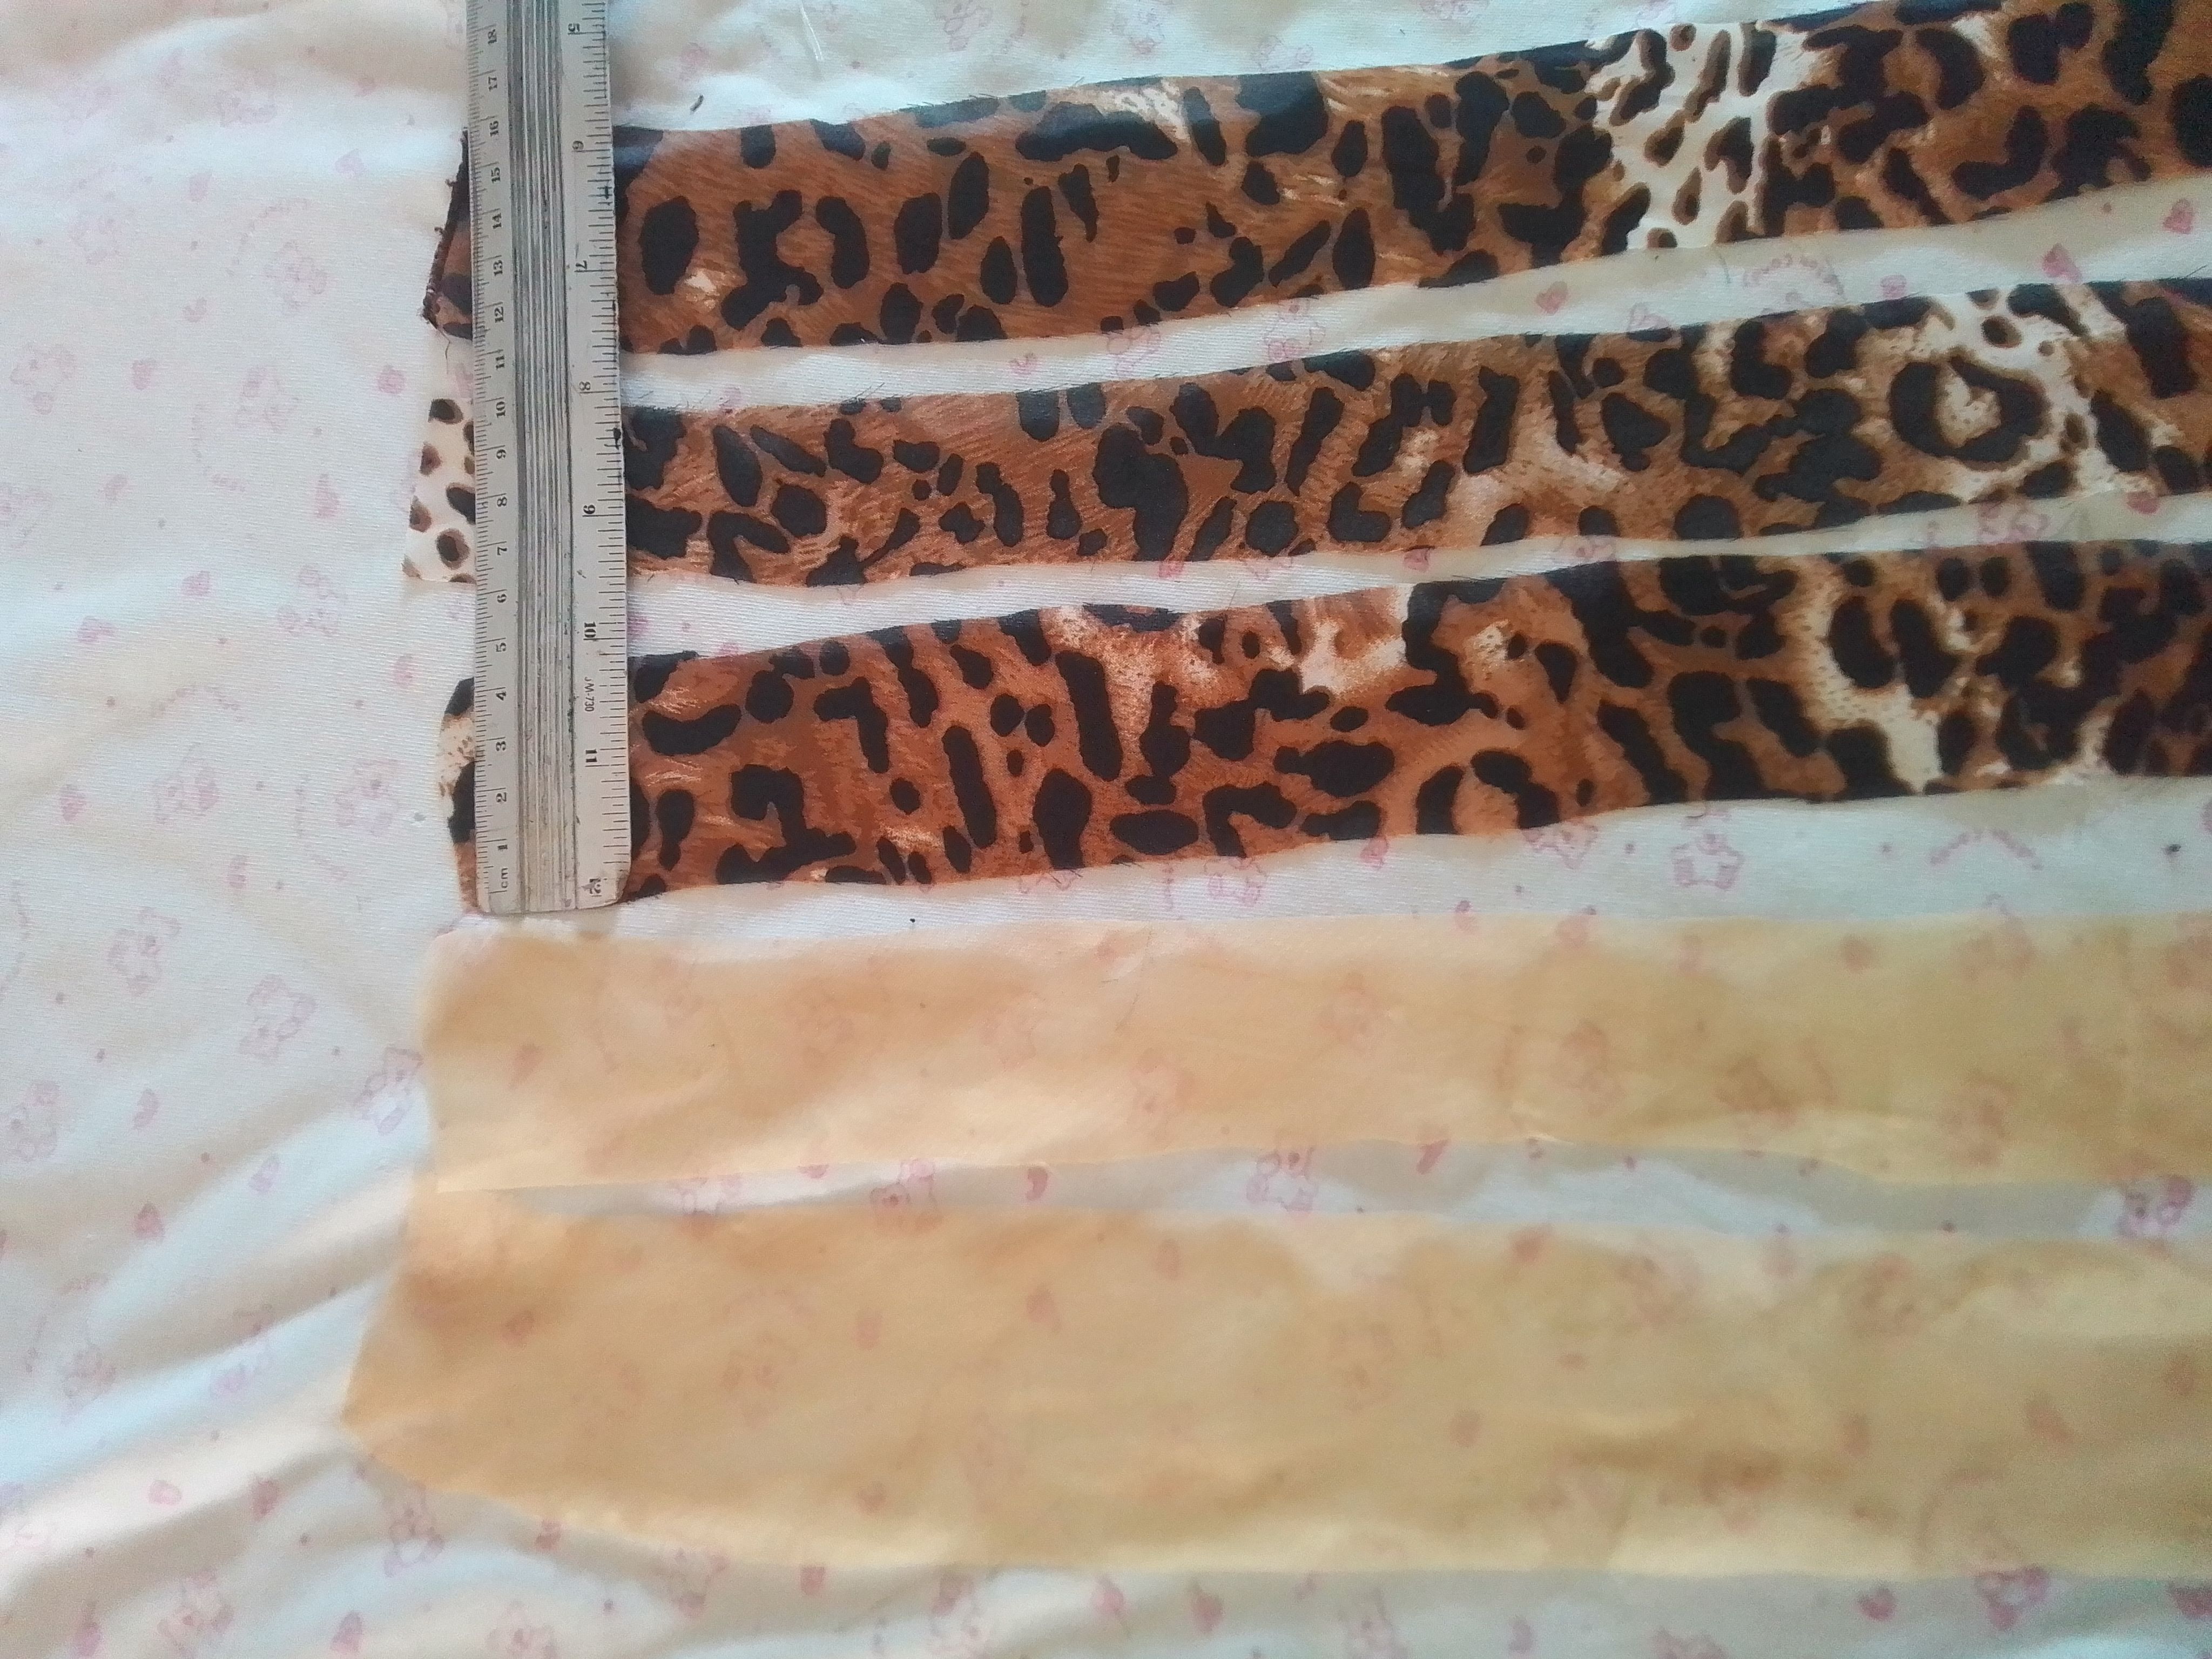
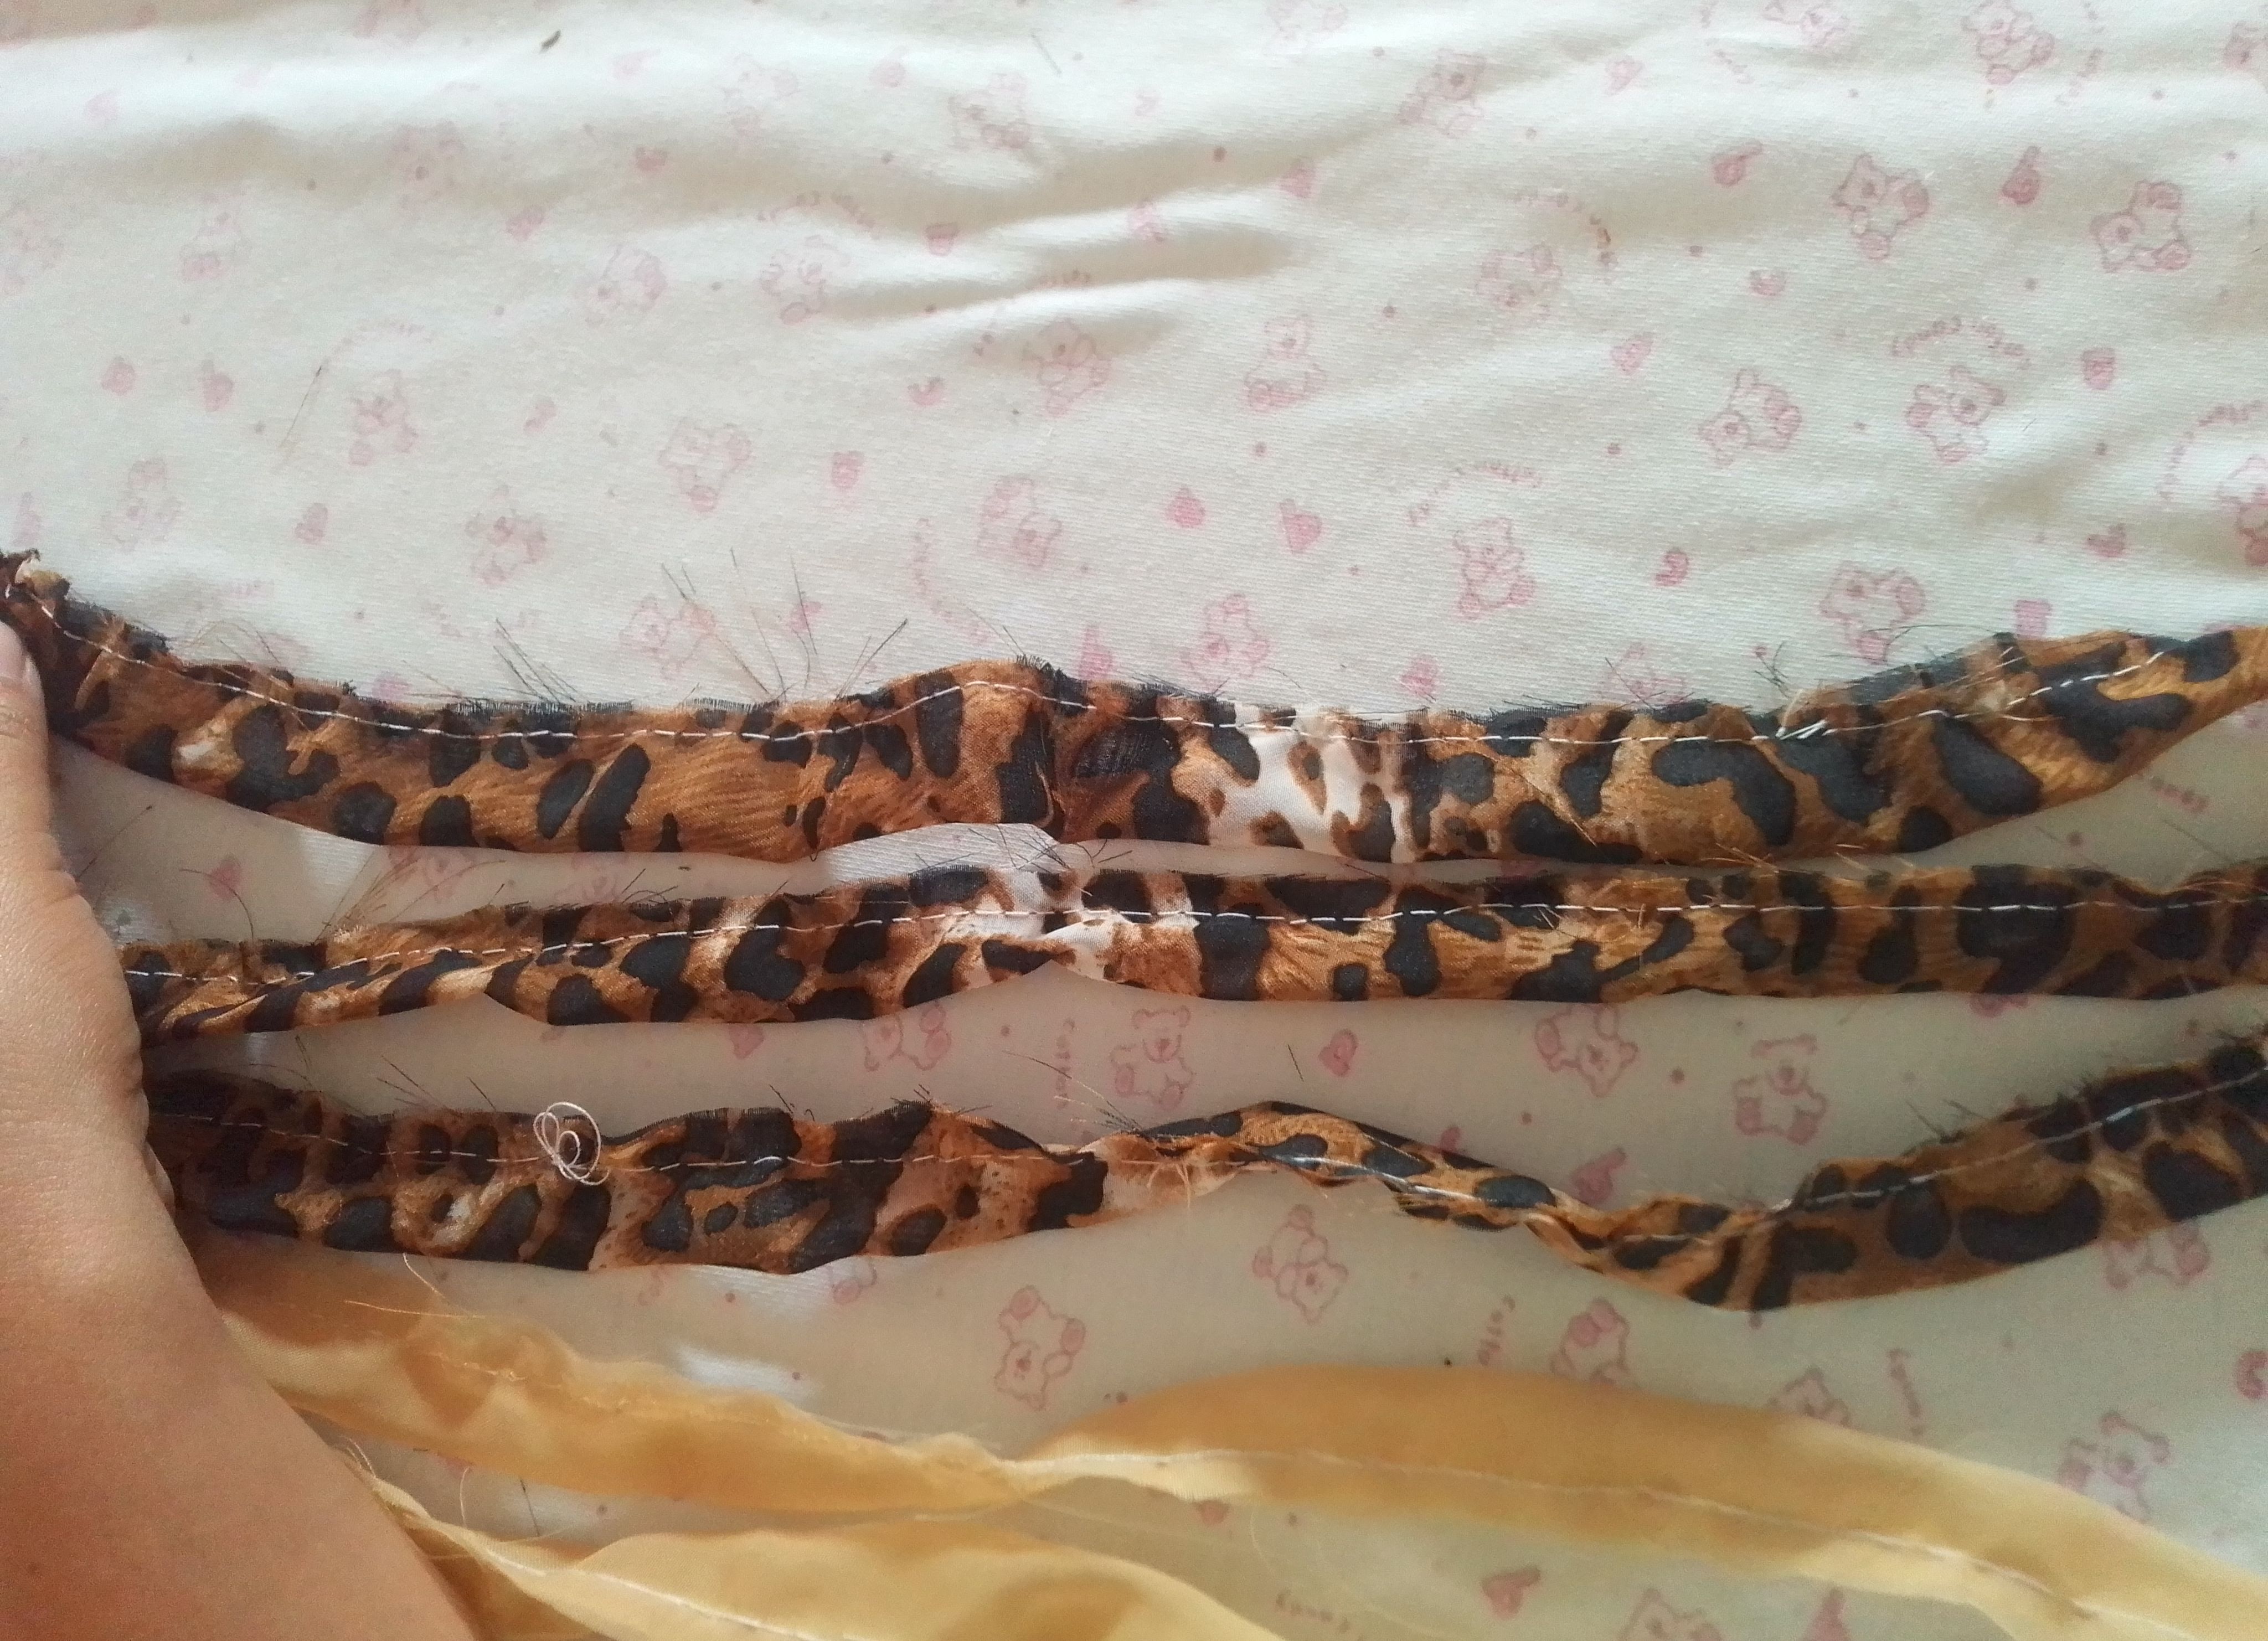
Paso 01
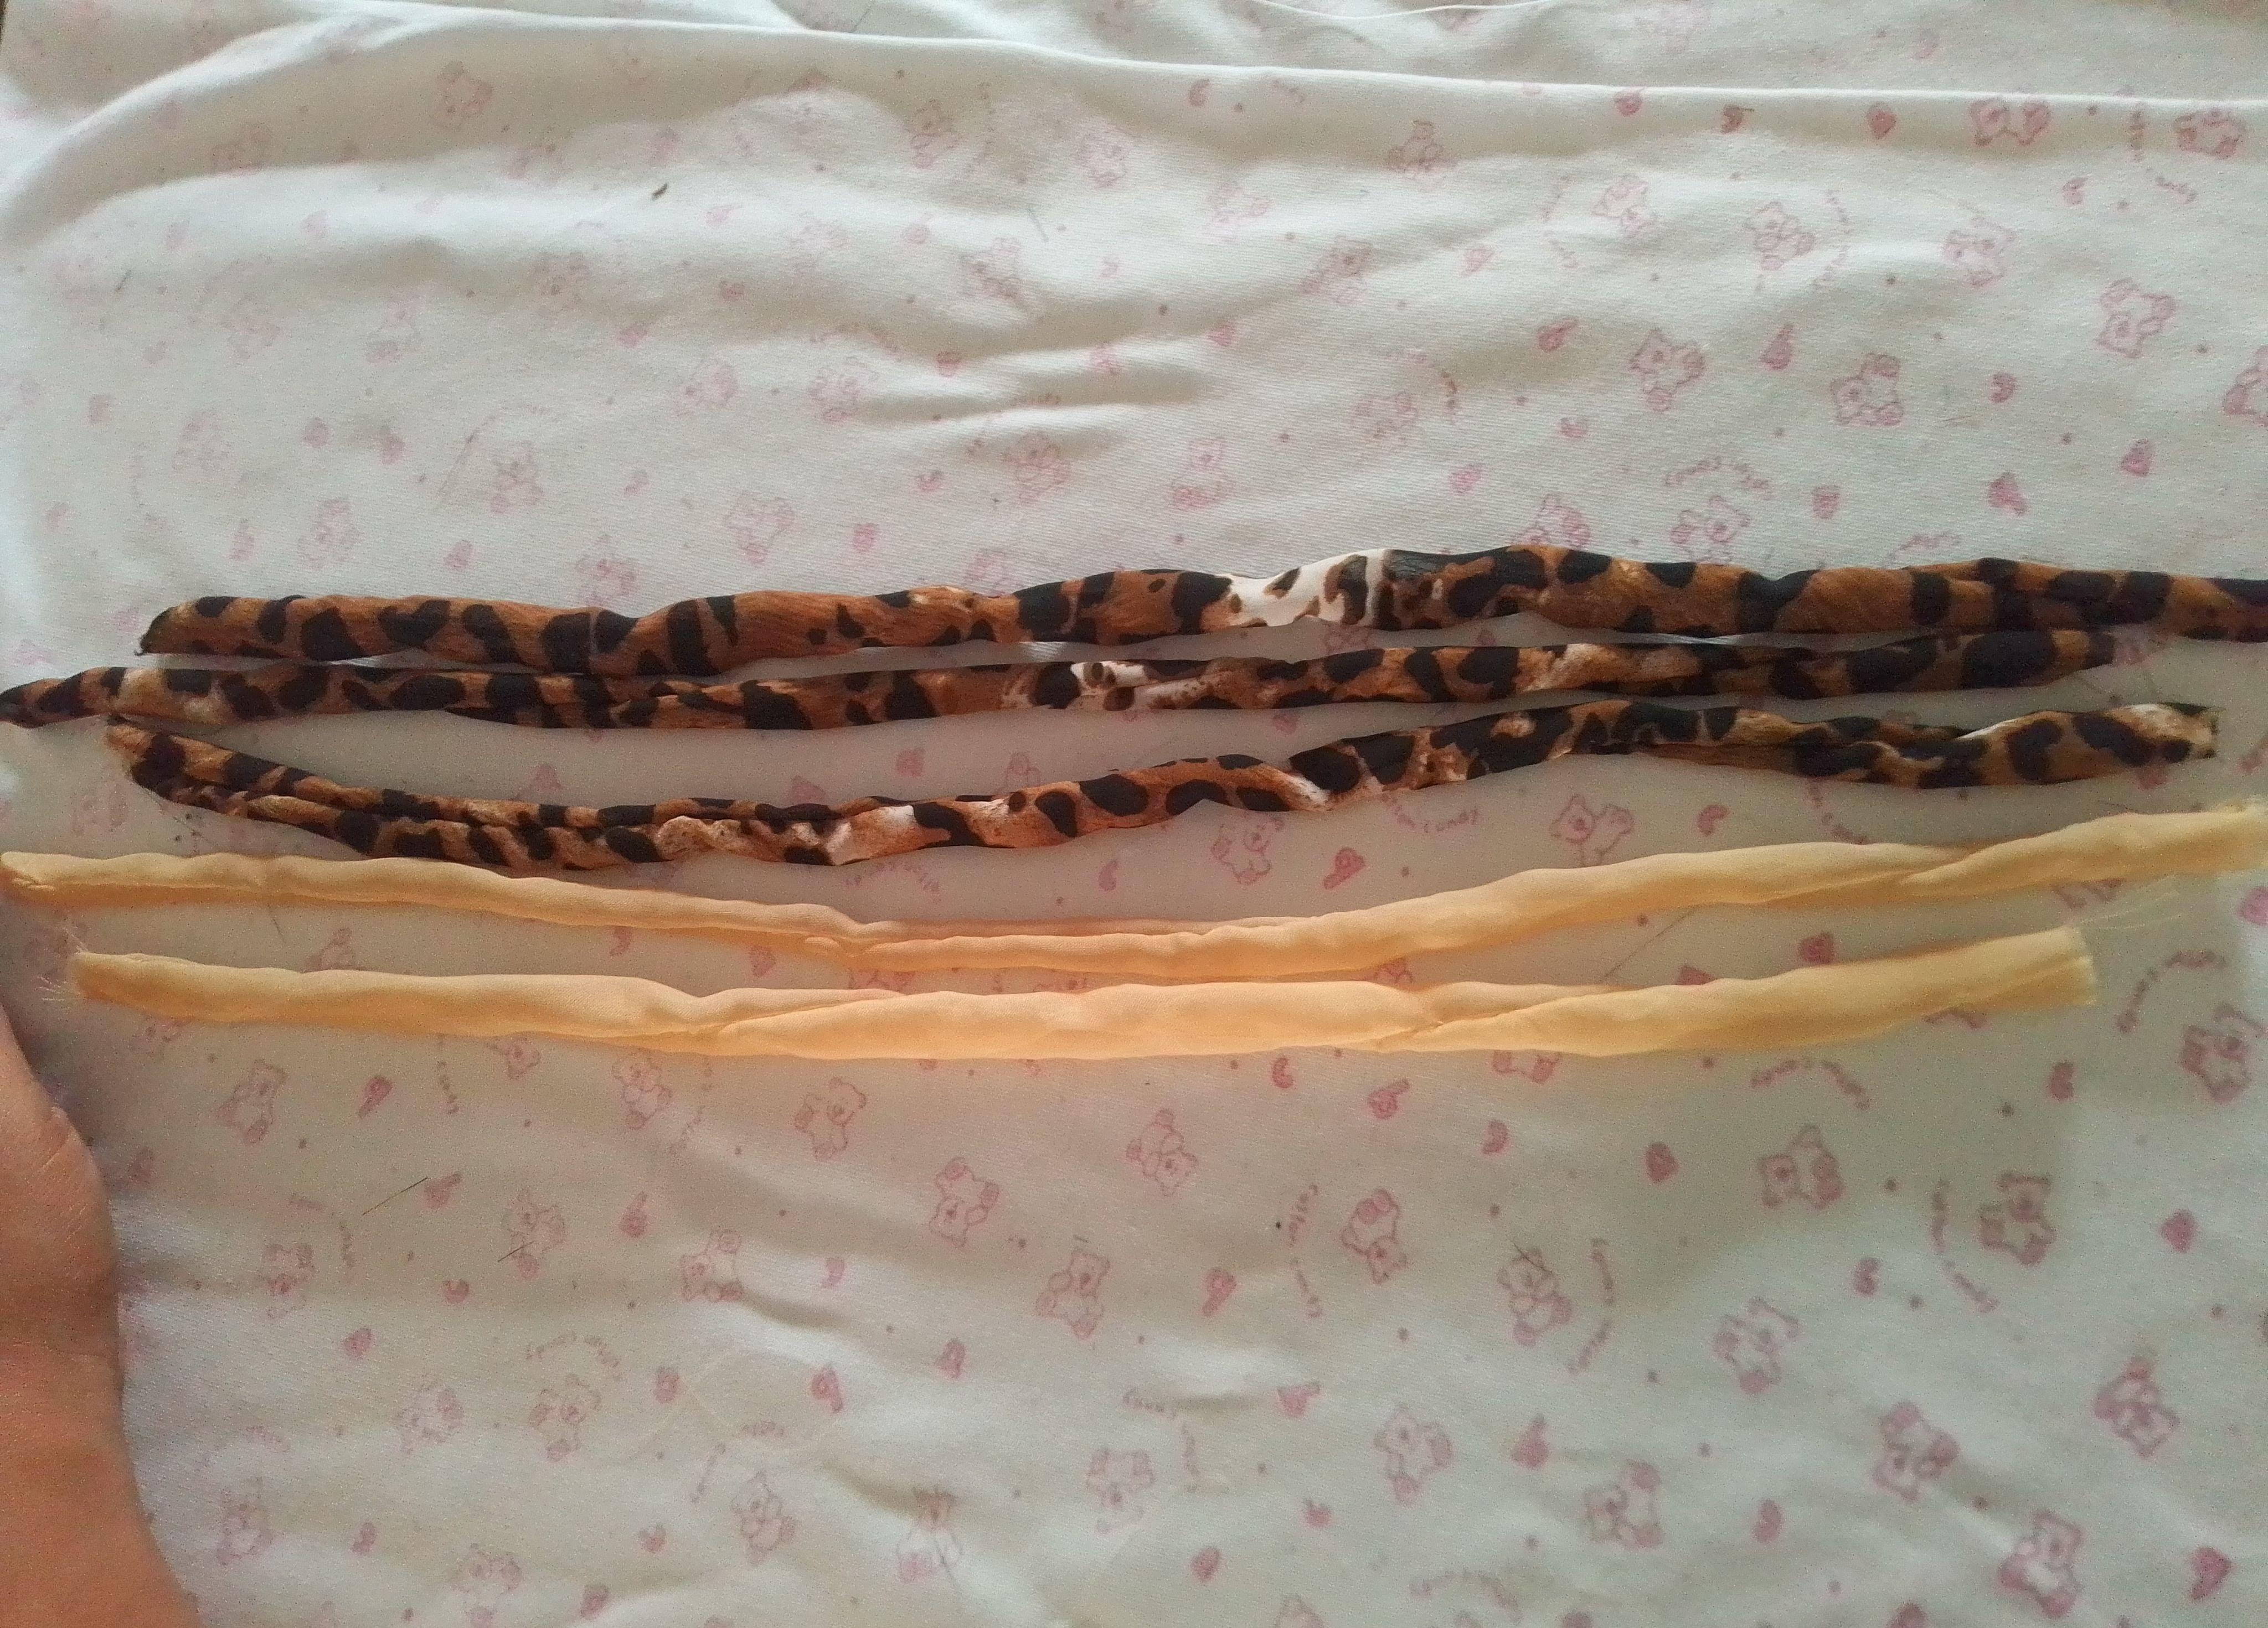
Iniciamos cortando 4 tiras de tela de 3 como de ancho por una previa medida del tamaño del cintillo. Cortamos una quinta tira dependiendo de grosor de cintillo que utilizaremos como base. Luego las doblamos a la mitad y cosemos en dirección recta.
Step 01
We start by cutting 4 strips of fabric 3 as wide by a previous measurement of the size of the headband. We cut a fifth strip depending on the thickness of the headband that we will use as a base. Then we fold them in half and sew straight.
Paso 02
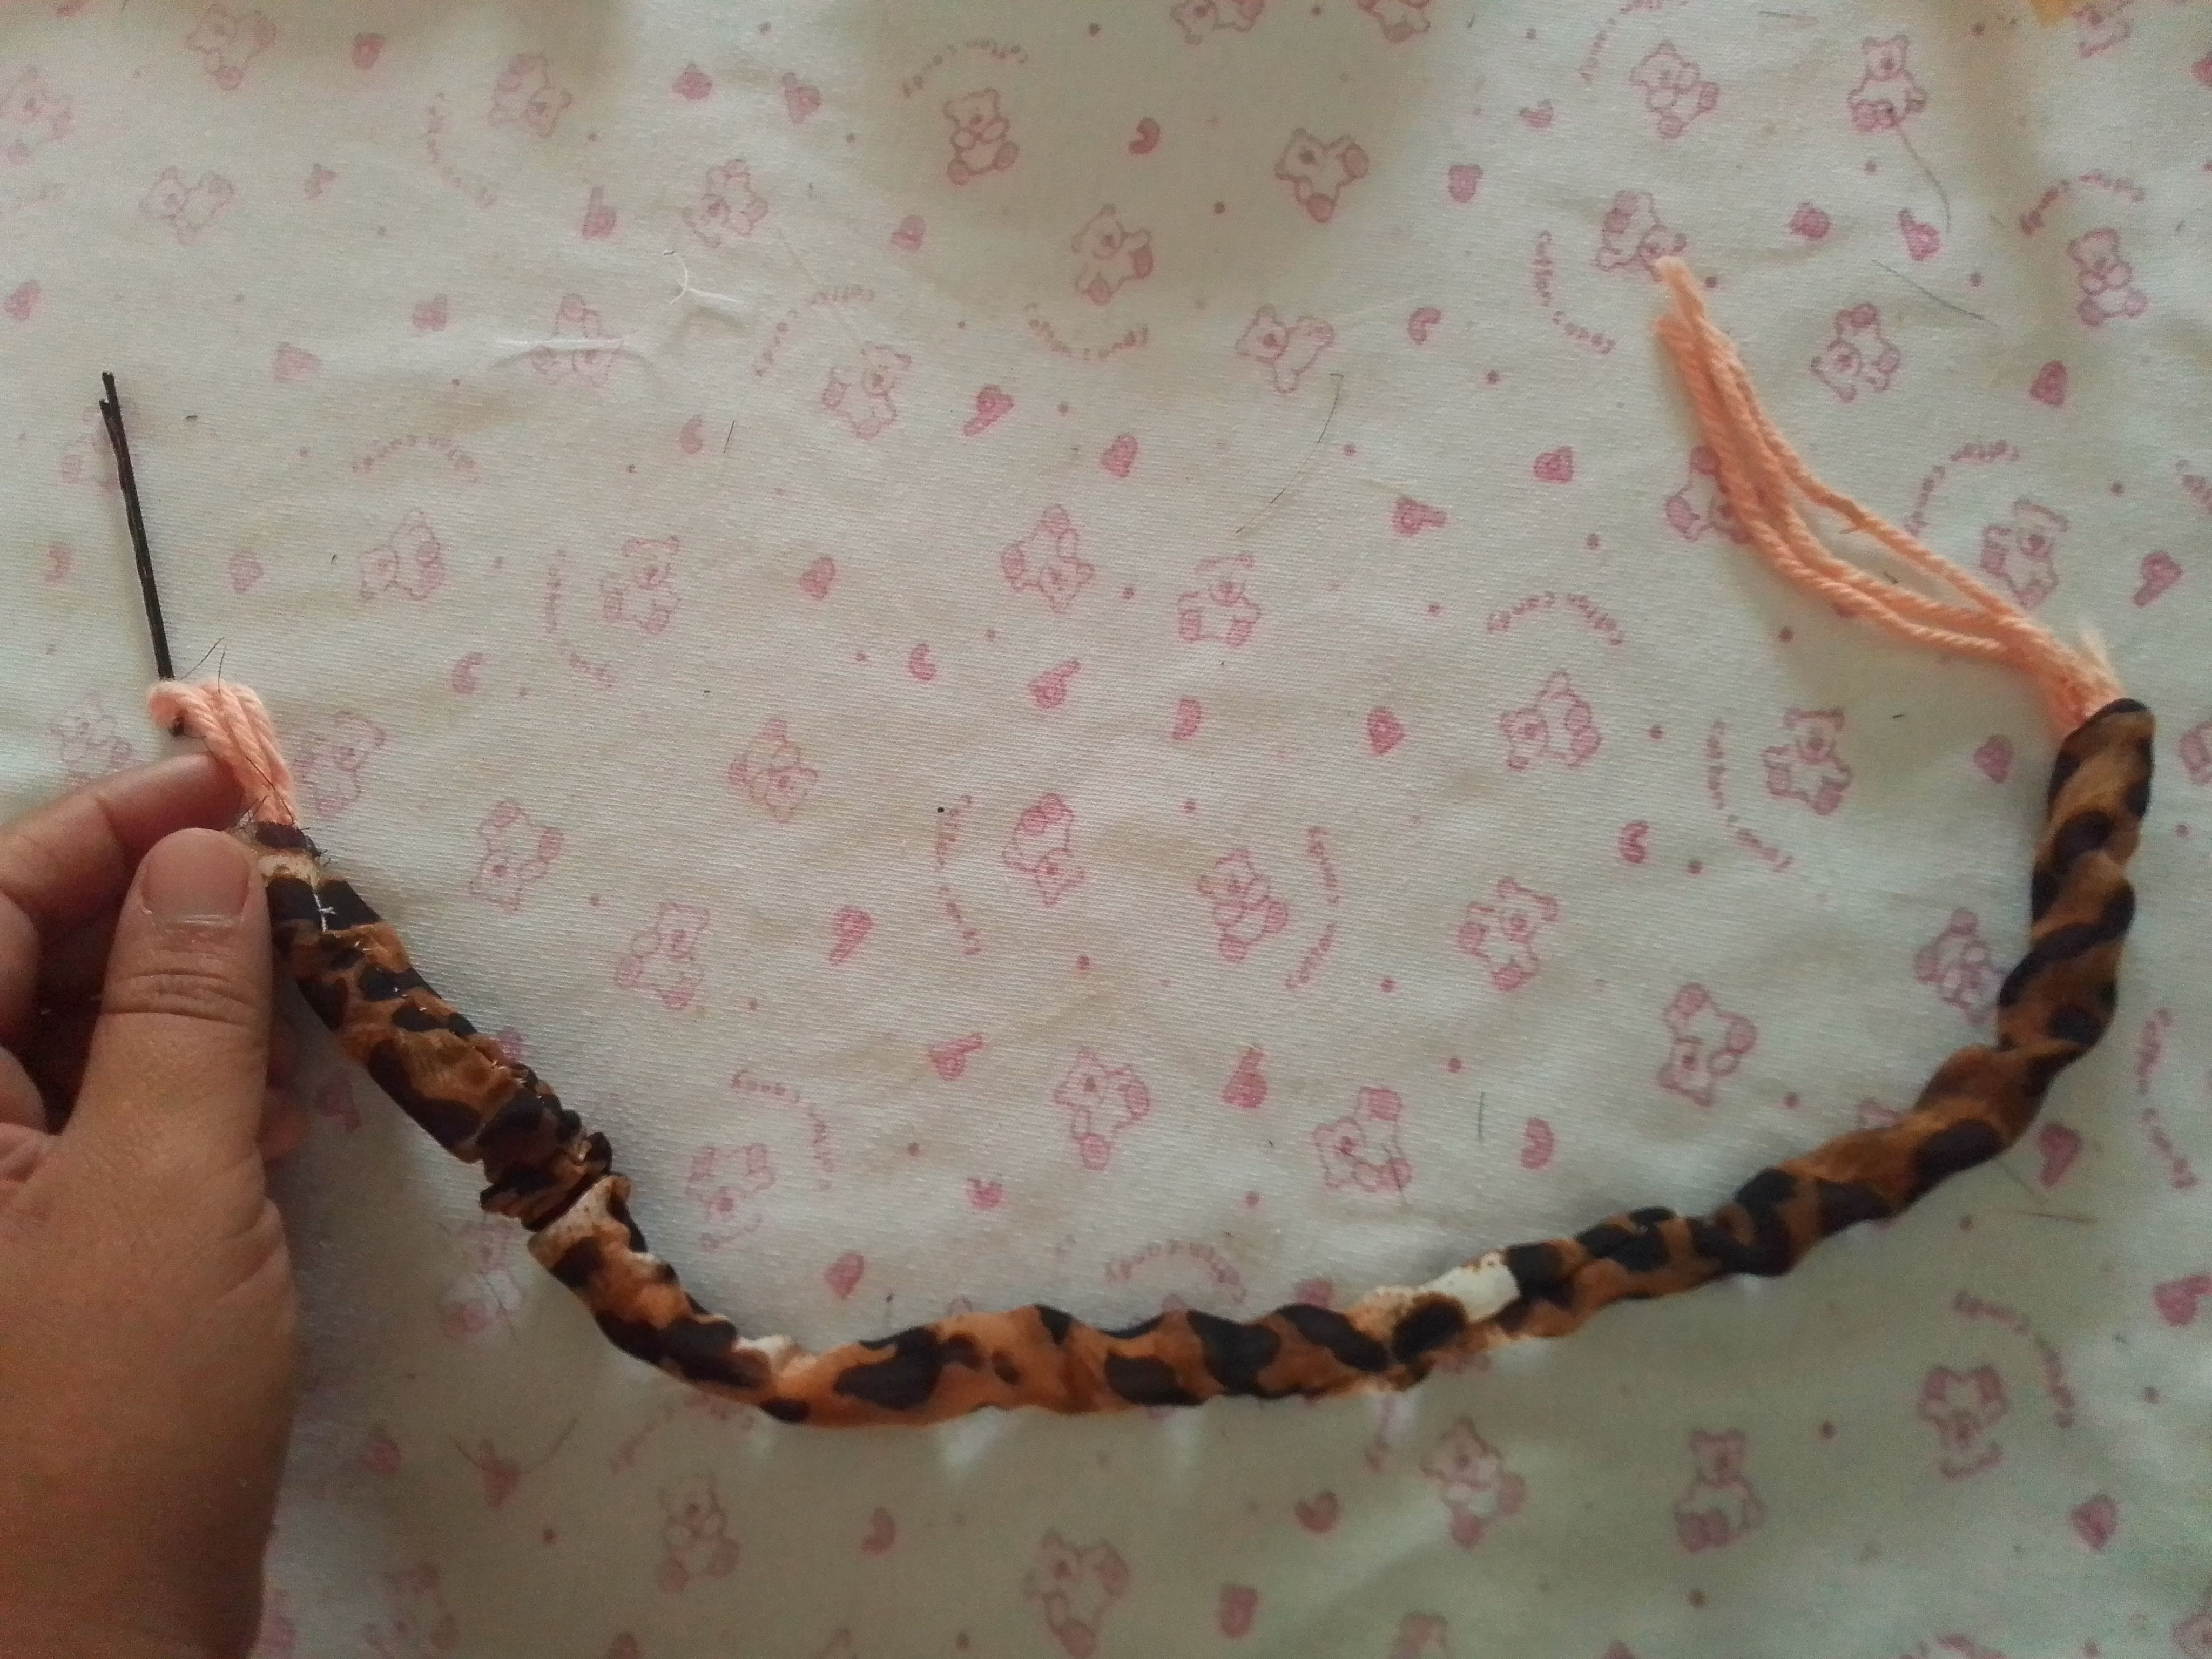
Luego de esto, tomamos todas las tira y la giramos o volteamos a su lado derecho, en este paso me ayudó con un gancho de cabello para voltearlas. Luego preparamos tiras de estambre del mismo tamaño de las tiras, si no tienes estambre puedes utilizar relleno o tiras de tela que no estiren.
Step 02
After this, we took all the strips and flipped them to their right side, in this step he helped me with a hair clip to flip them. Then we prepare yarn strips of the same size as the strips, if you don't have a print you can use padding or fabric strips that don't stretch.

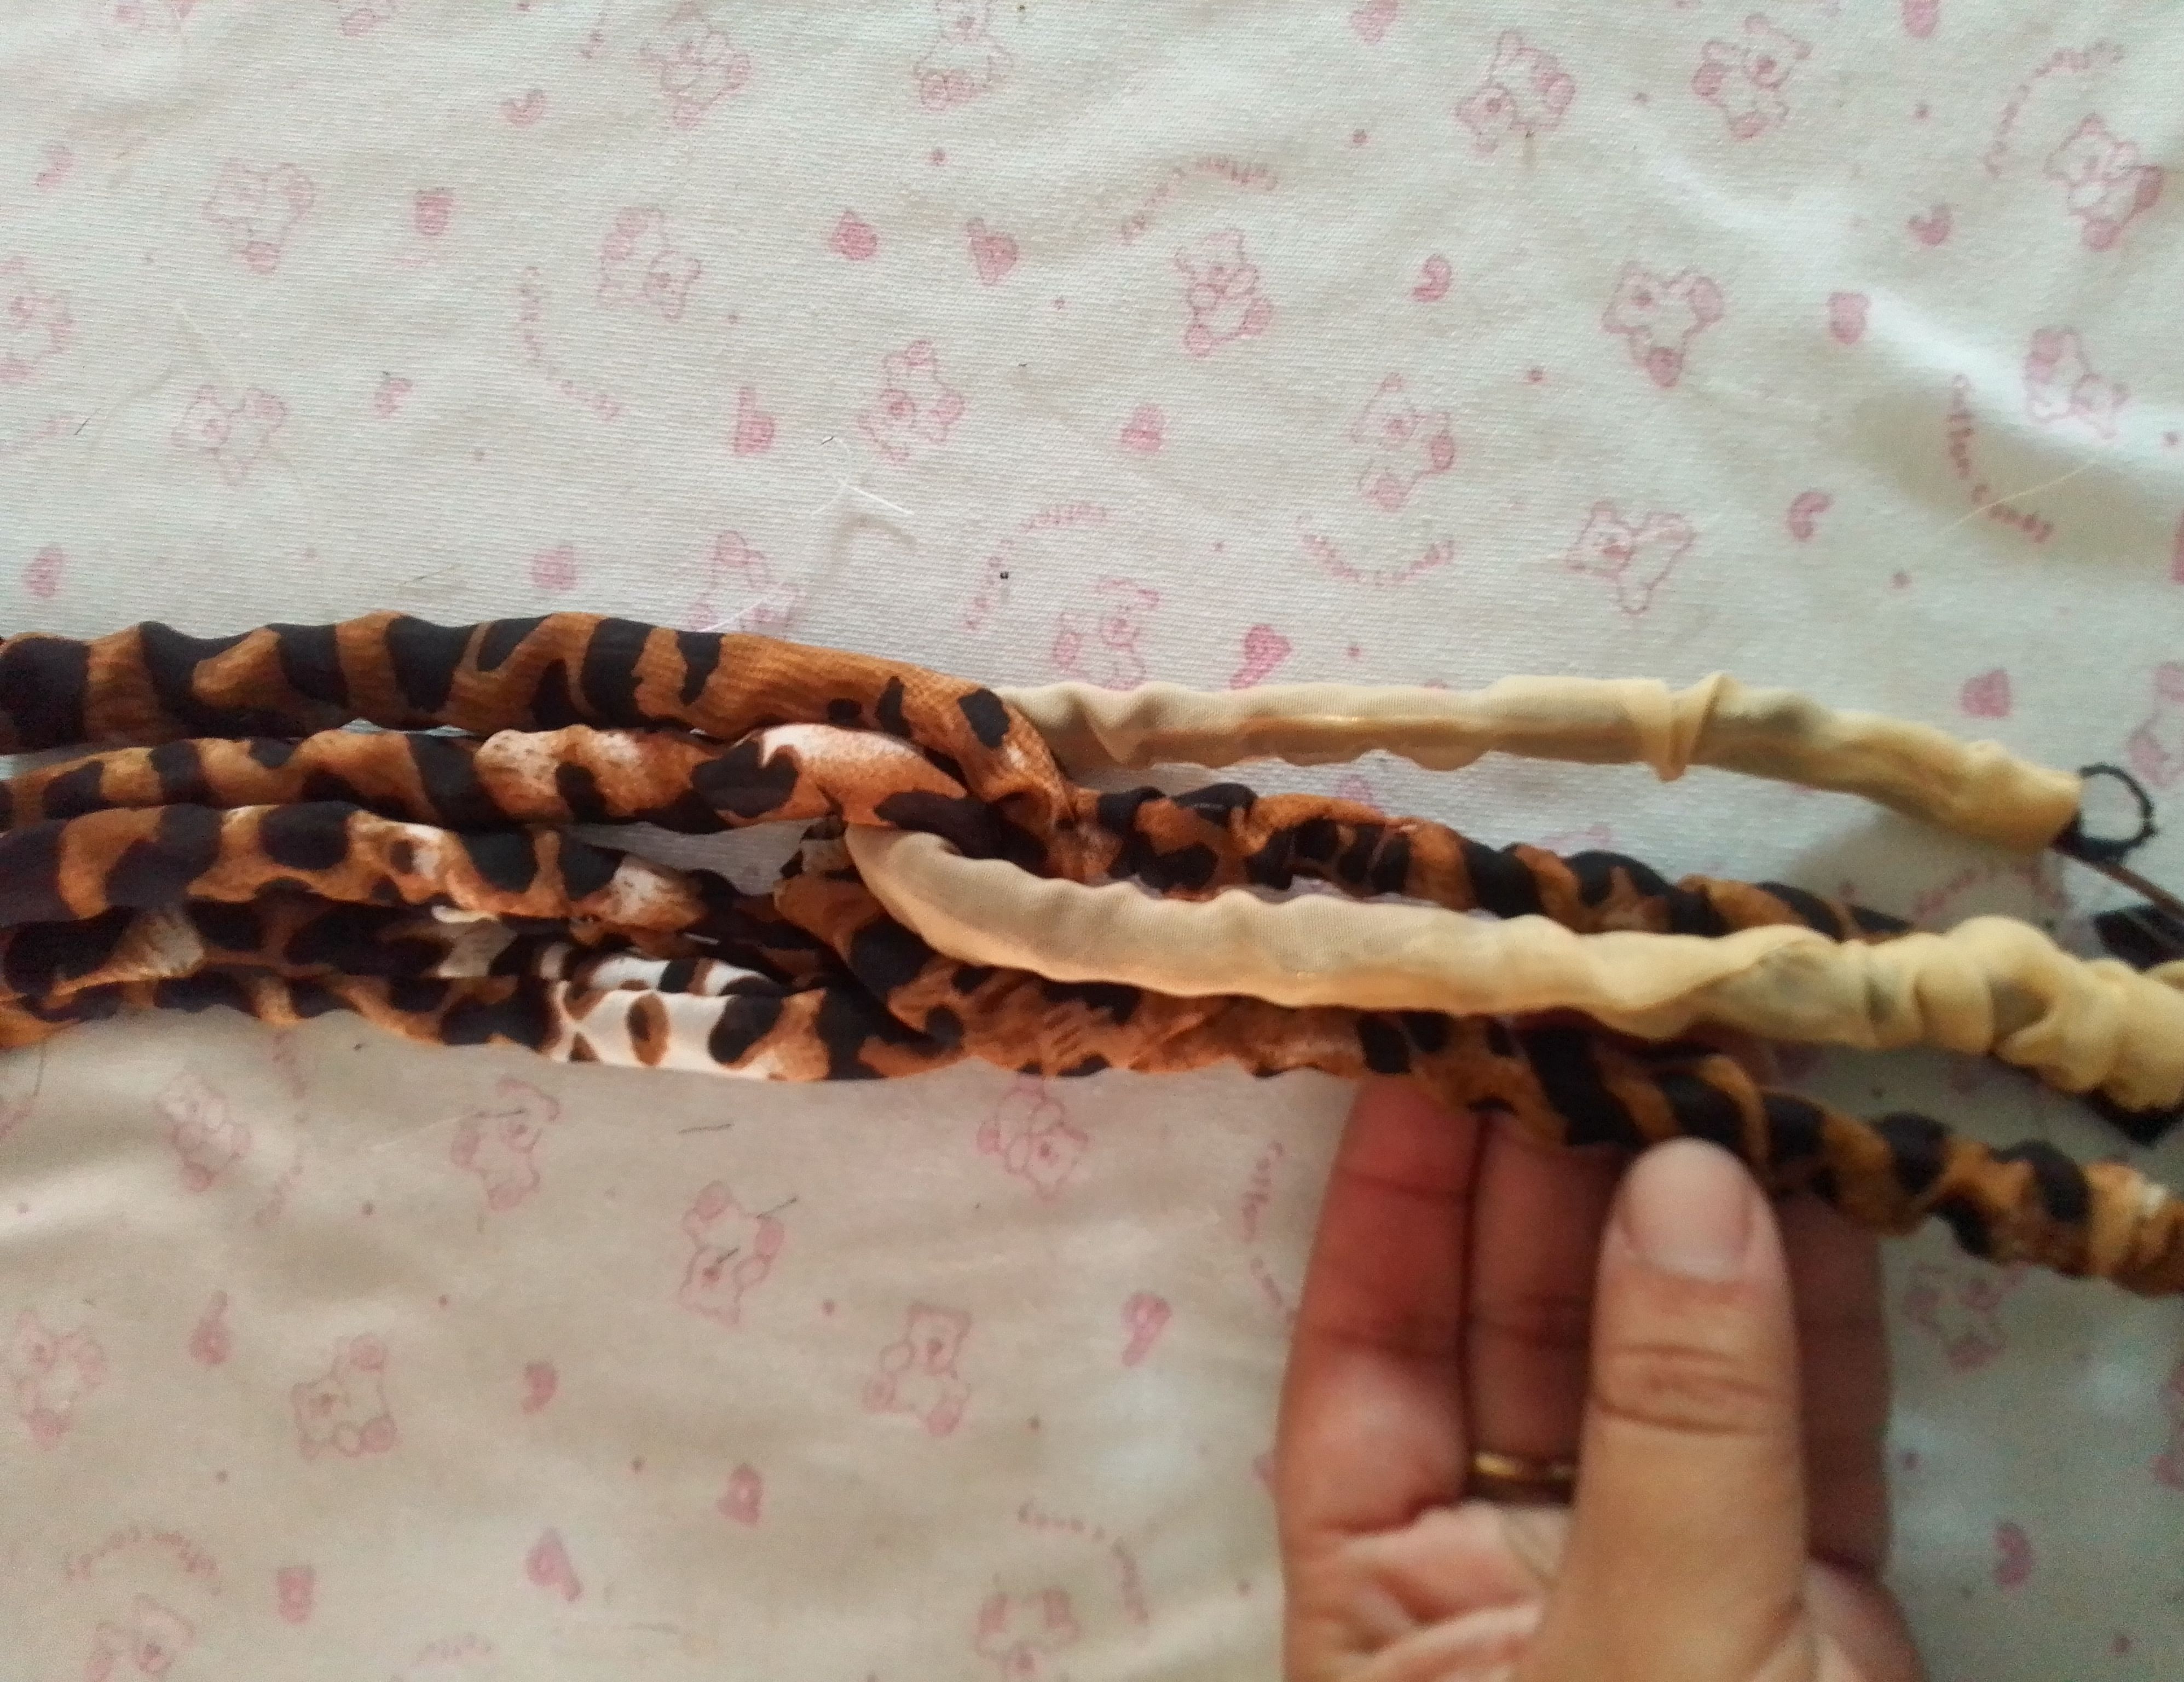
Paso 03
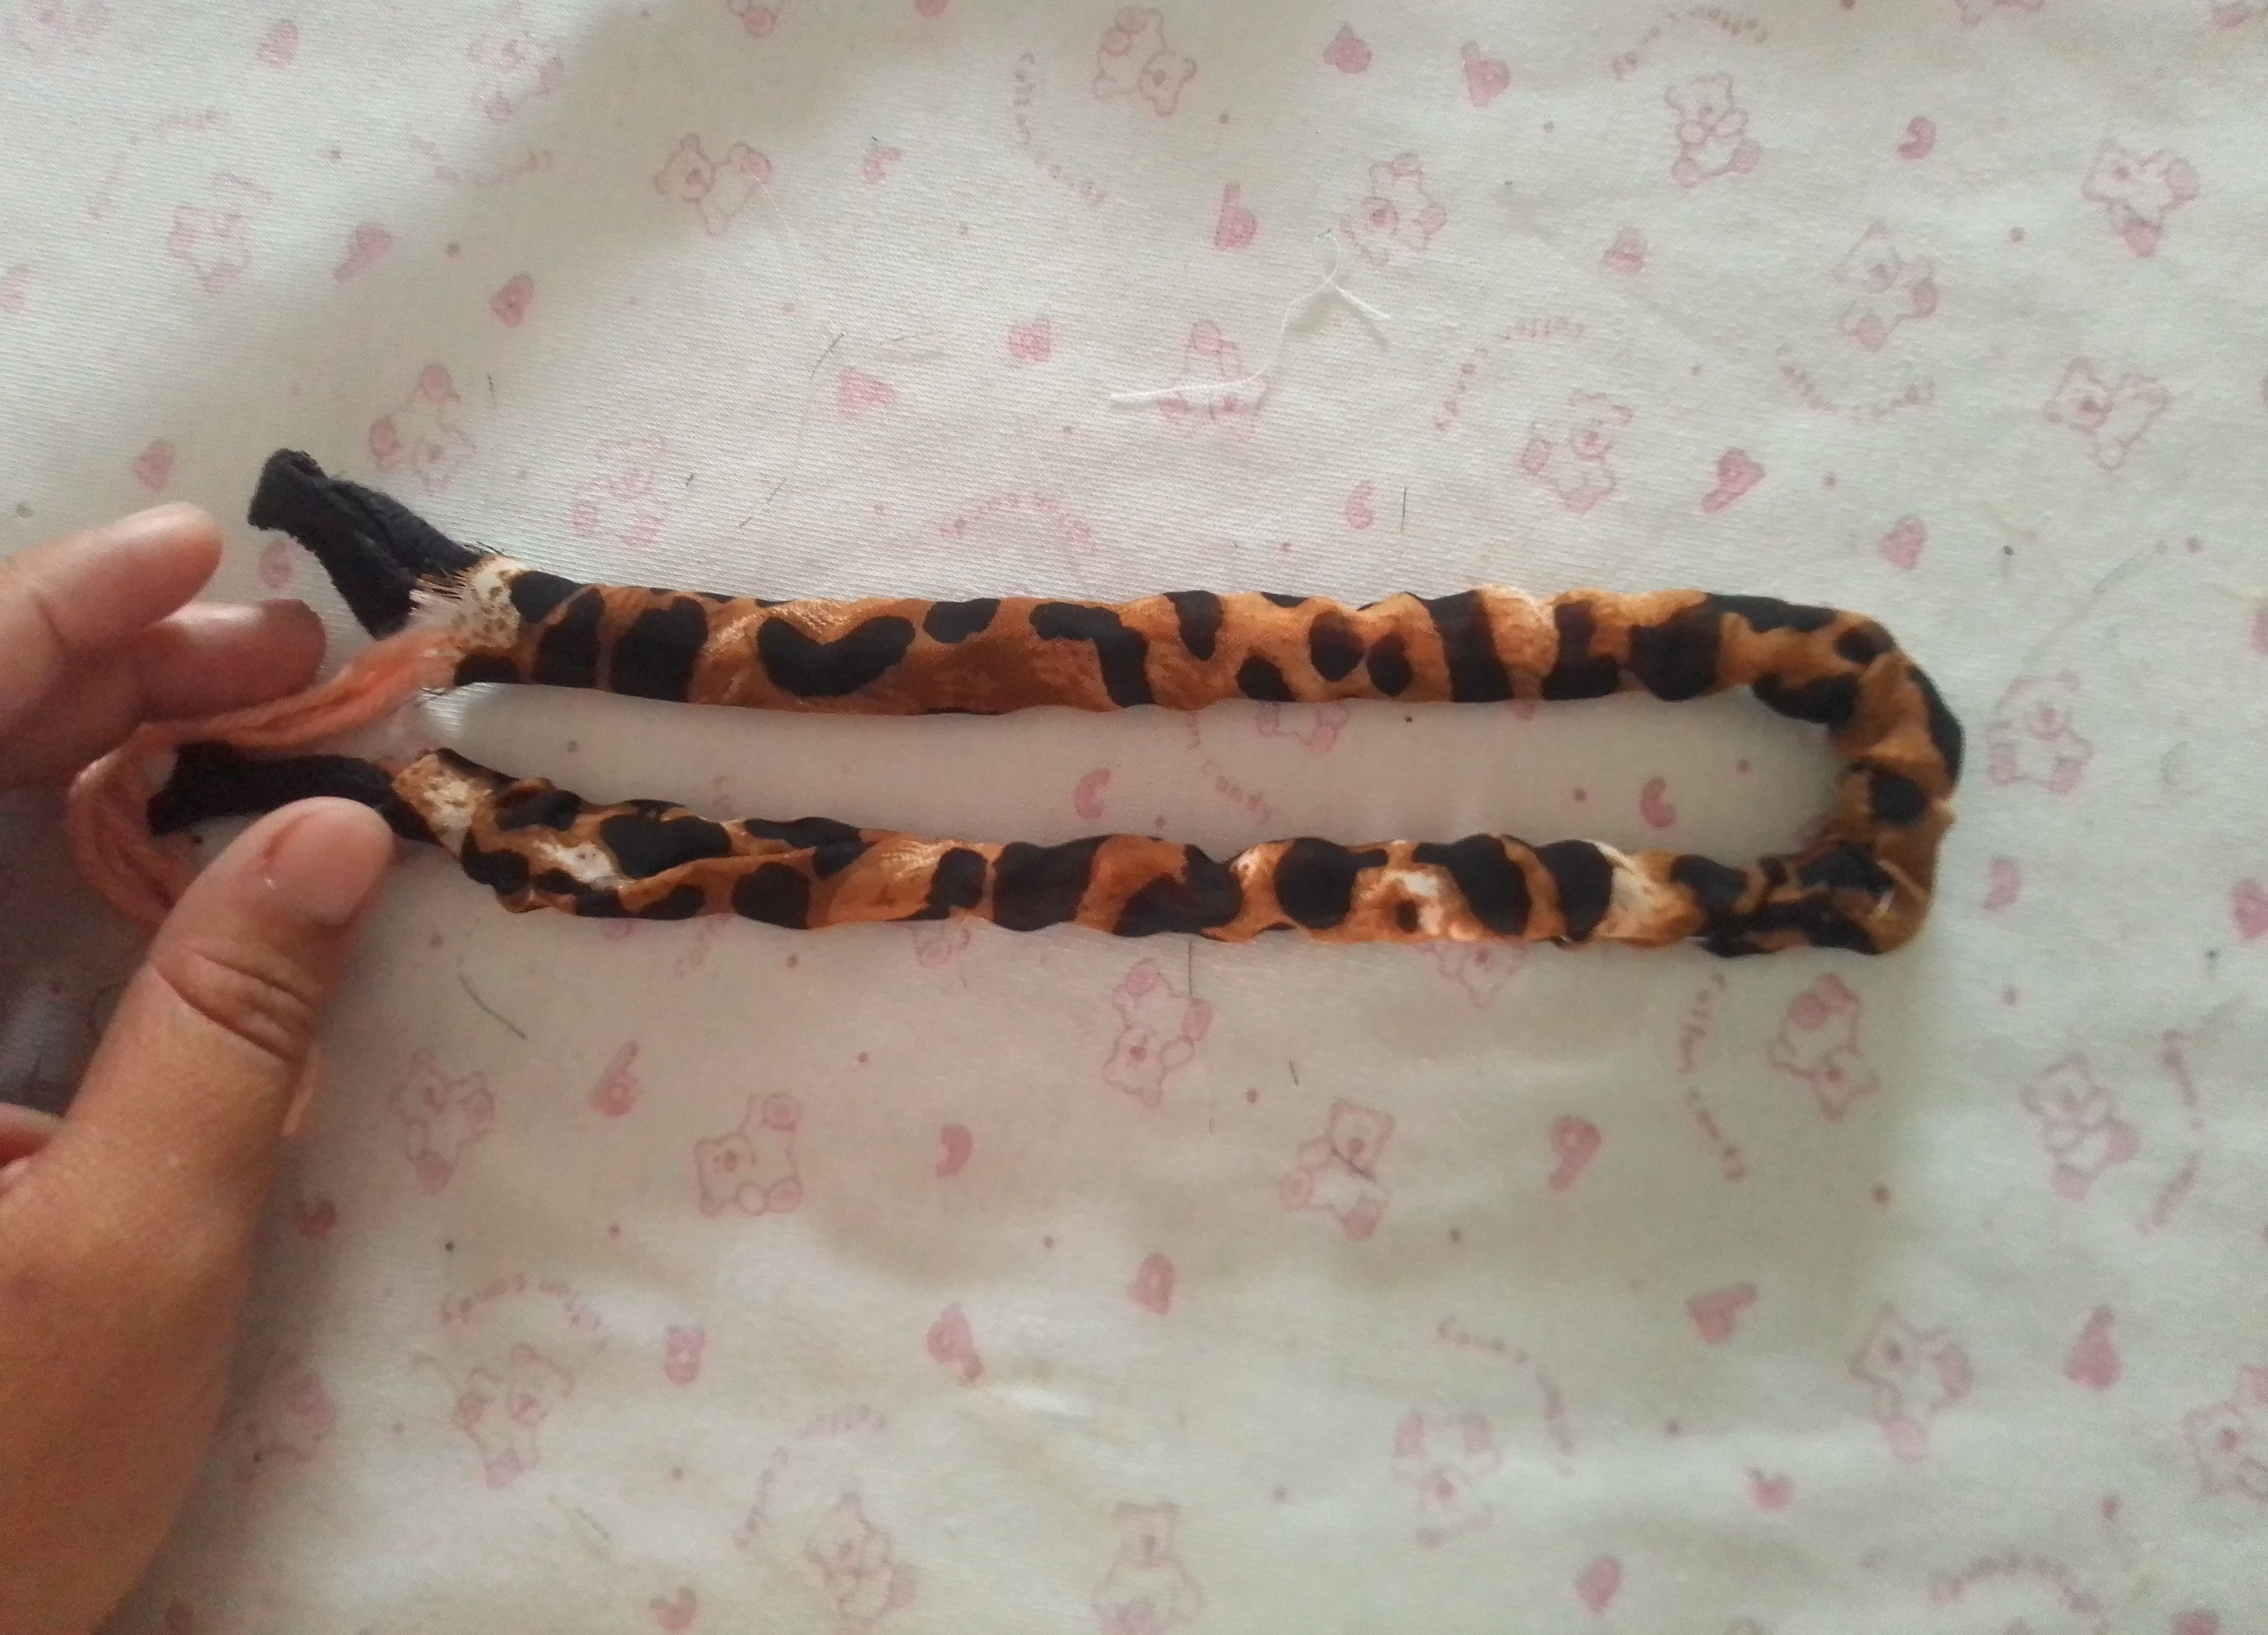
Luego empiezo a introcurlos por cada tira para darle volumen a la diadema, inserta tantas tiras de alambres hasta obtener el grosor de cada tira. Luego corta un trozo de alambre de aluminio y también introcucelo por las tiras para que estás luego puedan moldearse y hacer el cruzado. Teniendo todas las piezas listas, las doblare a la mitad tal como le verán en la segunda imagen de este paso.
Step 03
Then I begin to insert them for each strip to give volume to the headband, insert as many strips of wires until I obtain the thickness of each strip. Then cut a piece of aluminum wire and insert it through the strips so that they can be shaped and crossed. Having all the pieces ready, I will fold them in half as you will see in the second image of this step.
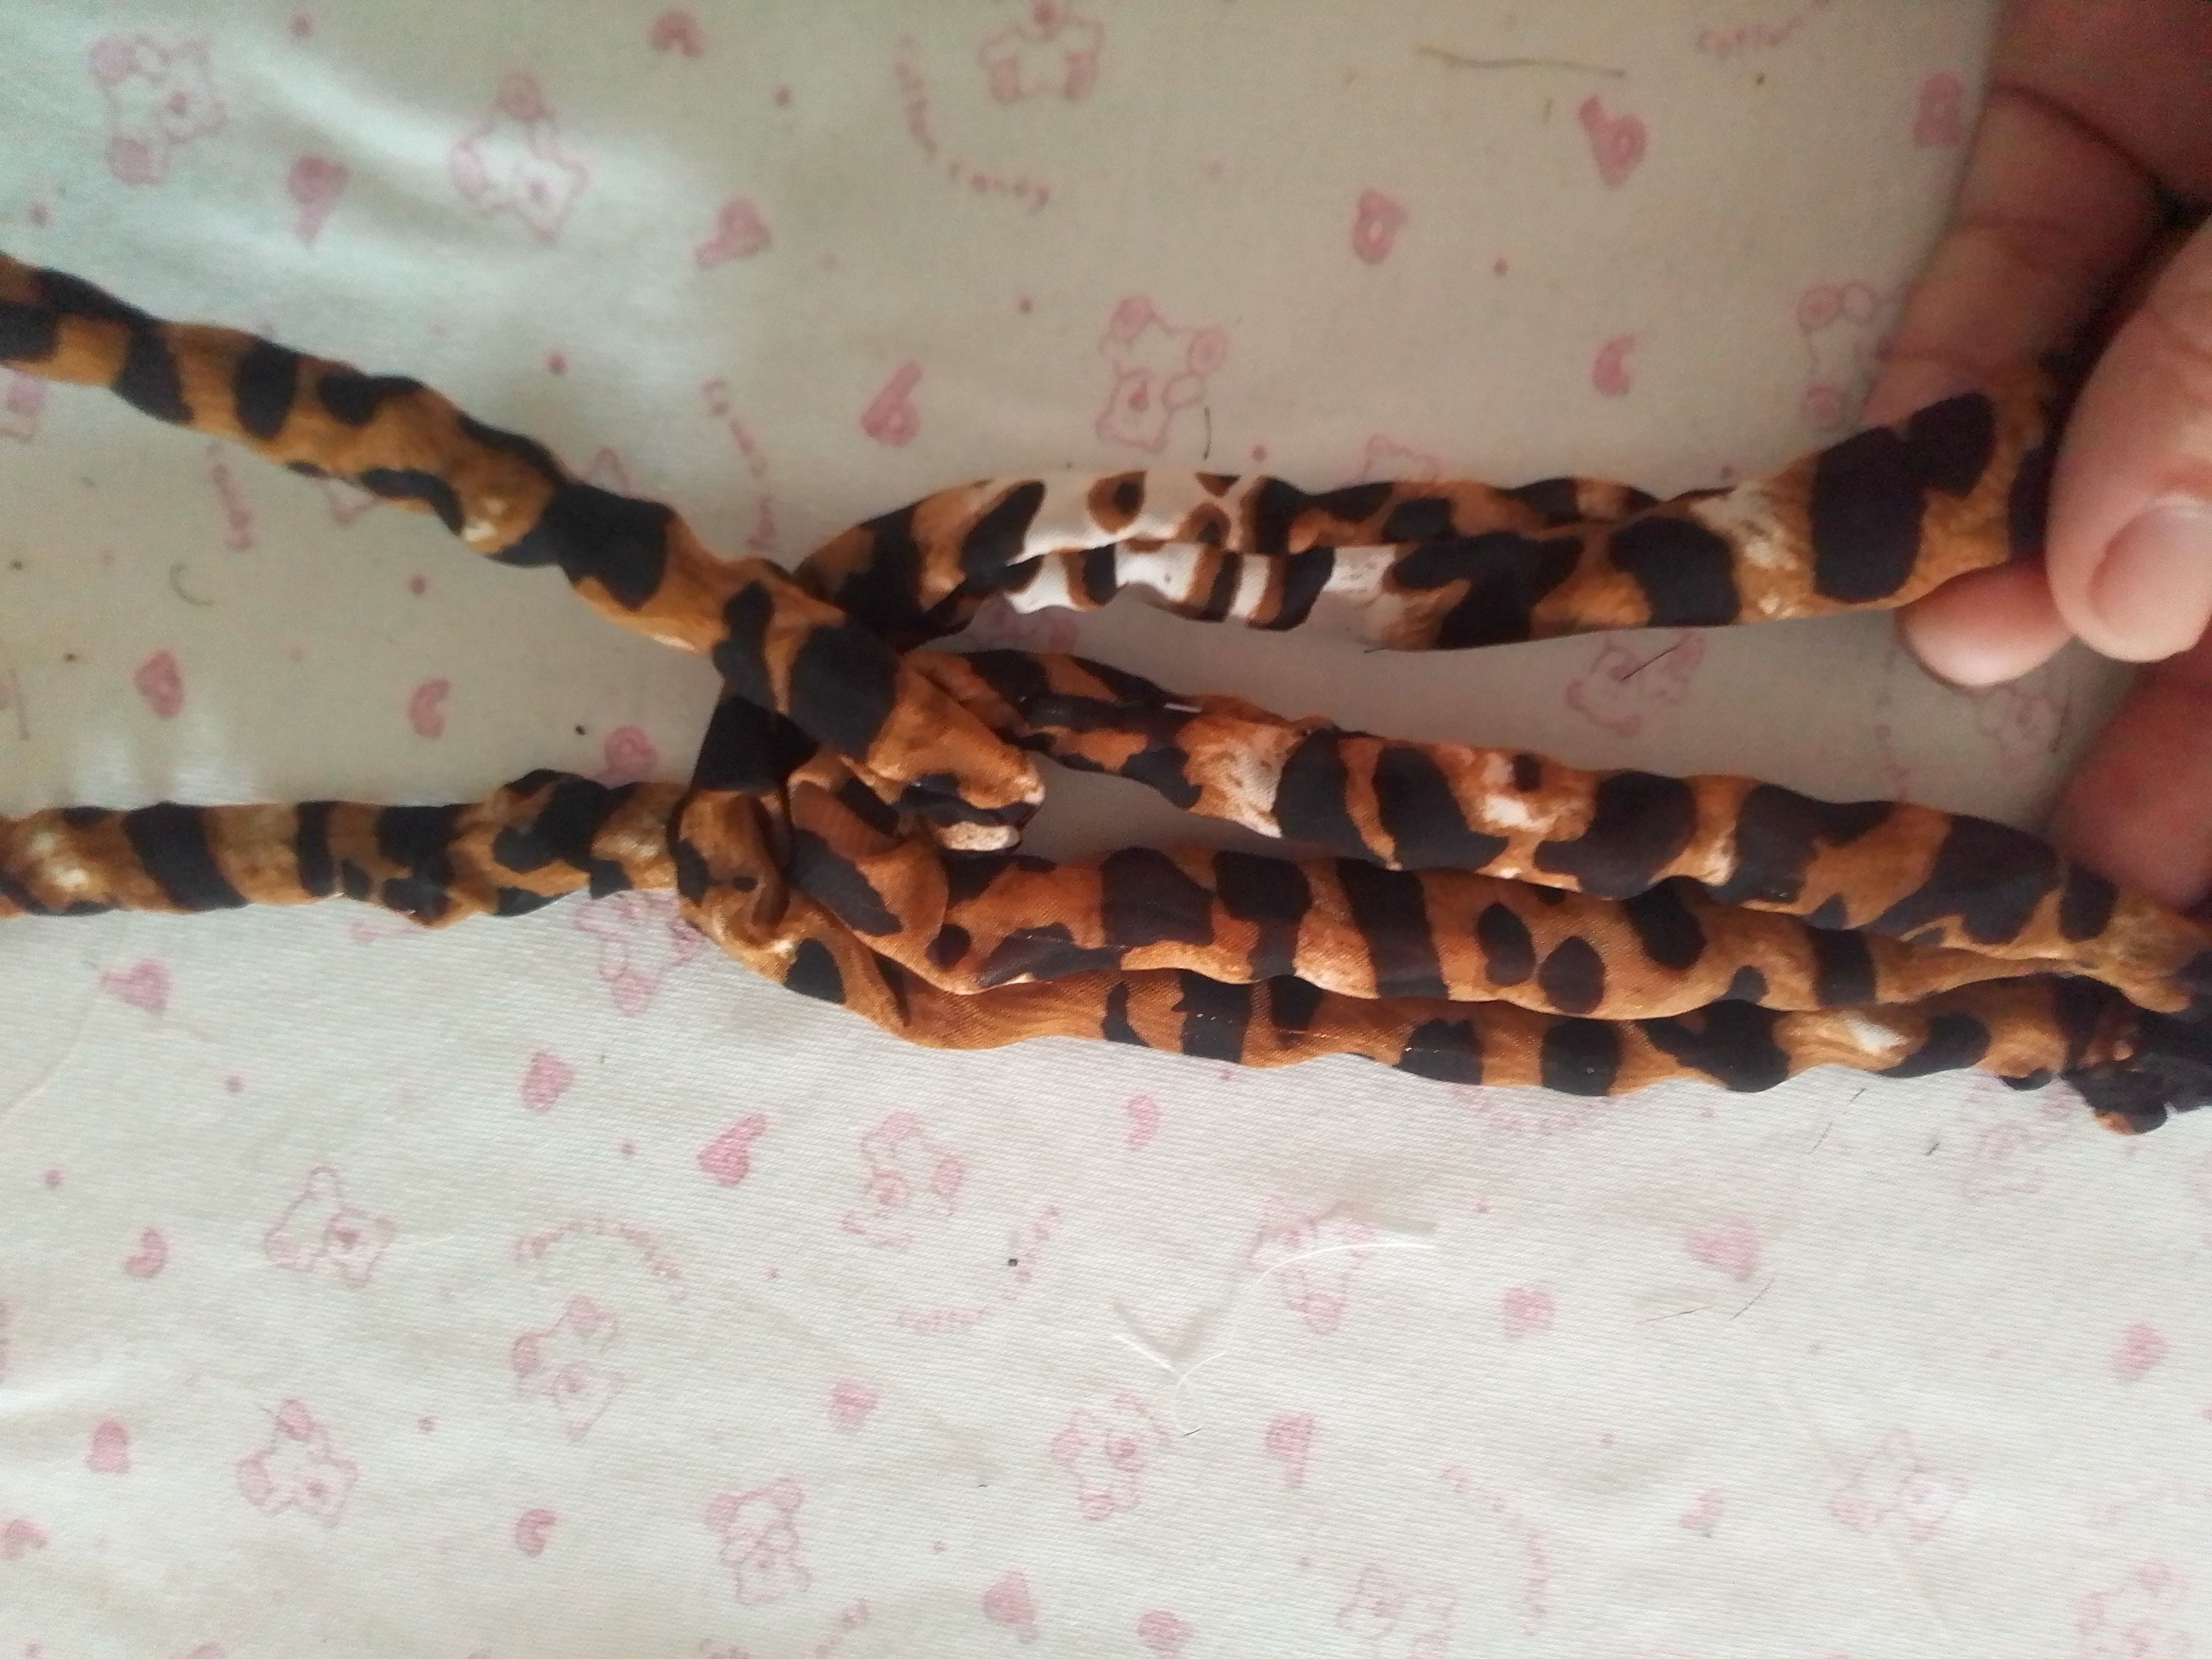
Paso 04
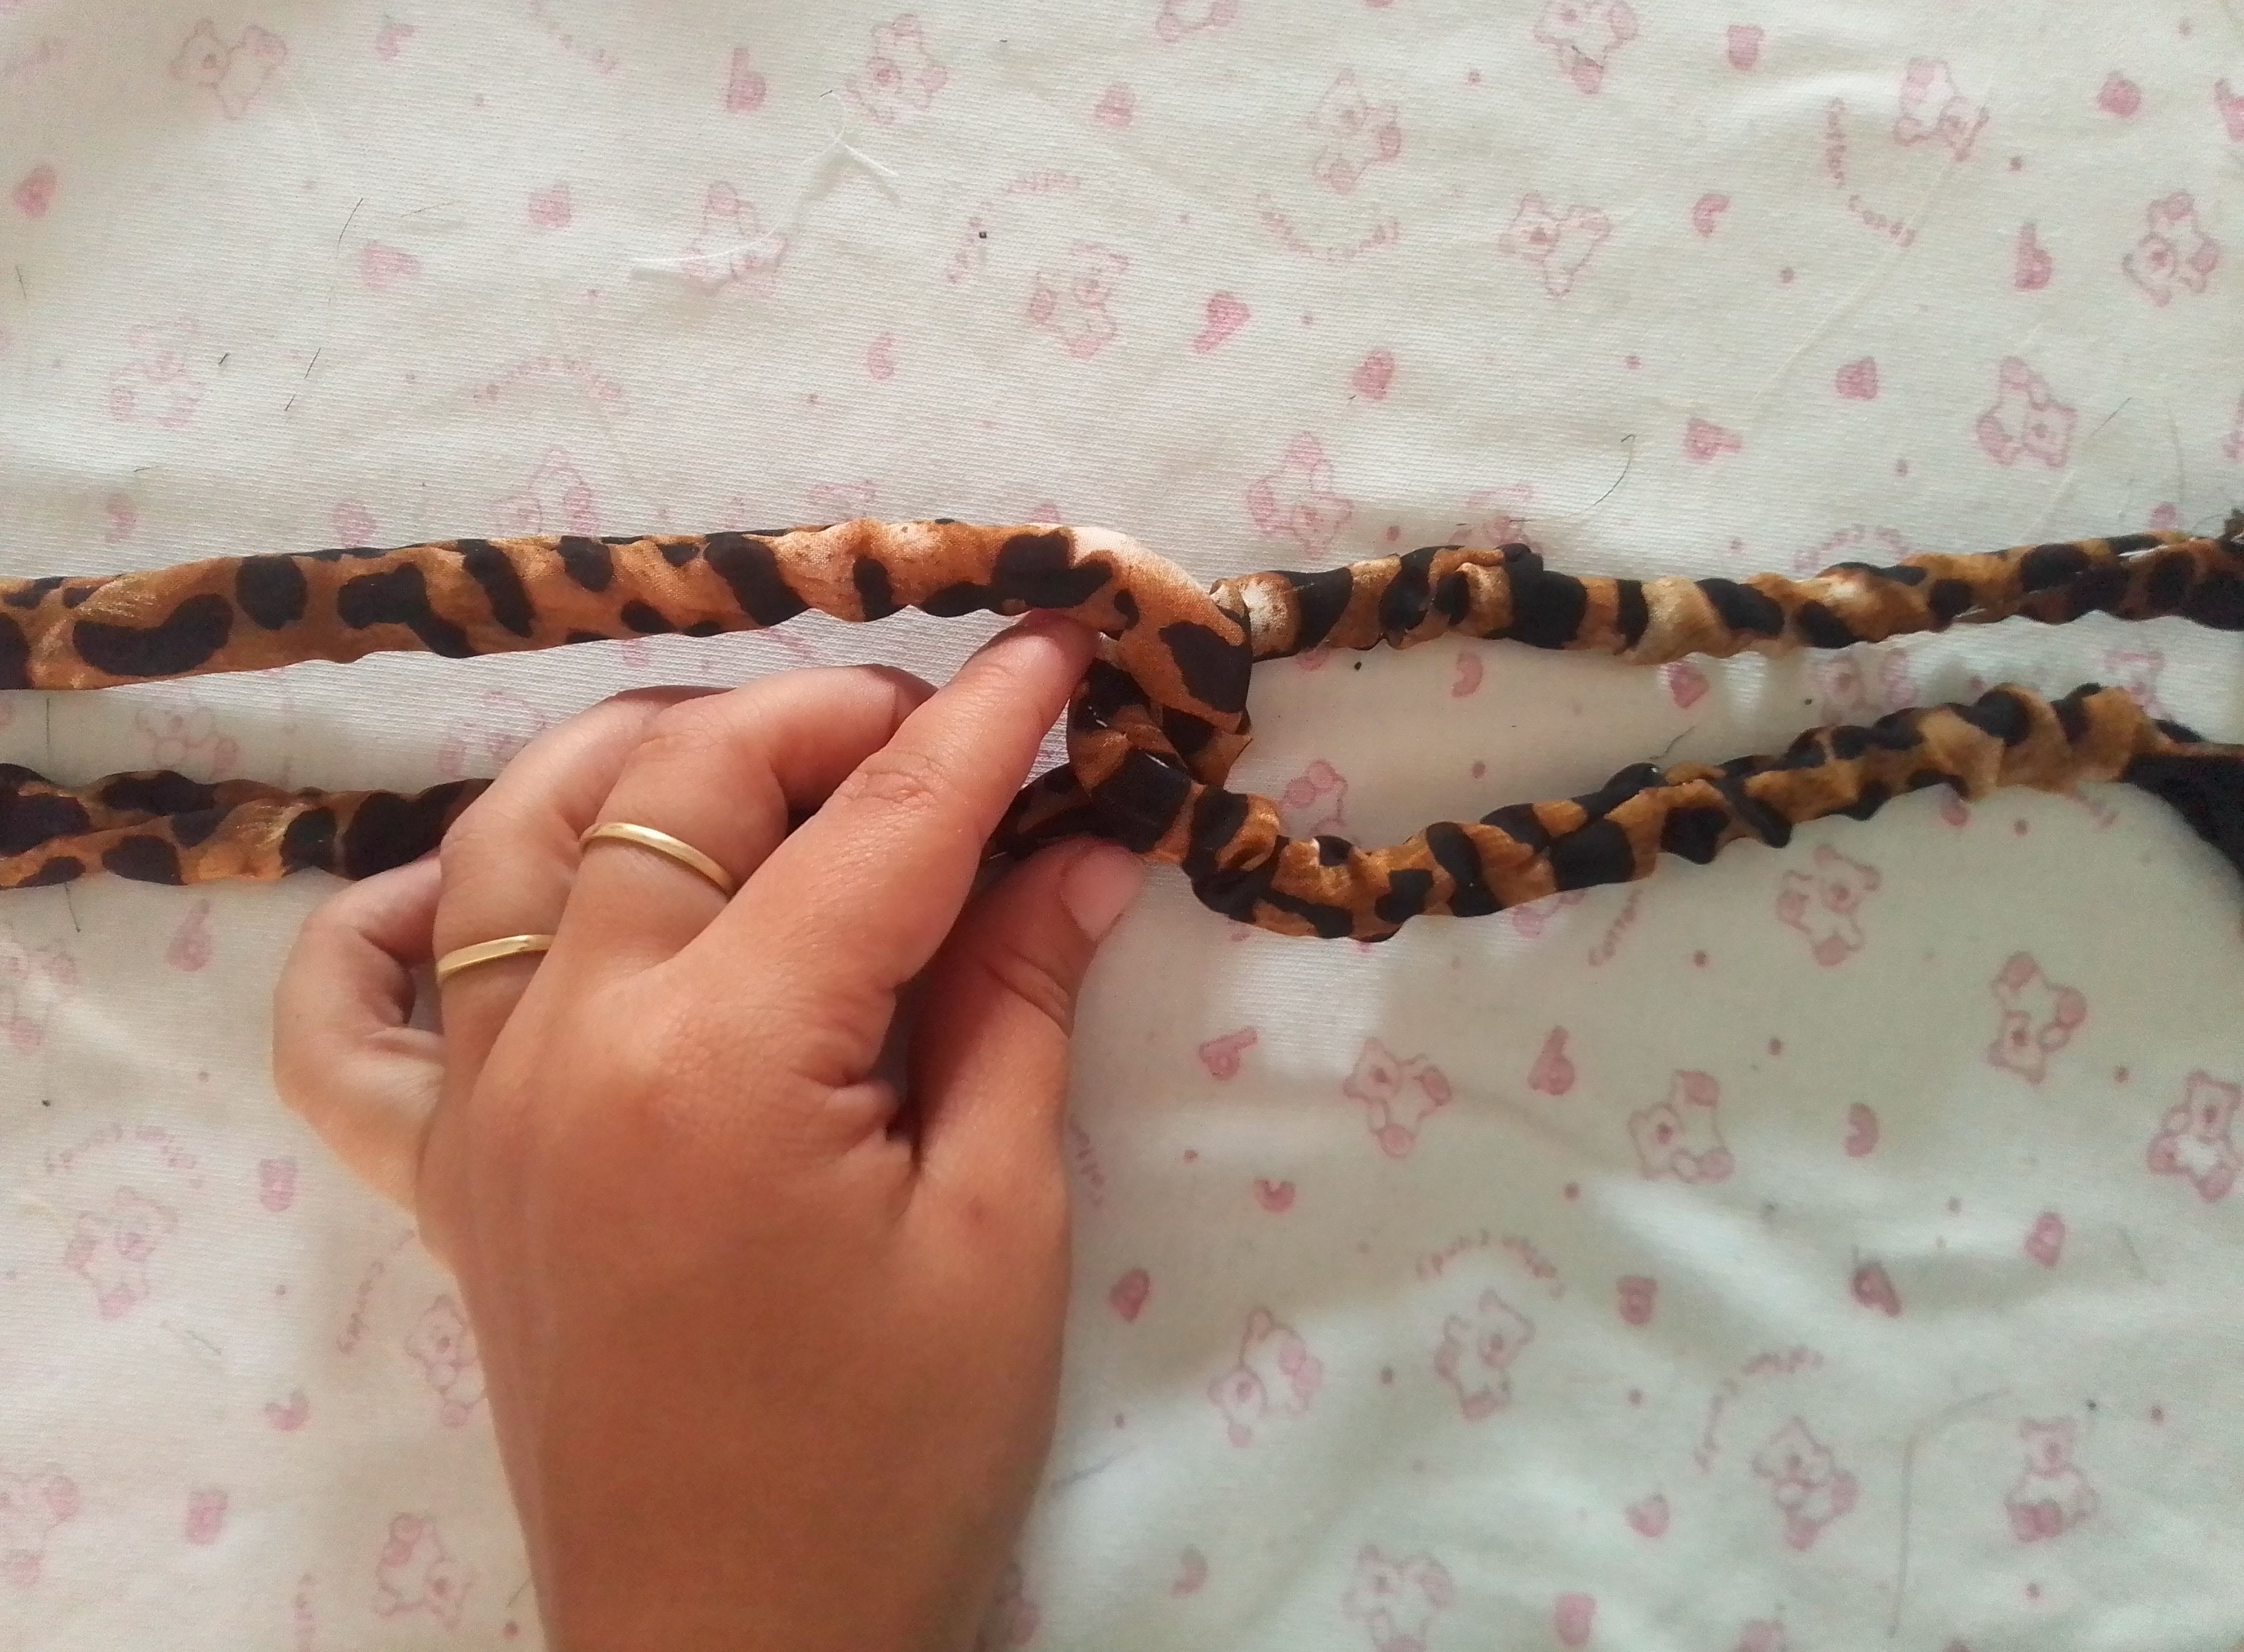
Cruzamos una de las piezas por el centro como si quisiéramos formar un infinito. Repetimos el cruzado con la tercera tira por encima de las otras dos y cruzo la cuarta hacia el lado contrario. Acomodamos un poco todas las tiras para darle forma al cruzado.
Step 04
We cross one of the pieces through the center as if we wanted to form an infinity. We repeat the crossed with the third strip above the other two and I cross the fourth to the opposite side. We rearrange all the strips a bit to give shape to the crisscross.
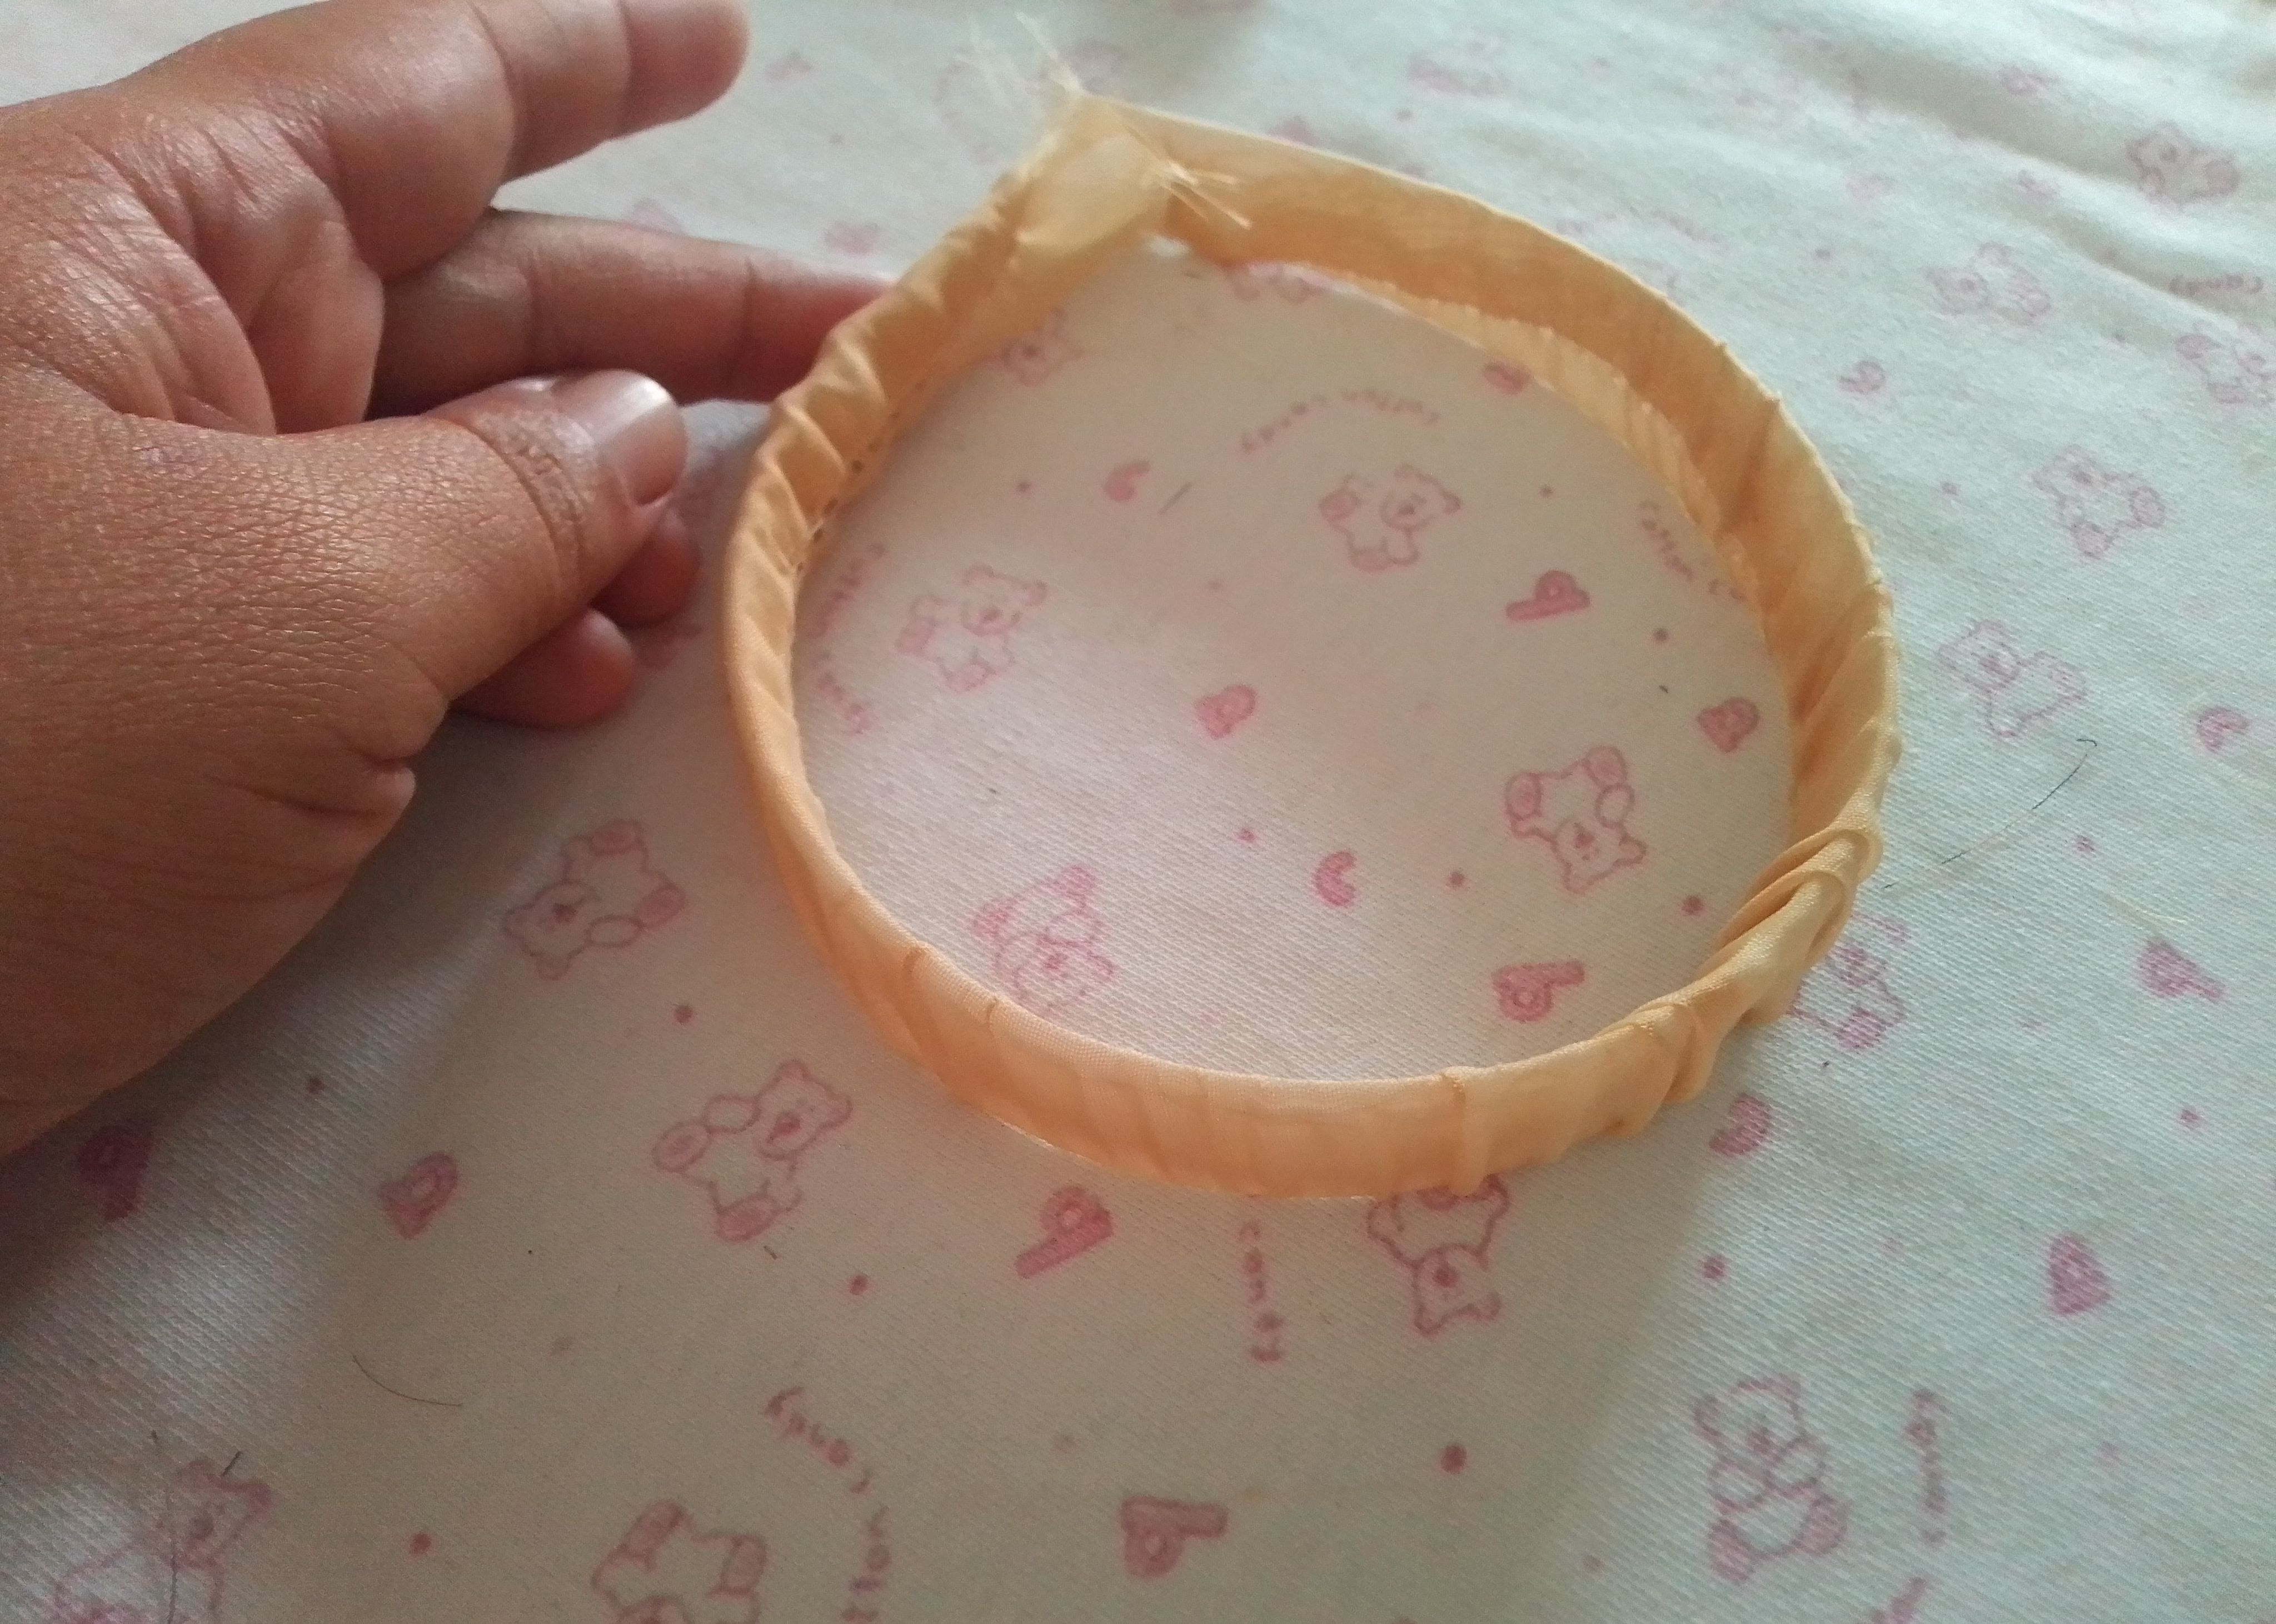
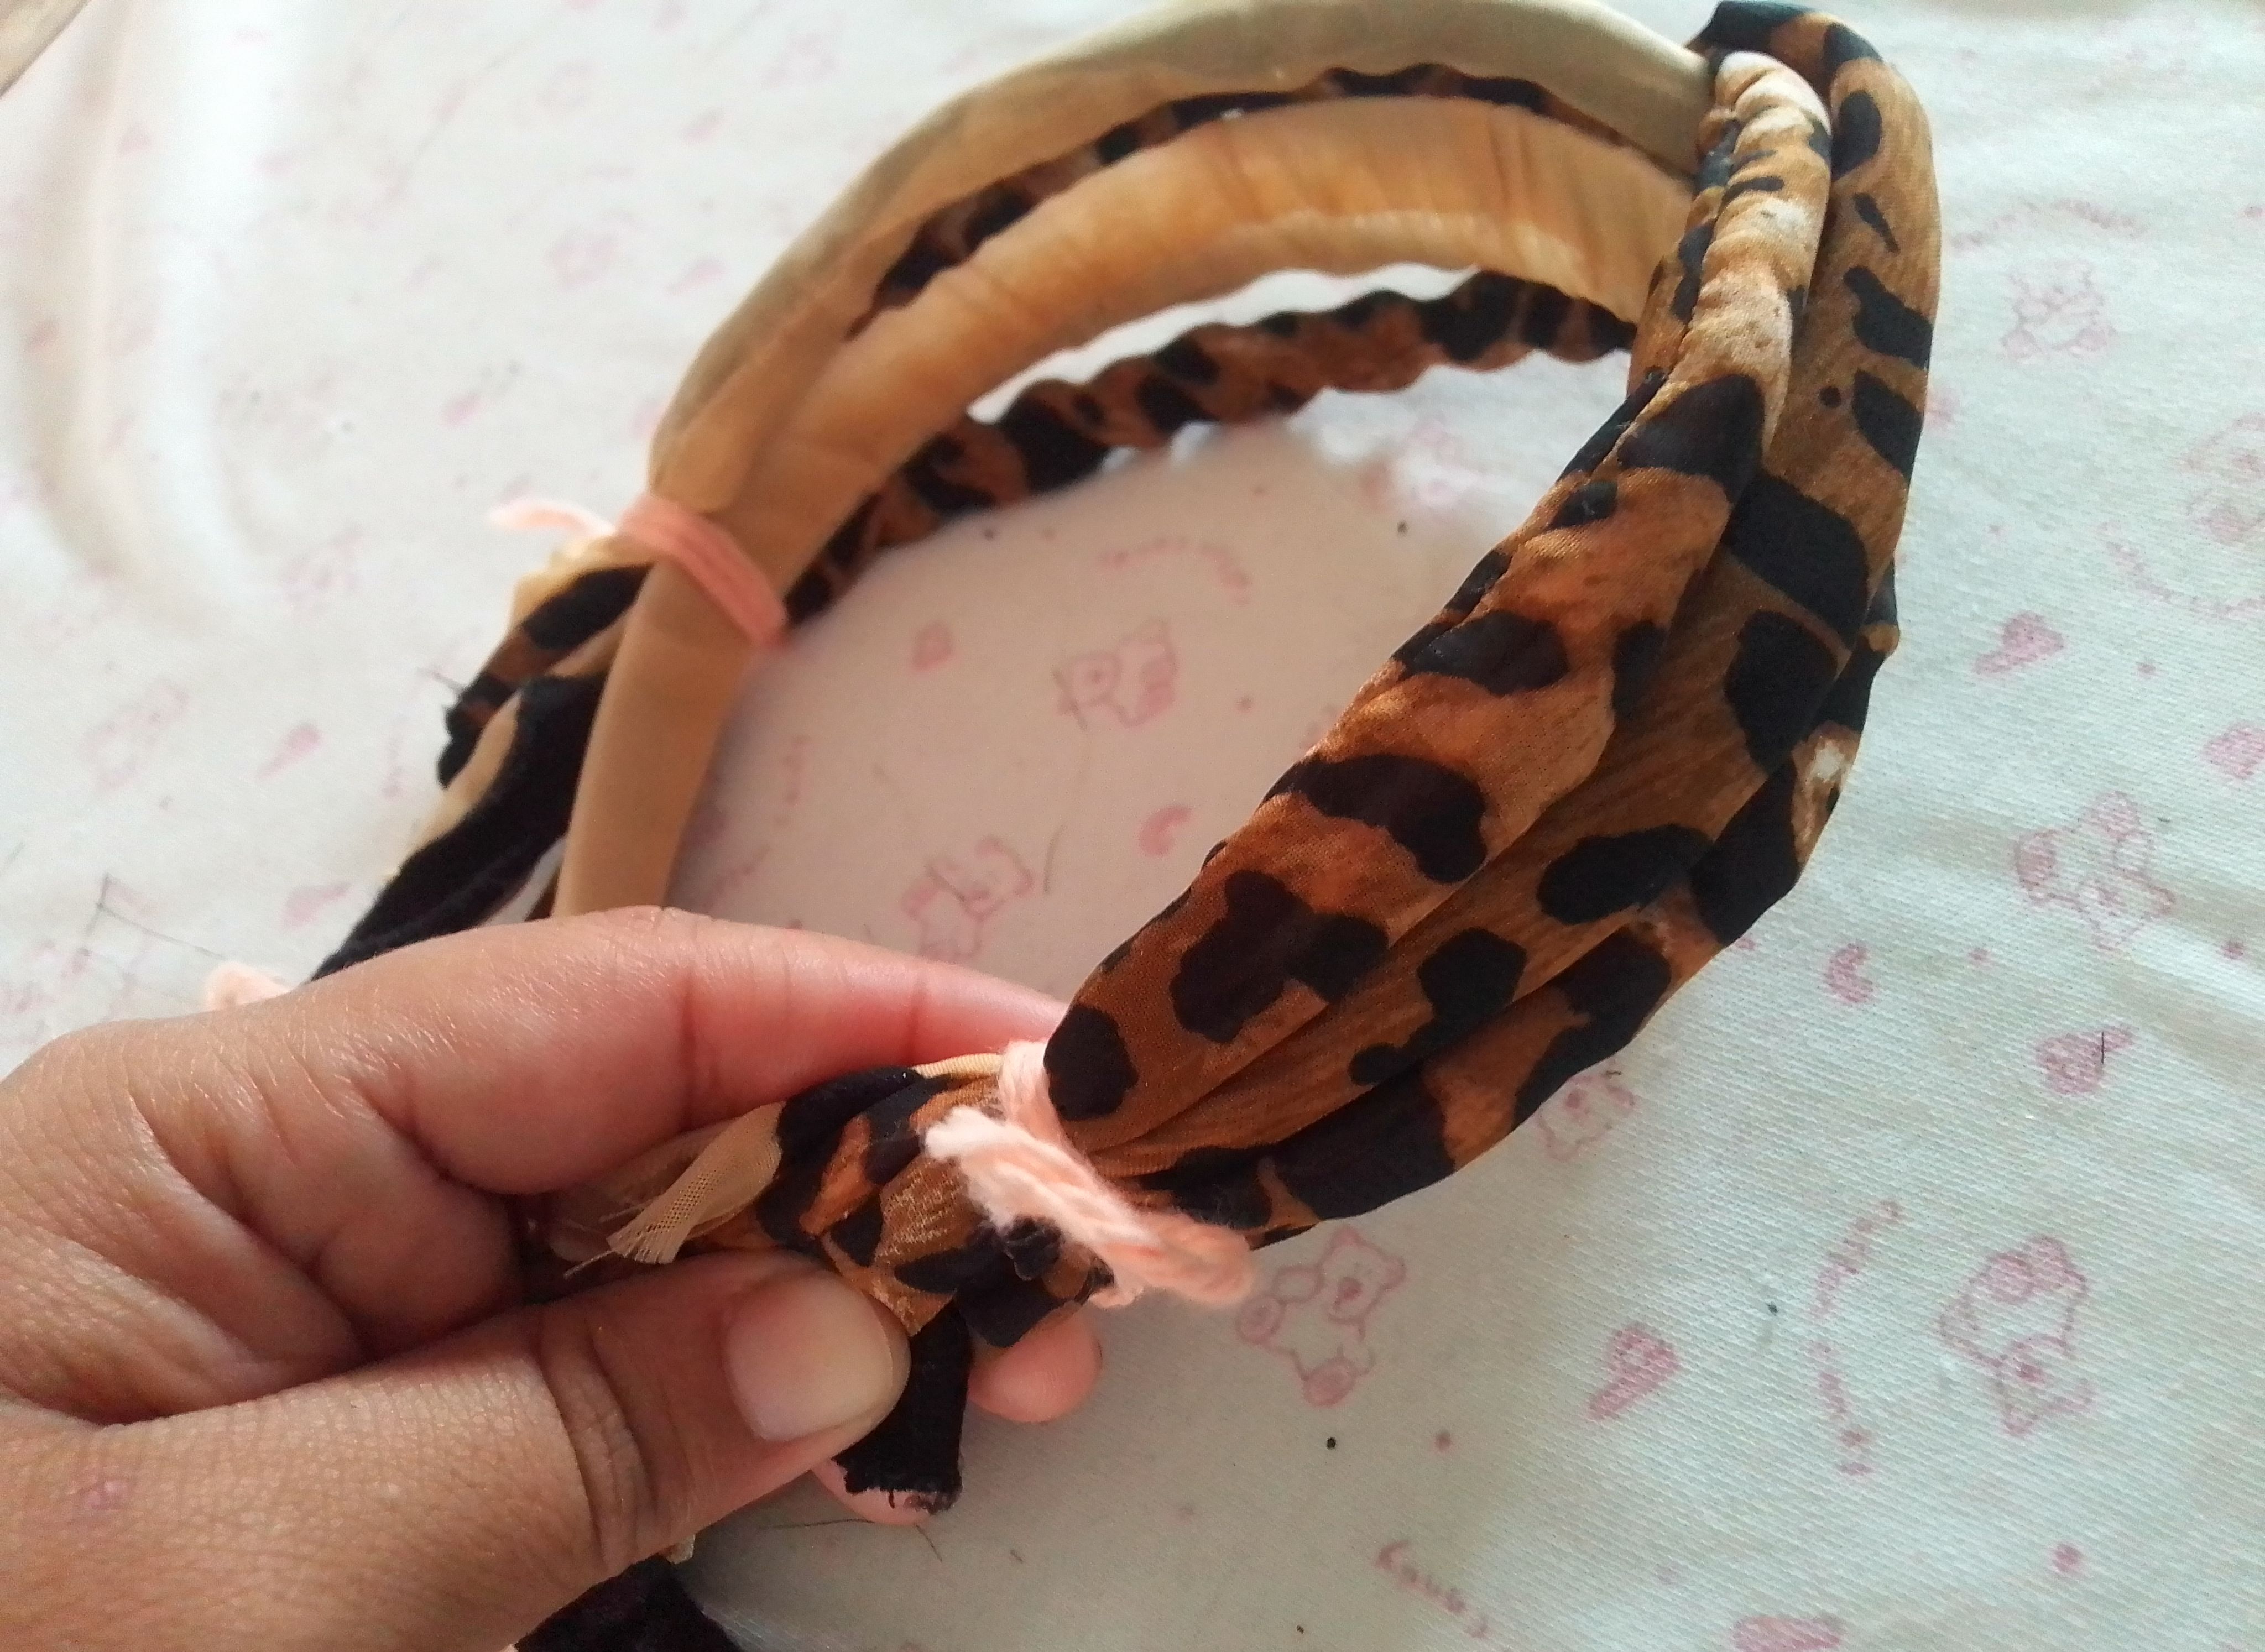
Paso 05
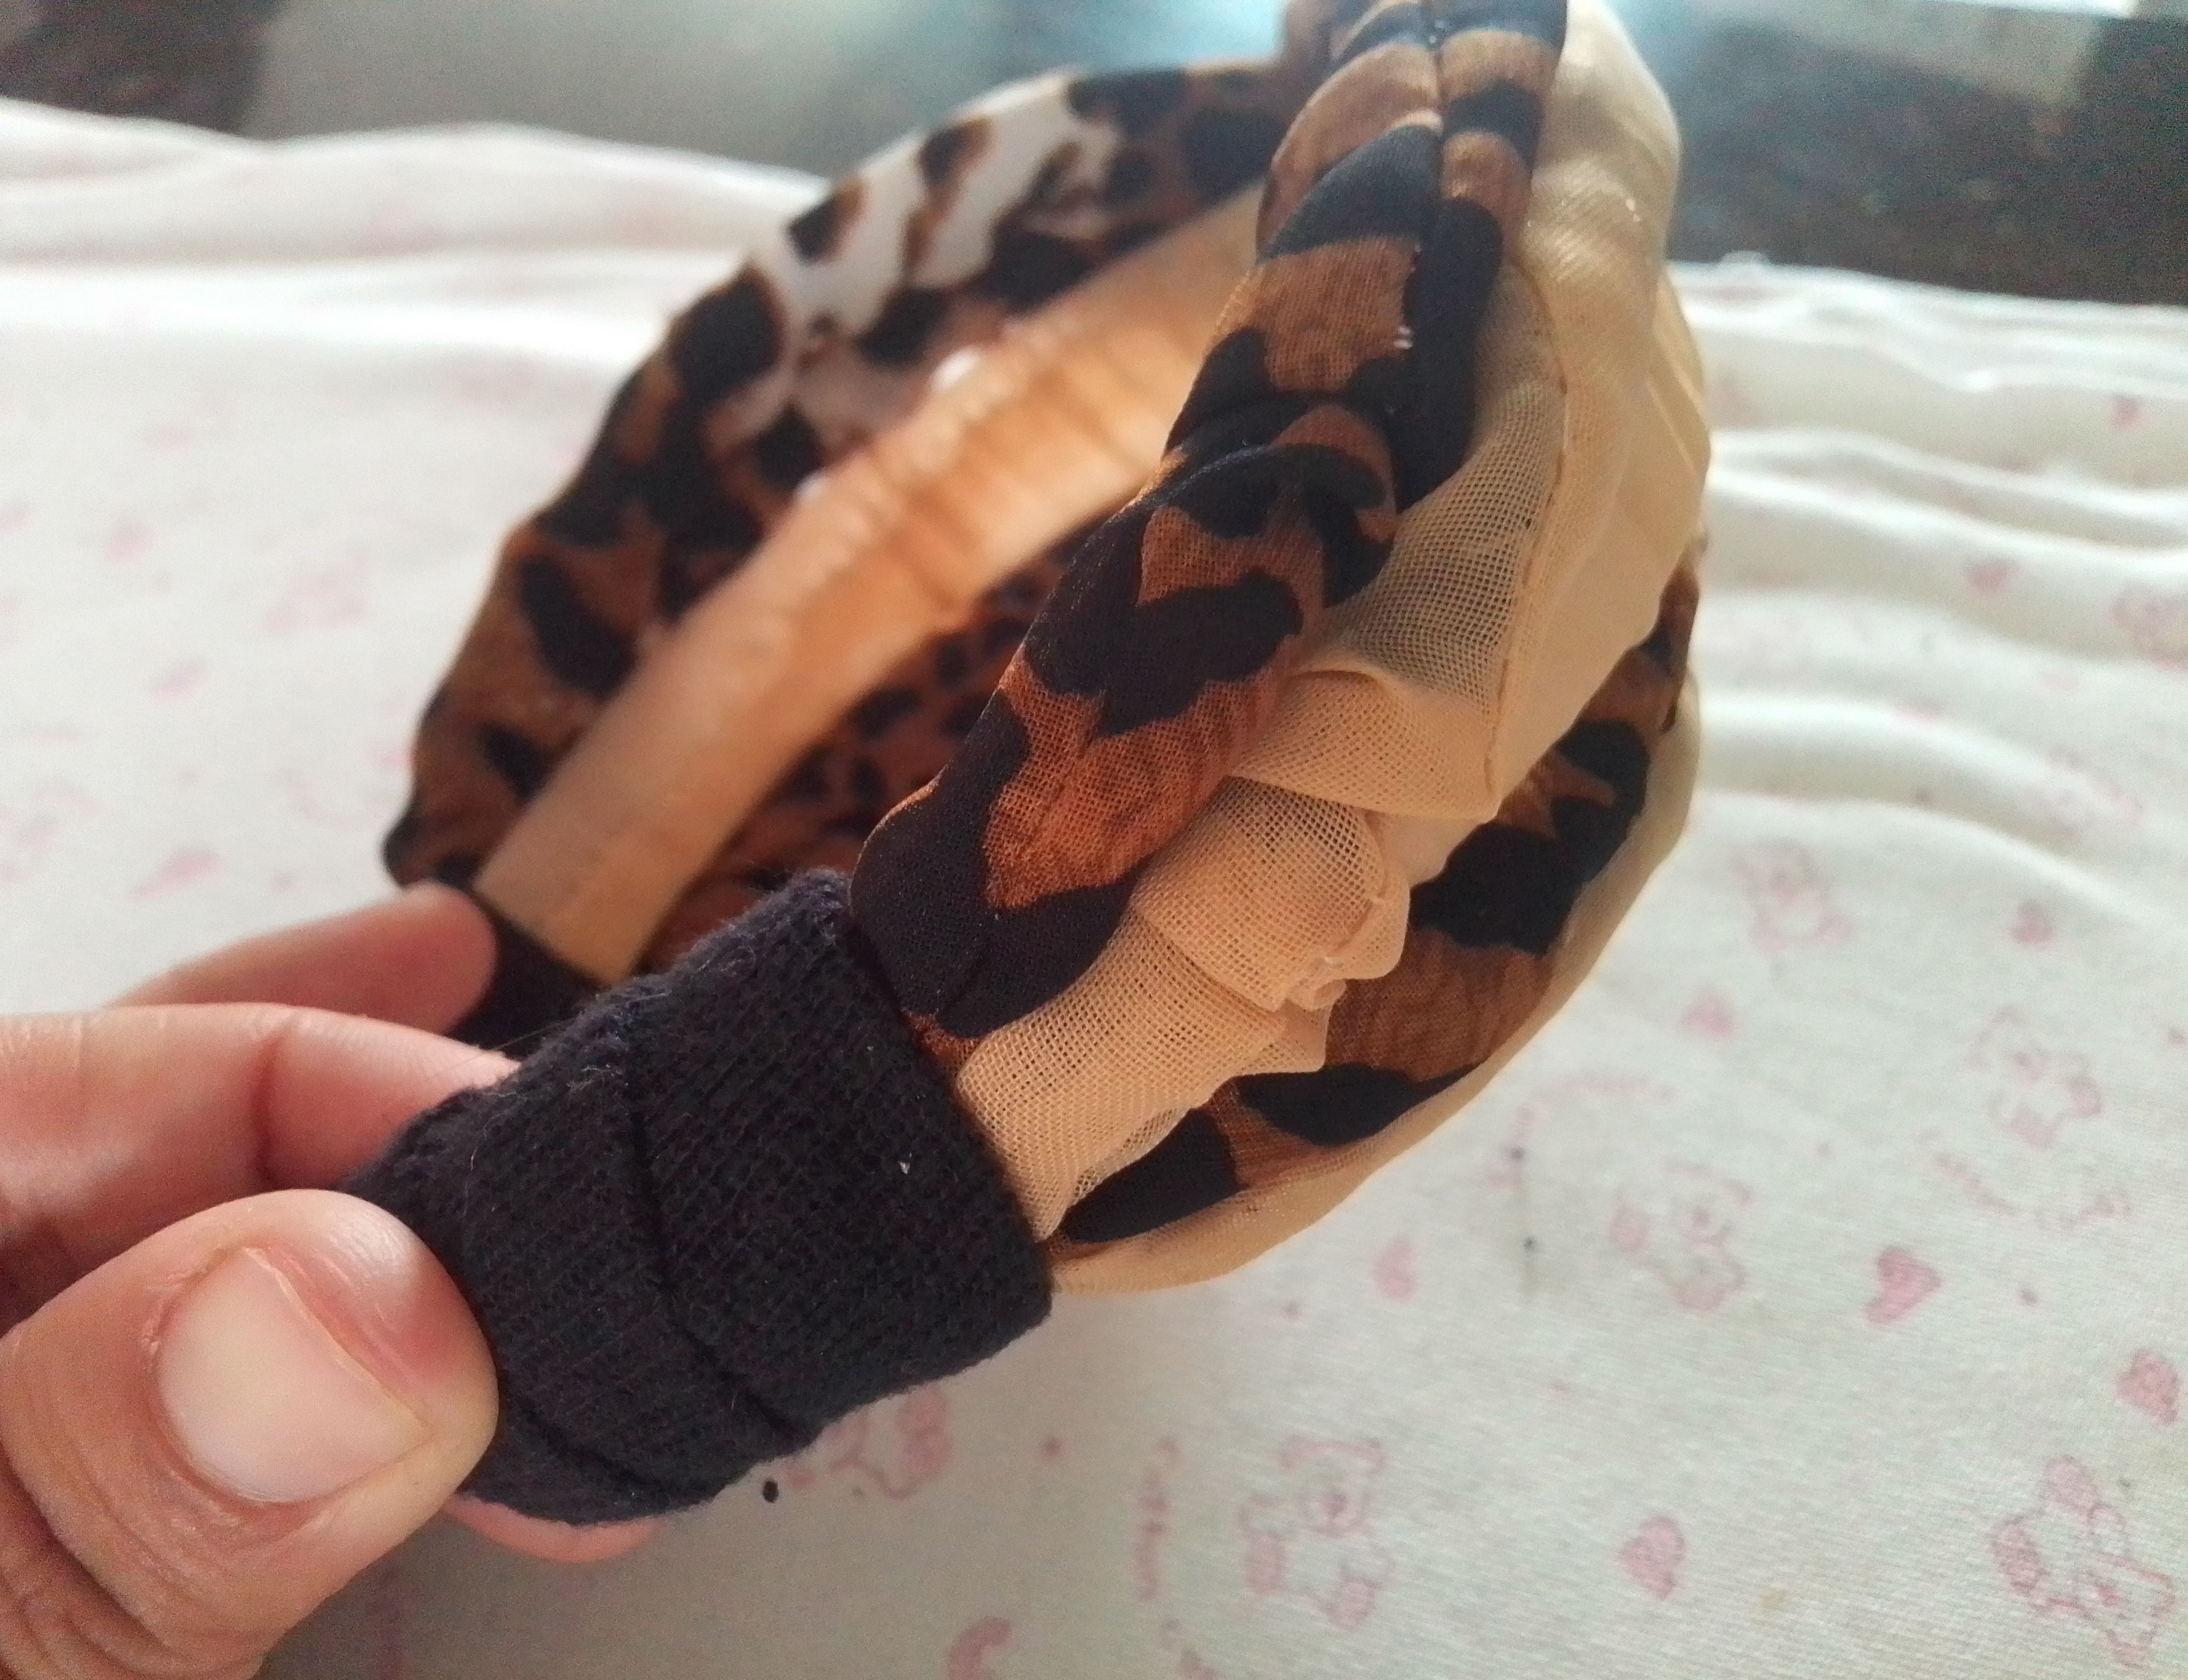
Luego tomo la tira sobrando y la inserto por el cintillo para cubrirlo con la tela. Tomo todas las tiras y las coloco sobre el cintillo para darle la forma. Arreglo muy bien y sujeto en las puntas o extremos del cintillo con estambre. Corto los sobrante tanto de tela como de alambre y cubro con una cinta o la misma tela. Si es necesario utiliza un poco de silicón para que se mueva.
Step 05
Then I take the leftover strip and insert it through the headband to cover it with the fabric. I take all the strips and place them on the headband to give it the shape. I fix it very well and fasten at the tips or ends of the headband with yarn. I cut the excess of both fabric and wire and cover with a ribbon or the same fabric. If necessary, use a bit of silicone to make it move.
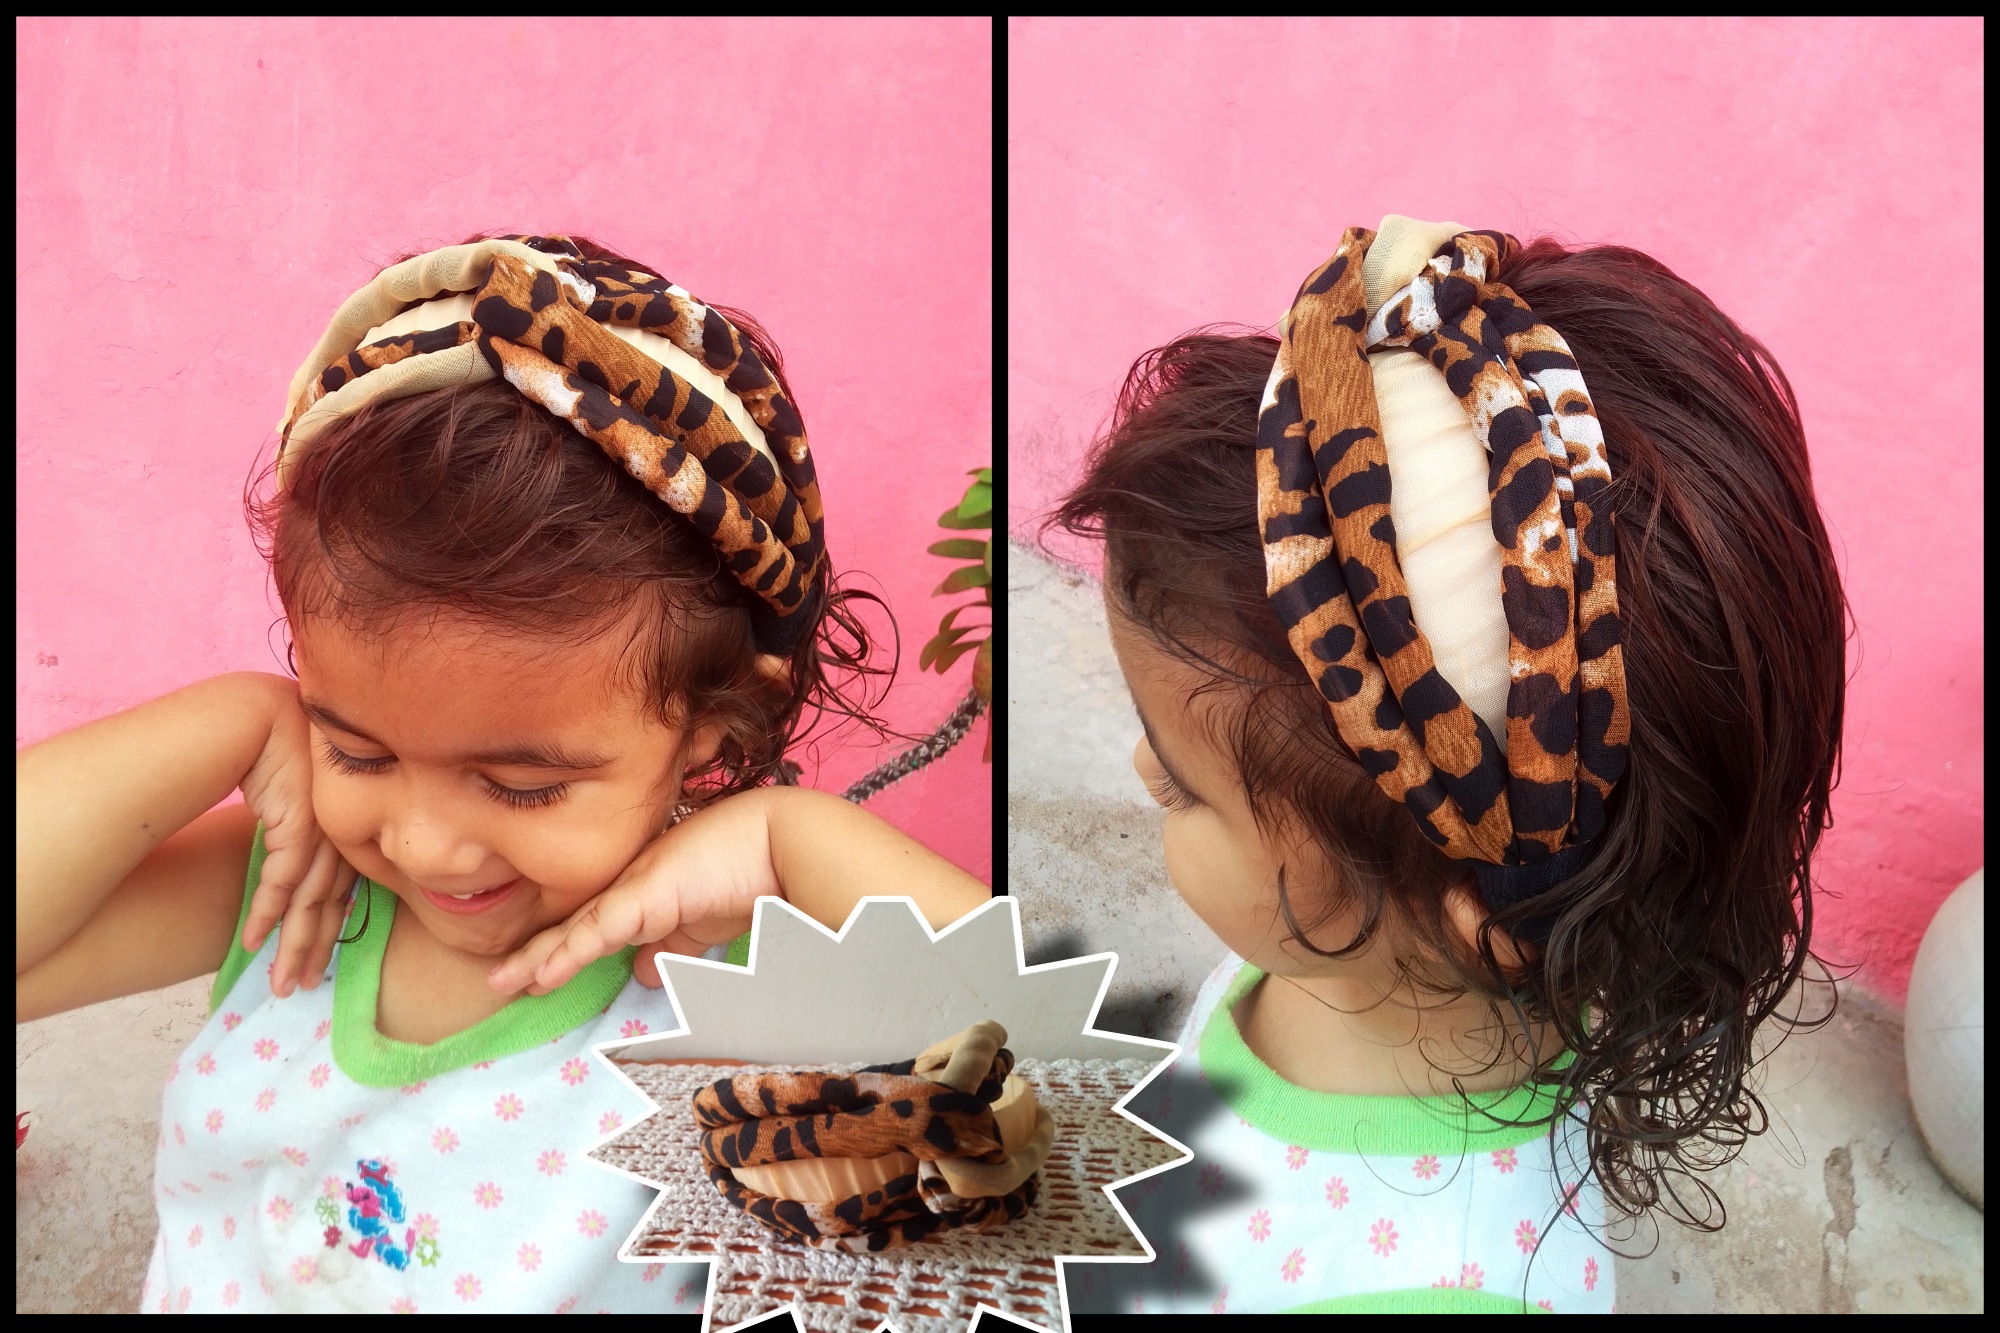
💮Resultado! 💮
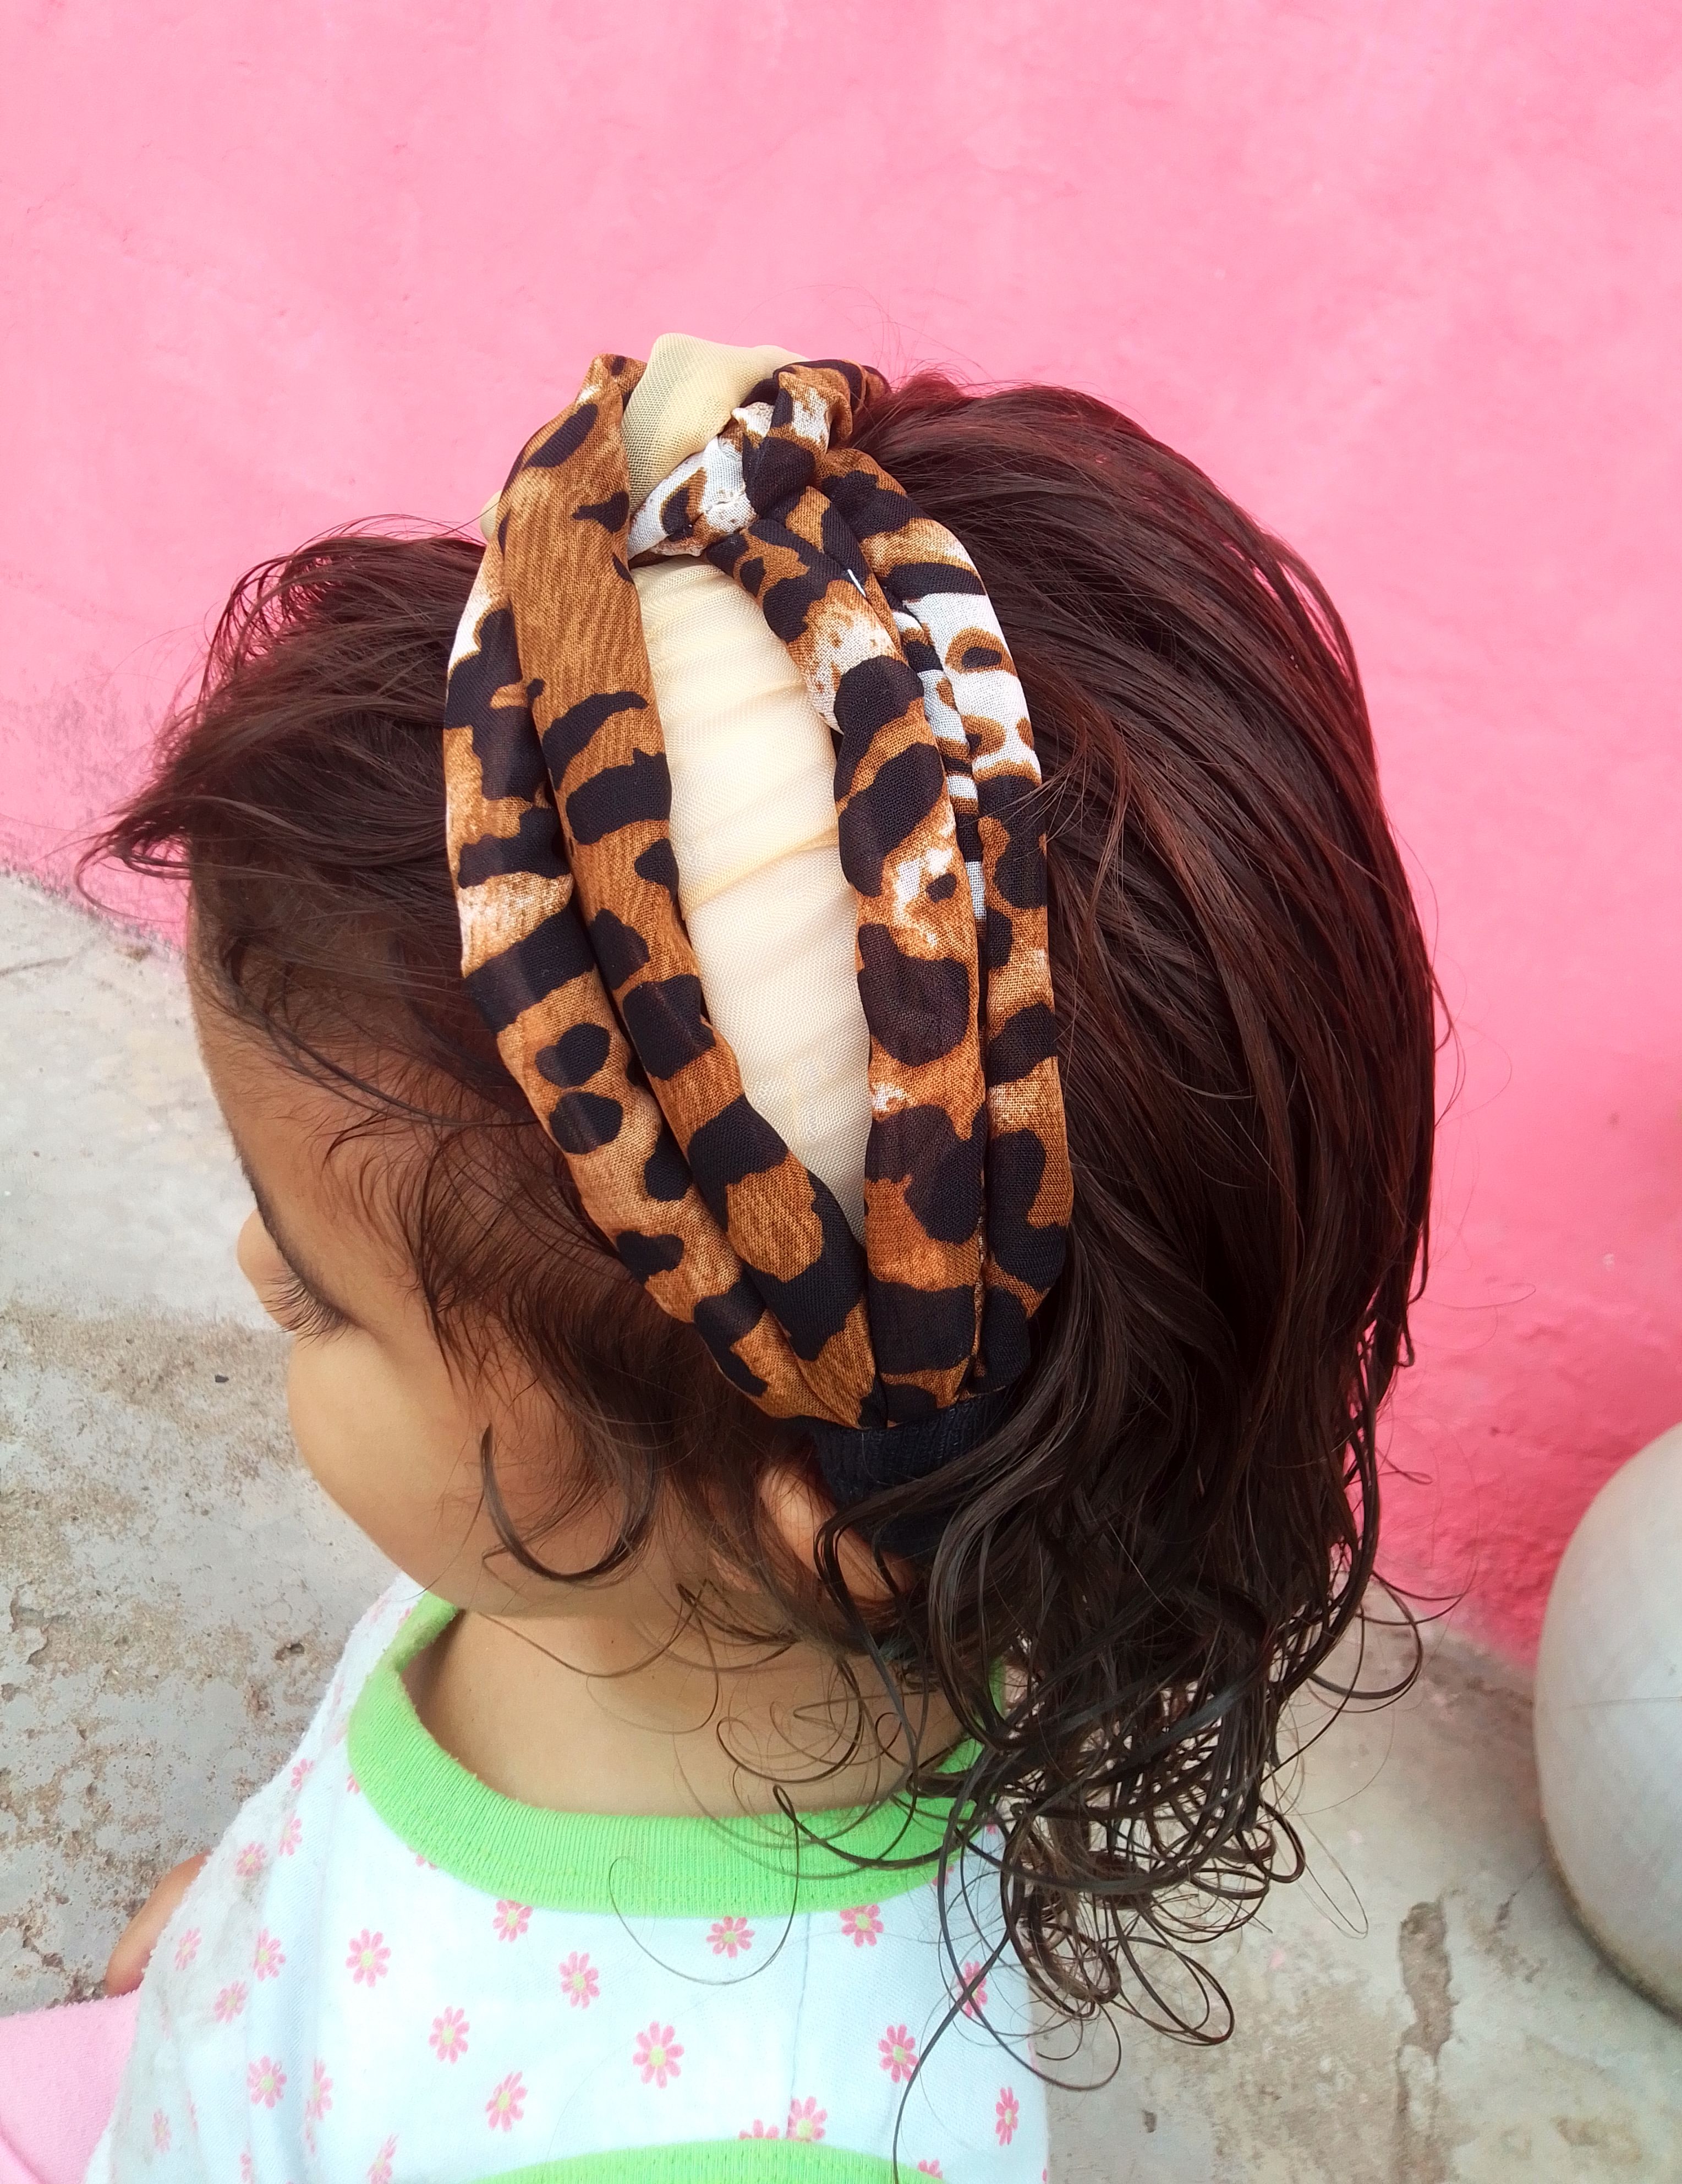
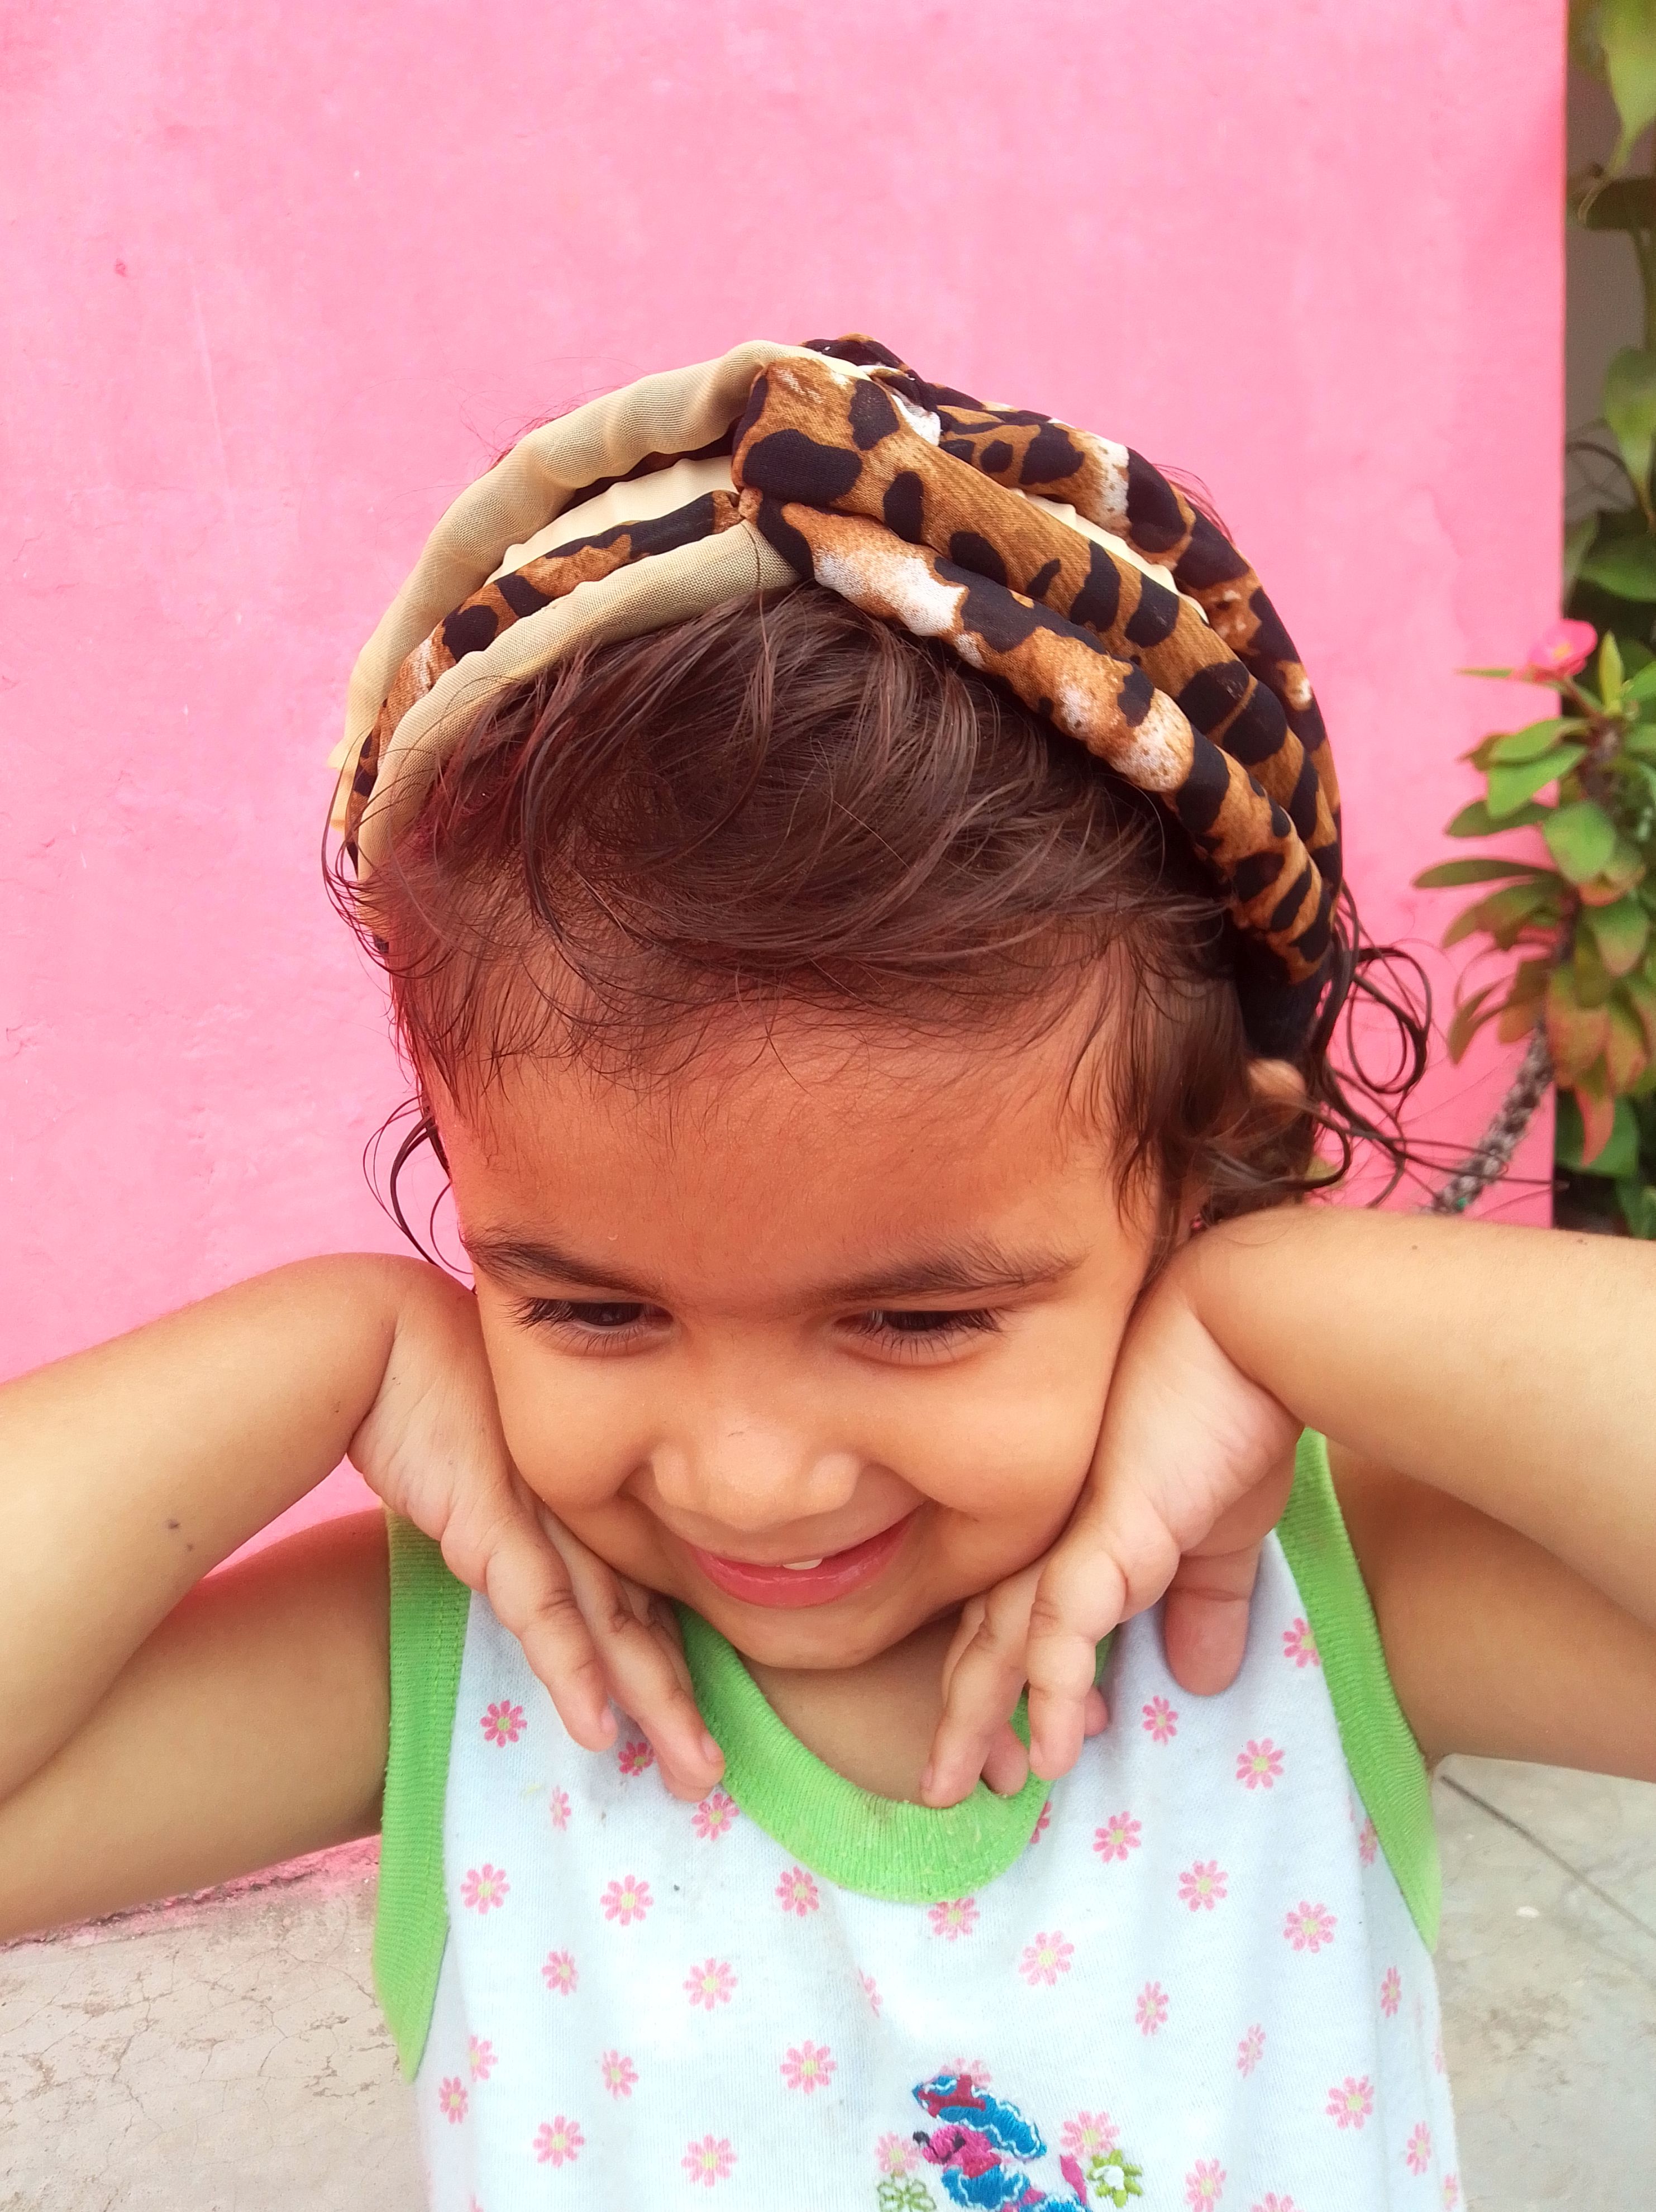
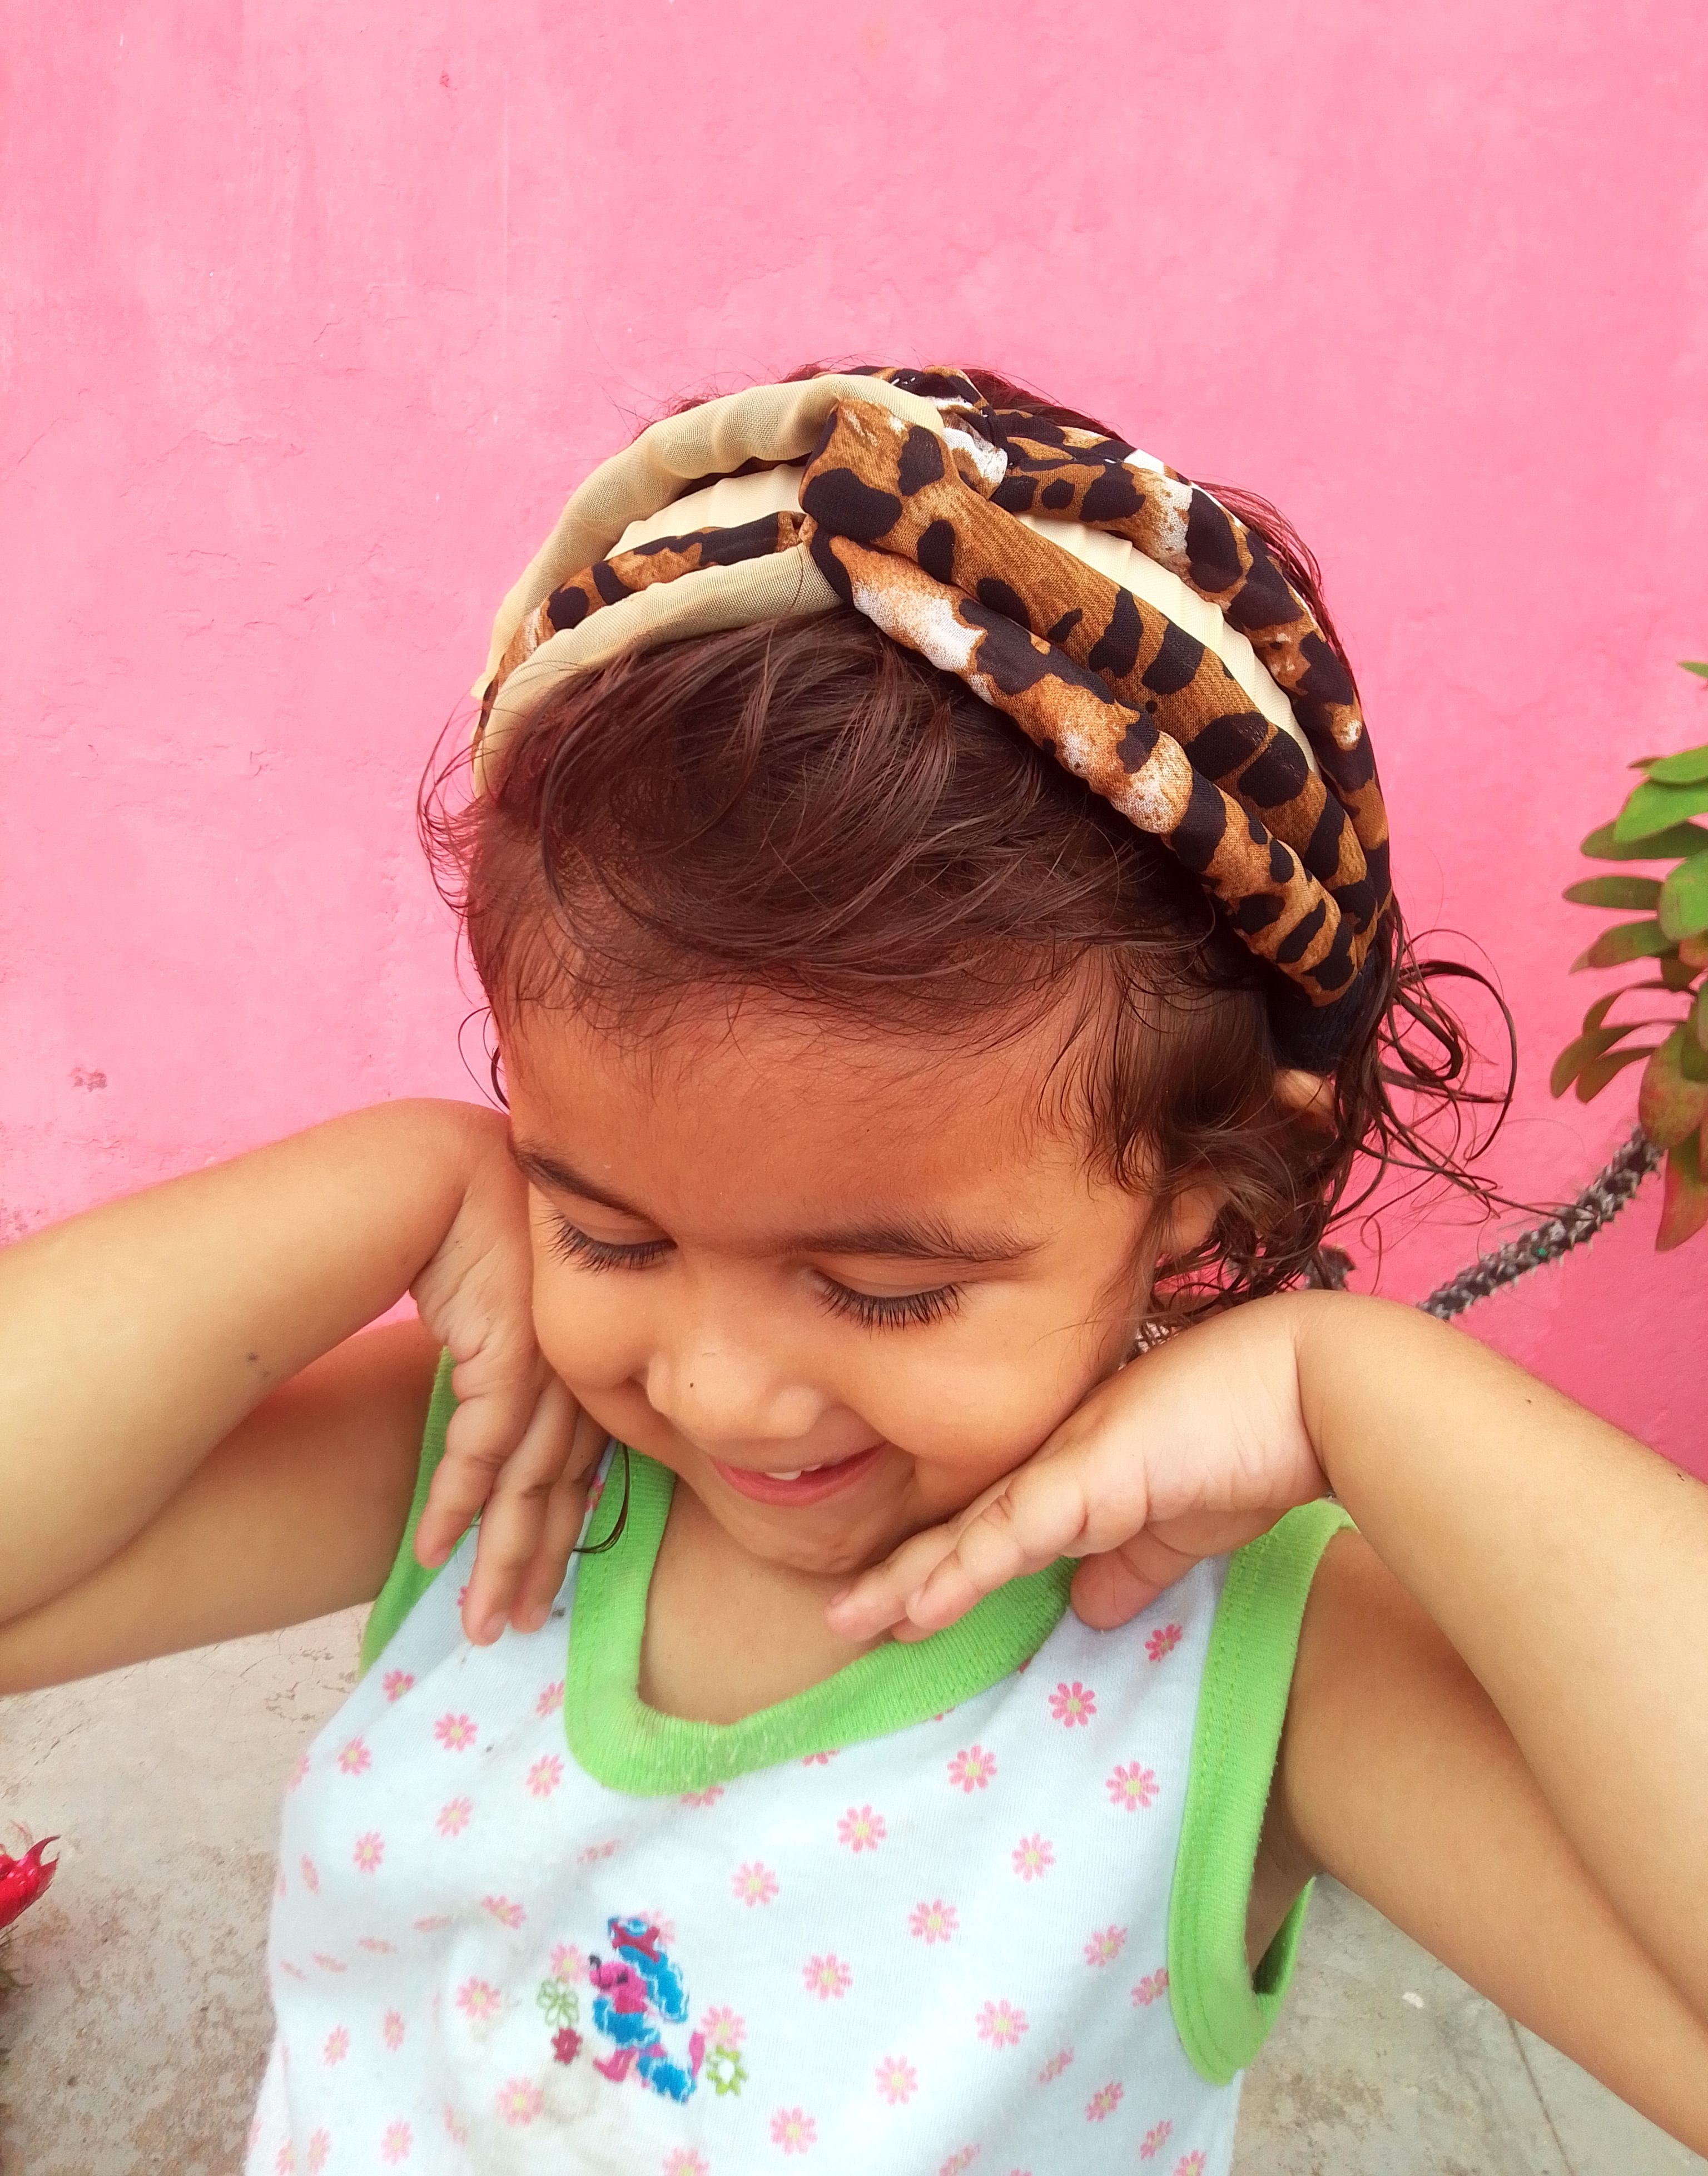
Al principio esta diadema la quería para mí por el estampado animal print de la tela, pienso que es hermosa, pero el cintillo de base con el contaba era muy pequeño, me hace feliz que mi nena la lleve puesta, luce linda y muy coqueta. A mí parecer creo que debo practicarla un poco más, estoy segura de que lo haré en otros colores, generalmente creo este accesorio en muchos diseños se ve muy bonito.
At first I wanted this headband for myself because of the animal print of the fabric, I think it's beautiful, but the base headband it had was very small, it makes me happy that my baby I'm wearing it, it looks cute and very flirtatious. It seems to me I think I should practice it a little more, I'm sure I'll do it in other colors, I generally think this accessory in many designs looks very nice.
Así he terminado mi tarea creativa de hoy, espero les guste y me hagan saber que les parece por medio sus comentarios. Cuéntame qué te parecen las diademas y si has intentado hacer una como está...Les deseo una linda noche, hasta un próxima oportunidad!
This is how I finished my creative task for today, I hope you like it and let me know what you think through your comments. Tell me what you think about the headbands and if you have tried to make one like this... I wish you a nice night, until the next opportunity!
Oh wow, the simple headband now looks beautiful with the fabrics. And the girl looks cute with the headband.
Greetings team! thanks a lot! I made it with love! Thanks for the support, I'm so glad you like it!!
You're welcome. Keep up the great work.
Que linda quedó la diadema , te felicito . Y le queda muy bien a la niña..
Very beautiful hair designed. Thanks for sharing.