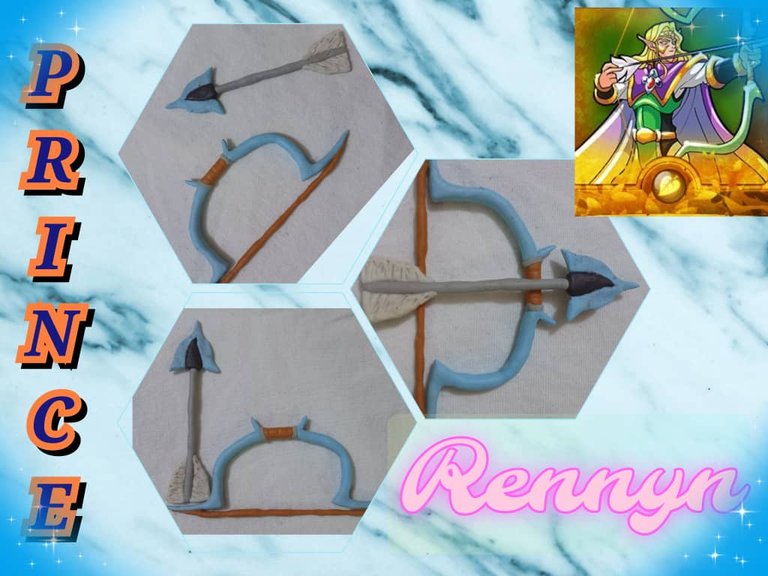
Saludos comunidad de @diyhub , les deseo una excelente semana, en unión de sus seres queridos, me siento feliz de compartir un nuevo proyecto creativo inspirado en los personajes de Splinterlands Príncipe Rennyn, en esta ocasión sigo trabajando con uno de mis materiales usando uno de mis materiales preferidos para moldear y esculpir que es la masa flexible, el proyecto se trata de un arco y flecha que lleva el personaje, les muestro el proceso de elaboración.
Me gusta trabajar con masa flexible, porque es un material sencillo de manejar y relajante, es muy bueno para hacer las esculturas de mis personajes favoritos, anteriormente les comenté que pienso aprovechar las vacaciones para terminar varios proyectos, entre ellos el regalo de cumpleaños para mi amiga, aún me faltan algunos materiales que espero tener pronto como; pintura, súper brillo y aros de joyería, por los momentos sigo trabajando con las esculturas y figuras de varios personajes.
Greetings @diyhub community, I wish you an excellent week, together with your loved ones, I am happy to share a new creative project inspired by the characters of Splinterlands Príncipe Rennyn, this time I continue working with one of my materials using one of my favorite materials to mold and sculpt which is flexible dough, the project is about a bow and arrow that the character carries, I show you the elaboration process.
I like working with flexible dough because it is easy to handle and relaxing. It is great for making sculptures of my favorite characters. I mentioned earlier that I plan to use the holidays to finish several projects, including a birthday gift for my friend. I still need some materials that I hope to get soon, such as paint, glitter, and jewelry rings. For now, I'm continuing to work on sculptures and figures of various characters.


Pintura al frío
Estecas
Crema para moldear
Pegamento
Masa flexible
Cold paint
Modeling tools
Modeling cream
Glue
Flexible clay

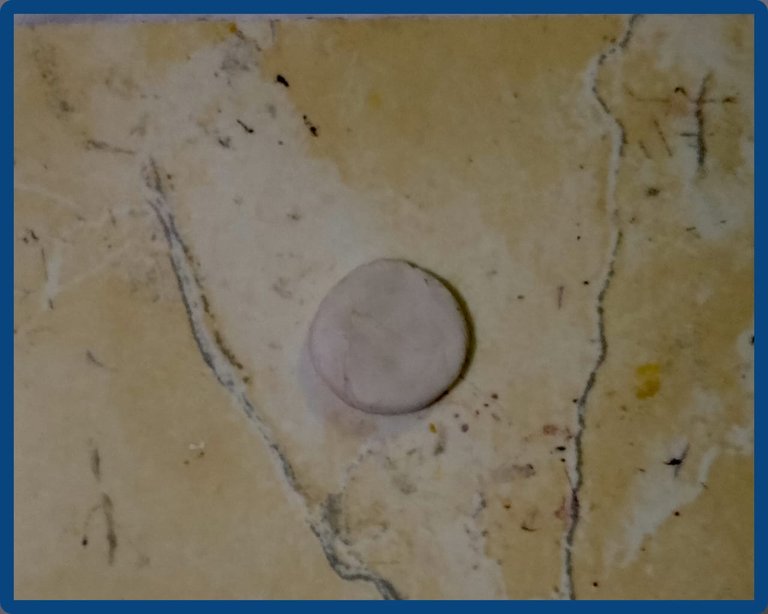
Para moldear el arco empezamos dividiendo la masa en pequeñas porciones, de acuerdo a los colores que necesitamos luego añadimos pintura y mezclamos hasta obtener el color deseado, iniciamos con el color azul, formamos una bola, aplanamos y vamos dando forma al arco, para moldear mejor usaremos una superficie plana, acostumbro a usar una cerámica lisa lo cual facilita el proceso, a partir de la bola haremos una tira e iremos modeando el arco.
To shape the bow, we start by dividing the dough into small portions, according to the colors we need. Then we add paint and mix until we get the desired color. We start with the blue color, form a ball, flatten it, and shape the arch. To mold it better, we will use a flat surface. I usually use a smooth ceramic surface, which makes the process easier. From the ball, we will make a strip and shape the arch.


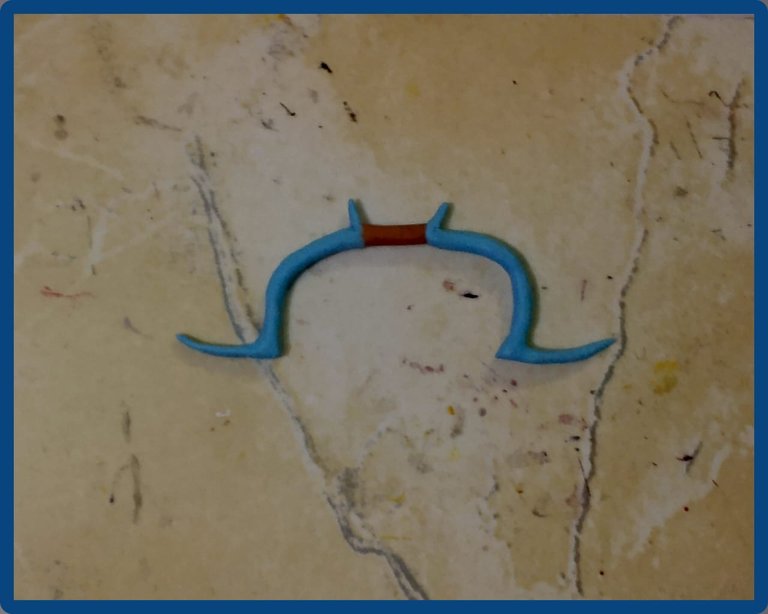
Con la primera parte del arco moldeada, la tomamos como patrón para hacer el otro lado, luego con masa roja hacemos un tubo, aplanando y girando en la superficie plana, unimos el tubo a ambas piezas del arco agregamos pegamento y dejamos secar por 20 minutos aproximadamente. Luego moldeamos nuevamente una tira, hacemos la cuerda del arco y pegamos, en la pieza roja agregamos detalles de color gris y nuevamente dejamos secar.
With the first part of the bow molded, we use it as a template to make the other side. Then, with red dough, we make a tube, flattening and turning it on a flat surface. We attach the tube to both pieces of the bow, add glue, and let it dry for approximately 20 minutes. Then we mold another strip, make the bowstring, and glue it on. We add gray details to the red piece and let it dry again.


Para hacer la flecha moldeamos un cilindro con masa de color gris y agregamos puntos negros en los bordes.
To make the arrow, we molded a cylinder out of gray dough and added black dots around the edges.


Con masa de color negro moldeamos un triángulo y pegamos en la parte de arriba del cilindro, unimos con pegamento y dejamos secar, luego con masa azul moldeamos un triángulo azul, más grande que el negro, lo pegamos de tal forma que quede el más pequeño en el centro y dejamos secar.
Luego añadimos pintura beigue a una porción de masa, formamos una bola y a partir de ella moldeamos un triángulo,con la punta hacia arriba lo pegamos en la parte de abajo de la flecha, con ayuda de las estecas pasamos varias líneas que simularan las plumas que suelen llevar las flechas como adorno y punto de agarre, dejamos secar y así está terminado el set de arco y flecha inspirado en Splinterlands.
Este arco me gusta por su diseño, es muy diferente a los que visto anteriormente elaborados por los indígenas, suelen ser de una especie de madera flexible, de la cual sacan un listón y luego de un largo proceso de secado y preparación está lista para armar el arco, en la parte del frente los adornan con figuras representativas de sus creencias y dioses como el sol y la luna, también usan en sus decoraciones figuras antropomorfas, las plumas de la flecha, son por lo general de colores llamativos que van acorde con las pinturas, los colores que más he visto son rojo y negro, esta combinación es bonita y similar a la pionía, una semmilla de roja y negra, queemplean los aborígenes para elaborar las artesanías.
El arco del príncipe tiene forma de grecas,unidas en el centro por una pequeña barra que a su vez sirve como soporte y agarre, al momento de lanzar la flecha, esta permite mayor precisión y alcance, las grecas le dan elegancia y un toque de realeza digno de un príncipe.
With black dough, we mold a triangle and stick it on top of the cylinder, we join it with glue and let it dry, then with blue dough we mold a blue triangle, larger than the black one, we stick it so that the smaller one is in the center and let it dry.
Then we add beige paint to a portion of dough, form a ball and from it we mold a triangle, with the tip facing upwards we stick it to the bottom of the arrow, with the help of the stakes we draw several lines that simulate the feathers that arrows usually have as decoration and grip point, let it dry and thus the bow and arrow set inspired by Splinterlands is finished.
I like this bow for its design. It's very different from the ones I've seen previously made by indigenous people. They're usually made of a flexible wood, from which they cut a strip, and after a long drying and preparation process, it's ready to be assembled. The front is decorated with figures representing their beliefs and gods like the sun and the moon. They also use anthropomorphic figures in their decorations. The arrow feathers are usually bright colors that match the paintings. The colors I've seen most often are red and black. This combination is beautiful and similar to the pionía, a red and black seed, which indigenous people use to make crafts.
The prince's bow is shaped like frets, joined in the center by a small bar that also serves as a support and grip. When the arrow is launched, it allows for greater precision and range. The frets give it elegance and a touch of royalty worthy of a prince.


Les muestro el resultado
I show you the result

Gracias por Leer.
Thank you for reading.
Hasta Luego!
See you later!
Translated with https://www.deepl.com/translator
    All images are of my authorship captured with an Alcatel phone.


      Todas las imágenes son de mi autoría capturadas con un teléfono Alcatel.
Thank you so much!
Wow, it looks great. Your passion for Splinterlands really wins us all over. We admire the quality and detail you've put into this creation. Congratulations and thank you for sharing it on DIYHub.
selected by @jesuslnrs
Hi @diyhub and @jesuslnrs, thank you so much for the support. I loved this arch because of its fretwork design. Thank you for the support.
Best regards!
Me impresiona tu habilidad para las miniaturas, pues pusiste todos los detalles que definen el arco del príncipe.
Saludos @mamaemigrante, me alegraque te haya gustado, el arco resalta por su diseño.
Este post ha sido curado por el equipo de @tattooworld

[Unete a nuestro Trail]
https://hive.vote/dash.php?i=1&trail=tattooworld
You can also delegate using our preconfigured Hivesigner links:
| 10 HP | 25 HP | 50 HP | 100 HP | 250 HP | 500 HP | 1000 HP | 1500 HP | 2000 HP |
)
Muchas gracias por el apoyo @tattooworld
que genial, buen trabajo
that's great, good job
Hola amiga, me alegra que te haya gustado.
This is so creative with a beautiful outcome, thanks for sharing the step by step process with us.
Hi @bimpcy, thanks so much for visiting. I'm glad you liked the prince's arch.
Best regards!
Thanks for sharing! - @cieliss

Thankful for the support