Hey everyone! I'm glad to be back here to participate in this month’s contest centering the moon. My entry is based on some crafts I have done, called shadow boxes. Shadow boxes are essentially deep picture frames that allow you to put trinkets, Mementos, or anything you desire inside. They make excellent home decor and are perfect as gifts. I've created several (both with and without lights) as gifts for people.
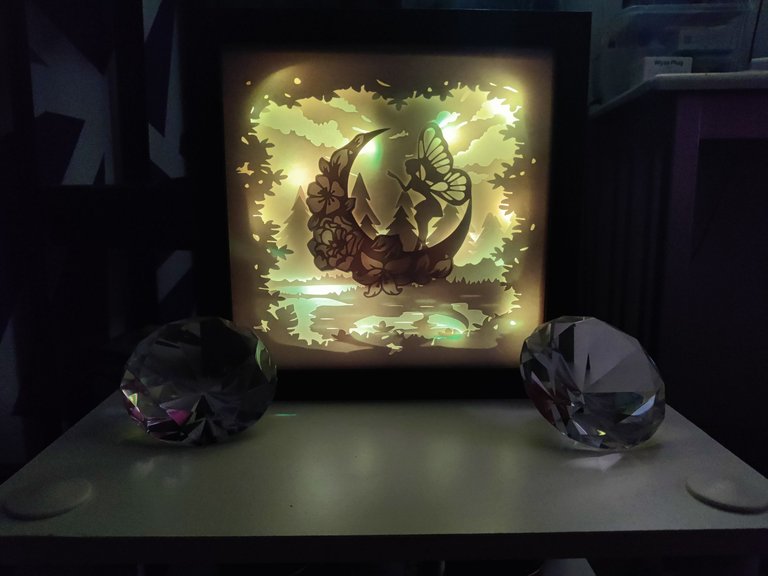
This time around, I've decided to make an LED light-up shadowbox that showcases a moon fairy over a pond in a forest. It was an interesting and cute design I found on Etsy that was perfect for this contest. Let me show you how I created it.
Tools
Here are the following tools needed to create this:
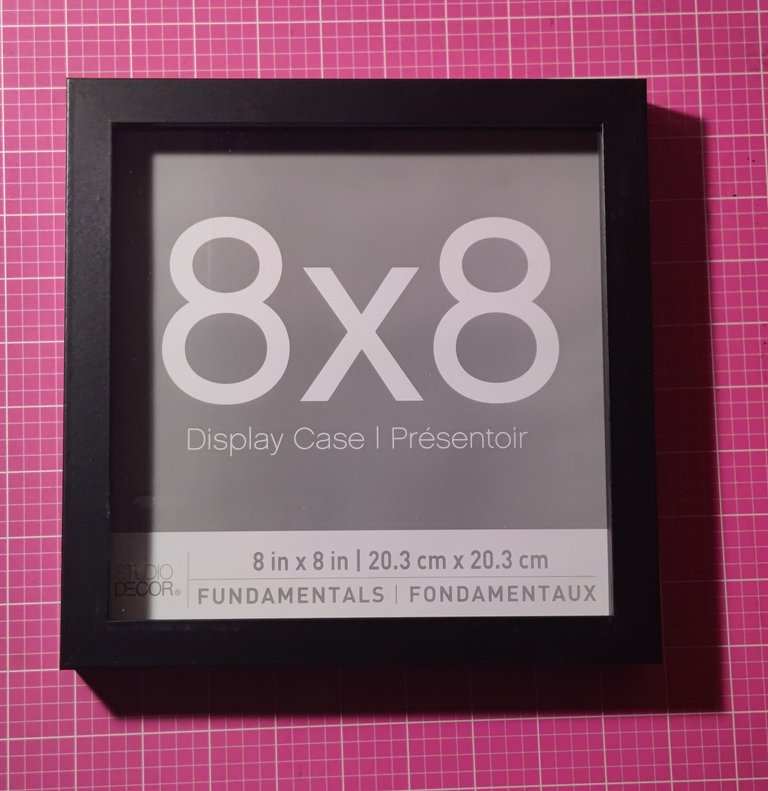
1 8x8 in (20.3 x 20.3 cm) shadow box
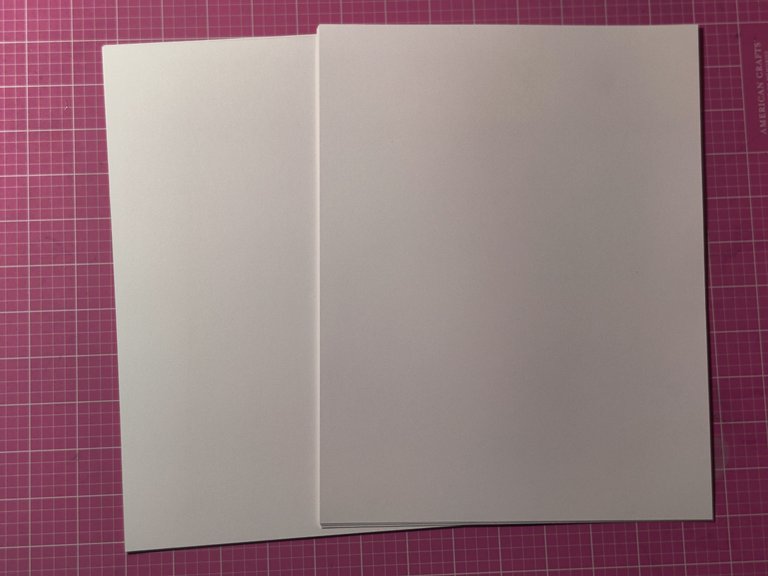
8 pieces of white cardstock paper
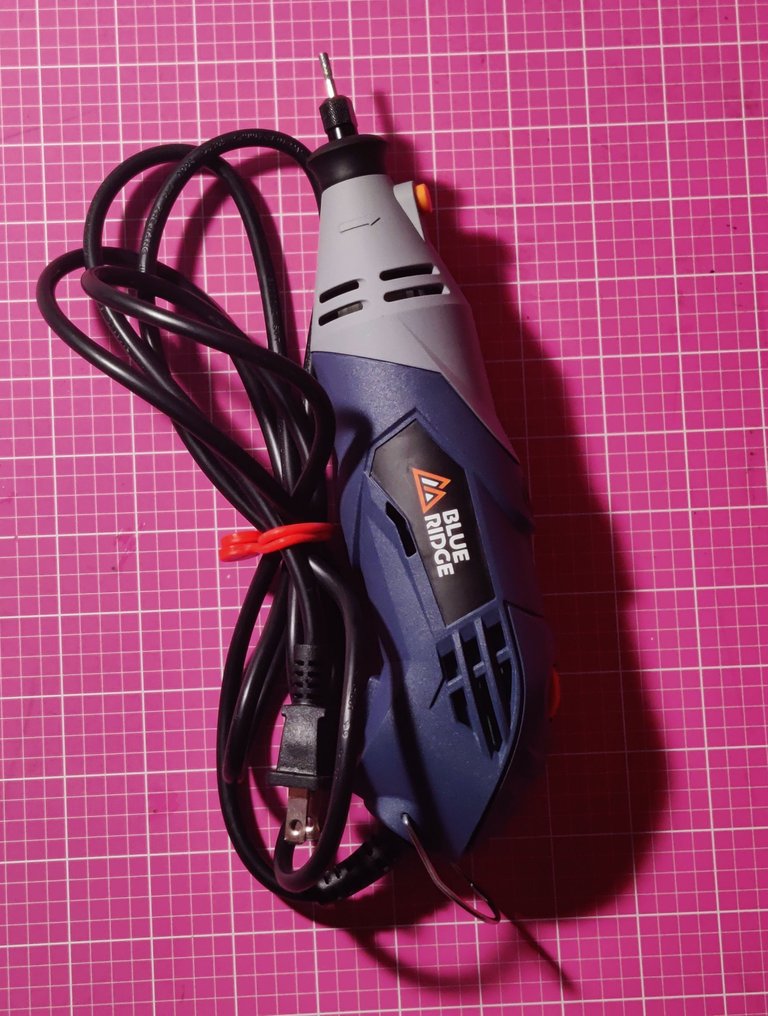
1 Dremel
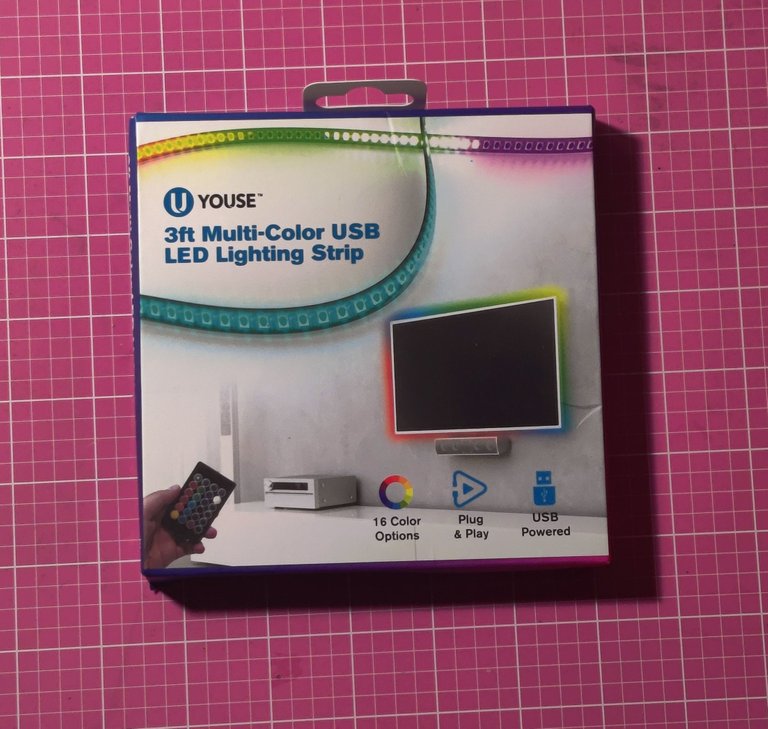
1 LED light pack
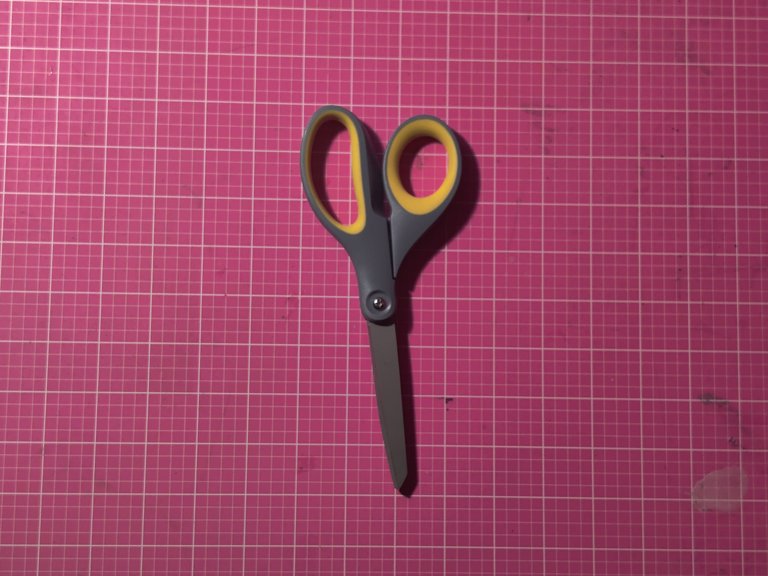
Scissors
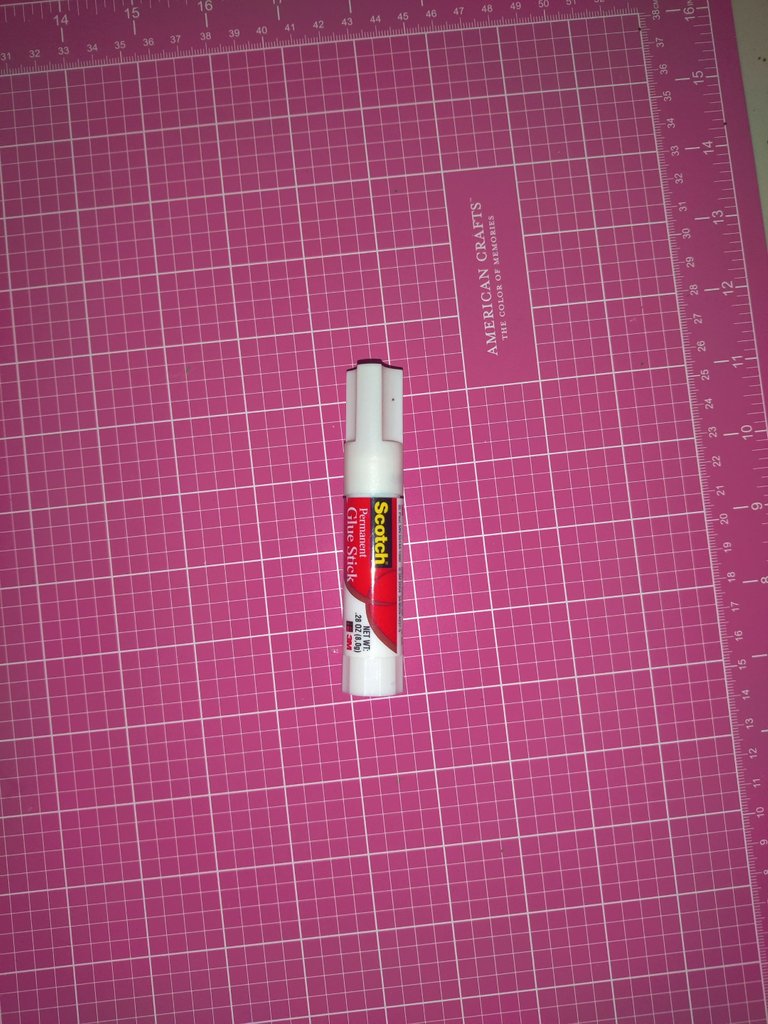
1 glue stick
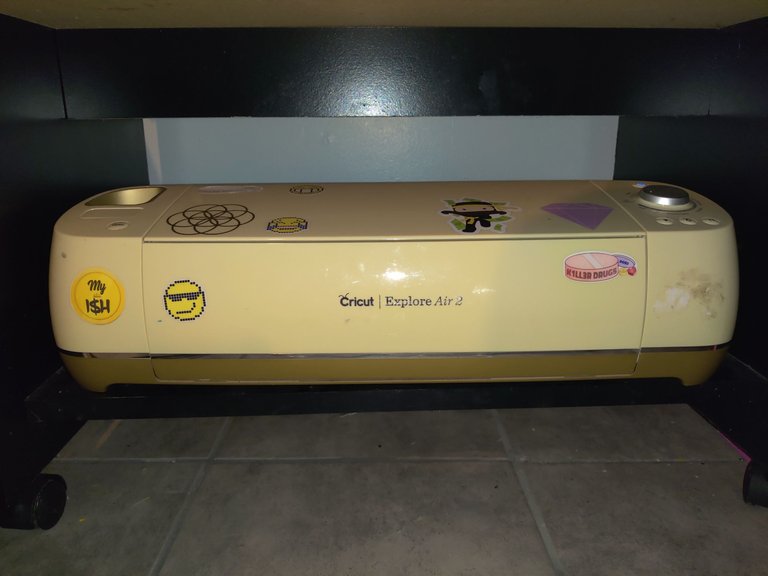
Cricut machine/die cutting machine and accessories
1 pack of double-sided foam tape
Cutting the Design and Assembling the Cardstock
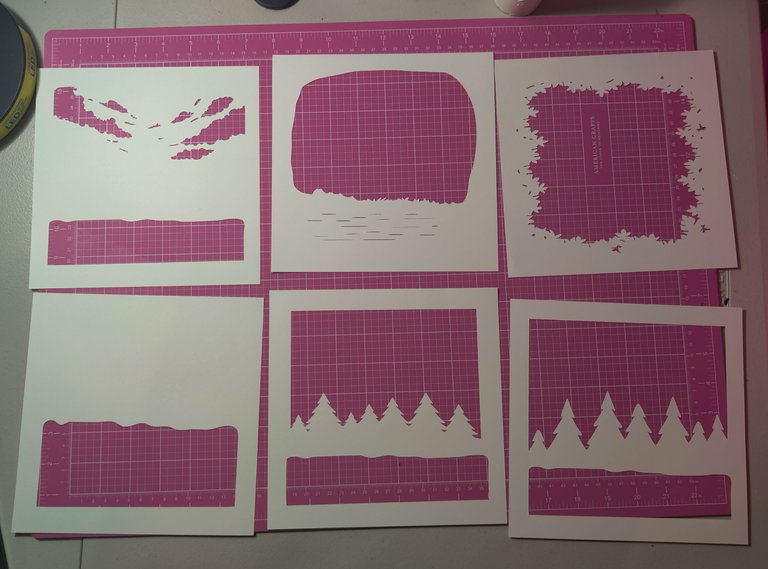
After purchasing the design (linked here), I downloaded it on my iPad Pro and took the PNG files directly to my companion software for my Cricut die-cutting machine, called Cricut Design Space.
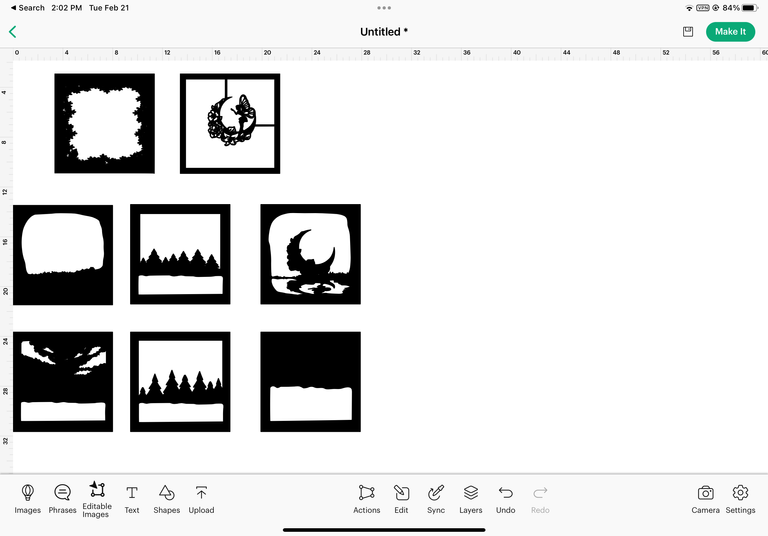
After uploading the 8 files to the software, I set up my machine to cut all of the designs. Then, I took each piece of cardstock one by one, lined them up on the lightest sticking mat, put it into the Cricut, and allowed it to cut out all the designs.
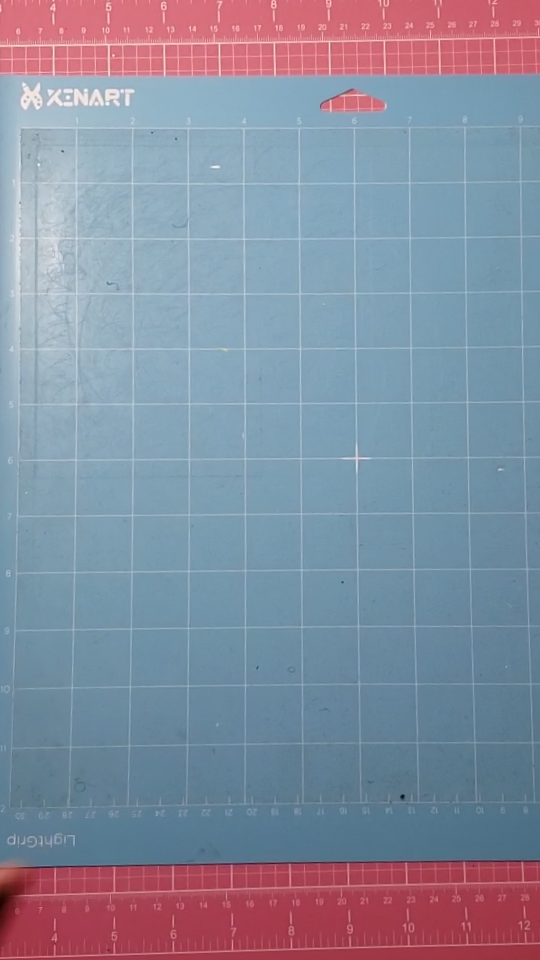
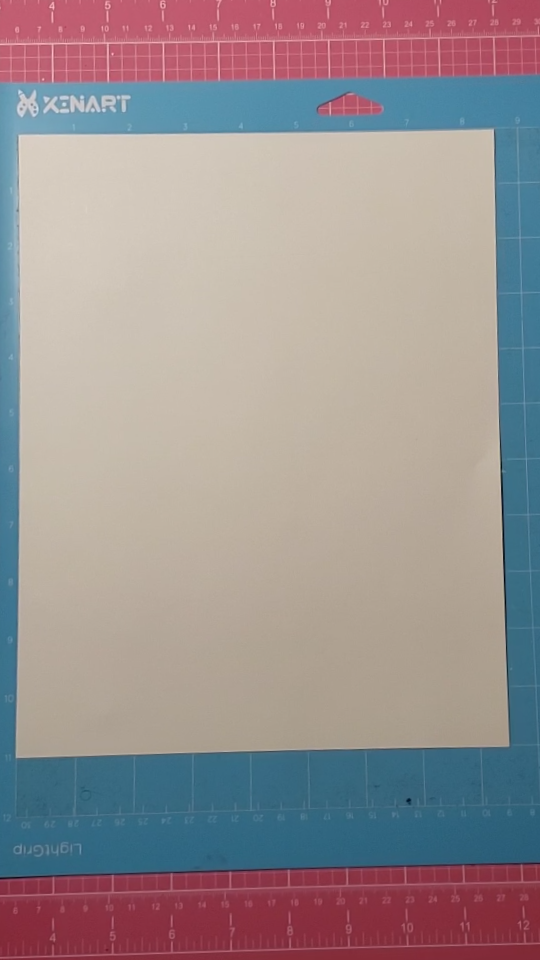
Cricut Cutting mat with Cardstock attached
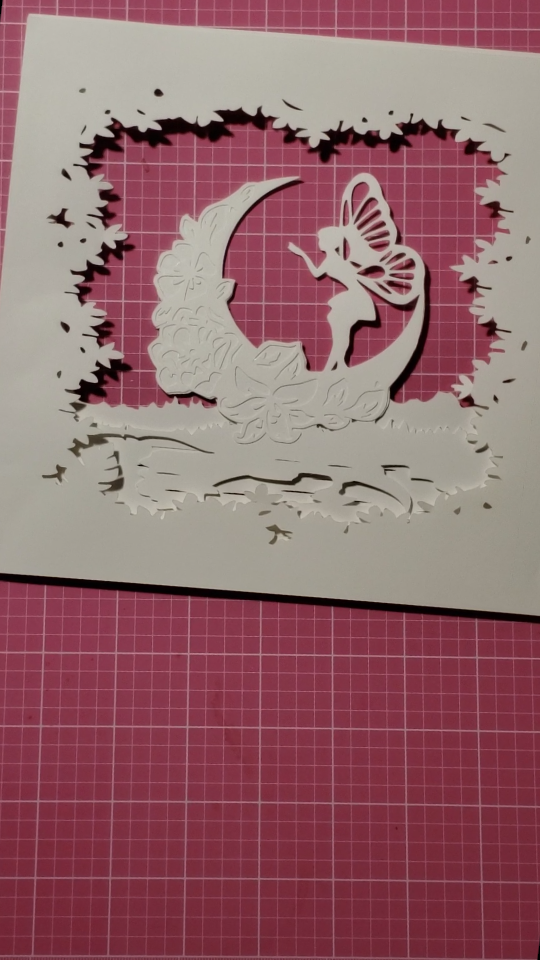
There were 8 pieces in total, and they came out looking like this:
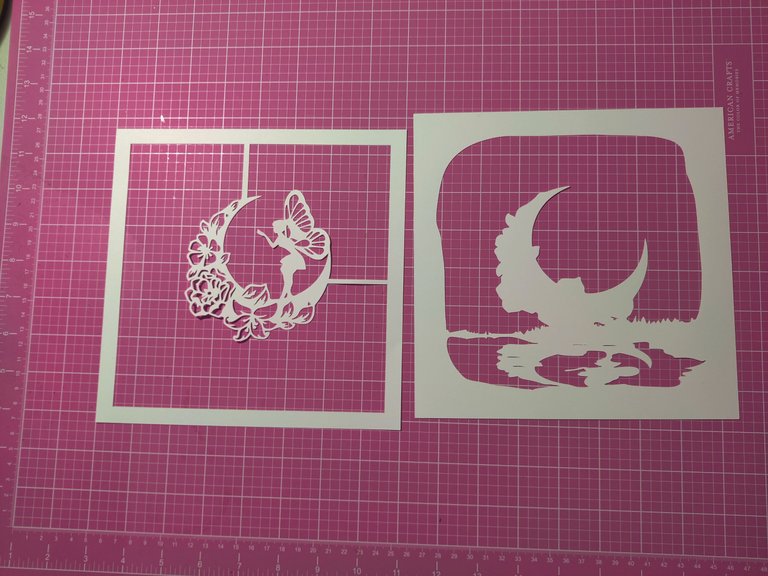
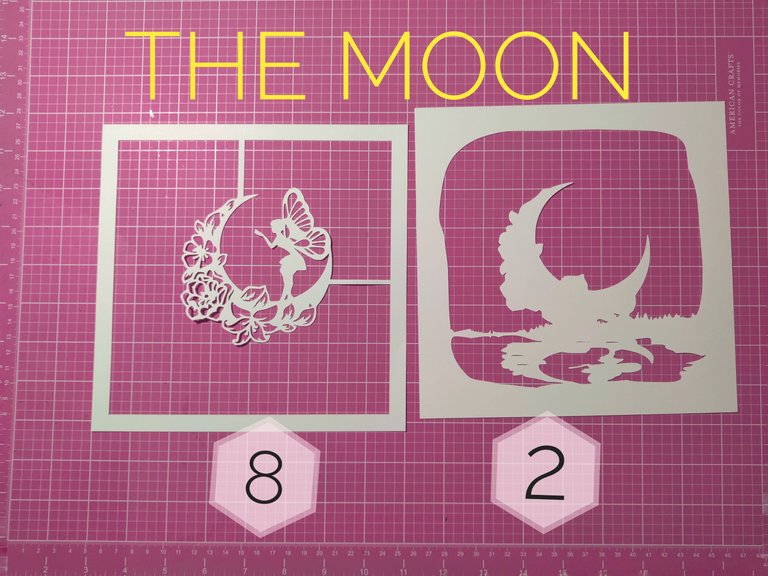
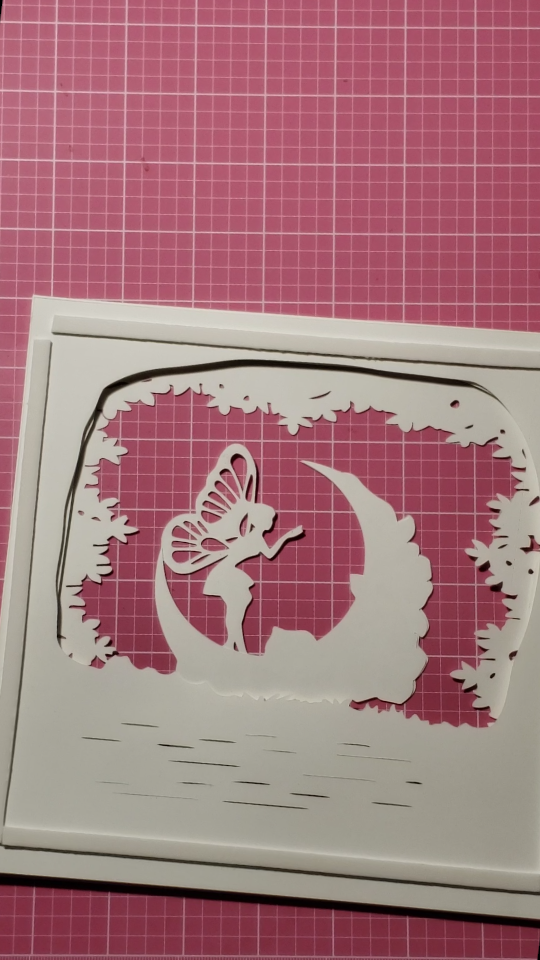
The cut out of the moon fairy and the shadow of the moon reflected in a pond.
Once the designs are cut out, I took the page with the moon fairy and used scissors to remove it from the frame.
After removing it from the frame, you take the glue stick and apply glue to the back of the moon fairy and affix it to the other cardstock with the moon on it. This creates a shadow effect. Each cut-out is labeled by layer and the moon layer is layer 2.
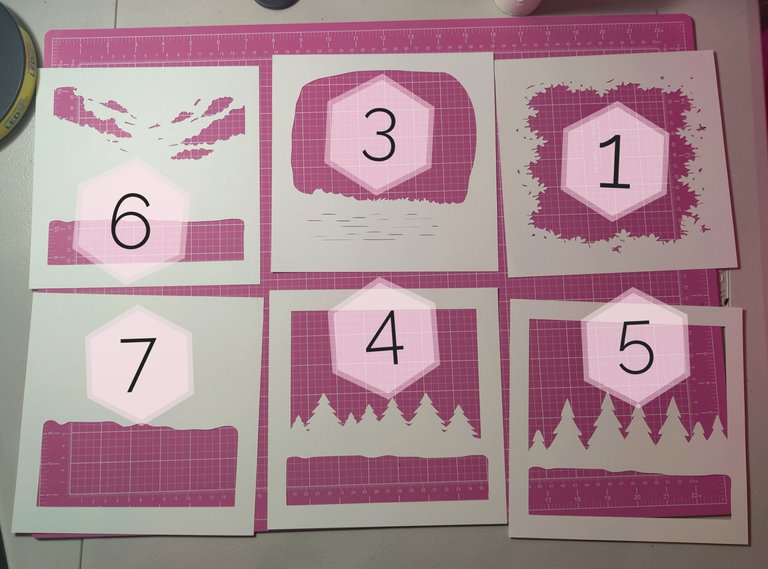
Then, going in order of the layers, you cut out 4 pieces of foam double-sided tape per layer (excluding the final layer) and stick the next layer on behind it. (Layer 2 goes on top of layer 1, layer 3 goes on top of layer 2, etc.) Foam tape is used instead of glue or regular tape to create more depth in the photo and to allow for more light to shine through.
Assembling the Shadow Box
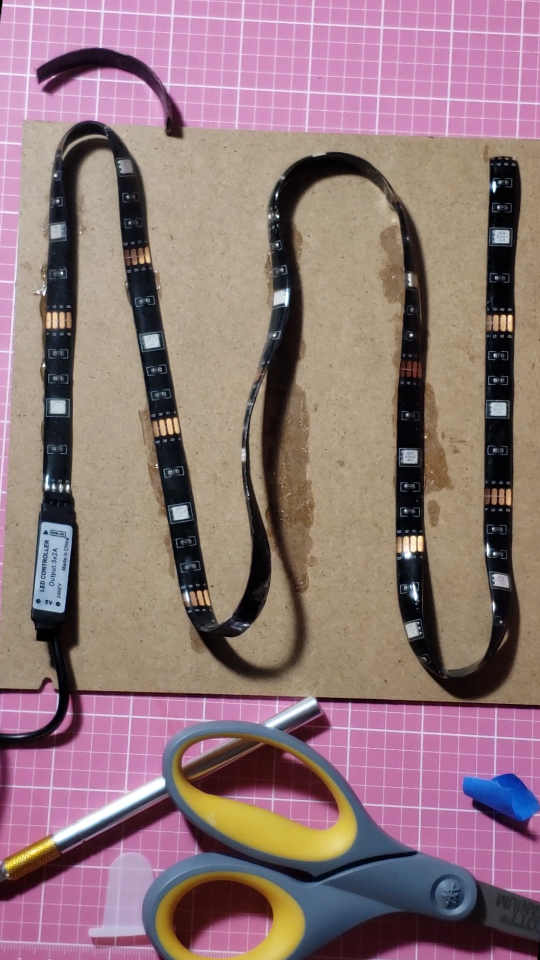
After all of the layers are properly assembled, we begin working on the back panel of the shadow box frame. Take the back panel off, remove the LEDs from the packaging, and affix it to the panel. The LED's that you use usually have an adhesive to them, but I found that they weren't that good, so I tried to use super glue to get them to stick. It didn't really work out the best, but I had to make do with what I had. Luckily, it can't be seen from the outside.
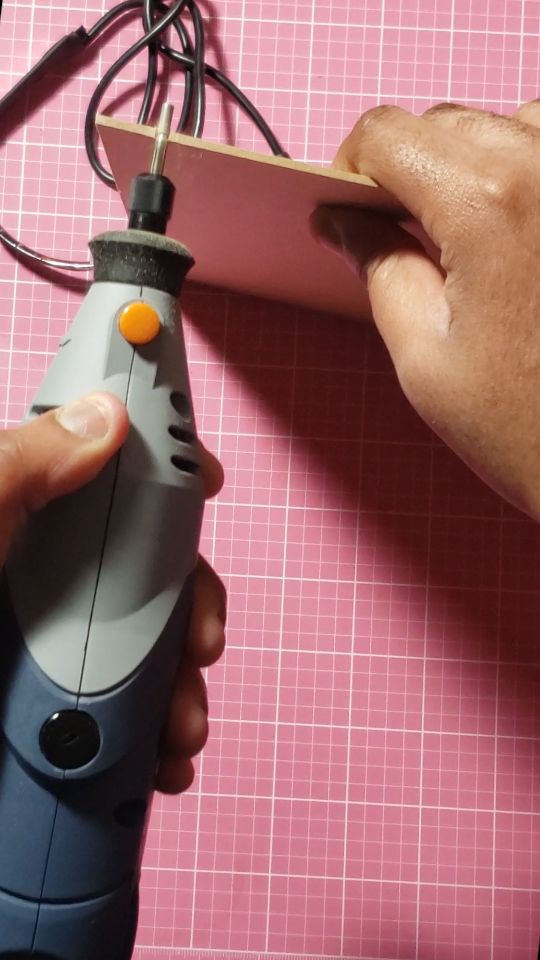
A notch is also going to have to be cut at the corner where the LED turns into a wire. A drill or a Dremel will be required to create a small notch, which is what I did here.
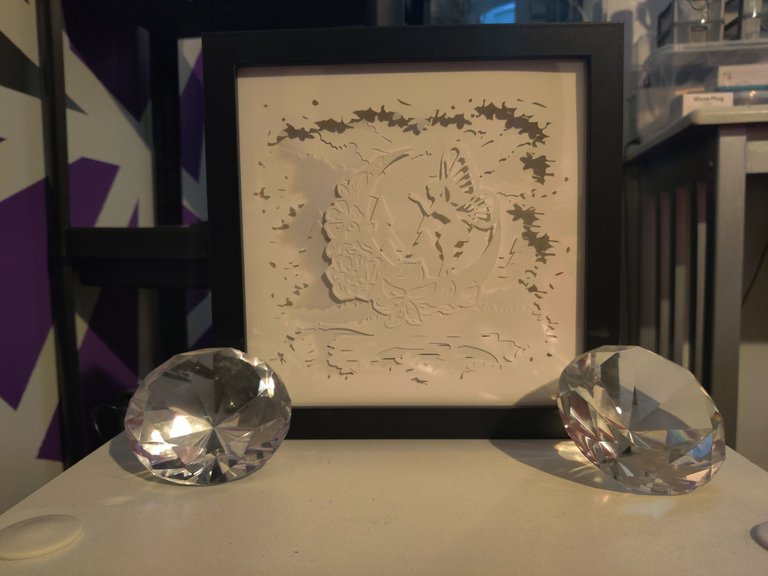
After the LEDs are properly affixed to the back of the frame, you can insert the cardstock cutouts in the front. Then, close up the prongs in the back of the frame to secure it. There you have it: one complete LED light-up shadow box! The last step will be to turn on the lights. I installed a multi-colored LED light set. Here is the final product:
Here is a video of the process:
Thank you all so much for reading! Good luck to everyone who is participating!
It looks fantastic.
@tipu curate 6
Upvoted 👌 (Mana: 0/55) Liquid rewards.
Thank you! I appreciate it! 😊
A pleasure.
Congratulations @truemystique! You have completed the following achievement on the Hive blockchain And have been rewarded with New badge(s)
Your next target is to reach 700 upvotes.
You can view your badges on your board and compare yourself to others in the Ranking
If you no longer want to receive notifications, reply to this comment with the word
STOPCheck out our last posts:
Support the HiveBuzz project. Vote for our proposal!
Wow! you did a great job, the result is great @truemystique.
Thank you! I appreciate it!☺️
Thank you for sharing this post in the DIYHUB Community!
Your content got selected by our fellow curator ashikstd & you just received a little thank you upvote from us for your great work! Your post will be featured in one of our recurring compilations which are aiming to offer you a stage to widen your audience within the DIY scene of Hive. Stay creative & HIVE ON!
Please vote for our hive witness <3
YES! Come on through, next level arts and crafts!
😁😁😁💗💗💗
Straightforward yet slick in result. I like it!
How long did it take you to build once you had all the tools and pieces gathered?
After all of the paper was cut, it took me about an hour to an hour and a half to assemble.
Thank you!