Hello Creative Minds✨
Today on my reduce, reuse, recycle expedition, I decided to create something shimmering out of certain scrap materials.

I woke up with a probing diy idea and I immediately scribbled the idea down(or at least something close to it). After completing every other chore I had to do, I started gathering raw materials for this project. One thing I was really observant about was where I got all these raw materials from. They were all laying around literally, waiting to either be recycled or discarded.
With all the raw materials gathered and the idea of what I wanted to do intact, I got to crafting.

Materials.
- Old cassette discs.
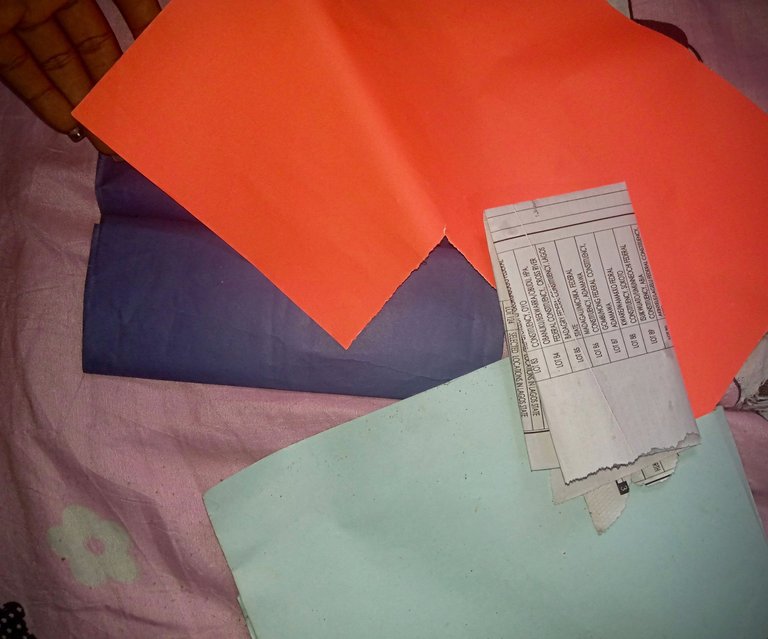
- Old coloured papers
- Cartons
- A pair of scissors
- Glue
- A pencil and eraser
- Ruler
- Cutter
Procedure
Let me start by emphasising that for this project, I decided to go bare. Usually, I change the colour of the base materials I use (cartons in this case) but I decided to leave the original colour to see how unique it looks in the end.
The very first thing I did was boil hot water to exfoliate the cassette discs. Exfoliating depends solely on the type of cassette discs being used (some old cassette discs can be very stubborn).
Once the water was hot enough, I put in the discs, covered the container and allowed it to steam for some time. After a few minutes, I brought out the discs and washed them under running water. Some parts of the cassette disc were exfoliated and the other part had to be scrubbed off.
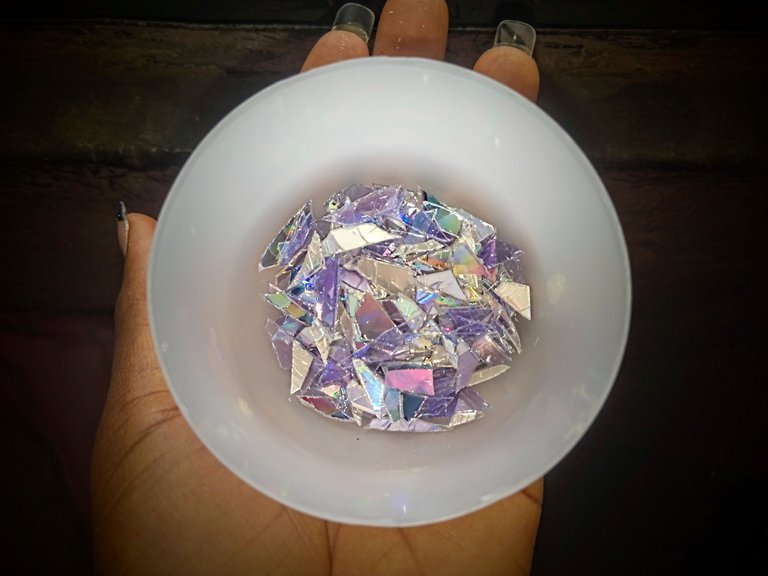
After this, I carefully cut the cassette discs into small pieces. This is a very tricky part as one could easily get injured here. The plan was to cut them into really tiny pieces and one can say that I tried doing that to an extent.
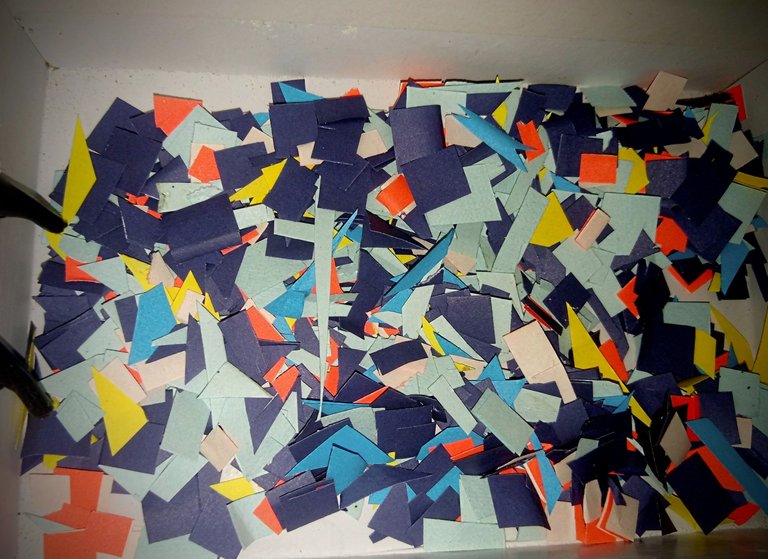
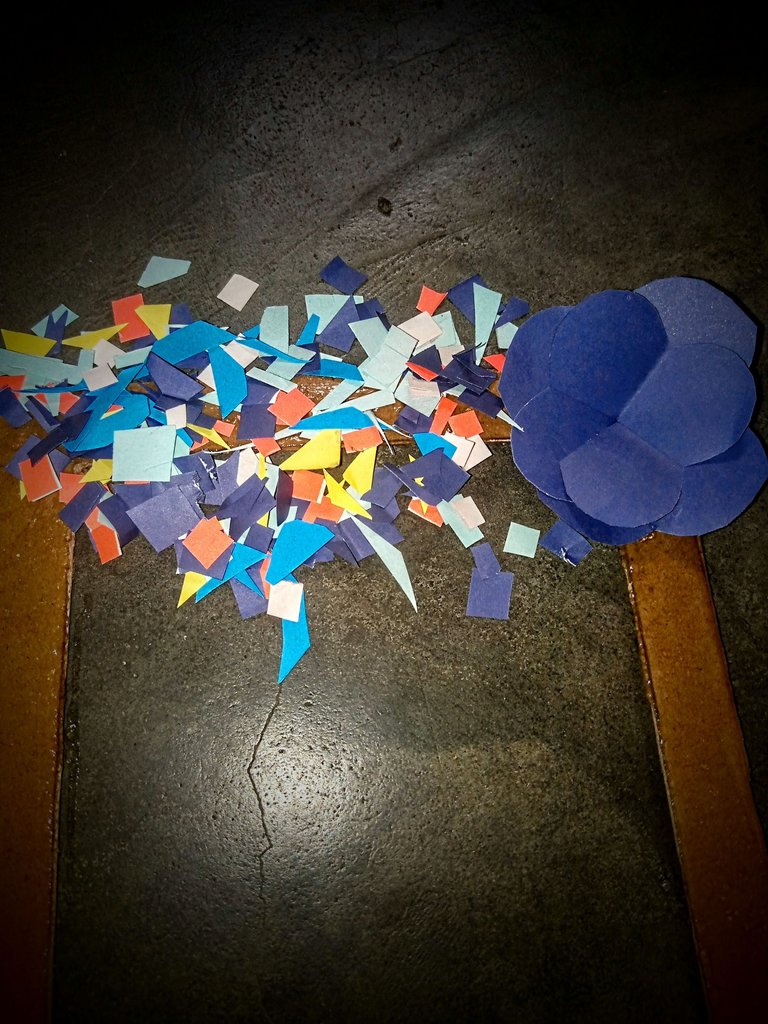
With the tiny cassette discs in place, I went ahead to shred my colour papers too. I tried to ensure homogeneity in the colours as I didn't want one colour outshining the rest.
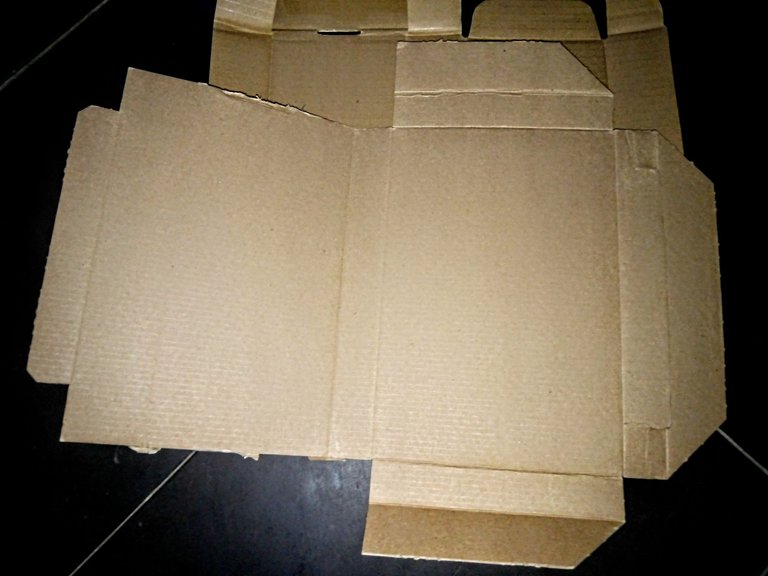
With the shredded paper intact, the next thing I did was cut out the cartons.
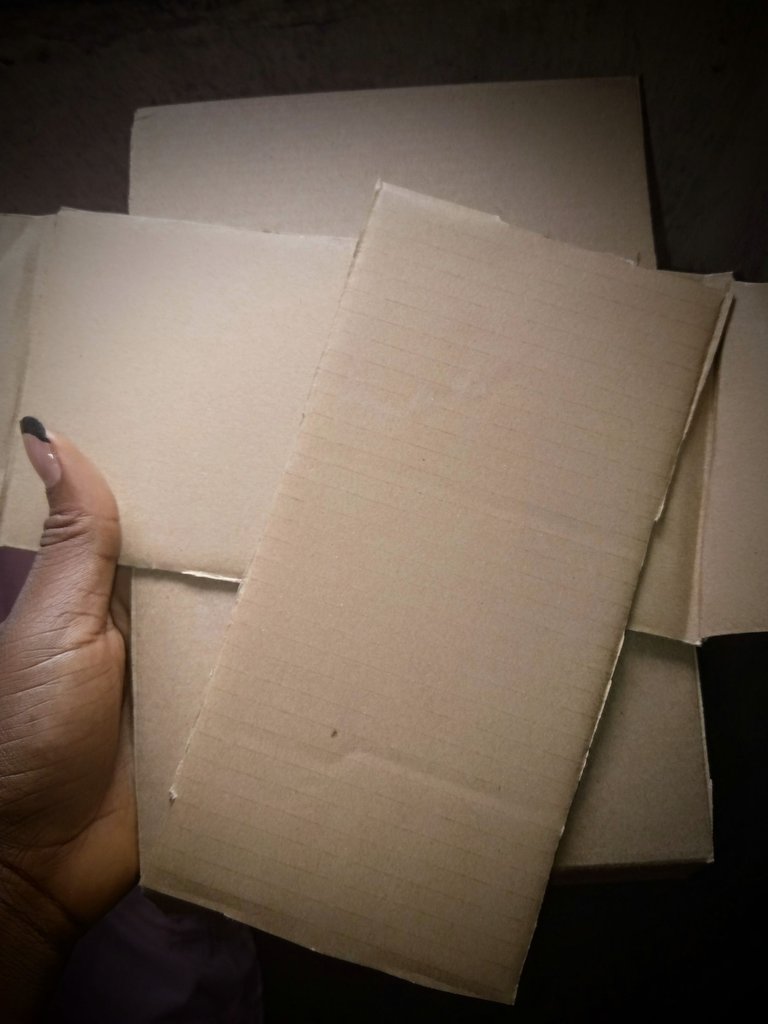
I really liked working with this particular type of cartoon because of how firm it is. I cut out my desired size from the mass of cartons available and then went ahead to shape them out.
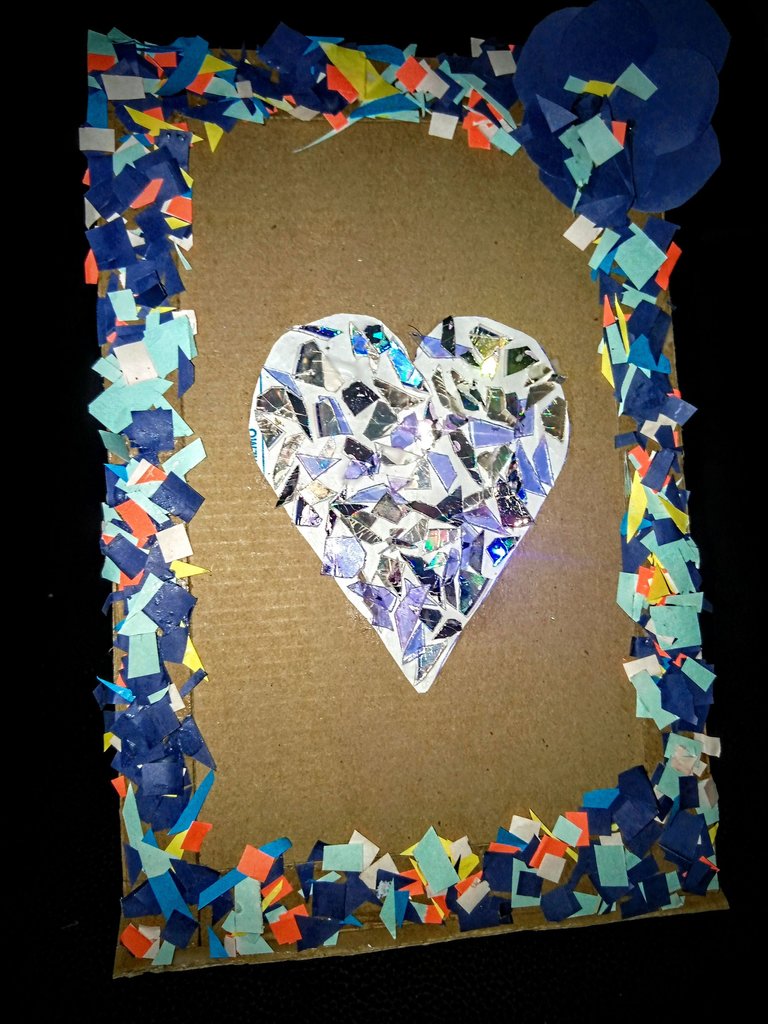
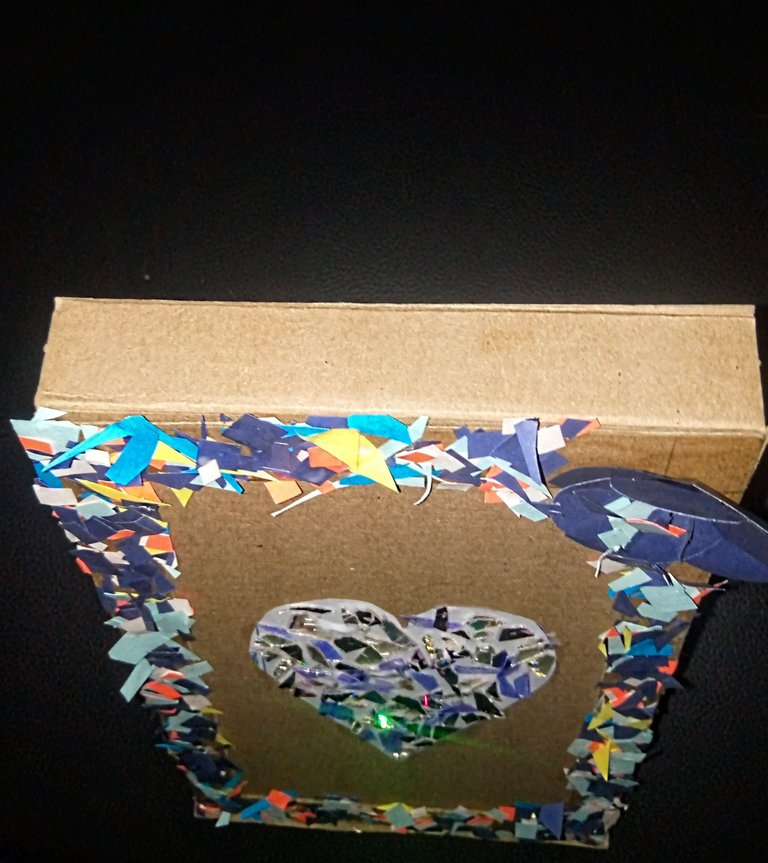
The front panel of the project was supposed to have an open space which could fit a picture of anything of one's choice. With that, I cut out an opening, making it look somewhat like a frame.
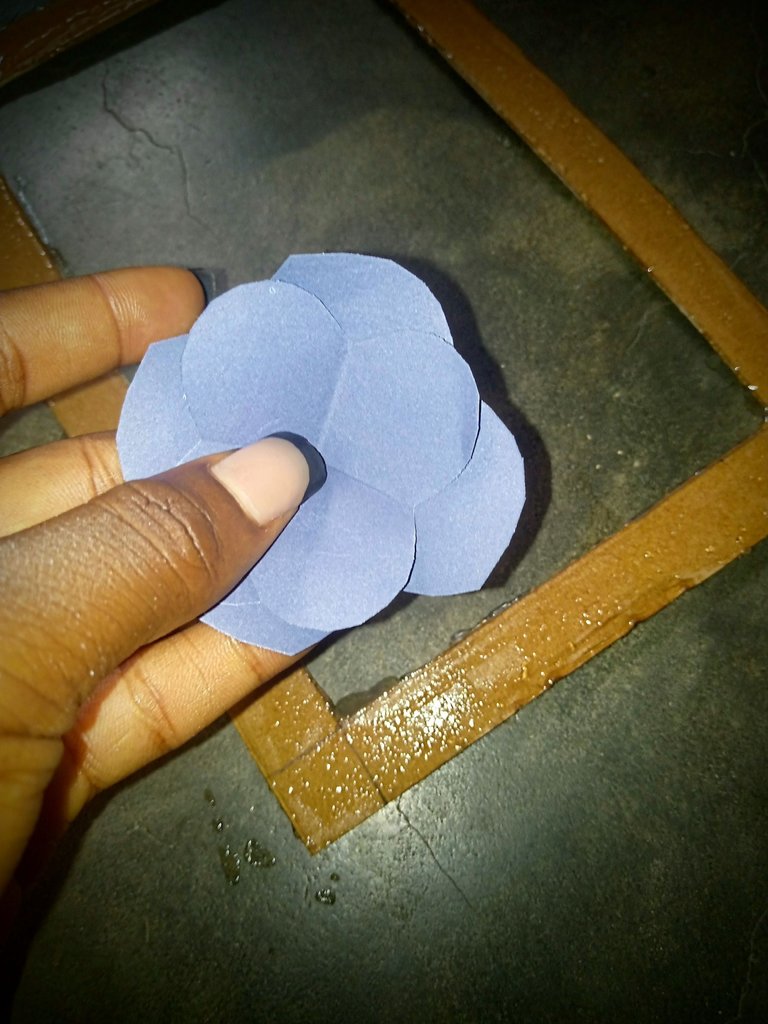
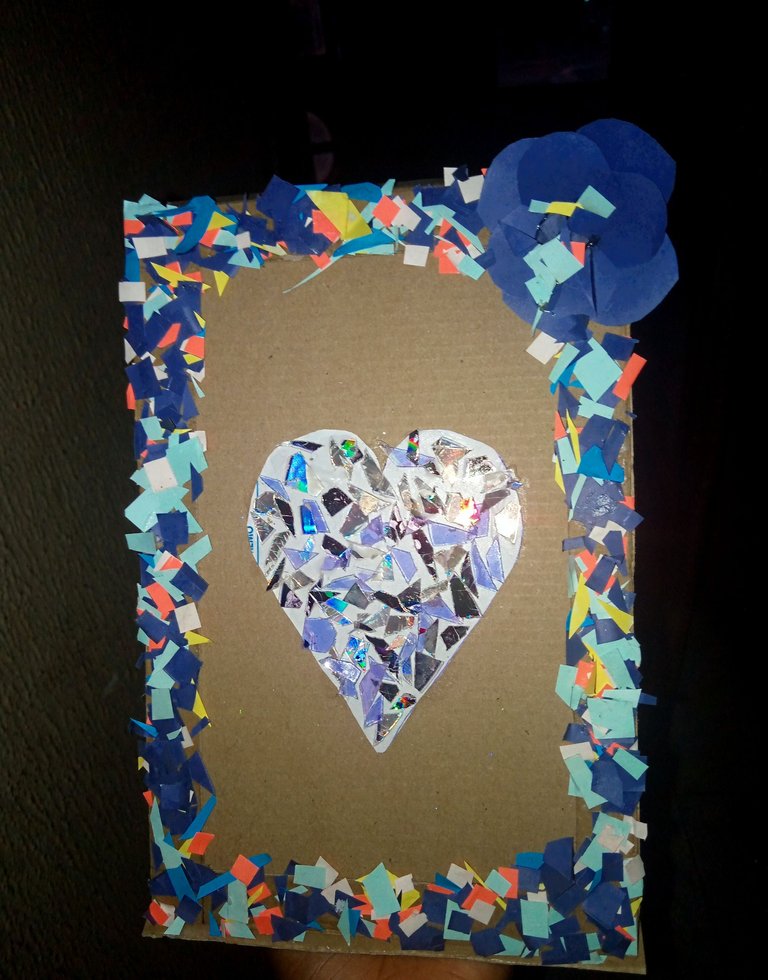
After precisely cutting out the edges with a cutter, I applied glue all round the edges. The next thing I did was attach the pieces of coloured paper on the glue. This gave a mixture of different colours on the edges of the frame.
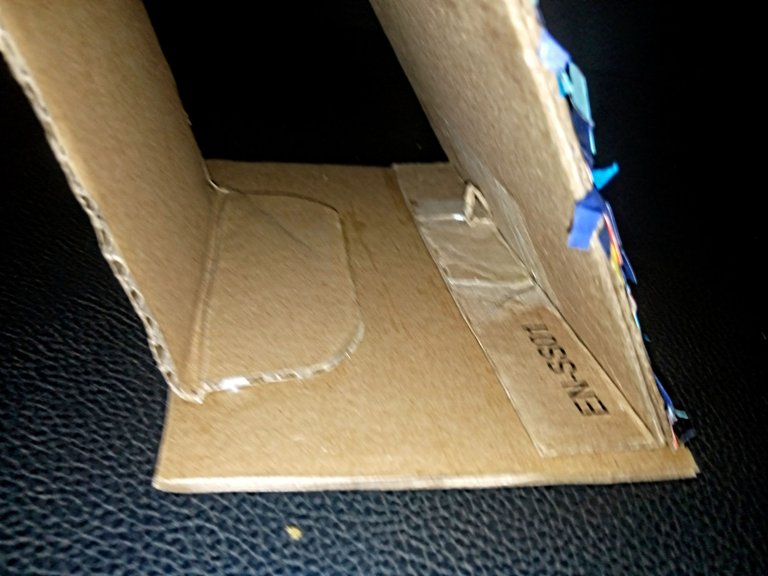
The back panel on the other hand was supposed to be a flat surface with a form of support at the rear end. Getting the carton to slouch backwards took a good amount of precision and gentleness but at the end of the day, it was achieved.
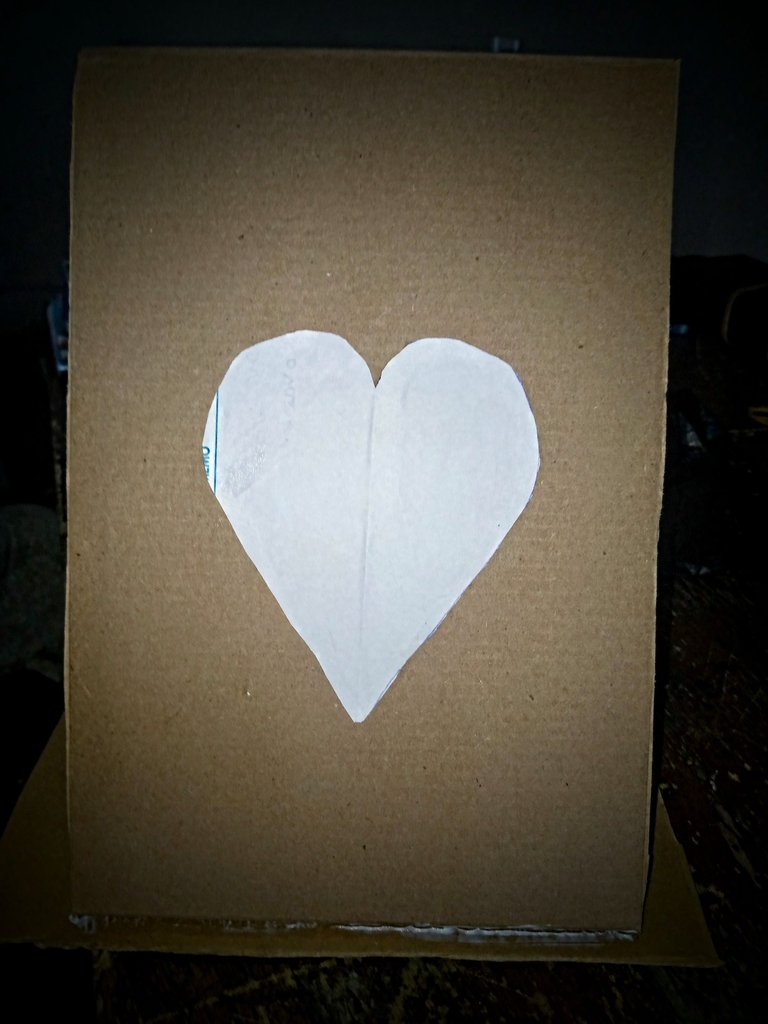
The next thing I did was to cut out a heart shape and place it at the centre of the project. This heart shape was cut out from a piece of paper.
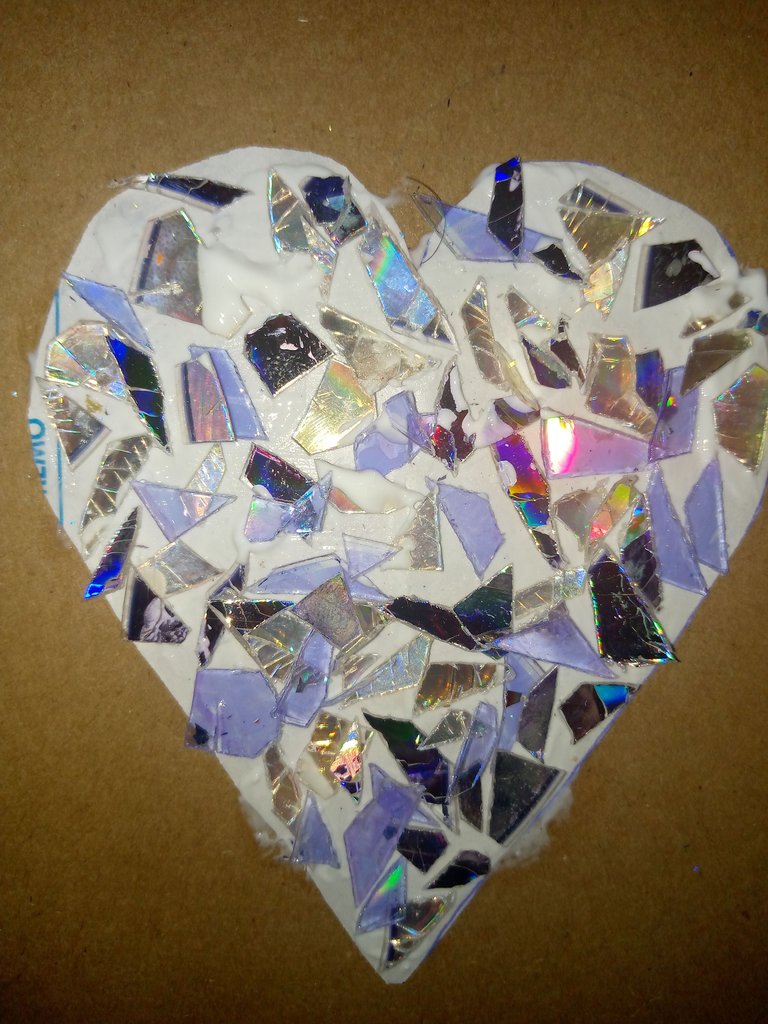
After this, I started placing the tiny cassette discs on the heart shape, paying attention to size and location. This was the very last thing I did, after which I left the project to dry up properly.
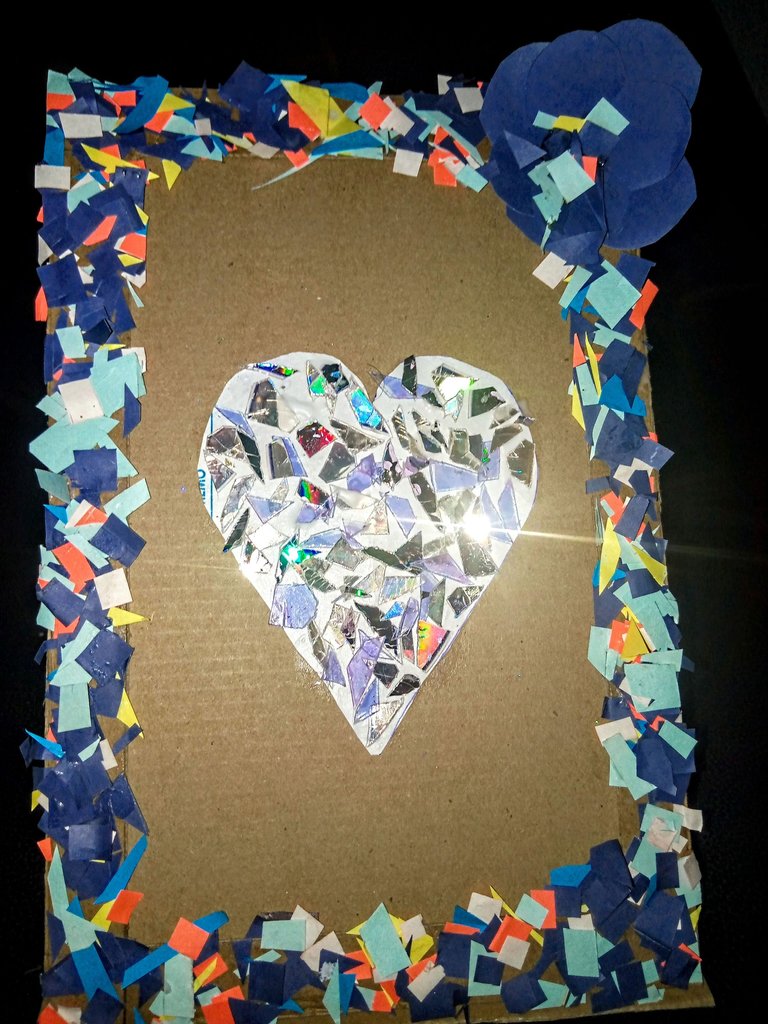
With that, I came to the end of the project which I would classify as a room decor. I like how shimmering and reflective the broken cassette discs pieces look when captured. What do you think of this project? Is there anything you think I could have done better? Do tell.
Until next time, stay creative.
All images used belong to me and were taken with my mobile device except stated otherwise.This post was inspired by the #mayinleo calendar which can be found right here. Do well to check it out
Love🤍
Posted Using InLeo Alpha
Posted Using InLeo Alpha
I think if you had painted the carton, it'd have come out more beautiful.
BTW, you did a really nice job here.
Noted dearest. And thank you so much for stopping by ✨
It's a pleasure.
Interesting, i also agree with adding a bright neutral color to the carton to bring out the glistering effect, overall, you recycled well, well done dear.
And additional colour would have been perfect..noted😌
And thank you for stopping by ✨
You recycled well, you're always coming up with ideas for these DIYs, you're a creative.
!LUV
wongi, fredaa sent you LUV. 🙂 (1/1) tools | trade | connect | wiki | daily
Made with LUV by crrdlx.
Thank you so much @fredaa 😊
You're welcome @wongi
This is so beautiful turning an ordinary carton into something beautiful. Nice job 👍
Thank you @ene22 ✨
You are welcome
I think in this case, it's fair to say all that glitters is gold, haha. Nicely
Thank you ✨
👏 Keep Up the good work on Hive ♦️ 👏
❤️ @bhattg suggested sagarkothari88 to upvote your post ❤️
Thank you 🤍
@wongi, you are most welcome!
Here is !ALIVE token gift for you