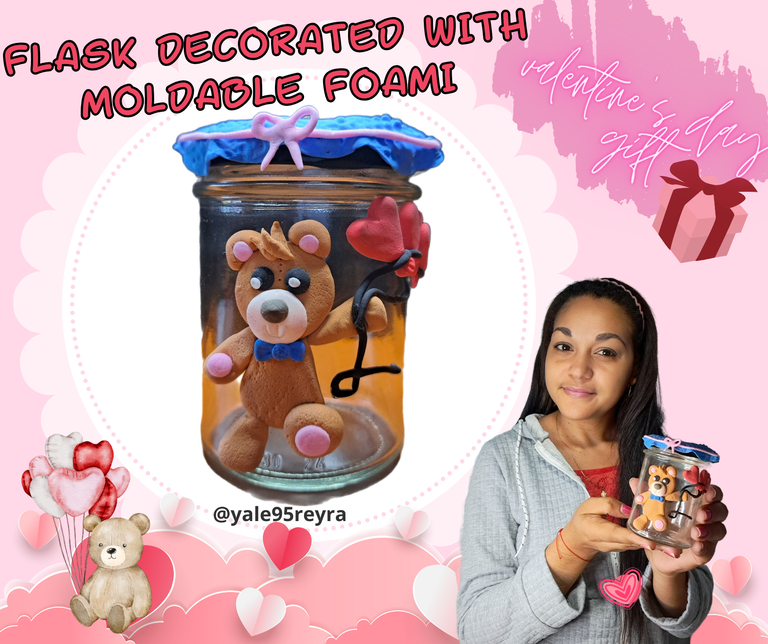
Hello friends, the most loving month of all is about to begin, as Valentine's Day or the day of love and friendship as others know it, is approaching. As you may have seen many creators are already making their crafts with this theme and showing how to make some other object that will serve as a gift for a special person.
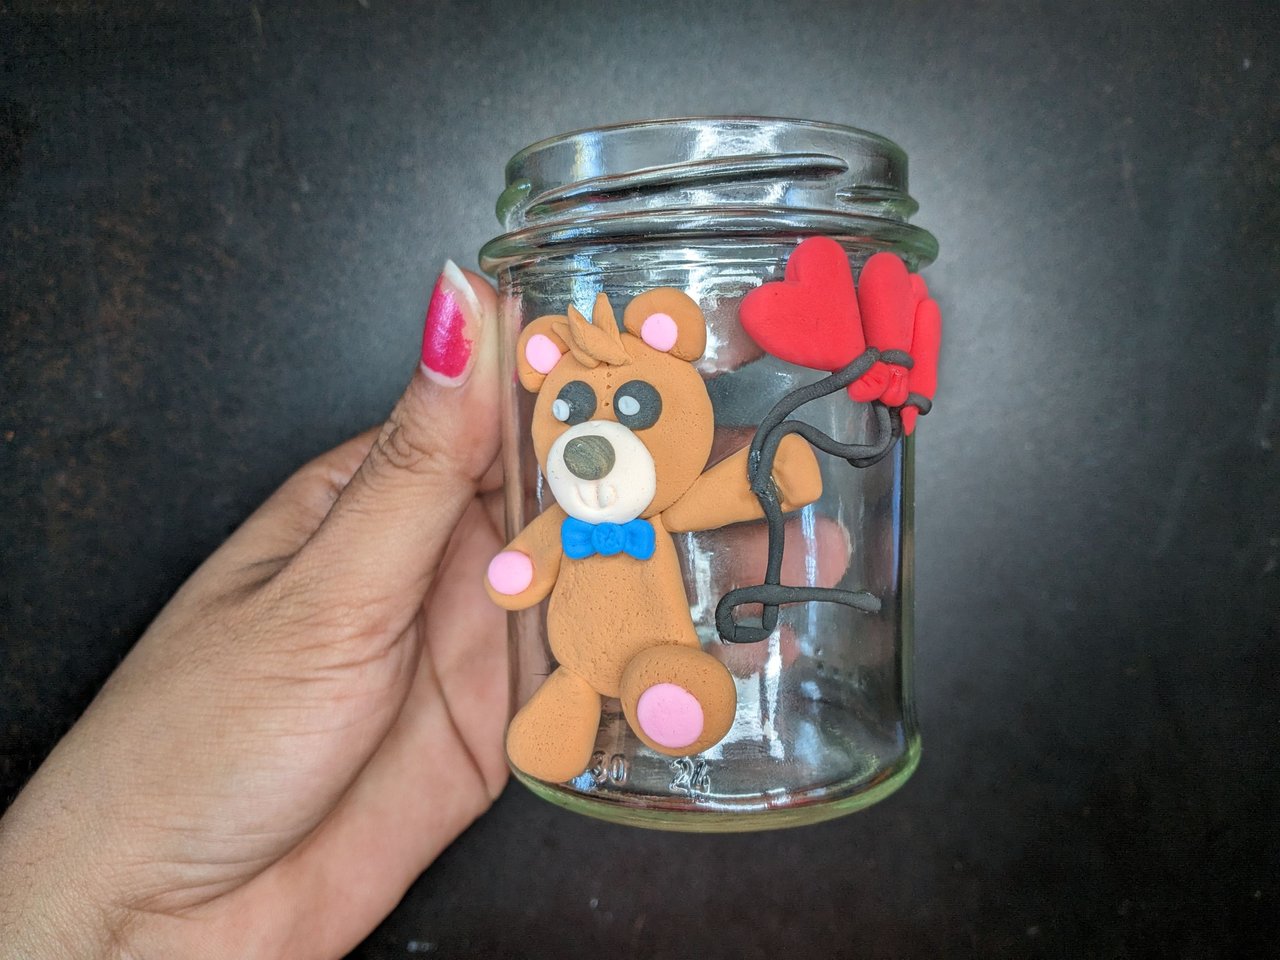
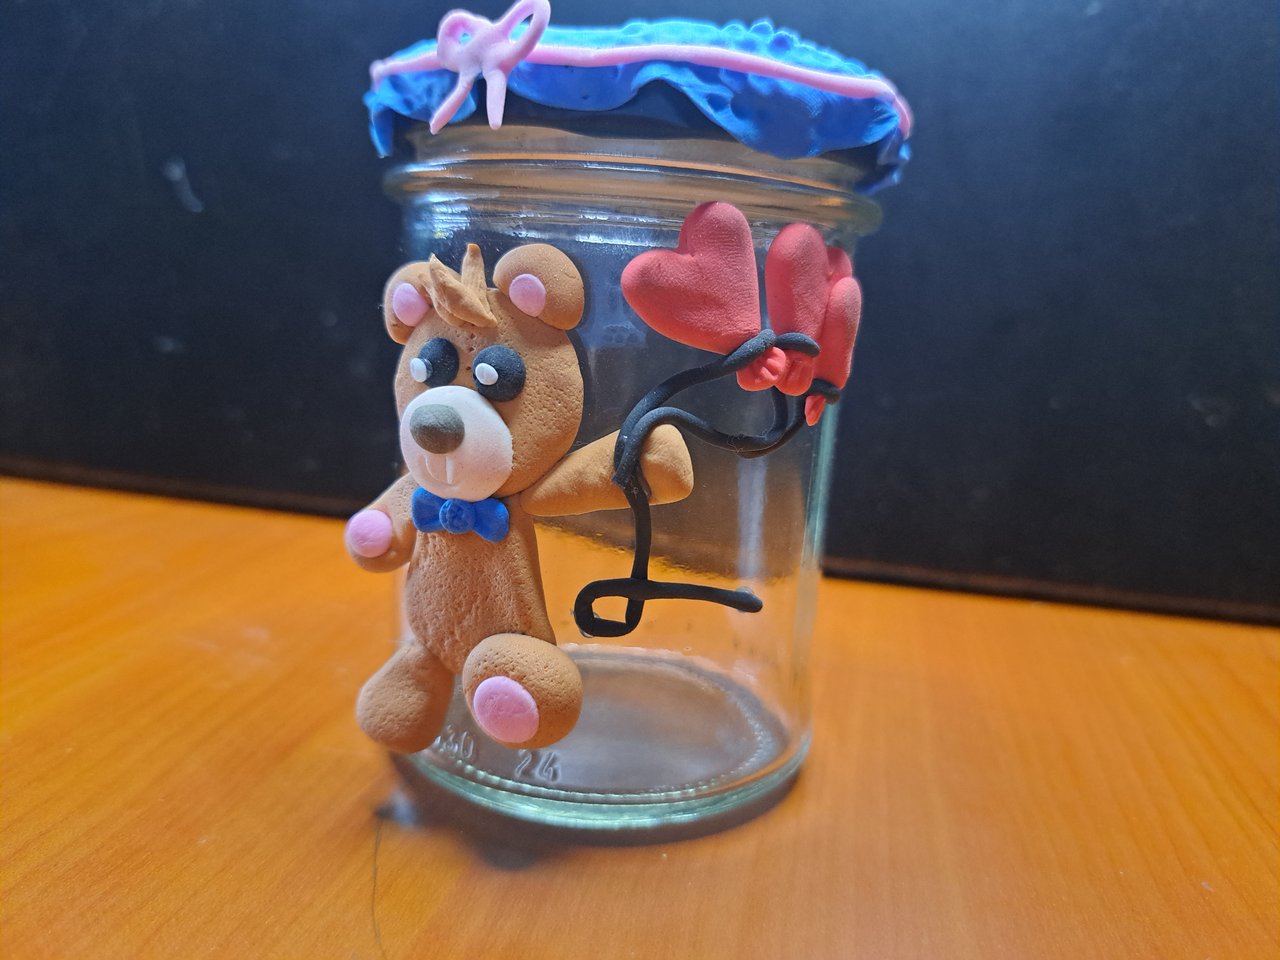
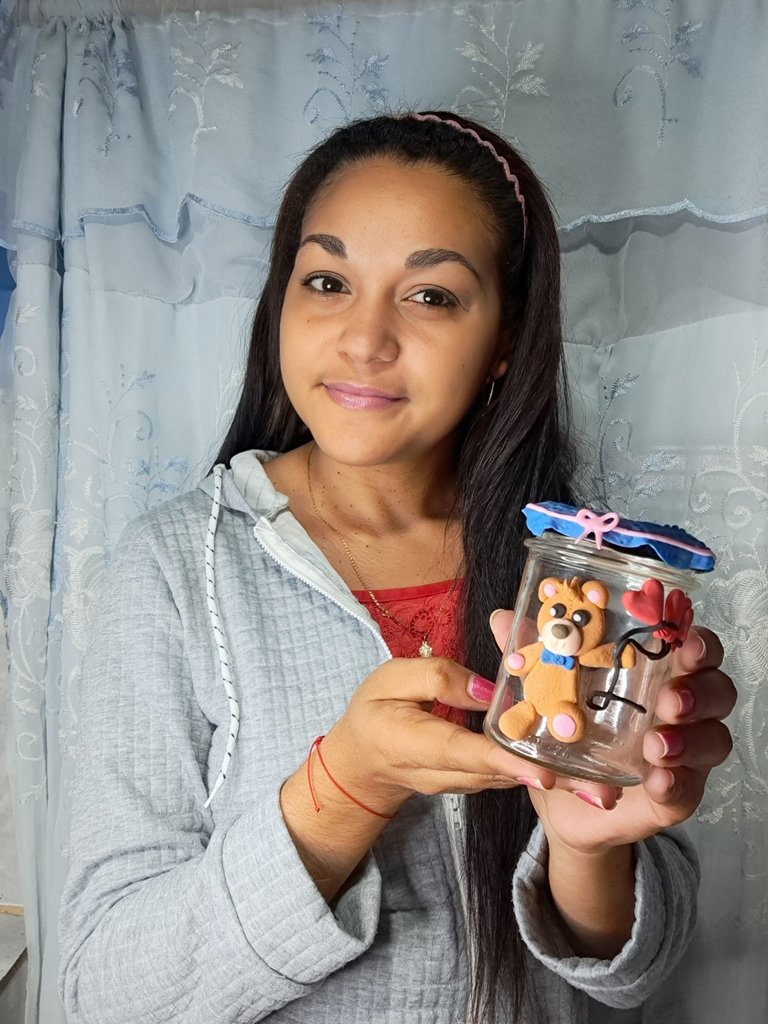
I decided to decorate a glass knob (this one was for jam), the design chosen was a loving bear, I think this is one of the animals that we most associate with love. In this container we can include inside some chocolates, candies or whatever you can think of and thus complete a beautiful detail for this day. Below, I show you how I did it.
Hola amigos, falta poco para que comience el mes más amoroso de todos, pues ya se acerca el día de San Valentín o el día del amor y la amistad como otros lo conocemos. Como podrán haber visto muchos creadores ya están haciendo sus manualidades con esta temática y mostrando como hacer algún que otro objeto que nos sirva como regalo para un ser especial.
Decidí decorar un pomo de cristal (este era de mermelada), el diseño escogido fue un oso amoroso, creo que este es uno de los animales que más asociamos con el amor. En este envase podemos incluir en su interior unos bombones, caramelos o lo que se les ocurra y así completar un hermoso detalle para este día. A continuación, les muestro como lo hice.

Materials // Materiales
- An empty glass jar / Un frasco de cristal vacío
- Moldable Foami / Foami moldeable
- Stakes / Estecas
- Acrylic plate / Placa de acrílico
- Buckle as a mold / Hebilla como molde
- Brush / Cepillo
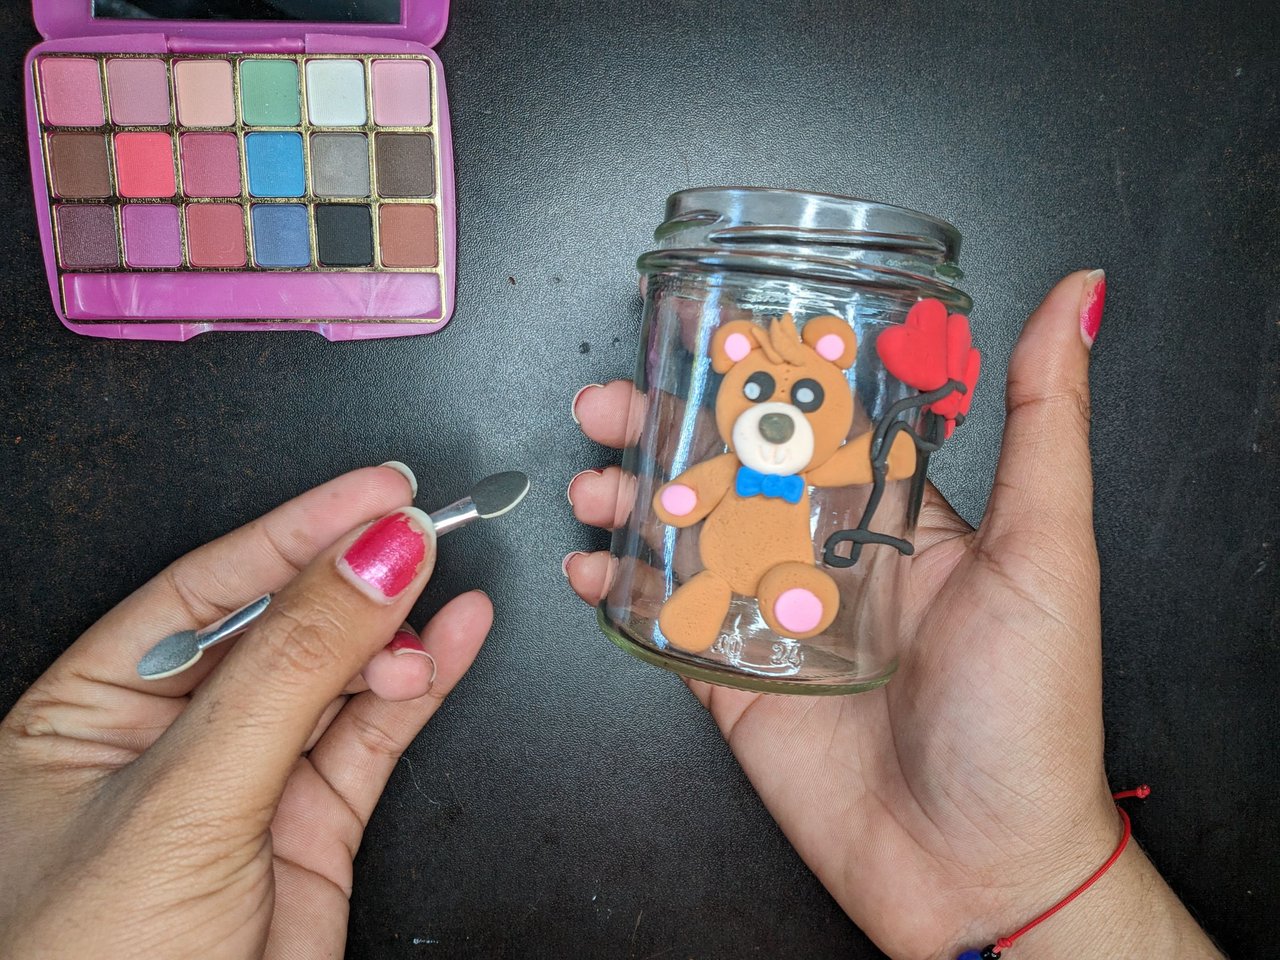
- Eye shadows / Sombras para ojos
- Silicone gun / Pistola de silicona
Step by step / Paso a paso
 |
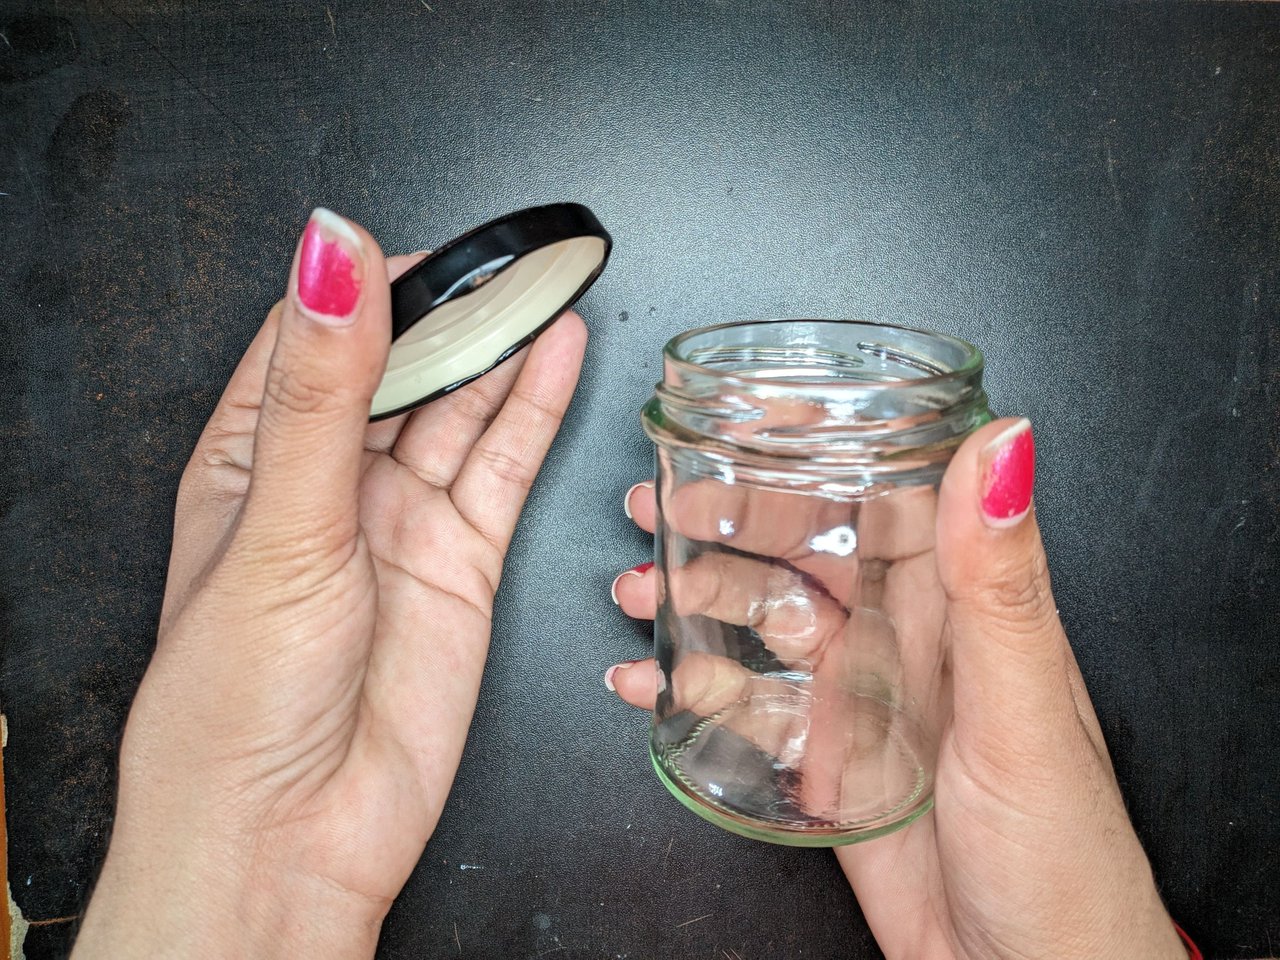 |
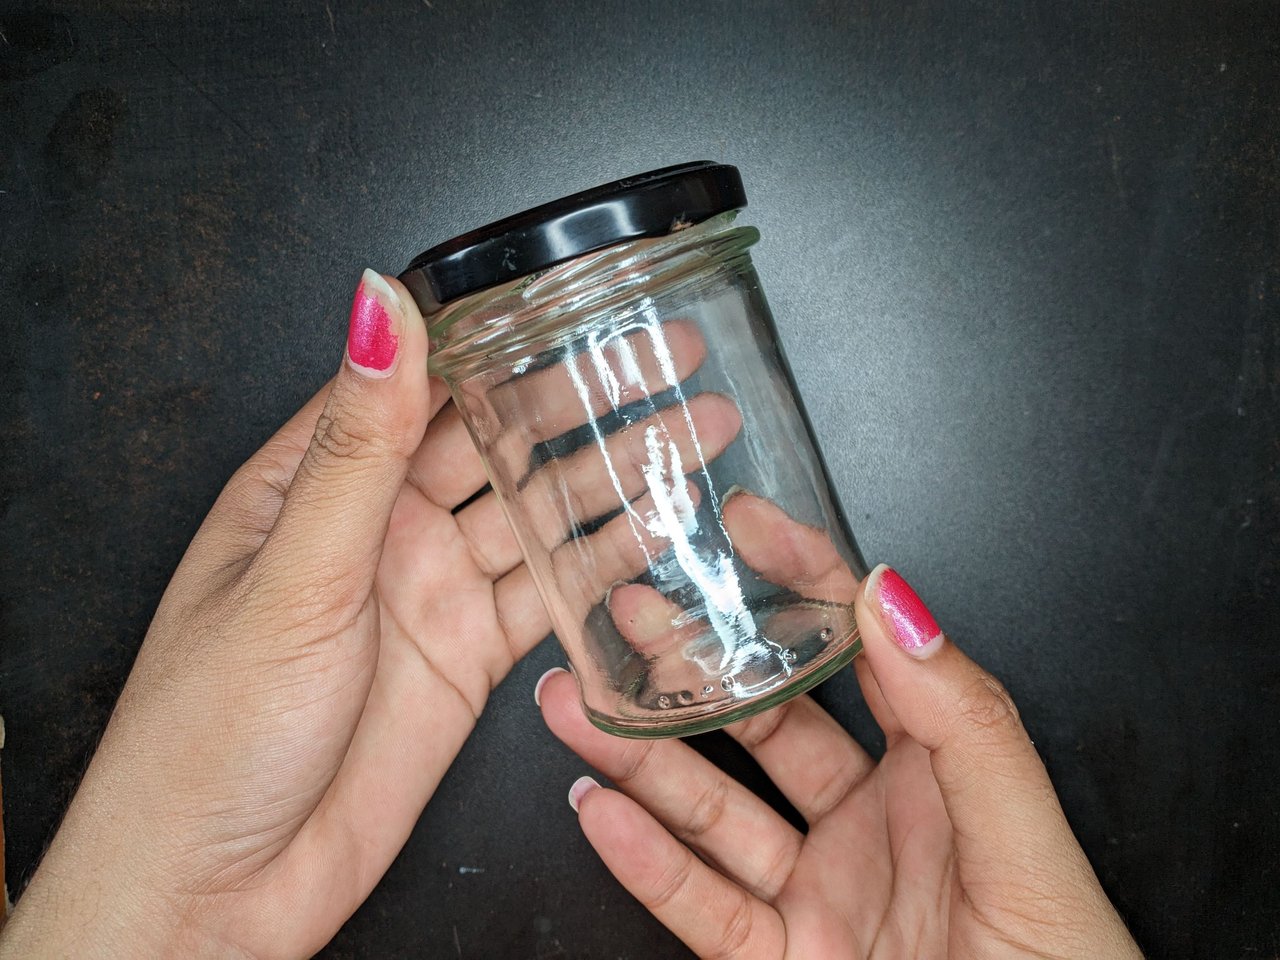
I took an empty jam jar and submerged it in boiling water for about 10 minutes to soften the stickers and remove them easily. I did the same with the lid, this one is screw on which allows us to keep in it anything we want.
Tomé un pomo de mermelada vacío, lo sumergí en agua hirviendo unos 10 minutos para que se ablandaran las pegatinas y poder retirarlas fácilmente. Lo mismo hice con la tapa, esta es de rosca lo que permite guardar en él cualquier cosa que deseemos.
 |
 |
 |
 |
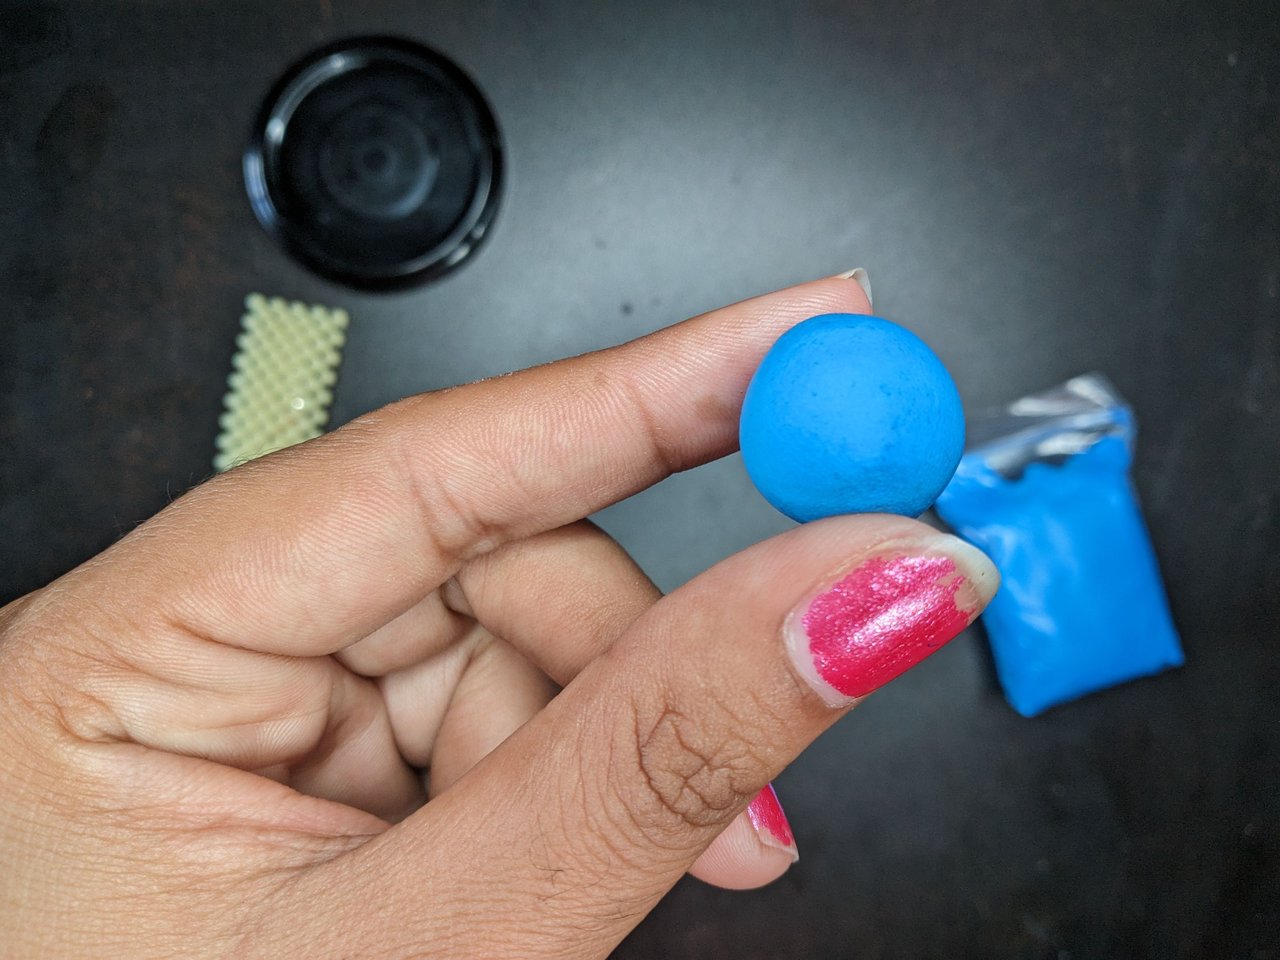
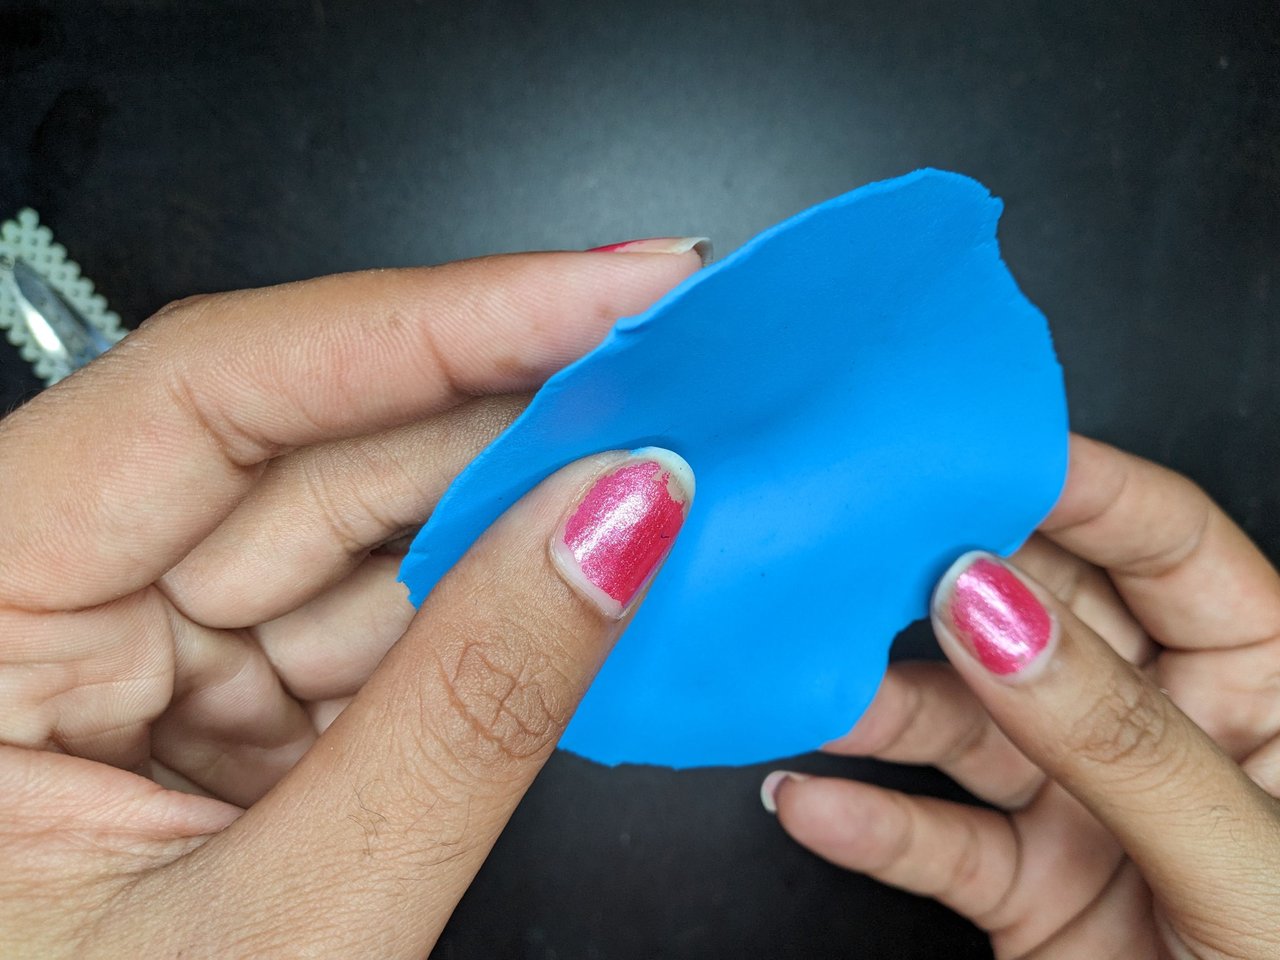
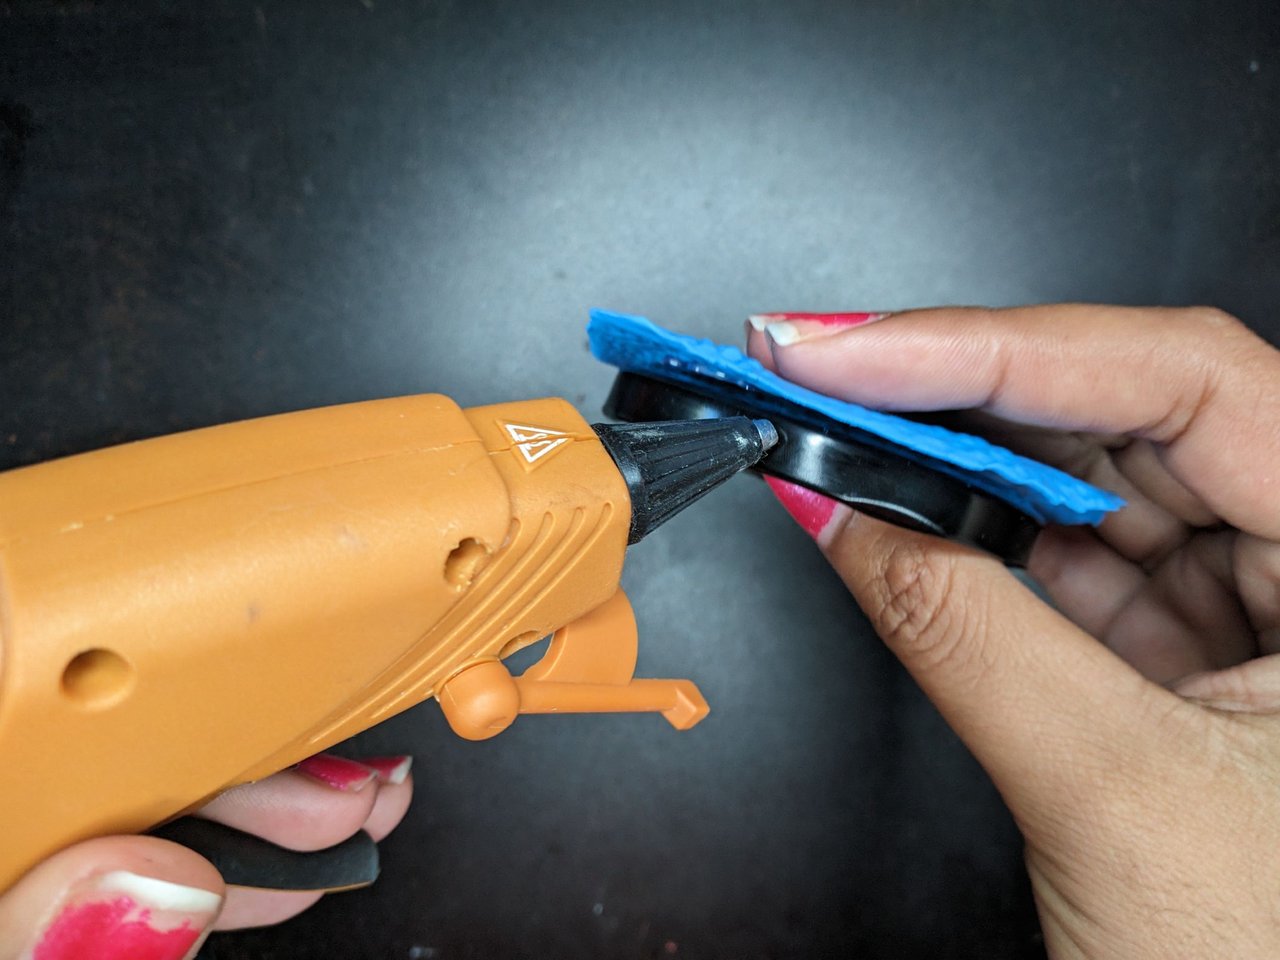
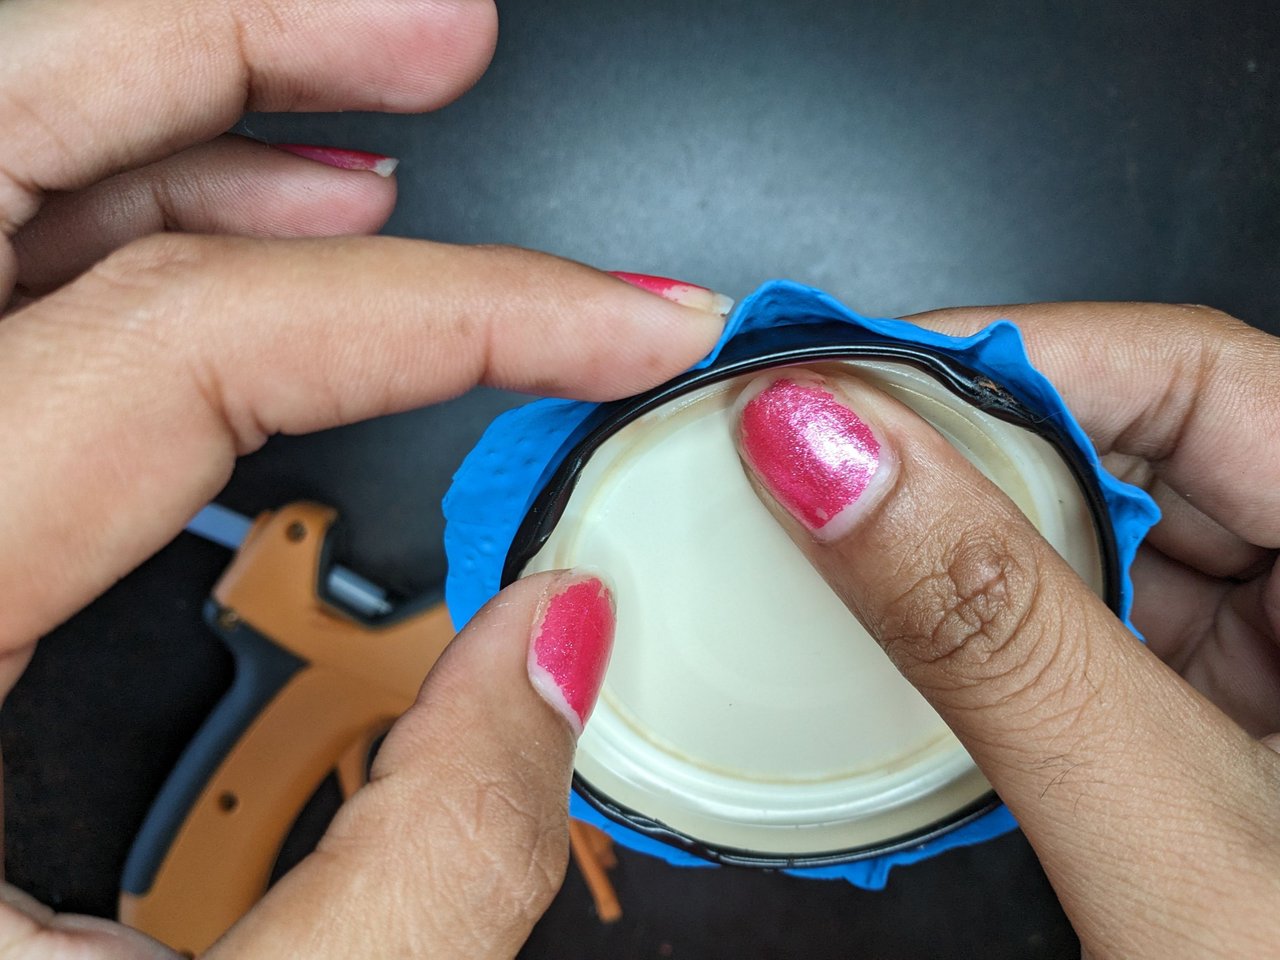
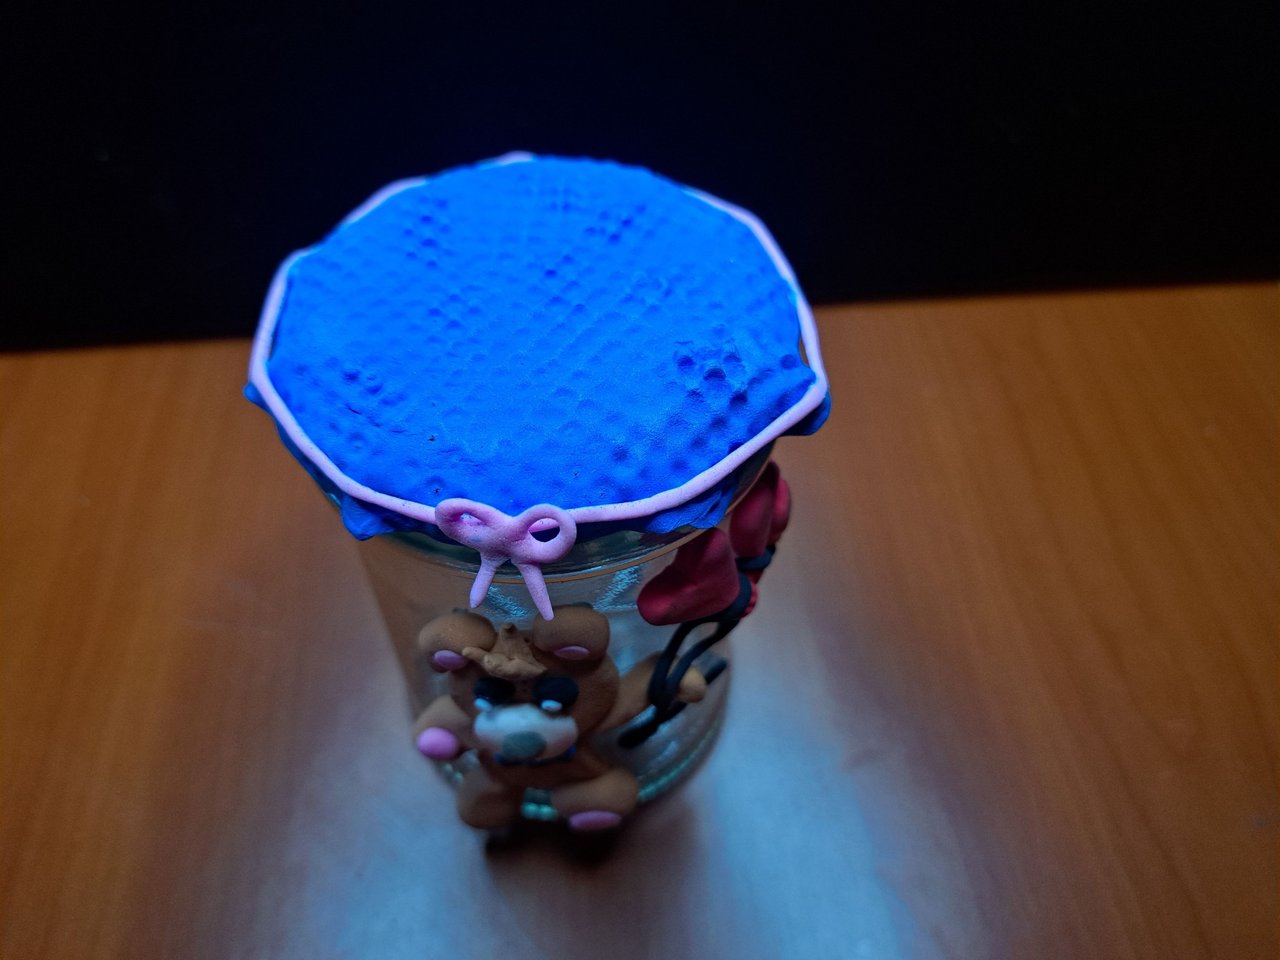
With the blue foami I made a ball, which I flattened into a very thin layer in order to cover the lid with it. I spread a few drops of body oil on the surface of the table so that the dough would not stick to the surface, because when I pressed too hard it would stick to me and break when I lifted it.
Con el foami azul hice una bola, la cual aplané hasta lograr una capa bien fina con el objetivo de forrar la tapa con esta. Unté en la superficie de la mesa unas gotas de aceite corporal para que no se pegara la masa en la superficie, pues al presionar mucho se me pegaba y se rompía al levantarla
 |
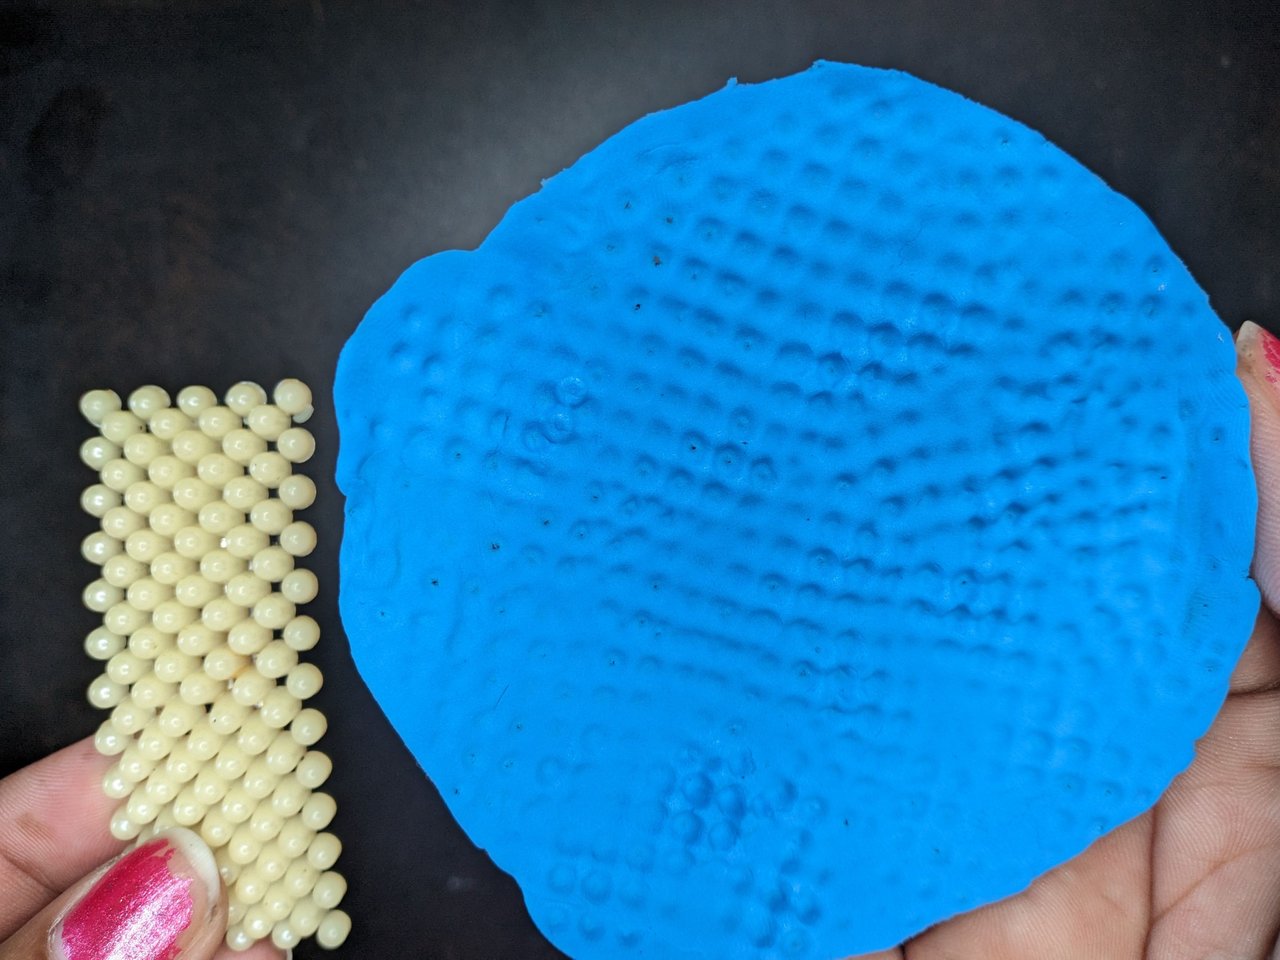 |
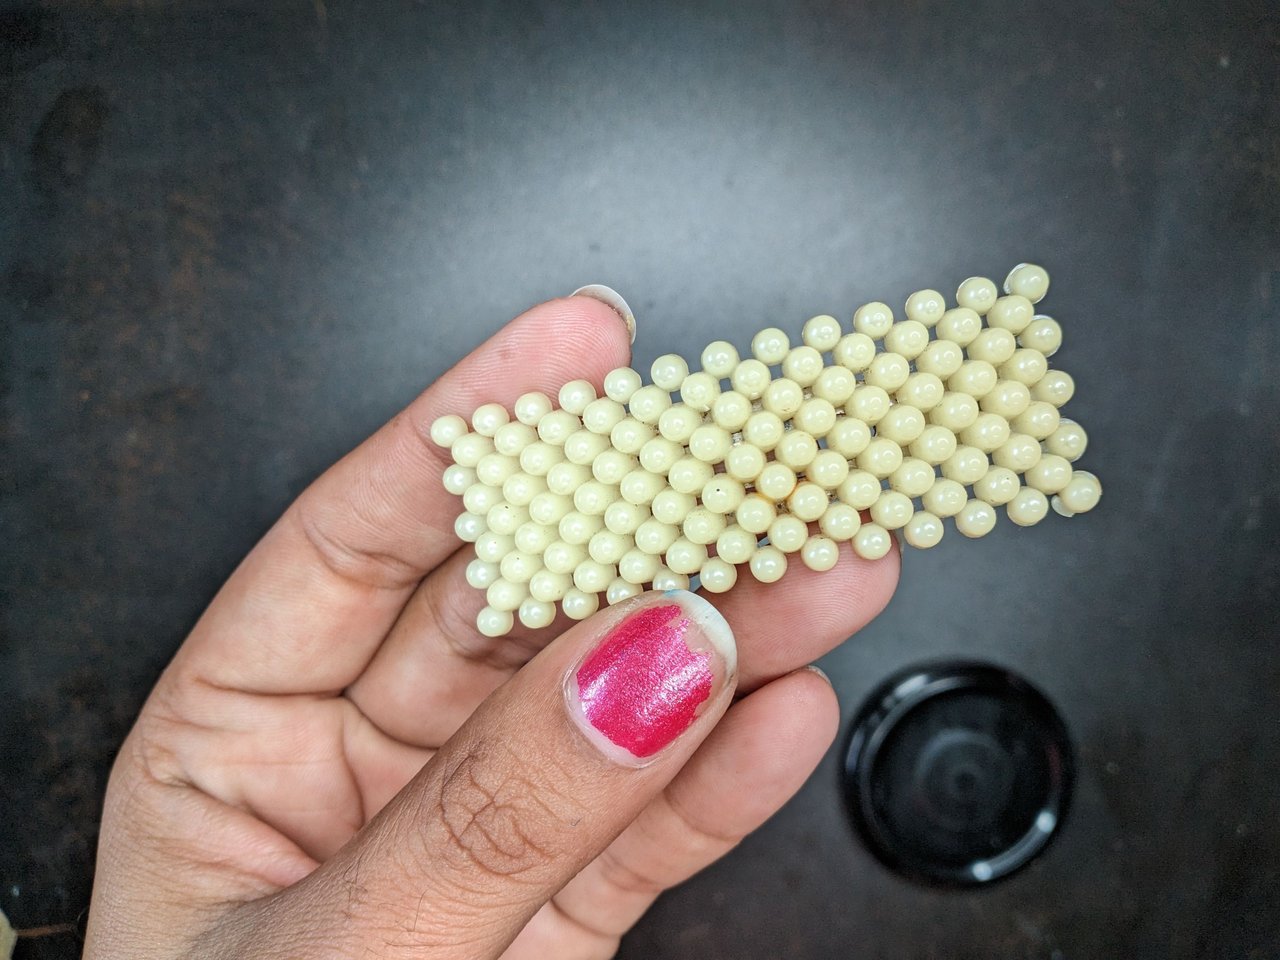
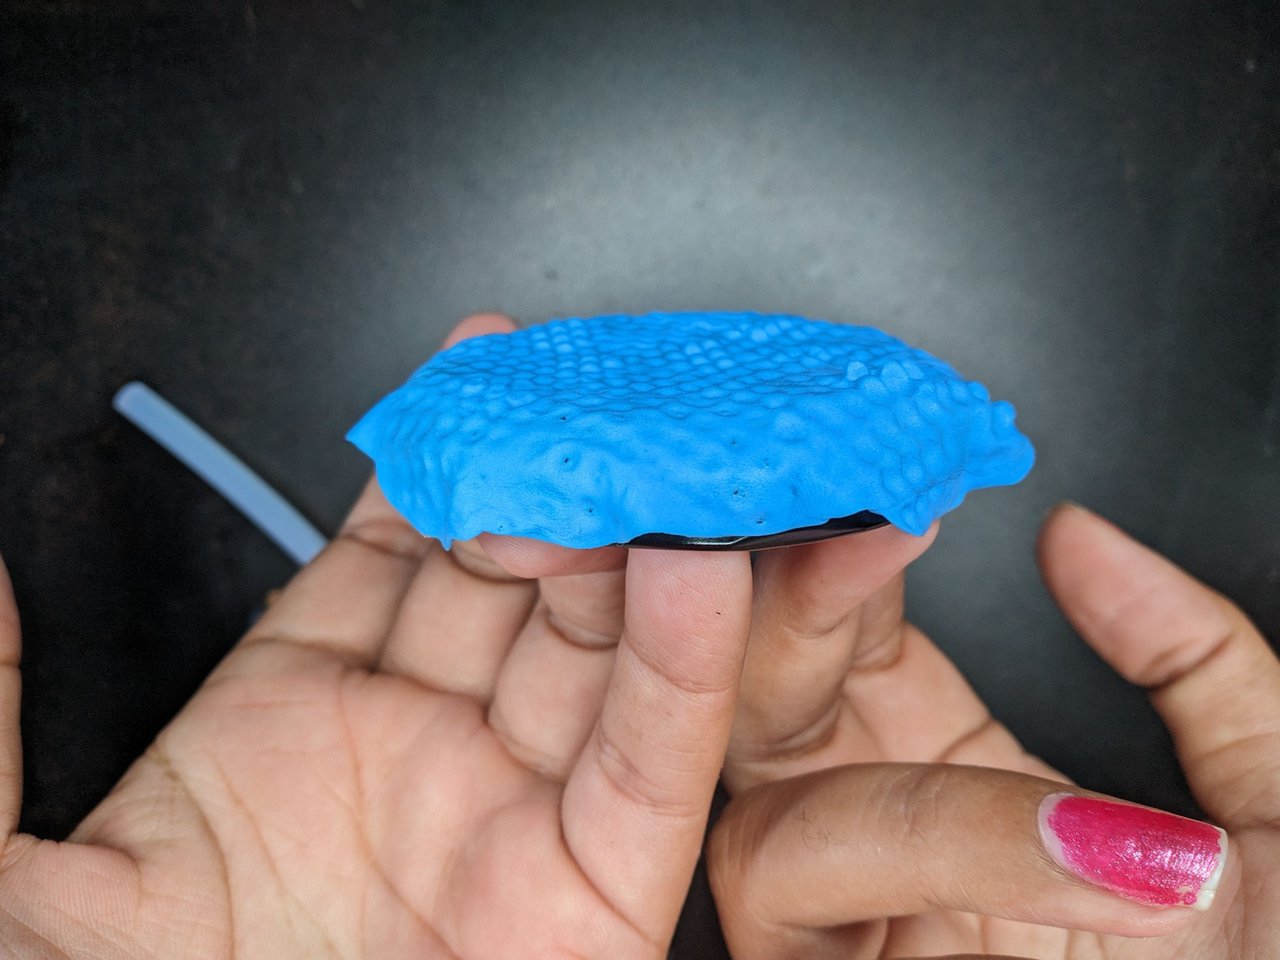
I used a hair clip as a mold to give it texture, I pressed little by little on top until I achieved this result.
Utilicé una hebilla para el pelo como molde para darle textura, fui presionando poco a poco encima hasta lograr este resultado.
 |
 |
 |
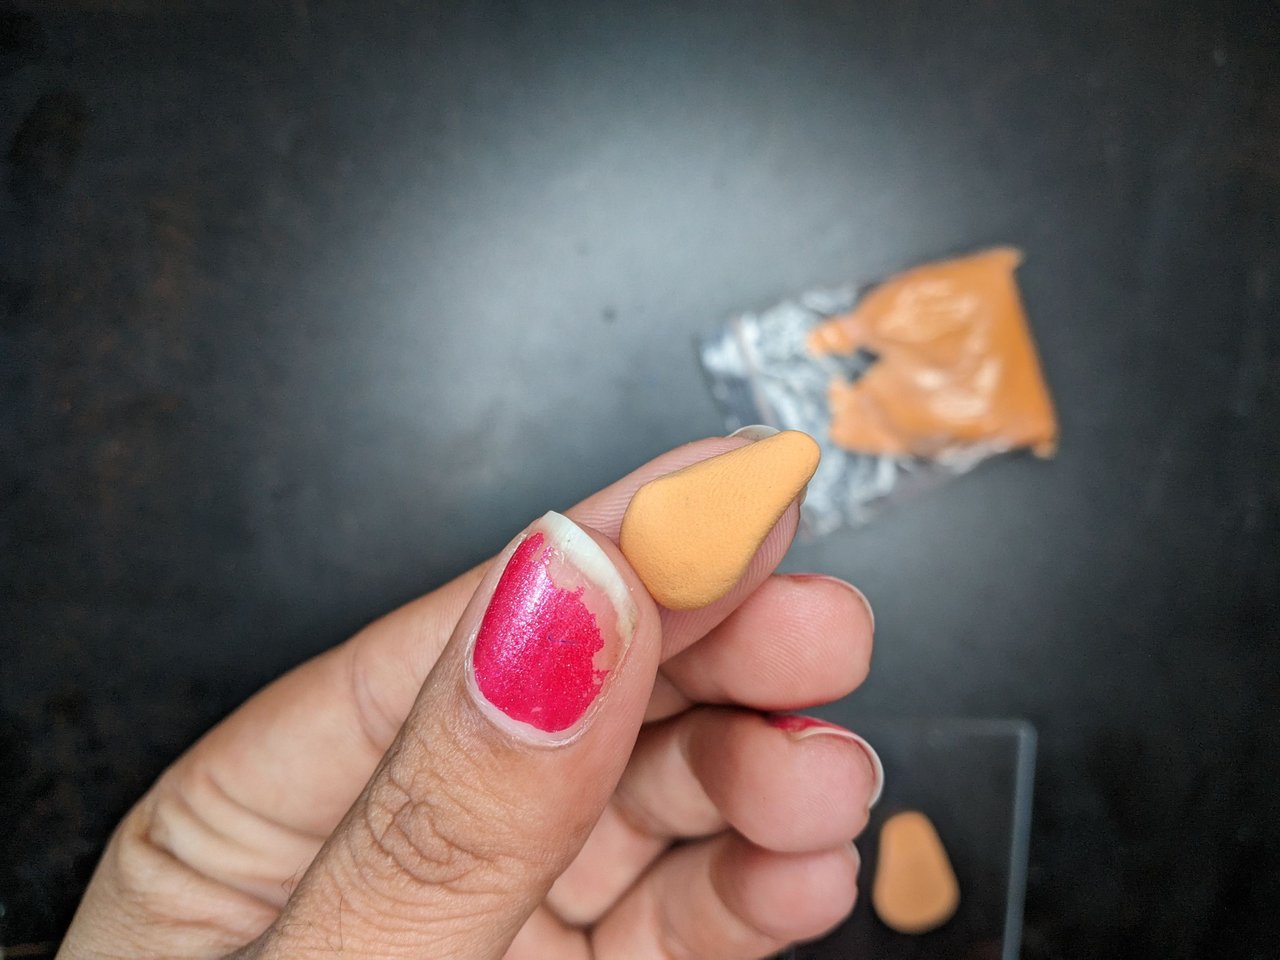
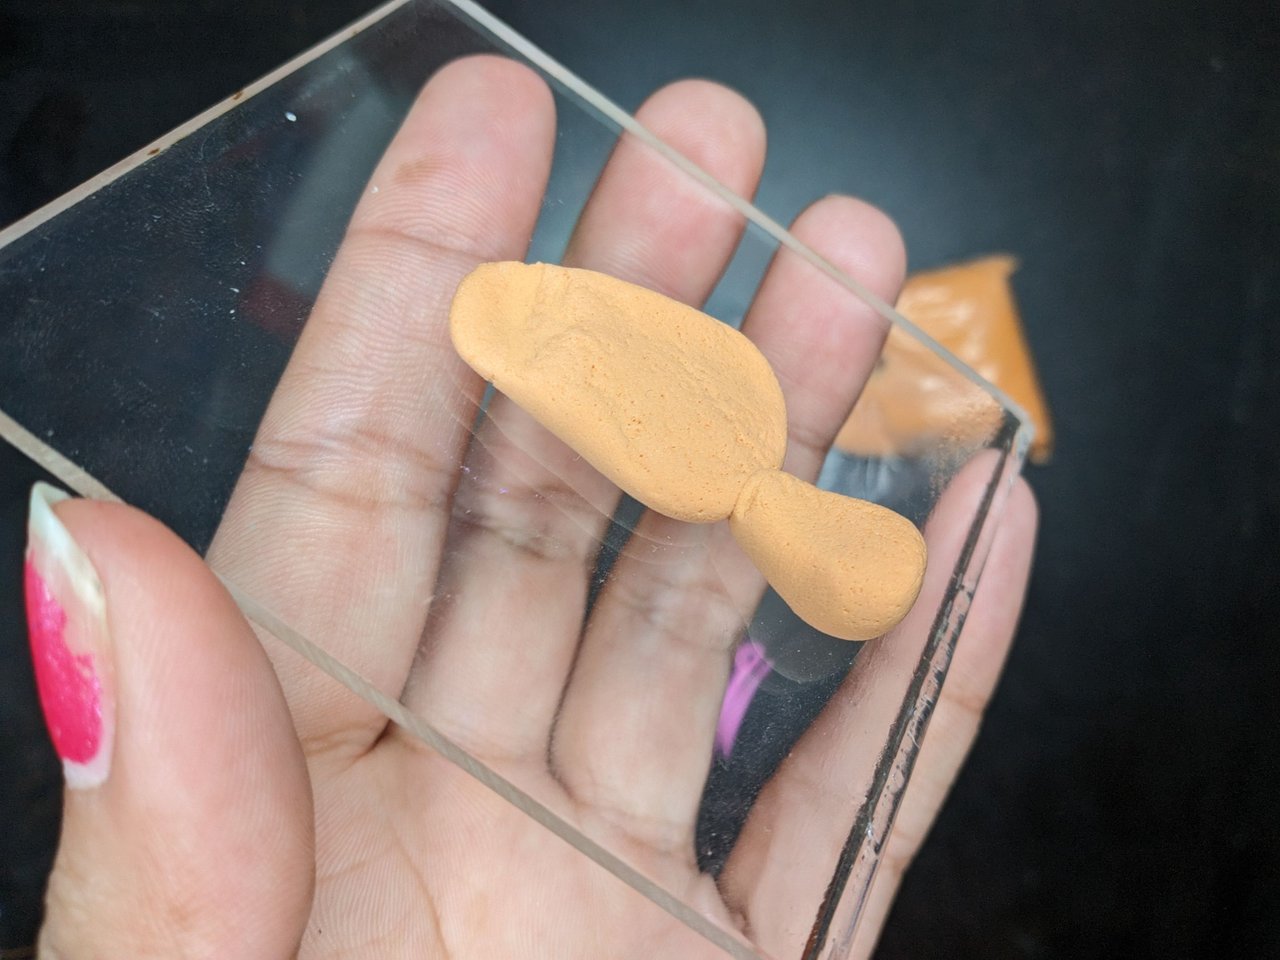
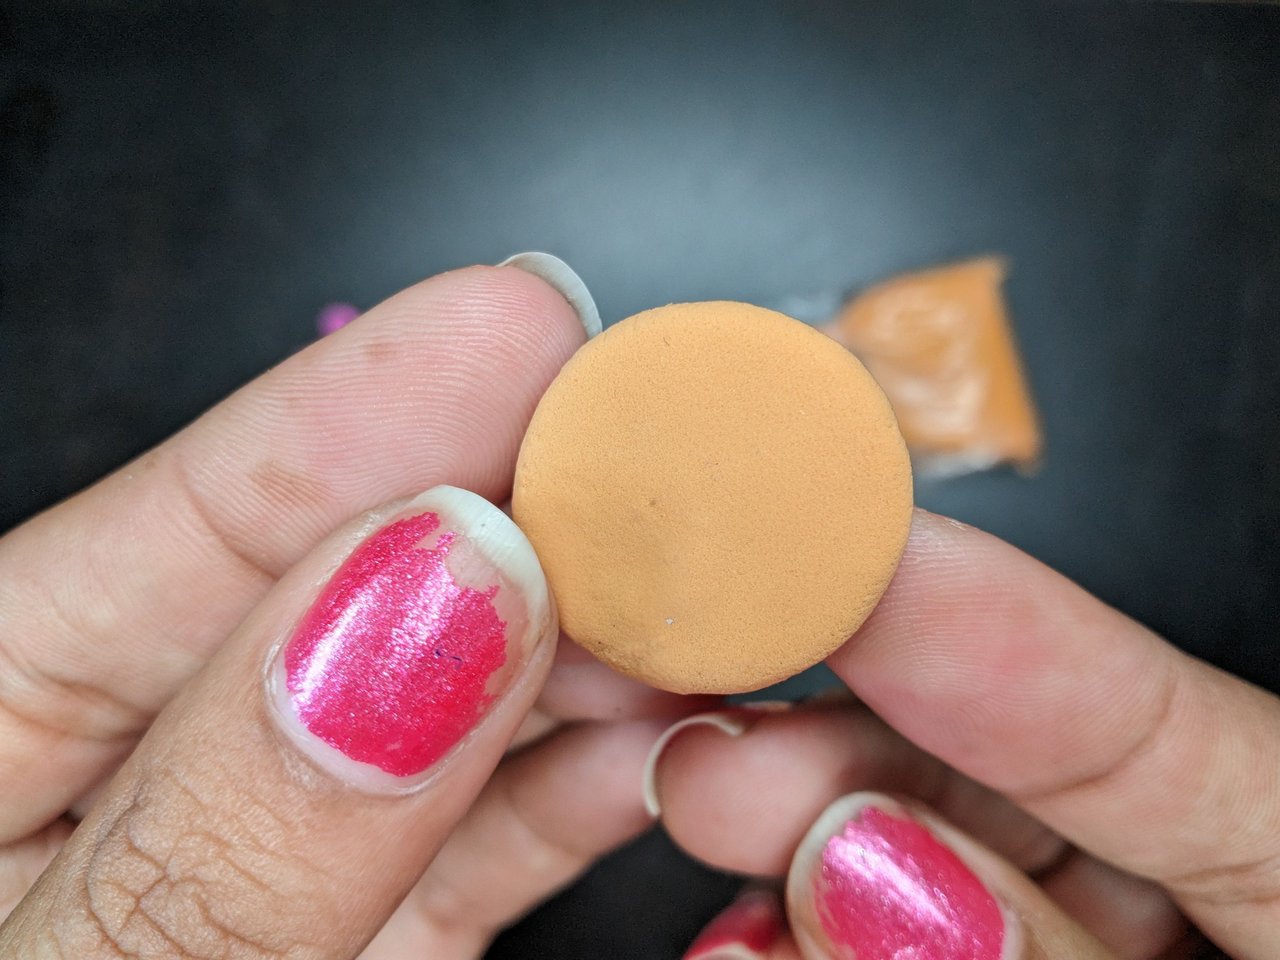
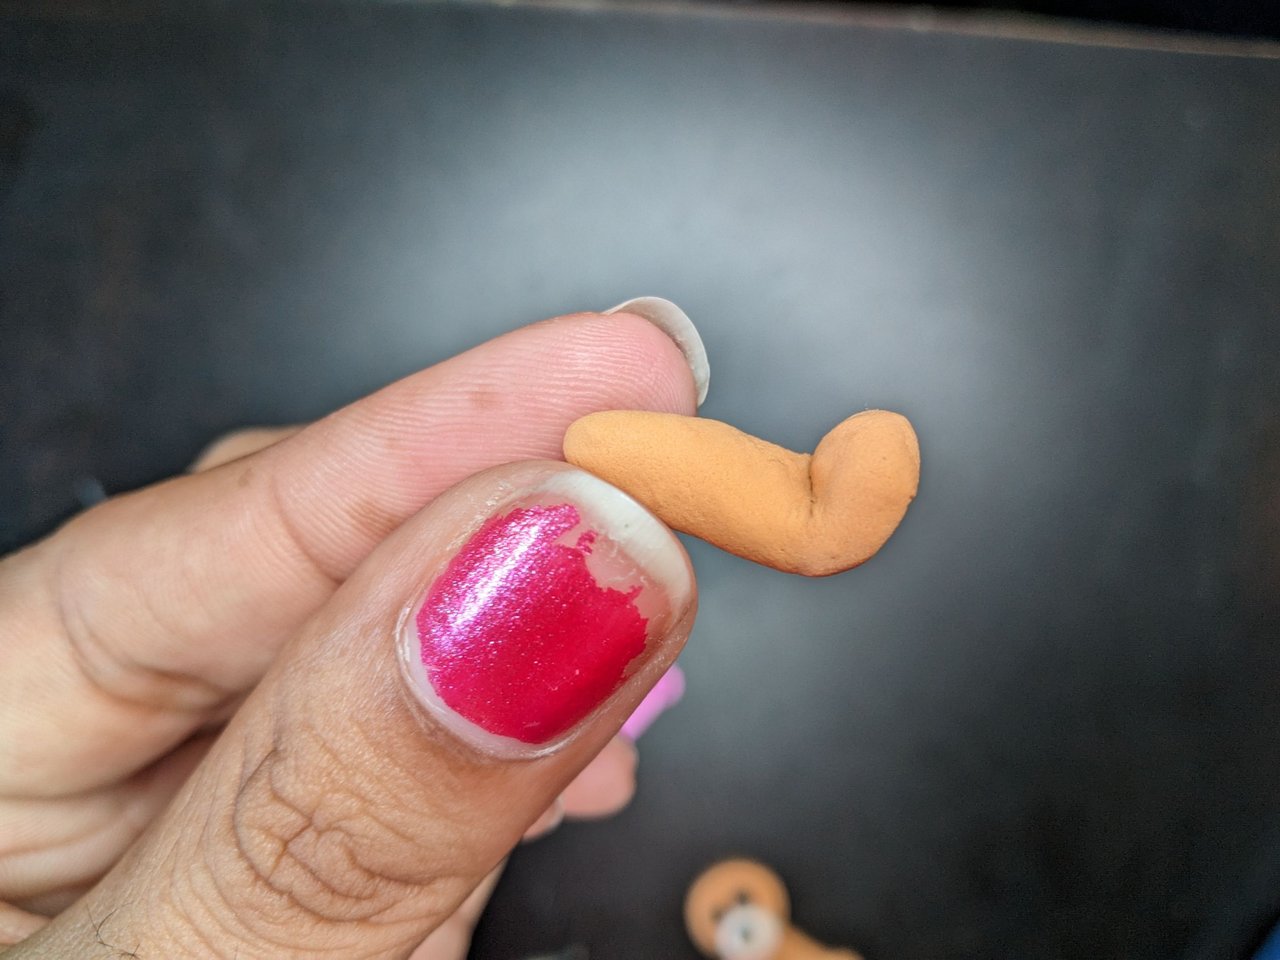
With ochre colored foami (this color was the only one I had similar to carmelite) I started making a small ball for the body giving it a drop shape, I placed it on an acrylic plate so that it would take a flat shape on the back, because due to energy problems it was not possible for me to glue it at that moment in the container. Then press a little where the head should go and with a brush give texture to the body.
Con foami color ocre (este color era el único que tenía semejante a carmelita) comencé haciendo una pequeña bolita para el cuerpo dándole forma como de gota, lo fui colocando en una placa de acrílico para que tomara la forma plana en la parte de atrás, porque por problemas energéticos no me fue posible ir pegándolo en ese momento en el envase. Luego presionar un poco donde debería ir la cabeza y con un cepillo darle textura al cuerpo.
 |
 |
 |
 |
 |
 |
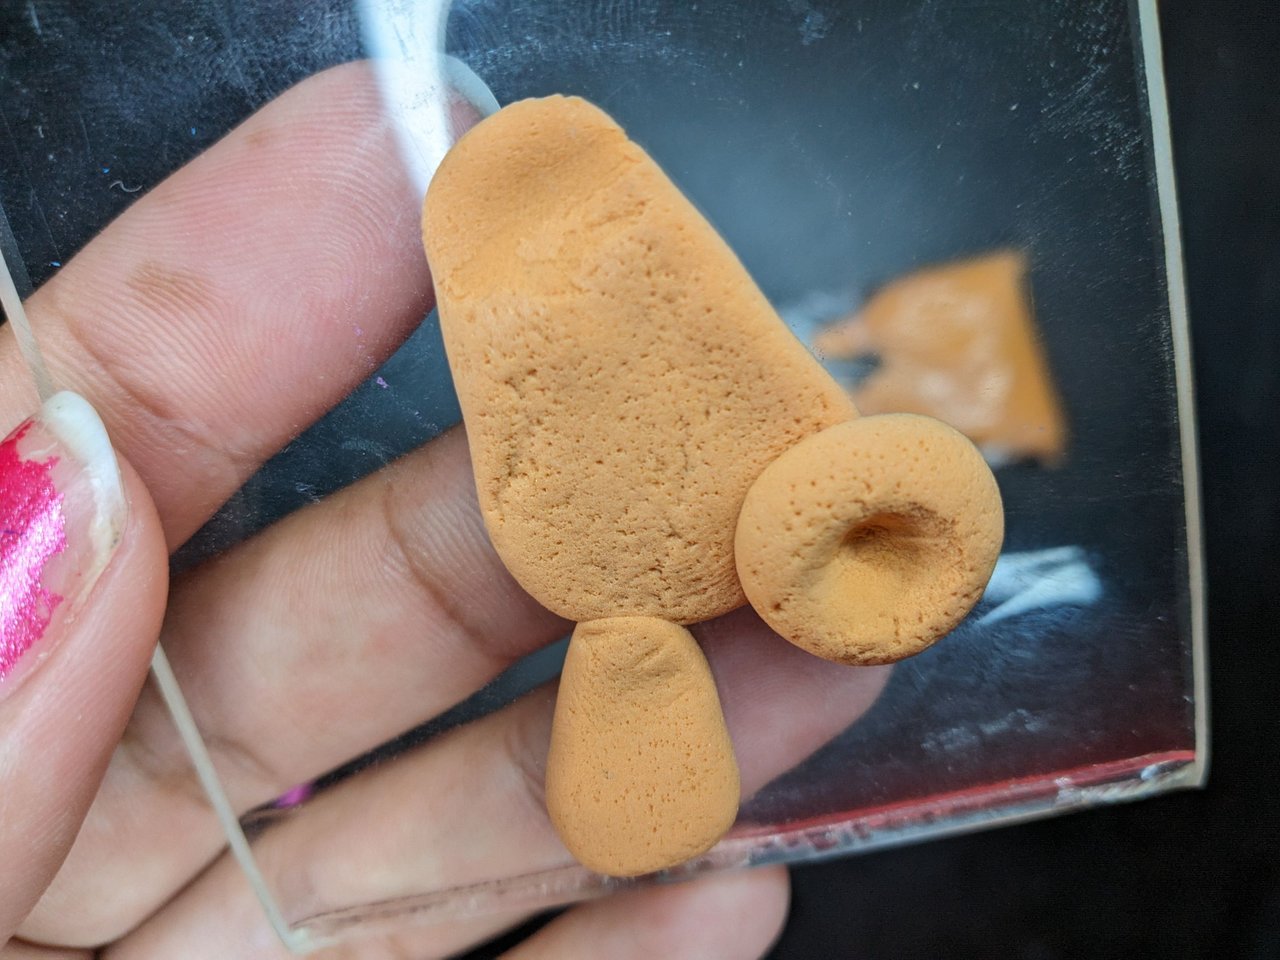
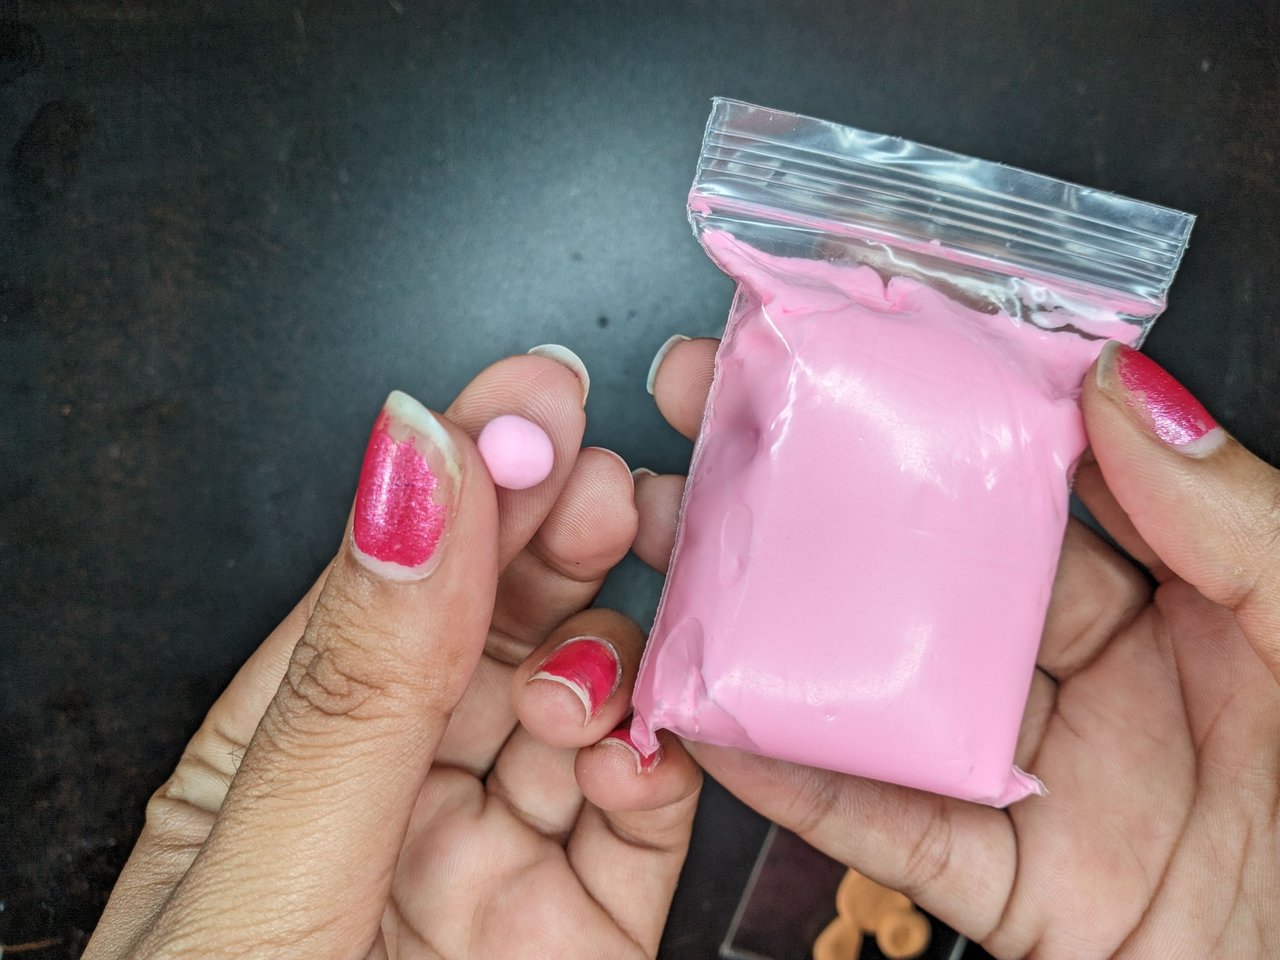
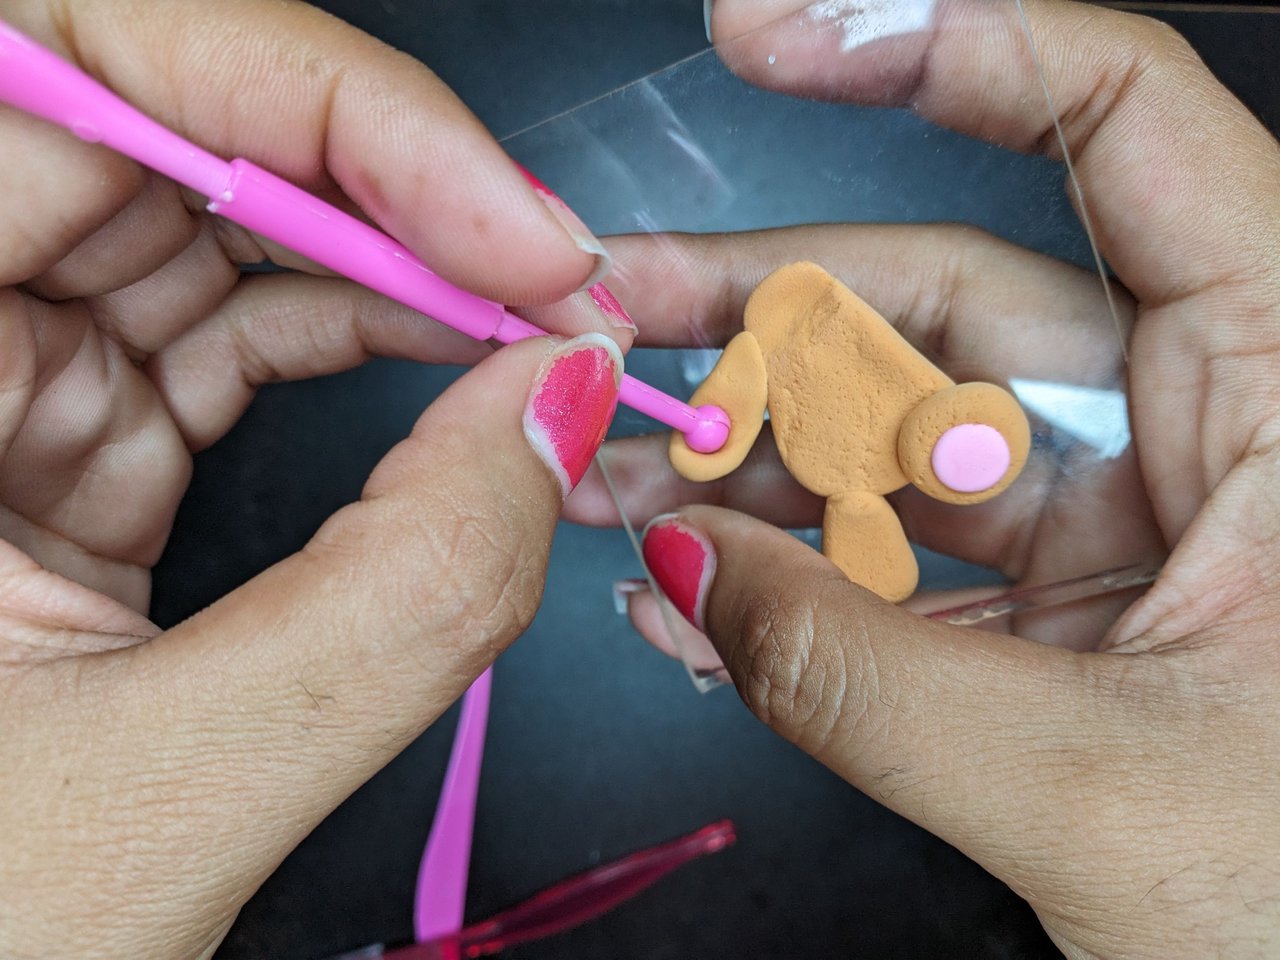
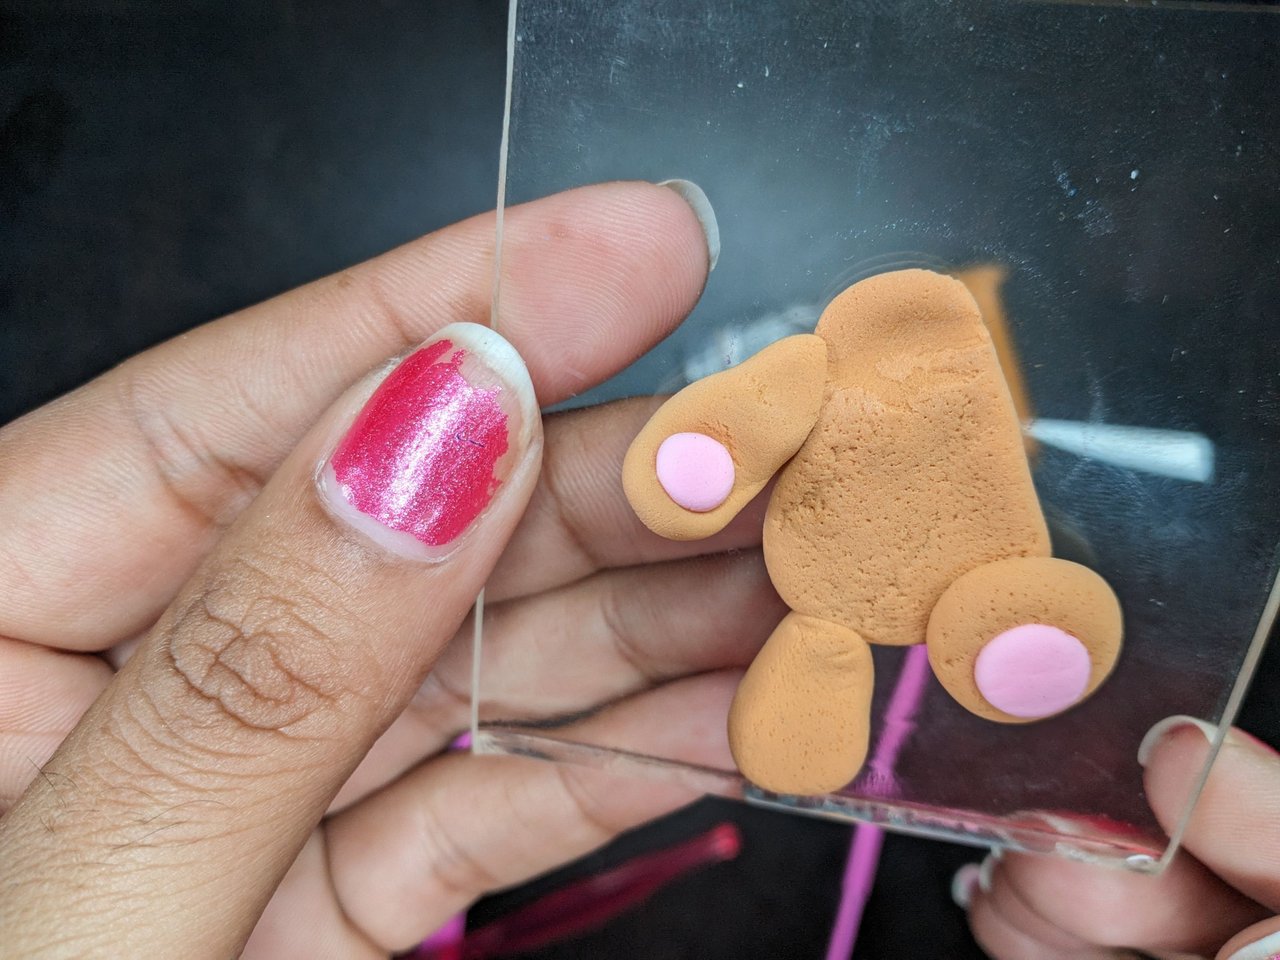
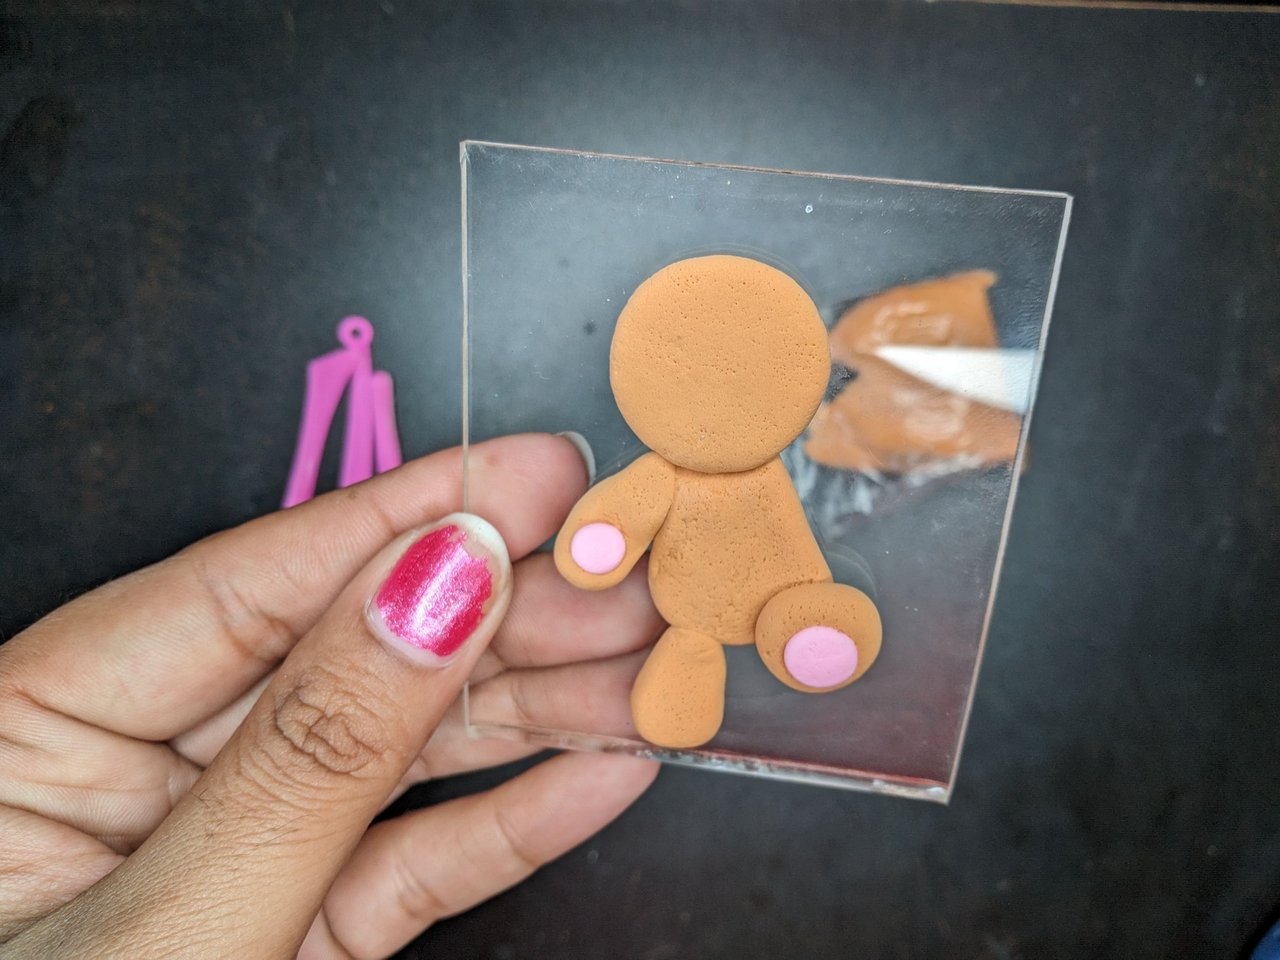
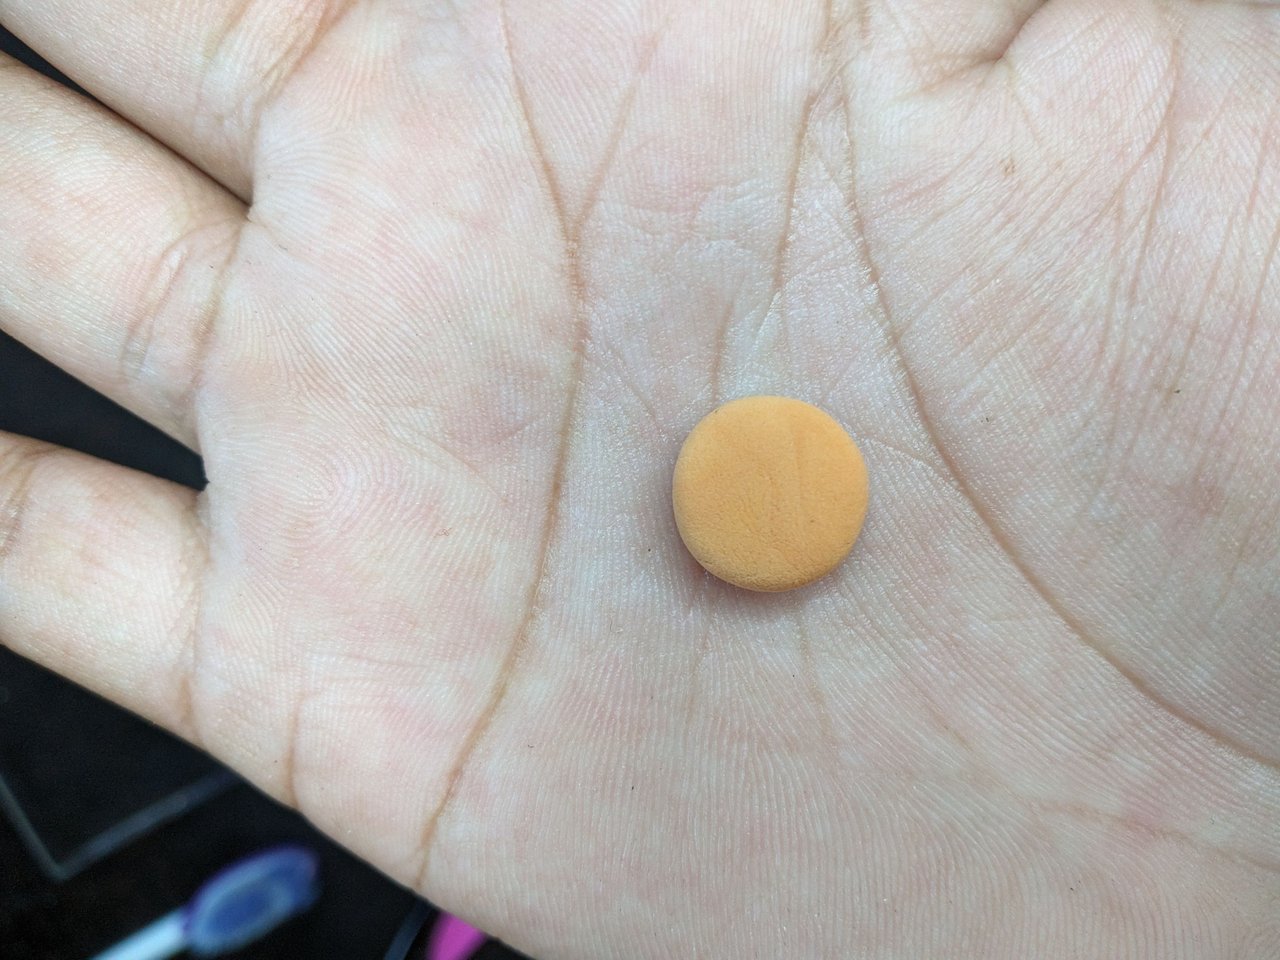
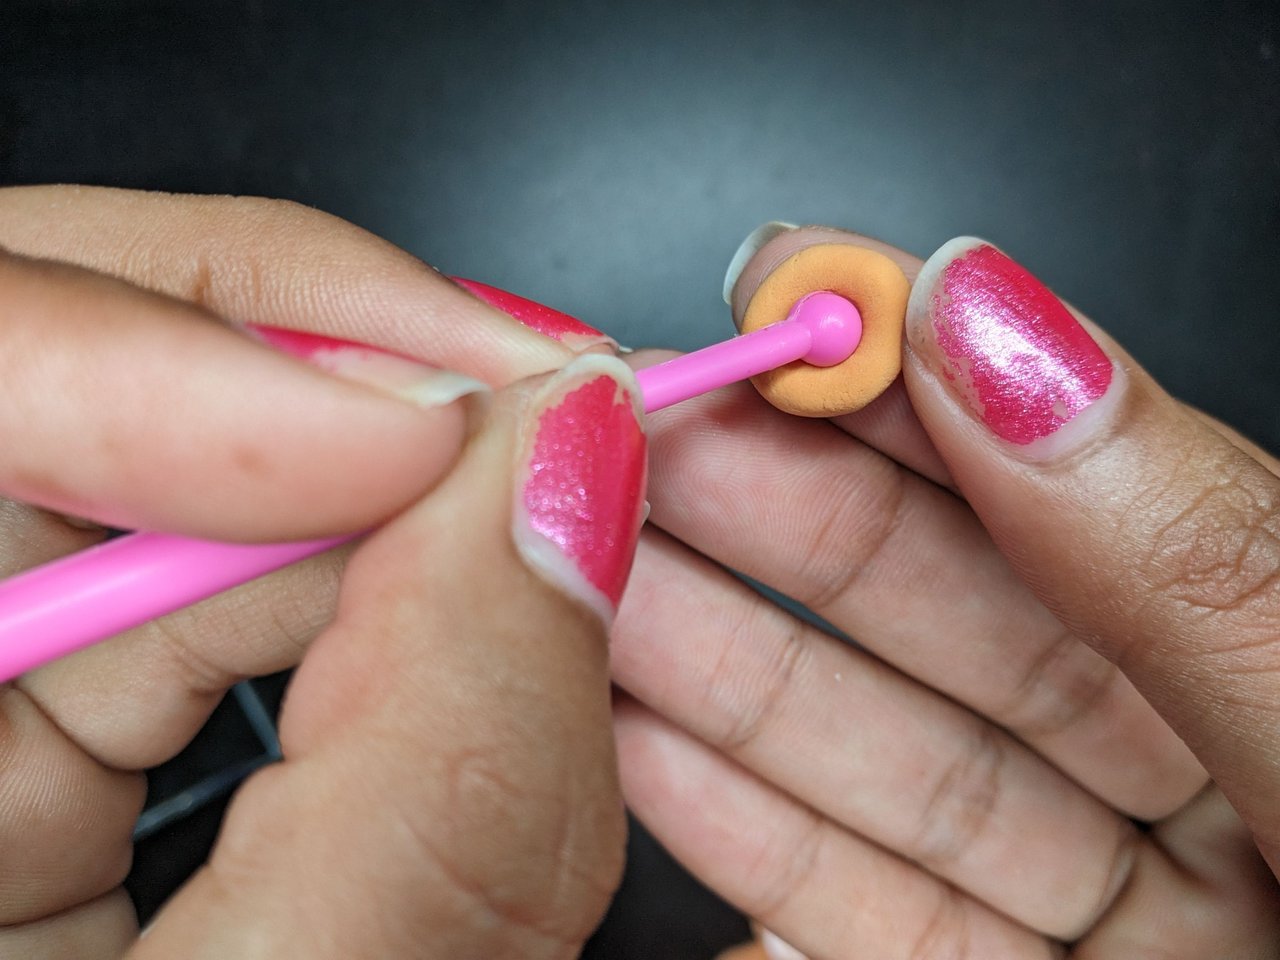
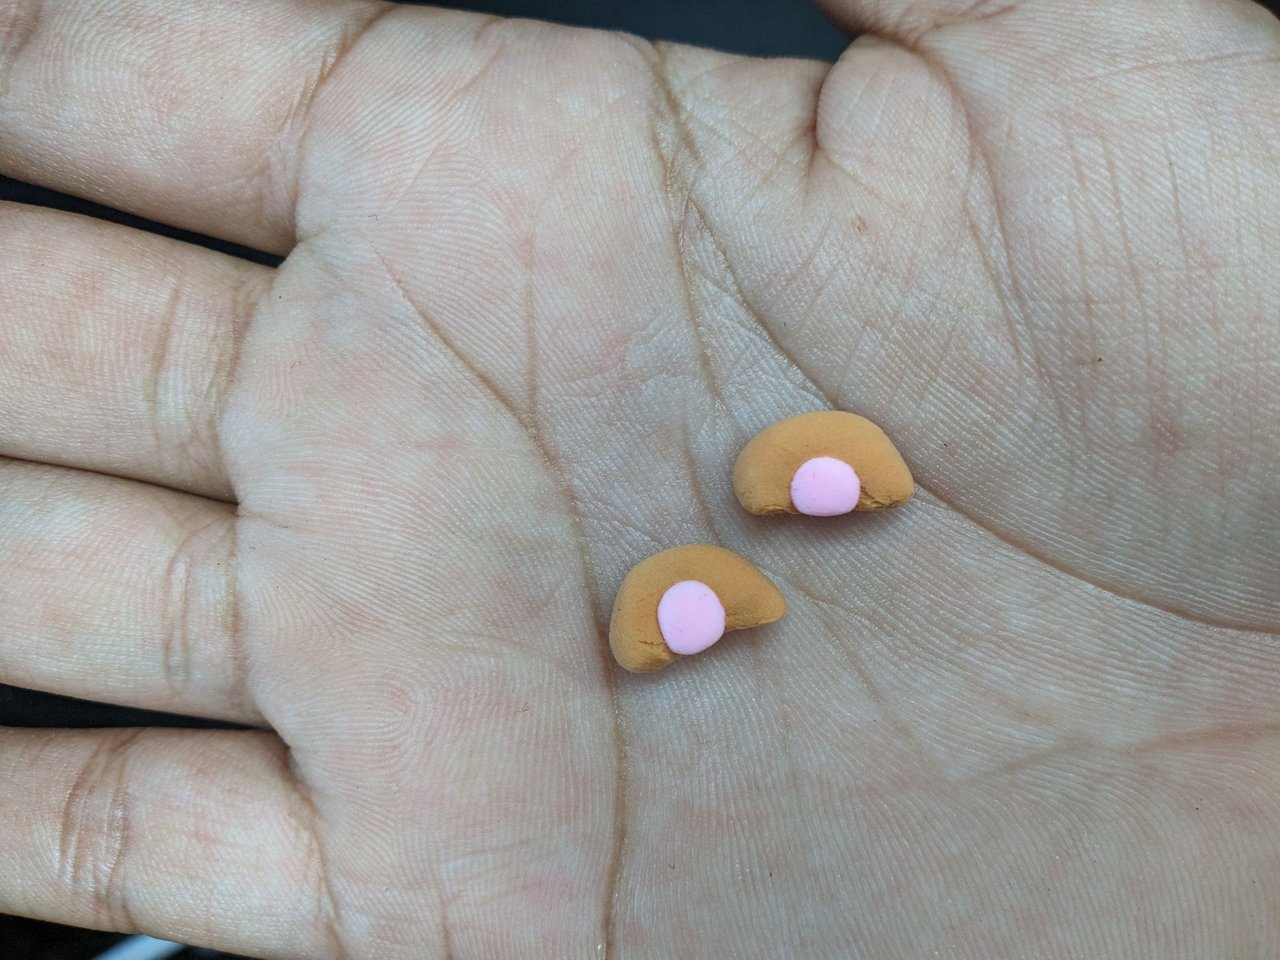
To make the legs also make the shape of a drop and press the widest part. Place in the indicated place and give it texture with the brush. For the other paw make a flattened ball, because this one has it raised, in the center press with the ball tipped peg to fill it with pink foami. To fill it make a small ball and flatten it.
Para hacer las paticas también hacer la forma de una gota y presionar la parte más ancha. Colocar en el lugar indicado y darle textura con el cepillo. Para la otra pata hacer una bola aplanada, porque esta la tiene levantada, en el centro presionar con la esteca de punta bola para rellenar con foami de color rosa. Para rellenarlo hacer una pequeña pelotica y aplanar.
 |
 |
 |
For the arm, make the same drop shape, press the wide part to bend it a little and make a diagonal cut so that it fits well when glued. Press with the peg and fill with pink foami.
Para el brazo hacerlo igualmente en forma de gota, presionar la parte ancha para doblarlo un poco y hacer un corte diagonal para que se ajuste bien al pegarlo. Presionar con la esteca y rellenar con foami rosa.
 |
 |
 |
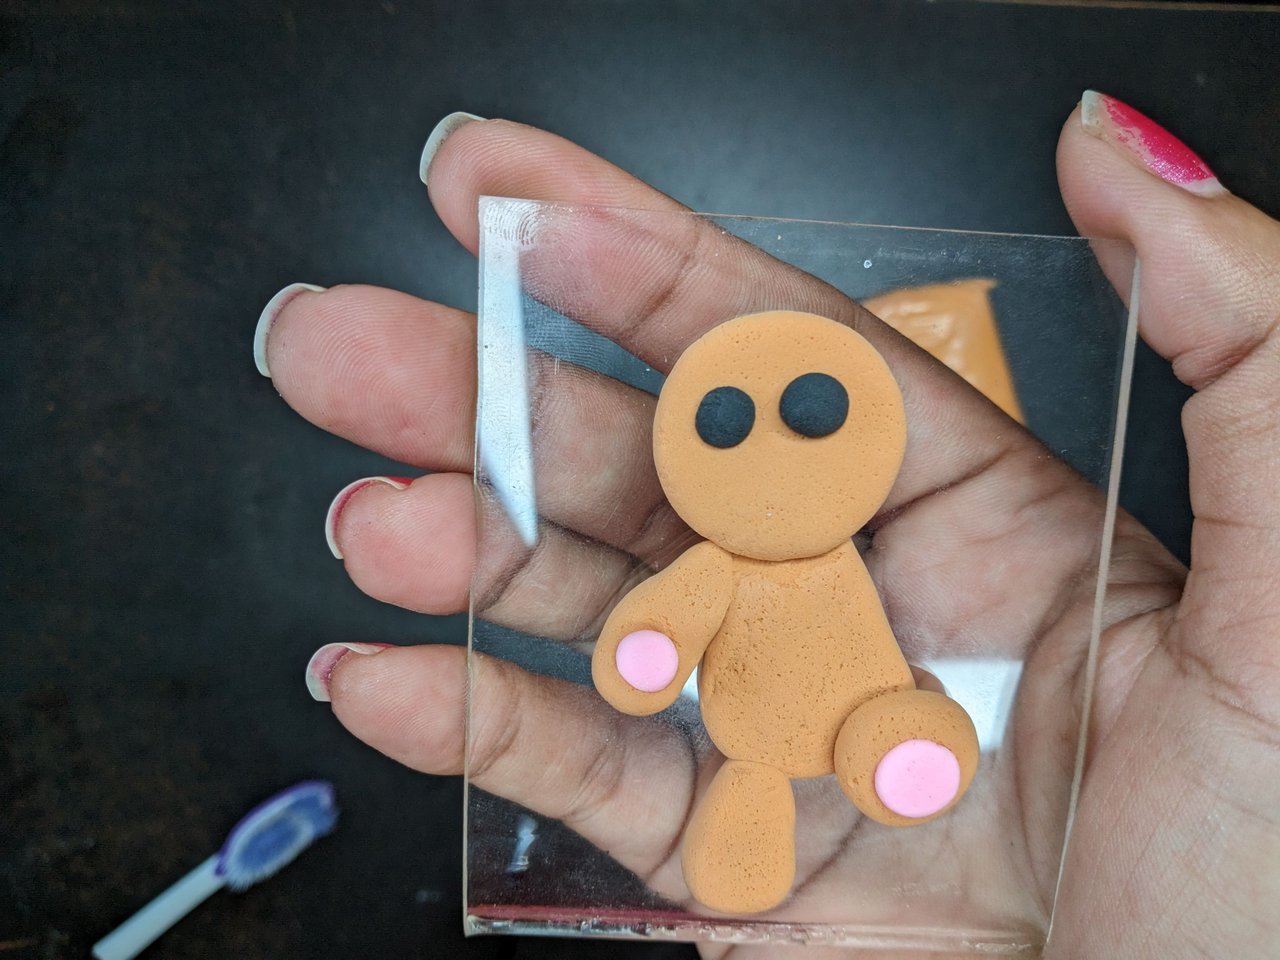 |
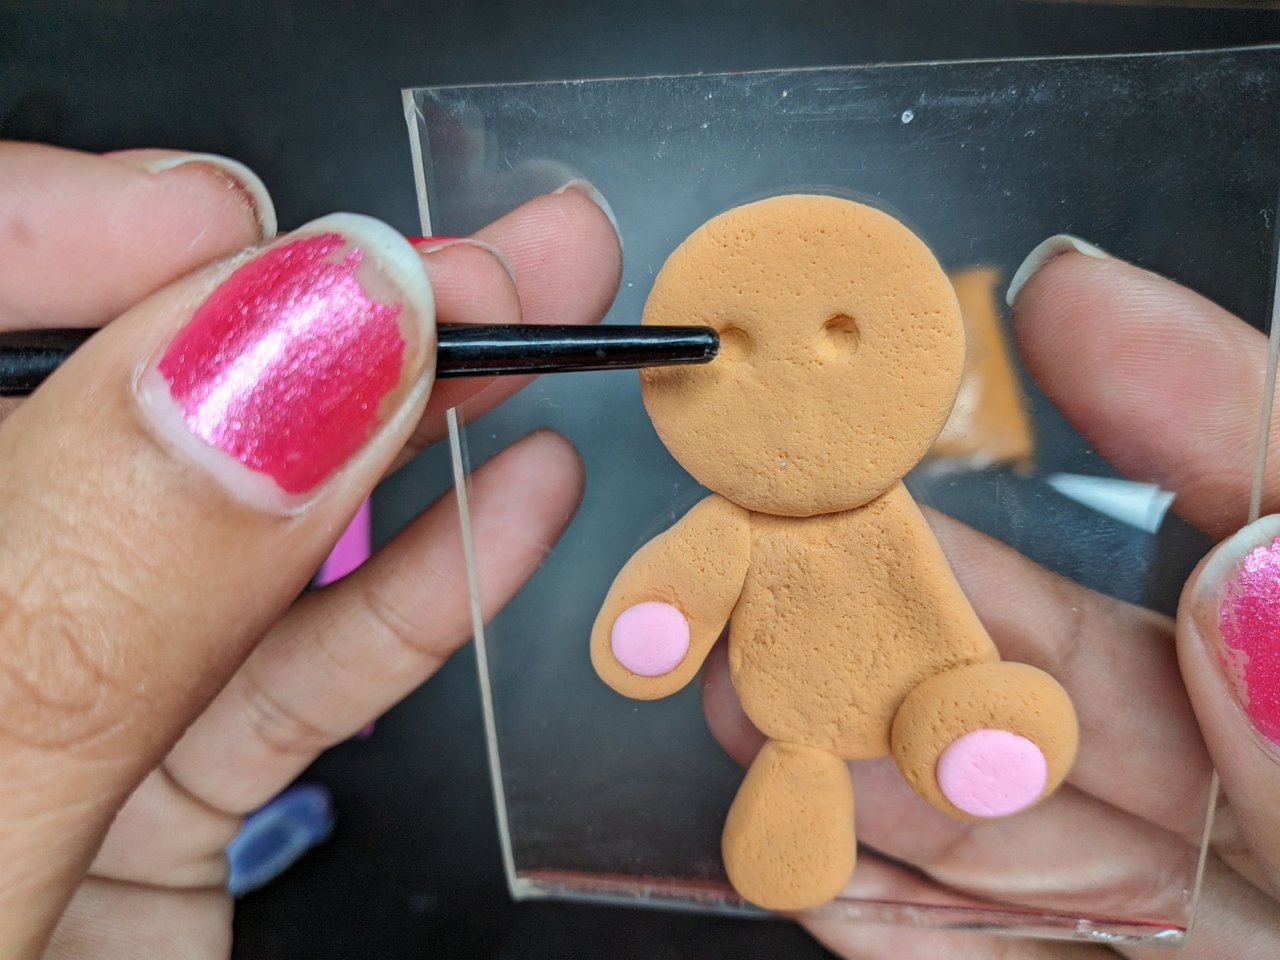
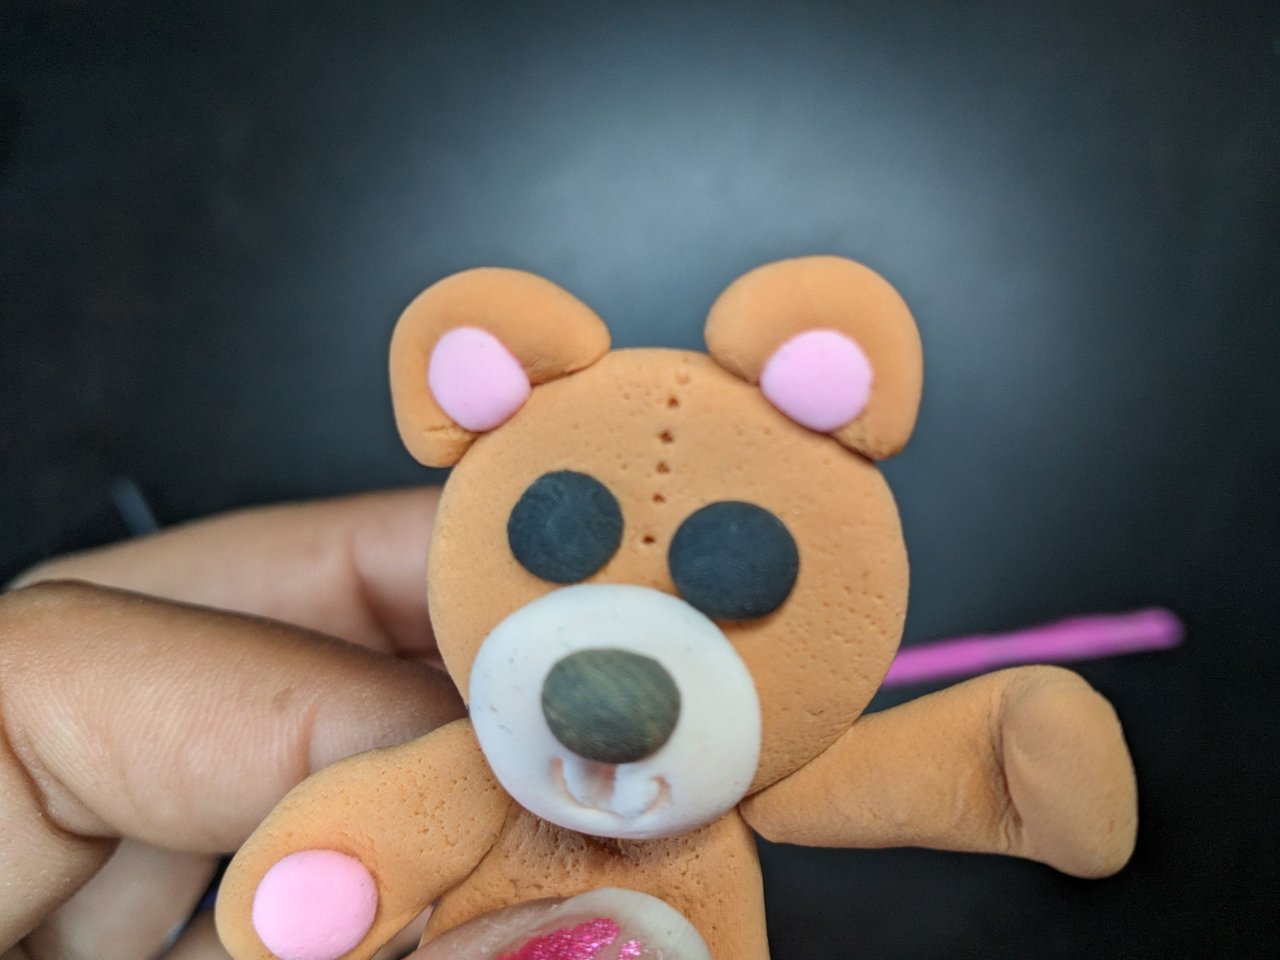
For the head make a flattened circle, place it and give texture. Mark where the eyes go and fill them with black foami.
Para la cabeza hacer un círculo aplanado, colocarlo y dar textura. Marcar donde van los ojos y con foami negro rellenarlos.
 |
 |
 |
 |
 |
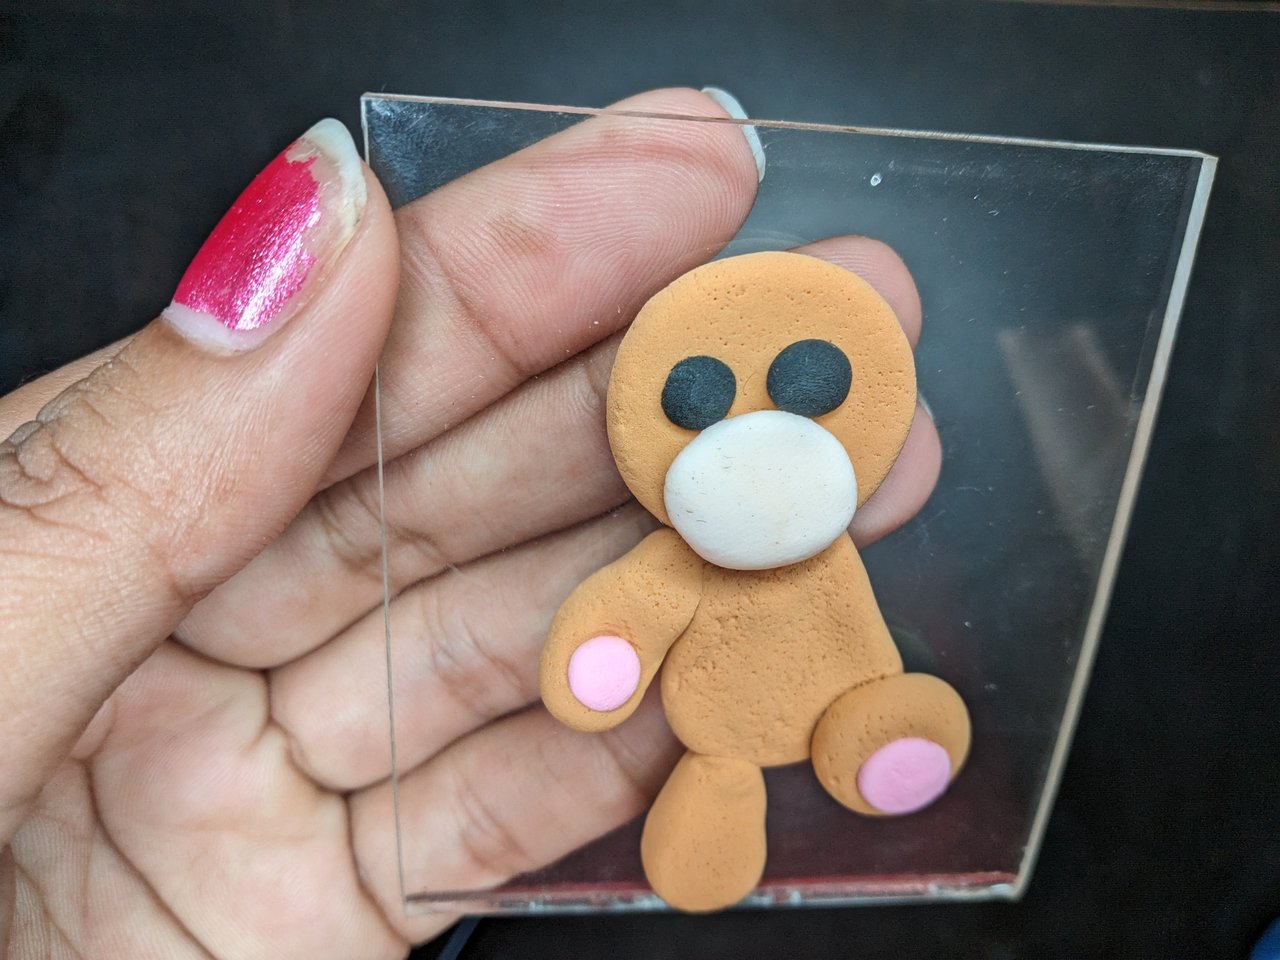
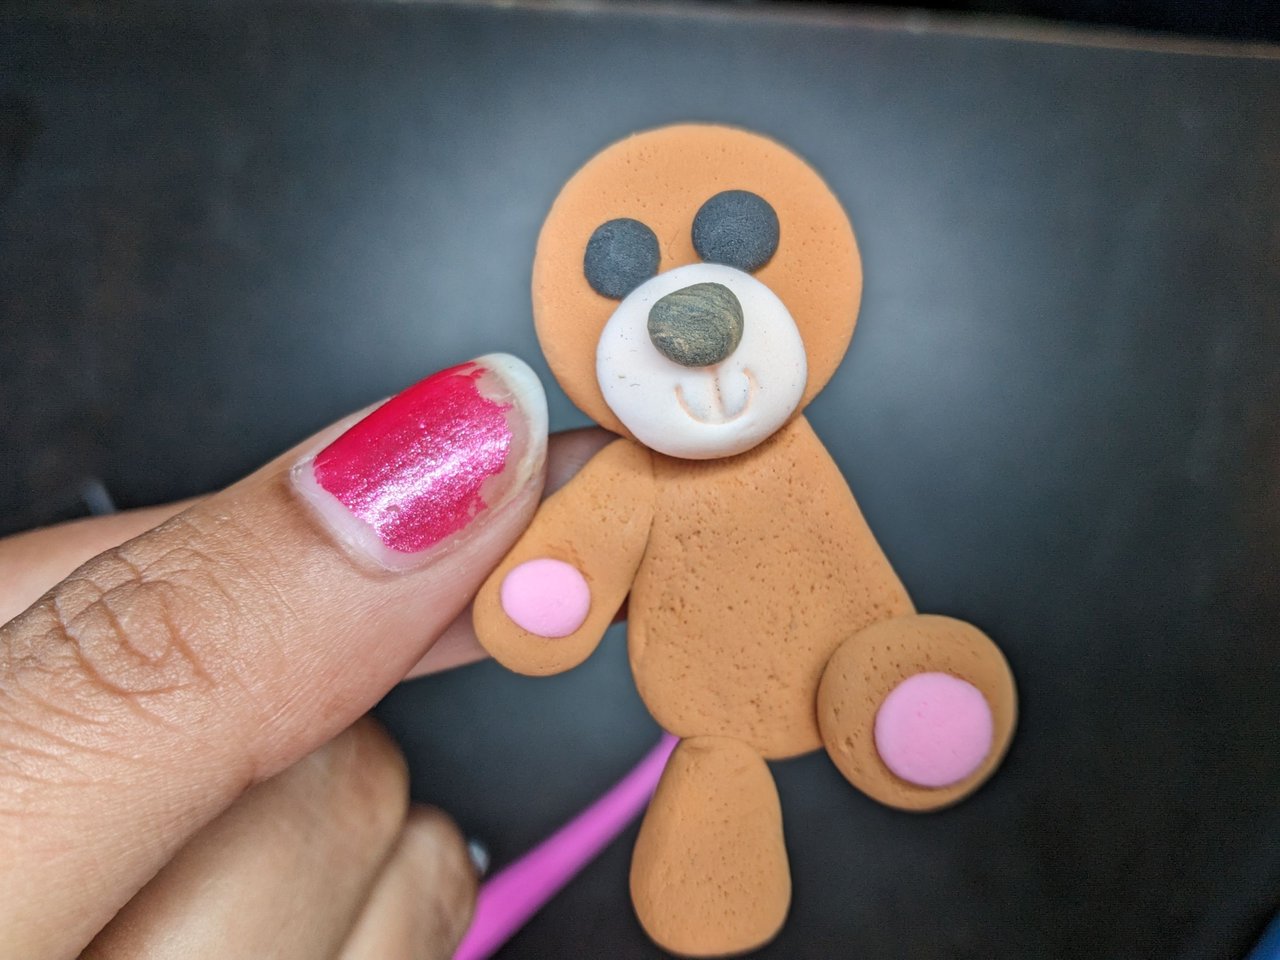
To make the mouth take skin colored foami and glue a circle, mark the mouth and glue the nose. Then make some stitches on the head to make it look like a cloth bear.
Para hacer la boca tomar foami color piel y pegar un círculo, marcar la boca y pegar la nariz. Luego hacer unos puntos en la cabeza para que parezca un oso de tela.
 |
 |
For the other arm do the same but this time place it upwards.
Para el otro brazo se hace lo mismo pero esta vez colocarlo hacia arriba.
 |
 |
 |
 |
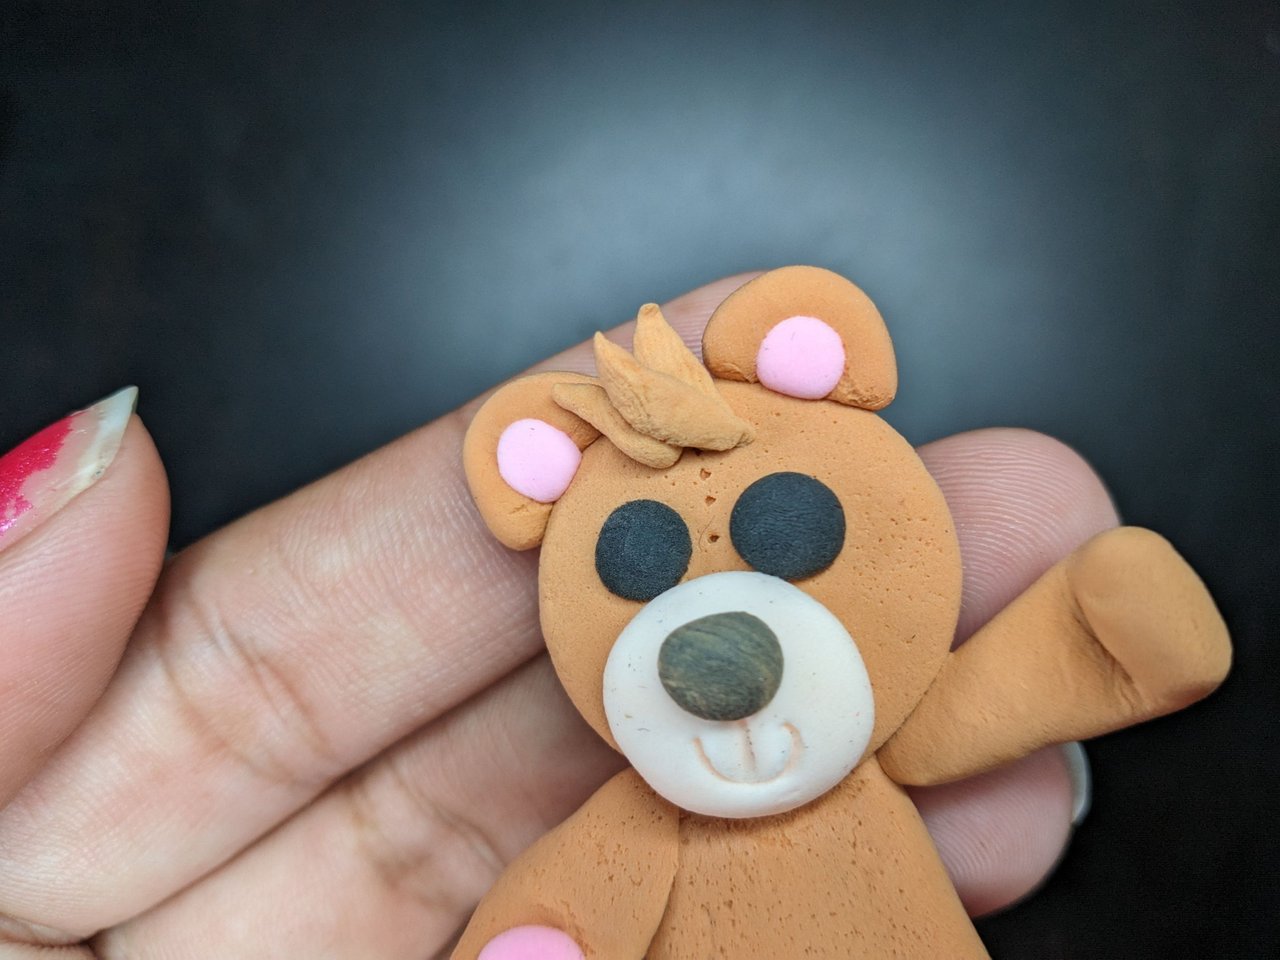 |
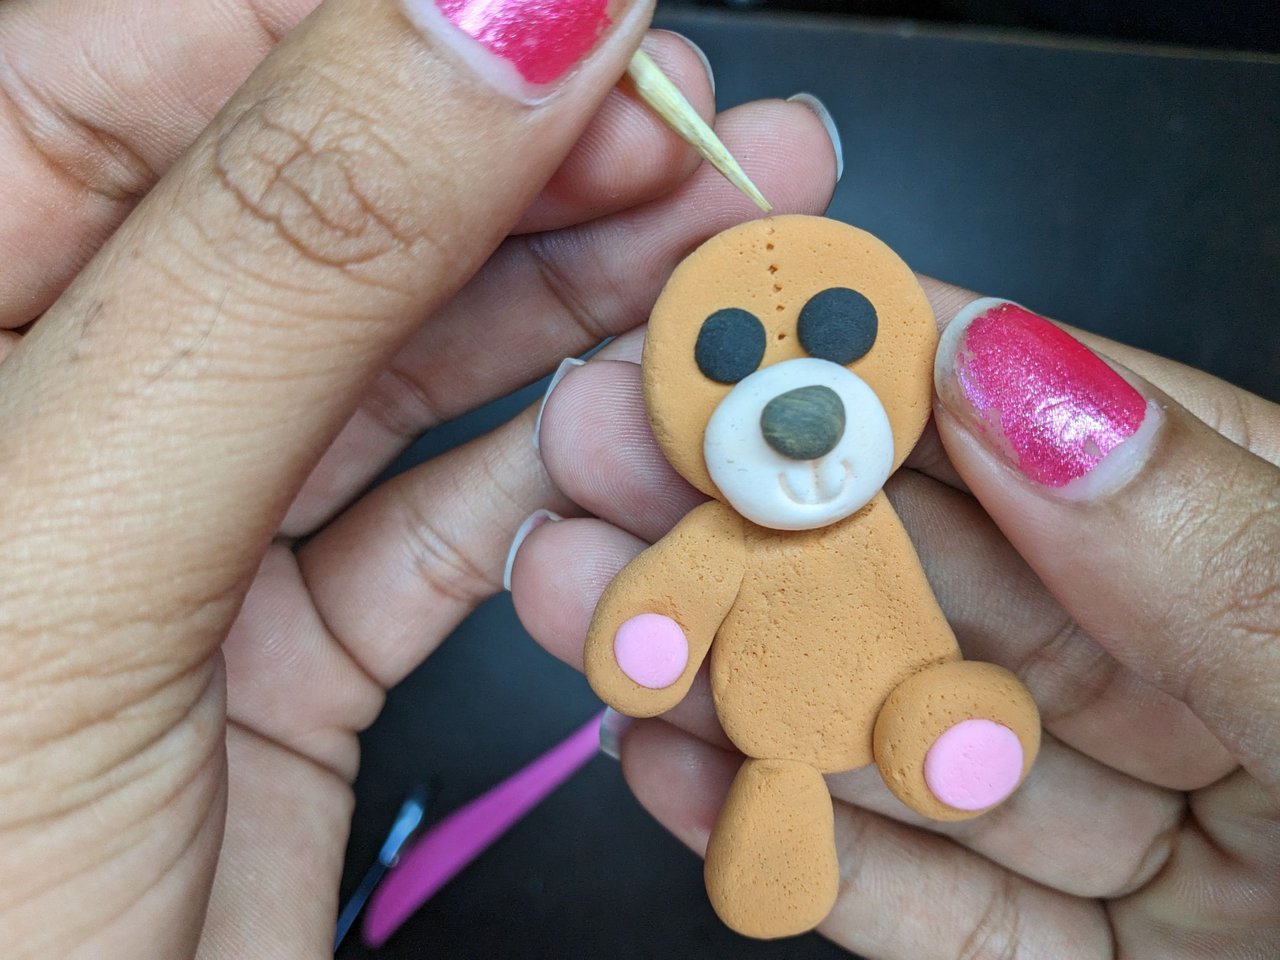
To make the ears, take a flattened ball and press the center of it with a stake. Then cut it in half and fill the center with pink. Finally, put them in place. Then I made some bangs on the head to be the hair.
Para hacer las orejas tomar una bolita aplanada y con una esteca presionar el centro. Luego se corta por la mitad y rellenar con rosa el centro. Por último, colocarlas en su lugar. Luego le hice unos flecos en la cabeza para que sea el pelo.
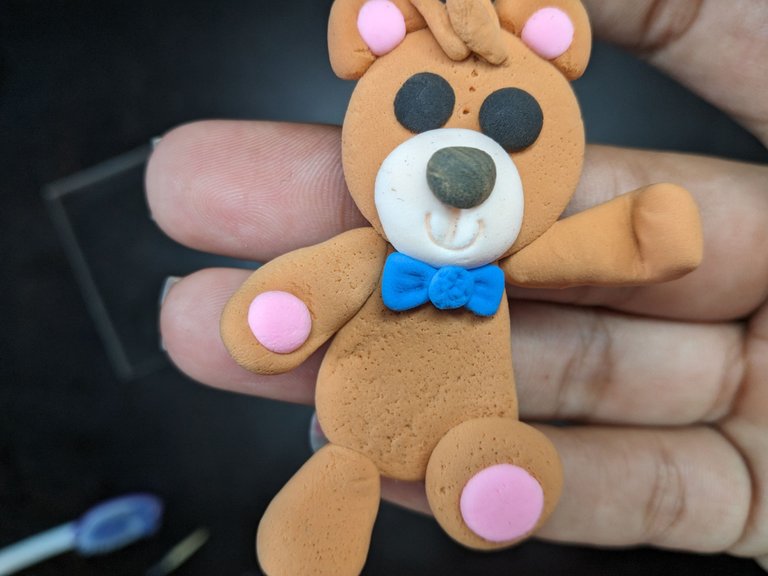
To make the bow I made two triangles and glued them together at the ends and in the center I placed a small ball and flattened it.
Para hacer el lazo hice dos triángulos y los pegué por las puntas y en el centro coloqué una bolita y aplané.
 |
 |
 |
 |
 |
 |
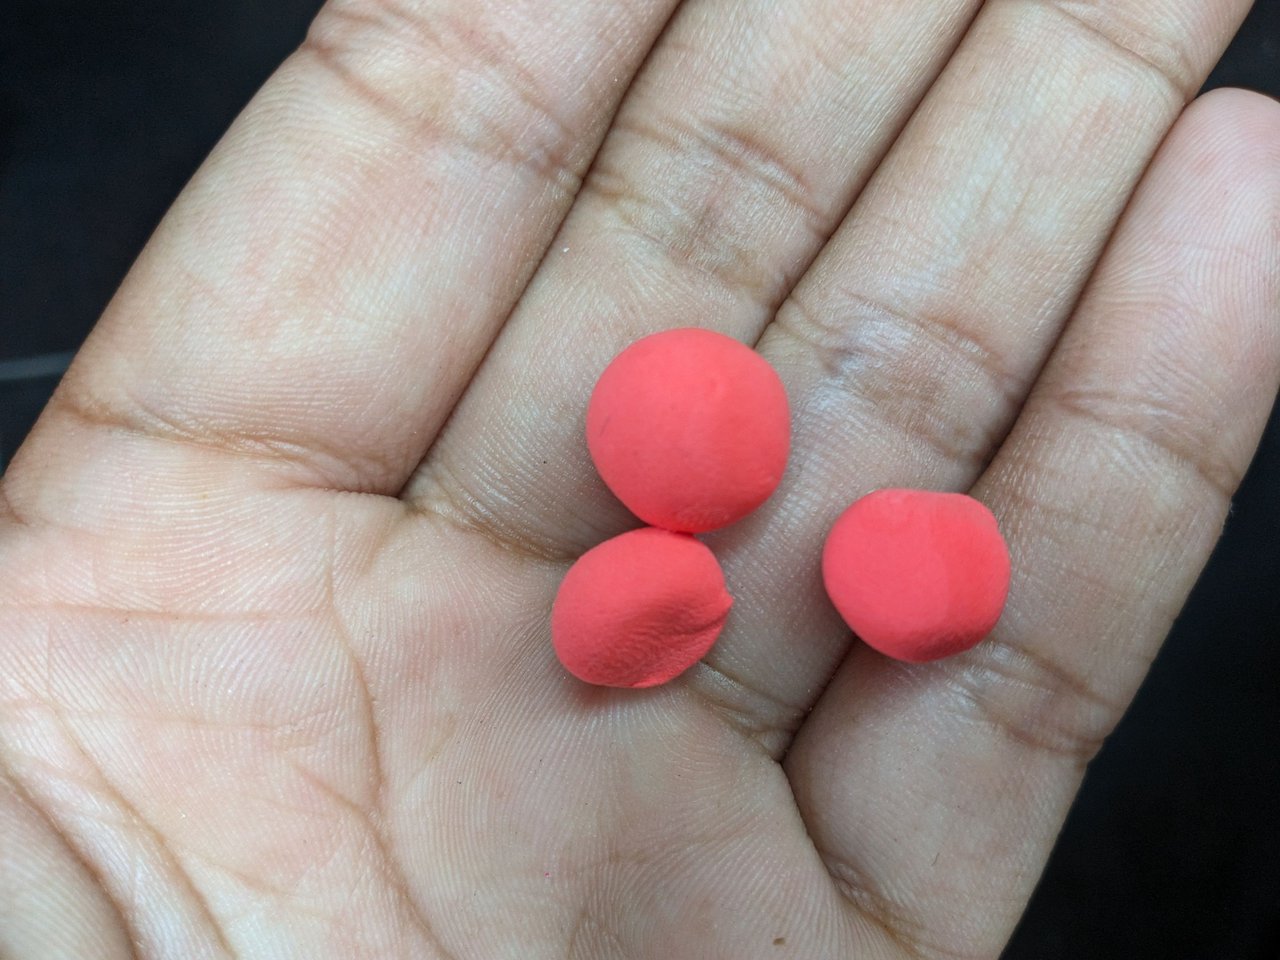
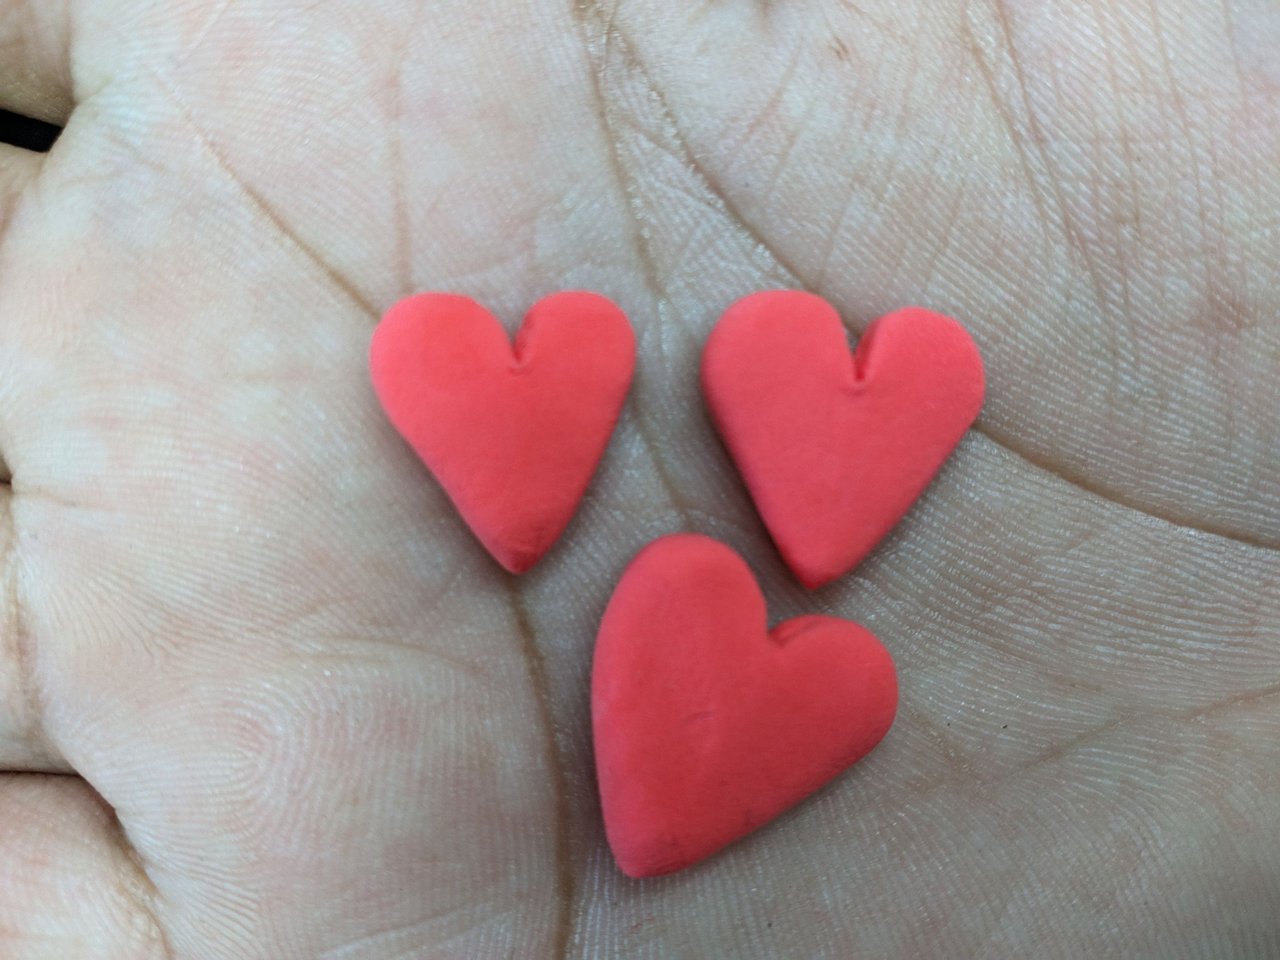
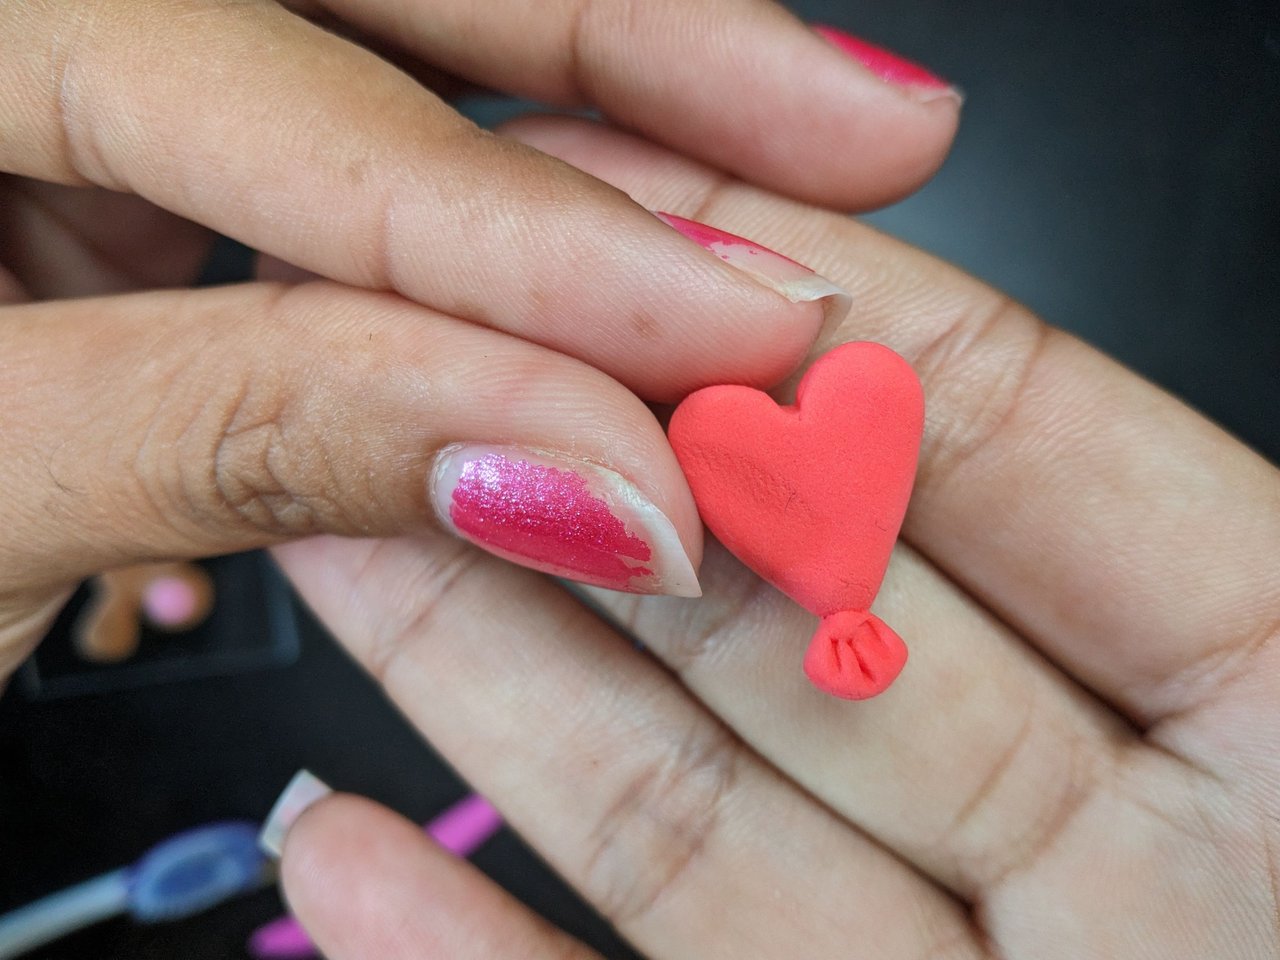
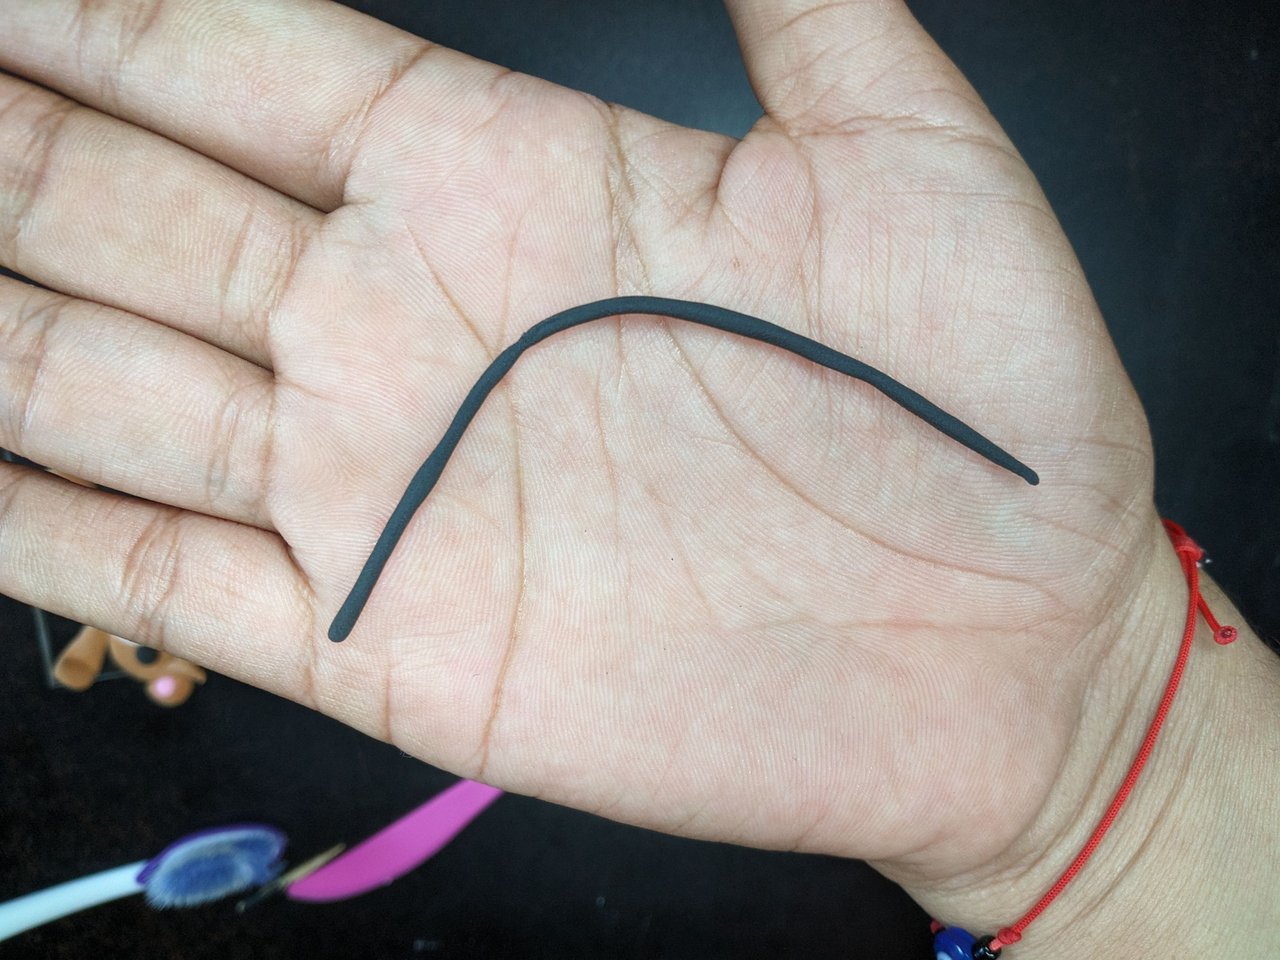
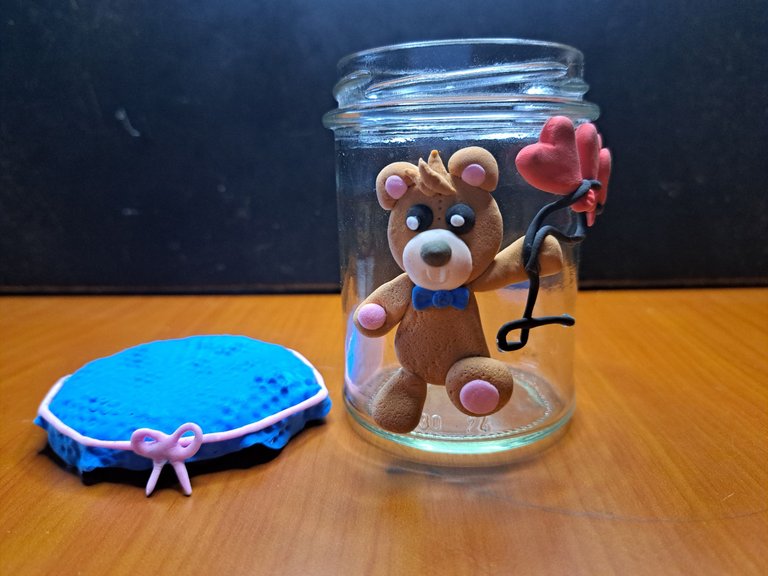
With three red foami balls I made three hearts that will be the balloons, I attached some triangles at the tip and marked some lines. This is where the string will be tied. I made the string with black foami, stretching it as much as I could carefully so it wouldn't break.
Con tres bolas de foami rojo hice tres corazones que serán los globos, les adjunté unos triángulos en la punta y marqué unas líneas. Aquí es donde va amarrado el cordel. El cordel lo elaboré con foami negro, estirándolo lo más que pude con cuidado para que no se rompiera.
 |
 |
 |
 |
 |
 |
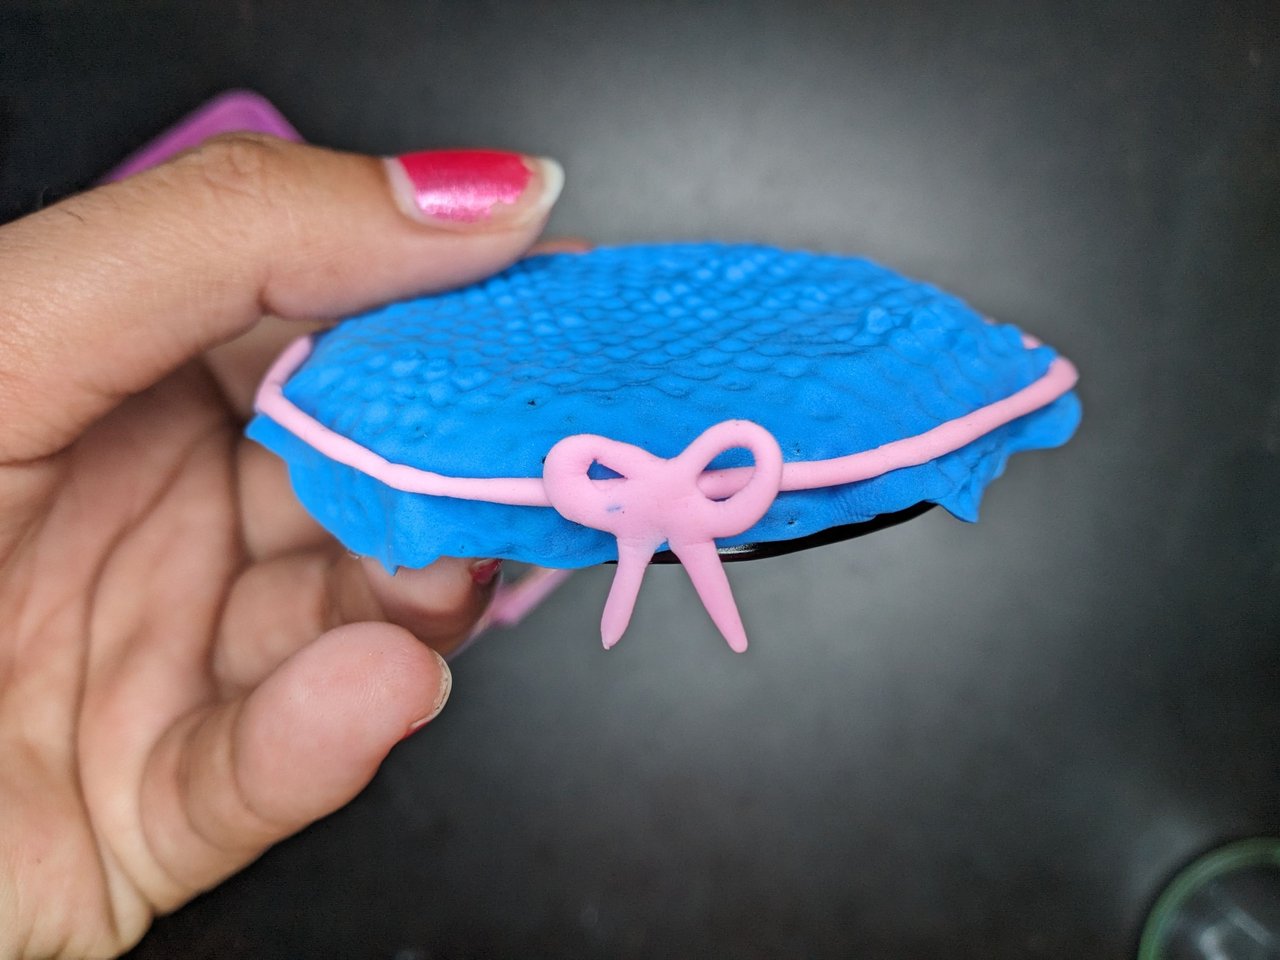
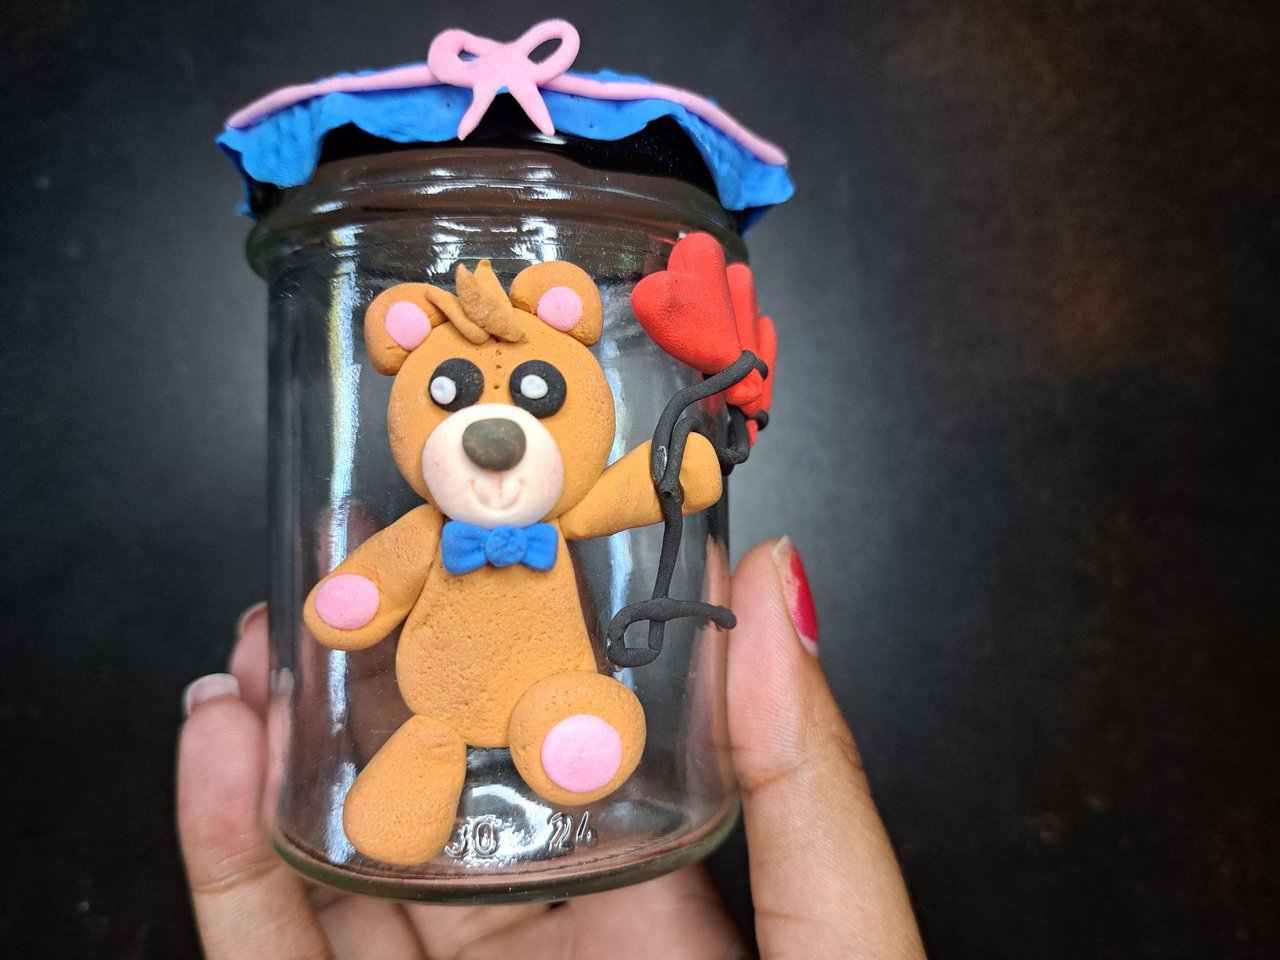
When the power came back on, I started to glue all the elements in place. First, I put the lining on the lid, leaving some folds around the edge. Then I put the bear in place and the balloons.
Cuando regreso el fluido eléctrico me dispuse a pegar en su lugar todos los elementos. Primeramente, le puse el forro a la tapa dejándoles por el borde como unos pliegues. Luego coloqué el oso en su lugar y los globos.
 |
 |
 |
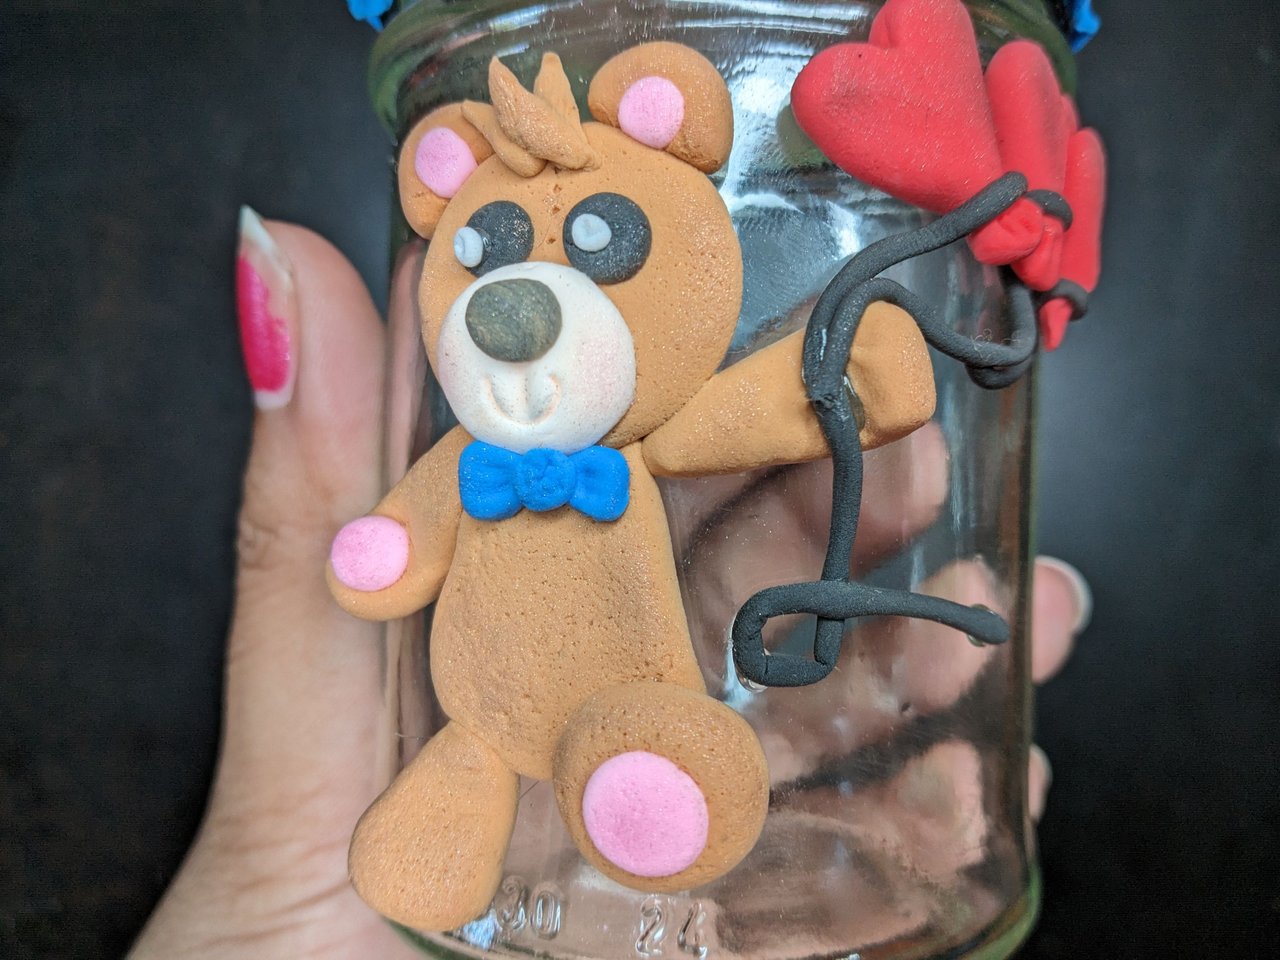 |
To give it the finishing touches I added a pink foami bow to the lining of the lid, the white dots for the eyes and with eye shadow I gave various shades to the bear's fur, cheeks and balloons.
Para darle los últimos detalles le coloqué al forro de la tapa un lazo rosa de foami, los puntos blancos de los ojos y con sombra de ojos le di varios matices a la piel del oso, a las mejillas y a los globos.
 |
 |
 |
 |
 |
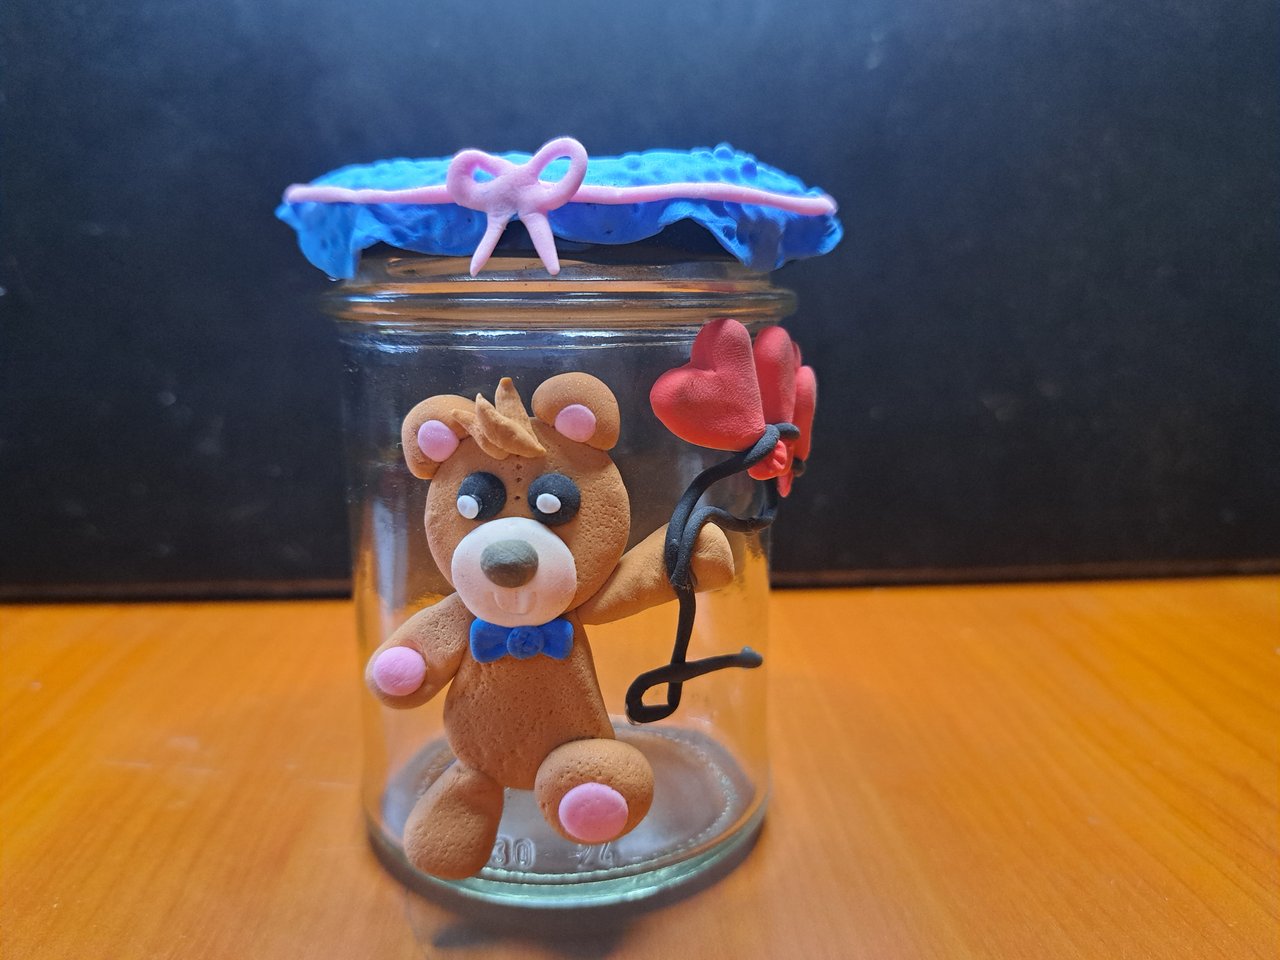 |
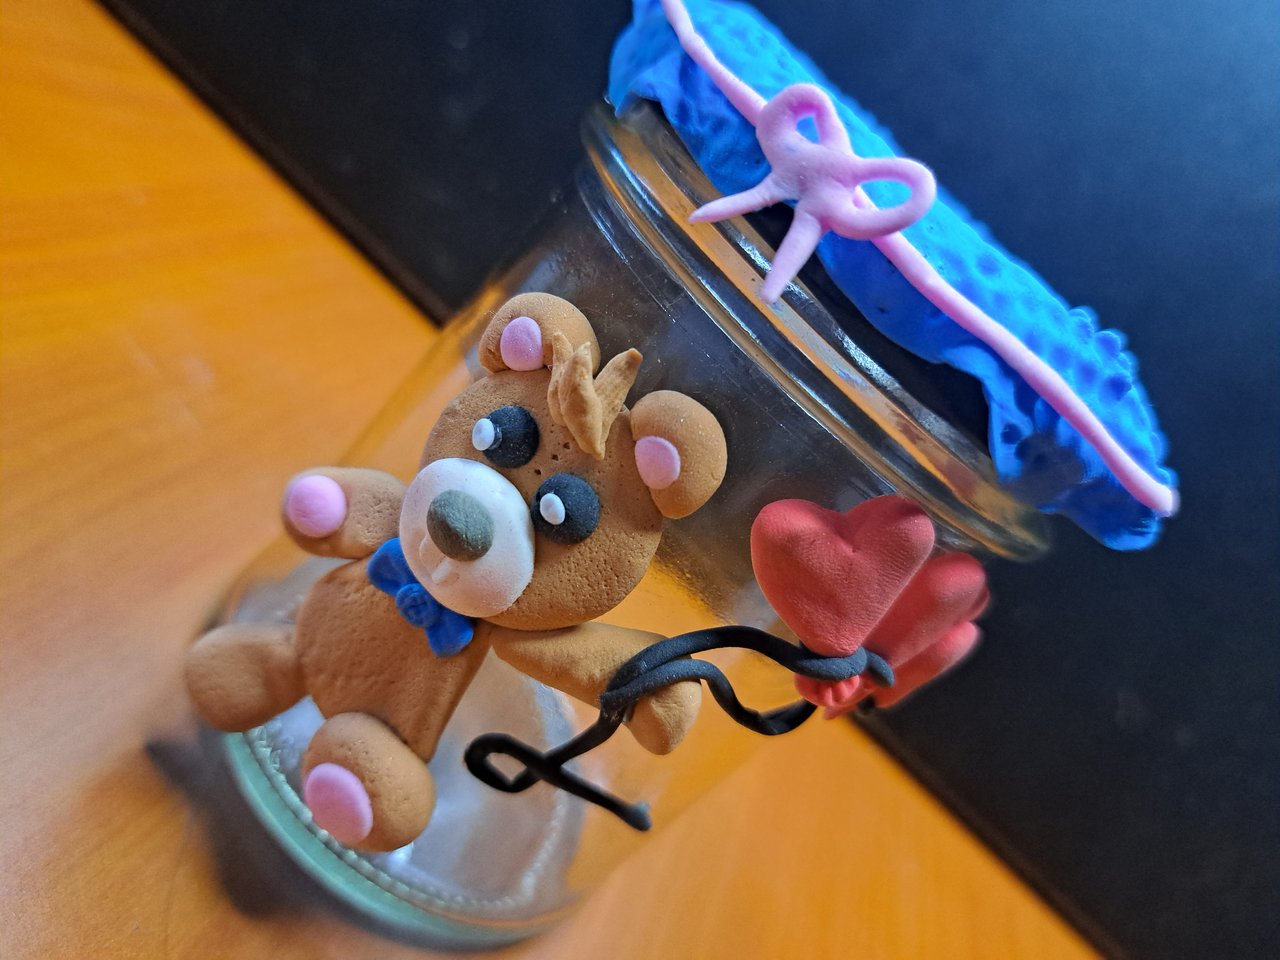
It is now completely finished, a beautiful container decorated with moldable foami, we just need to let it dry completely and preferably varnish it to strengthen the structure and then we can wet it. If we do not do this step it can only be used as an ornament, because the water can damage it. It seems to me that it can be a very adorable and simple detail to give as a Valentine's Day gift. Tell me what you thought in the comments, I read them. Greetings to all.
Ya está totalmente terminado, un hermoso recipiente decorado con foami moldeable, solo falta dejarlo secar por completo y de preferencia barnizarlo para fortalecer la estructura y para que luego podamos mojarlo. Si no hacemos este paso solo podrá ser utilizado como adorno, pues el agua lo puede dañar. Me parece que puede ser un detalle bastante adorable y sencillo para regalar el día de San Valentín. Cuéntame que te pareció en los comentarios, los leo. Un saludo a todos.
Cover made in Canva
English is not my native language, translated by DeepL
Muy lindo, pero qué tienes pensado echarle dentro. Porque no creo que me lo regales así vacío 😉
Jaja, sorpresa, 😜
It was very nice and the explanation of how to do it is very good, without a doubt it is an excellent gift.
~~~ embed:1752511314109284510?t=twQDKDMYtd-ya8Bg4rEJZw&s=19 twitter metadata:TmFzaFA5MTk4Nnx8aHR0cHM6Ly90d2l0dGVyLmNvbS9OYXNoUDkxOTg2L3N0YXR1cy8xNzUyNTExMzE0MTA5Mjg0NTEwfA== ~~~
Thank you very much for stopping by and reading, I try to do my best to make you understand the step by step. Have a great day 🤗
Lindo trabajo para el 14 de febrero 😊👏
Muchas gracias 🥰
Congratulations @yale95reyra! You have completed the following achievement on the Hive blockchain And have been rewarded with New badge(s)
Your next target is to reach 600 replies.
You can view your badges on your board and compare yourself to others in the Ranking
If you no longer want to receive notifications, reply to this comment with the word
STOPCheck out our last posts:
Wow that looks so beautiful, you are so creative thanks for sharing.
!giphy wow
!PIZZA
!DHEDGE
@sagarkothari88 vote 15%
you have 0.0 vote calls available today, your vote calls will reset at next snapshot. You can buy DHEDGE on Tribaldex or earn some daily by joining one of our many delegation pools at app.dhedge.cc to increase your daily amount.
Via Tenor
Hive Curators Join Discord | Support Witness | Follow Curation Trail
Keep Up the good work on Hive ♦️
Thank you very much for your support 🤗.
!giphy welcome
$PIZZA slices delivered:
@bhattg(9/10) tipped @yale95reyra
Thanks 🤗
I’m so surprised and also impressed!
You even made the bear from scratch.
As I said that was really impressive and definitely a good choice for a valentine gift
Thank you very much, I'm glad you liked it 🤗.
You’re welcome
Yay! 🤗
Your content has been boosted with Ecency Points, by @yale95reyra.
Use Ecency daily to boost your growth on platform!
Thank you for accepting my boost 👍
Te quedó precioso un bonito detalle sin duda alguna.
Muchas gracias 🥰
wow... this is really nice and creative. You made the jar very attractive.
Thank you very much 🤗
Congratulations @yale95reyra! You received a personal badge!
Wait until the end of Power Up Day to find out the size of your Power-Bee.
May the Hive Power be with you!
You can view your badges on your board and compare yourself to others in the Ranking
Check out our last posts:
Thank you 😍
Thank YOU, @yale95reyra, for being part of the awesome community that makes Hive Power Up Day a success!
Congratulations @yale95reyra! You received a personal badge!
Participate in the next Power Up Day and try to power-up more HIVE to get a bigger Power-Bee.
May the Hive Power be with you!
You can view your badges on your board and compare yourself to others in the Ranking
Check out our last posts:
Muy lindo trabajo
Muchas gracias 🥰
Wow esto es realmente lindo 😳 debes haber disfrutado mucho en el proceso también
Muchas gracias, si disfruto mucho mientras creo nuevas manualidades.