Hoy les voy a mostrar una fabulosa idea, cómo realizar unos organizadores con latas, estos decorados con foami escarchado, es una excelente idea para tener organizados nuestros lápices y marcadores.
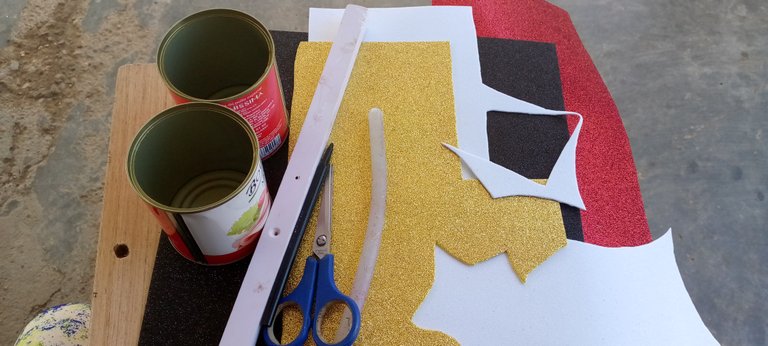
Los materiales utilizados en la elaboración de nuestro organizador de lápices fueron los siguientes
Dos latas de jamonadas pequeñas
Foami escarchado blanco
Foami escarchado negro
Foami escarchado dorado
Foami escarchado rojo
Tijera
Silicón
Tabla de medida
Lapicero.
A continuación les estare presentando el paso a paso utilizado para la creación de nuestro organizador:
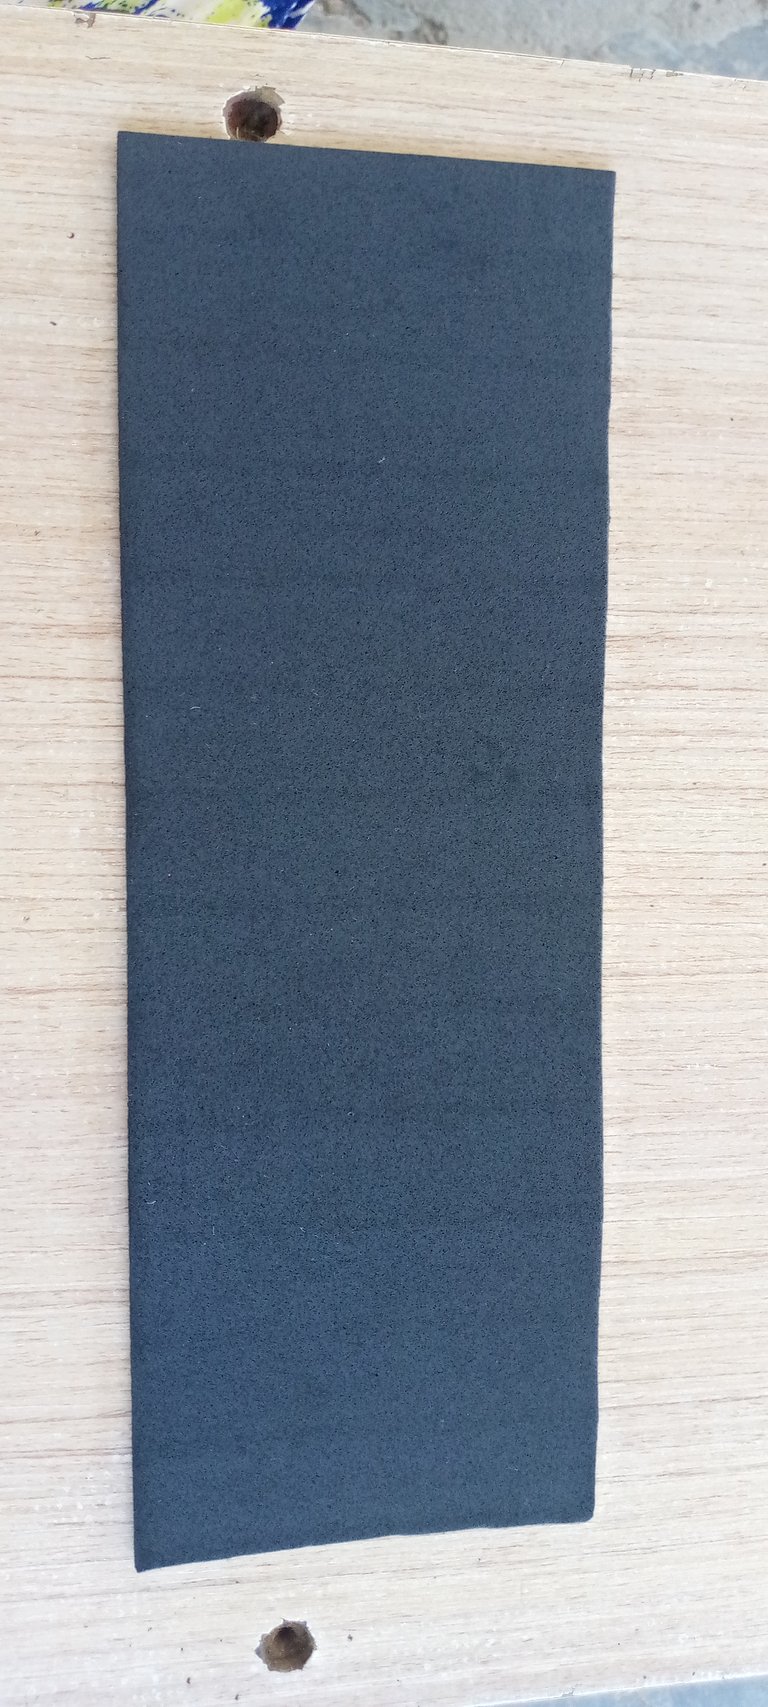
Paso 1
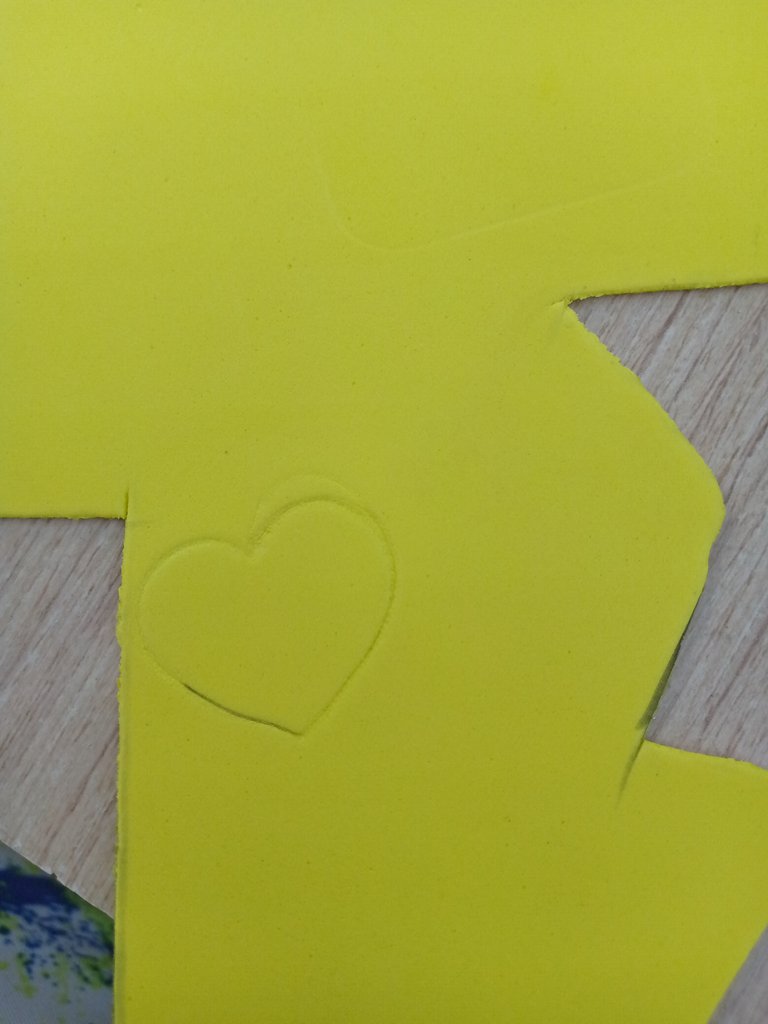
Lo primero que vamos a hacer es tomar el foami escarchado negro y la tabla, liego vamos a medir al tamaño de lo alto de la lata.
Después de esto lo que vamos a hacer es medirlo y una vez ya marcado con la tabla de medida lo que vamos a hacer es recortar de esta forma.


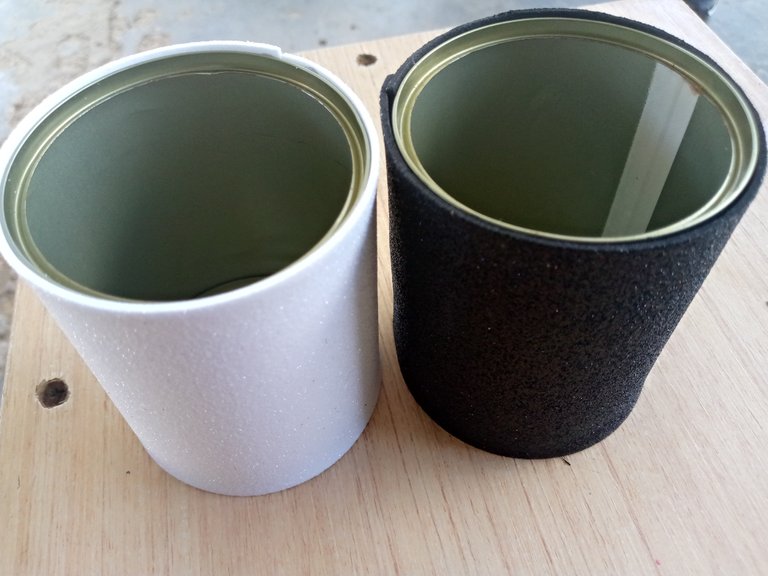
Paso 2
Luego de ya haberlo recortado solamente vamos a agregar silicón caliente y esto le vamos a pegar por completo después los bordes que queden lo vamos a recortar con la tijera y de esta forma irá quedando.

De igual manera vamos a hacer con el pote de lata de color blanco el mismo procedimiento que hacemos en el negro lo hacemos con el otro yo en este caso voy a utilizar dos Porta lápices ya que unos me pueden servir para poner los lápices y el otro para Las tijeras y las cuestiones de materiales grandes o herramientas.
Paso 3
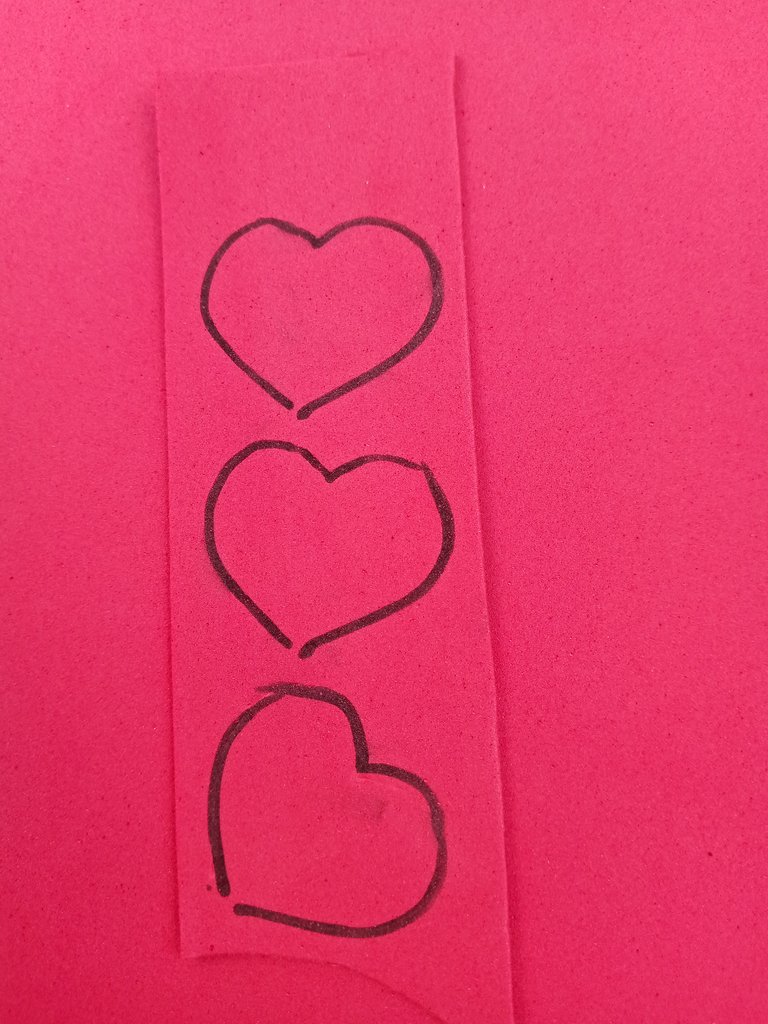
Con el foami dorado y con el fomi rojo vamos a remarcar unos corazones y luego lo vamos a recortar con la tijera de esta manera tiene que ir quedando de los corazones dorados vamos a hacer cinco y de los corazones rojos vamos a hacer cuatro, y solamente con los recortes del foami rojo vamos a hacer dos círculos pequeños esto es para pegarse en una parte del medio del pote yo combiné los colores El dorado con el blanco y el rojo con el negro estos eran para hacerlo de diferentes colores y diferentes modelo.

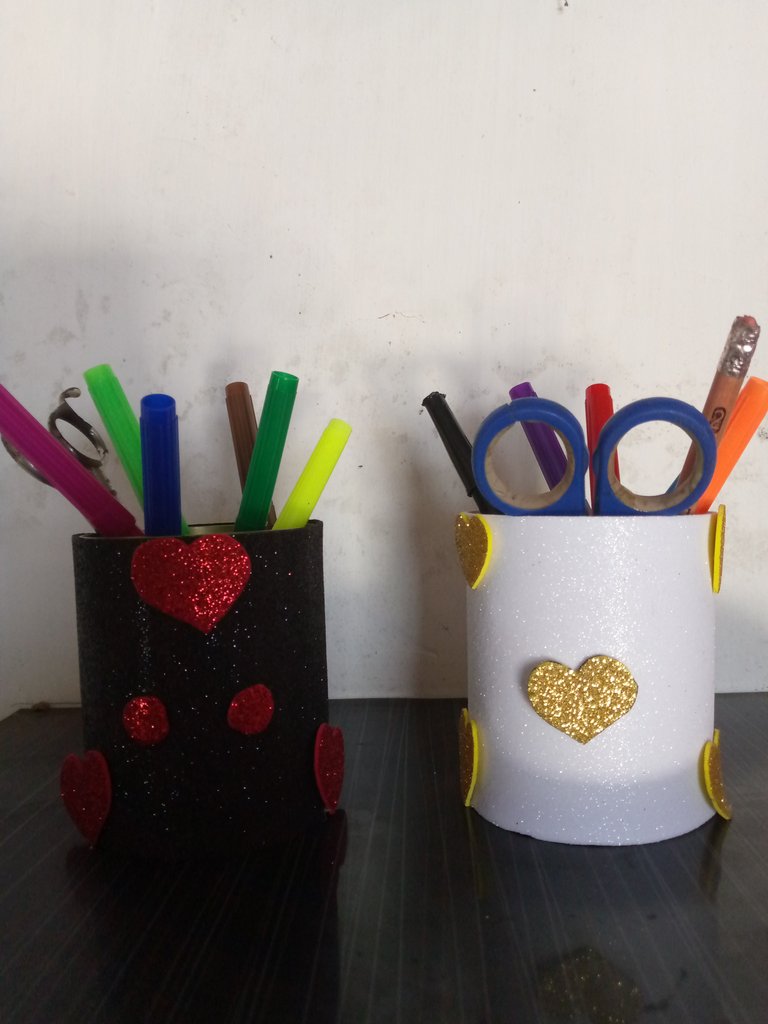
Una vez ya recortados todos los corazones y teniendo los listos solamente vamos a agregarle silicón en la parte de atrás y pegarlo después de esto solamente nos quedará estructurarlo de manera que con este último proceso hemos terminado nuestro lindo y fácil organizador de lápices.
Paso 4

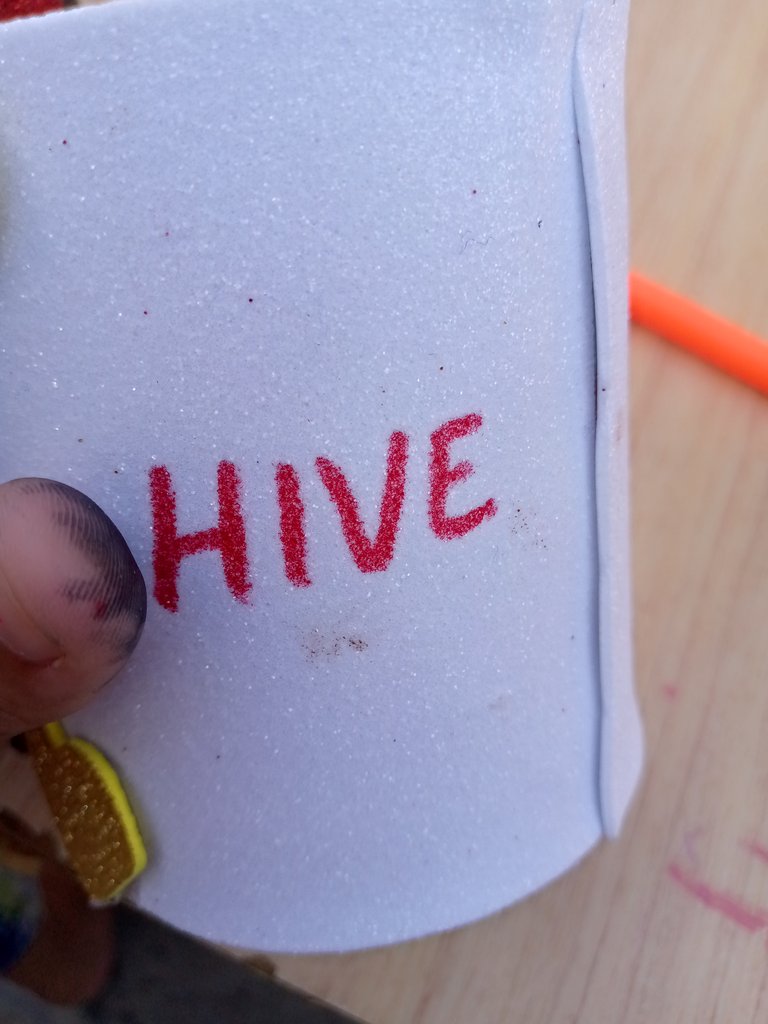
Tomé un marcador rojo y le hice una pequeña firma de hive a nuestro organizador blanco y de esta manera quedo .
De manera que solo falta poner los lápices Las tijeras los marcadores y listo nuestro resultado final , espero que les guste sea de su agrado les mando un fuerte abrazo un cordial saludos a todos bendiciones del universo y que tengan un nuevo comienzo de semana
Hasta la Proxima!
Las imagenes son de mi propiedad y fueron tomadas por mi telefono tecno spark goo 2023.
Traductor utilizado Deepl .
Banners en canva .
Today I am going to show you a fabulous idea, how to make some organizers with cans, these decorated with frosted foami, is an excellent idea to have organized our pencils and markers.
The materials used in the elaboration of our pencil organizer were the following.
Two small ham cans
White frosted foami
Black frosted foami
Gold frosted foami
Red frosted foami
Scissors
Silicone
Measuring table
Pencil
Next I will be presenting the step by step process used for the creation of our organizer:
Step 1
The first thing we are going to do is to take the black frosted foami and the board, then we are going to measure the size of the top of the can.
After this what we are going to do is measure it and once we have marked it with the measuring board what we are going to do is cut it out like this.
Step 2
After we have already cut it out, we are only going to add hot silicone and we are going to glue it completely, then we are going to cut the edges with the scissors and in this way it will be ready.
In the same way we are going to do with the white tin pot the same procedure that we do with the black one we do with the other one. In this case I am going to use two pencil holders since one can be used to put the pencils and the other one for the scissors and the large materials or tools.
Step 3
With the golden foami and the red fomi we are going to mark some hearts and then we are going to cut them out with the scissors in this way we are going to make five golden hearts and four red hearts, and only with the cuts of the red foami we are going to make two small circles this is to stick in the middle of the pot. I combined the colors gold with white and red with black these were to make different colors and different models.
Once we have cut out all the hearts and have them ready, we only need to add silicone on the back and glue them together. After that, we only need to structure it so that with this last process we have finished our nice and easy pencil organizer.
Step 4
I took a red marker and made a little hive signature on our white organizer and this is what it looks like .
So we just need to put the pencils, scissors, markers and ready our final result, I hope you like it, I send you a big hug and best regards to all of you, blessings from the universe and have a new beginning of the week
See you next time!
The images are my property and were taken by my phone tecno spark goo 2023.
Translator used Deepl .
Banners in canva .
¡Holaa! Te quedaron super lindos, amé el toque de los corazones y que escribieras la palabra Hive.
¡Saludoos!
Que bien ha quedado este diseño, me agrada que siempre se encuentren ideas creativas para renovar y reciclar los objetos y materiales
Que gran idea para decorar los enavases de aluminio! muy bien hecho amiga. Felicidades!
la idea de reutilizar material es fenomenal así aprovechamos el fomi le da un toque brillante muy bello
Una buena forma de darle uso a estas latas amiga, muy lindo y decorativo, saludos.
Muy lindo amiga .. éxitos!
Muchas gracias amiga 😘
Que lindo ☺️
Gracias amiga saludos 😃
It is beautiful and it's very useful to hold pens, pencils, scissors, markers and so on. Thank you for sharing this.
Wow, you started like a play but finally you have created something so amazing. I love it. You are really talented