Hello friends greetings and blessings I hope you are very well, I wish you a start of the week full of great ideas and creativities, thank God I'm here again with you posting one of my favorite things.
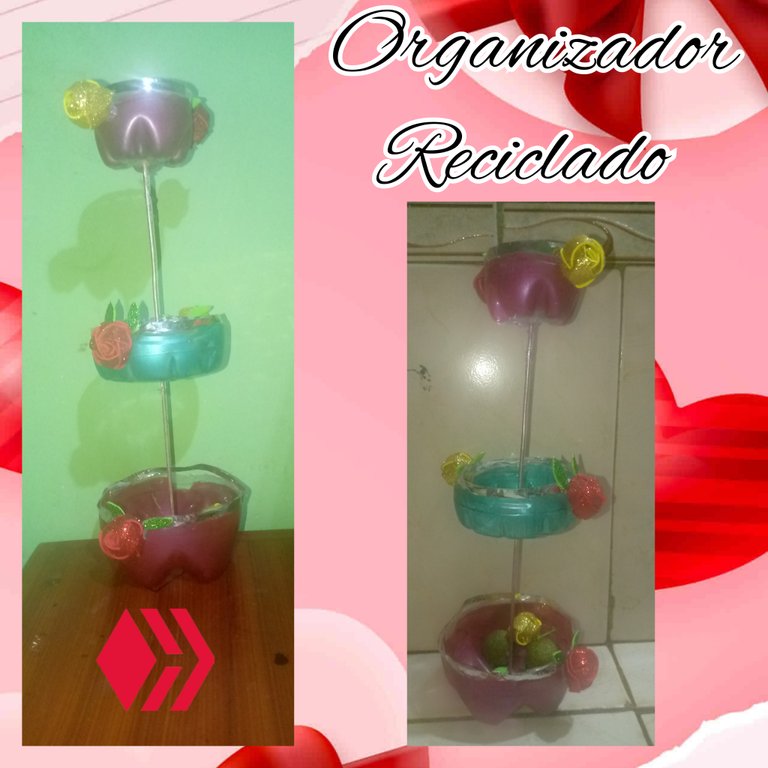
Today I want to show you how to make a nice easy and simple organizer of jewelry or any object that we want to have in sight and organized separately, I have told you that I always like to work with recycled materials, so we can conserve more of our planet to make this kind of crafts I like because we can reuse things, for a good use or operation in our life and homes.
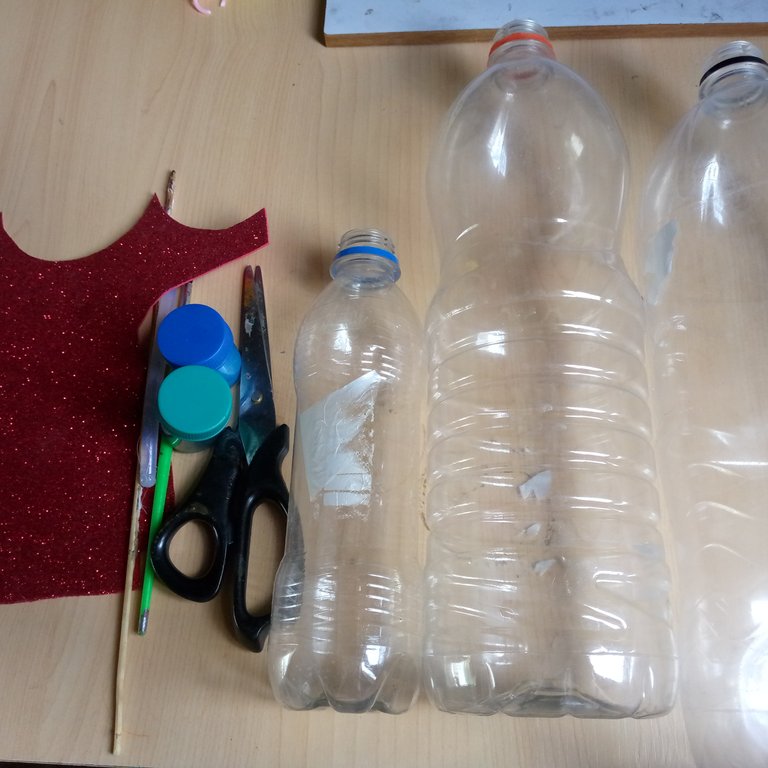
The materials that I used in the elaboration of our organizer were the following:
- three recycled soda cans
- scissors
- silicon
- foamy
- metallic paints
- silver ribbon
- Height stick
Let's start making
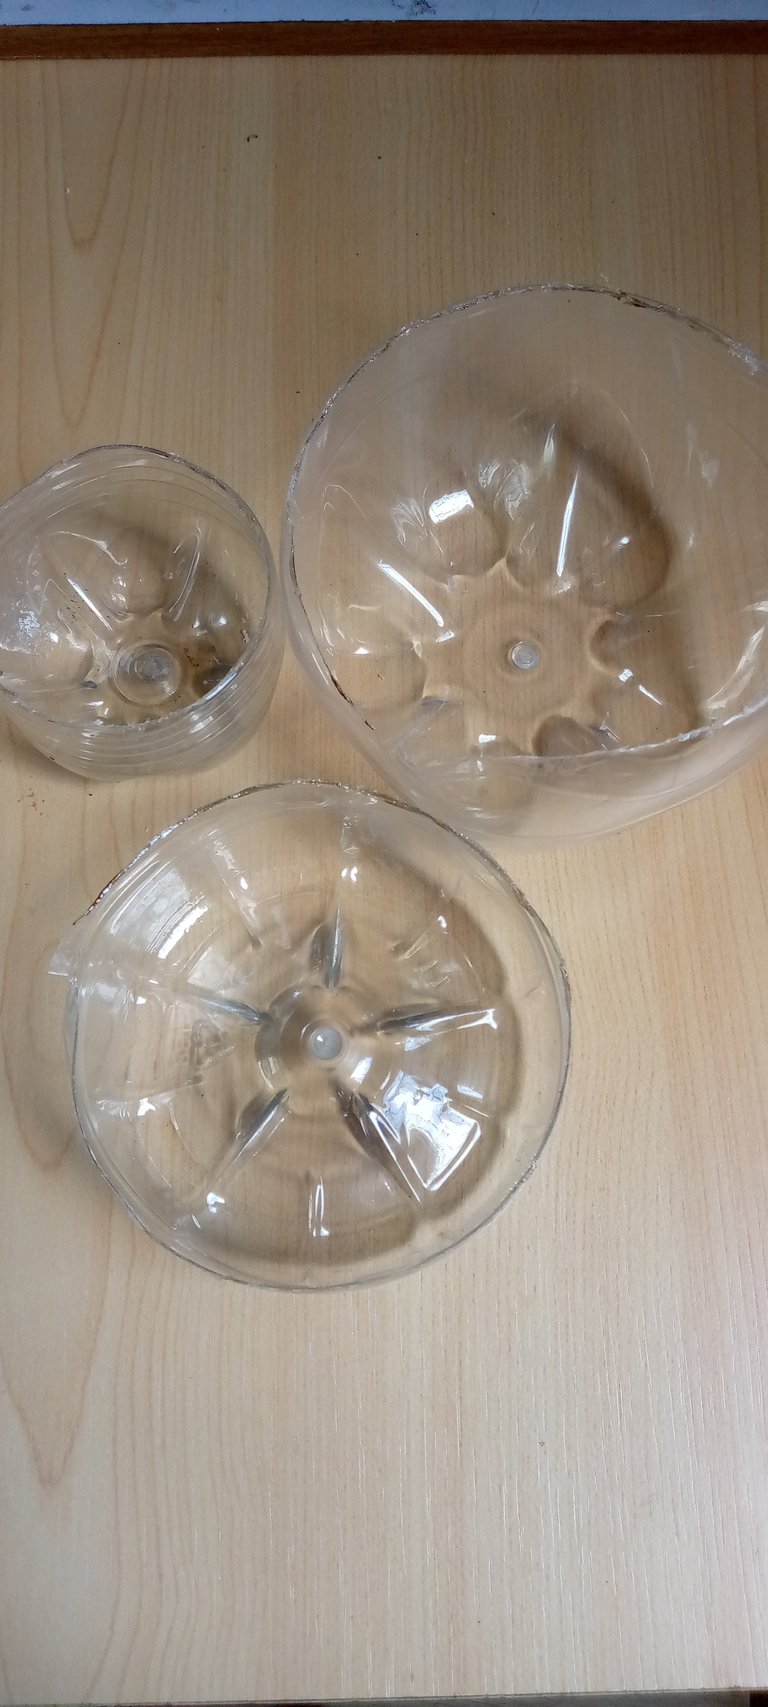
Step 1
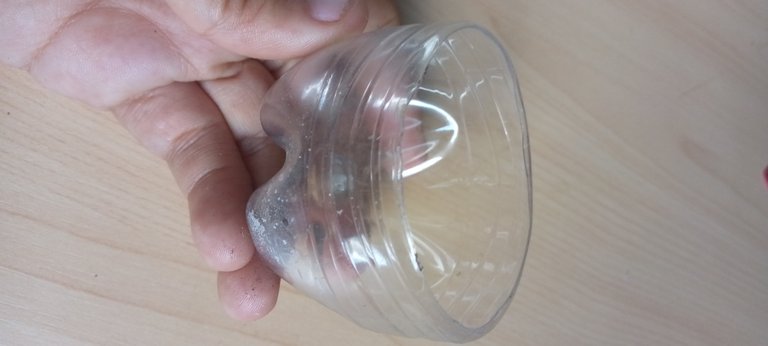
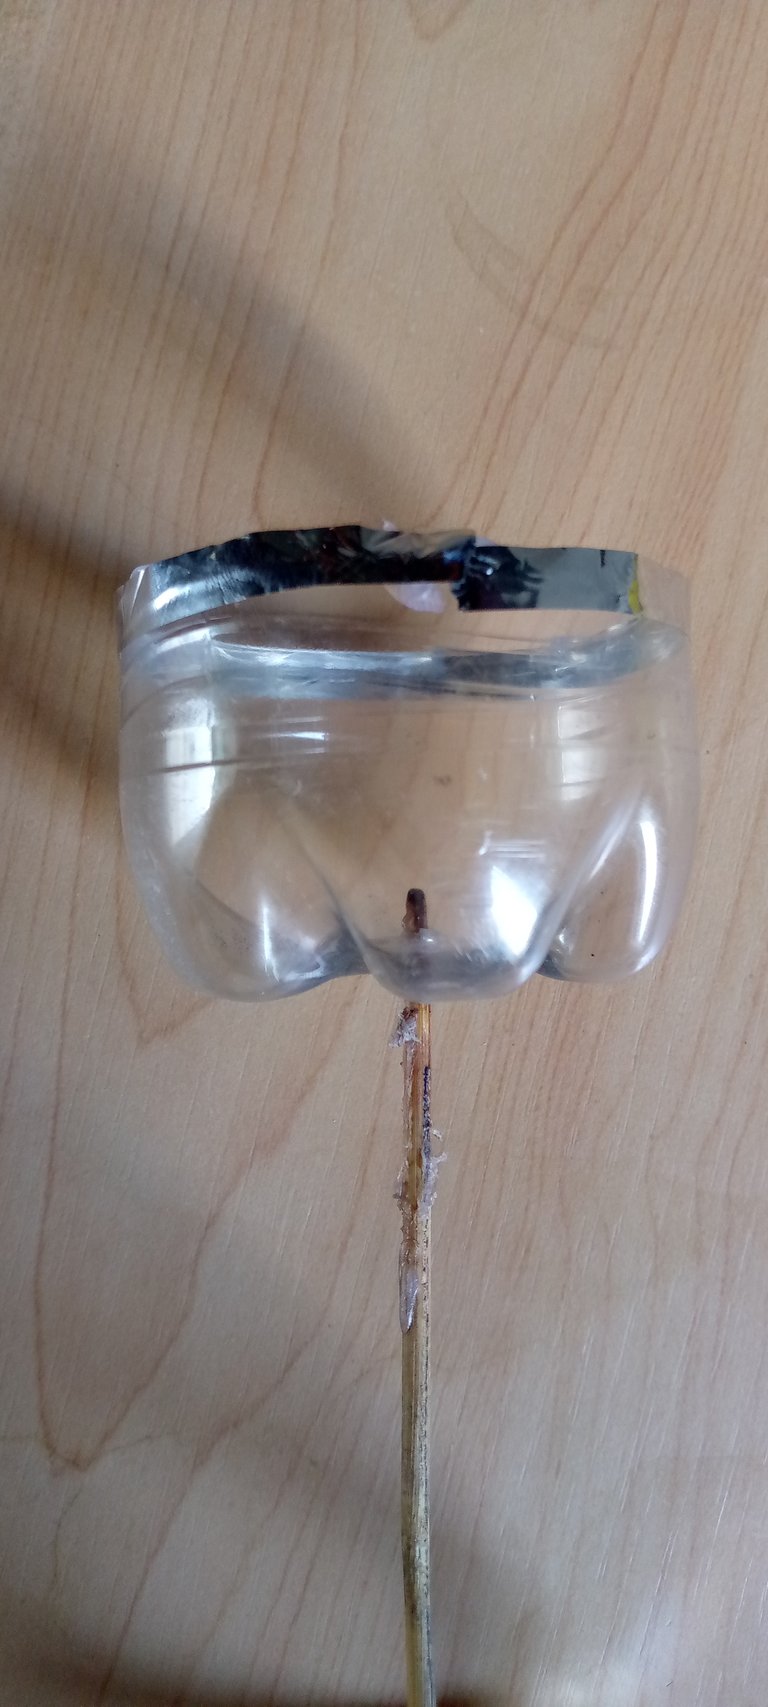
The first thing we are going to do is to select the three pots and we are going to chop the pots in a delicate way and we are going to chop them leaving three or four fingers like this, and those will be three of different sizes.
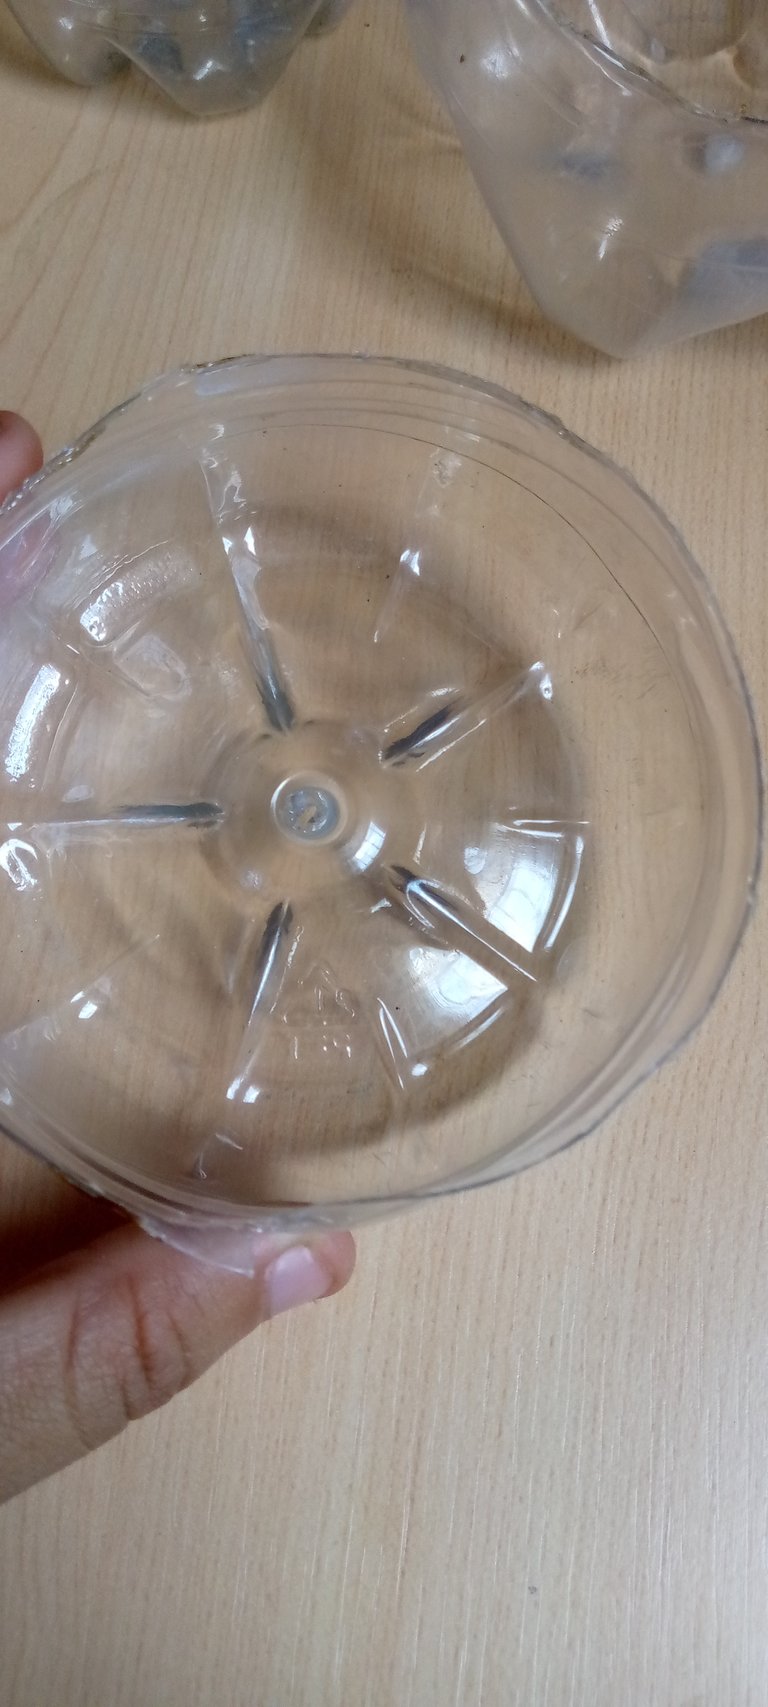
Step 2
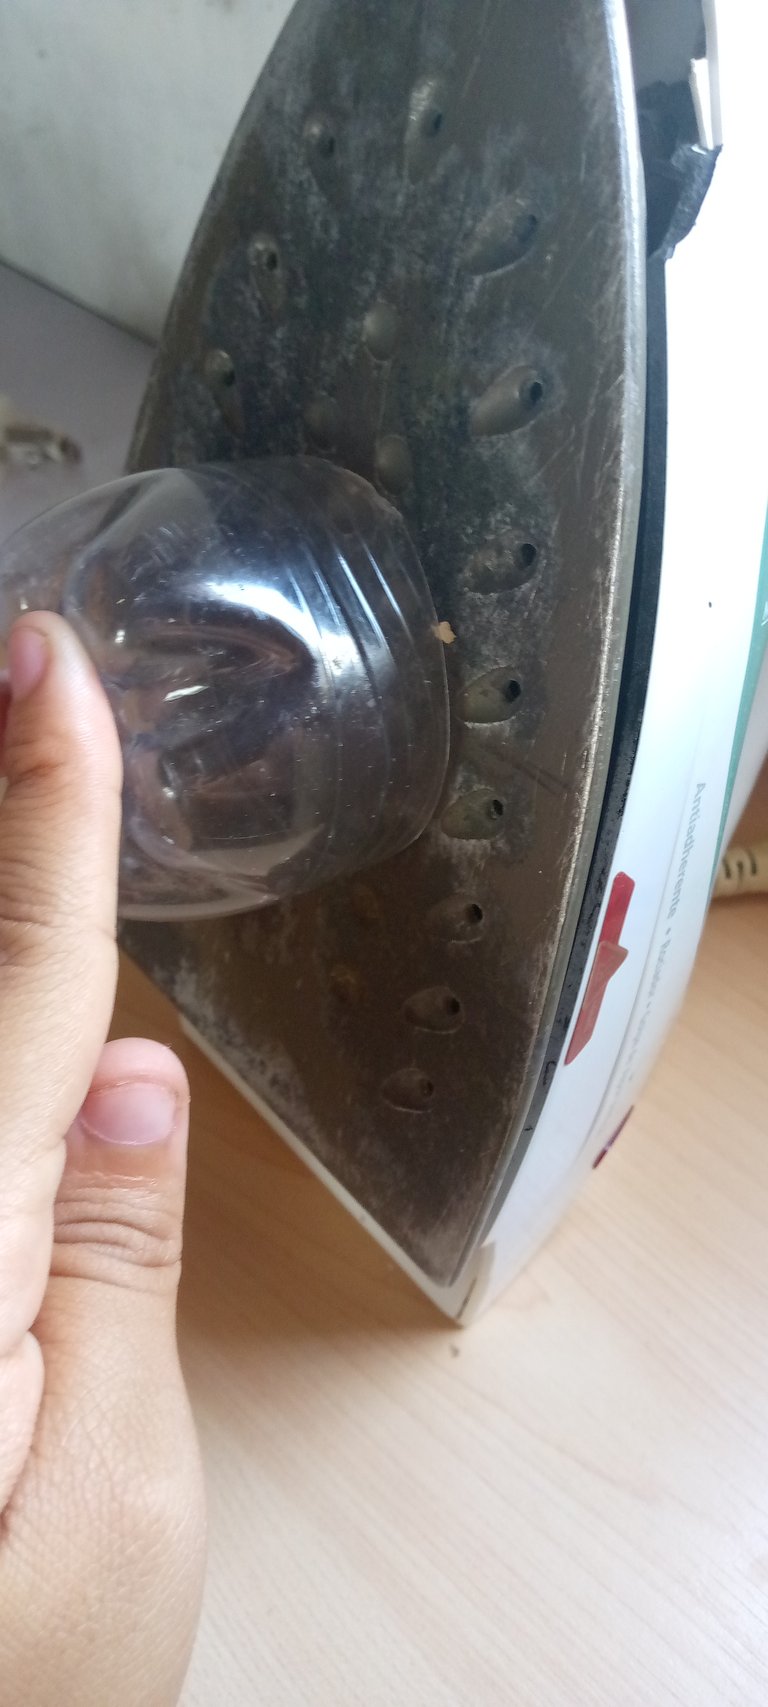
Then what we are going to do is to take the iron and outline the pots with the hot part of the iron leaving it to act for about 3 minutes and then we leave it ready like this.
Step 3
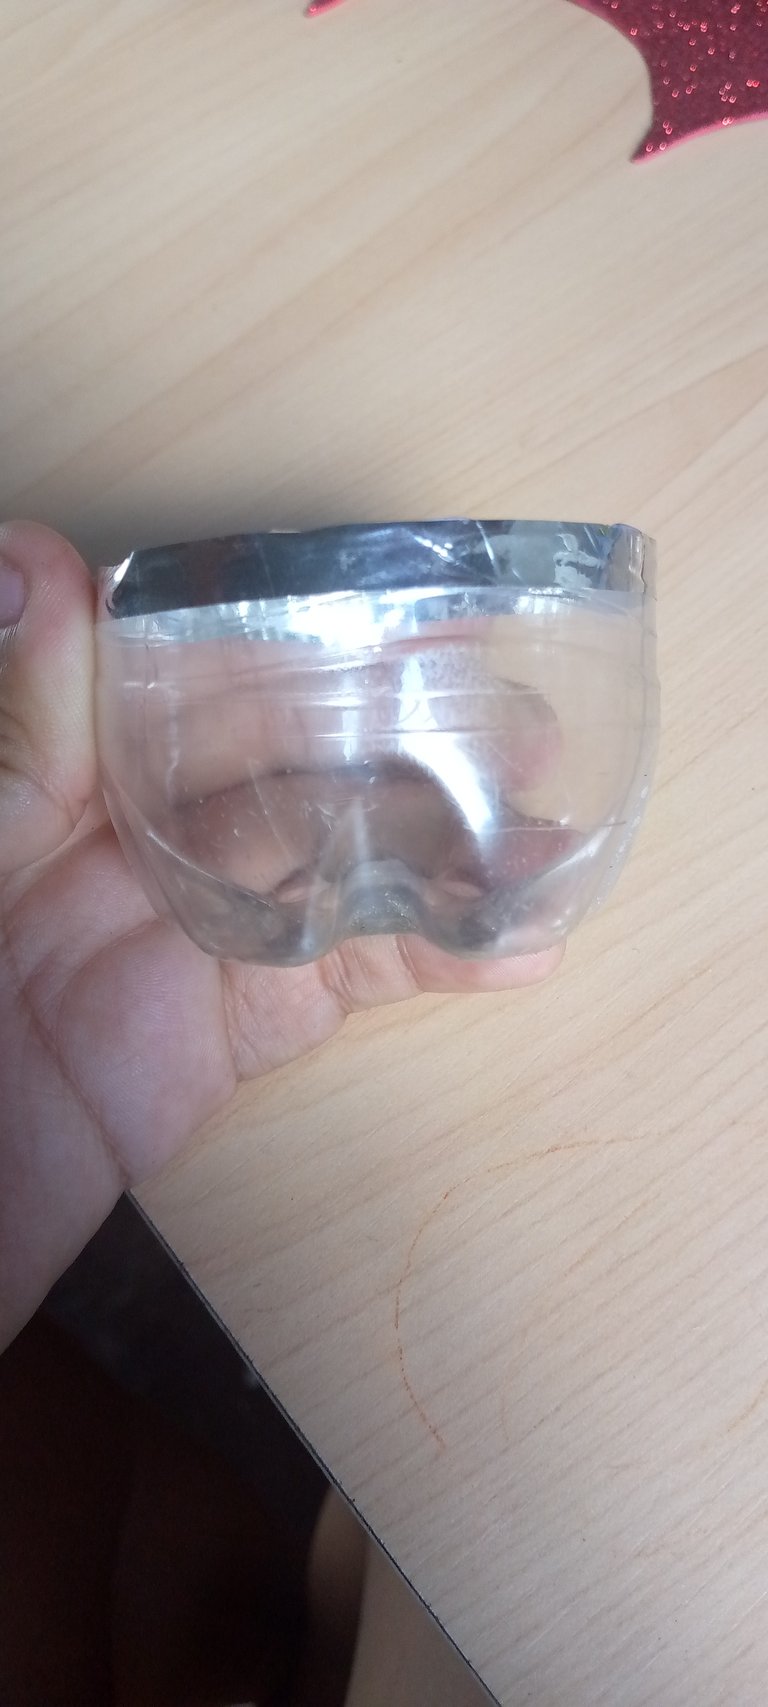
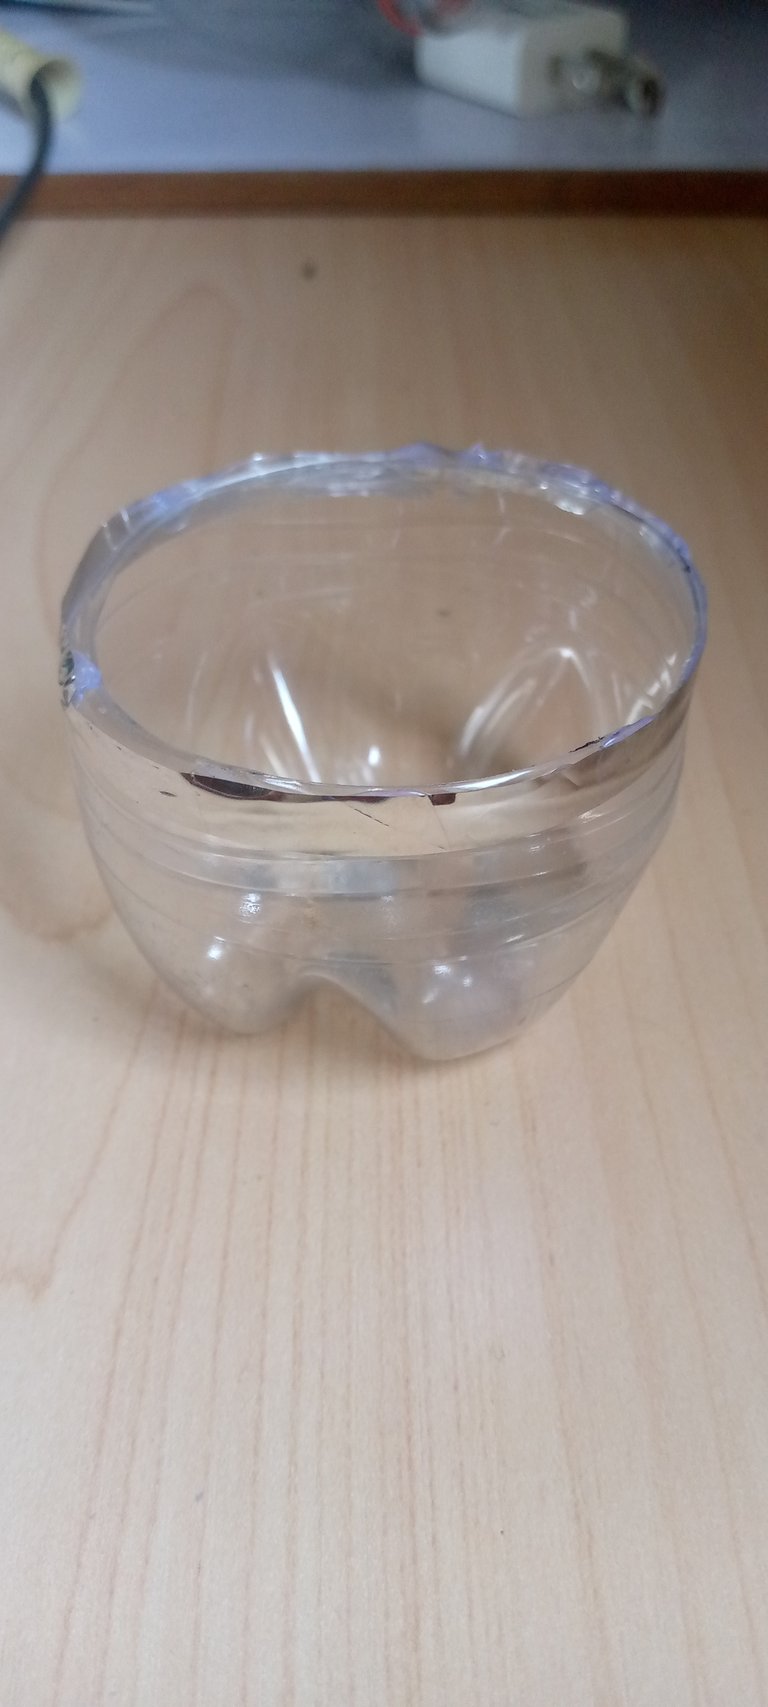
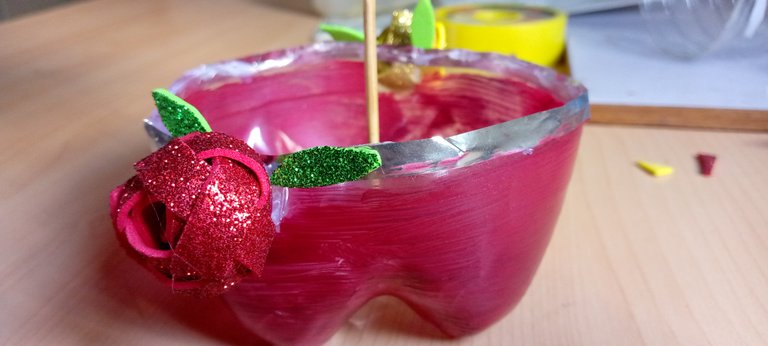
After we have it ready we are going to take and we are going to stick the silver decorative tape around or to the edge of the pots of the three.
Step 4
We are going to take the height stick and we are going to heat it a little bit and we are going to put it through the holes that are going to be opened in the middle of the pots and it is going to be introduced leaving sides or spaces between the pots.

Step 5
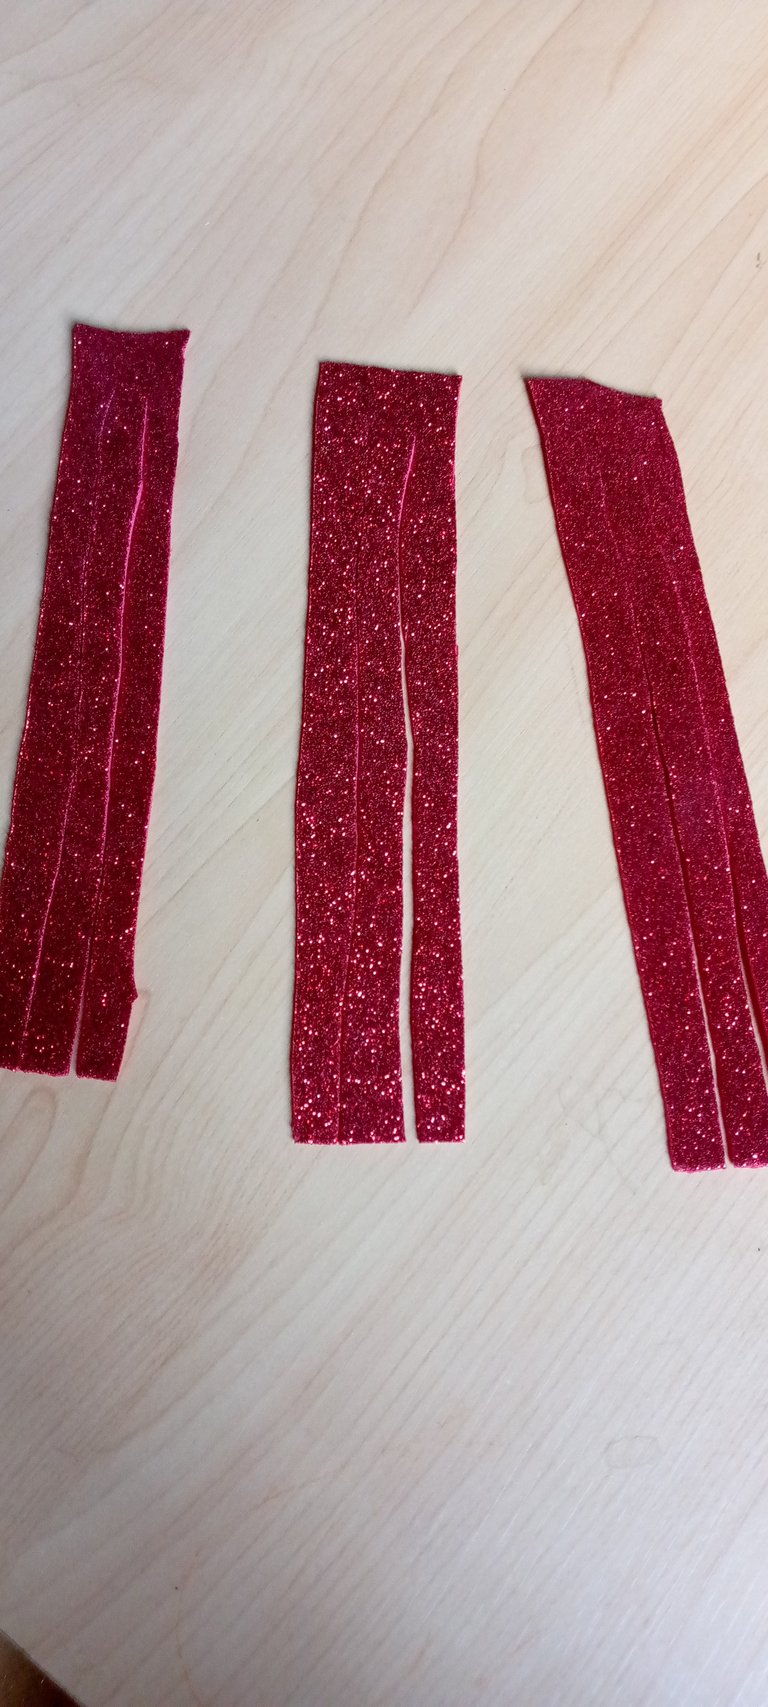
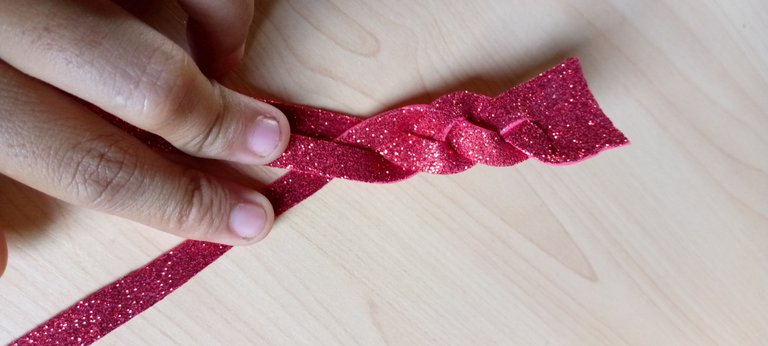
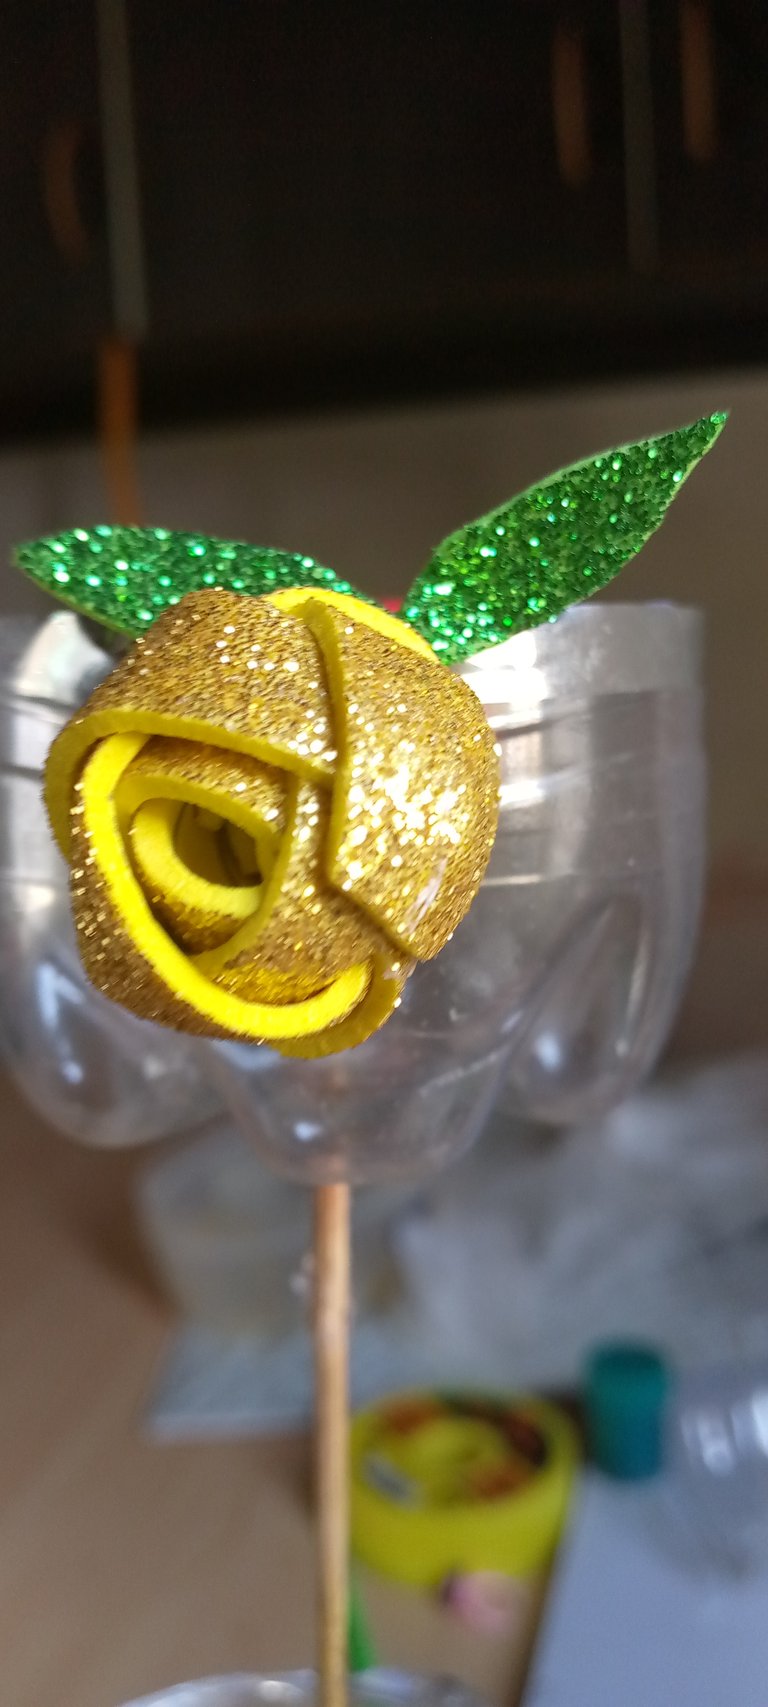
Now what we are going to do is to place a foami and cut it in three parts and then we are going to weave it as if we were making a braid like this.
Step 6
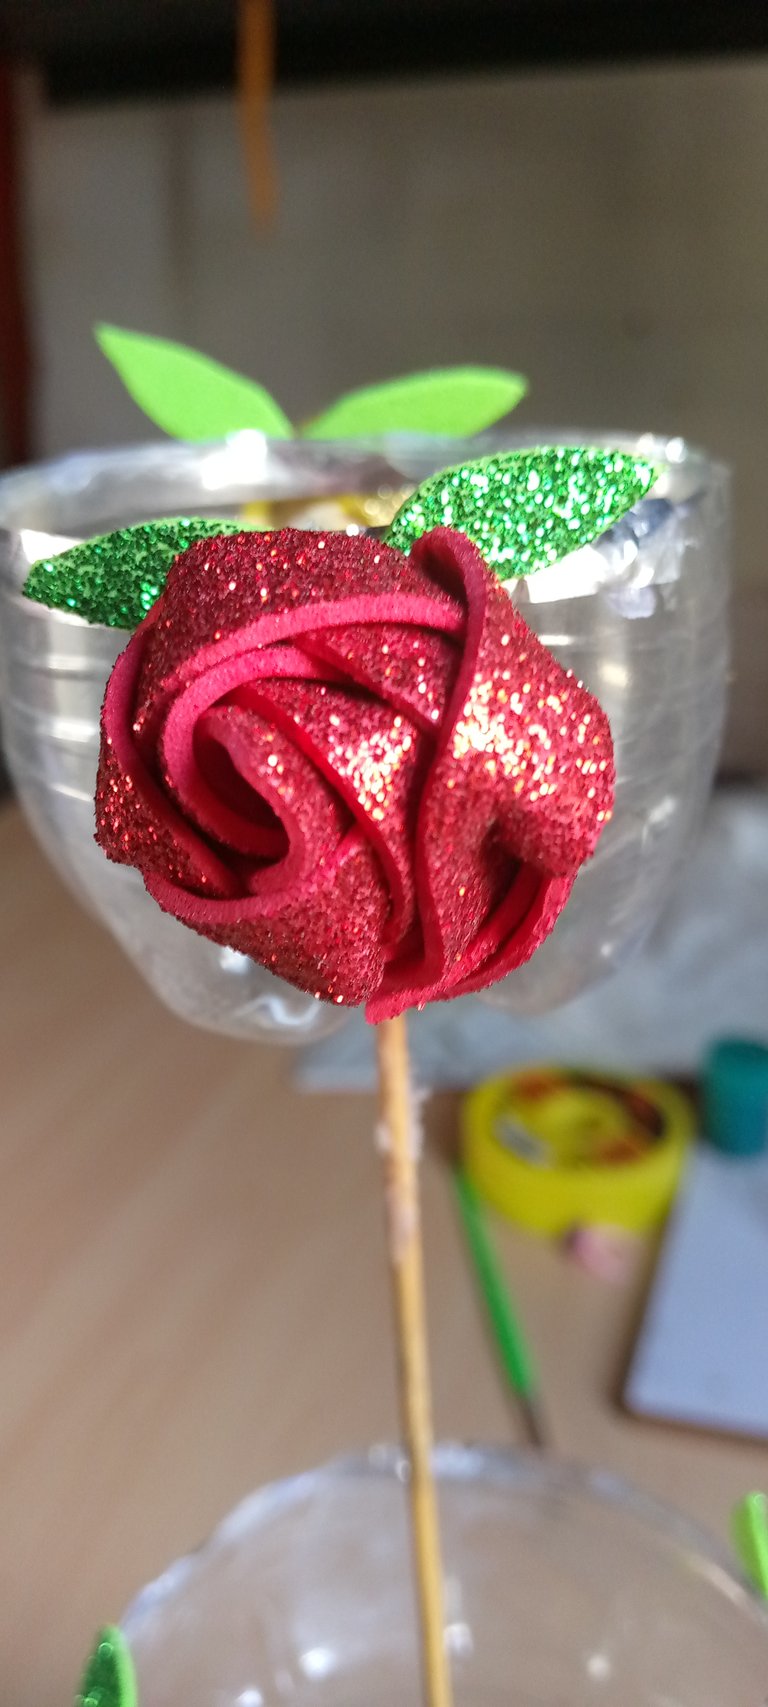
Then we are going to glue it with a little bit of silicone and we are going to roll it up and the last thing we add another little bit more silicone like this
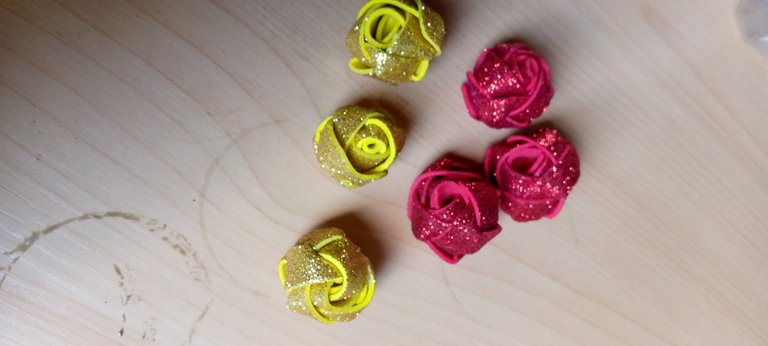
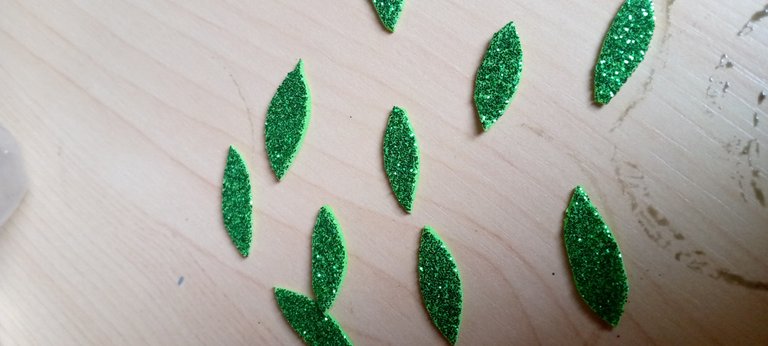
With a green foami we are going to make the leaves and in this case the colors I used were gold and red for the flowers and apple green for the leaves.
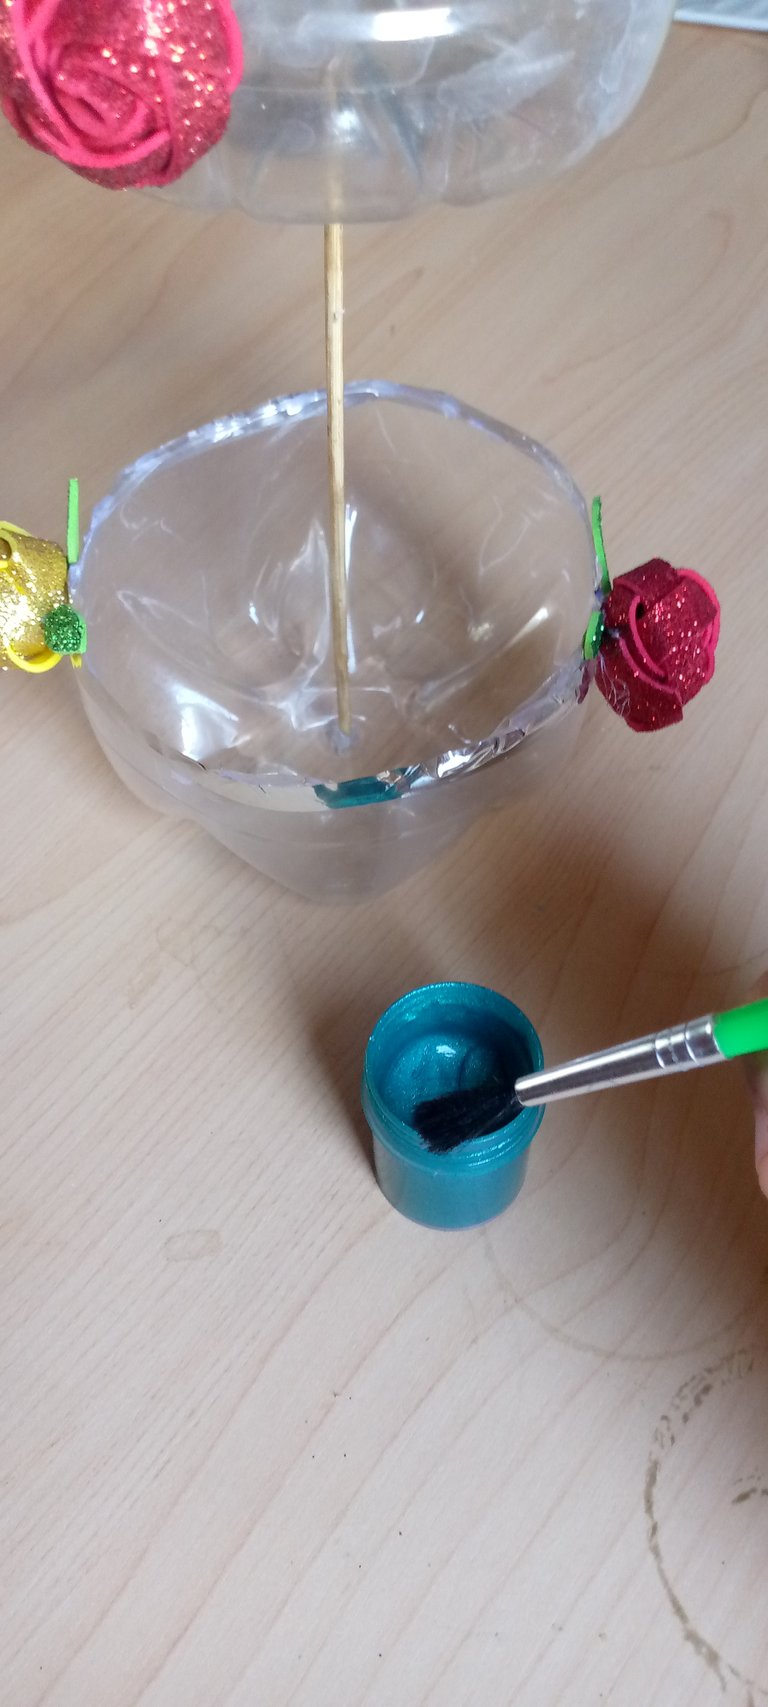
Step 7
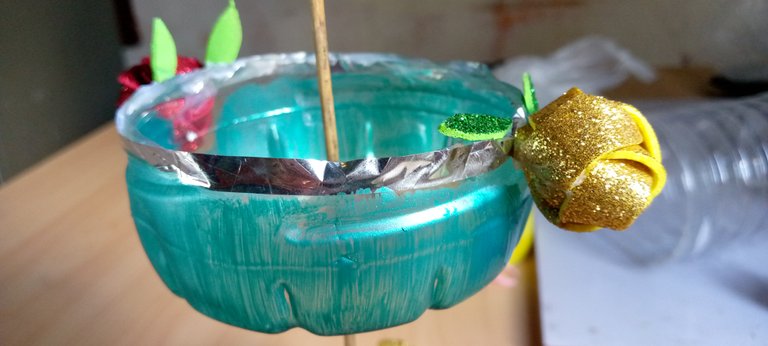
Once we have all the flowers and leaves ready we are going to glue them on the sides of the pots and once they are all ready we are going to paint each one with a different color, in this case I used red and green metallic paint.
Delicately we are going to take care of overpainting twice so that it can not be soaked and once ready we have our beautiful organizer.
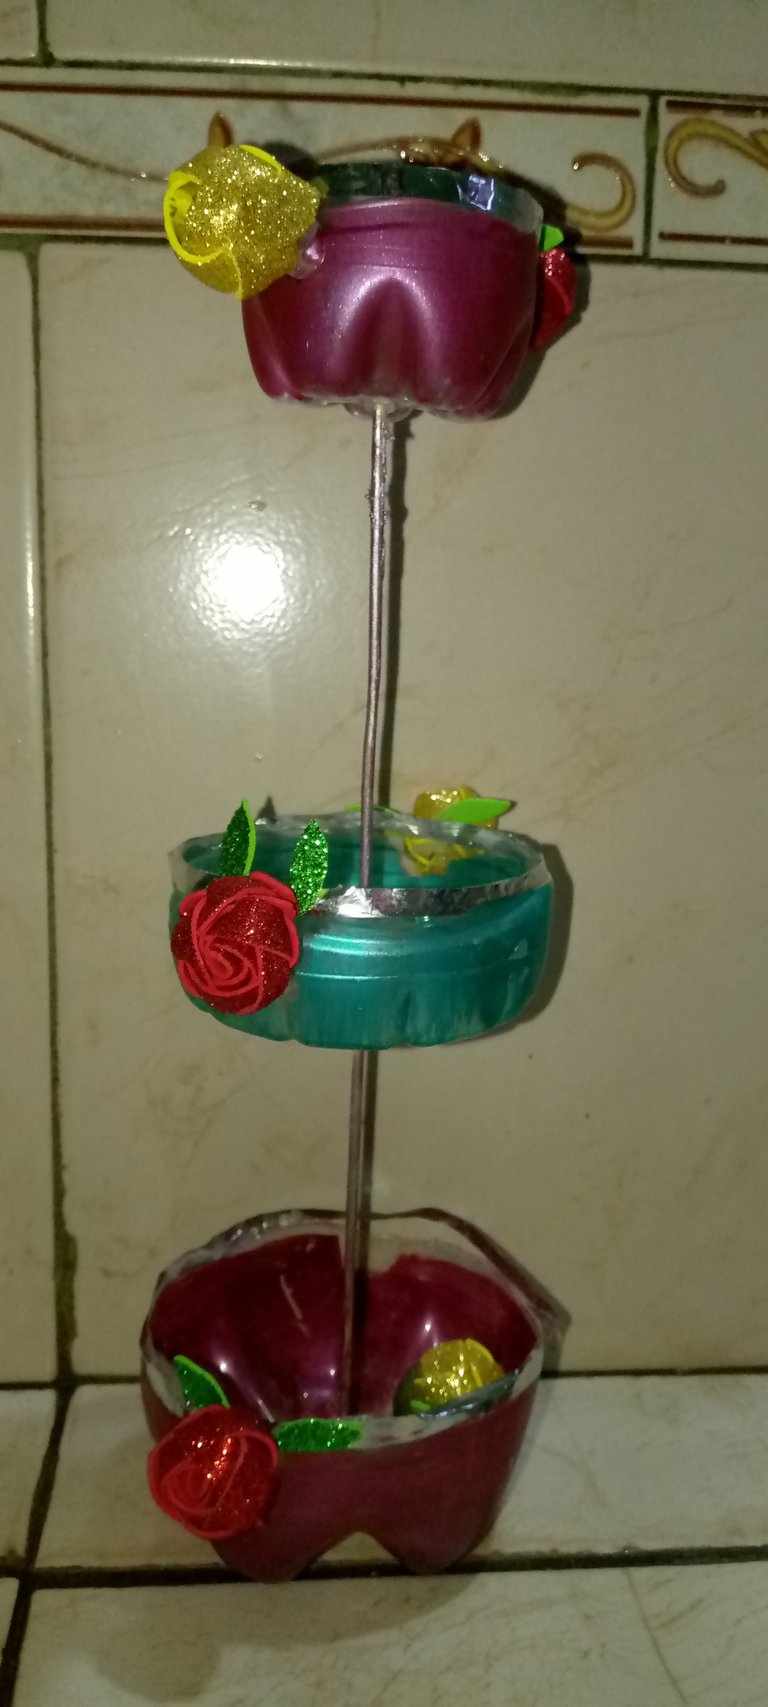
Now we just take care of putting either for maquillaes, accessories, I hope you liked it and that you can encourage at home to develop a beautiful easy and simple organizer ideal for storing everything we want to have tidy.
Images are taken from my Tecno spark phone and belong to me.
Translated thanks to the application: DEELP
I edited the photo using the polish app.

Hola amigos saludos y bendiciones espero que esten muy bien, les deseo un comienzo de semana lleno de grandes ideas y creatividades, gracias a Dios estoy nuevamente aqui con ustedes publicando una de mis cosas favoritas.
El dia de hoy quiero mostrarle como realizar un bonito facil y sencillo organizador de bisuteria o de cualquier objeto que querramos tener a la vista y organizado por separado, les he comentado que siempre me gusta trabajar con materiales reciclados, asi podemos conservar más nuestro planeta al realizar este tipo de manualidades me gusta ya que podemos reutilizar las cosas, para un buen provecho o funcionamiento en nuestra vida y casas.
Los materiales que utilice en la elaboración de nuestro organizador fueron los siguientes:
- tres potes reciclados de refresco
- tijera
- silicon
- foamy
- pinturas metalizadas
- Cinta plateada
- Palito de Altura
Comencemos a Elaborar
Paso 1
Lo primero que vamos a hacer es seleccionar los tres potes y lo vamos a picar los potes de manera delicada y lo vamos a picar dejando tres o cuatro dedos asi como este, y de esos serán tres de medidas de diferentes tamaño.
Paso 2
Luego lo que vamos a hacer es tomar la plancha y delinear los potes con lo caliente de esta dejando que actúe por unos 3 minutos y luego lo dejamos listo así de esta manera.
Paso 3
Luego de tenerlo listo vamos a agarrar y vamos a pegarle la cinta decorativa plateada alrededor o al borde de los potes de los tres.
Paso 4
Vamos a tomar el palito de altura y lo vamos a calentar un poco este lo vamos a traspasar por los huecos que se le van a abrir en el medio a los botes y este va a ir introducido dejando lados o espacios entre los potes.
Paso 5
Ahora lo que vamos a hacer es colocar un foami y picarlo en tres partes después vamos a tejerlo como si estuviésemos haciendo una trenza así de esta manera.
Paso 6
Luego lo vamos a pegar con un poquito de silicón y este lo vamos a ir enrollando ya lo último le agregamos otro poquito más de silicón quedando así de esta manera
Con un foami verde vamos a hacer las hojitas Y en este caso los pones que utilicé fueron El dorado y el rojo en las flores y el verde manzana en las hojas.
Paso 7
Ya cuando tengamos todas las flores listas y las hojas nos vamos a encargar de pegar por los partes laterales de los potes y una vez ya todas listas nos vamos a encargar ahora es de pintar cada uno de un diferente color en este caso utilicé pintura metalizada roja y verde.
Delicadamente nos vamos a encargar de sobrepasar dos veces de pintura para que pueda quedar no empapada y una vez ya listo tenemos nuestro hermoso organizador.
Ahora solo nos encargamos de poner ya sea para los maquillaes, accesorios, Espero que les haya gustado y que puedan animarse en casa a elaborar un hermoso fácil y sencillo organizador ideal para guardar todo lo que queramos tener ordenado.
Las imágenes son tomadas de mi teléfono Tecno spark y me pertenecen.
Traducido gracias a la aplicacion: DEELP
La foto la edité mediante la aplicación de polish.
This is lovely and can be use for decorations of the home as well.
Well done dear.
Me encantan los trabajos con materiales reciclados, es mucho lo que se puede lograr con dedicación y creatividad. Quedó muy bonito este organizador.
Your tutorial is well detailed. It's a beautiful organizer and can be used for decor ideas.
No one would have thought this was made out of plastic bottles. A very fantastic craft you just made kudos.
Has sido votado por
PROYECTO ENLACE
'Conectando Ideas y Comunidades'
PROYECTO ENLACE es un proyecto de curación de habla hispana enfocado en recompensar contenido de calidad y apoyar autores en su proceso de crecimiento en HIVE.
Creemos y apostamos por el futuro de esta gran plataforma, y estamos muy emocionados de poder hacerla crecer junto a esta comunidad. Así que te invitamos a publicar en nuestra COMUNIDAD y estar atento a todas las actividades que tenemos preparadas y que estaremos publicando en breve.
¿QUIERES AUTOMATIZAR TUS GANANCIAS DE CURACIÓN? SE PARTE DEL PROYECTO ENLACE APOYANDO A NUESTRO TRAIL EN HIVE.VOTE INGRESA AQUÍ PARA CONOCER LOS DETALLES.
¿QUIERES INVERTIR ENLACE? DESCUBRE COMO HACERLO Y GENERAR INGRESOS DE FORMA SEMANAL MEDIANTE TU DELEGACIÓN DE HP AQUÍ TE EXPLICAMOS COMO.
Te invitamos a participar en nuestro servidor de Discord: https://discord.gg/3S9y7BbWfS
Atentamente
EQUIPO ENLACE 2024
Muy lindo y práctico amiga