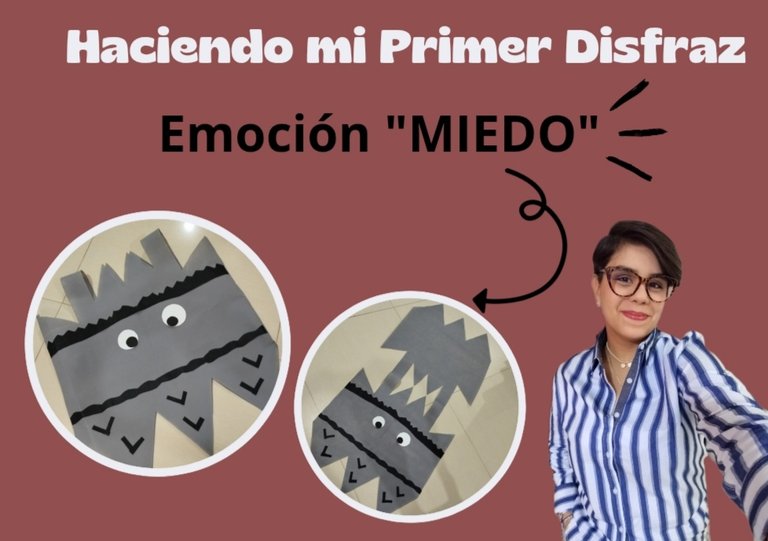

Los cierres de proyecto de mis hijos se acercan y esto quiere decir que debo de activarme con las actividades y asignaciones de cada uno de ellos... Mi hijo José en esta oportunidad va a trabajar con las emociones y a él le tocó representar a la emoción miedo... Su maestra hace un par de semanas me pidió el apoyo con la elaboración de un sencillo disfraz para representar dicha emoción.
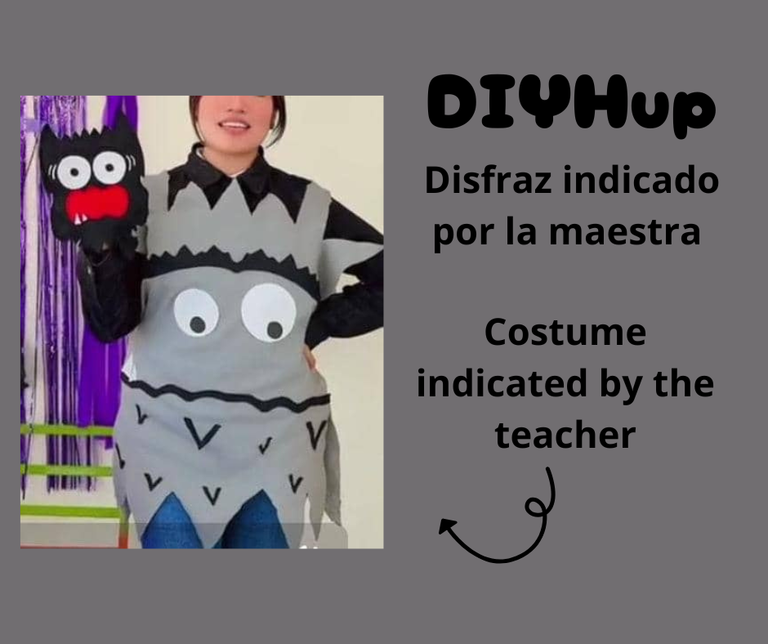
Cuando la maestra me envía su idea del disfraz, yo me emocioné un poco porque tendría la oportunidad de hacerlo yo misma; así que observé muy bien el disfraz y me dispuse a realizarlo; claro está primero tuve que comprar unas telas para poder lograr mi objetivo. Como sé que este disfraz será para colocárselo poco tiempo; decidí invertir y comprar una tela llamada pop o también se conoce como tela quirúrgica, su precio es de $1.23 el metro entonces compré en color gris y negro que era lo sugerido por la maestra.
Realmente como les comento es mi primer disfraz y yo no tenía ni idea de como comenzar o como iniciar; muchas cosas las trabaje sobre la marcha, pero trstare de explicar mi paso a paso lo mejor posible.
Materiales:
1 metro de tela quirúrgica gris
1/2 metro de tela quirúrgica negra
Fomai blanco
Tijeras
Silicon frio
Tiza
Hilo
Maquina de coser (opcional)
Regla
Paso a paso:
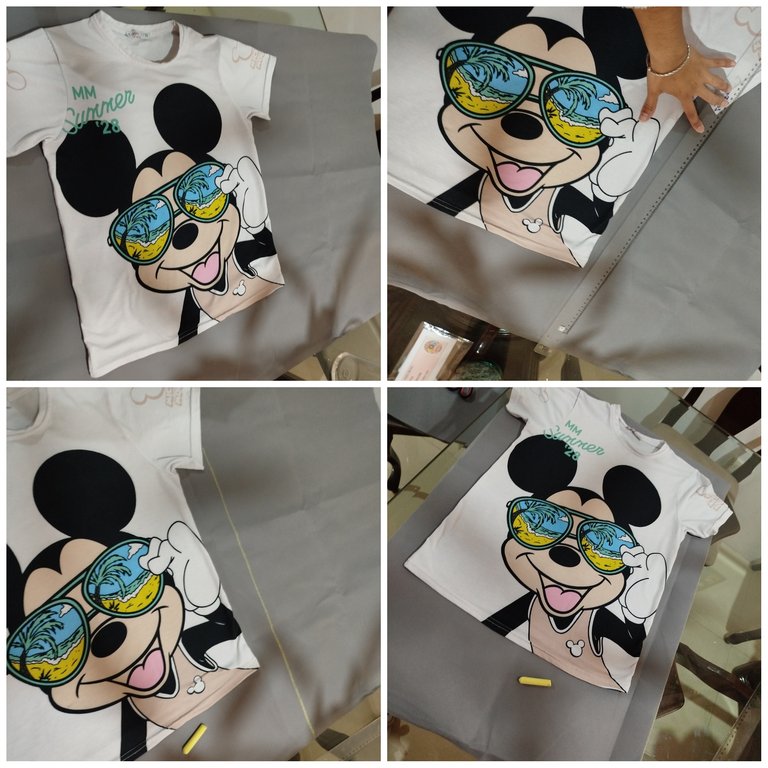
Lo primero que hice fue tomar la tela quirúrgica gris la doble por la mitad y con ayuda de una franela de mi hijo marqué para corta el pedazo de tela que necesitaria en si.
Dejé la franela encima de mi tela asi como estaba doblada y con ayuda de una tiza marqué el área de las mangas y cuello y el largo en que debía quedar el disfraz. Es importante comentarles que esta franela que estoy usando de patrón es una franela tipo oversize quise usarla porque sentí que me daría la holgura necesaria para poder realizar el disfraz.
Corte el sobrante de tela de la parte inferior
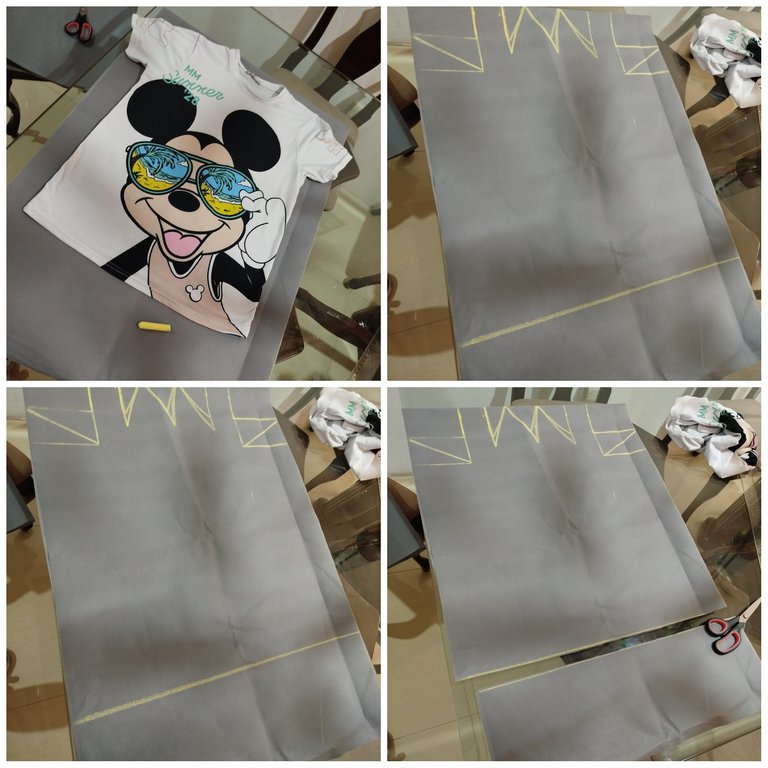
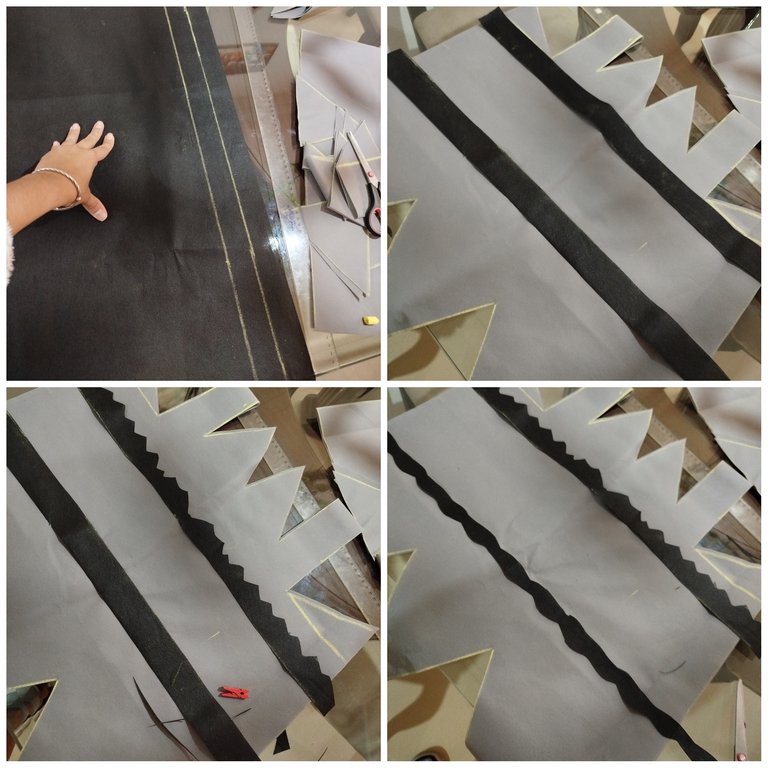
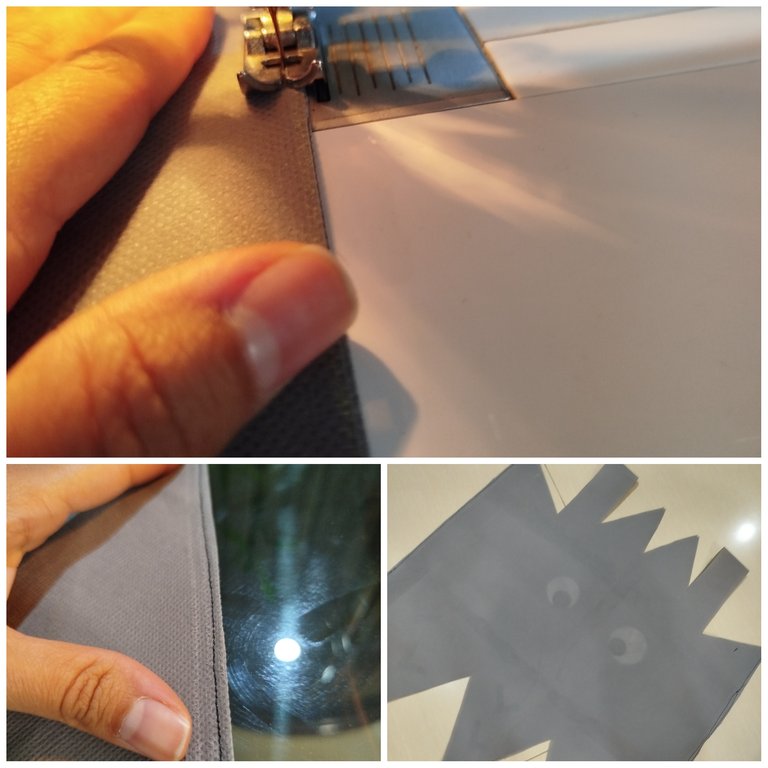
Con la tiza marqué triángulos en la parte inferior de la tela y en el área de las mangas porque el disfraz así lo indicaba, luego con tijera corte los triángulos, de esta manera estaría dando la forma puntiaguda de la parte de abajo y el area del cuello del disfraz.
Todos los cortes que he hice fue con mi tela diblarada en dos porque la idea es que me salieran igual la parte del frente y la de atras del disfraz. Asi tambien no tendría necesidad de coser en la parte de ariiba para unir ambo lados.

Ahora en la tela negra marqué dos tiras de tres dedos de ancho cada una y las corté a todo lo largo de la tela más o menos como un metro de largo. Con estas tiras estaríamos dándole forma a lo que serían las cejas y la boca de nuestro monstruo.
Estas cejas y boca no tienen mayor detalle porque son irregulares así que con las tijeras fui cortando de forma redondeada y desordenada , por todo lo largo de la tira y así formé las cejas y la boca
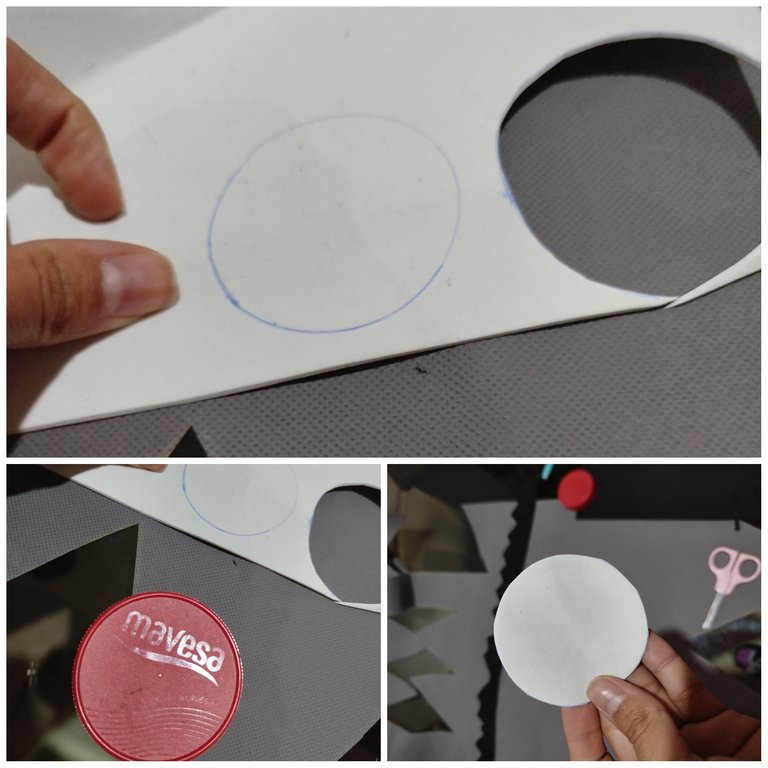
Con ayuda de unas tapas de frasco marqué en los foami blanco para sacar los ojos del monstruo y recorte.
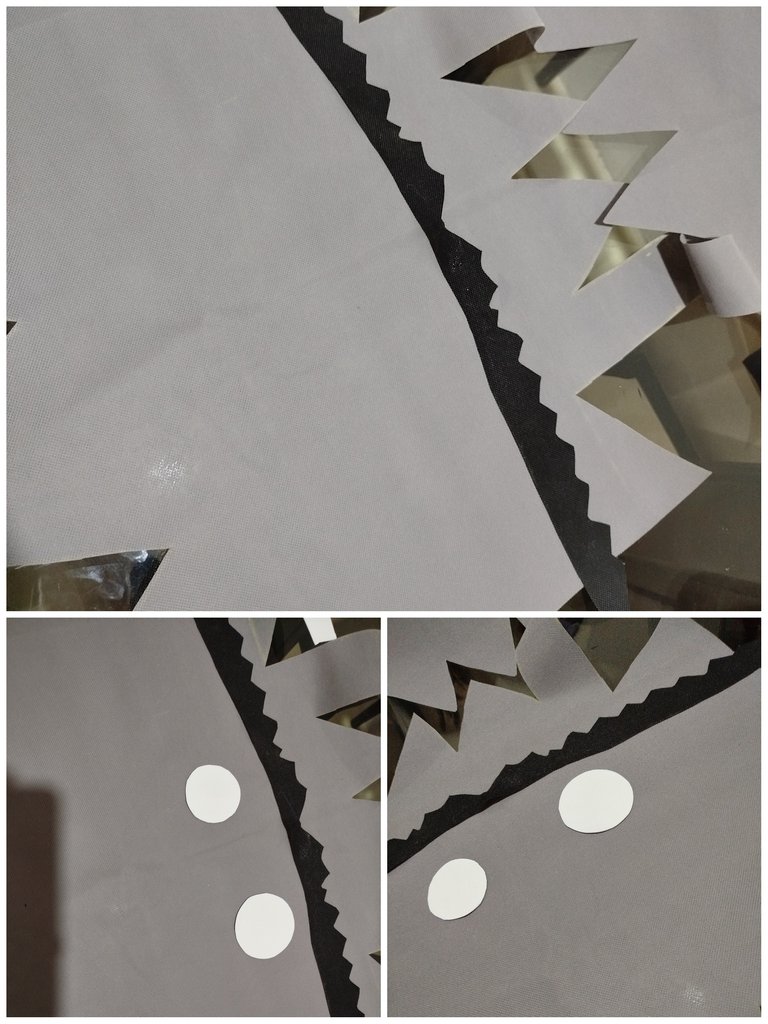
Con silicón frío fui pegando la ceja luego los ojos ubicados en la parte del medio del disfraz y en la parte inferior pegue la boca.
Ahora di la vuelta al disfraz y con la máquina de coser pasé una costura sencilla por ambos lados del disfraz y así quedaría listo. También con un retazo de tela quirúrgica negra saqué unos pequeños círculos que me sirvieron para complementar el detalle negro de los ojos.
Di la vuelta al disfraz para colocarlo por su lado derecho y así quedó listo, con un trapito húmedo quite los restos de tiza que estaban en la tela.
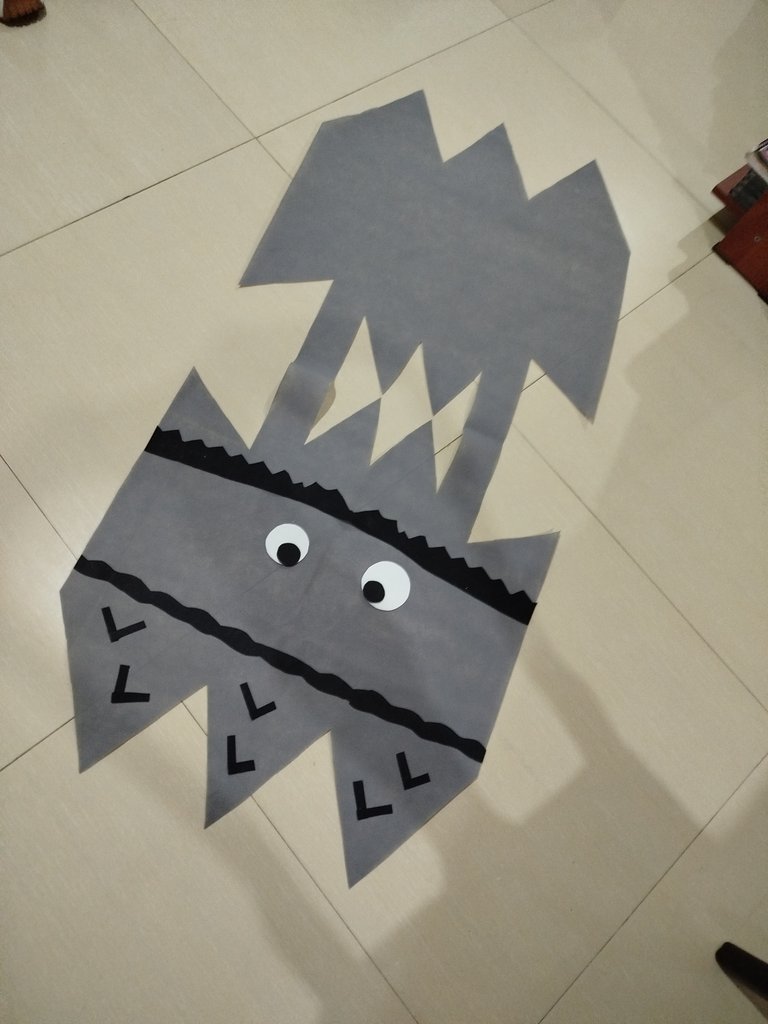
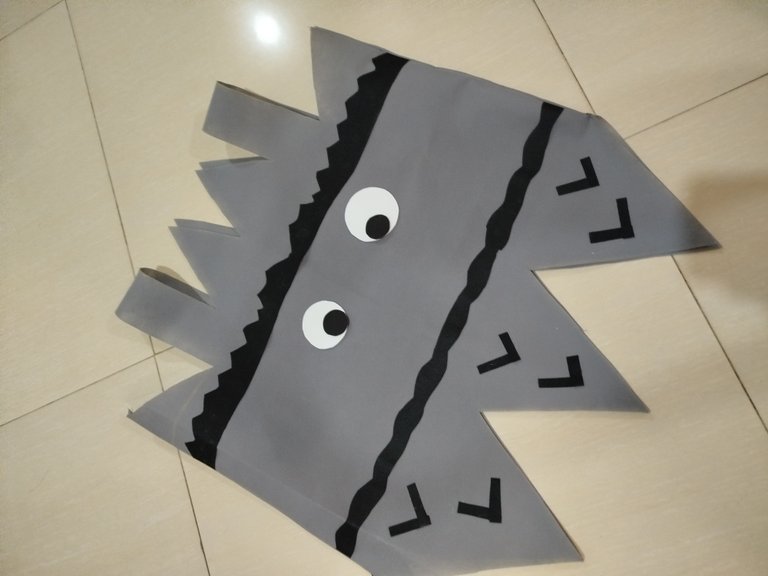
Para finalizar con pedacitos de la tela quirúrgica negra hice unas pequeñas V que pegué en la parte inferior del disfraz así cómo me lo indicaron en la imagen.
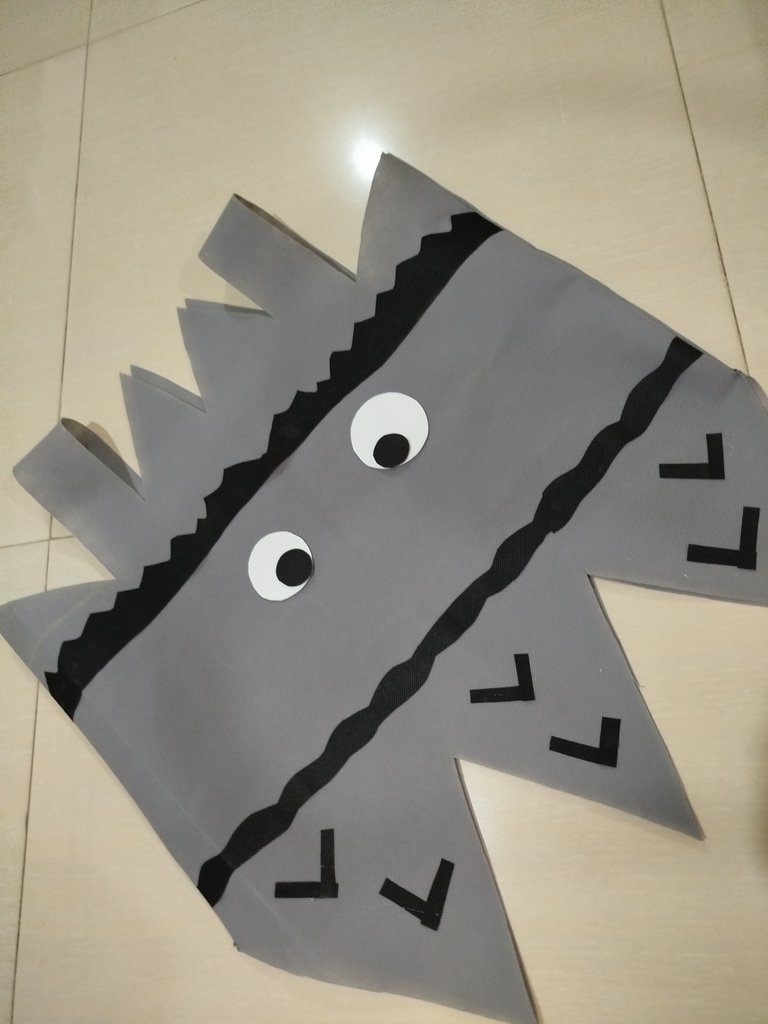
Así quedó listo mi primer disfraz, mi hijo quedó muy feliz y contento con el trabajo realizado. Es importante decirles que este modelo de disfraz lo eligió su maestra, así que traté al máximo de hacerlo lo más similar posible.
También quiero comentarles que no es necesario tener una máquina de coser para realizar este disfraz las pequeñas costuras que lleva se pueden realizar a mano fácilmente con hilo y aguja también se puede pegar con silicón frío..
Deseo de corazón que les haya gustado este pequeño proyecto que hice con mucho amor para mi hijo, les comparto esta idea de disfraz que está súper fácil y económica.
Feliz noche para todos.
Portada editada con canva
Imágenes editadas con canva
Fotografías de mi propiedad
Traductor DeepL

My children's project closings are approaching and this means that I must get active with the activities and assignments for each of them.... My son José is going to work with emotions and he had to represent the emotion fear.... His teacher asked me a couple of weeks ago to help him with the elaboration of a simple costume to represent this emotion.
When the teacher sent me her idea of the costume, I got a little excited because I would have the opportunity to do it myself; so I took a good look at the costume and I set out to make it; of course, first I had to buy some fabrics to achieve my goal. As I know that this costume will be worn for a short time; I decided to invest and buy a fabric called pop or also known as surgical fabric, its price is $1.23 per meter so I bought in gray and black color which was suggested by the teacher.
Actually as I tell you this is my first costume and I had no idea how to start or how to start; many things I worked on as I went along, but I will try to explain my step by step as best as possible.
*Materials
1 meter of gray surgical drape
1/2 meter of black surgical fabric
White Fomai
Scissors
Cold silicon
Chalk
Thread
Sewing machine (optional)
Ruler
*Step by step
The first thing I did was to take the gray surgical fabric and fold it in half and with the help of my son's flannel I marked to cut the piece of fabric I would need.
I left the flannel on top of my fabric as it was folded and with the help of a chalk I marked the area of the sleeves and neck and the length of the costume. It is important to mention that the flannel I am using as a pattern is an oversize flannel, I wanted to use it because I felt it would give me the necessary slack to make the costume.
I cut off the excess fabric from the bottom part.
With the chalk I marked triangles on the bottom of the fabric and in the sleeve area because the costume indicated so, then with scissors I cut the triangles, this way I would be giving the pointed shape of the bottom and the neck area of the costume.
All the cuts I have made were with my fabric drawn in two because the idea is that the front and the back of the costume would be the same. This way I wouldn't need to sew on the top to join both sides.
Now on the black fabric I marked two strips of three fingers wide each and cut them along the length of the fabric about one meter long. With these strips we would be shaping what would be the eyebrows and mouth of our monster.
These eyebrows and mouth do not have more detail because they are irregular so with the scissors I cut in a rounded and messy way, along the entire length of the strip and thus formed the eyebrows and mouth.
With the help of some jar lids I marked on the white foami to draw the eyes of the monster and cut them out.
With cold silicone I glued the eyebrow, then the eyes located in the middle part of the costume and in the lower part I glued the mouth.
Now I turned the costume over and with the sewing machine I sewed a simple seam on both sides of the costume and it was ready. Also with a piece of black surgical fabric I made some small circles that I used to complement the black detail of the eyes.
I turned the costume around to place it on its right side and it was ready, with a damp cloth I removed the chalk remains that were on the fabric.
To finish with some pieces of the black surgical fabric I made some small V's that I glued on the lower part of the costume as indicated in the image.
This is how my first costume was ready, my son was very happy and pleased with the work done. It is important to tell you that this costume model was chosen by his teacher, so I tried as much as possible to make it as similar as possible.
I also want to tell you that it is not necessary to have a sewing machine to make this costume, the small seams that it has can be easily made by hand with thread and needle, you can also stick it with cold silicone...
I wish with all my heart that you liked this little project that I made with love for my son, I share with you this costume idea that is super easy and economical.
Happy night to all of you.
Cover edited with canva
Images edited with canva
Photographs of my property
Translator DeepL
Sending you Ecency curation votes.😉

que genial te quedo, muy buen trabajo de verdad!
what a great job you did, really good work!
Holaa gracias...
Fue un trabajo fuerte porque no sabía ni cómo comenzar, pero si pude hacerlo 😃
It is nice and beautiful. It looks pretty good. Good to see each step of making this. Nice work! Keep it up!
selected by @rezoanulvibes
Dios bendiga tu creatividad, saludos @yris89.
Gracias amiga
very beautiful, the eye pattern is very adorable