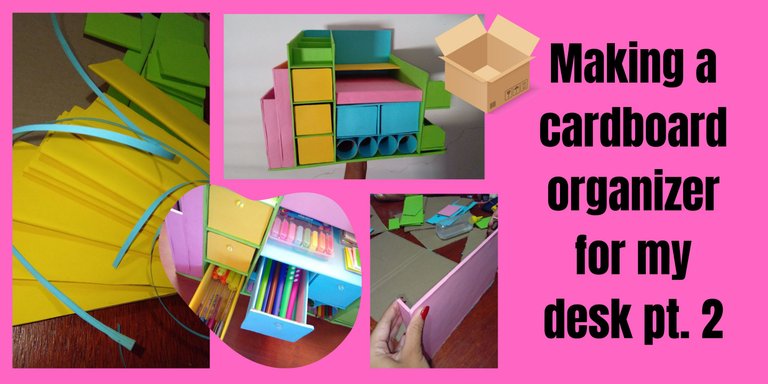
Hello friends of the DIY community, today I am going to share with you the second part of the cardboard desk organizer which I had already shown you the process of measuring and cutting the pieces, now I want to show you my favorite part of this whole process which is to color it, assemble it and show you the final result.
After having the pieces grouped by sections, because it is easier to identify what each piece is for and to be able to know which ones I had to cover completely and which ones I didn't. I did this because there are pieces that I didn't have to cover completely. I did this because there are pieces that are not completely visible, such as drawers or some hidden pieces. I prefer not to cover those pieces completely so that the cardboard can reach me and I don't waste material.
Versión en Español
Hola amigos de la comunidad DIY, hoy les voy a compartir la segunda parte del organizador de cartón para escritorio el cual ya les había mostrado el proceso de medir y cortar las piezas ahora les quiero mostrar mi parte favorita de todo este proceso que es ponerle color, armar y mostrarles el resultado final.
Después de tener las piezas agrupadas por secciones, debido a que sí es más fácil identificar para qué es cada pieza y poder saber cuáles tenía que forrar totalmente y cuáles no. Esto lo hice porque hay piezas que no se terminan viendo del todo, como los cajones o algunas piezas ocultas. Esas piezas prefiero no forrarlas totalmente para que las cartulinas me puedan alcanzar y no malgastar material.
 |  |  |
|---|
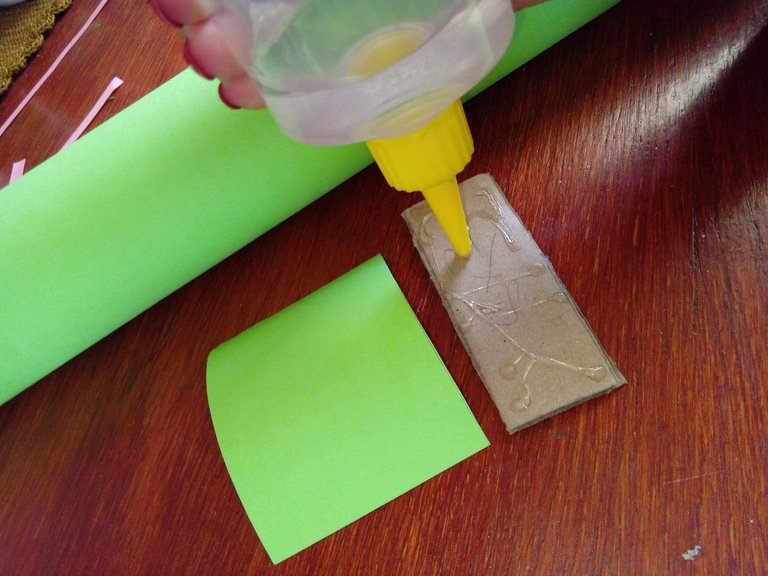
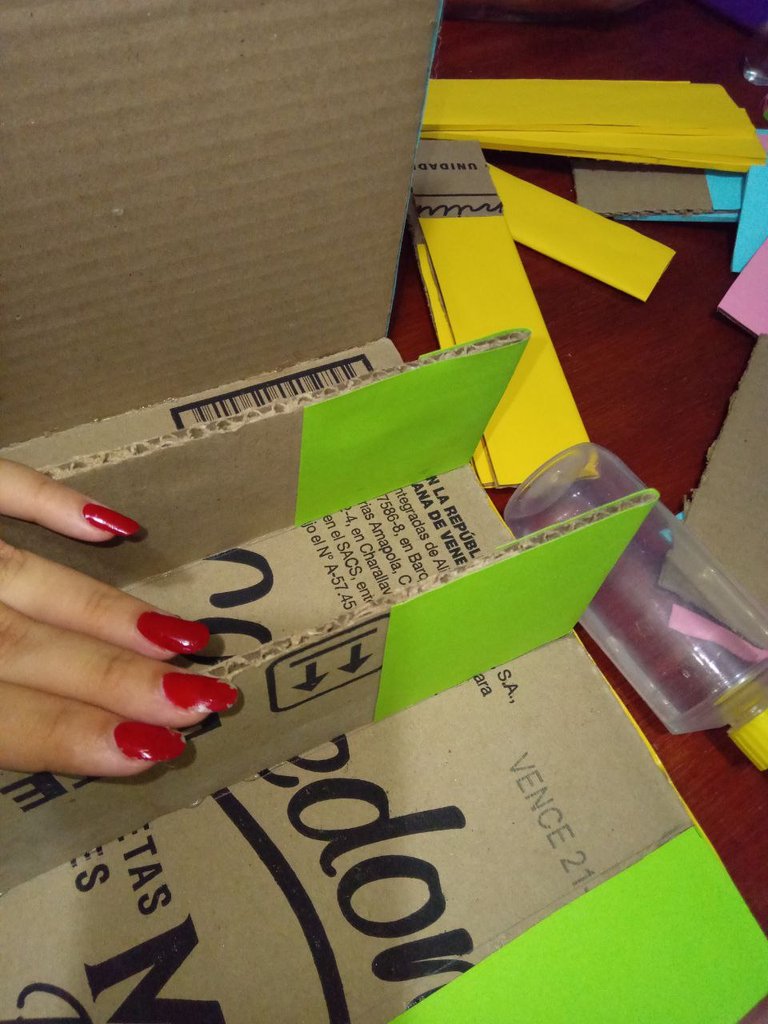
It took me a lot of time to cut the cardboard to the size I needed for each piece and then glue it. I used cold silicone because it was the glue I had, but maybe with hot silicone, the process is a little faster and even the organizer is more resistant. There were some pieces that I decided not to line until I was already assembling everything, because I wanted to know exactly which part of the piece was going to be seen and which was not.
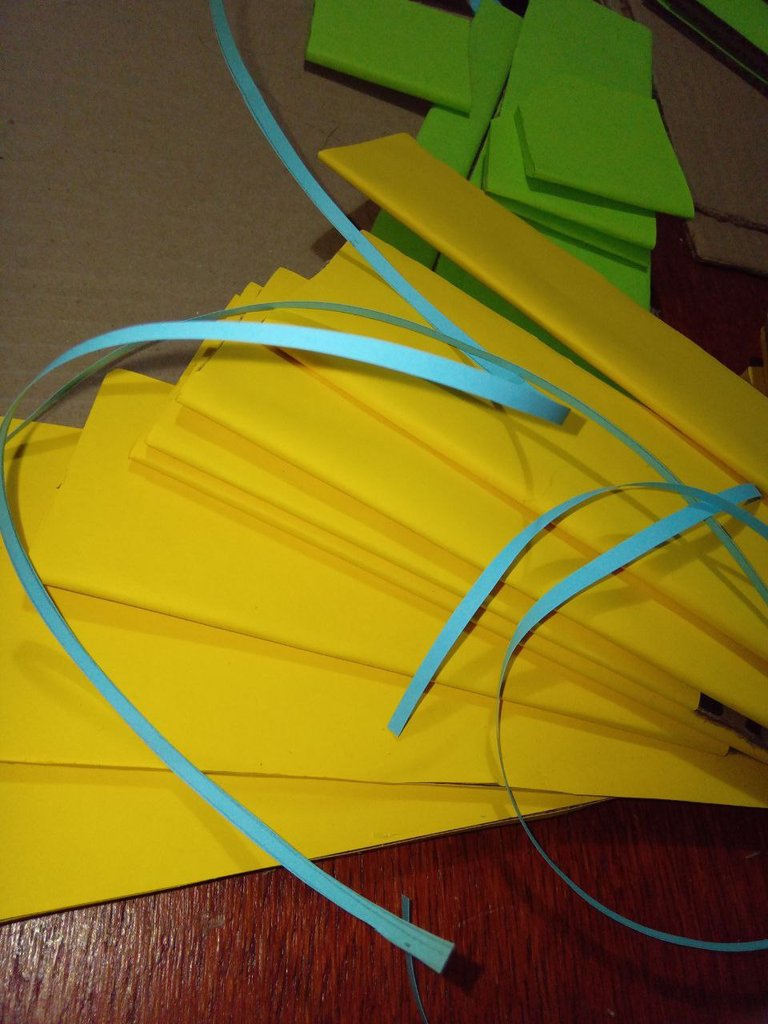
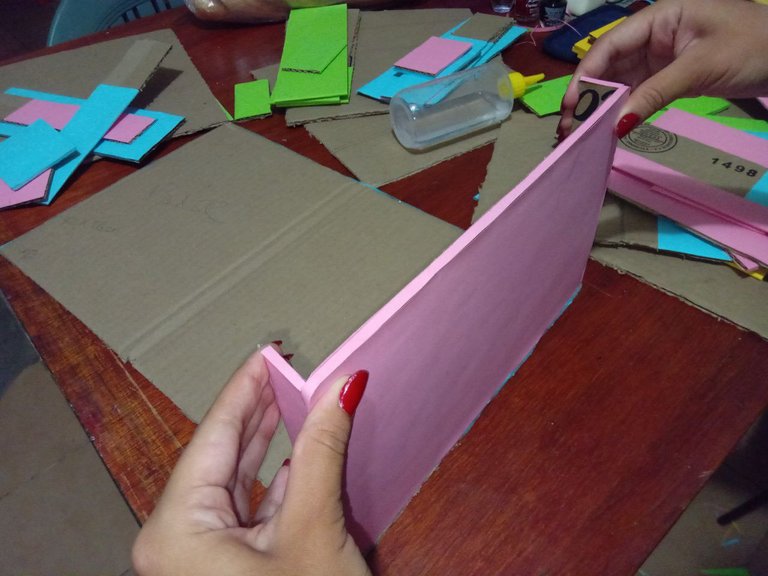
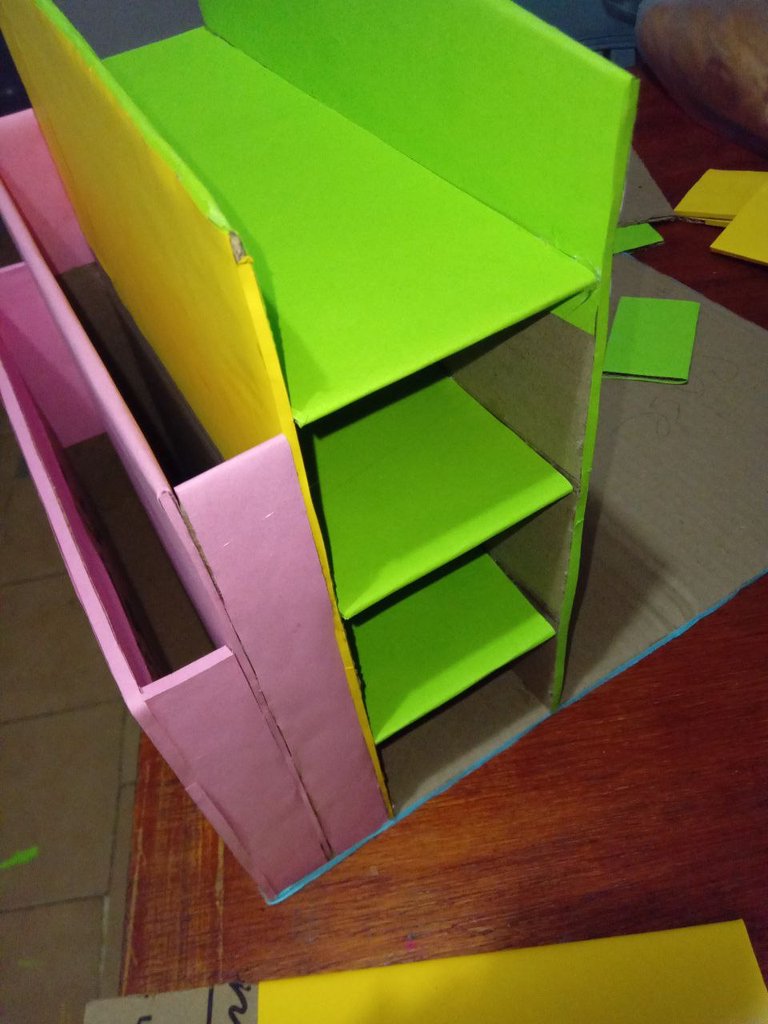
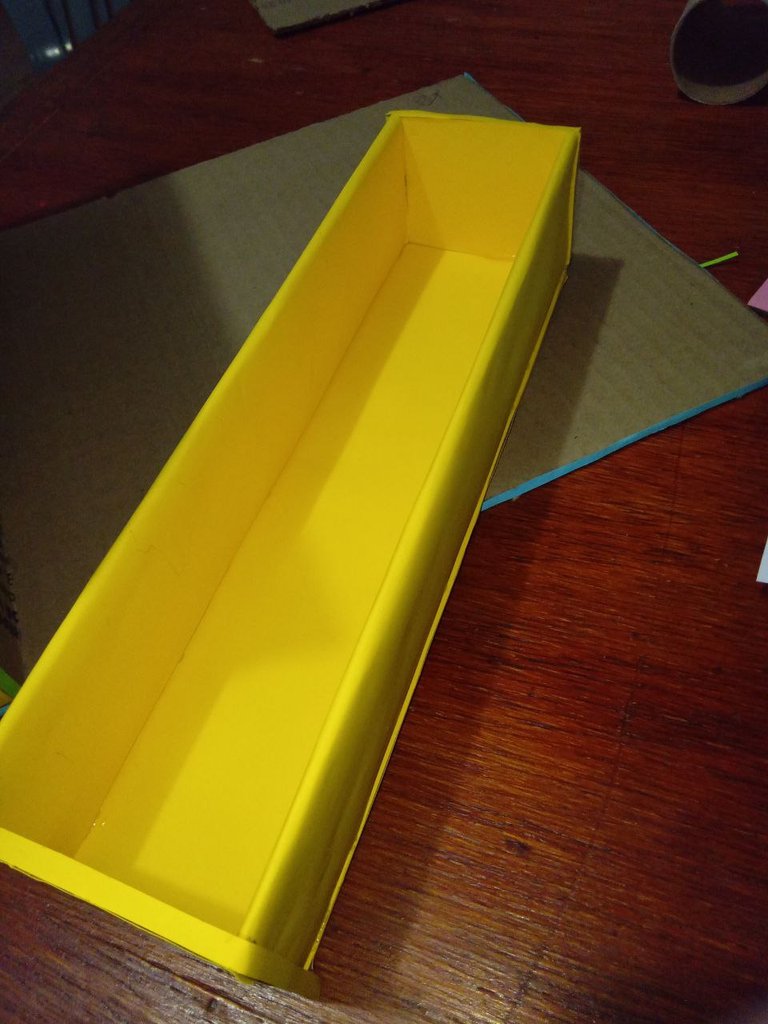
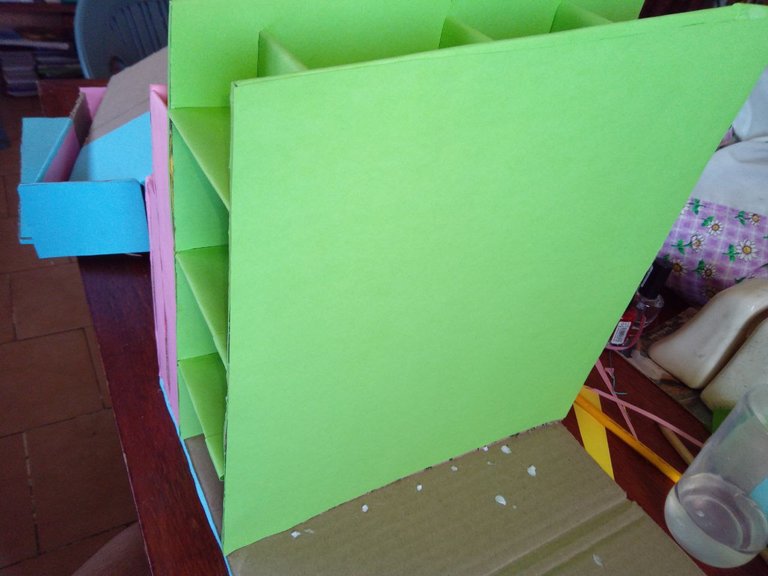
After having at least half of the pieces lined I started to assemble the organizer, I started with these two pink drawers that are mostly to keep notebooks, small notebooks, sheets or things like that, I was pressing for a while, because as I said I used cold silicone and I wanted to make sure it was straight and did not go sideways. I made several strips of about 4 or 5 millimeters and covered the edges of the cardboard so that they would not be seen.Then I continued with these green pieces where some drawers would be placed later, after here it was quite late and I had no cardboard so I used white paper and continued, which I would regret later because the next day I went back to see what I had done the night before and I was not so convinced of how it was turning out.
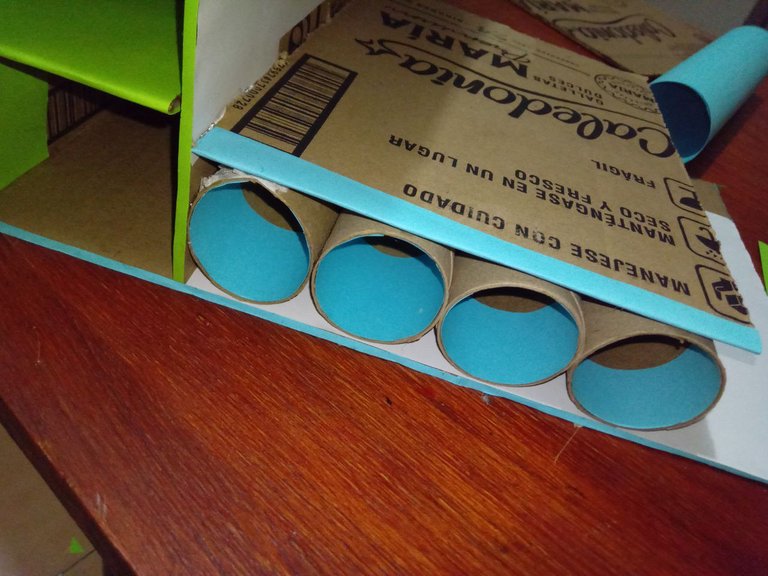
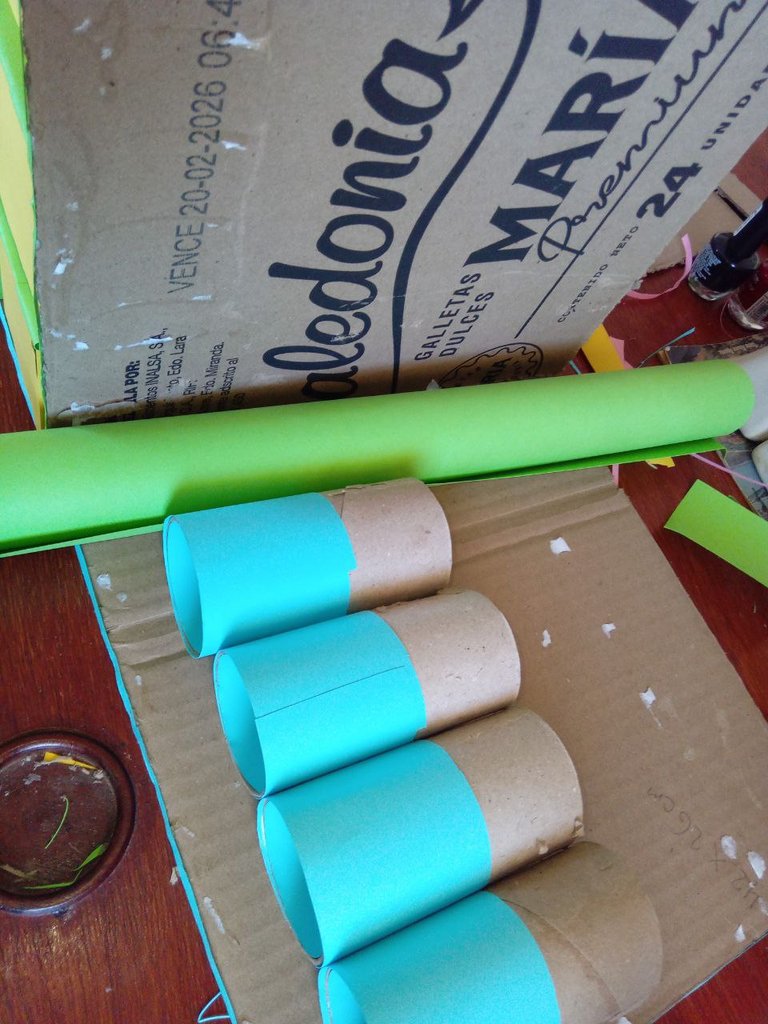
So I bought another green cardboard and disassembled the toilet paper rolls part to redo all that part, luckily taking off the cardboard I made sure to be careful and did not damage any piece, I removed what I had done with white paper and put the green cardboard, and then I glued again everything I had removed, I also show you that I did not fully line the toilet paper rolls I used, because when they were full of markers and colors they were not going to be fully visible.
Versión en Español
Tardé un montón cortando la cartulina del tamaño que necesitaba para cada pieza y después pegarlo. Usé silicona fría porque era la pega que tenía, pero tal vez con silicona caliente, el proceso es un poco más rápido e incluso el organizador quede más resistente. Hubo piezas que decidí no forrar hasta que ya estuviera armando todo, porque quería saber con exactitud qué parte de la pieza se iba a ver y cuál no.
Después de tener al menos más de la mitad de piezas forradas empecé como tal a armar el organizador, empecé por estos dos cajones rosados que son más que todo para guardar libretas, cuadernos pequeños, hojas o cosas de ese estilo, estuve un rato presionando, ya que como dije use silicona fría y quería asegurarme que quedara derecho y no se fuera de lado. Hice varias tiras de unos 4 o 5 milímetros y cubrí los bordes del cartón para que no se vieran. Luego seguí con estas piezas de color verde donde se pondrían después unos cajones, después de acá ya era bastante tarde y no tenía cartulina por lo que use hoja blanca y seguí, cosa de la que me arrepentiría después porque al día siguiente volví a ver lo que había hecho la noche anterior y no estaba tan convencida de como estaba quedando.
Así que compre otra cartulina de color verde y desarme la parte de rollos de papel higiénico para rehacer toda esa parte, por suerte despegando me asegure de tener cuidado y no dañe ninguna pieza, quite lo que había hecho con hoja blanca y le puse la cartulina de color verde, y luego volví a pegar todo lo que había quitado, también les muestro que no forre totalmente los rollos de papel higiénico que usé, ya que cuando estos estuvieran llenos de marcadores y colores no se iban a ver totalmente.
 |  |  |
|---|
 |  |  |
|---|
Remembering that this was an activity in which I had to recycle with cardboard, so it is better to take advantage of toilet paper rolls.
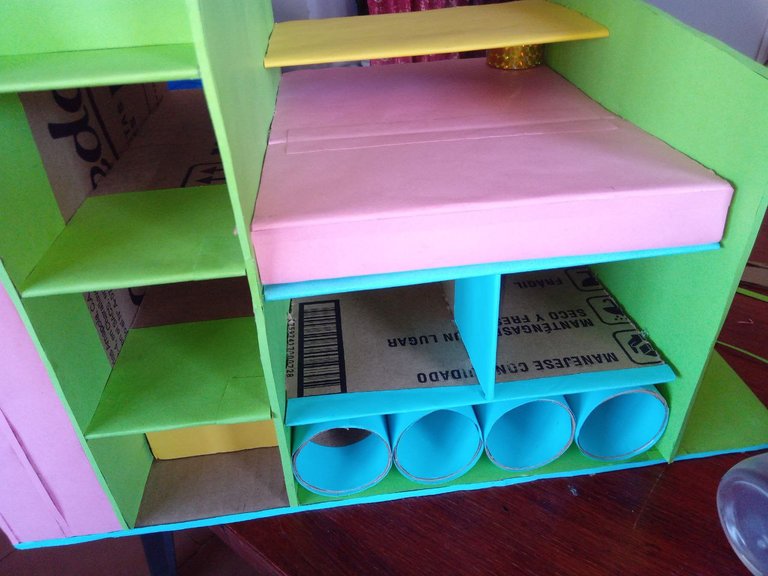
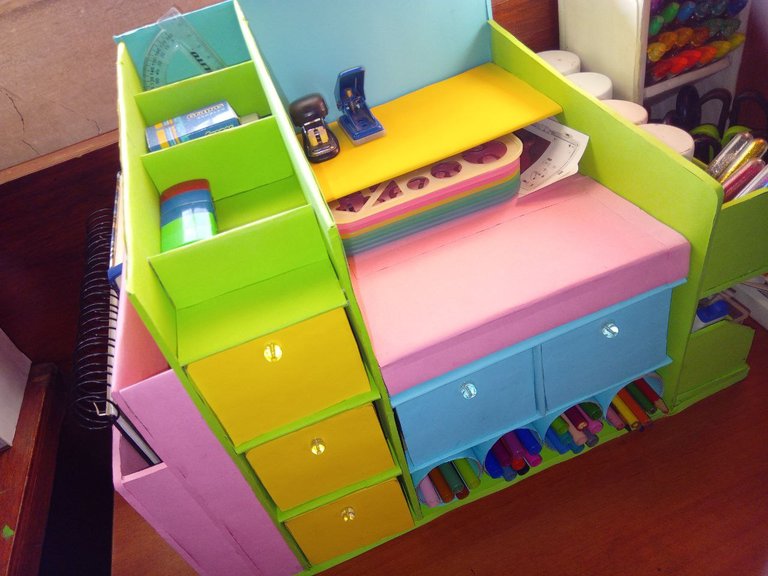
So I went on to assemble a space I had for drawers above the rolls, and then two shelves.I also show you these nice green shelves that I made for the left side of the organizer, where I could put things like paints or glitter jars and also the drawers of this organizer which were five in total.
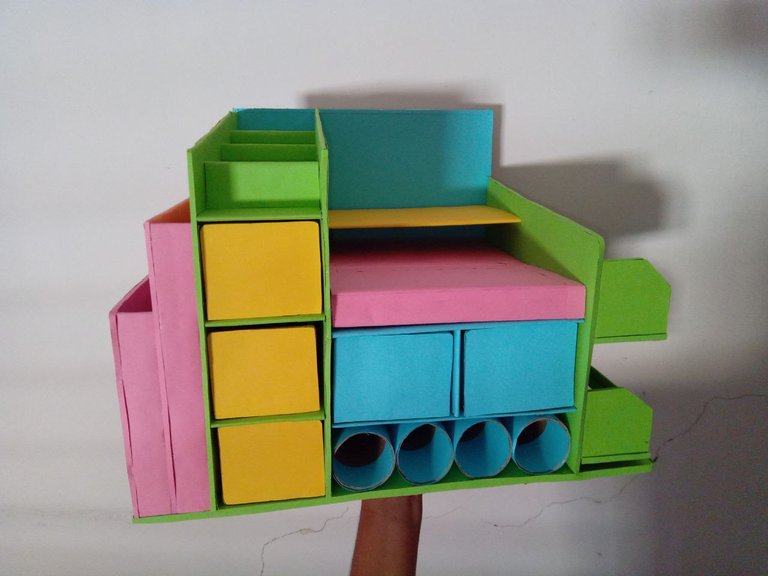
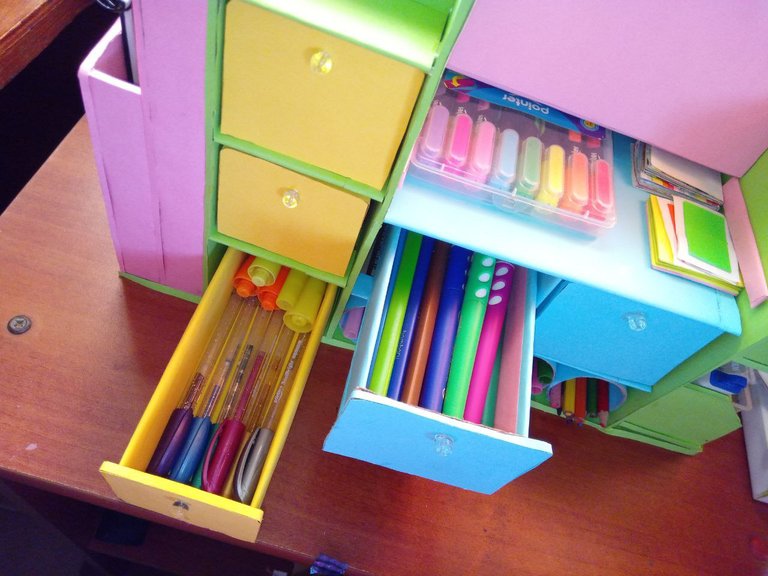
There was a piece that unfortunately I cut wrong, but I did not worry because I had left a box almost unused so I cut it again, but this time well, I lined the piece and glued it, the last piece I glued was the back which was in blue and the organizer was almost ready, finally I used bracelet beads for the handles of the drawers and to open and close them easily. Then I put it on my desk with all my markers and stationery, it ended up being very useful and pretty because of its colors.I'm happy that this activity turned out nice, I hope to get a good grade, what did you think? I hope you liked it and thanks for reading!
Versión en Español
Recordando que esta era una actividad en la que tenía que reciclar con cartón, por lo que es mejor que aprovechar los rollos de papel higiénico. Así que seguí montando un espacio que había para cajones arriba de los rollos, y luego dos repisas. También les muestro estos bonitos estantes de color verde que hice para el lado izquierdo del organizador, en el cual podía poner cosas como pinturas o frascos de brillantina y también los cajones de este organizador que fueron en total cinco.
Hubo una pieza que lamentablemente corte mal, pero no me preocupe porque me había quedado una caja casi sin usar por lo que ahí la volví a cortar, pero esta vez bien, forre la pieza y la pegue, la última pieza que pegue fue la parte de atrás que fue en color azul y ya estaba casi listo el organizador, por último utilice cuentas de pulseras para las manijas de los cajones y poder abrirlos y cerrarlos con facilidad. Ya luego lo puse en mi escritorio con todos mis marcadores y cosas de papelería, terminó siendo muy útil y bonito por sus colores. Feliz de que esta actividad me haya quedado bonita, espero recibir una buena nota. ¿Qué les pareció? Espero que les haya gustado y ¡gracias por leer!
|  |  |
|---|
 |  |  |
|---|

WOW! It looks pretty cool. What you did, that's awesome. It shows your skills. Nice work! Thanks!
Thanks for sharing this awesome art inspired by special cardboard color paper to make a beautiful reading table.
so beautiful👍 you have done something extraordinary.
This work is very beautiful and neat, and the combination with these beautiful pastel colors is wonderful.
thank u!!
!discovery 30
This post was shared and voted inside the discord by the curators team of discovery-it
Join our Community and follow our Curation Trail
Discovery-it is also a Witness, vote for us here
Delegate to us for passive income. Check our 80% fee-back Program
muy bien quedo!
very well done!
Congratulations @yuusaa! You have completed the following achievement on the Hive blockchain And have been rewarded with New badge(s)
Your next target is to reach 1750 upvotes.
You can view your badges on your board and compare yourself to others in the Ranking
If you no longer want to receive notifications, reply to this comment with the word
STOPSe ve muy bien. Y muy colorido. Excelente