Un gran saludo amigos de Hive!!♥️🥰
A big greeting Hive friends !! ♥ ️

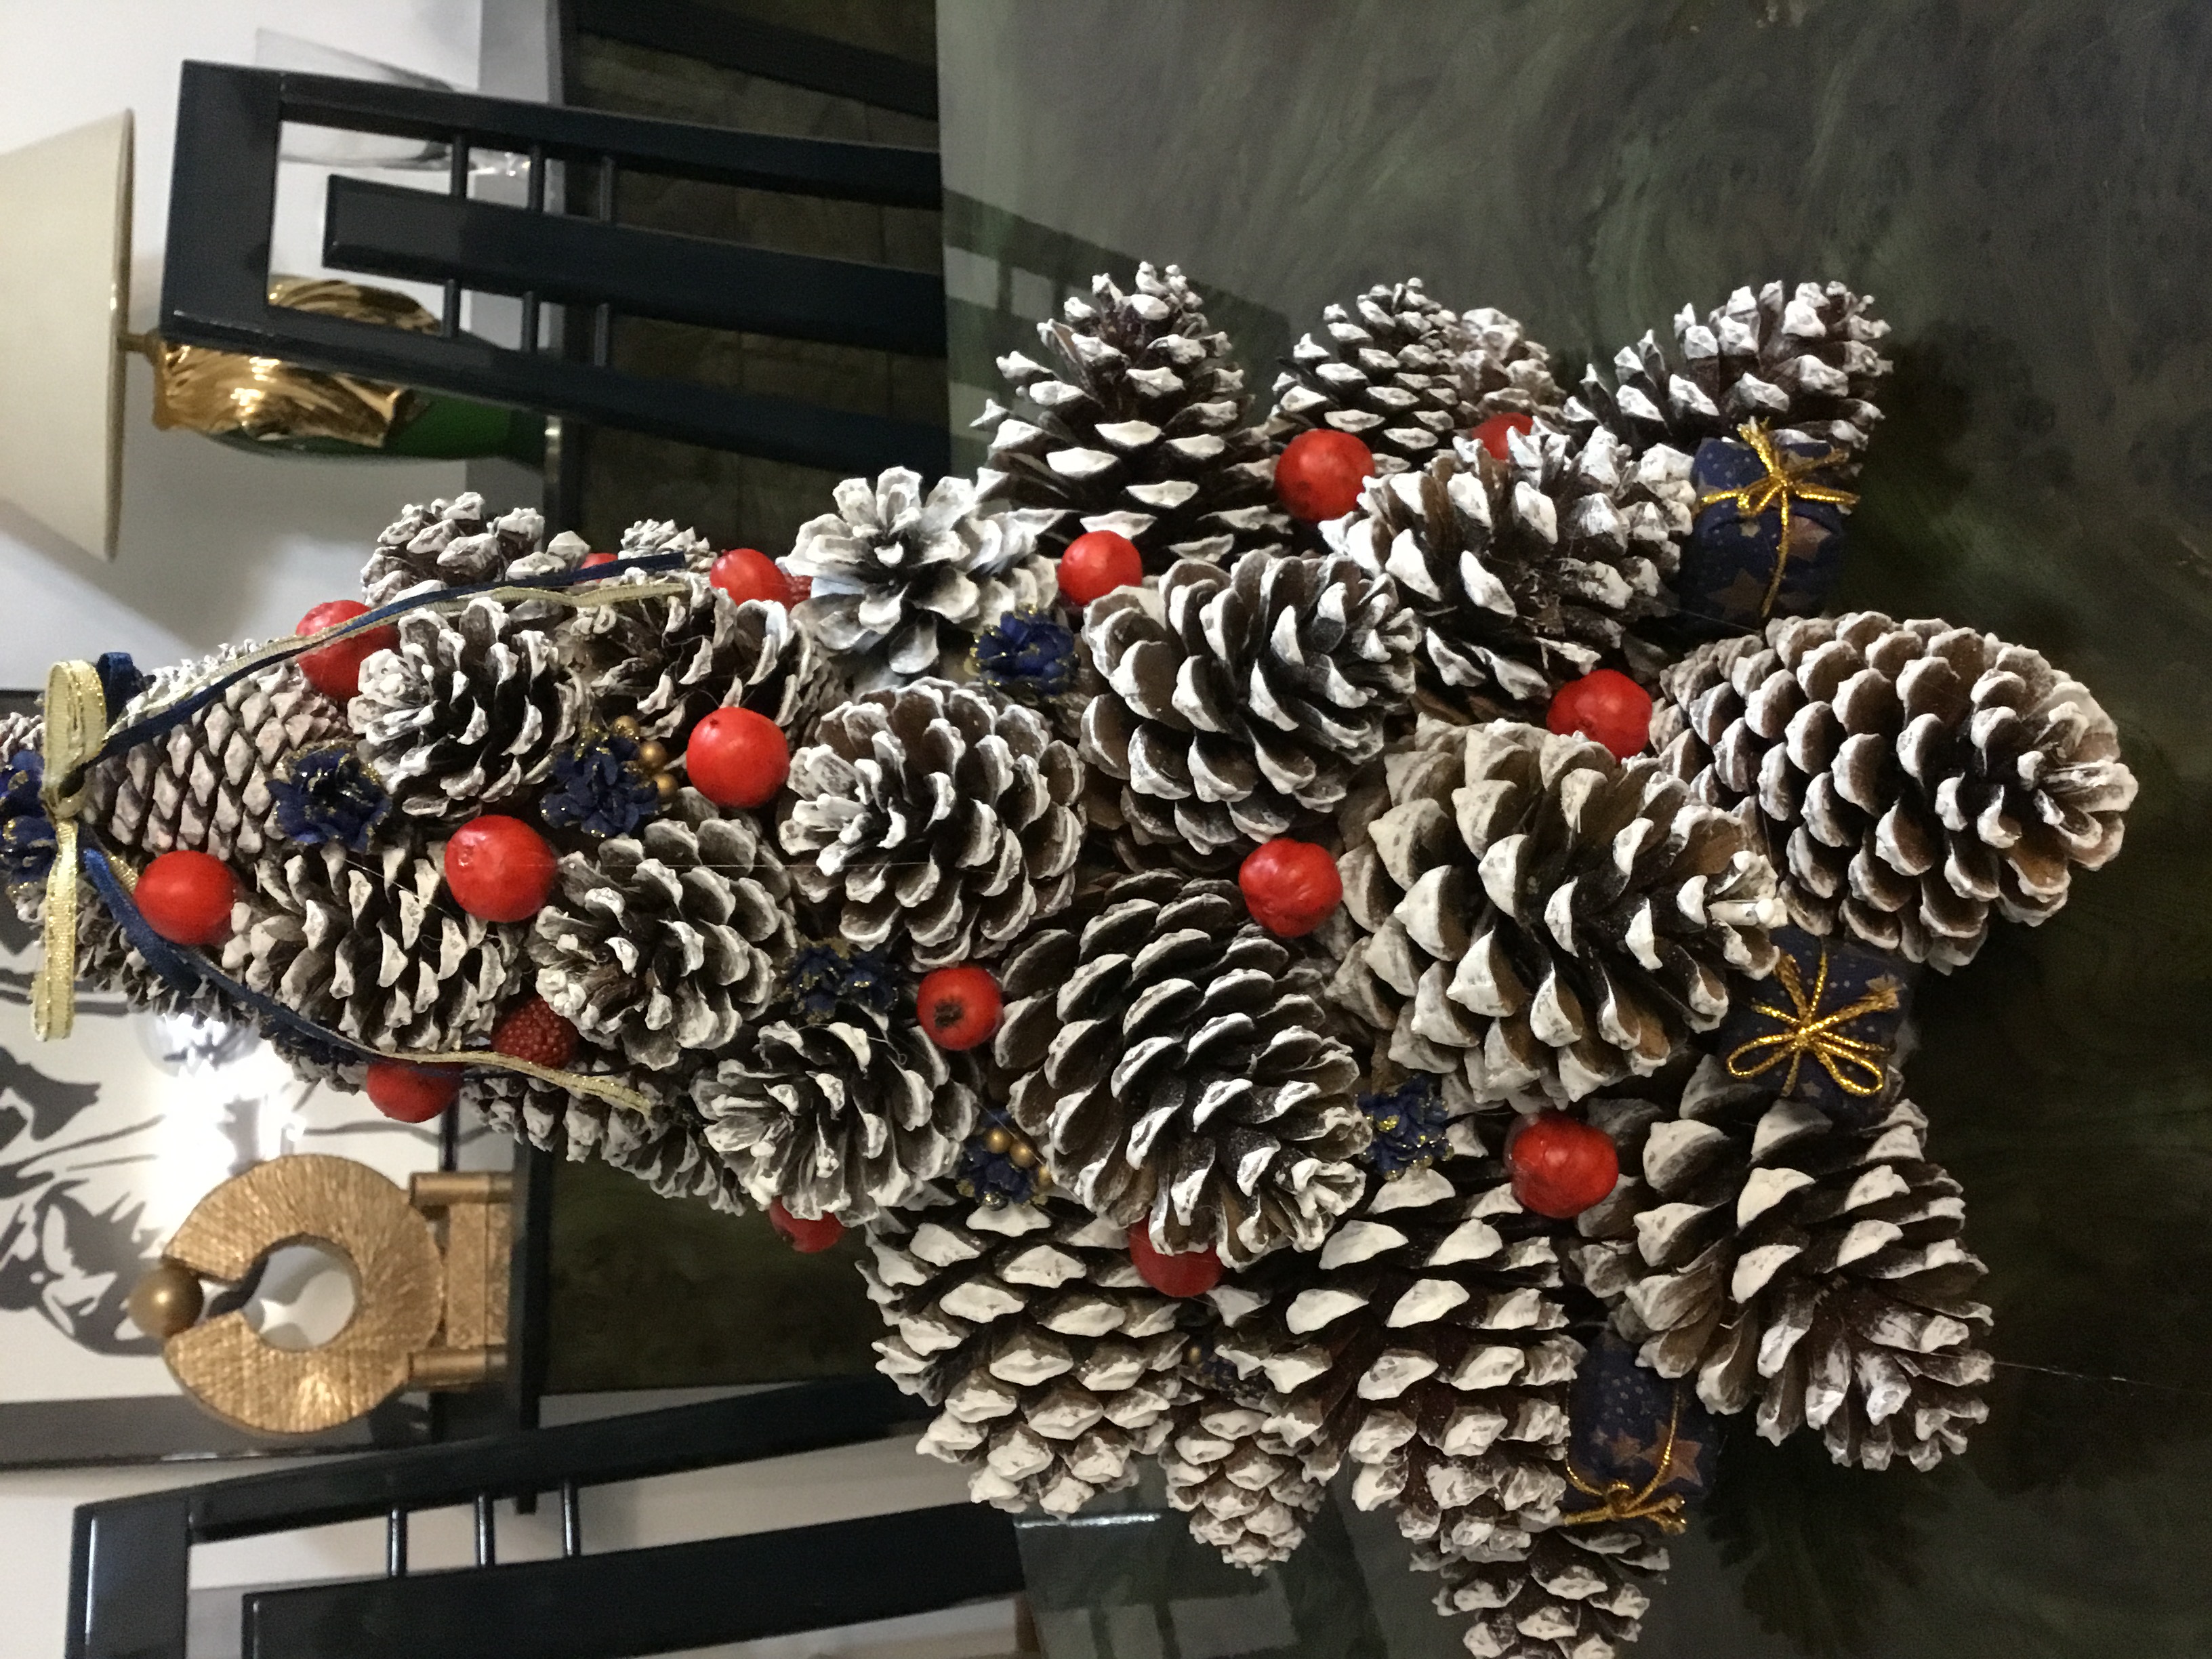
Hoy haremos un hermoso árbol de navidad con cartón , piñas secas y semillas secas es fácil y rápido de hacer. Amigos este arbol lo compras en una tienda donde venden adornos navideños y les seguro que saldria costoso; por eso te invito para que lo hagan conmigo 😉👍.
Today we will make a beautiful Christmas tree with cardboard, dried pinecones and dried seeds. It is easy and quick to do. Friends, you buy this tree in a store where they sell Christmas decorations and I am sure it would be expensive; that's why I invite you to do it with me 😉👍.

Materiales - Materials
1. Caja de cartón fina
2. Tijera y marcador
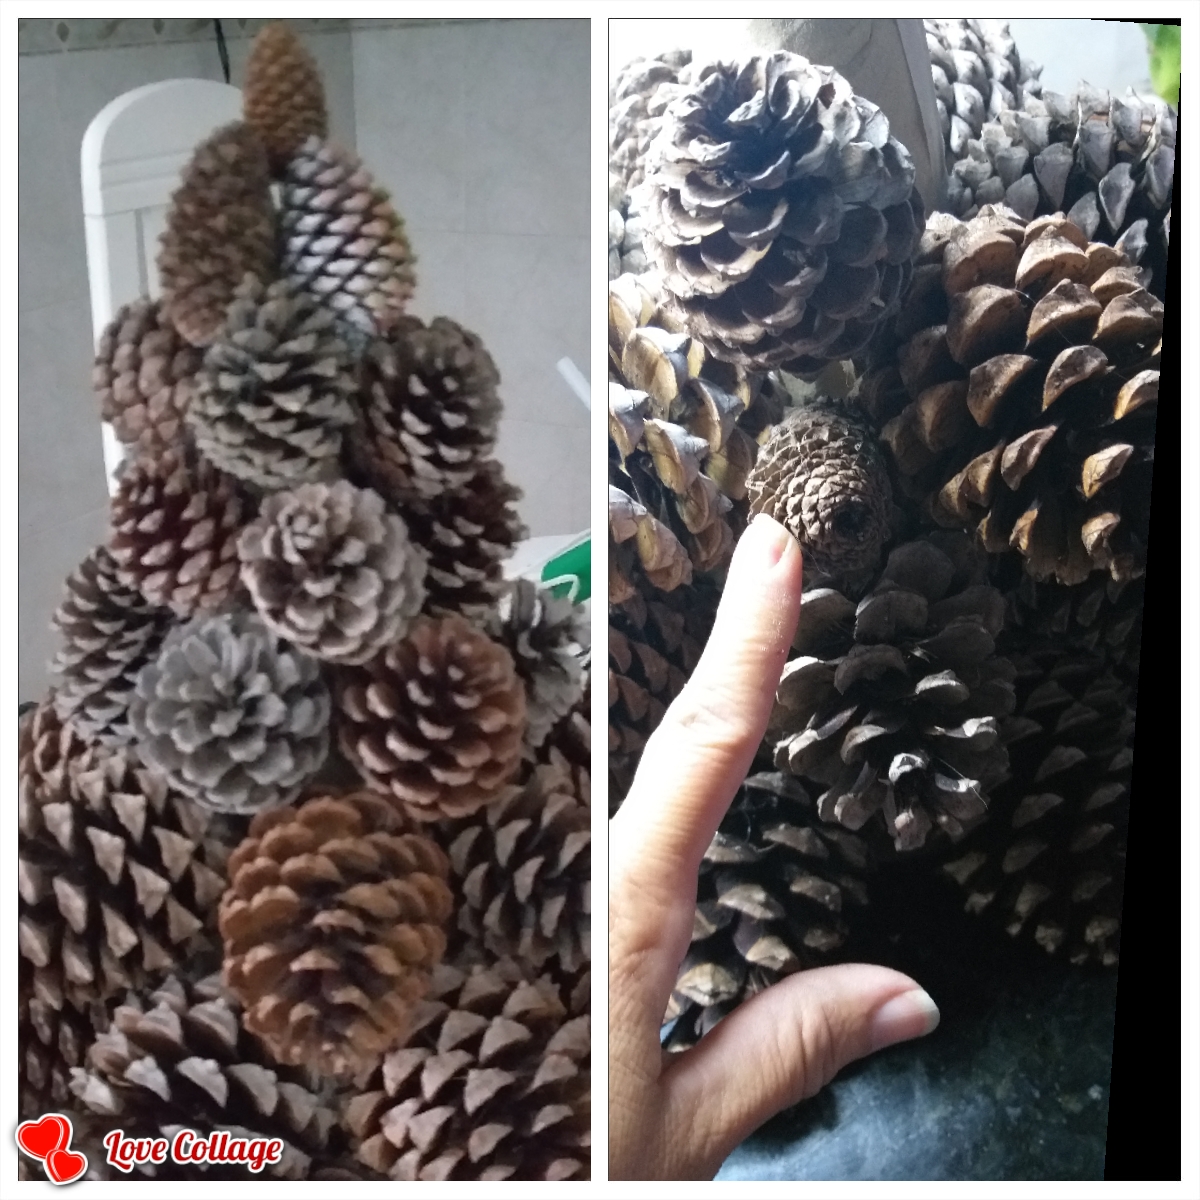
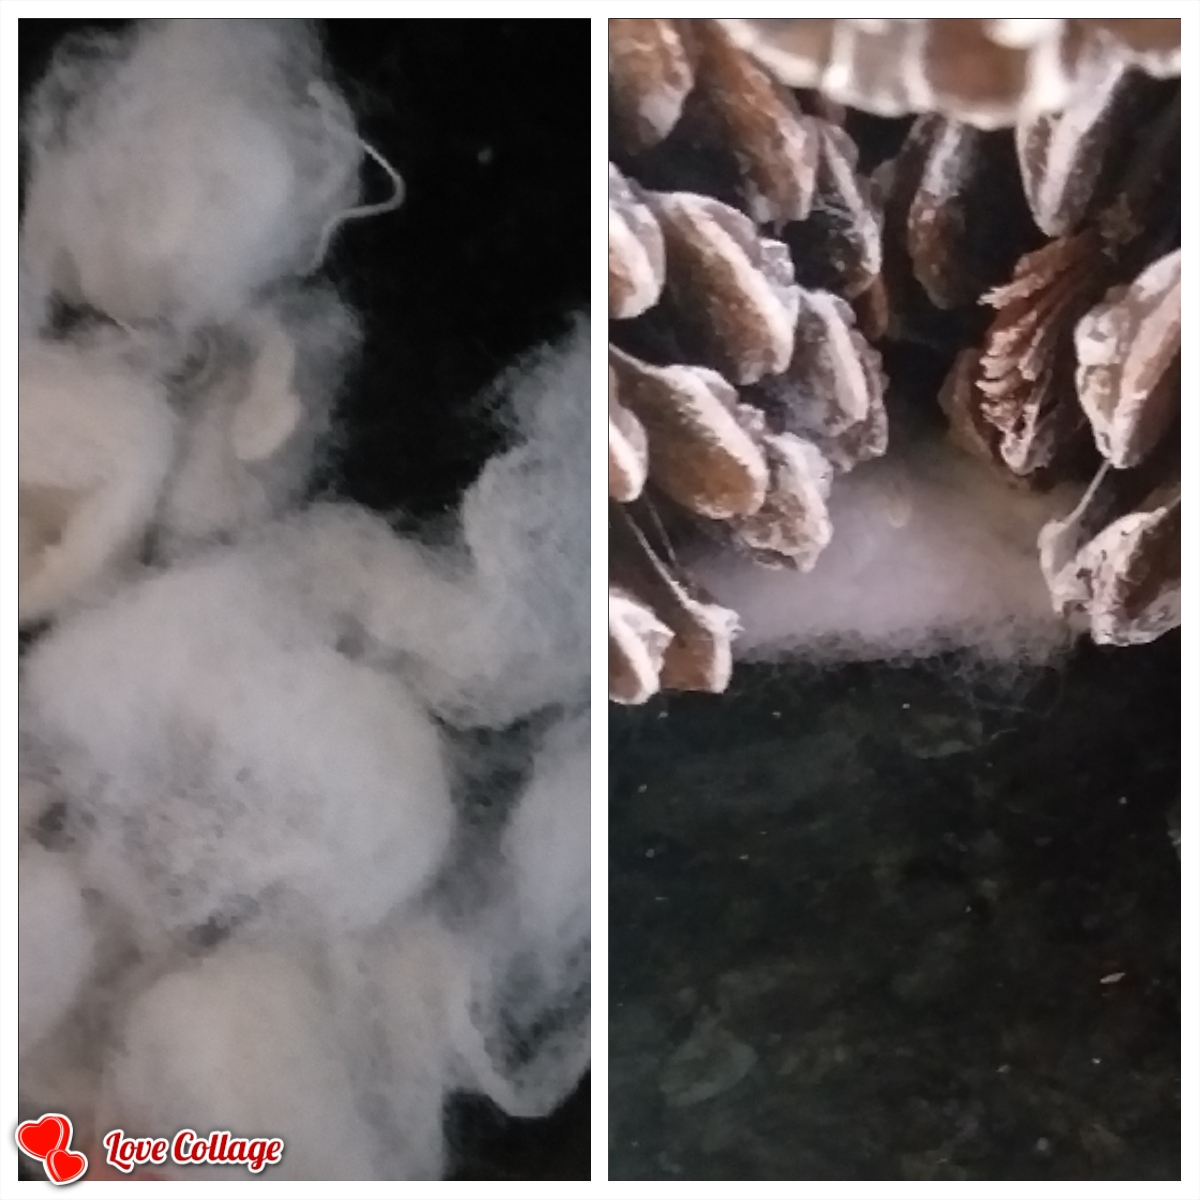
3. Piñas secas
4. Semillas secas
5. Pistola de silicona y barras de silicona
6. Pintura acrílica de color rojo, blanco y pinceles
Fieltro marrón o tela
7. Guata o relleno de peluche o algodón
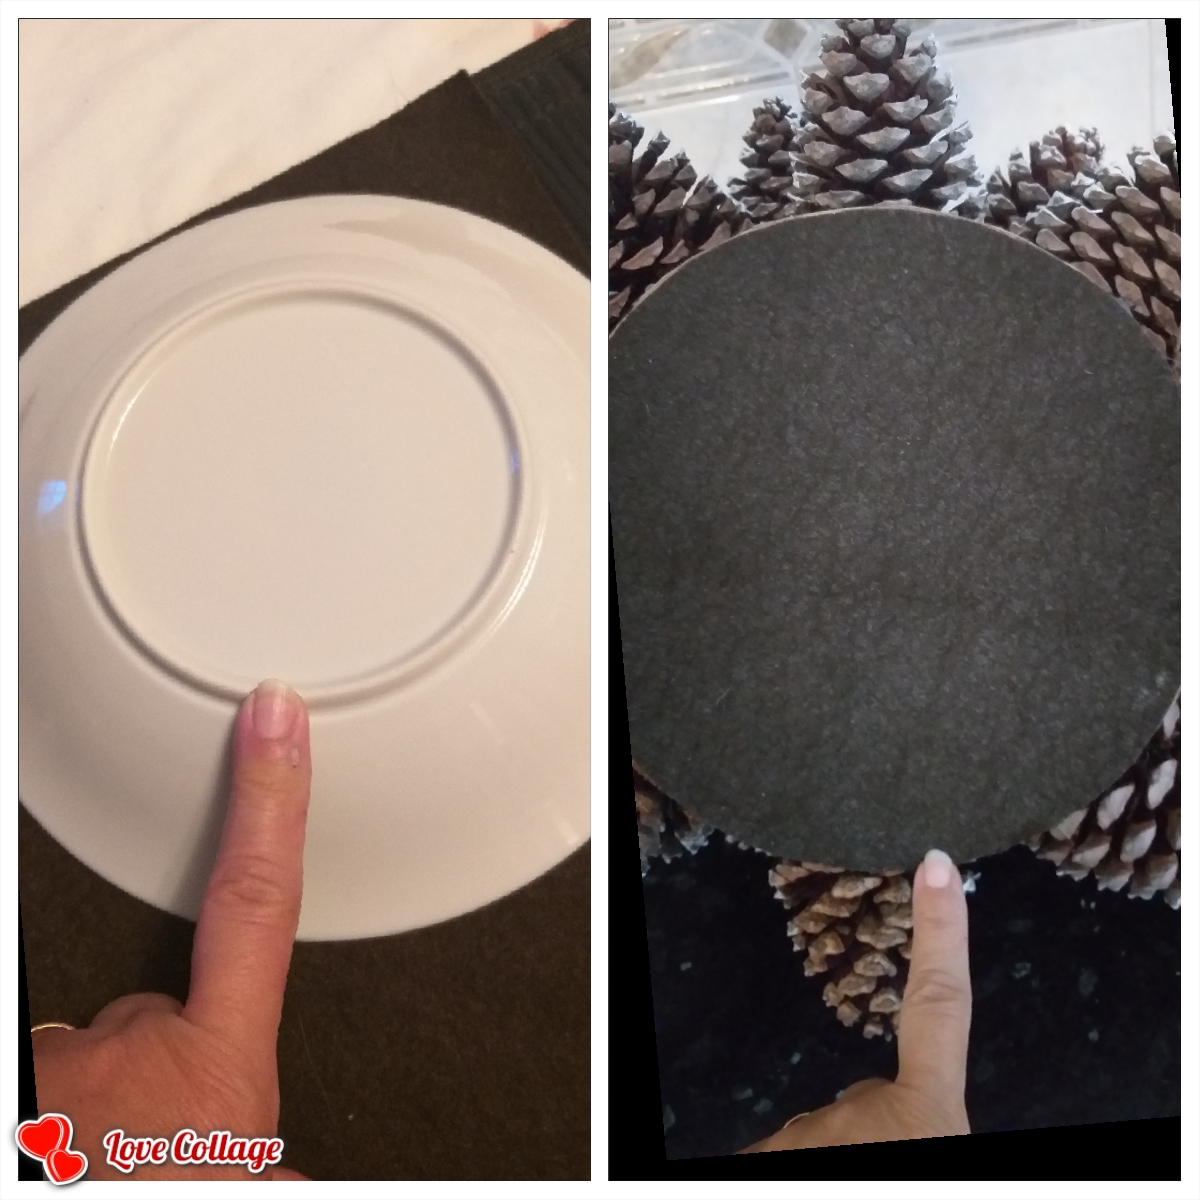
8. Plato
9. Una regla y cinta de construcción o tirro
10. Accesorios para decorar que tenga en casa
1. Thin cardboard box
2. Scissors and marker
3. Dried pineapples
4. Dried seeds
5. Glue gun and silicone rods
6. Red, white acrylic paint and brushes
Brown felt or cloth
7. Wadding or stuffed with teddy or cotton
8. Plate
9. A ruler and construction tape.
10. Accessories to decorate you have at home
Pasos - Steps
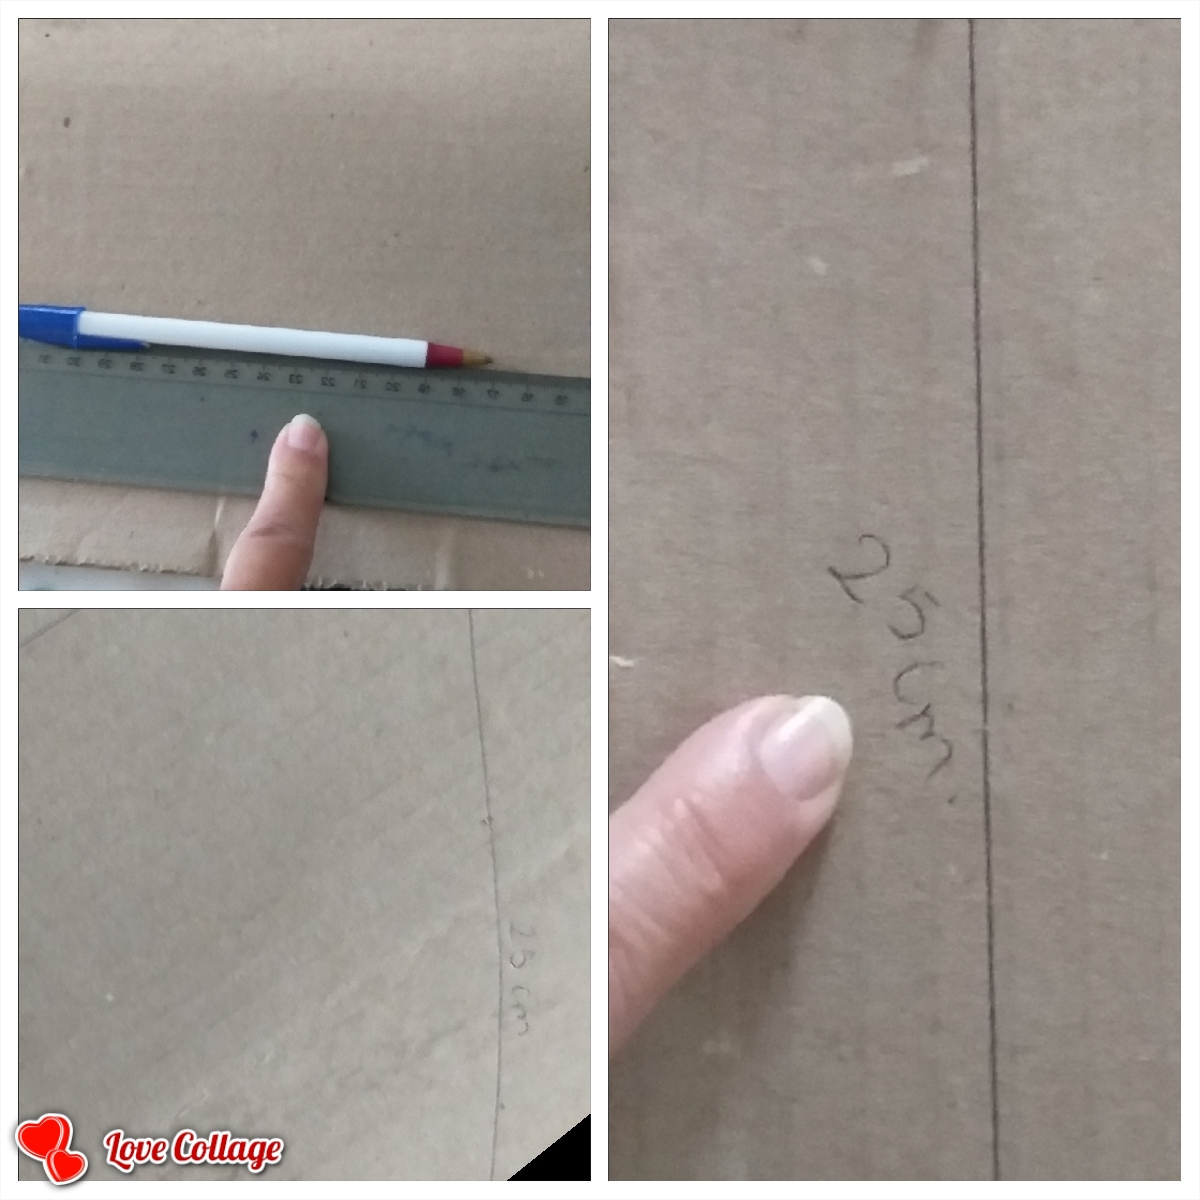
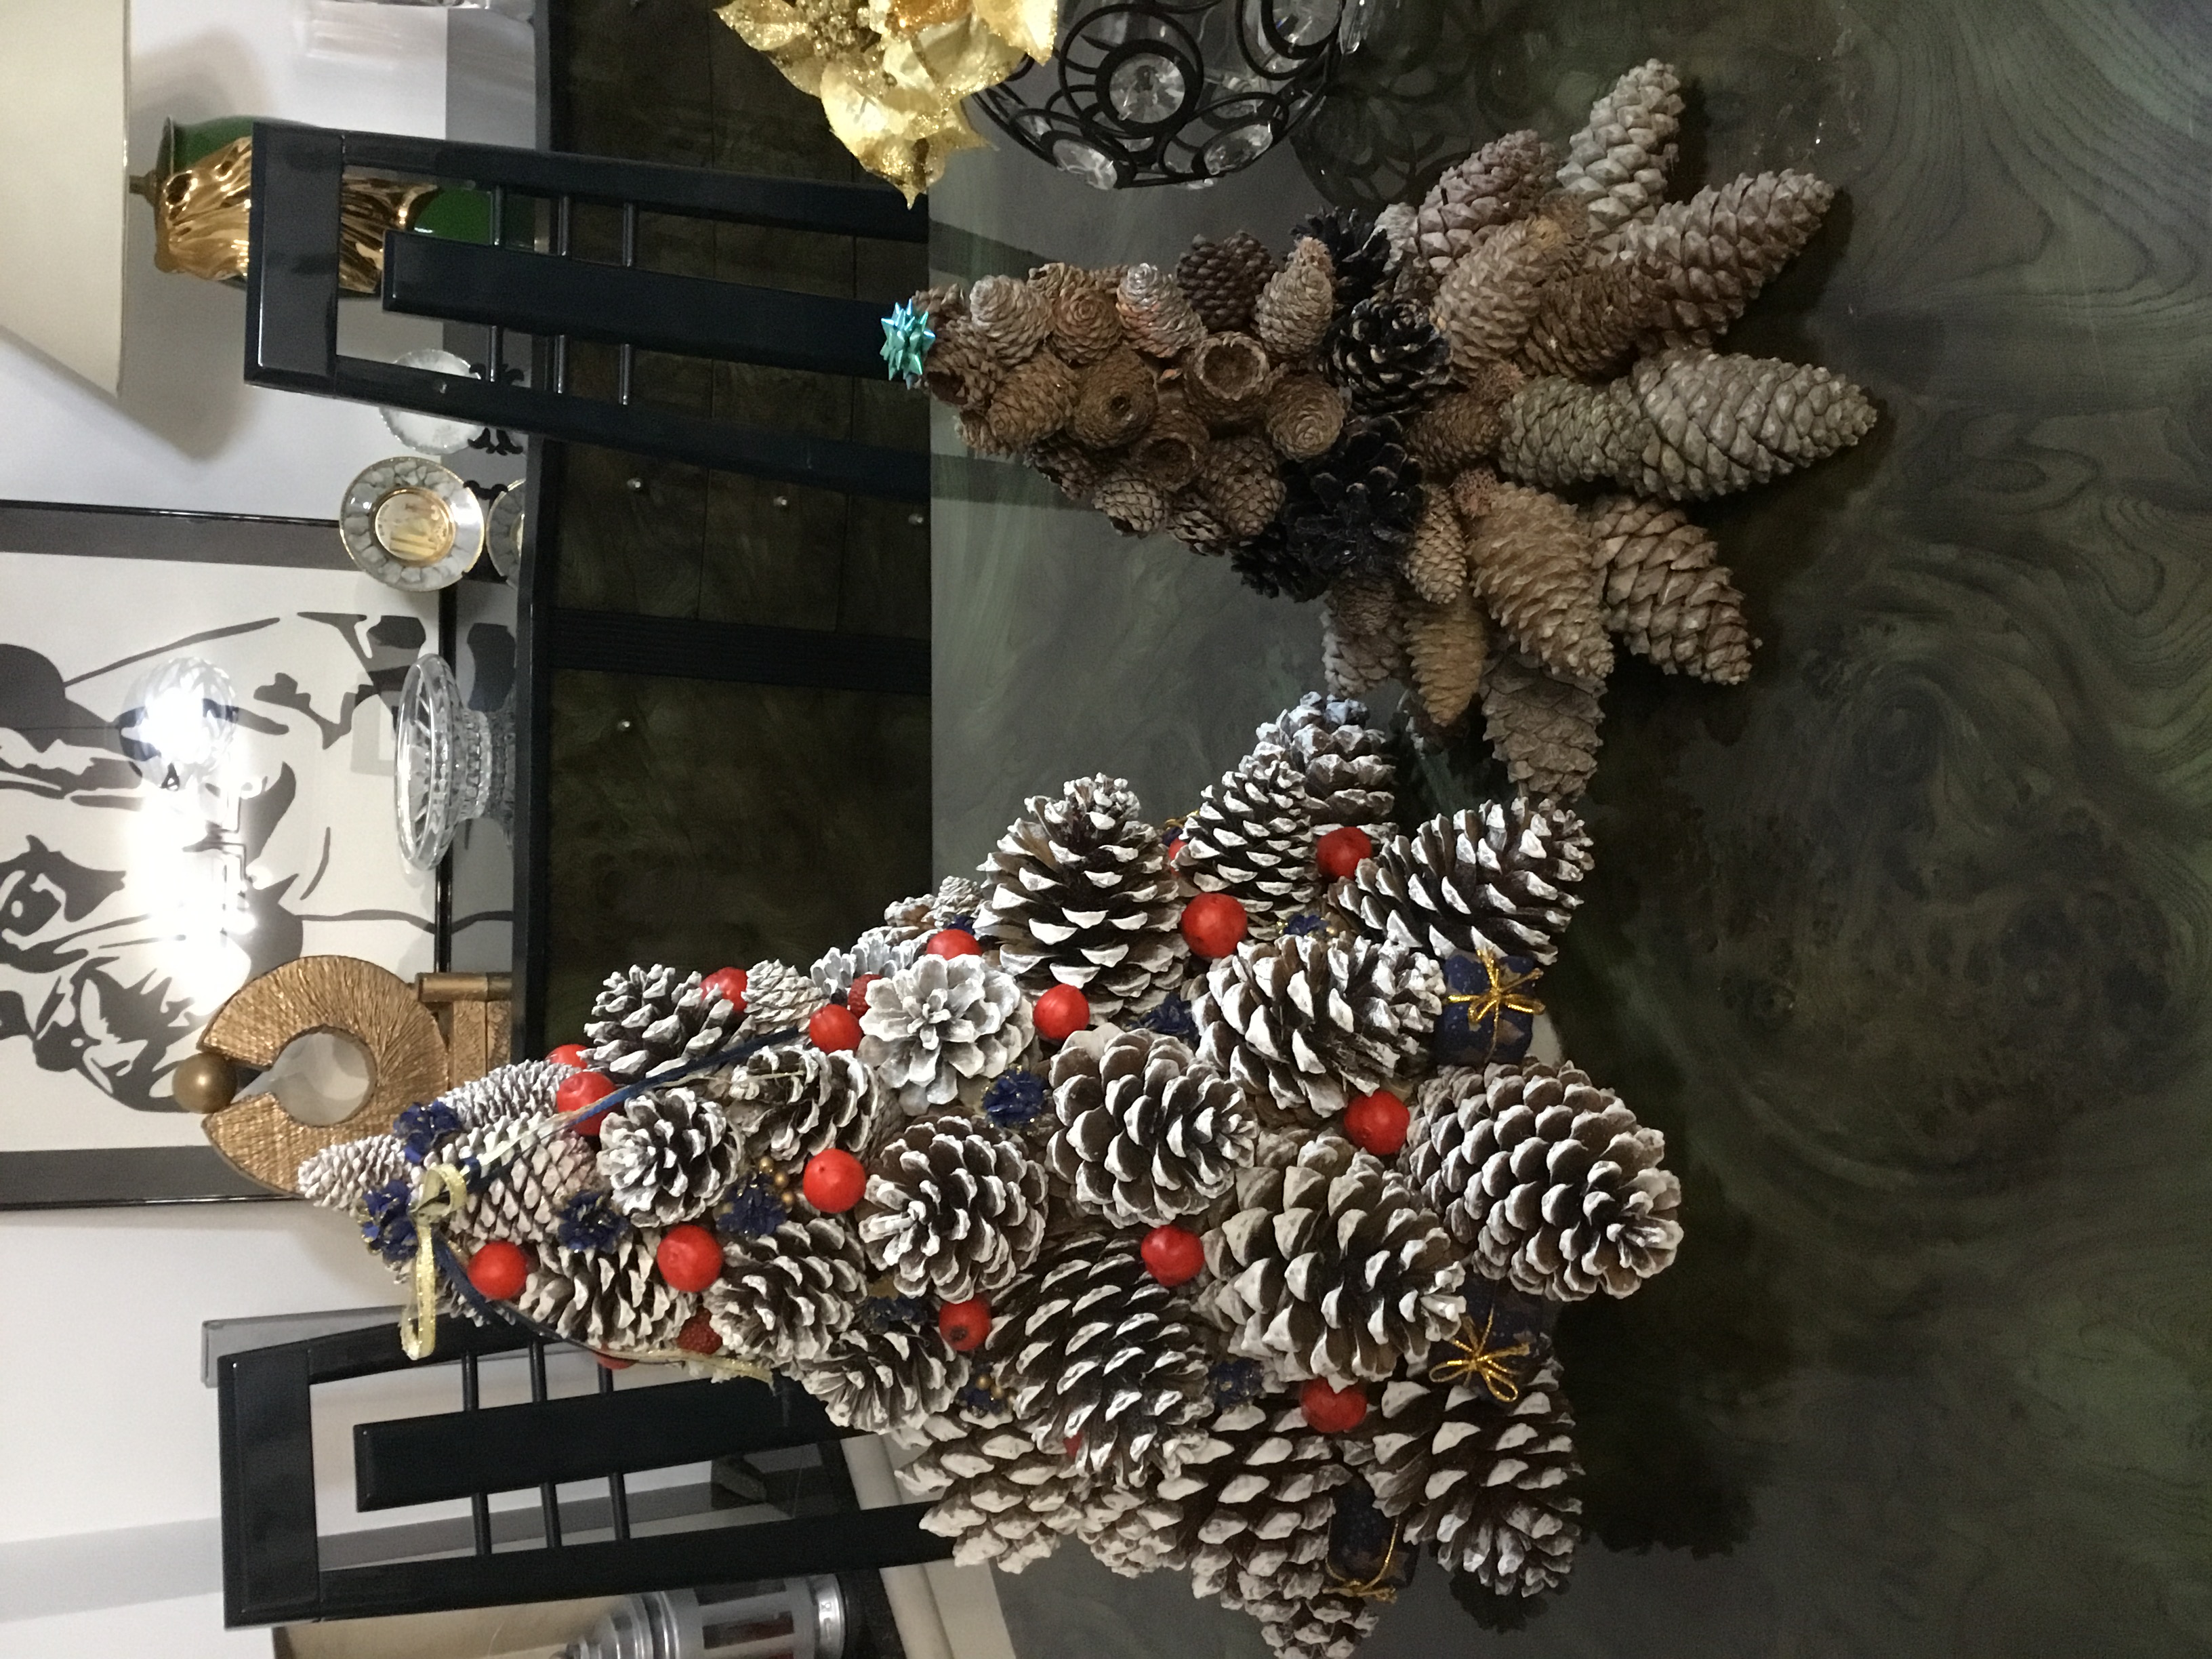
1. Medir con una regla y marcar los centímetros que quiera hacer su árbol; en este árbol fue de 40 cm y hice otro más pequeño de 25 cm
1. Measure with a ruler and mark the centimeters you want your tree to make; in this tree it was 40 cm and I made a smaller one of 25 cm
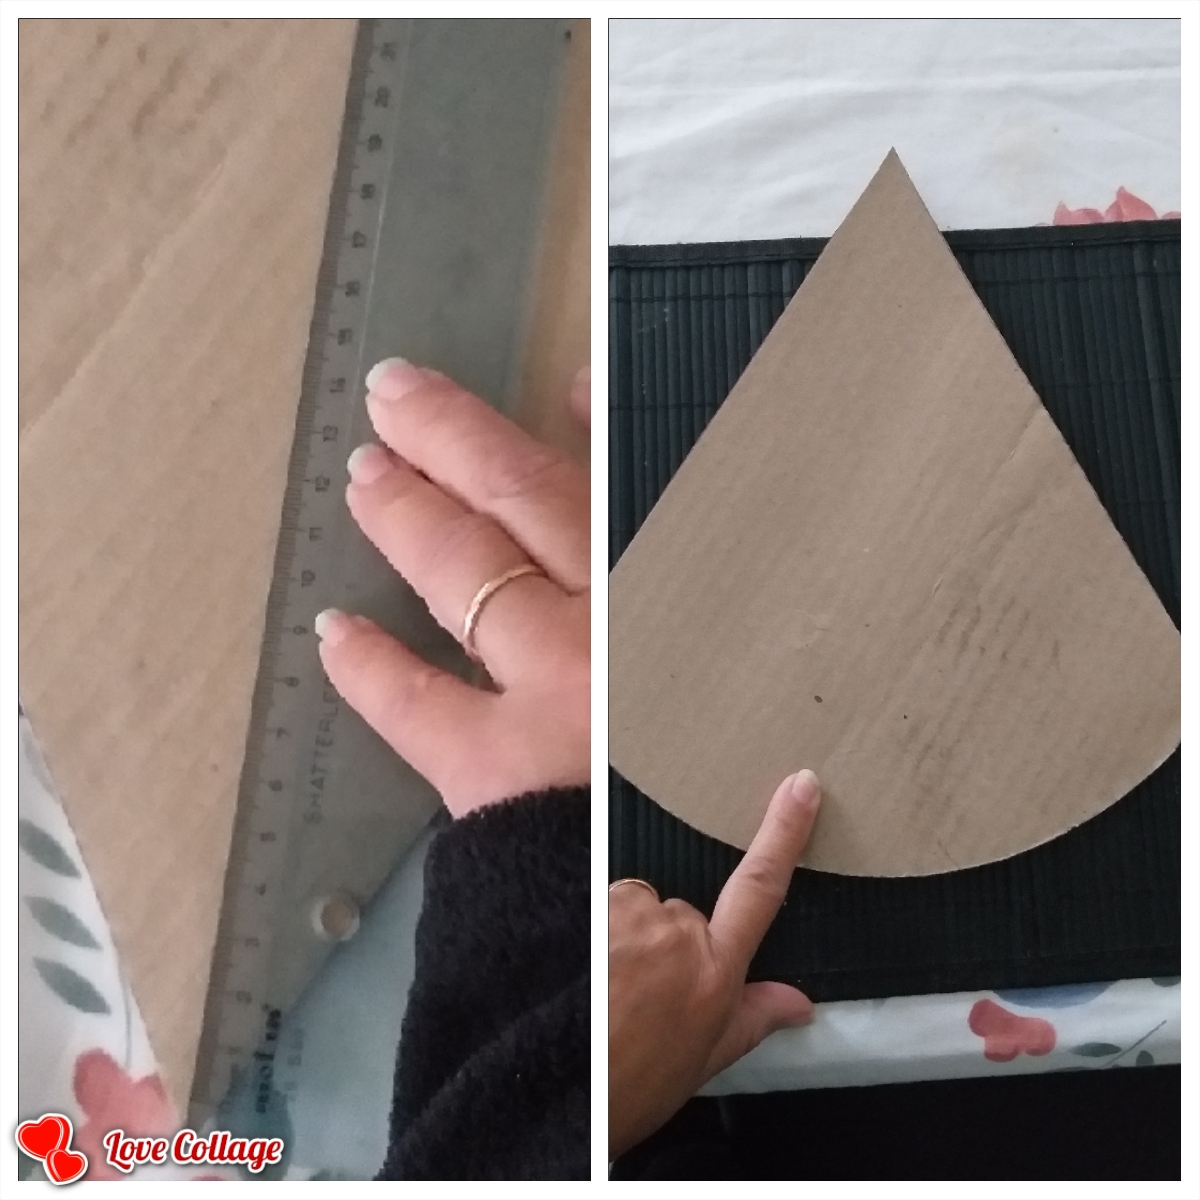
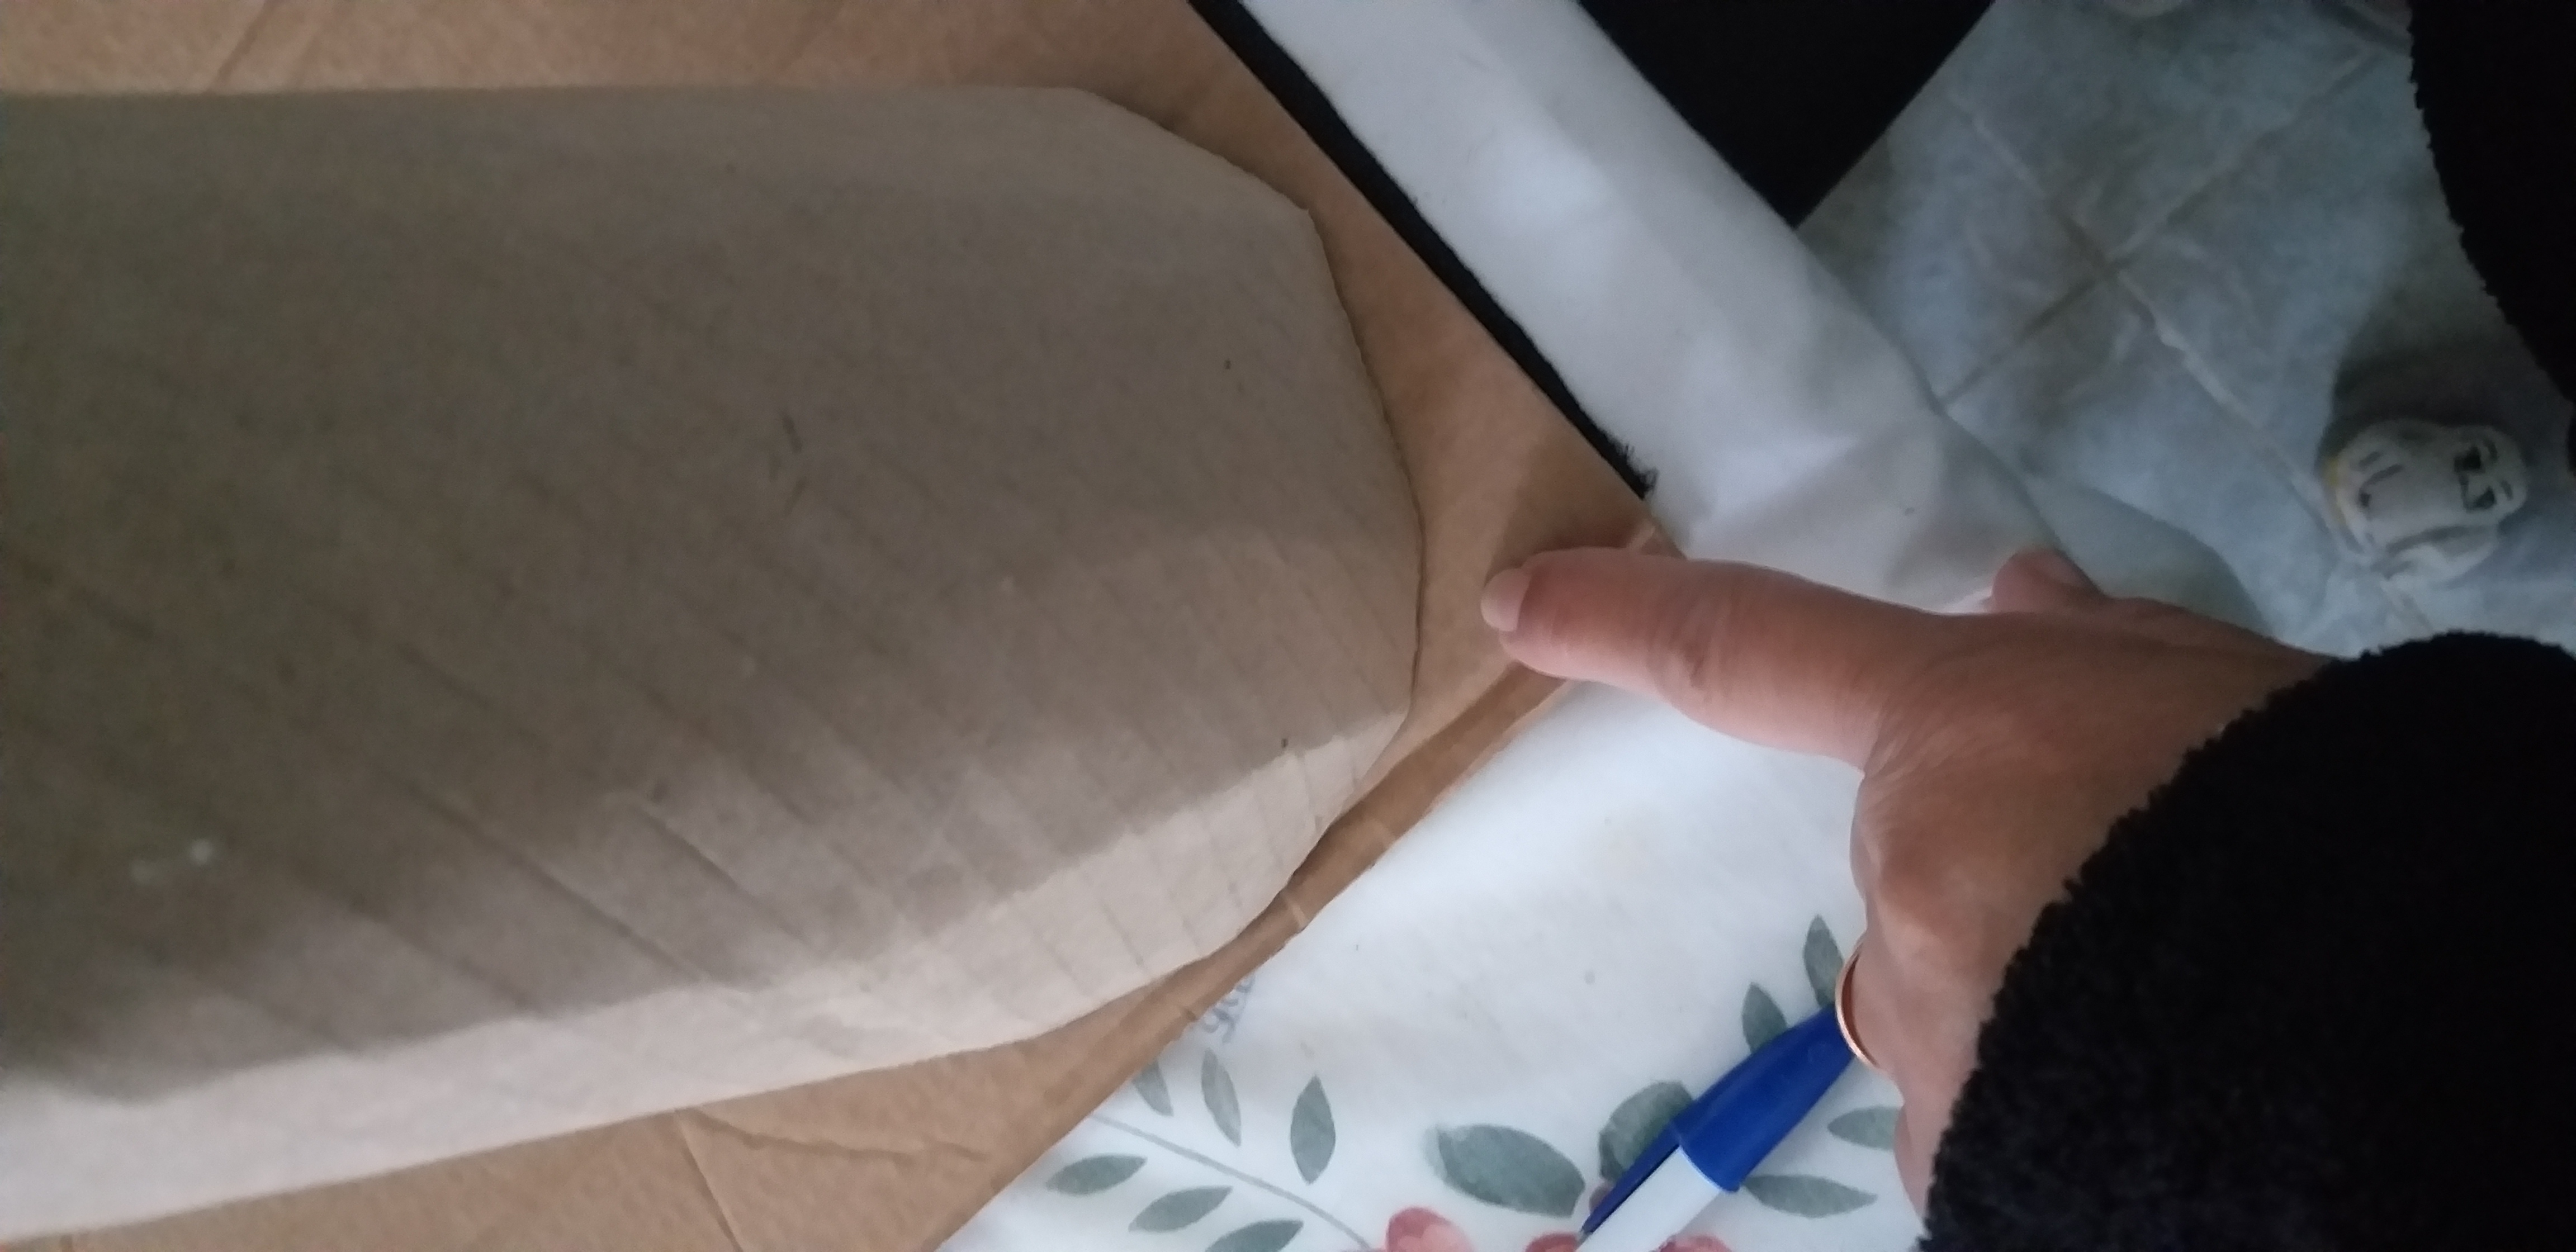
2. Luego medir en el medio los mismos centímetros y luego recorte la figura
2. Then measure the same centimeters in the middle and then cut out the figure
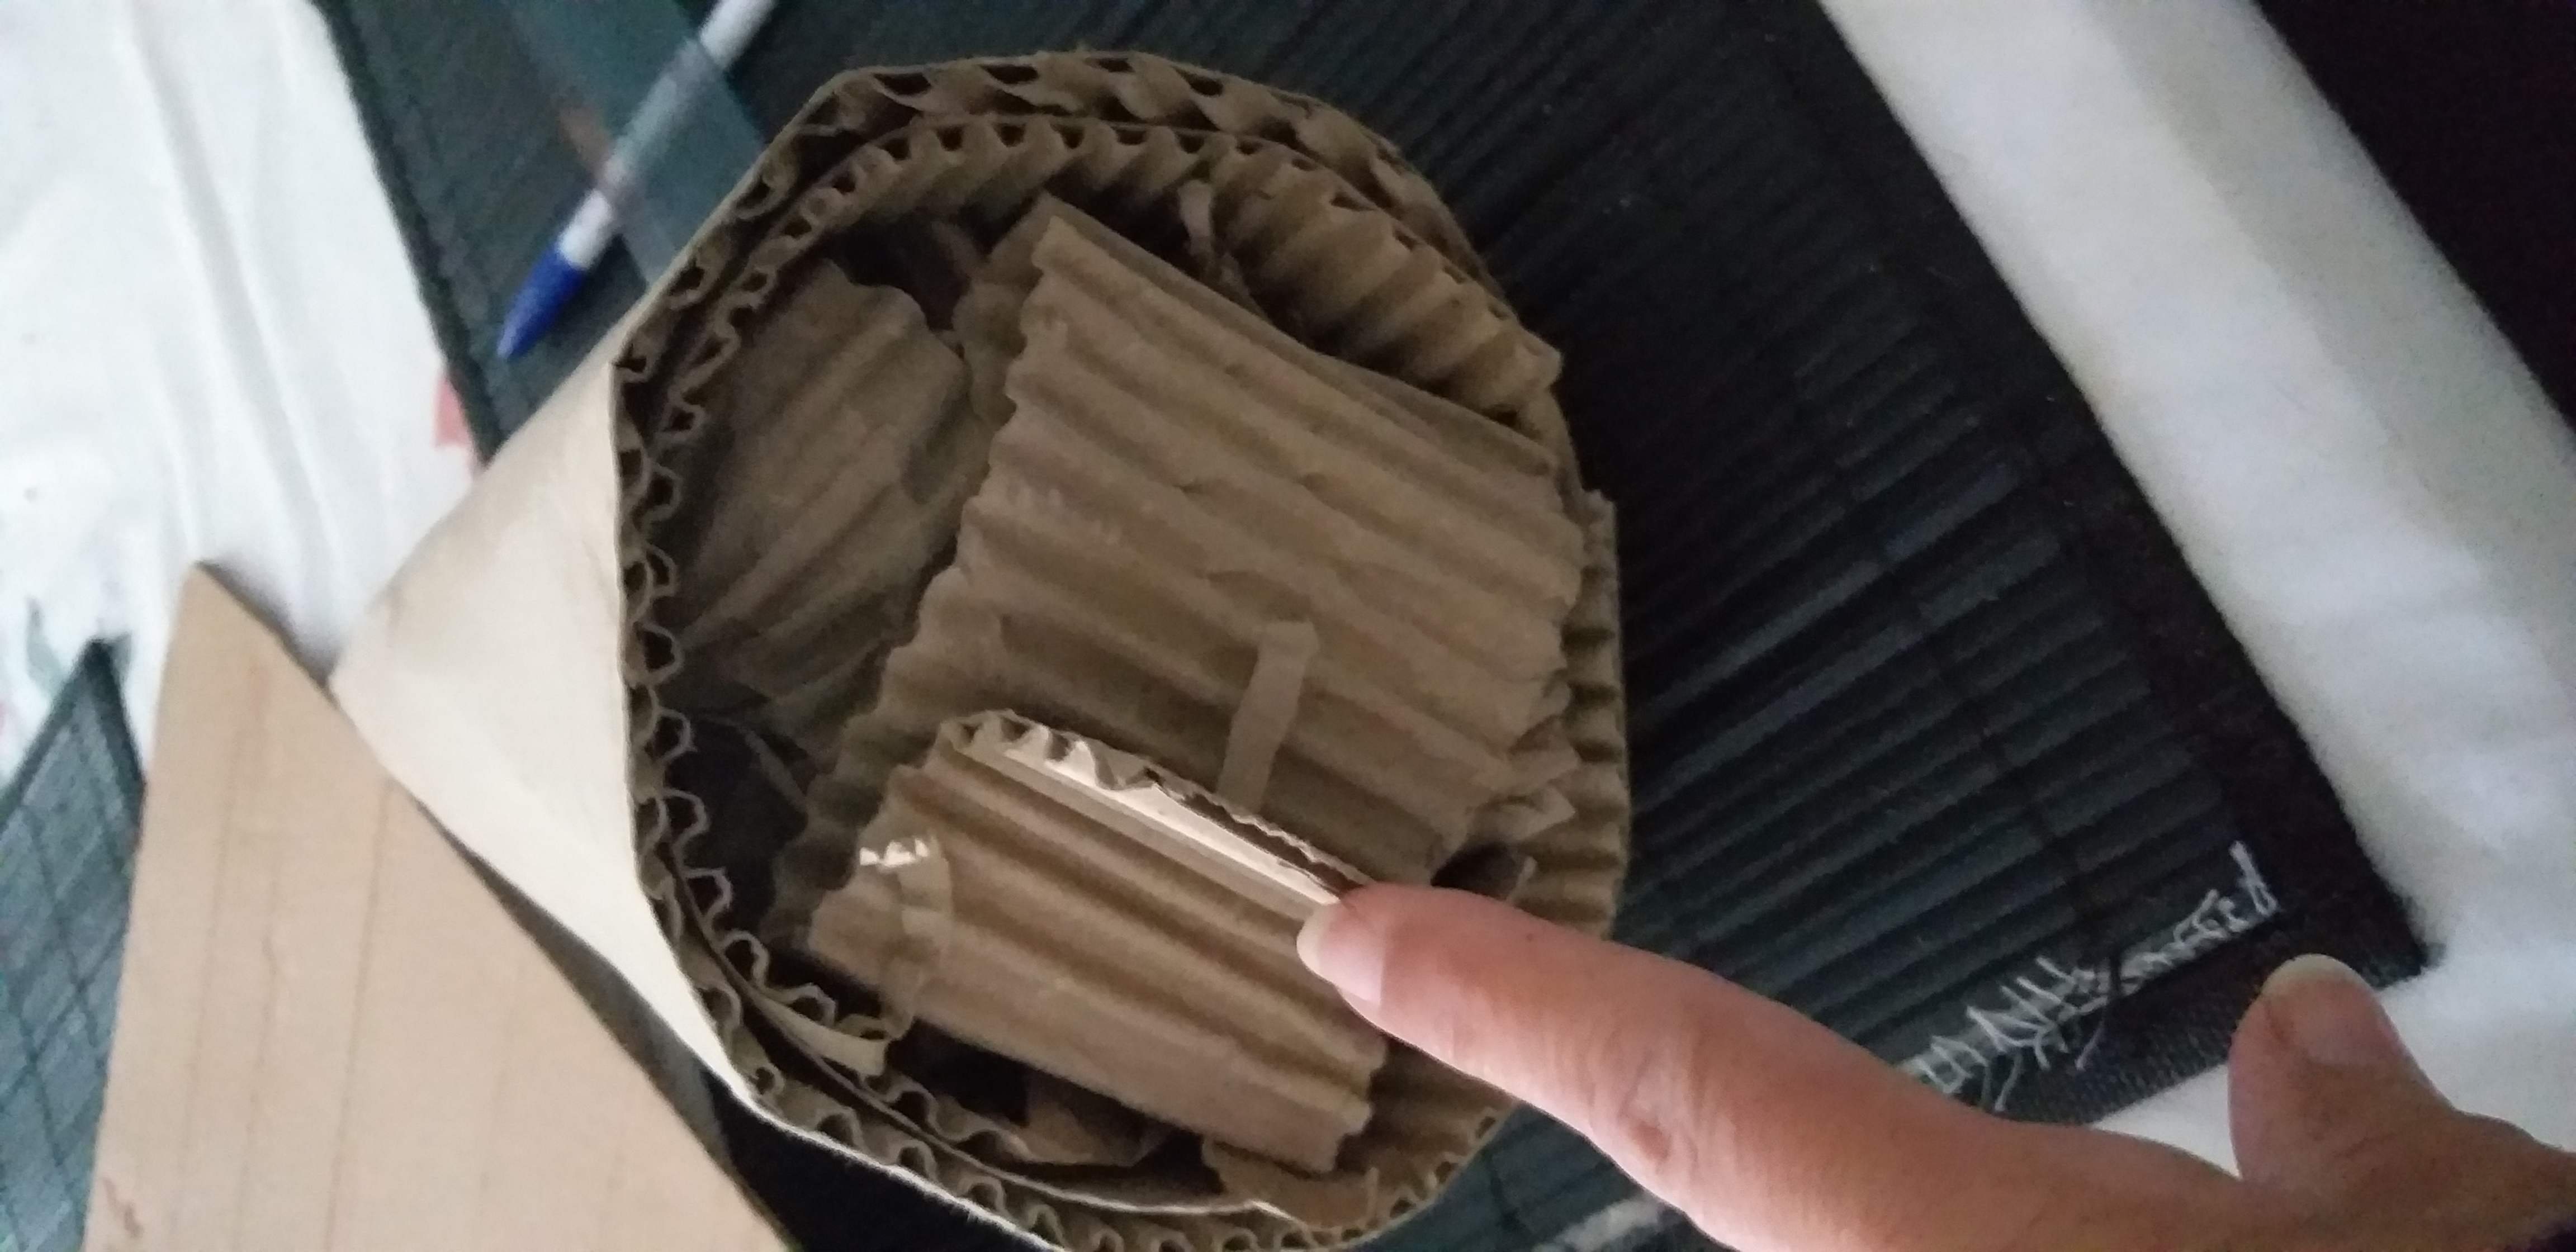
3. Luego con el silicon caliente pegar ambos lados y luego rellenar con desperdicios de la misma caja
3. Then with the hot silicone paste both sides and then fill with waste from the same box
4. Después con la misma caja hacer la base y luego pegar
4. Then with the same box, make the base and then glue

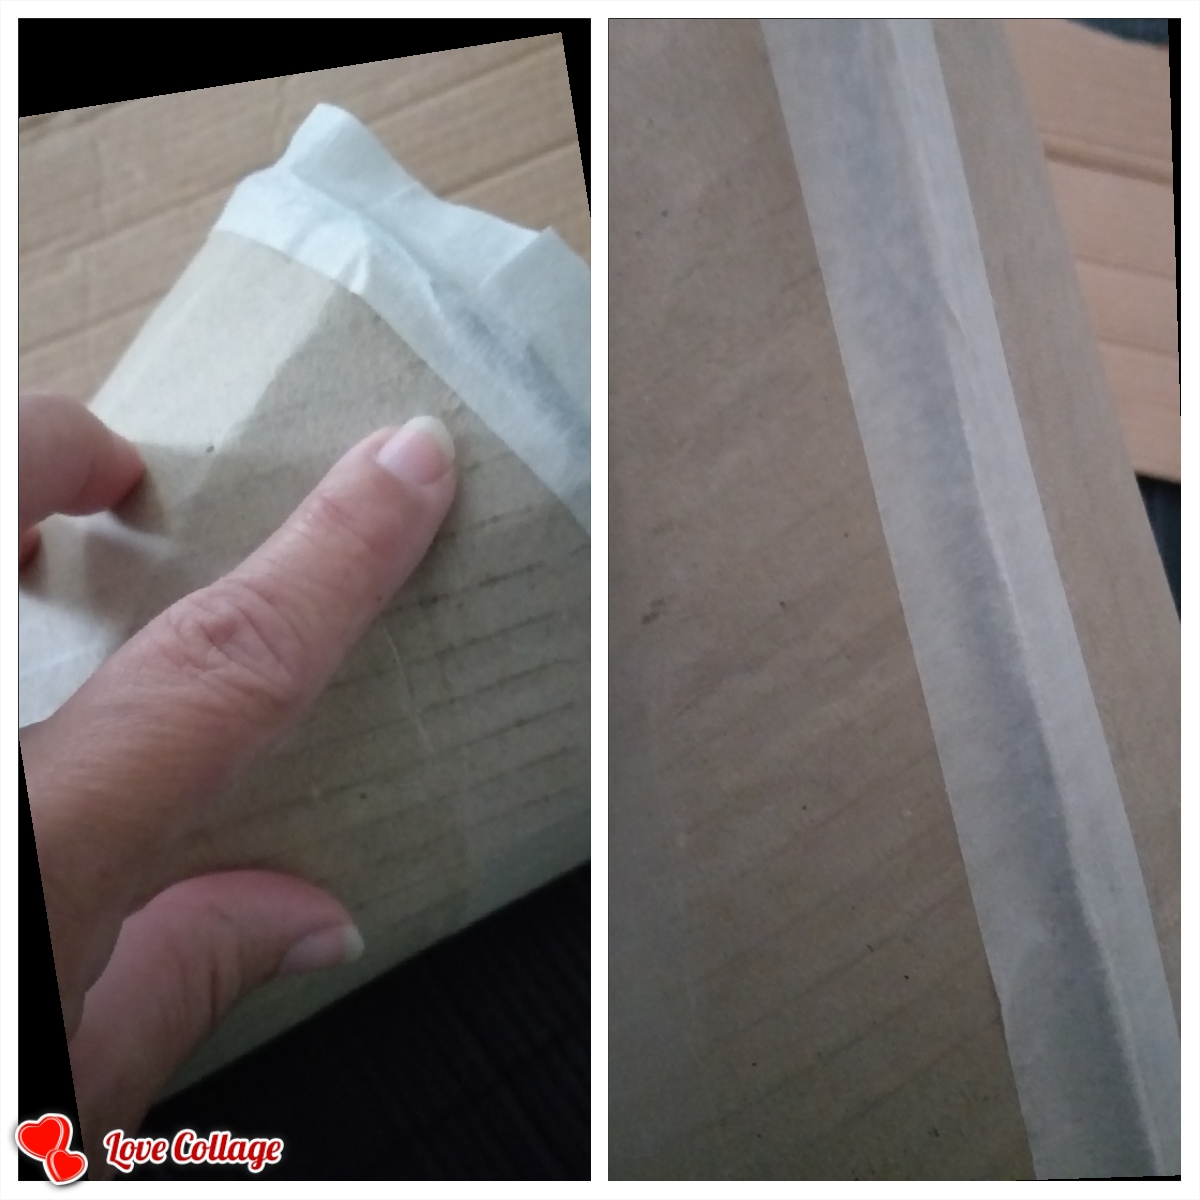
5. El siguiente paso es colocar cinta de construcción o tirro para reforzar la parte donde se pego con silicon caliente, observar la imagen
5. The next step is to place construction tape or tape to reinforce the part where it was glued with hot silicone, observe the image
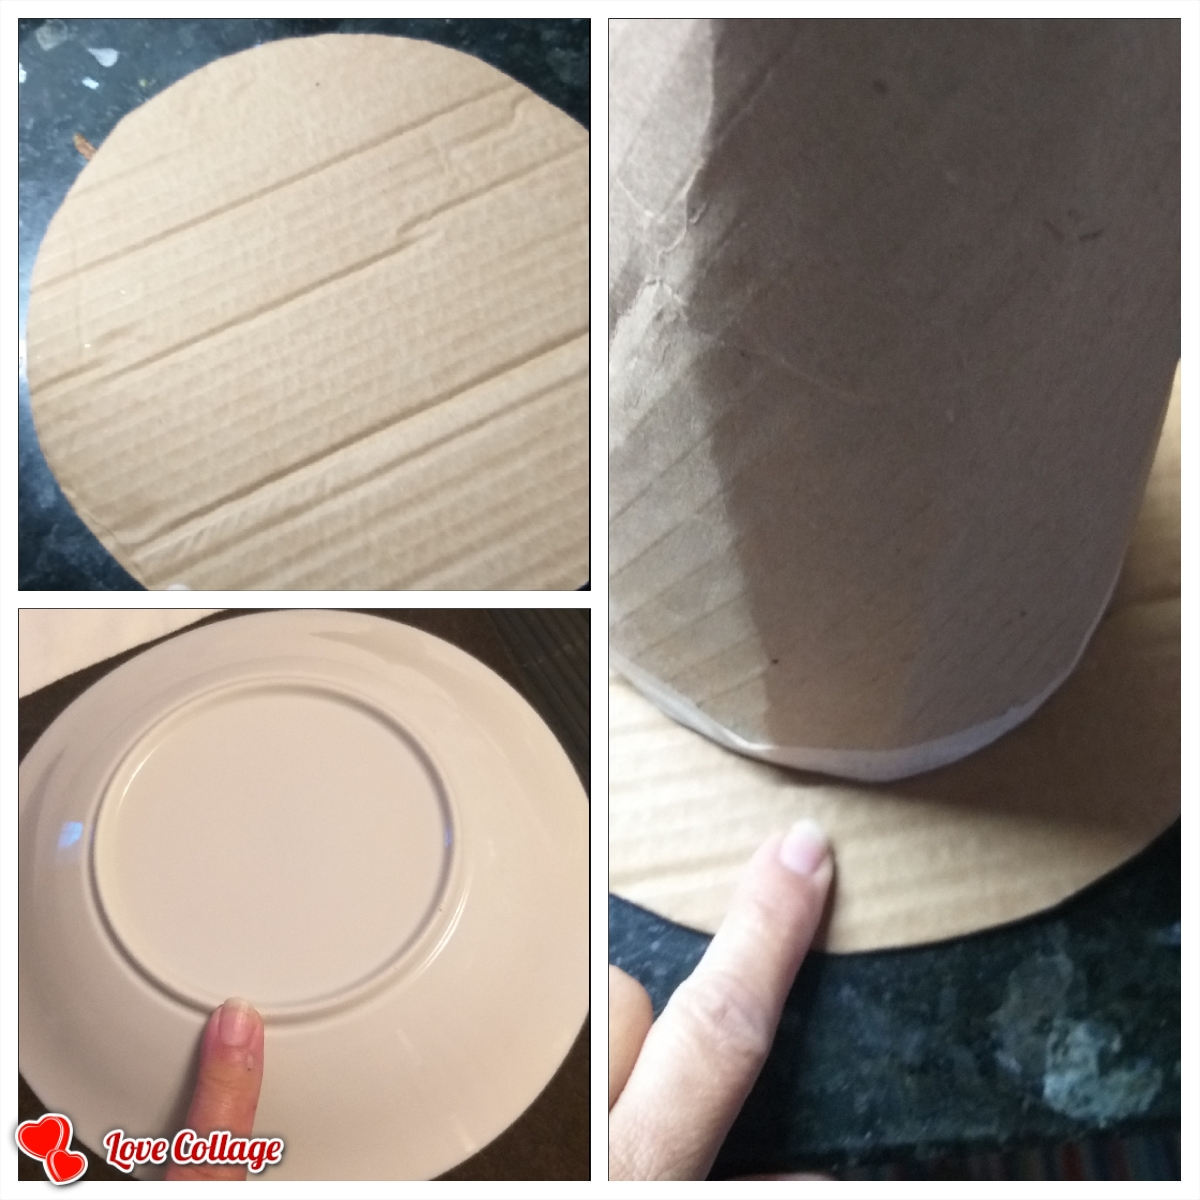
6. Con un plato de sopa hacer un círculo para pegar de base donde Irán las piñas secas
6. With a soup plate, make a circle to paste as the base where the dried pineapples will go
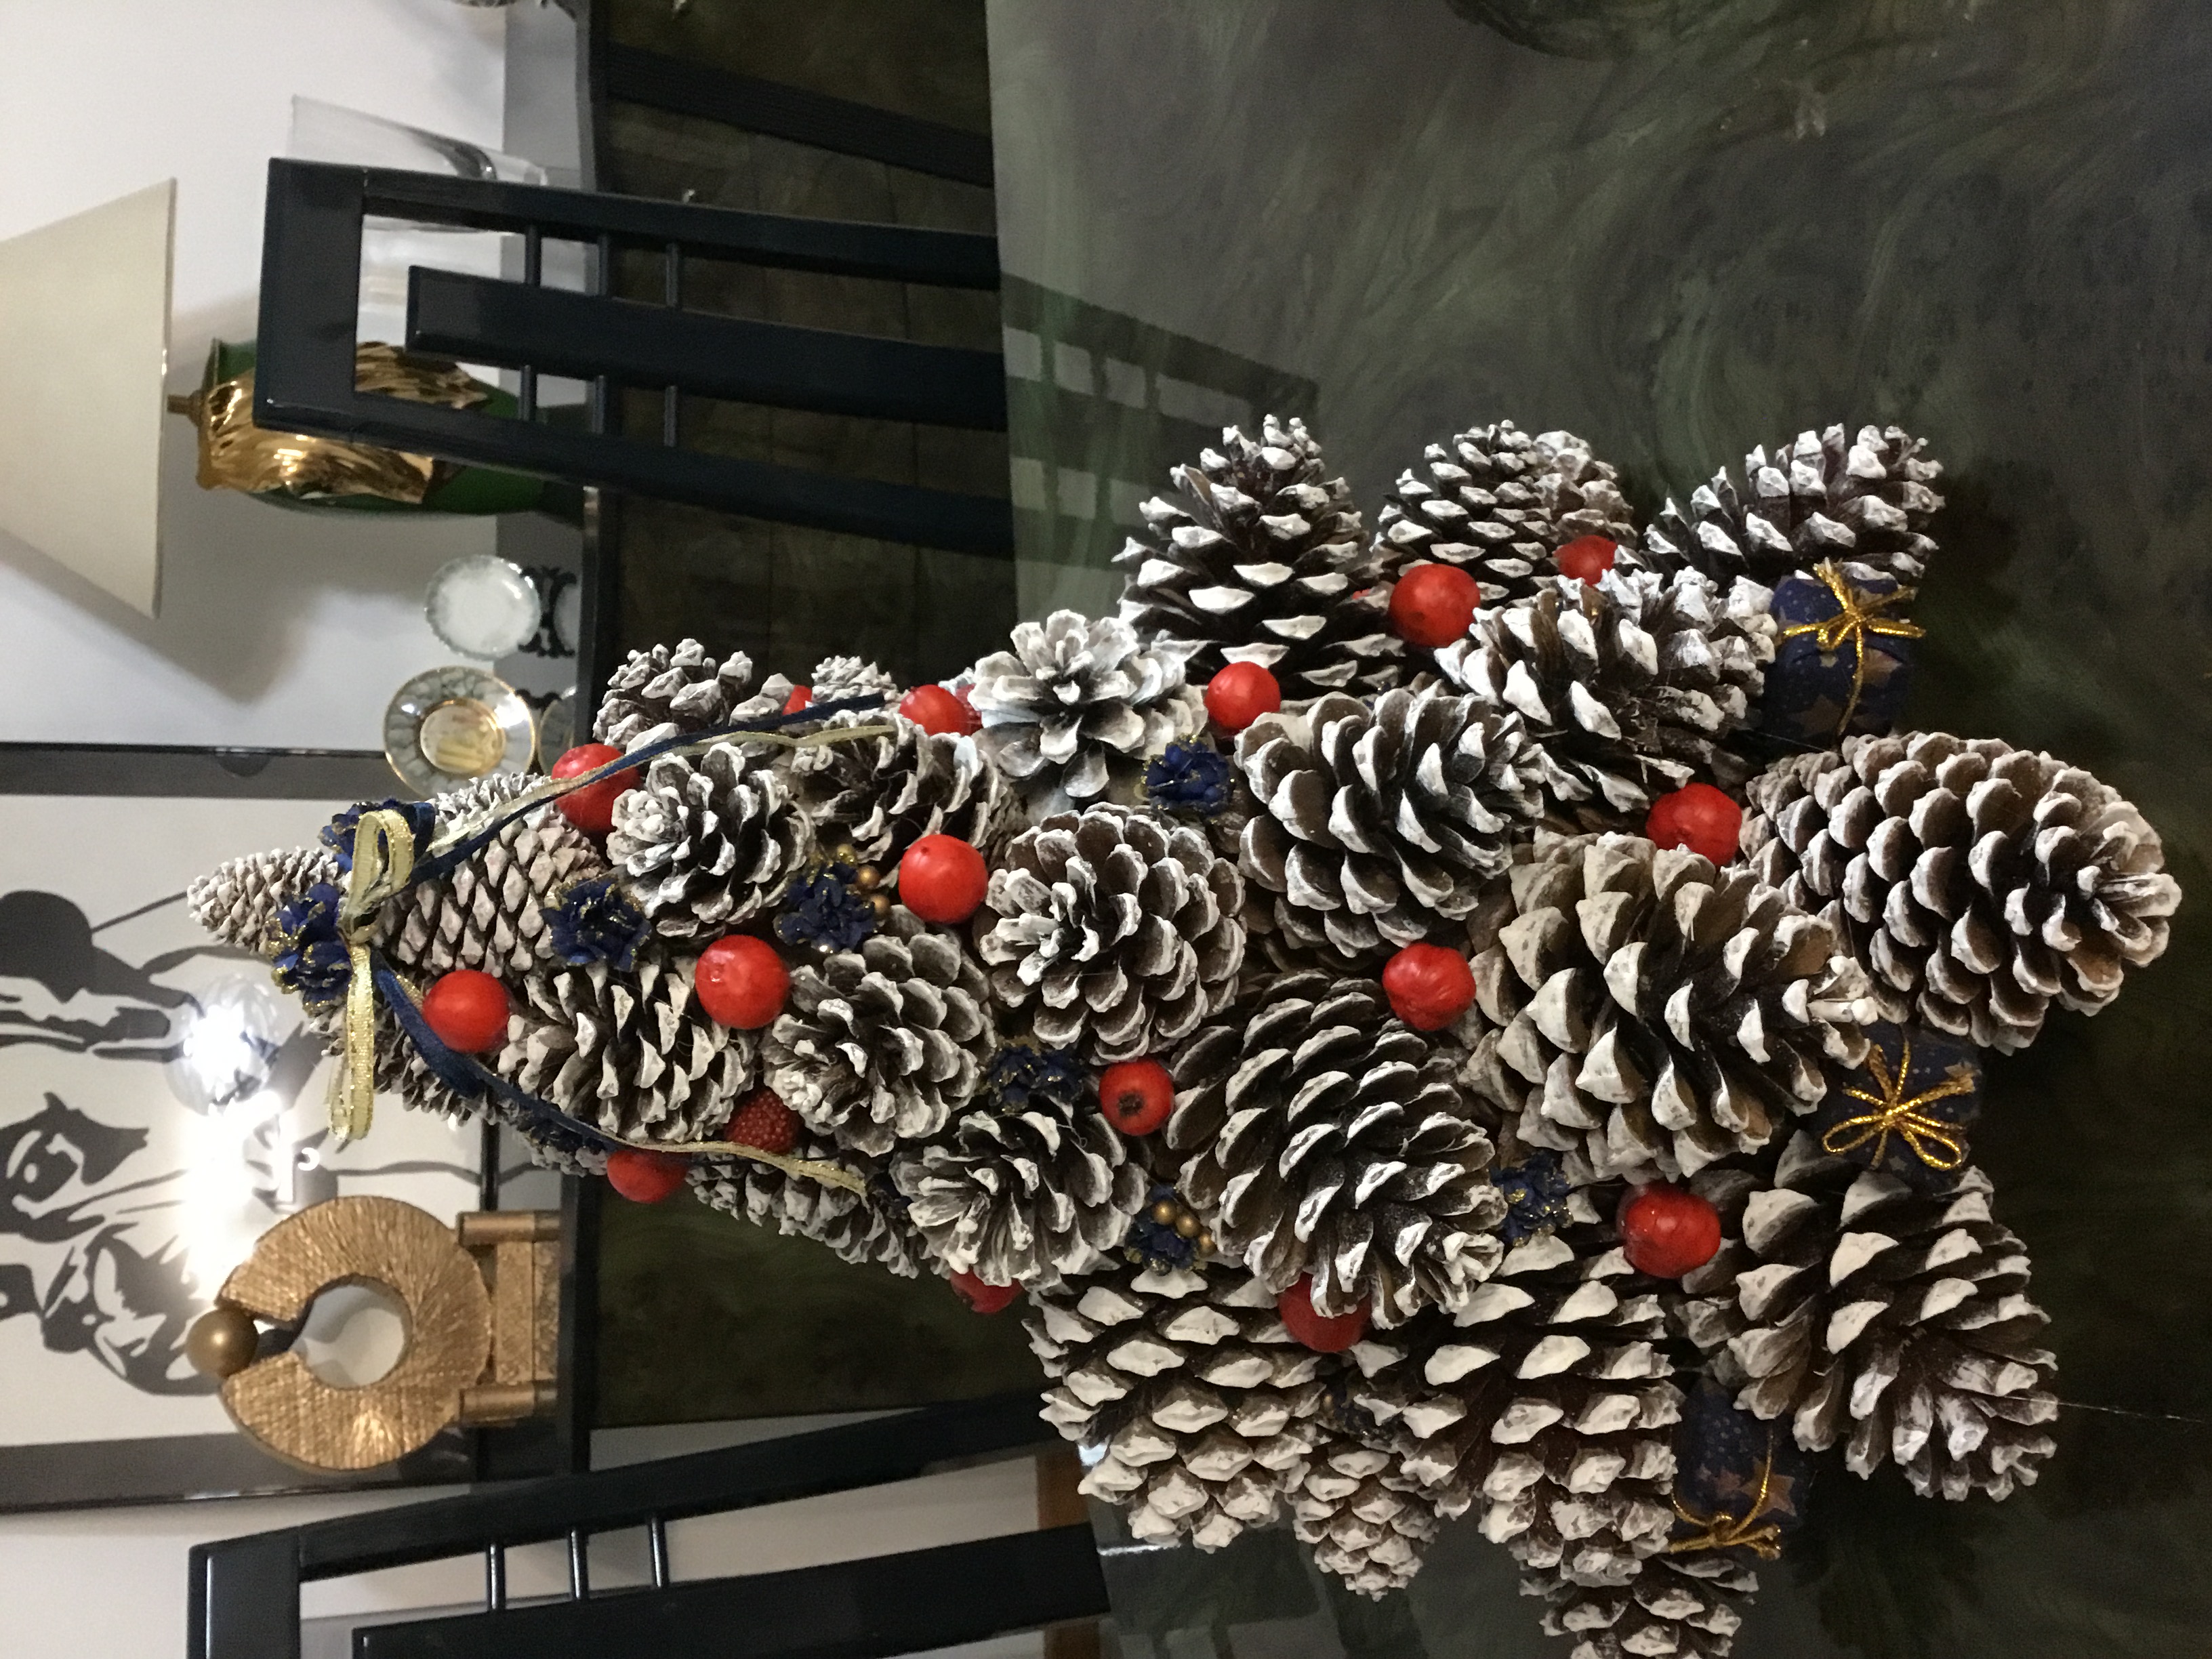
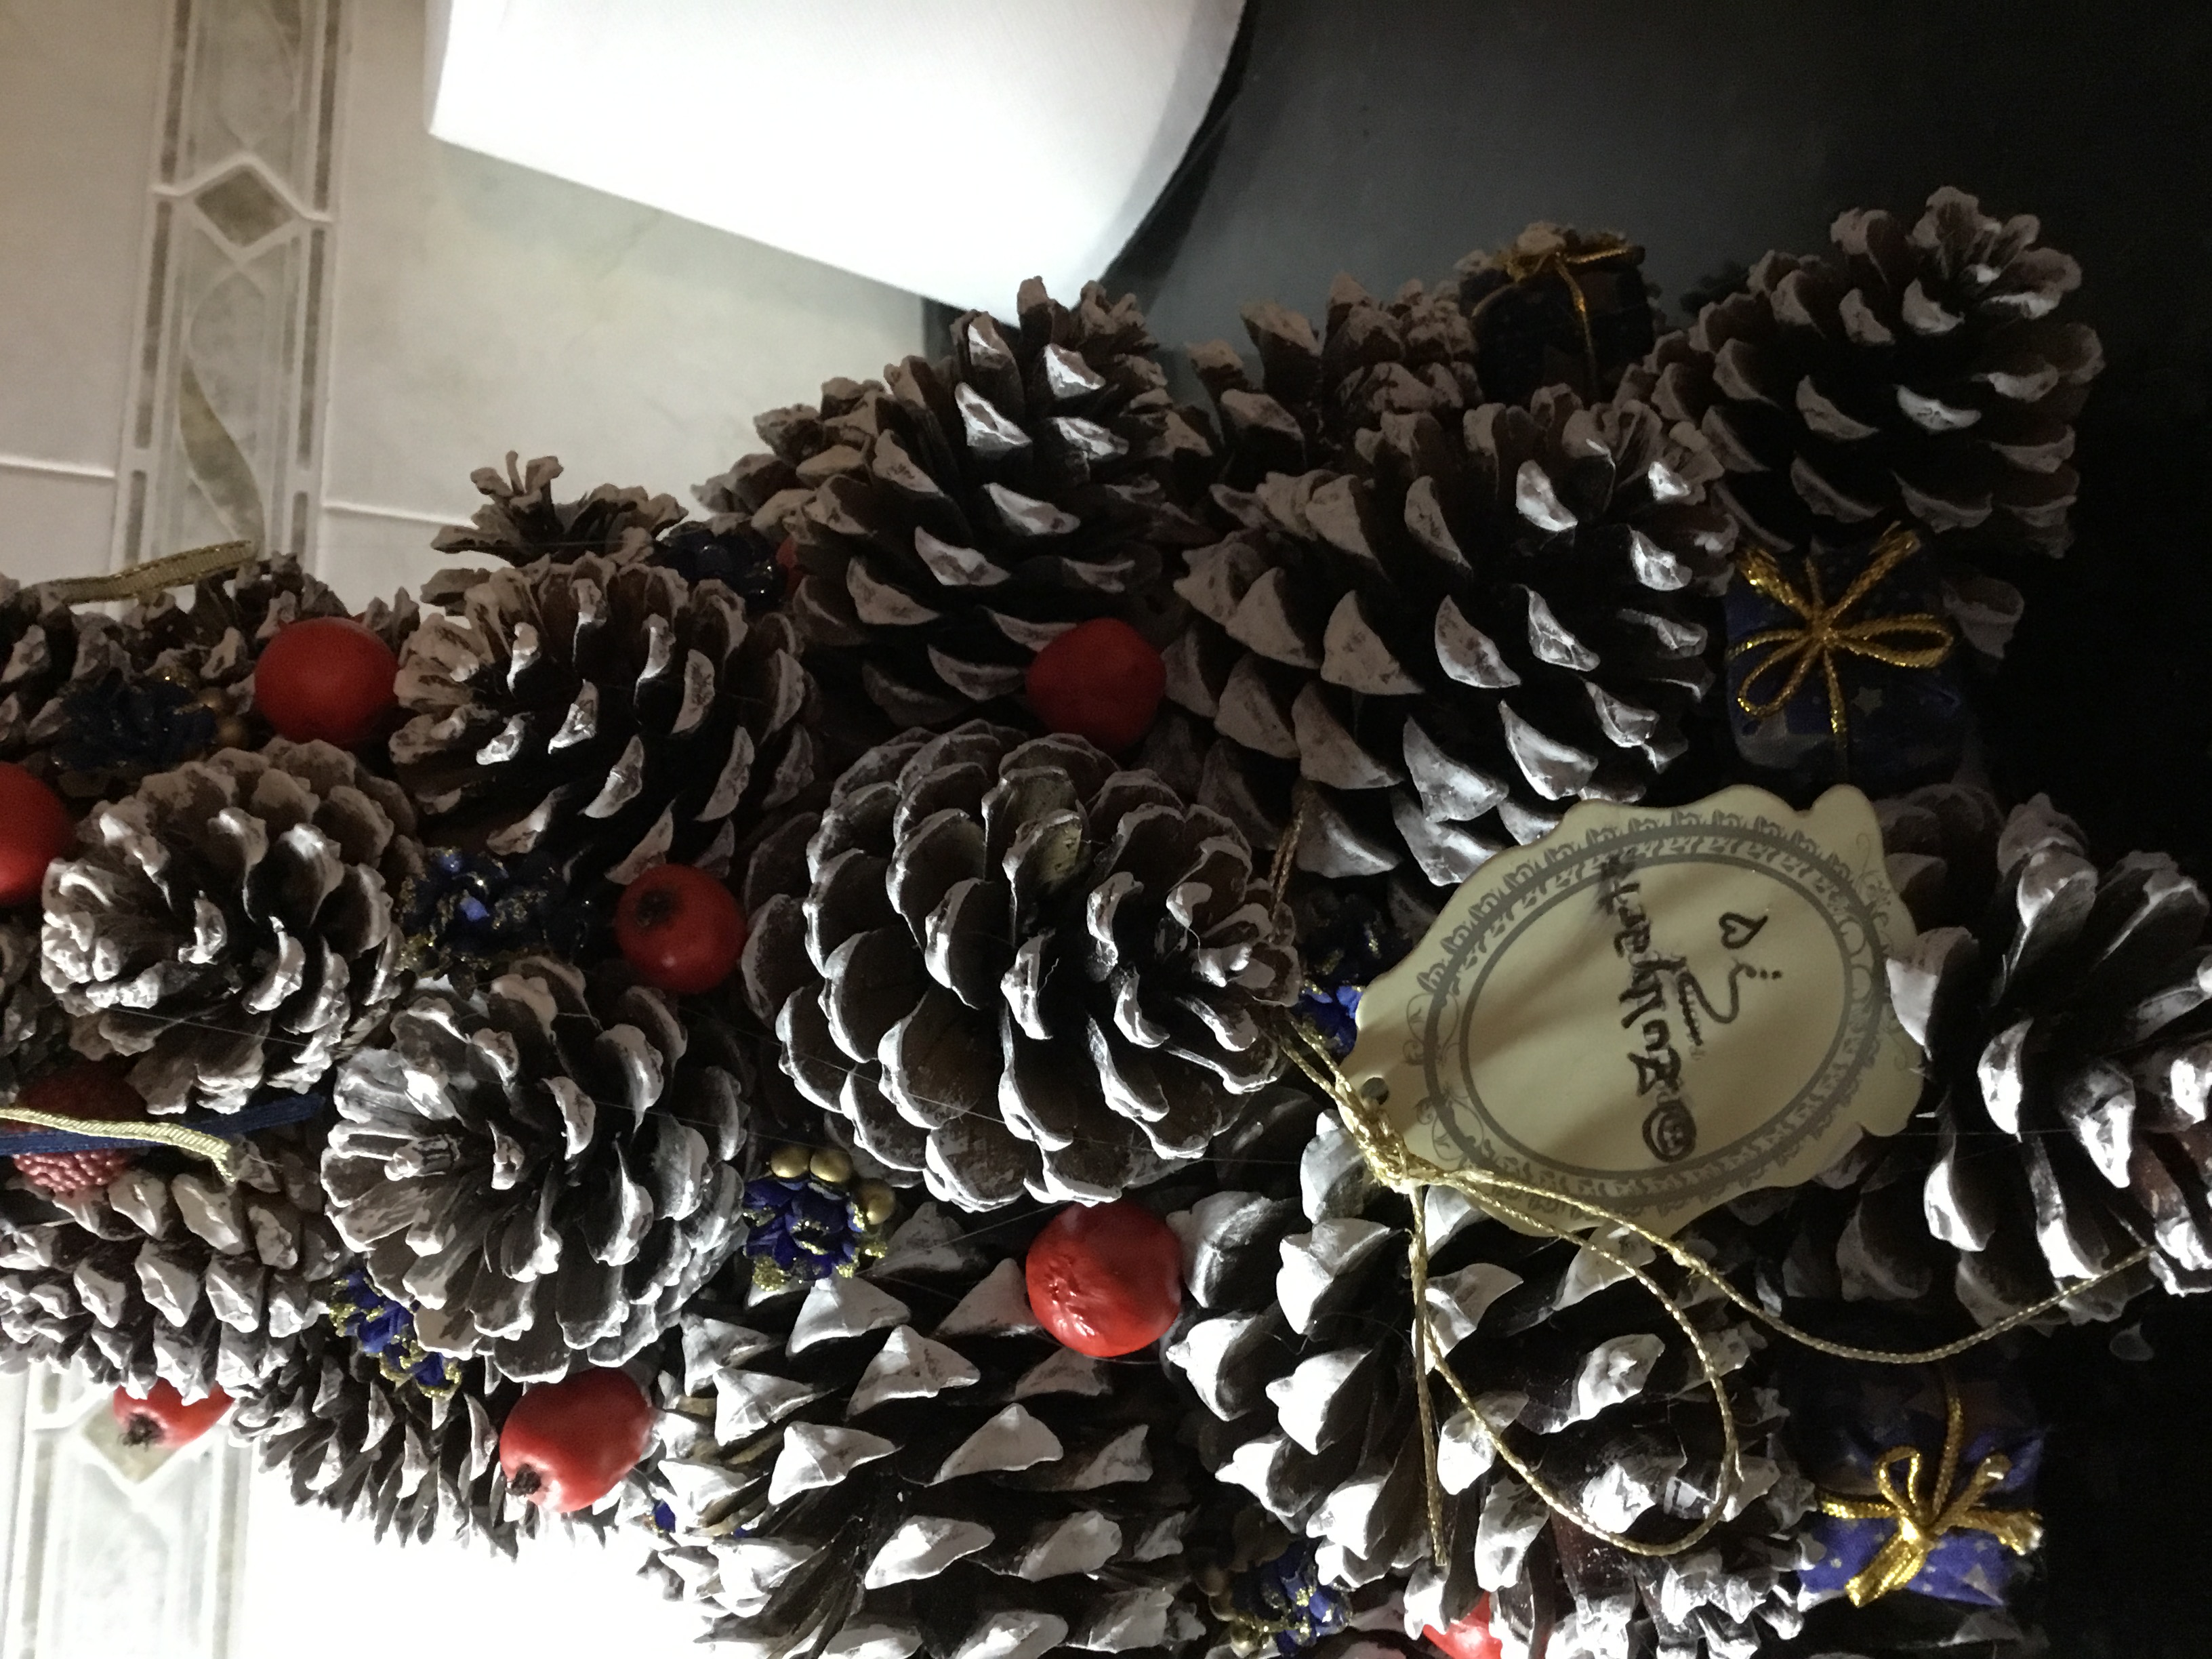
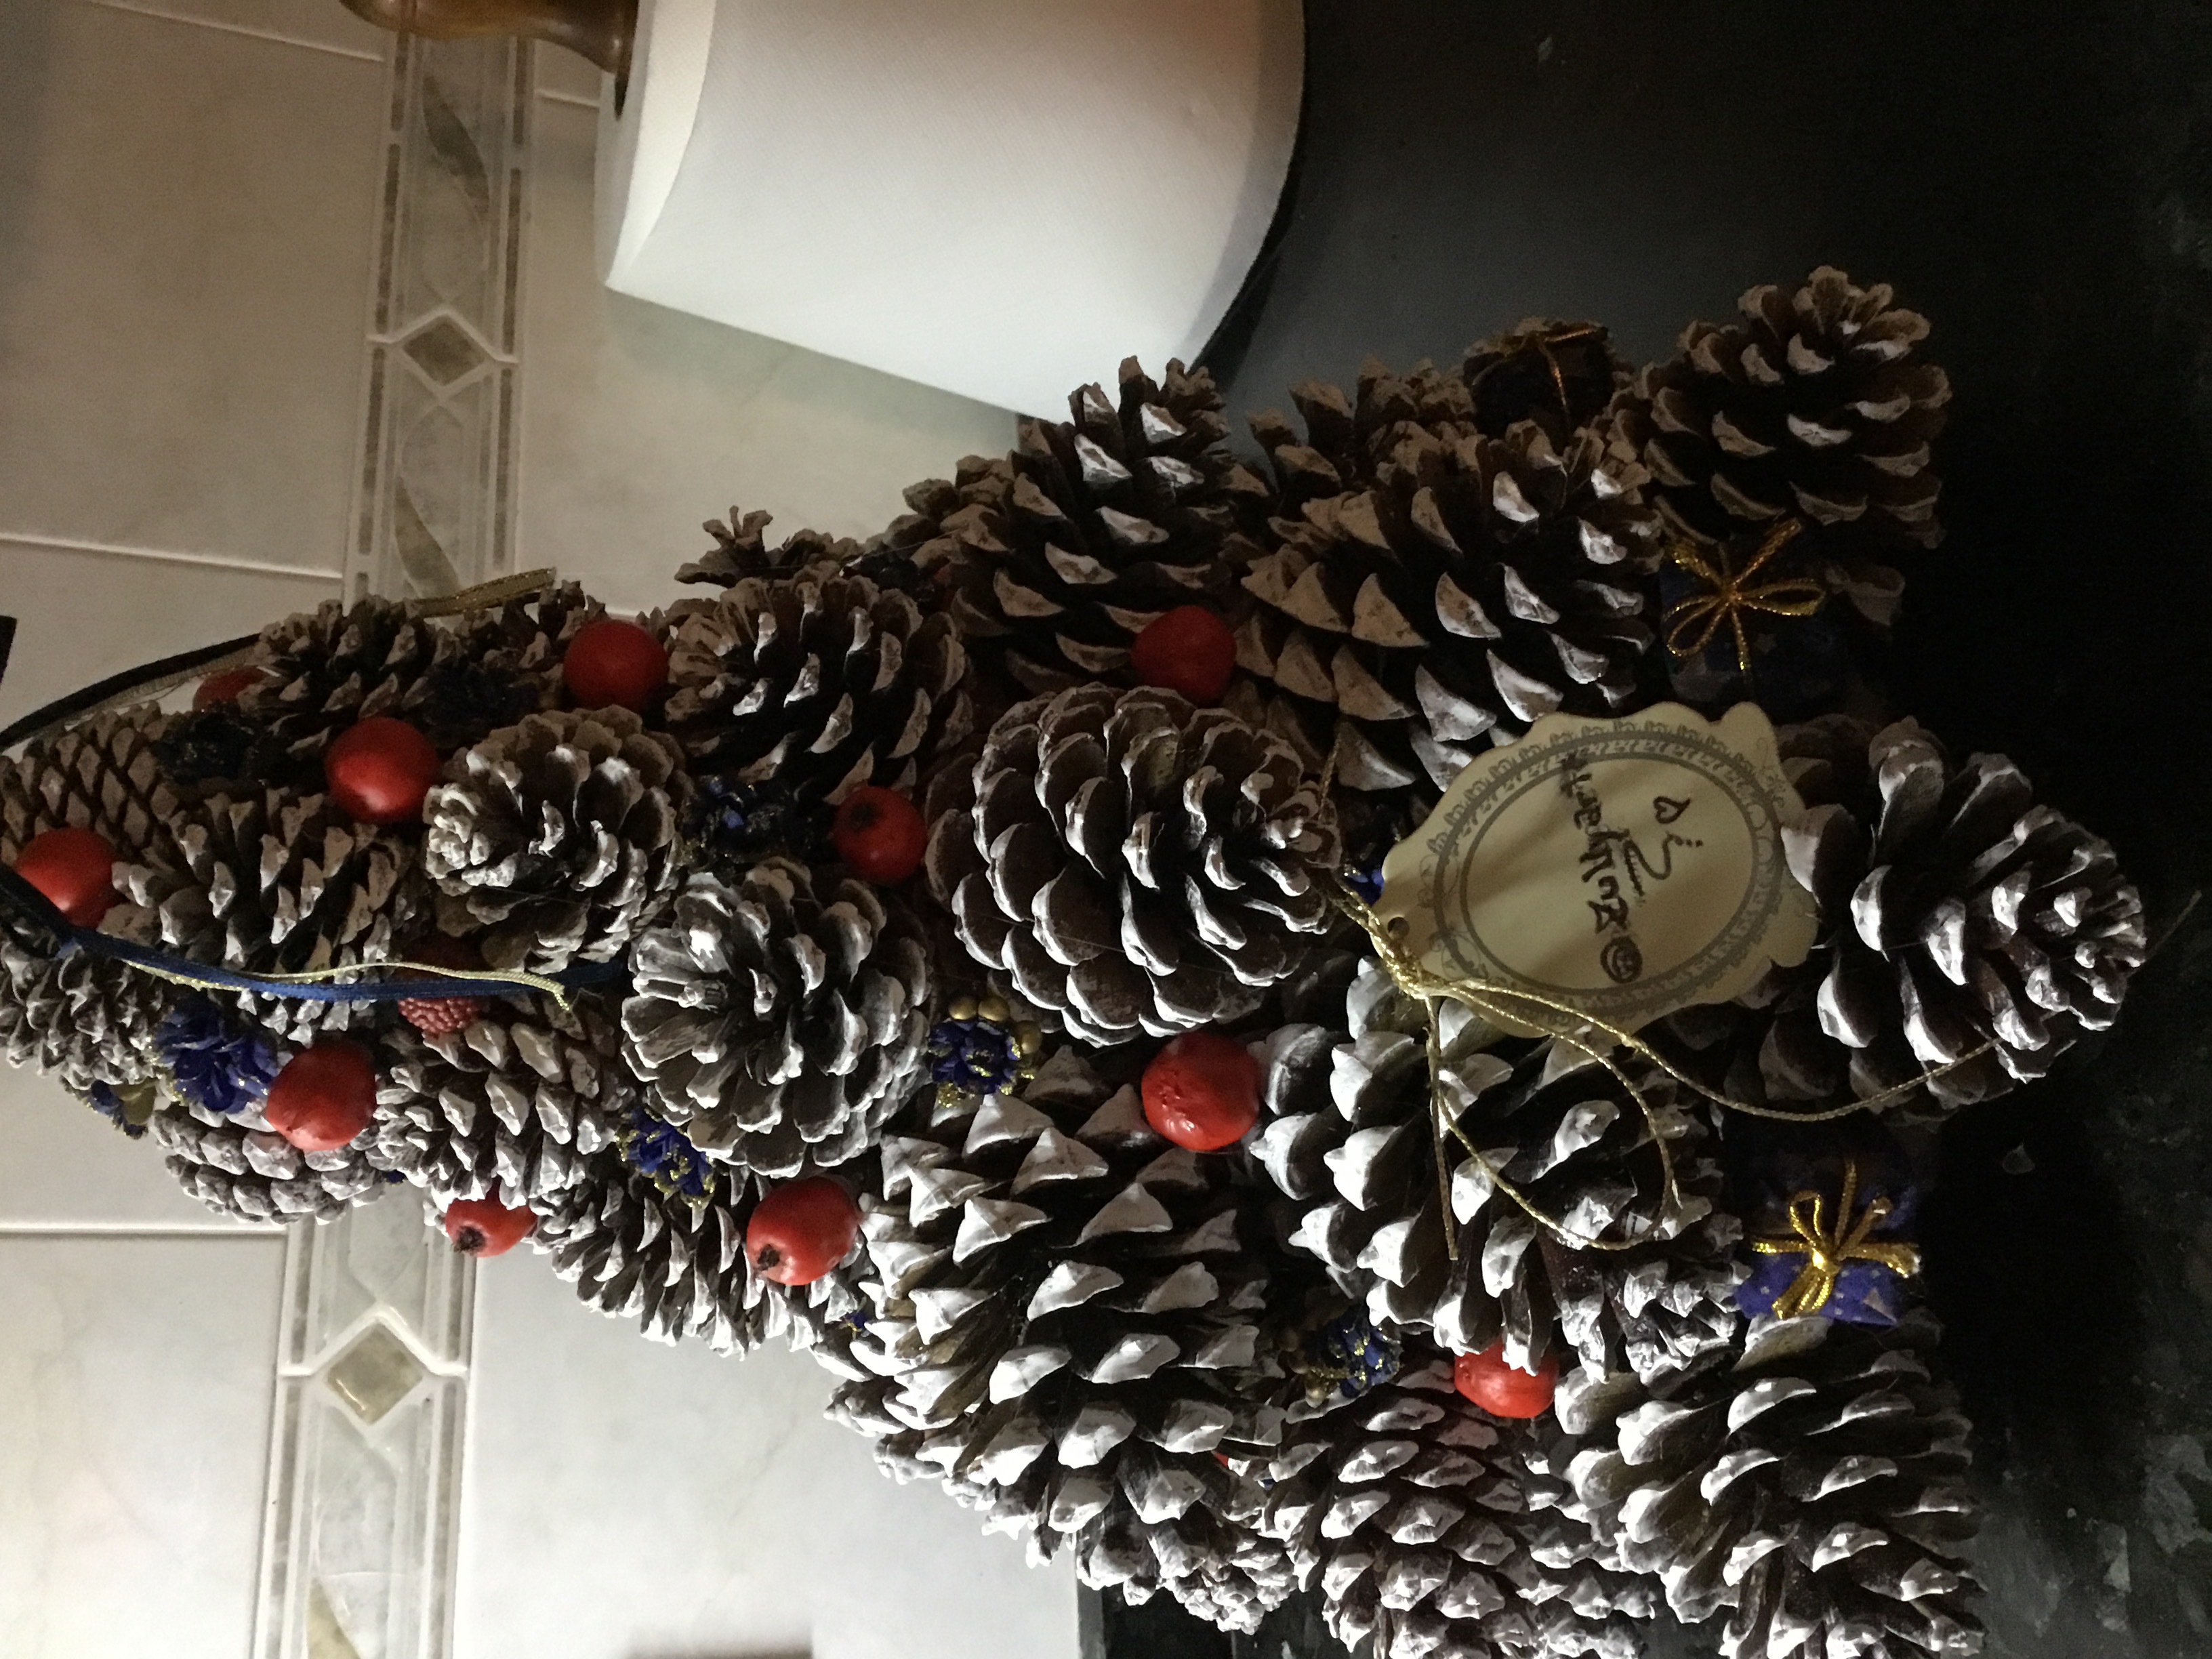
7. Pegar las piñas secas en capas las más grandes debajo formando una escalera. La posición de pegar las piñas al cono es a su gusto
7. Glue the dried pineapples in layers, the largest ones below forming a ladder. The position of gluing the pineapples to the cone is to your liking
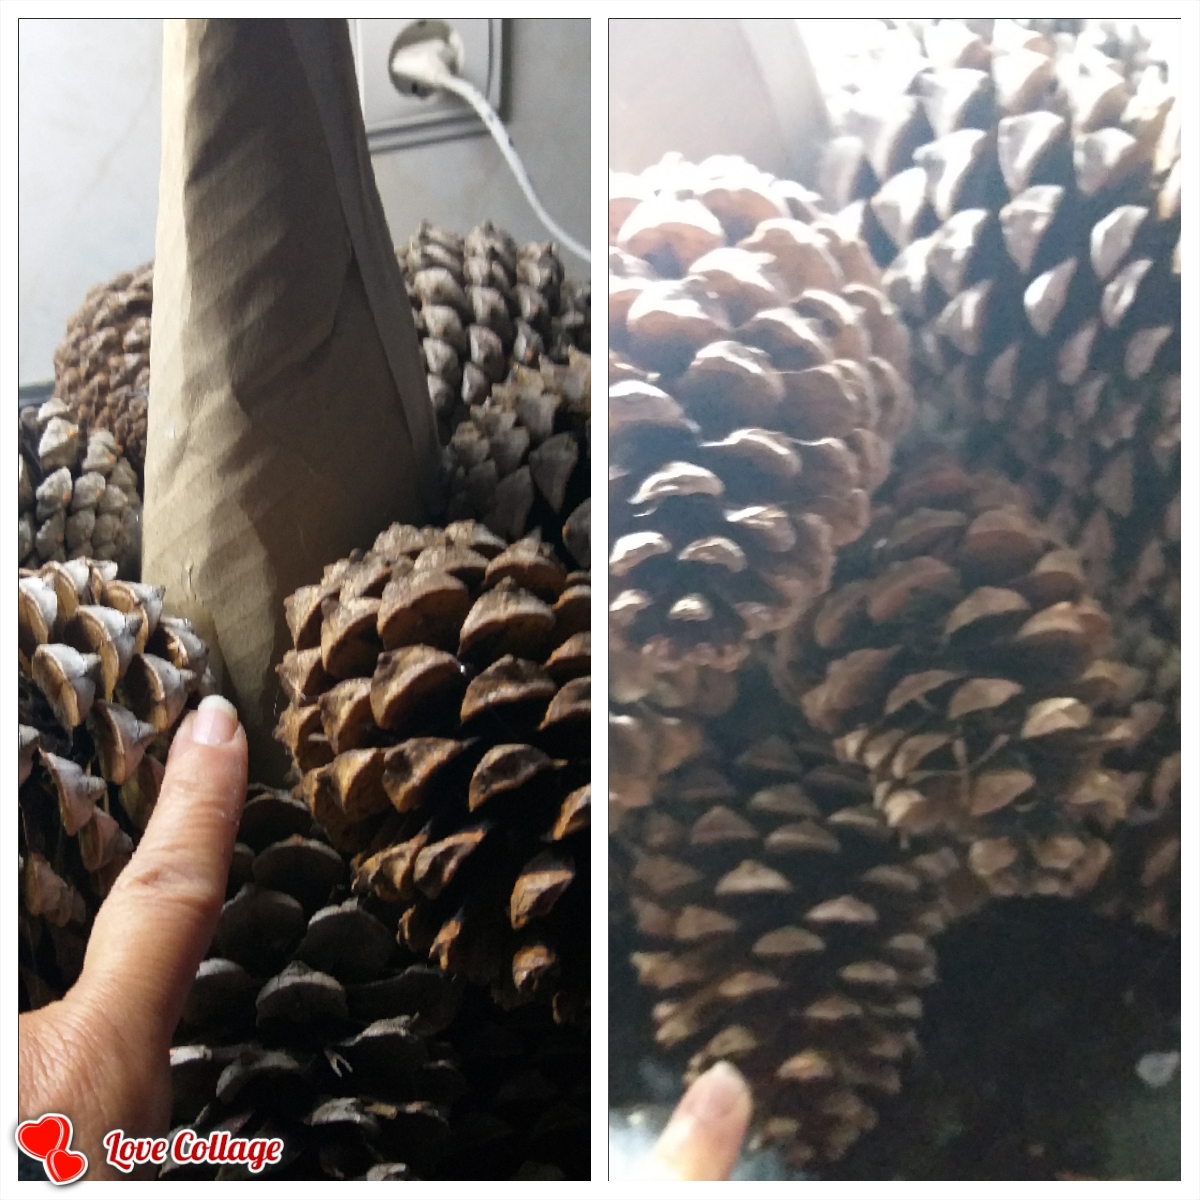
8. Luego de haber pegado hasta la punta con las piñas más pequeñas si quedan huecos rellenar con piñones pequeños y delgados
8. After having glued to the tip with the smallest pinecones if there are gaps, fill with small and thin pine nuts
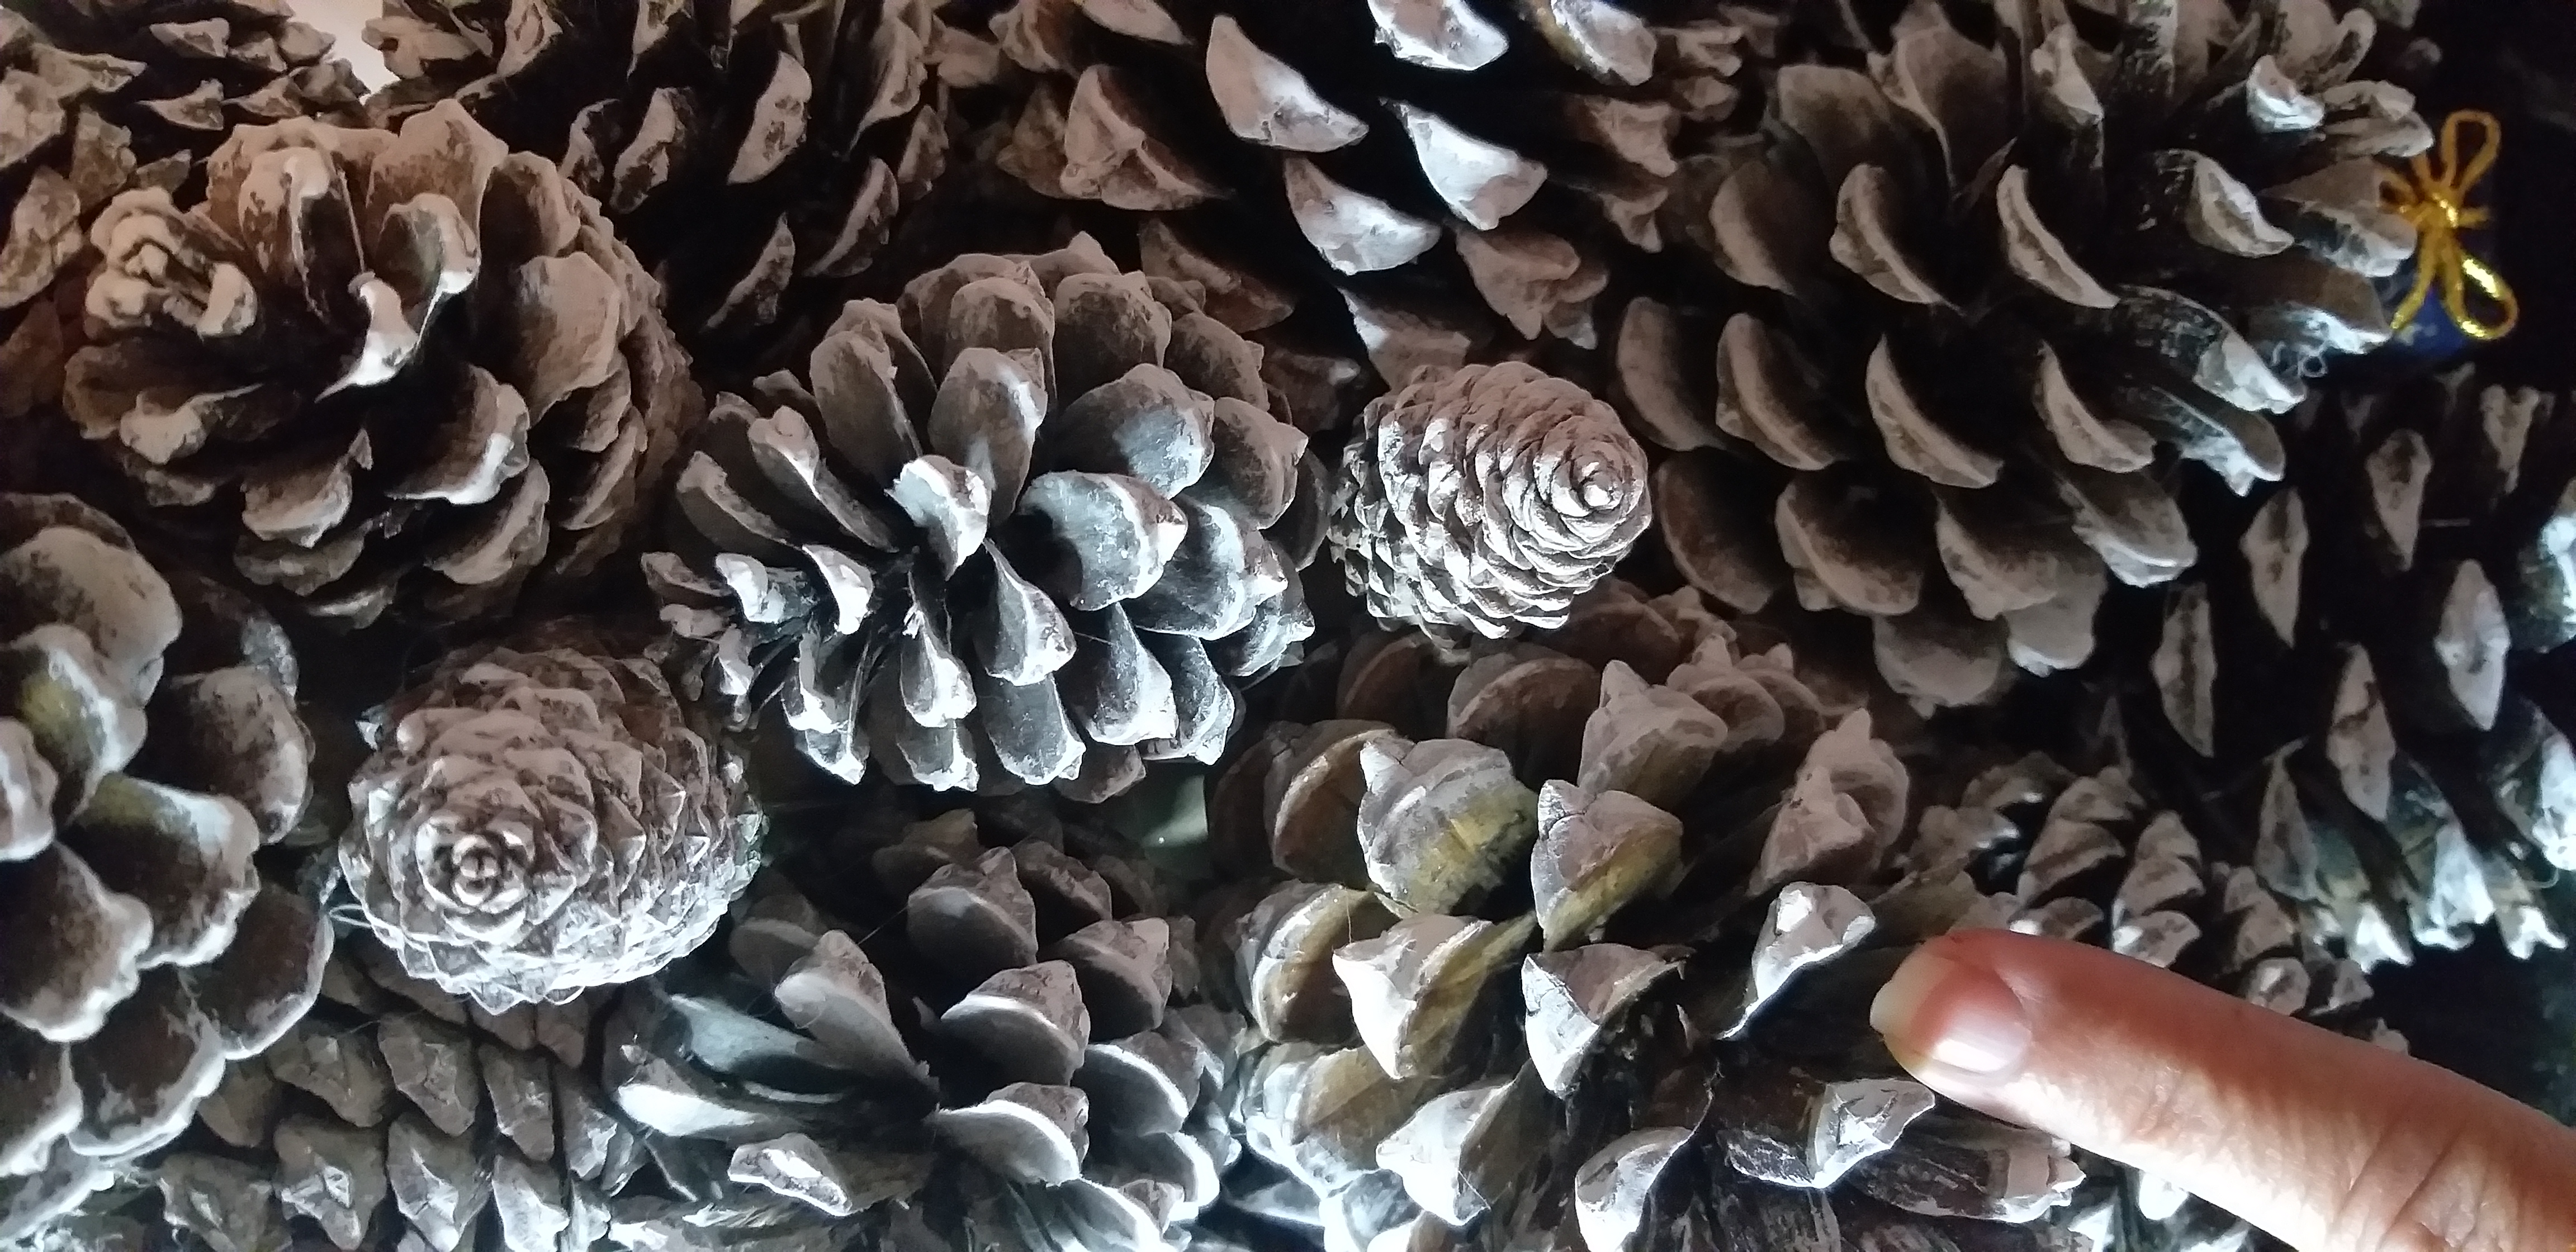
9. Con el pincel grueso y la pintura de color blanco pintar las piñas con la técnica del pincel seco o brochado y dejar secar
9. With the thick brush and the white paint, paint the pineapples with the dry brush or brush technique and let them dry
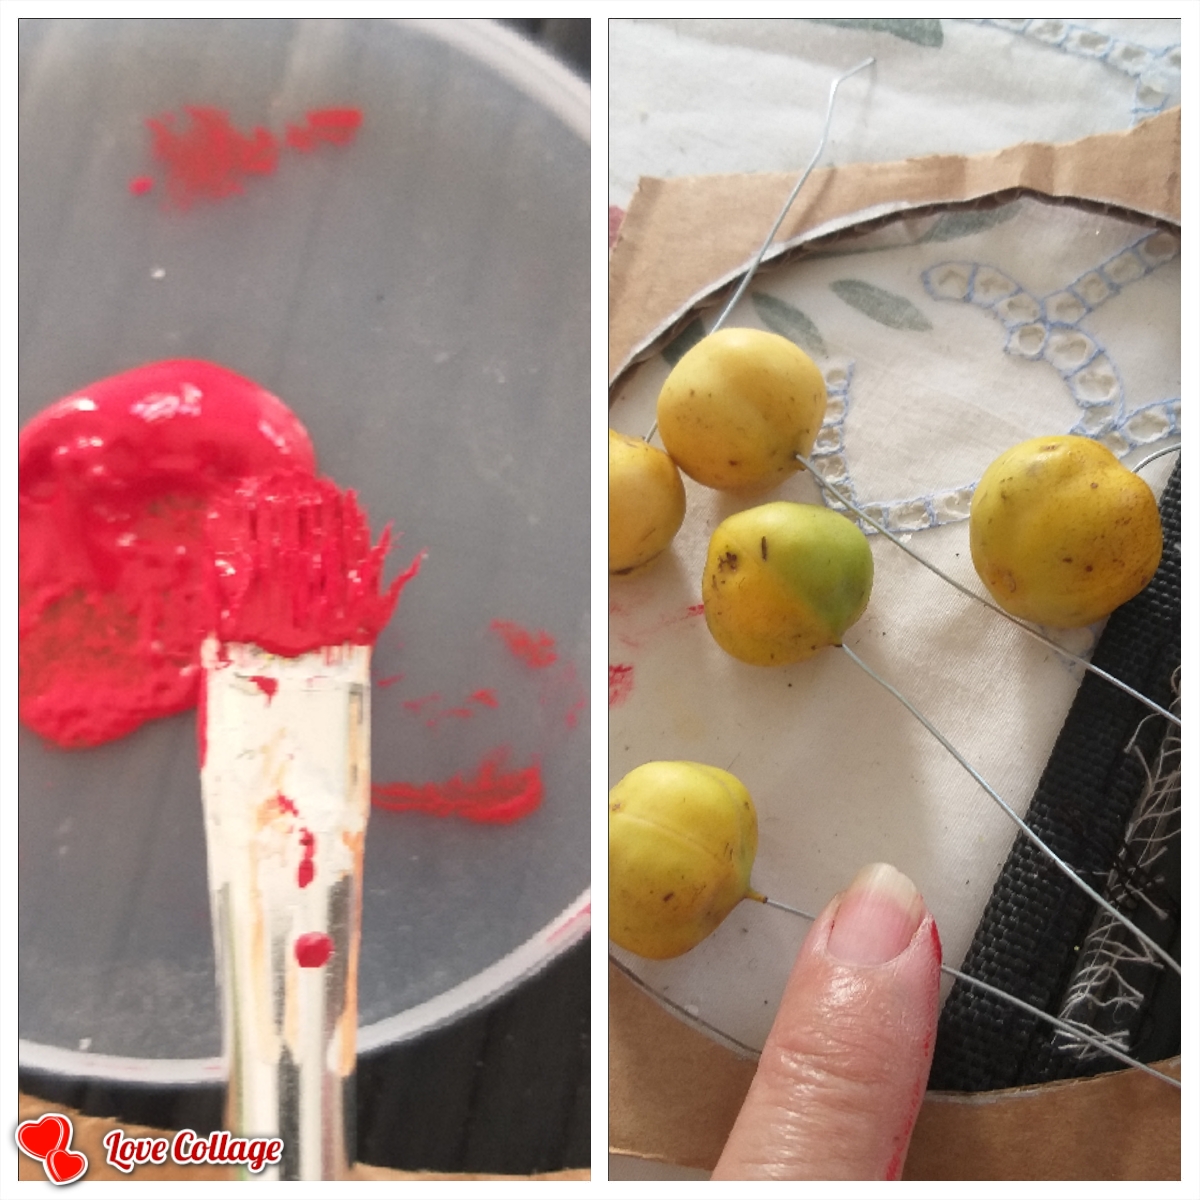
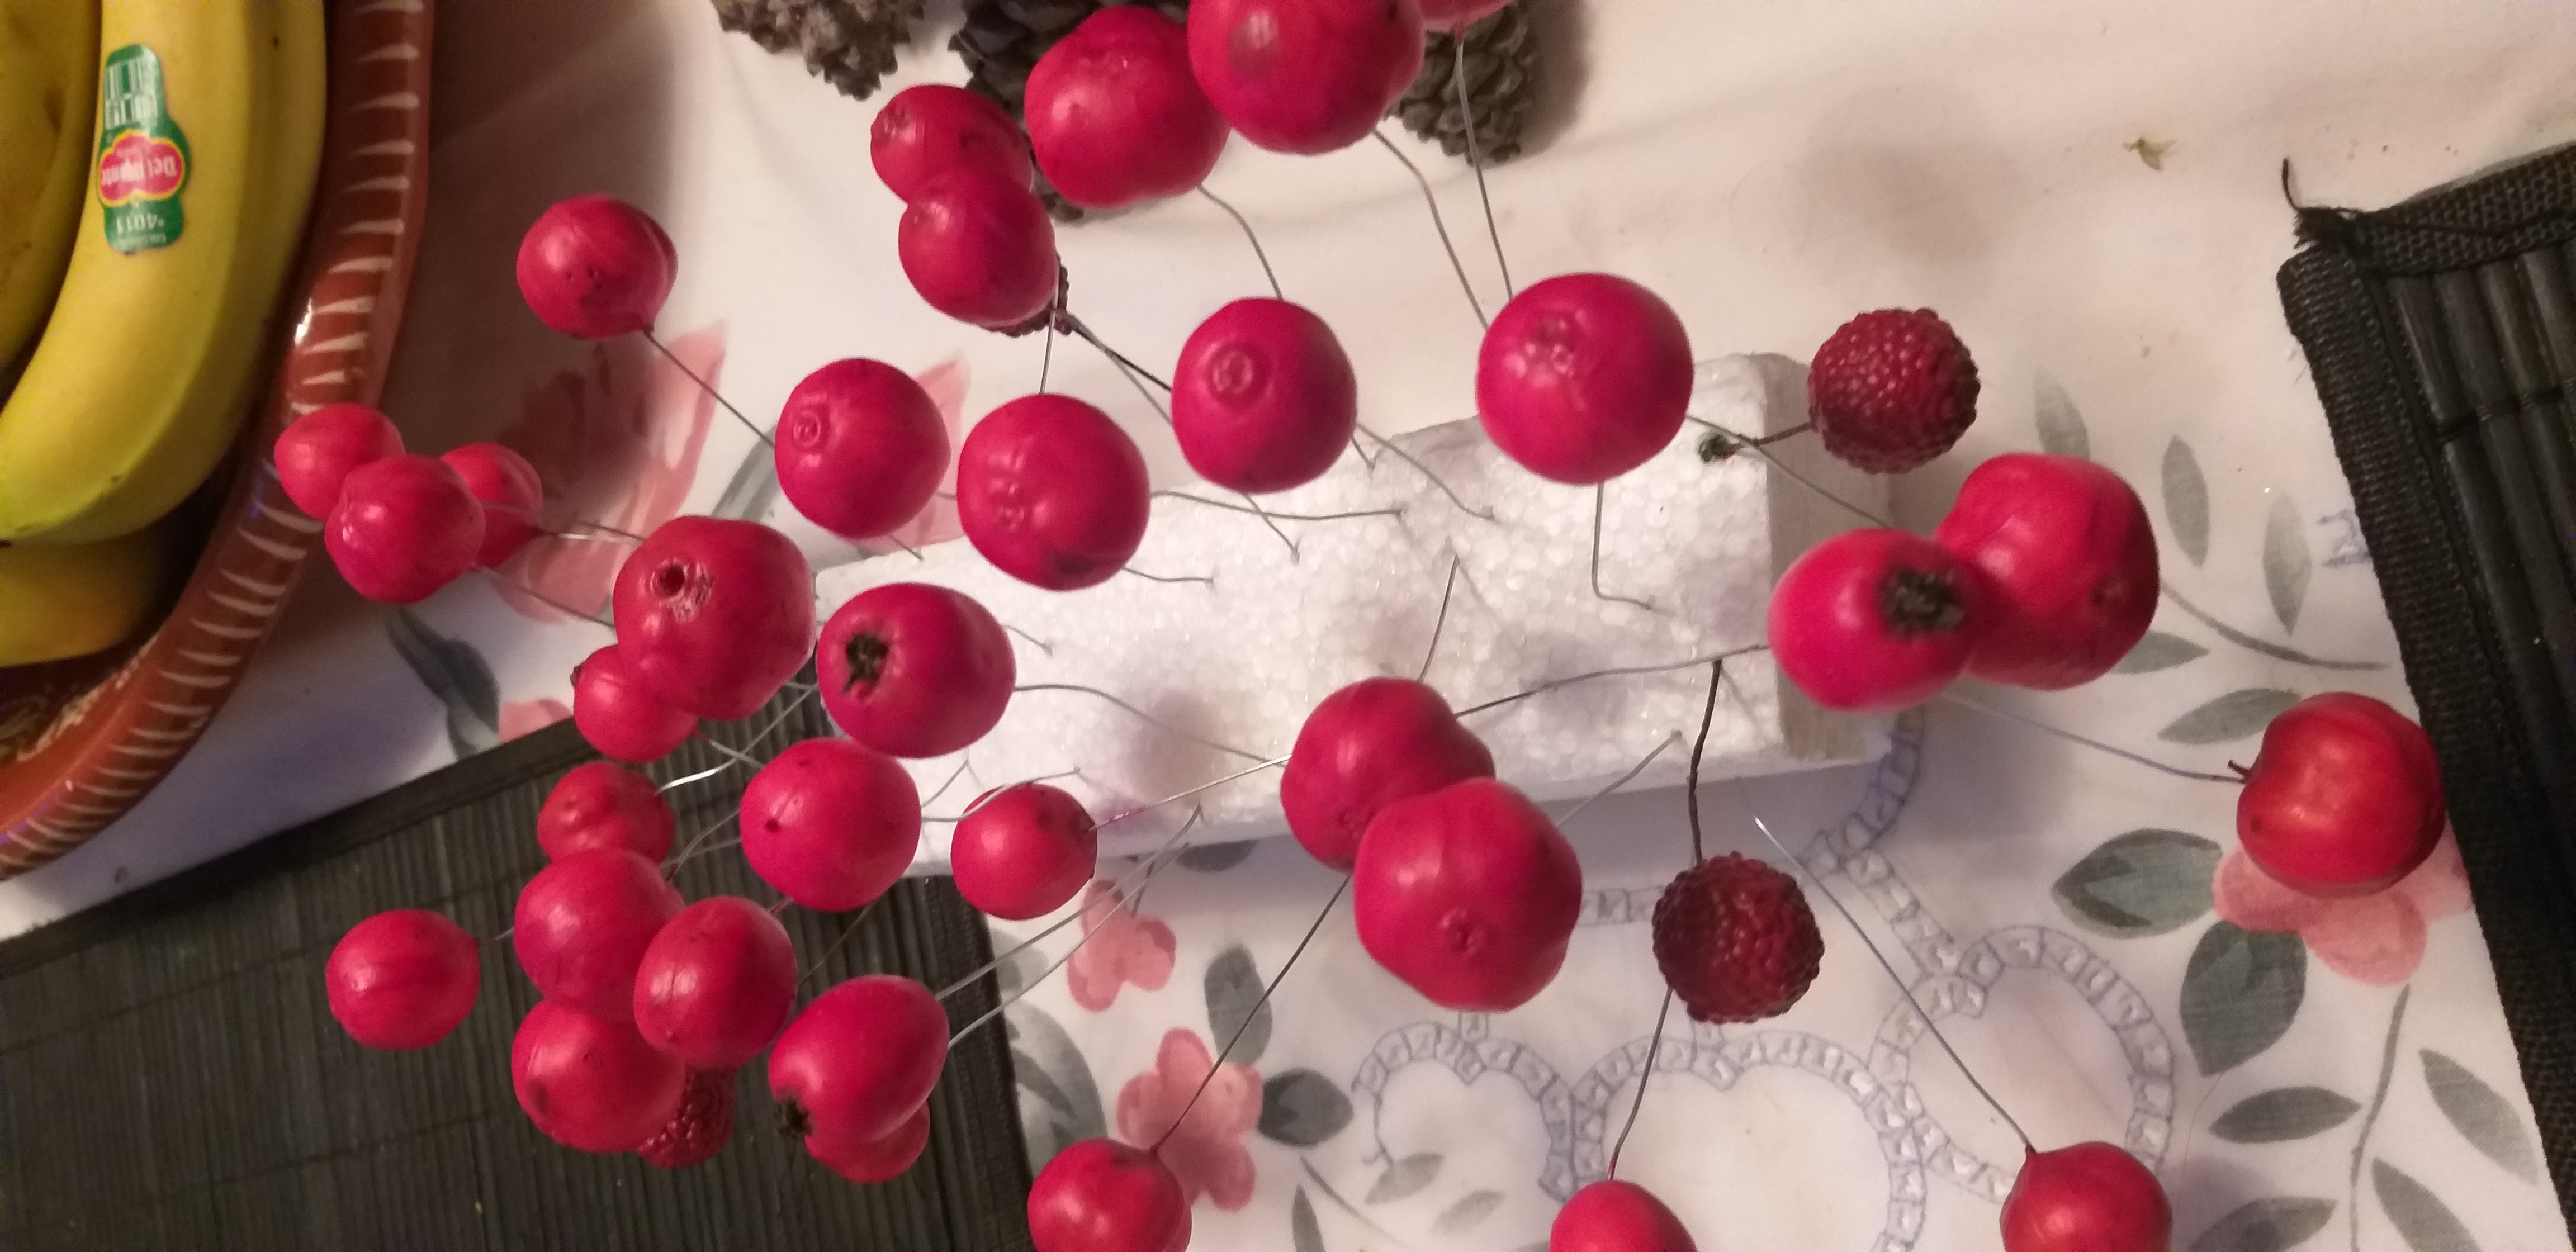
10. Pintar las semillas de color rojo y dejar secar
10. Paint the seeds red and let dry
11. Pegar la guata o algodón en la base para que haga el efecto nieve
11. Stick the wadding or cotton on the base to make the snow effect
12. Con el plato hacer un círculo y marcar en fieltro o tela para tapar el cartón en la parte de abajo
12. With the plate make a circle and mark on felt or cloth to cover the cardboard at the bottom
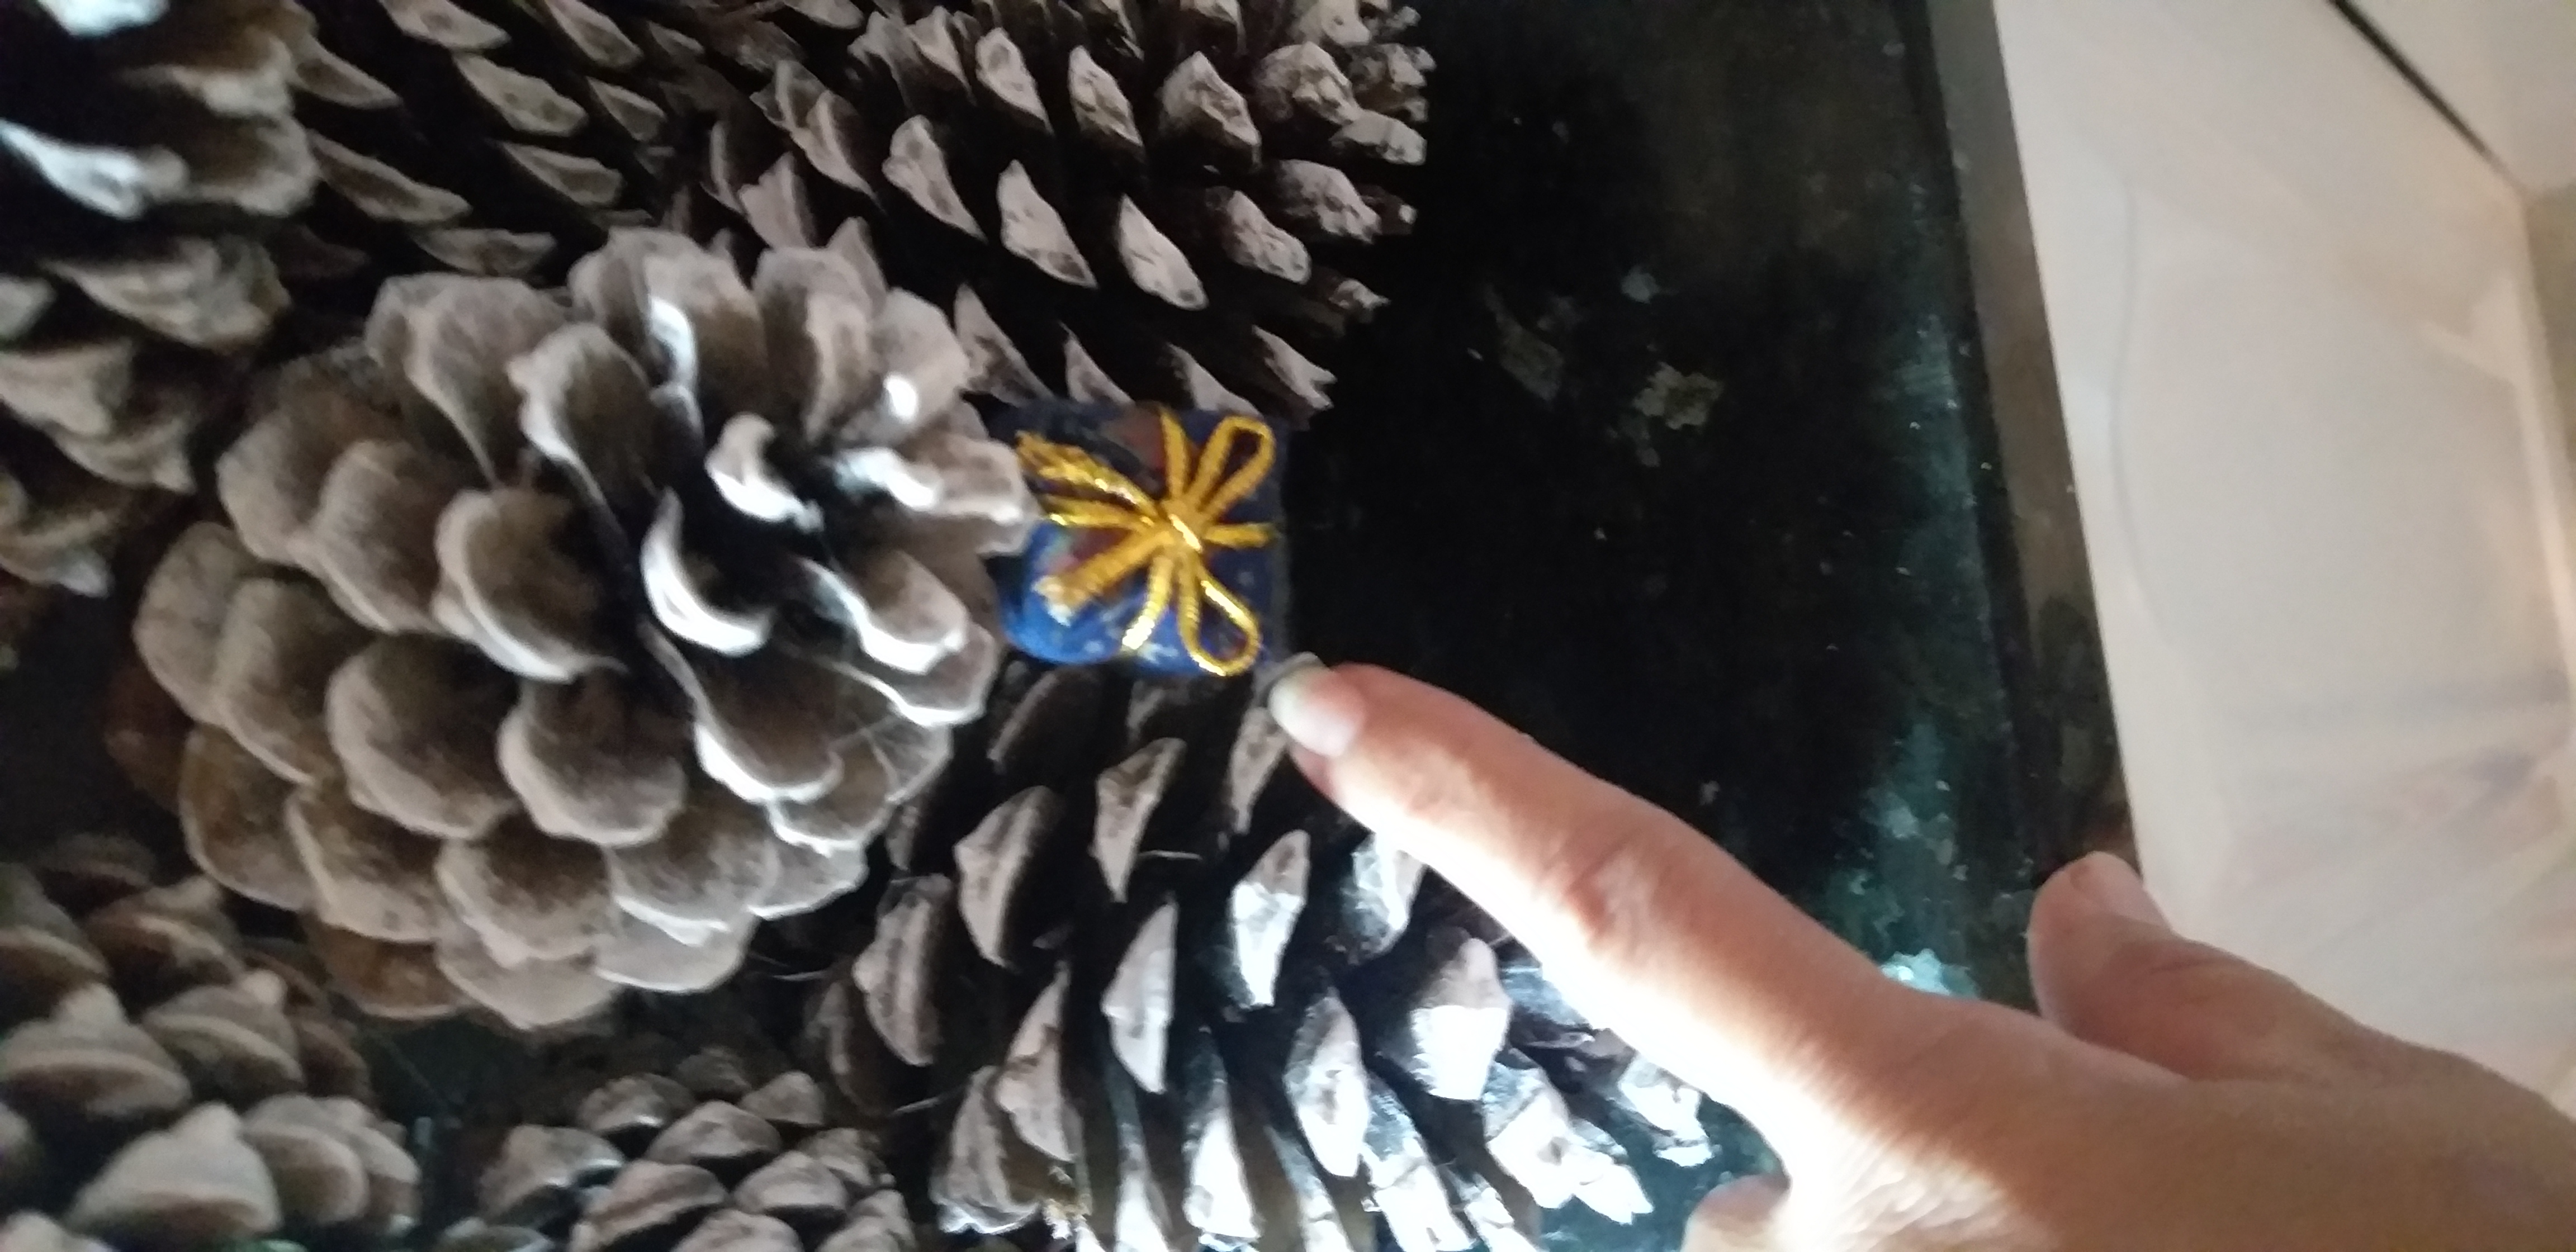
13. Por último decorar con todos los adornos que tenga; puede pegar regalos en la parte de abajo
13. Finally, decorate with all the decorations you have; you can stick gifts on the bottom
Espero que le haya gustado mi manualidad de hoy con materiales reciclables y de provecho. Gracias por su apoyo.🥰😘
Las fotos son tomadas por mi teléfono móvil Samsung Galaxy A6 y el gif de Google.PinteresT
I hope you liked my craft today with recyclable and useful materials. Thank you for your support.
The photos are taken by my Samsung Galaxy A6 mobile phone and the Google gif.
Thank you for sharing this amazing post on HIVE!
Your content got selected by our fellow curator @priyanarc & you just received a little thank you via an upvote from our non-profit curation initiative!
You will be featured in one of our recurring curation compilations and on our pinterest boards! Both are aiming to offer you a stage to widen your audience within and outside of the DIY scene of hive.
Join the official DIYHub community on HIVE and show us more of your amazing work and feel free to connect with us and other DIYers via our discord server: https://discord.io/diyhub!
If you want to support our goal to motivate other DIY/art/music/homesteading/... creators just delegate to us and earn 100% of your curation rewards!
Stay creative & hive on!
Thanks very much for your support 👍🥰