Hola colegas músicos, hoy les traigo un tutorial muy interesante. hace unos días un amigos vio mis bongos con parches sintéticos a base de radiografías, y me pidió que hiciera lo mismo con sus bongos. En eso aproveche para registrar todo el proceso y mostrarlo aquí en hive :D
Hello fellow musicians, today I bring you a very interesting tutorial. A few days ago a friend of mine saw my bongos with synthetic patches based on x-rays, and asked me to do the same with his bongos. So I took the opportunity to record the whole process and show it here on hive :D
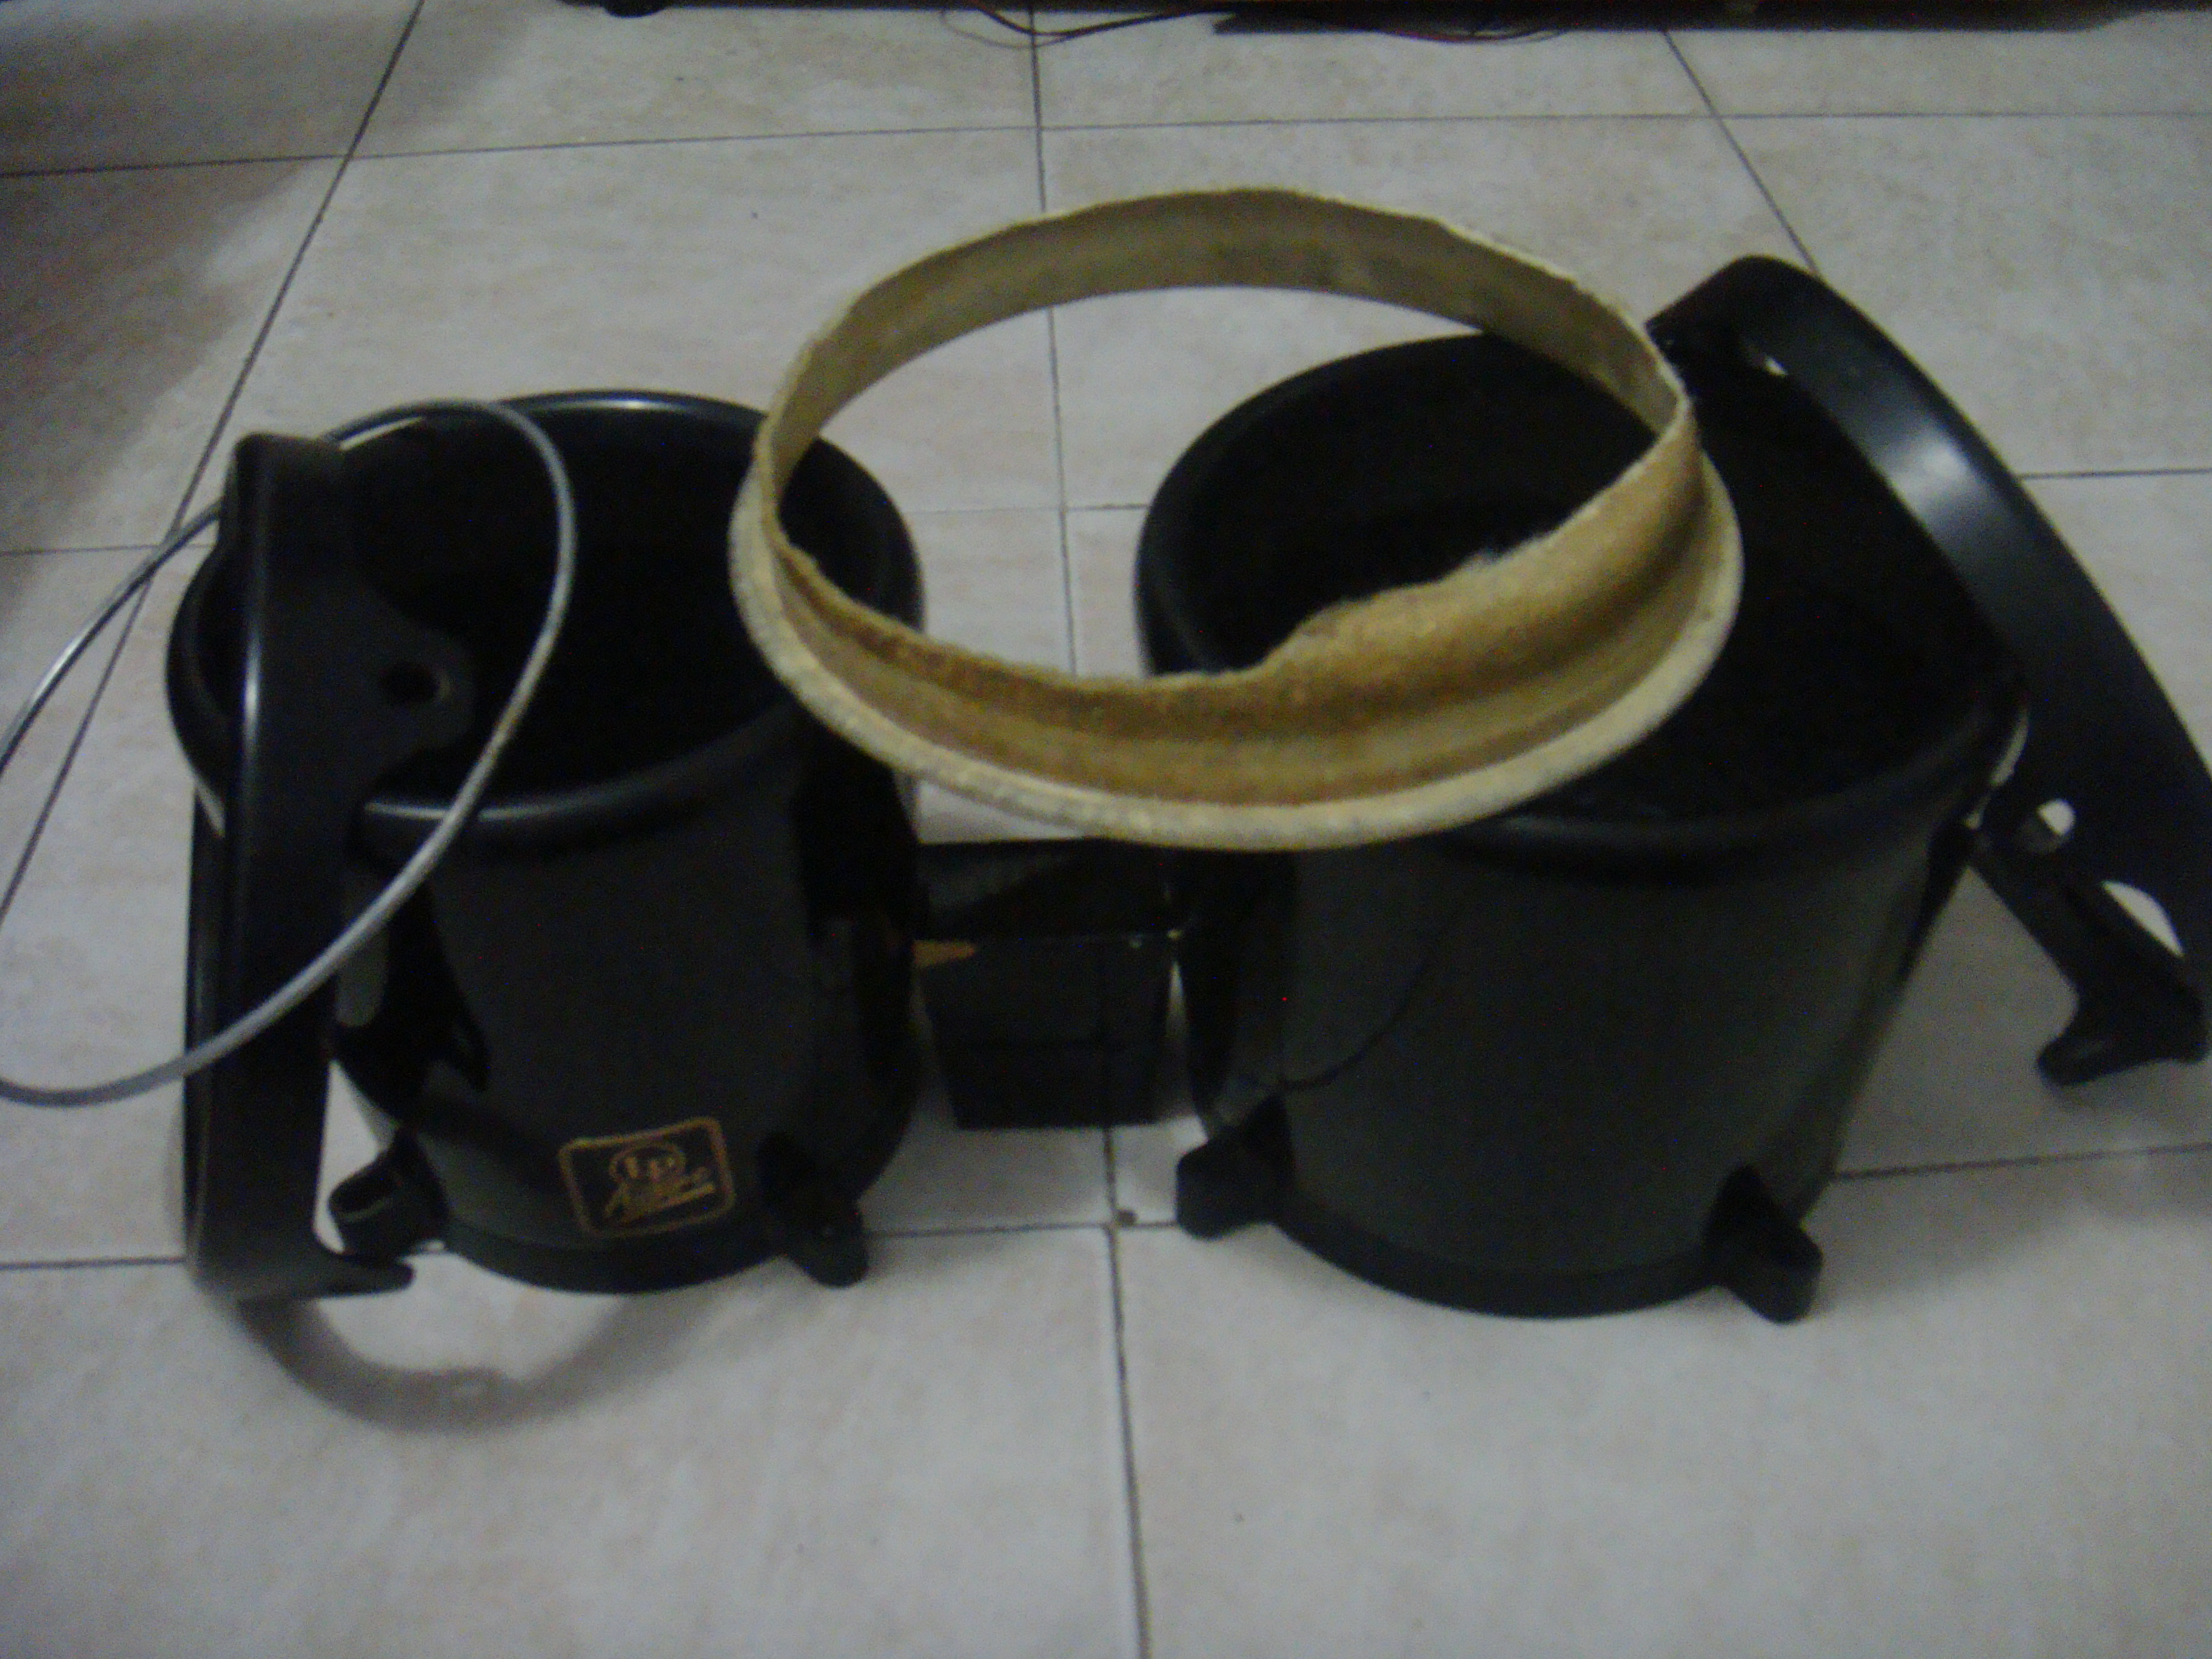
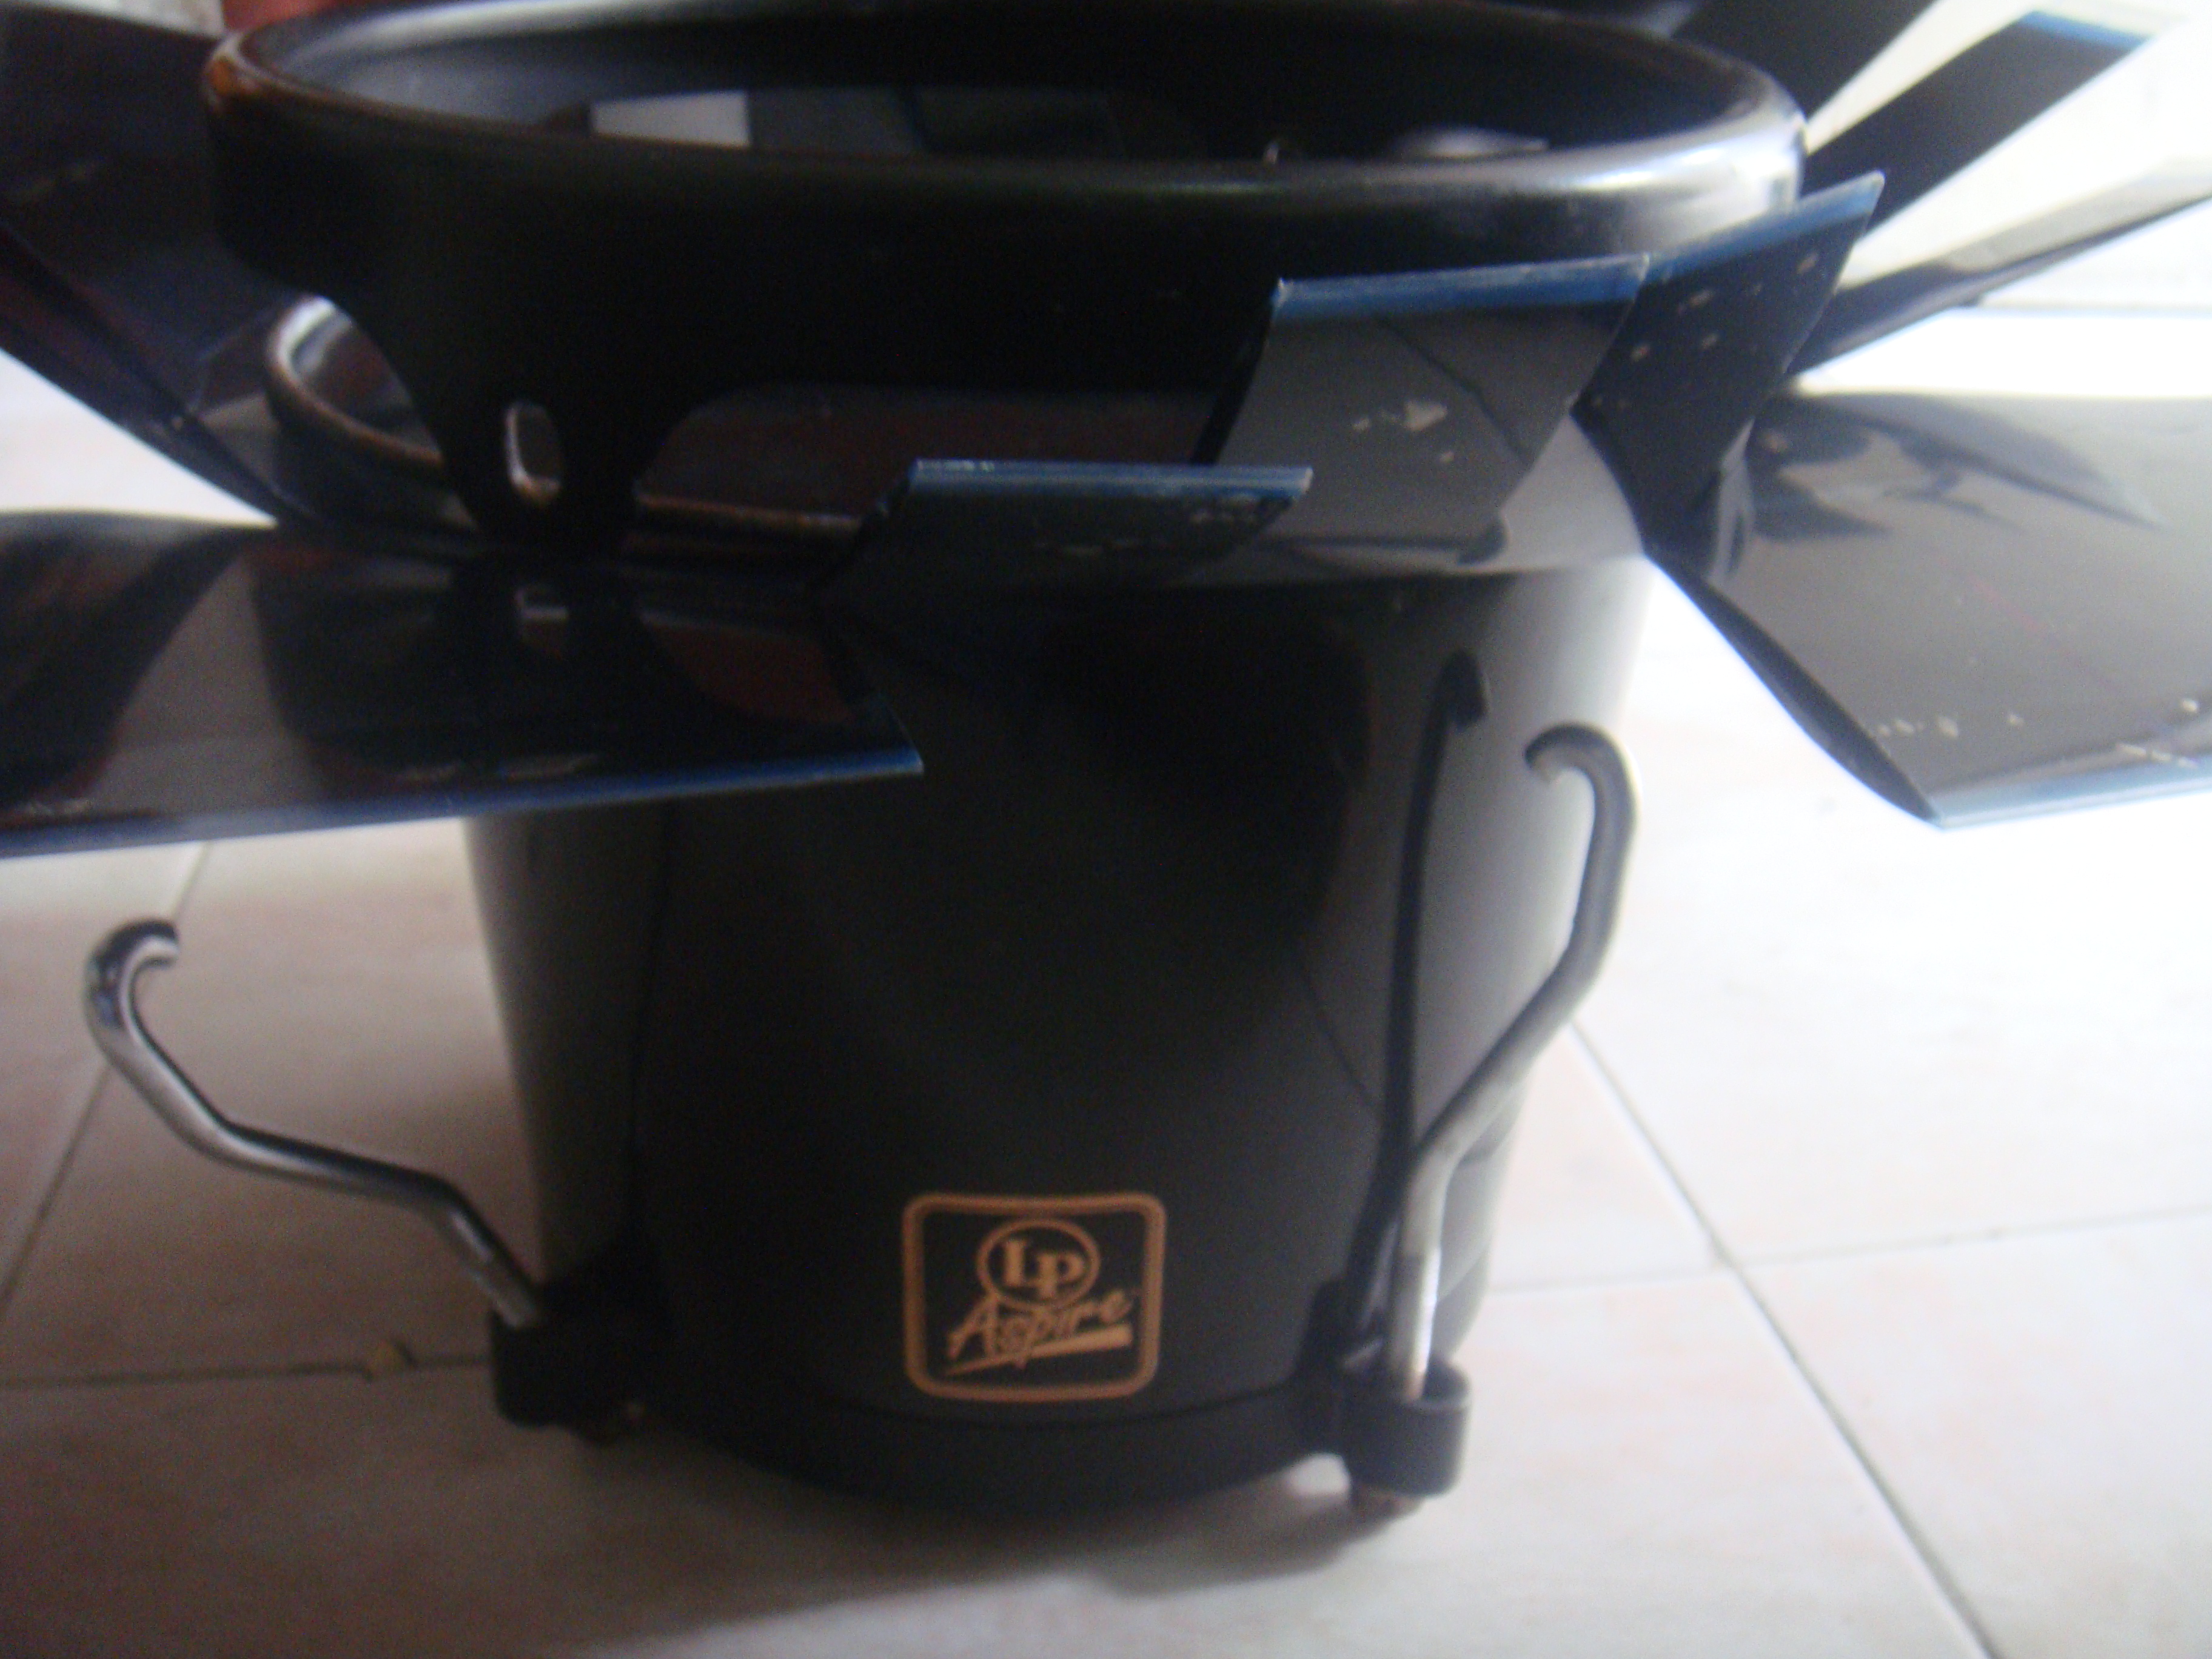
Estos son los bongos que le vamos a colocar el parche de radiografías, son unos LP Aspire. Ya los había desarmado con anterioridad y el cuero roto lo remoje en agua para retirarlo y quedar solo con el aro.
These are the bongos that we are going to put the x-ray patch on, they are LP Aspire. I had already disassembled them previously and soaked the broken leather in water to remove it and be left with just the rim.
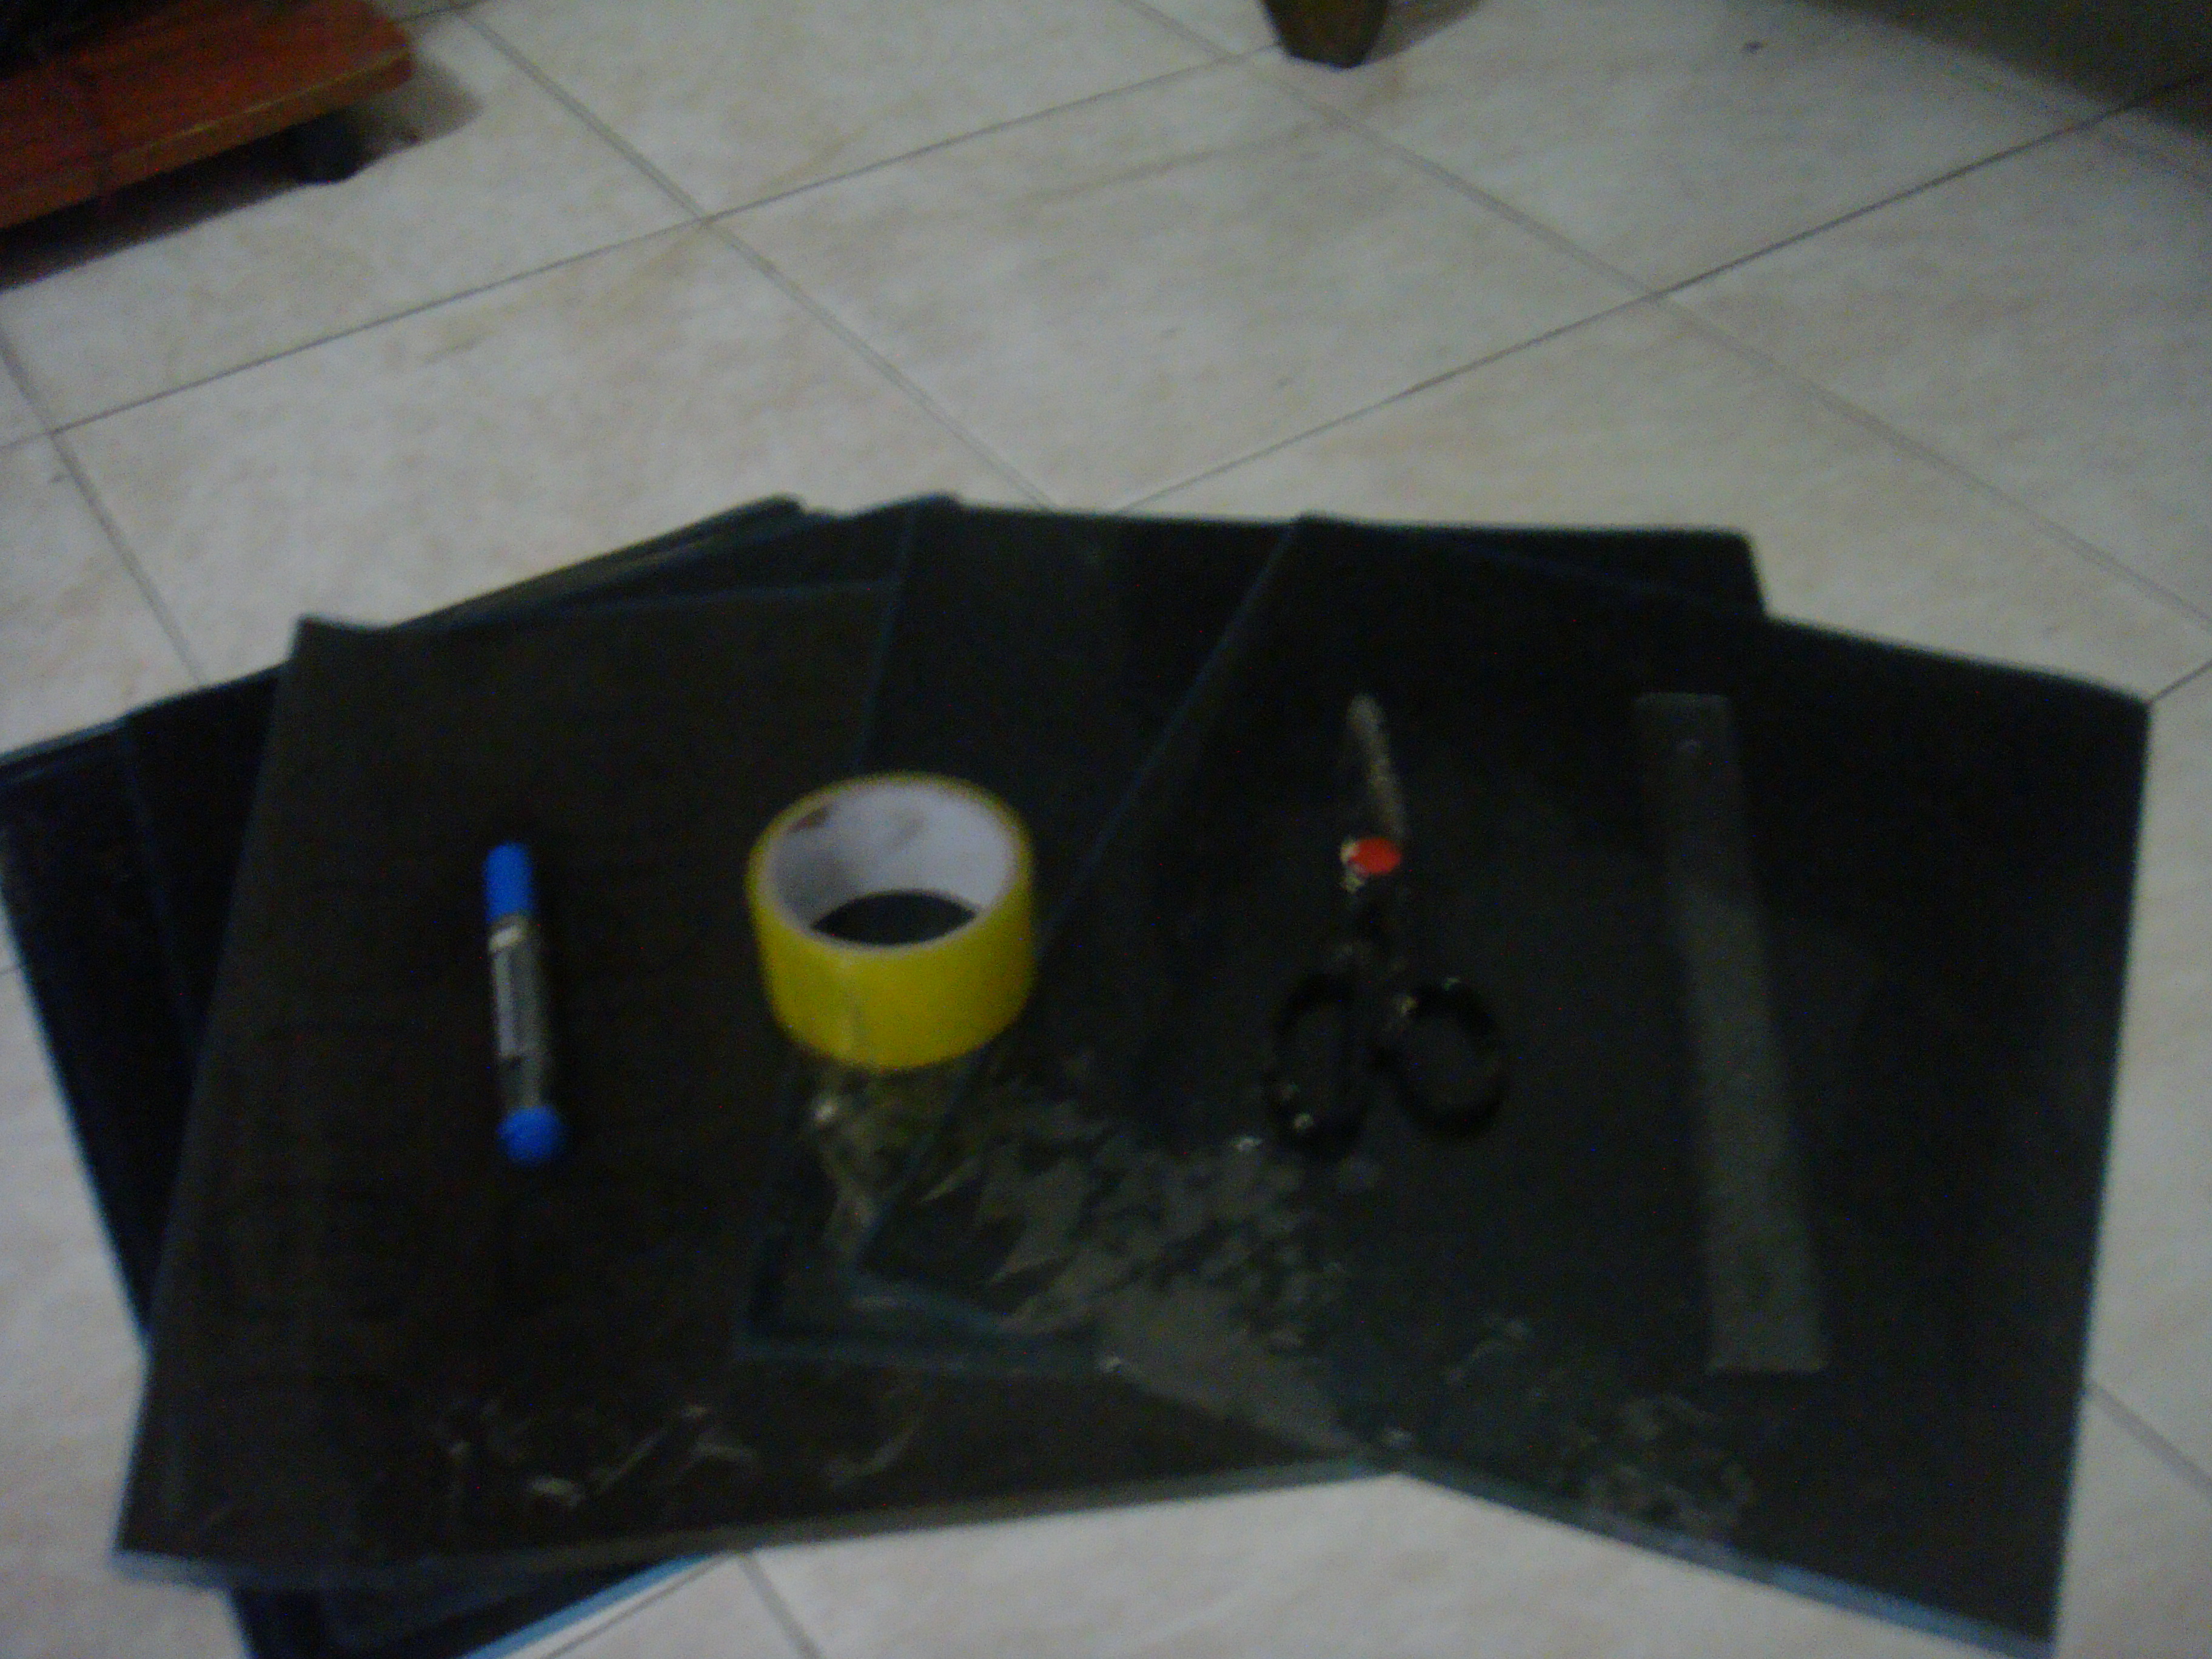
Los materiales que vamos a usar son
Cinta adhesiva
Regla
Marcador
tijera
radiografías (grandes)
The materials we will use are
Adhesive tape
Ruler
Marker
scissors
X-rays (large)
En este caso voy a colocar 3 radiografías a cada parche.
In this case I am going to place 3 X-rays to each patch.
Mientras mas pongan mas opaco será el sonido, si colocan solo una el sonido sera como el de una lata y si colocan mas de 5 el montaje con el aro sera mas complicado.
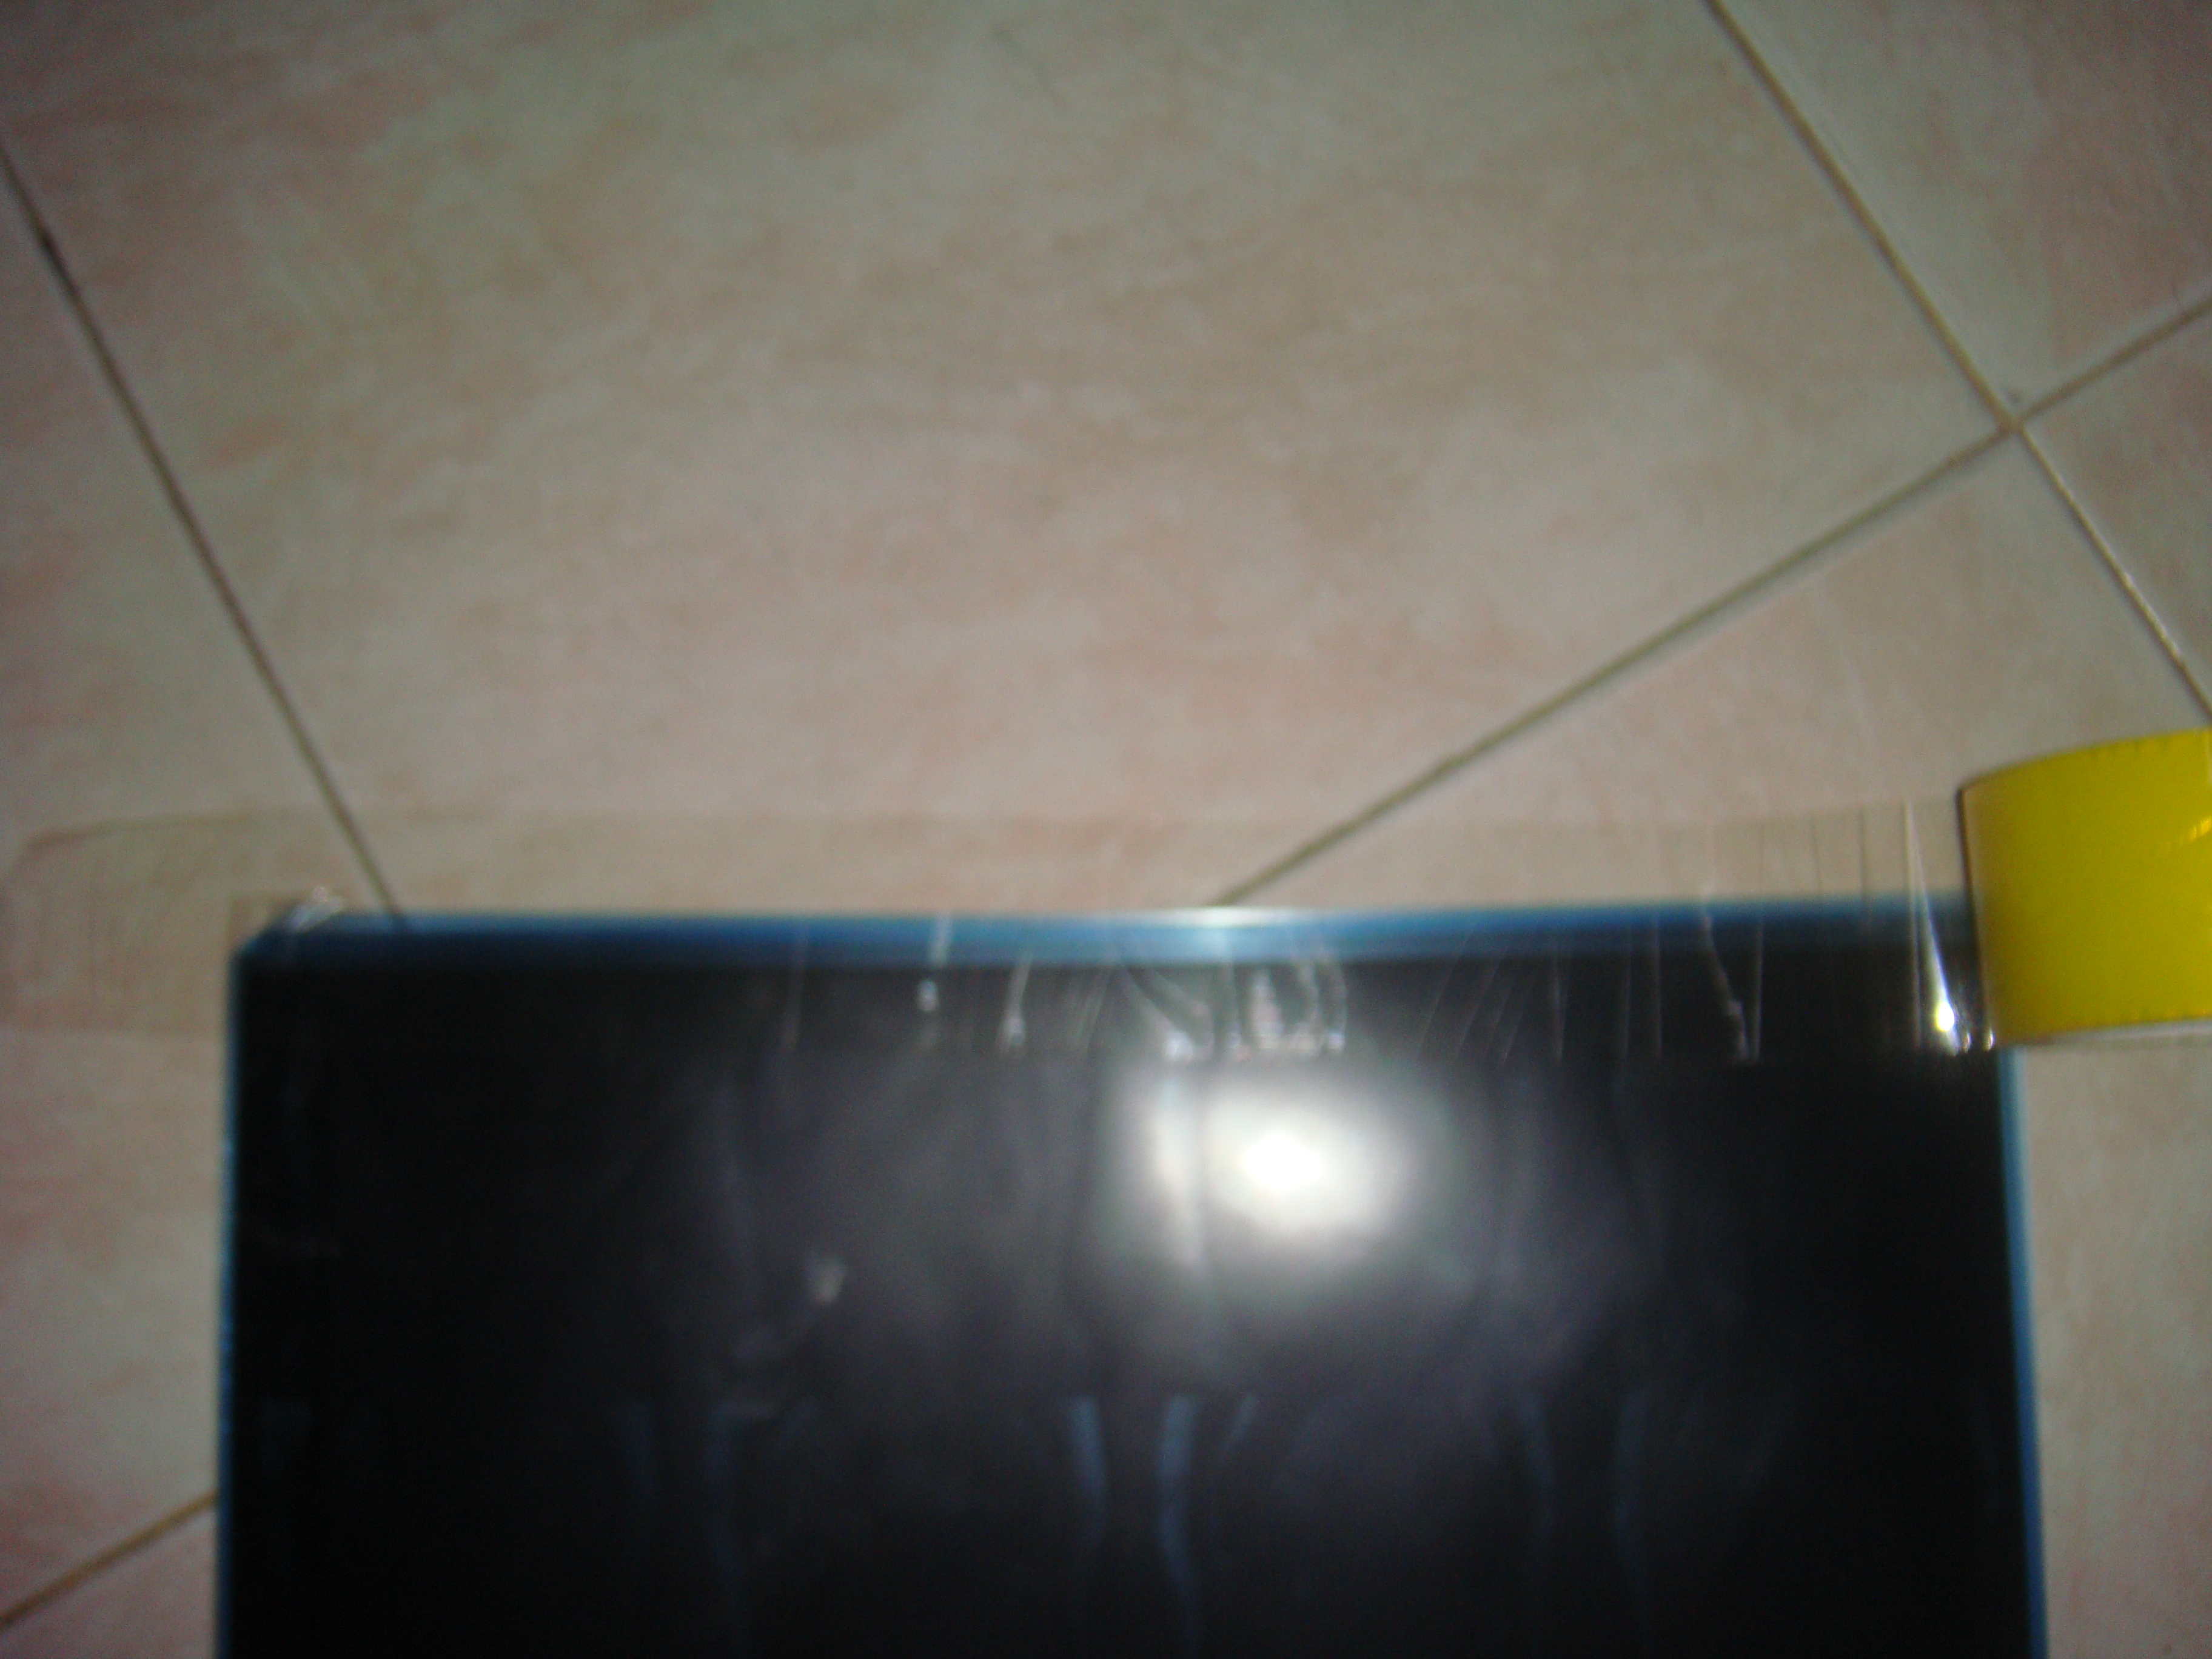
Entonces, como les dije coloque las 3 radiografiaras y las fije con la cinta.
The more you place the more opaque the sound will be, if you place only one the sound will be like that of a can and if you place more than 5 the mounting with the ring will be more complicated.
So, as I told you I placed the 3 radiographs and fixed them with the tape
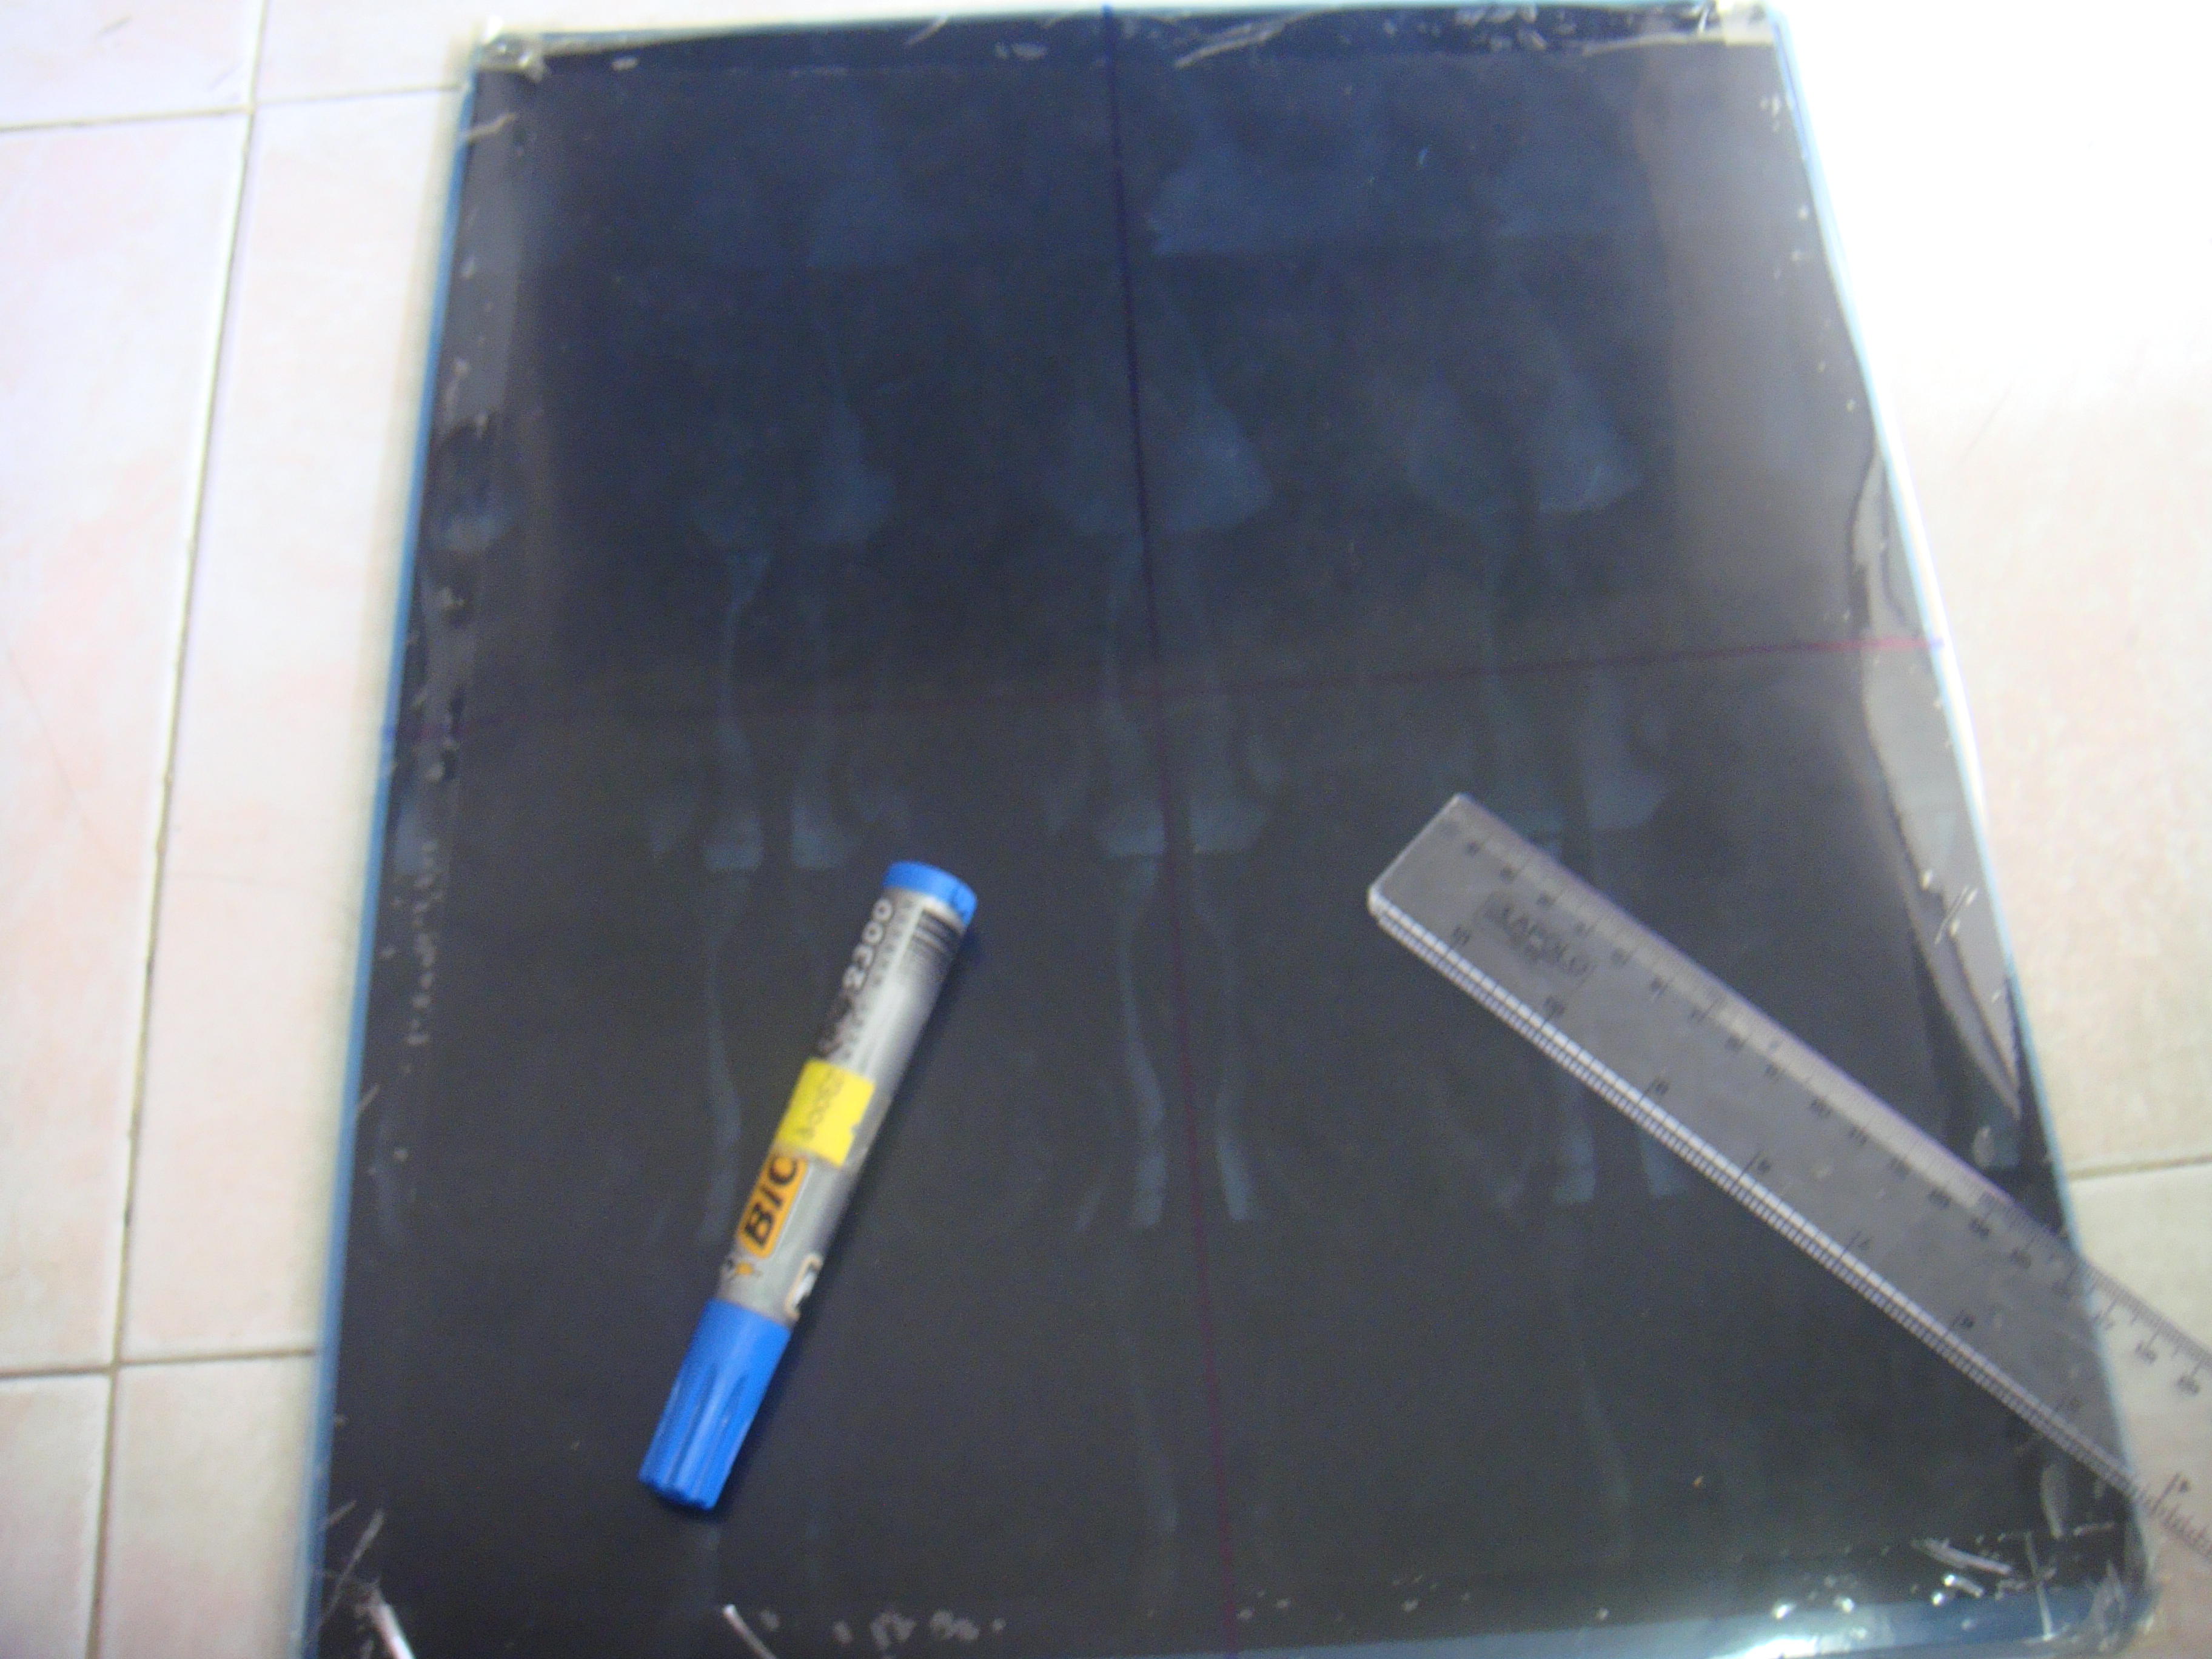
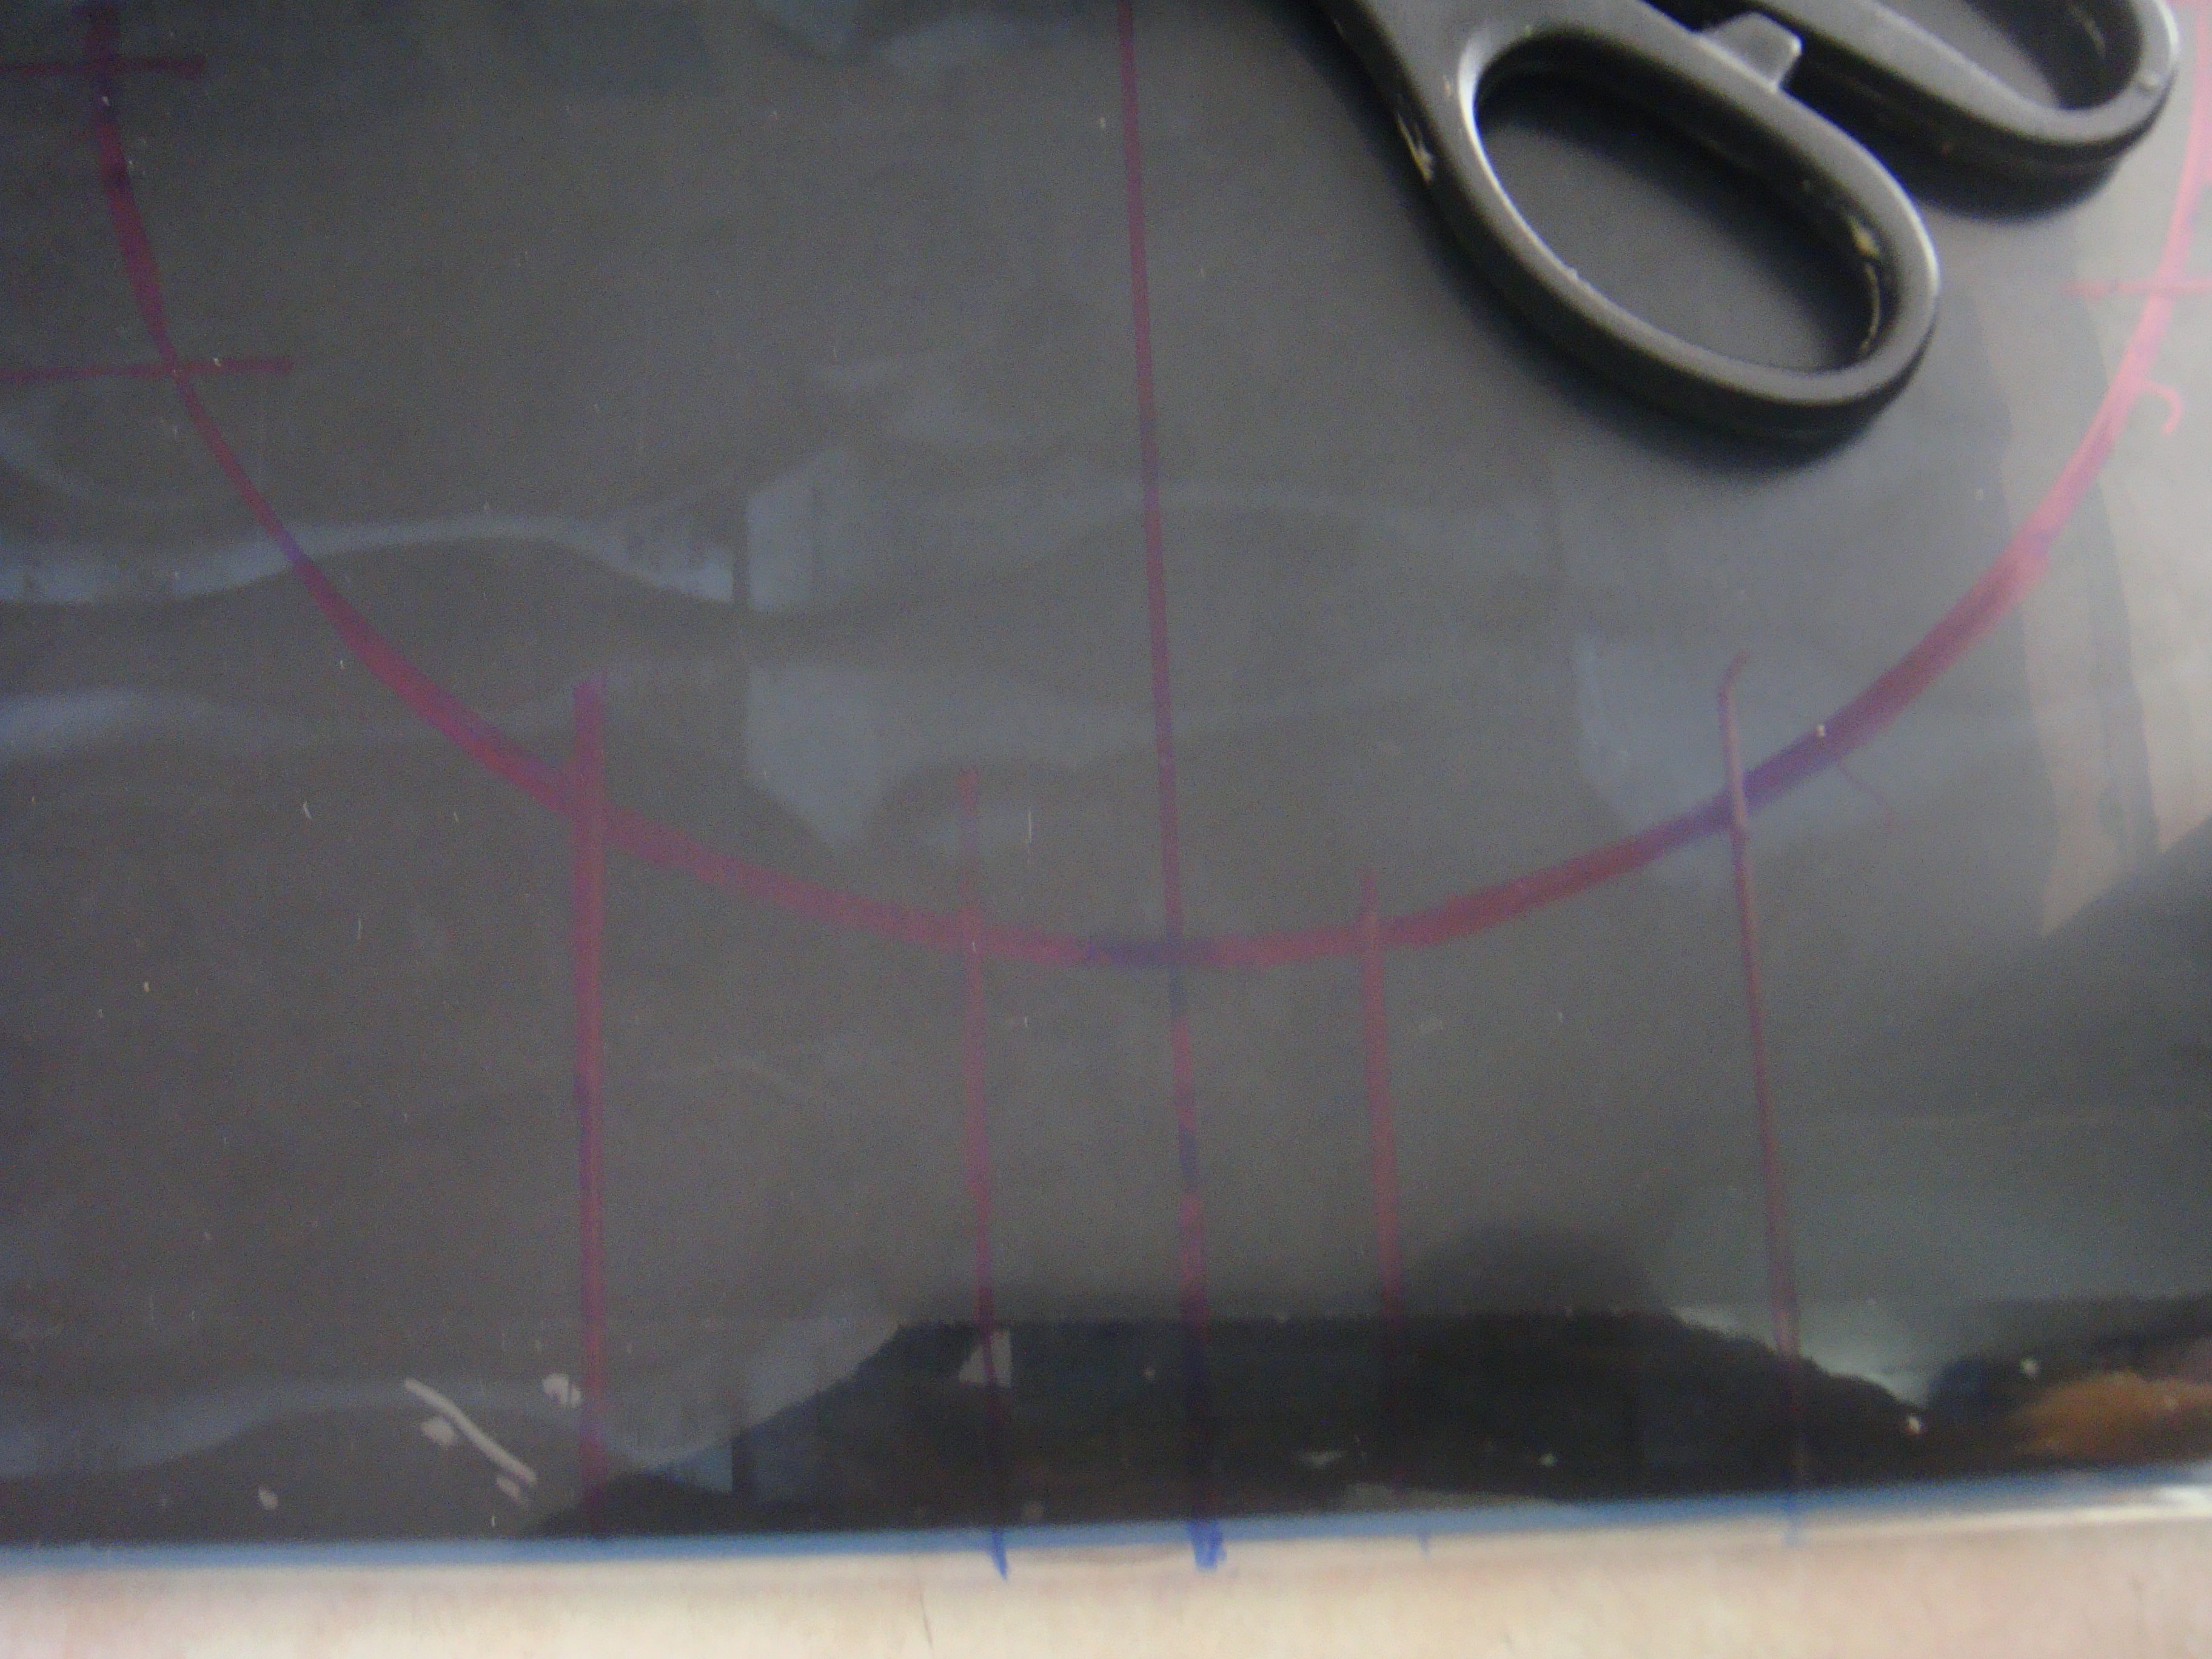
Lo siguiente será hacer una cruz en el centro ayudándonos con la regla
The next step is to make a cross in the center with the help of a ruler.
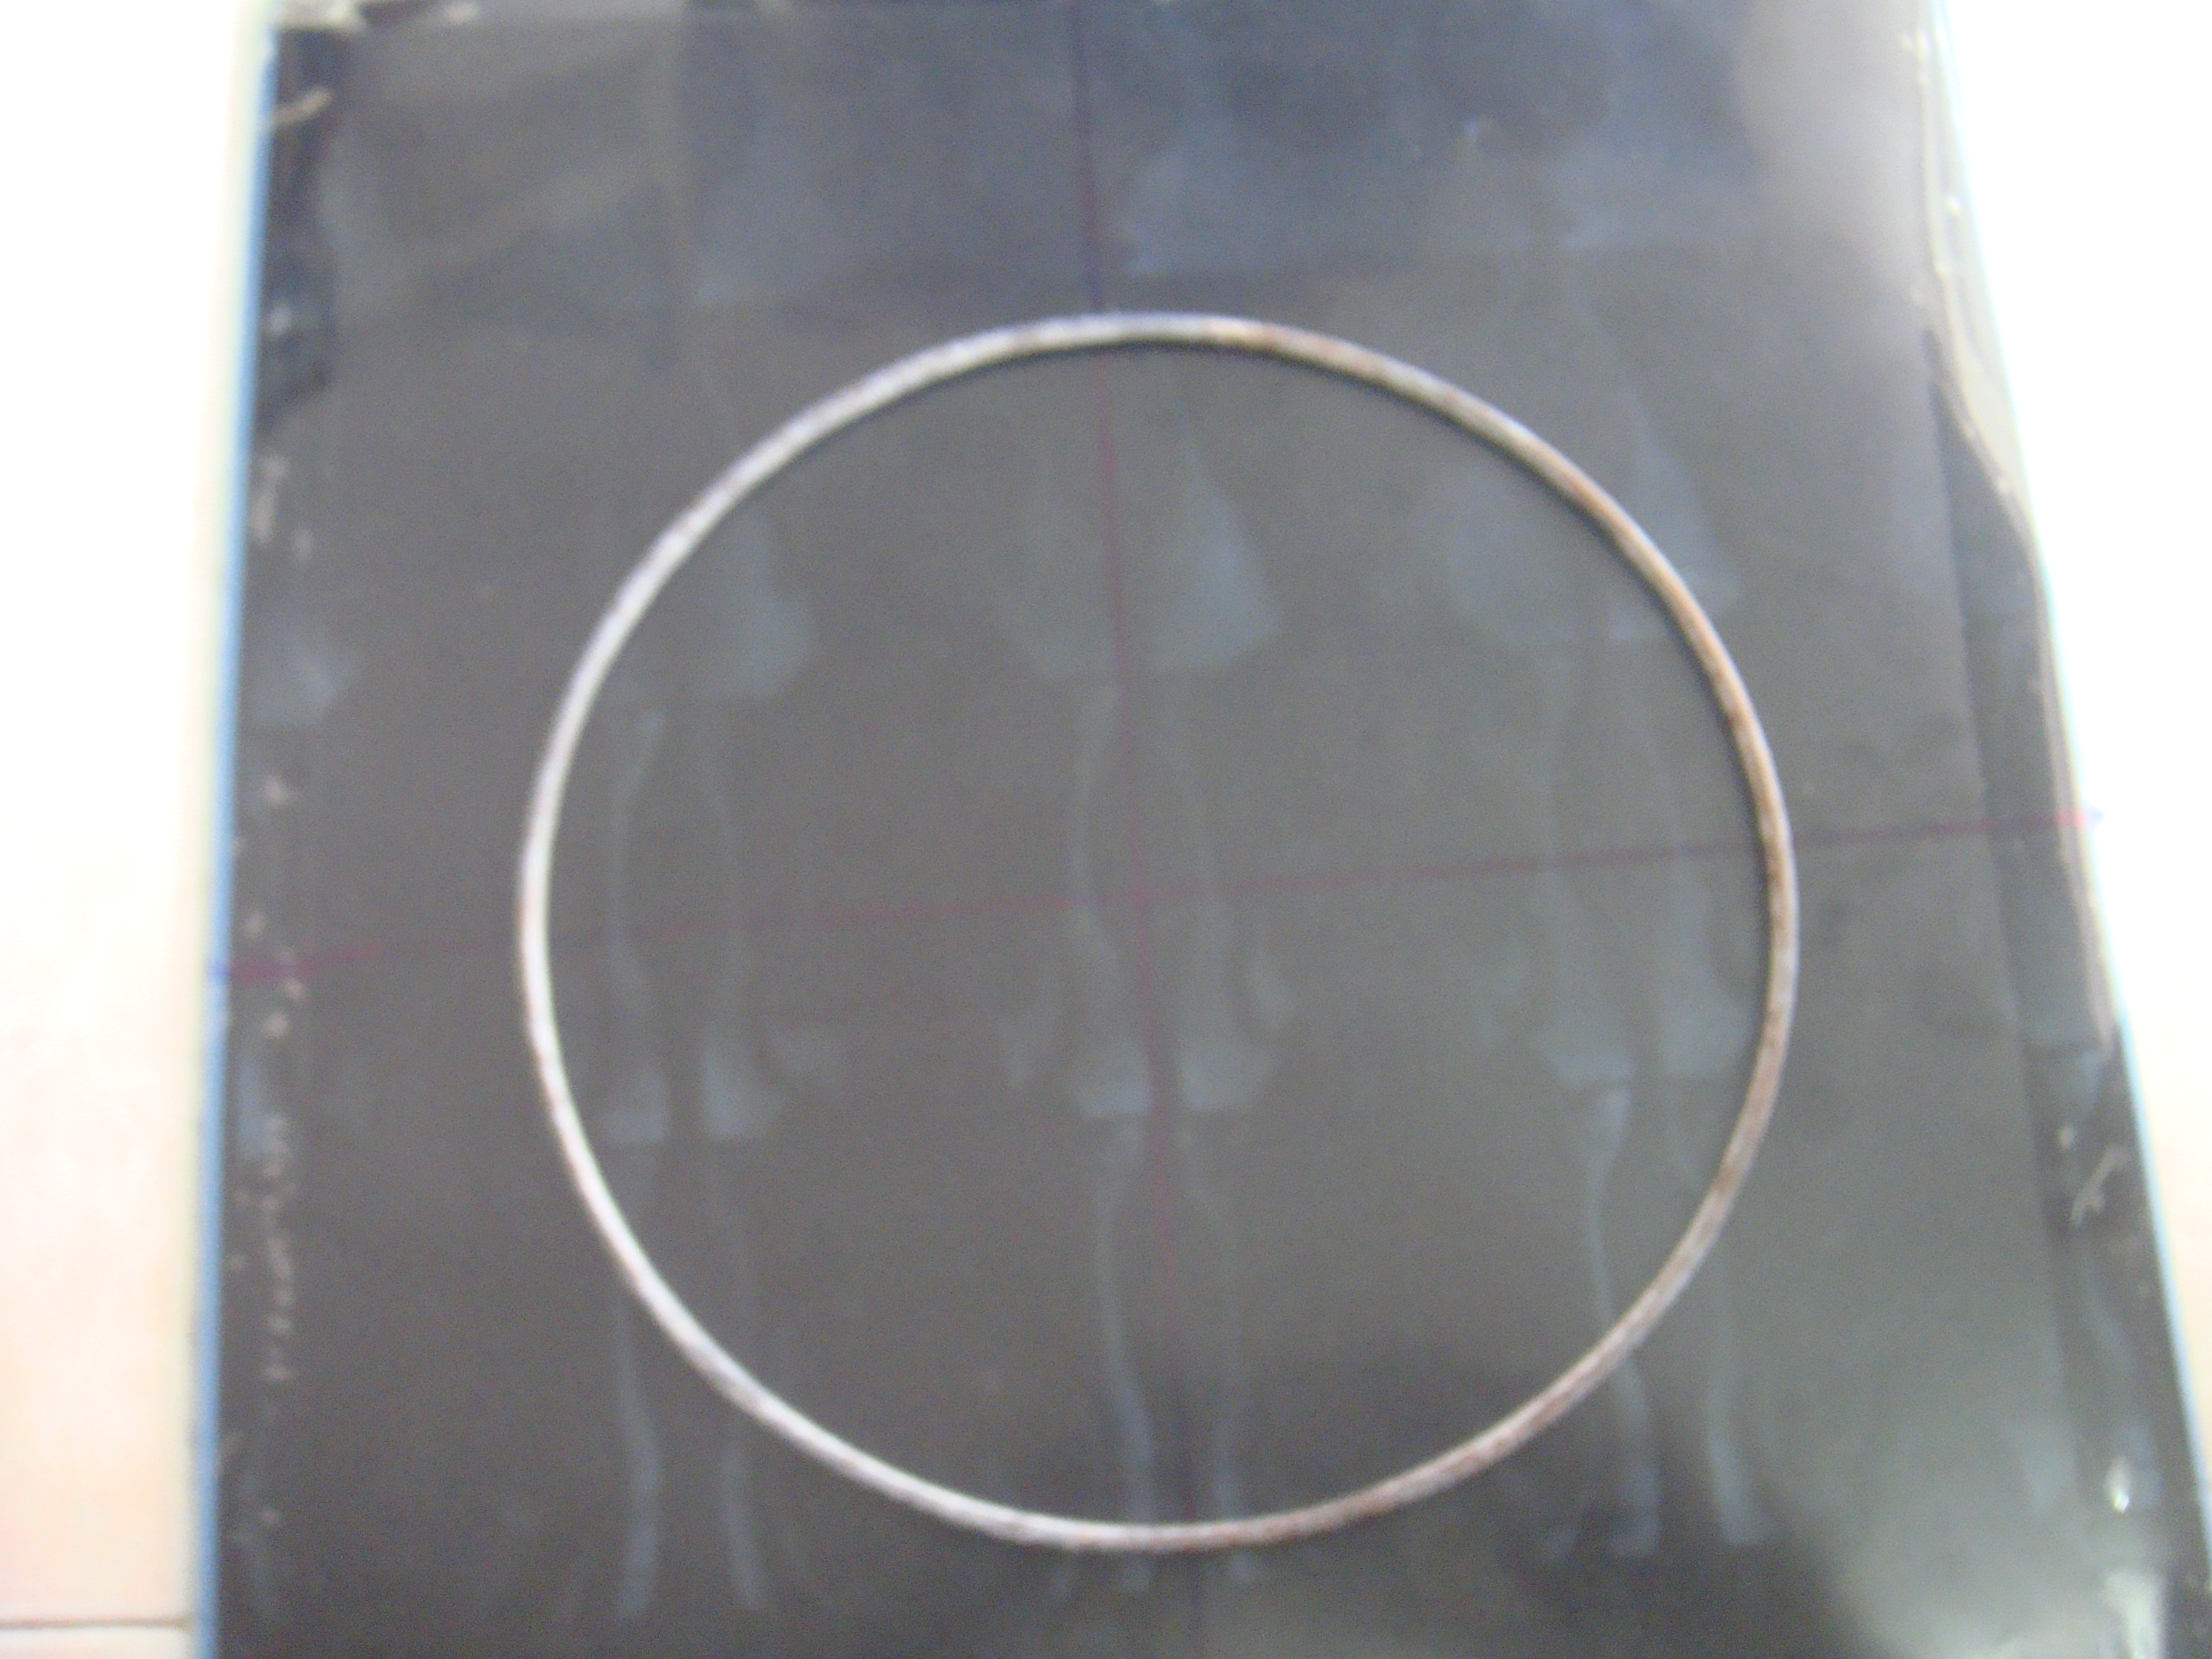
Ubicamos el aro en el centro y lo marcamos en la radiografía
We place the ring in the center and mark it on the X-ray.
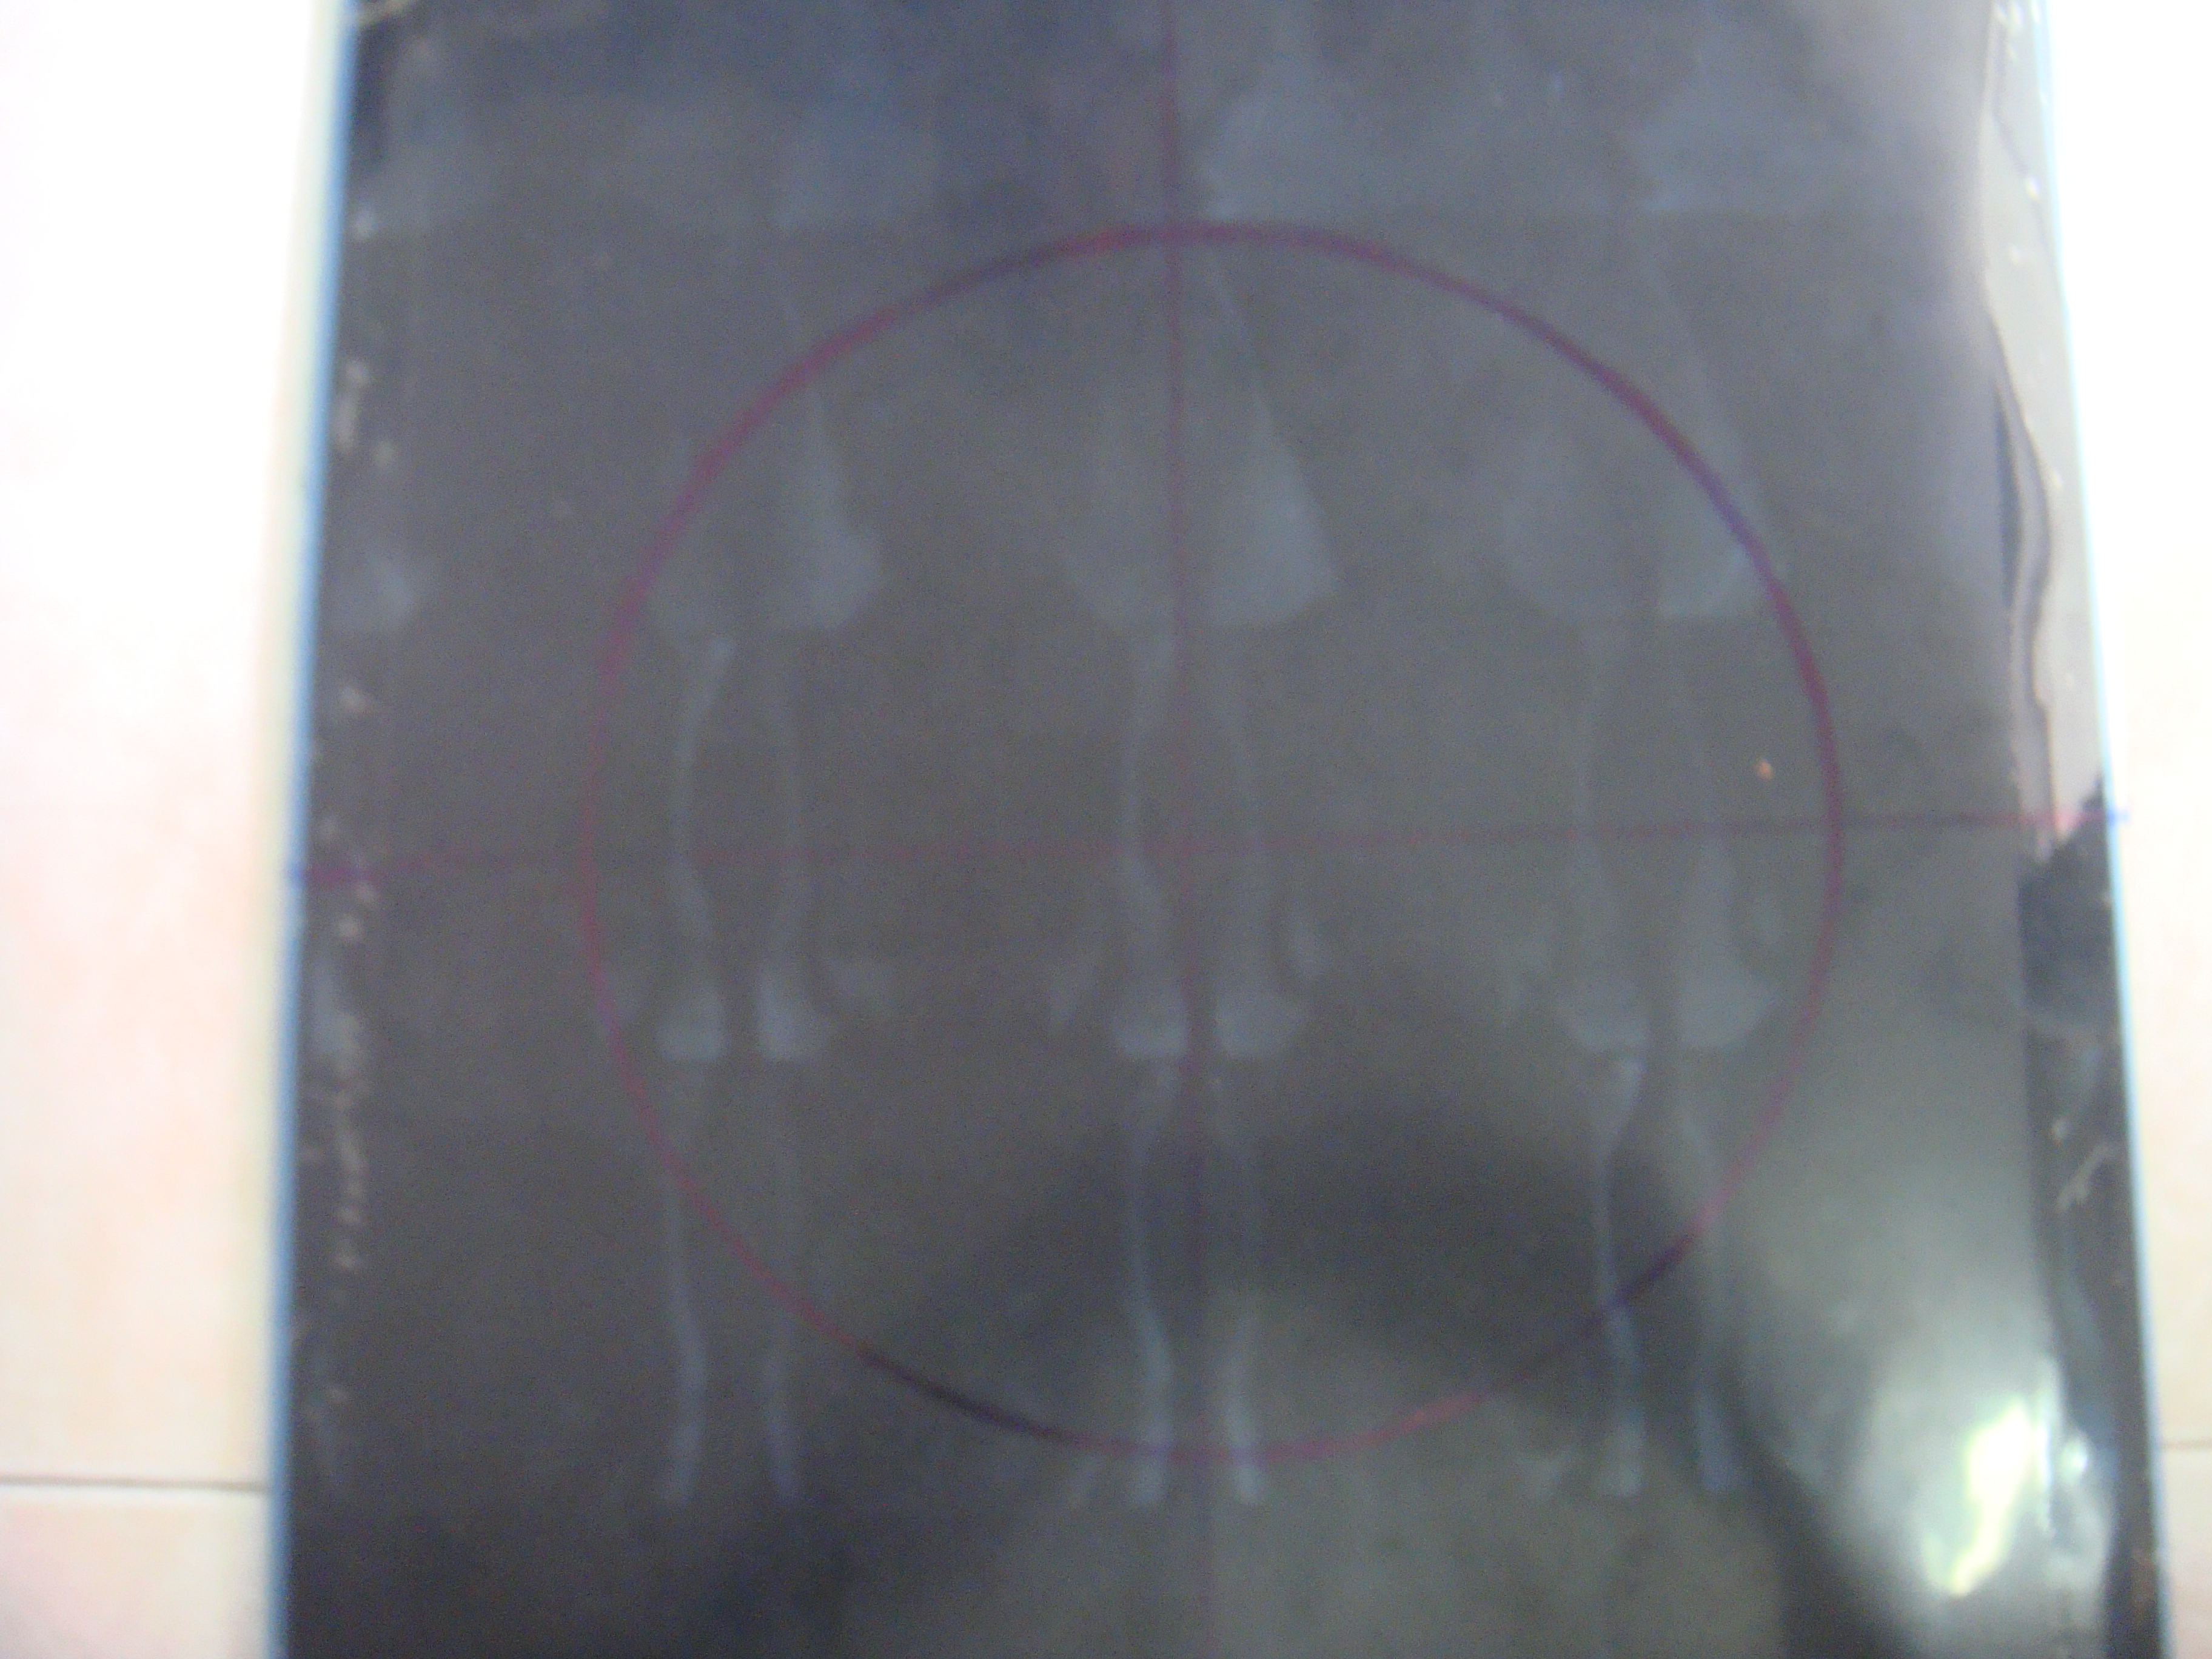
Ya deberíamos tener algo asi.
We should have something like this by now.
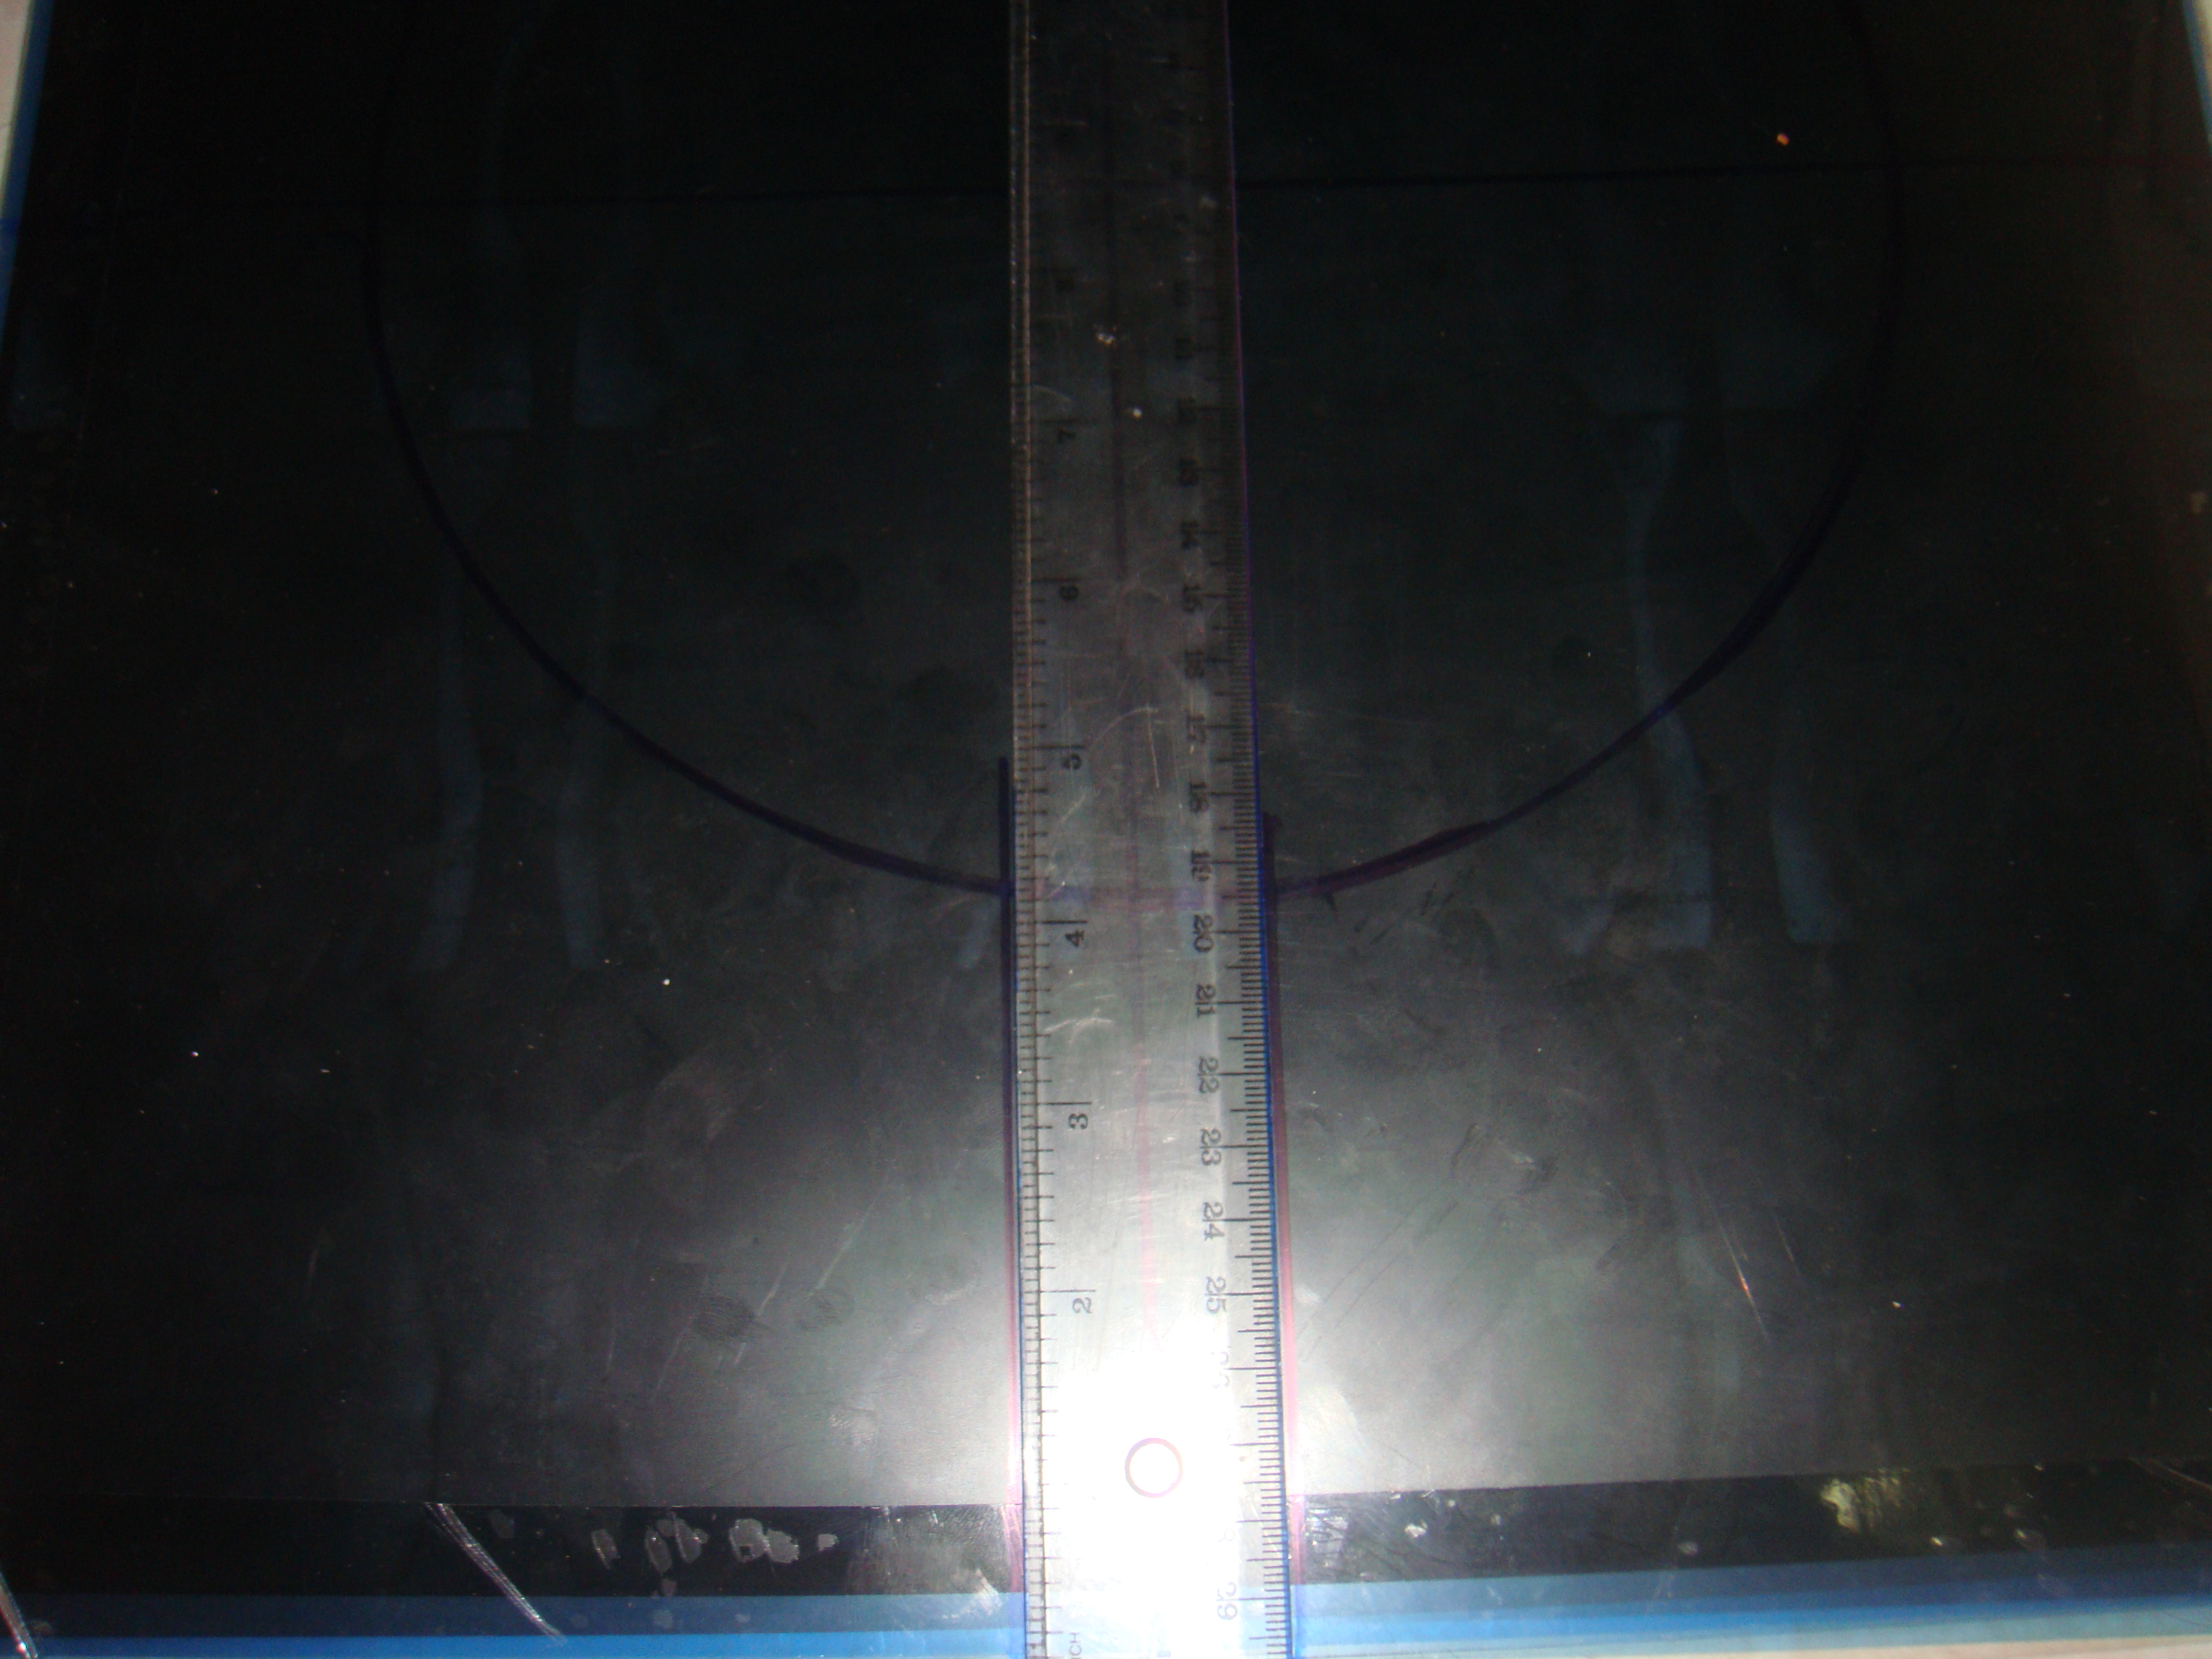
Ahora vamos a empezar a hacer la referencia para los cortes.
La primera yo la hago colocando la regla en el centro de la linea y marchando de los dos lados
Now let's start making the reference for the cuts.
The first one I make by placing the ruler in the center of the line and marching on both sides.
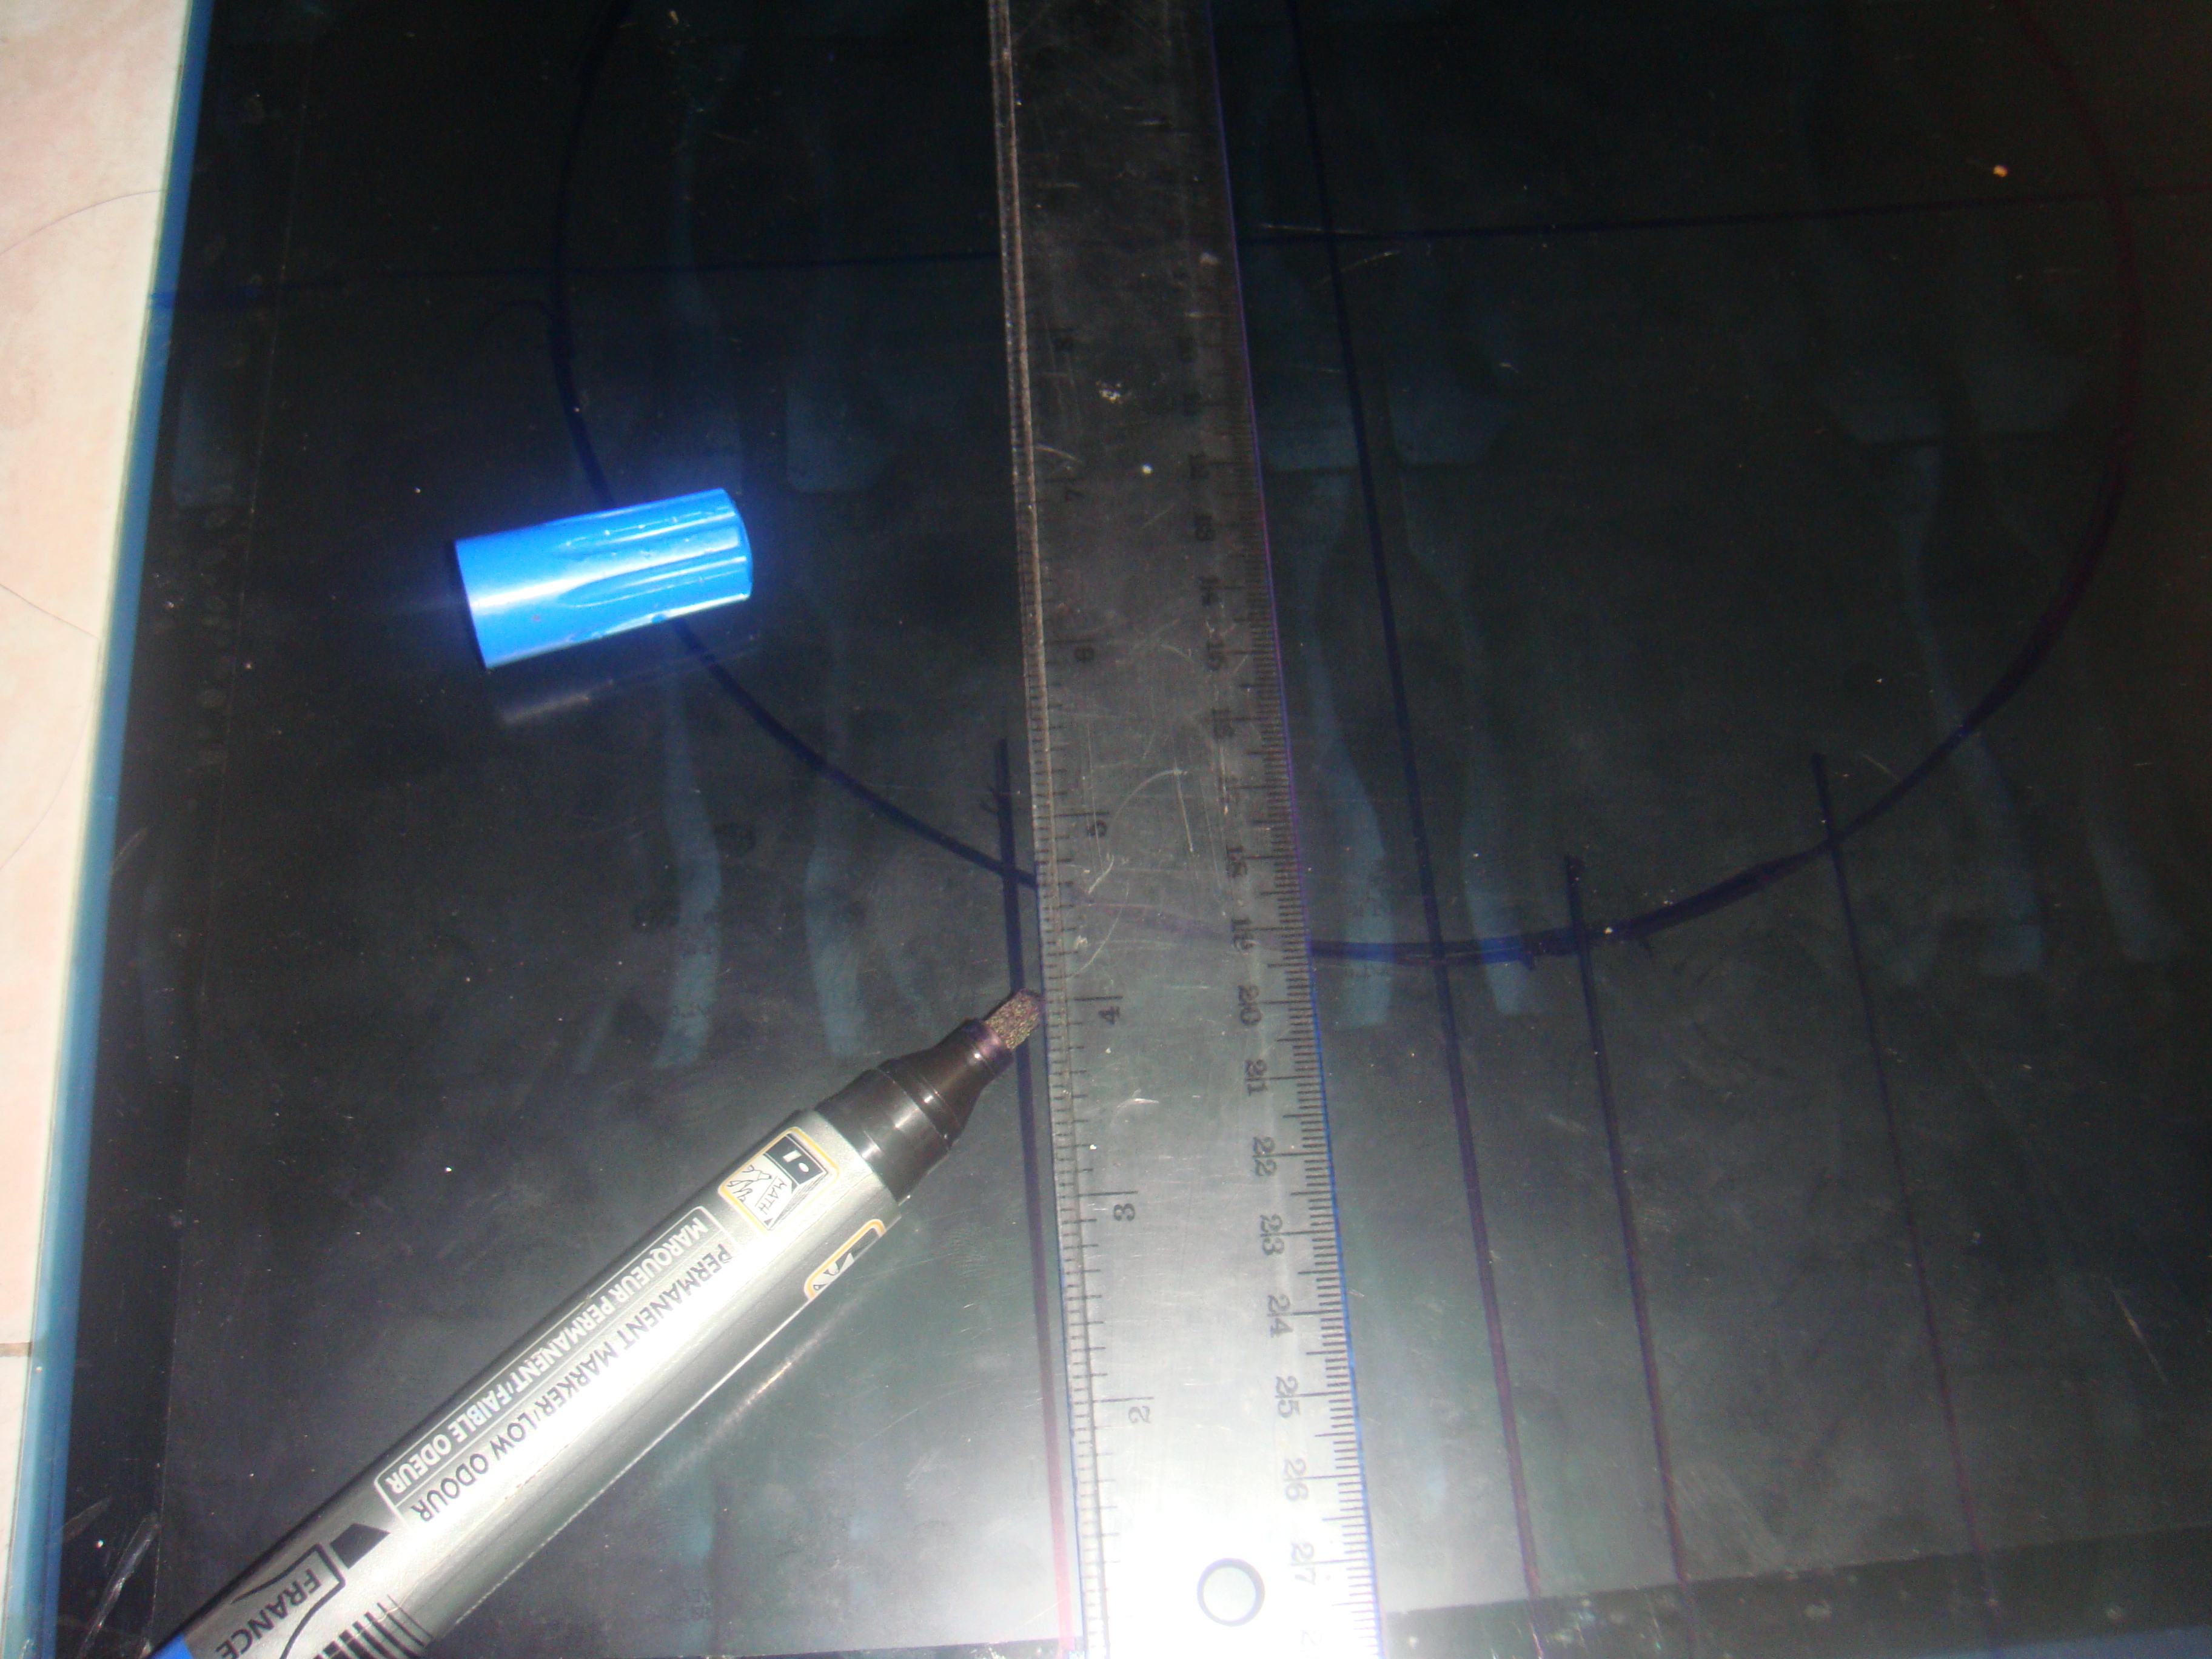 Luego haremos una segunda linea también usando la regla como referencia.
Then we will make a second line also using the ruler as a reference.
Así queda, ¡vamos a empezar a cortar!
That's it, let's start cutting!
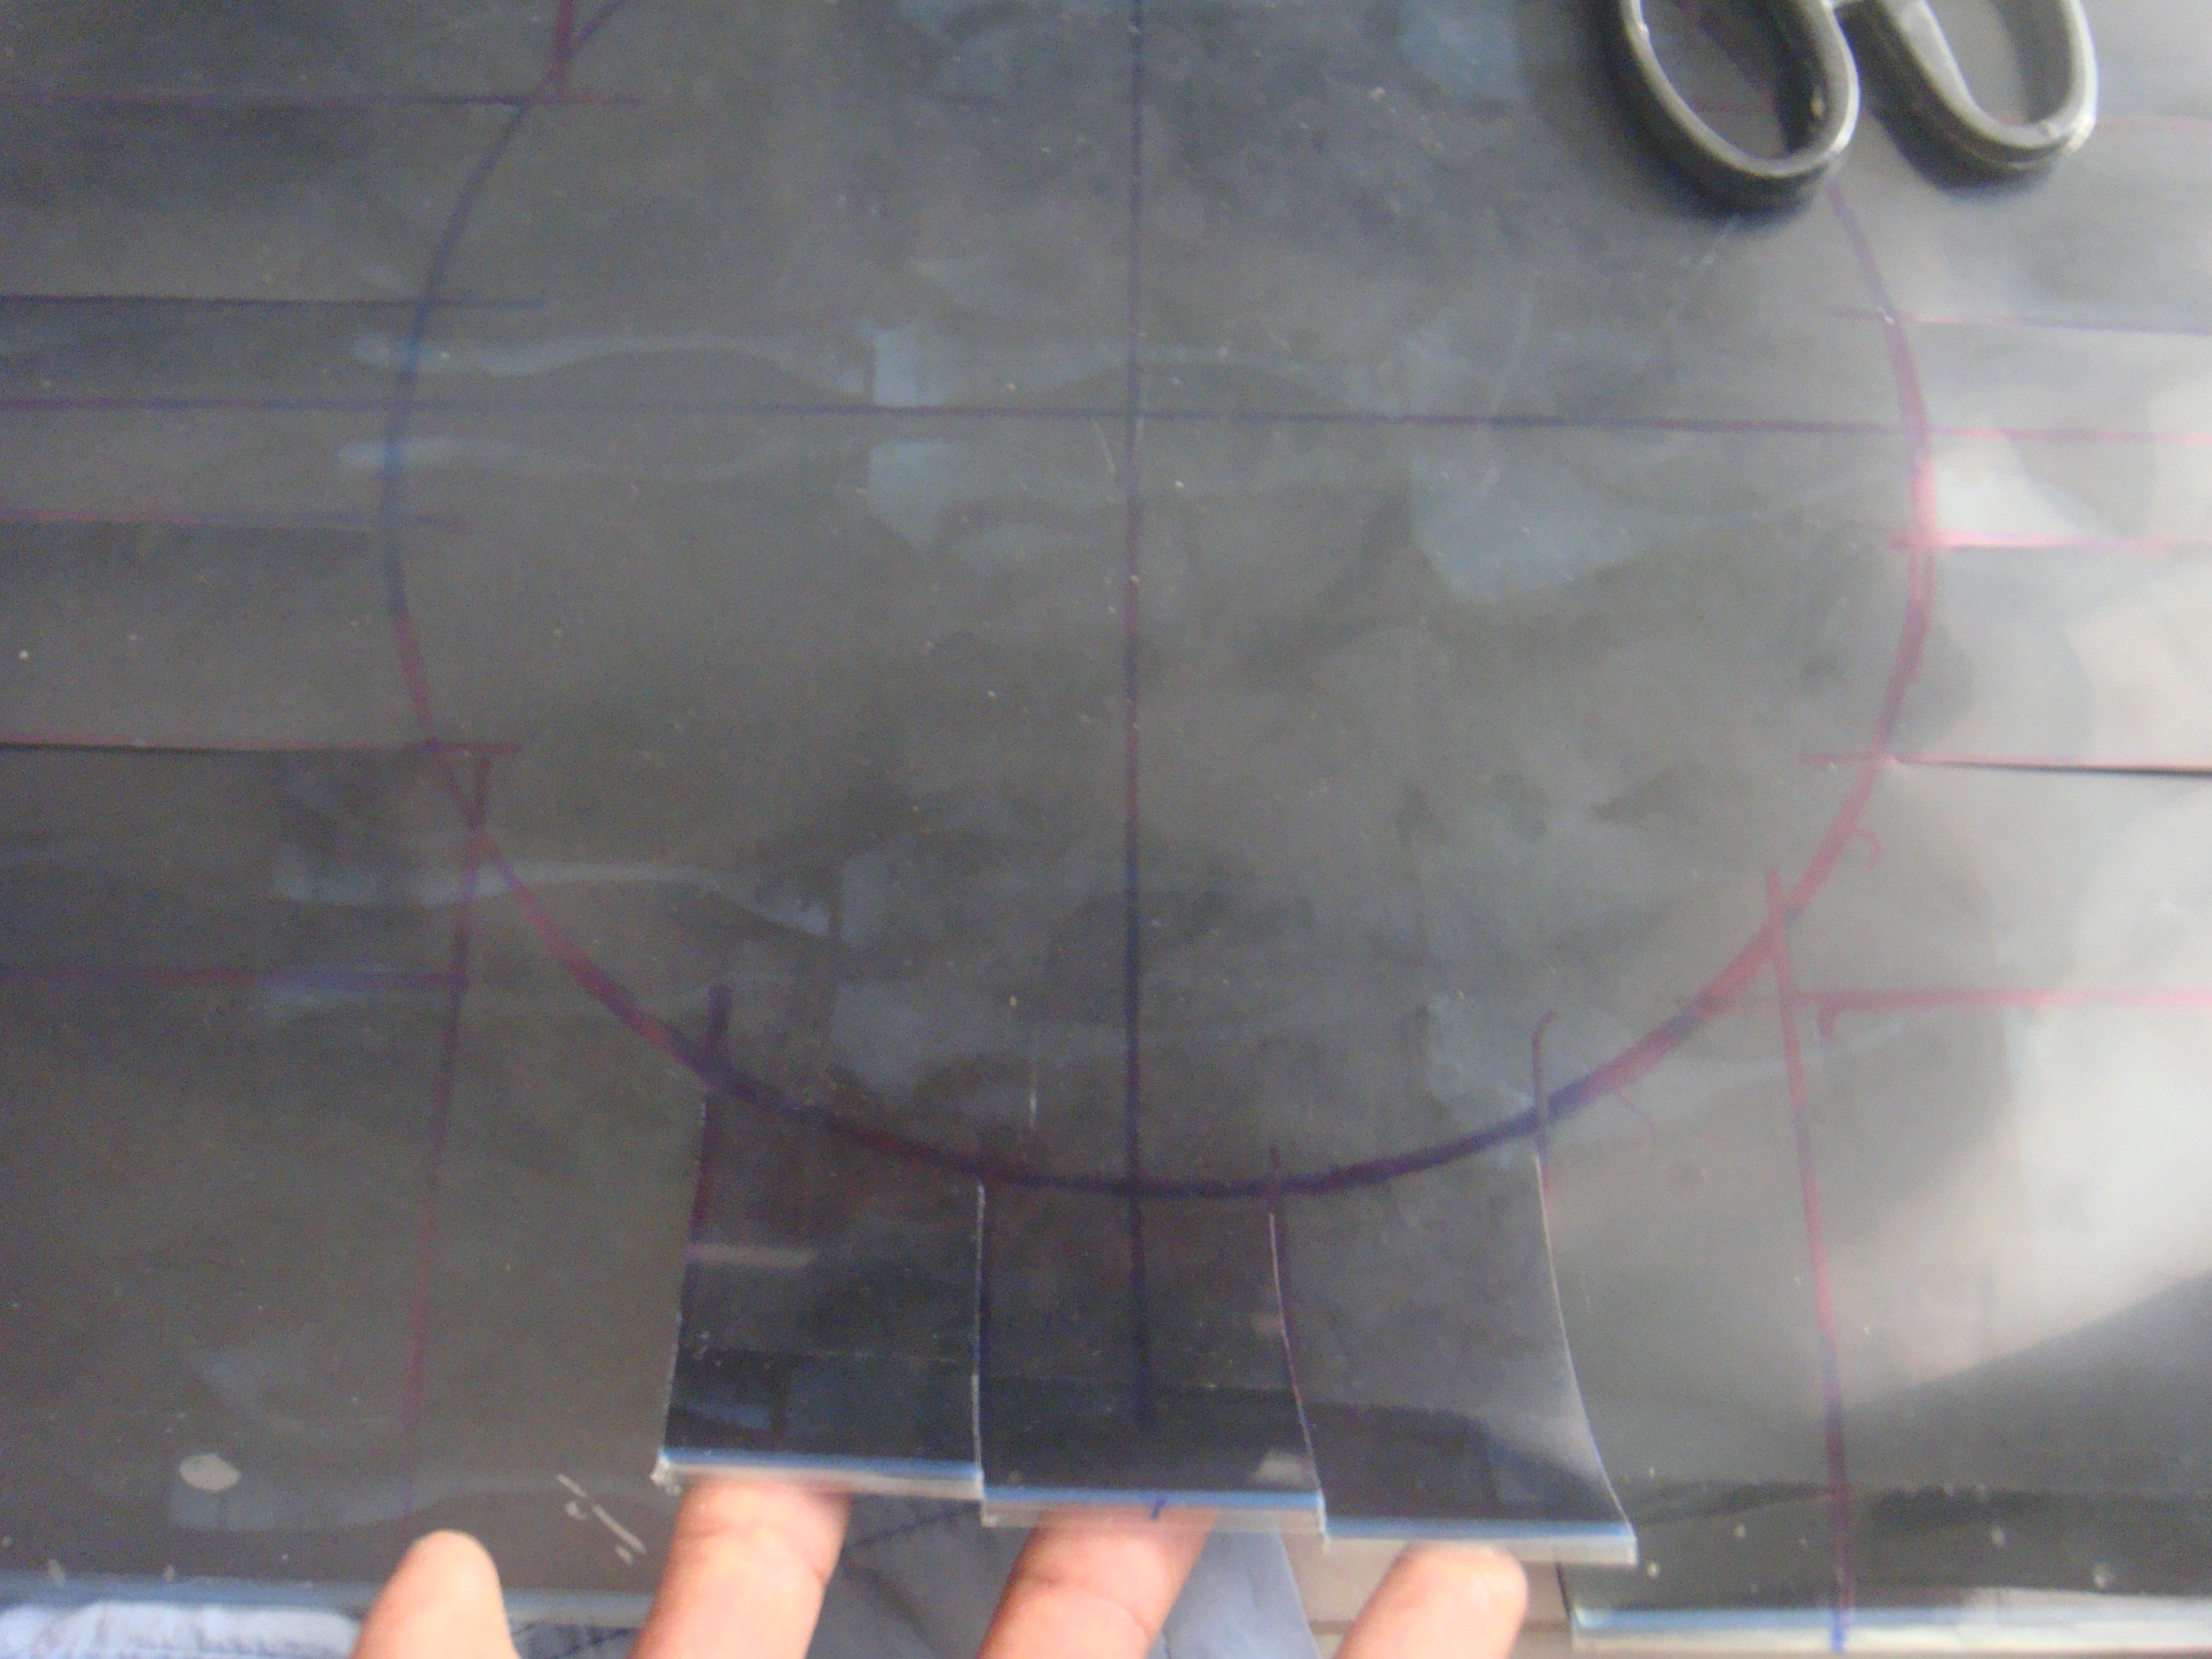
Vamos a cortar de esta manera
We will cut in this way
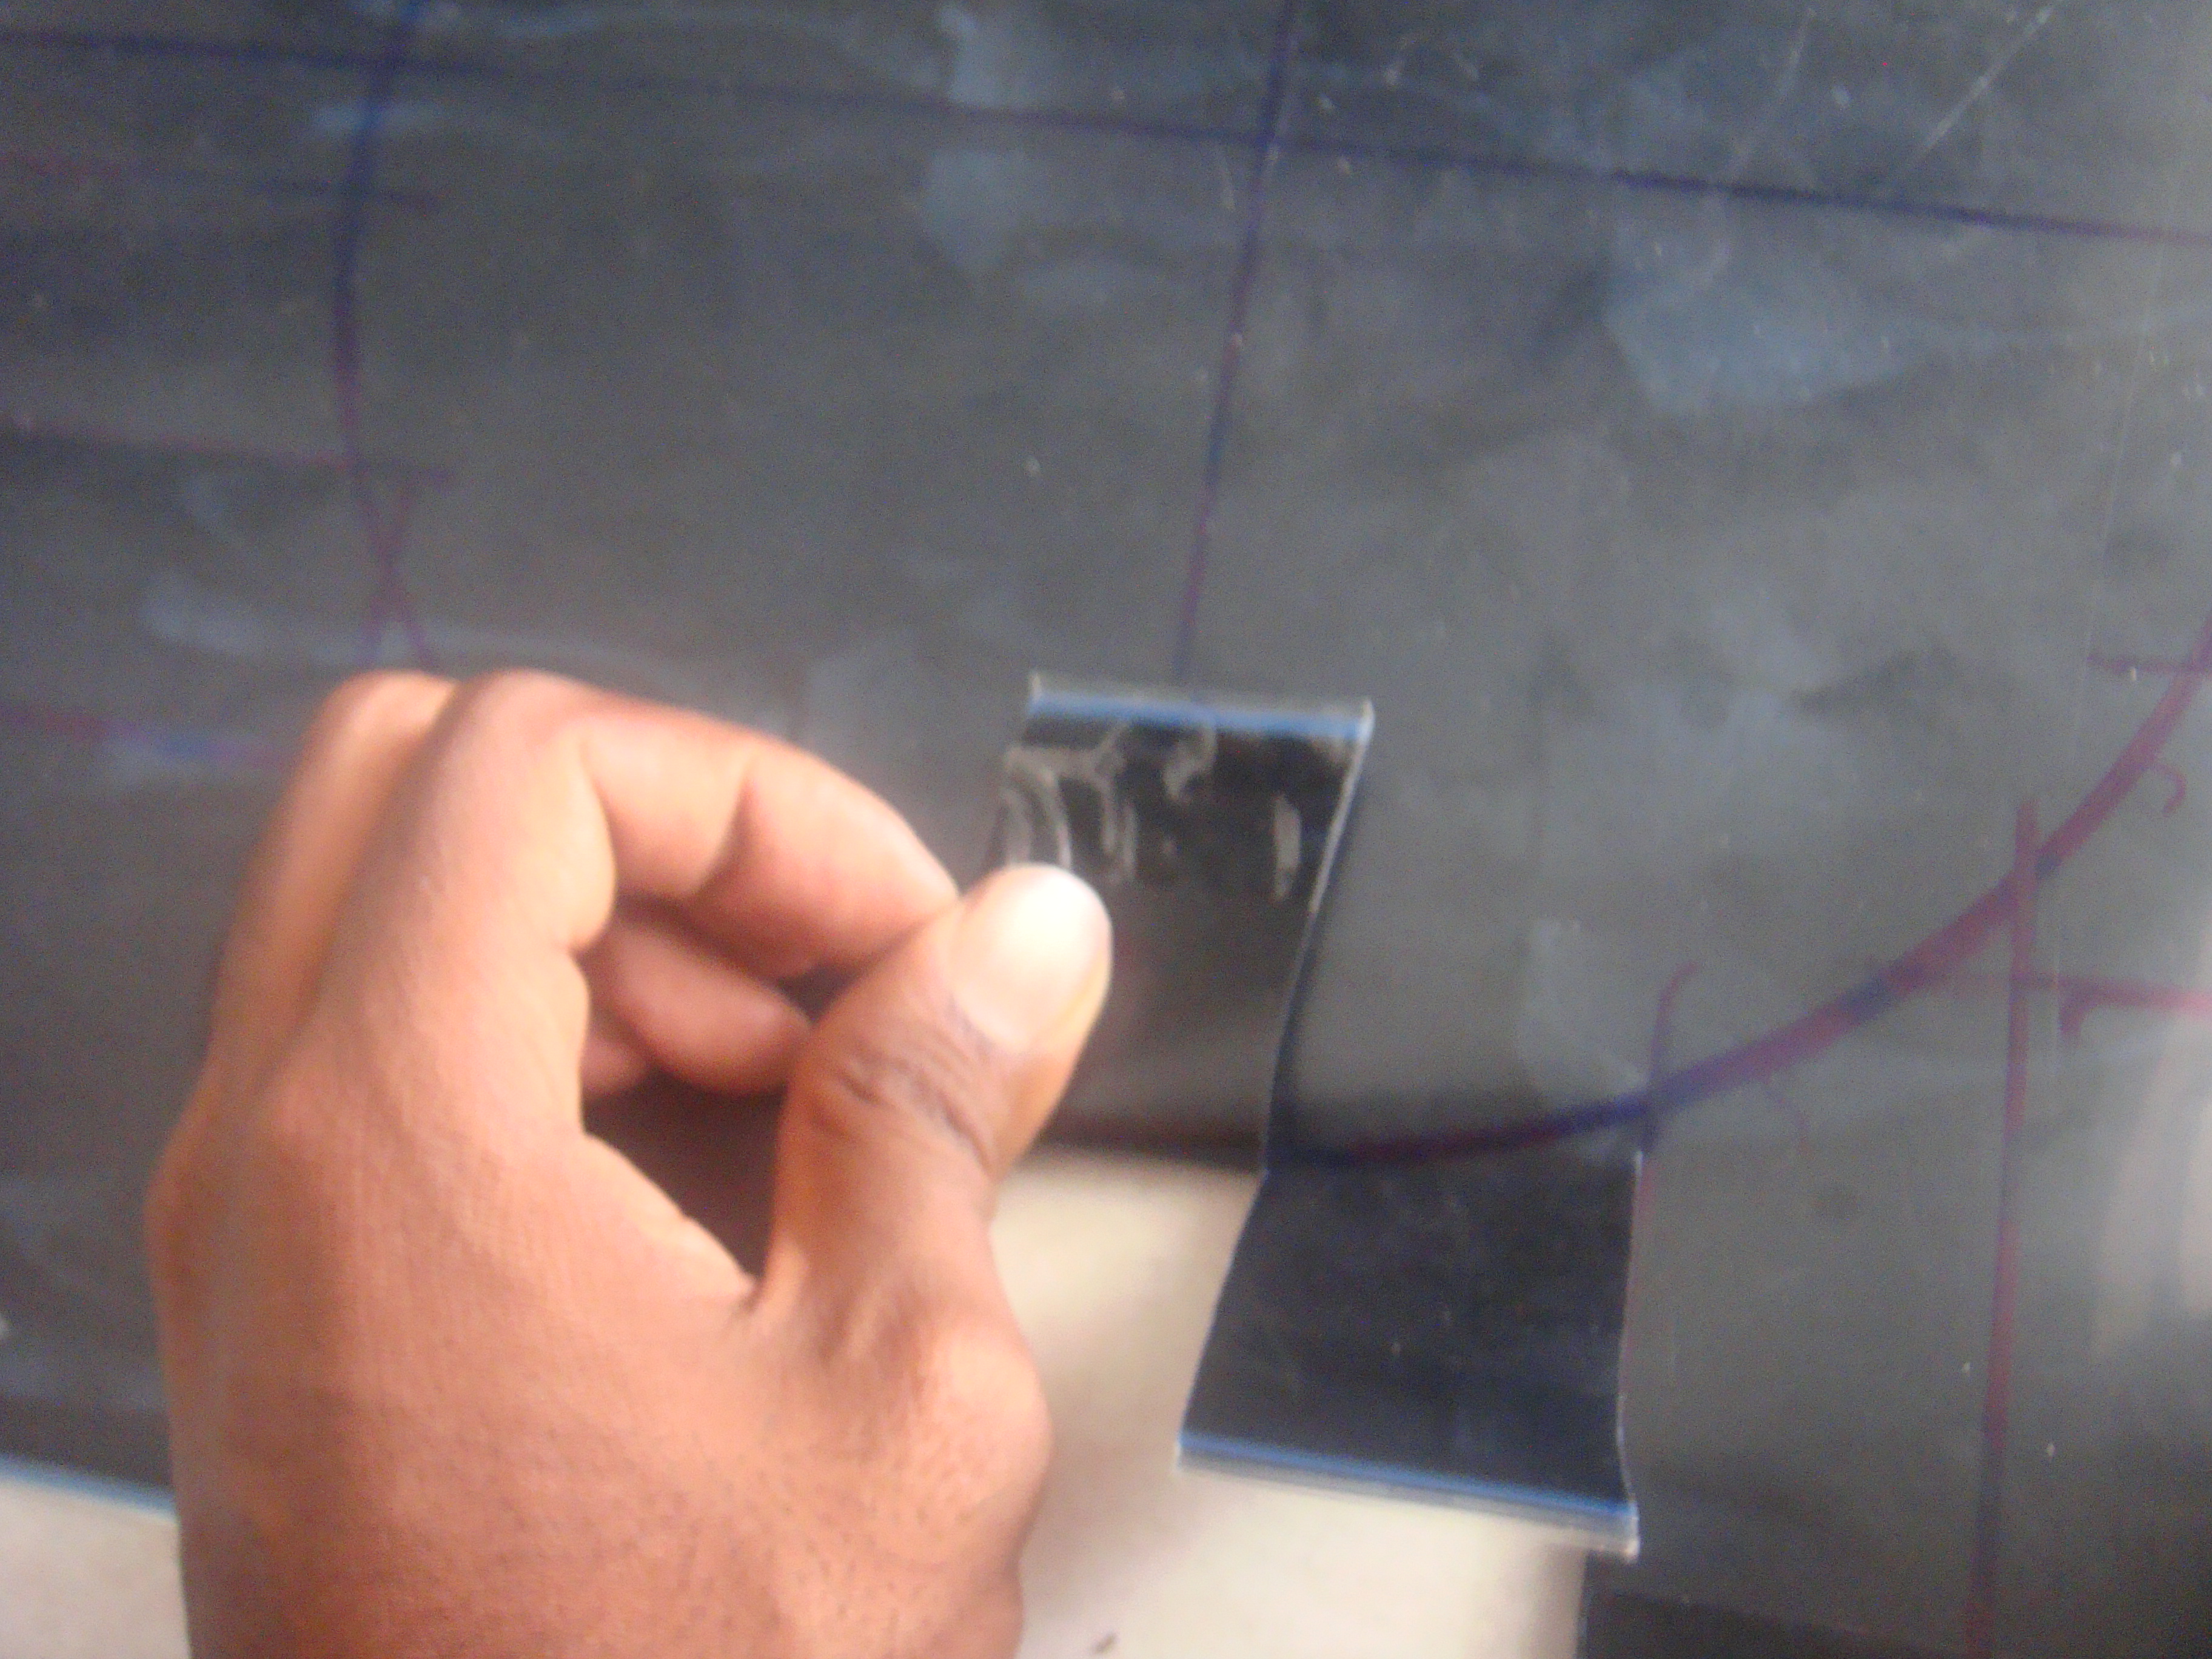
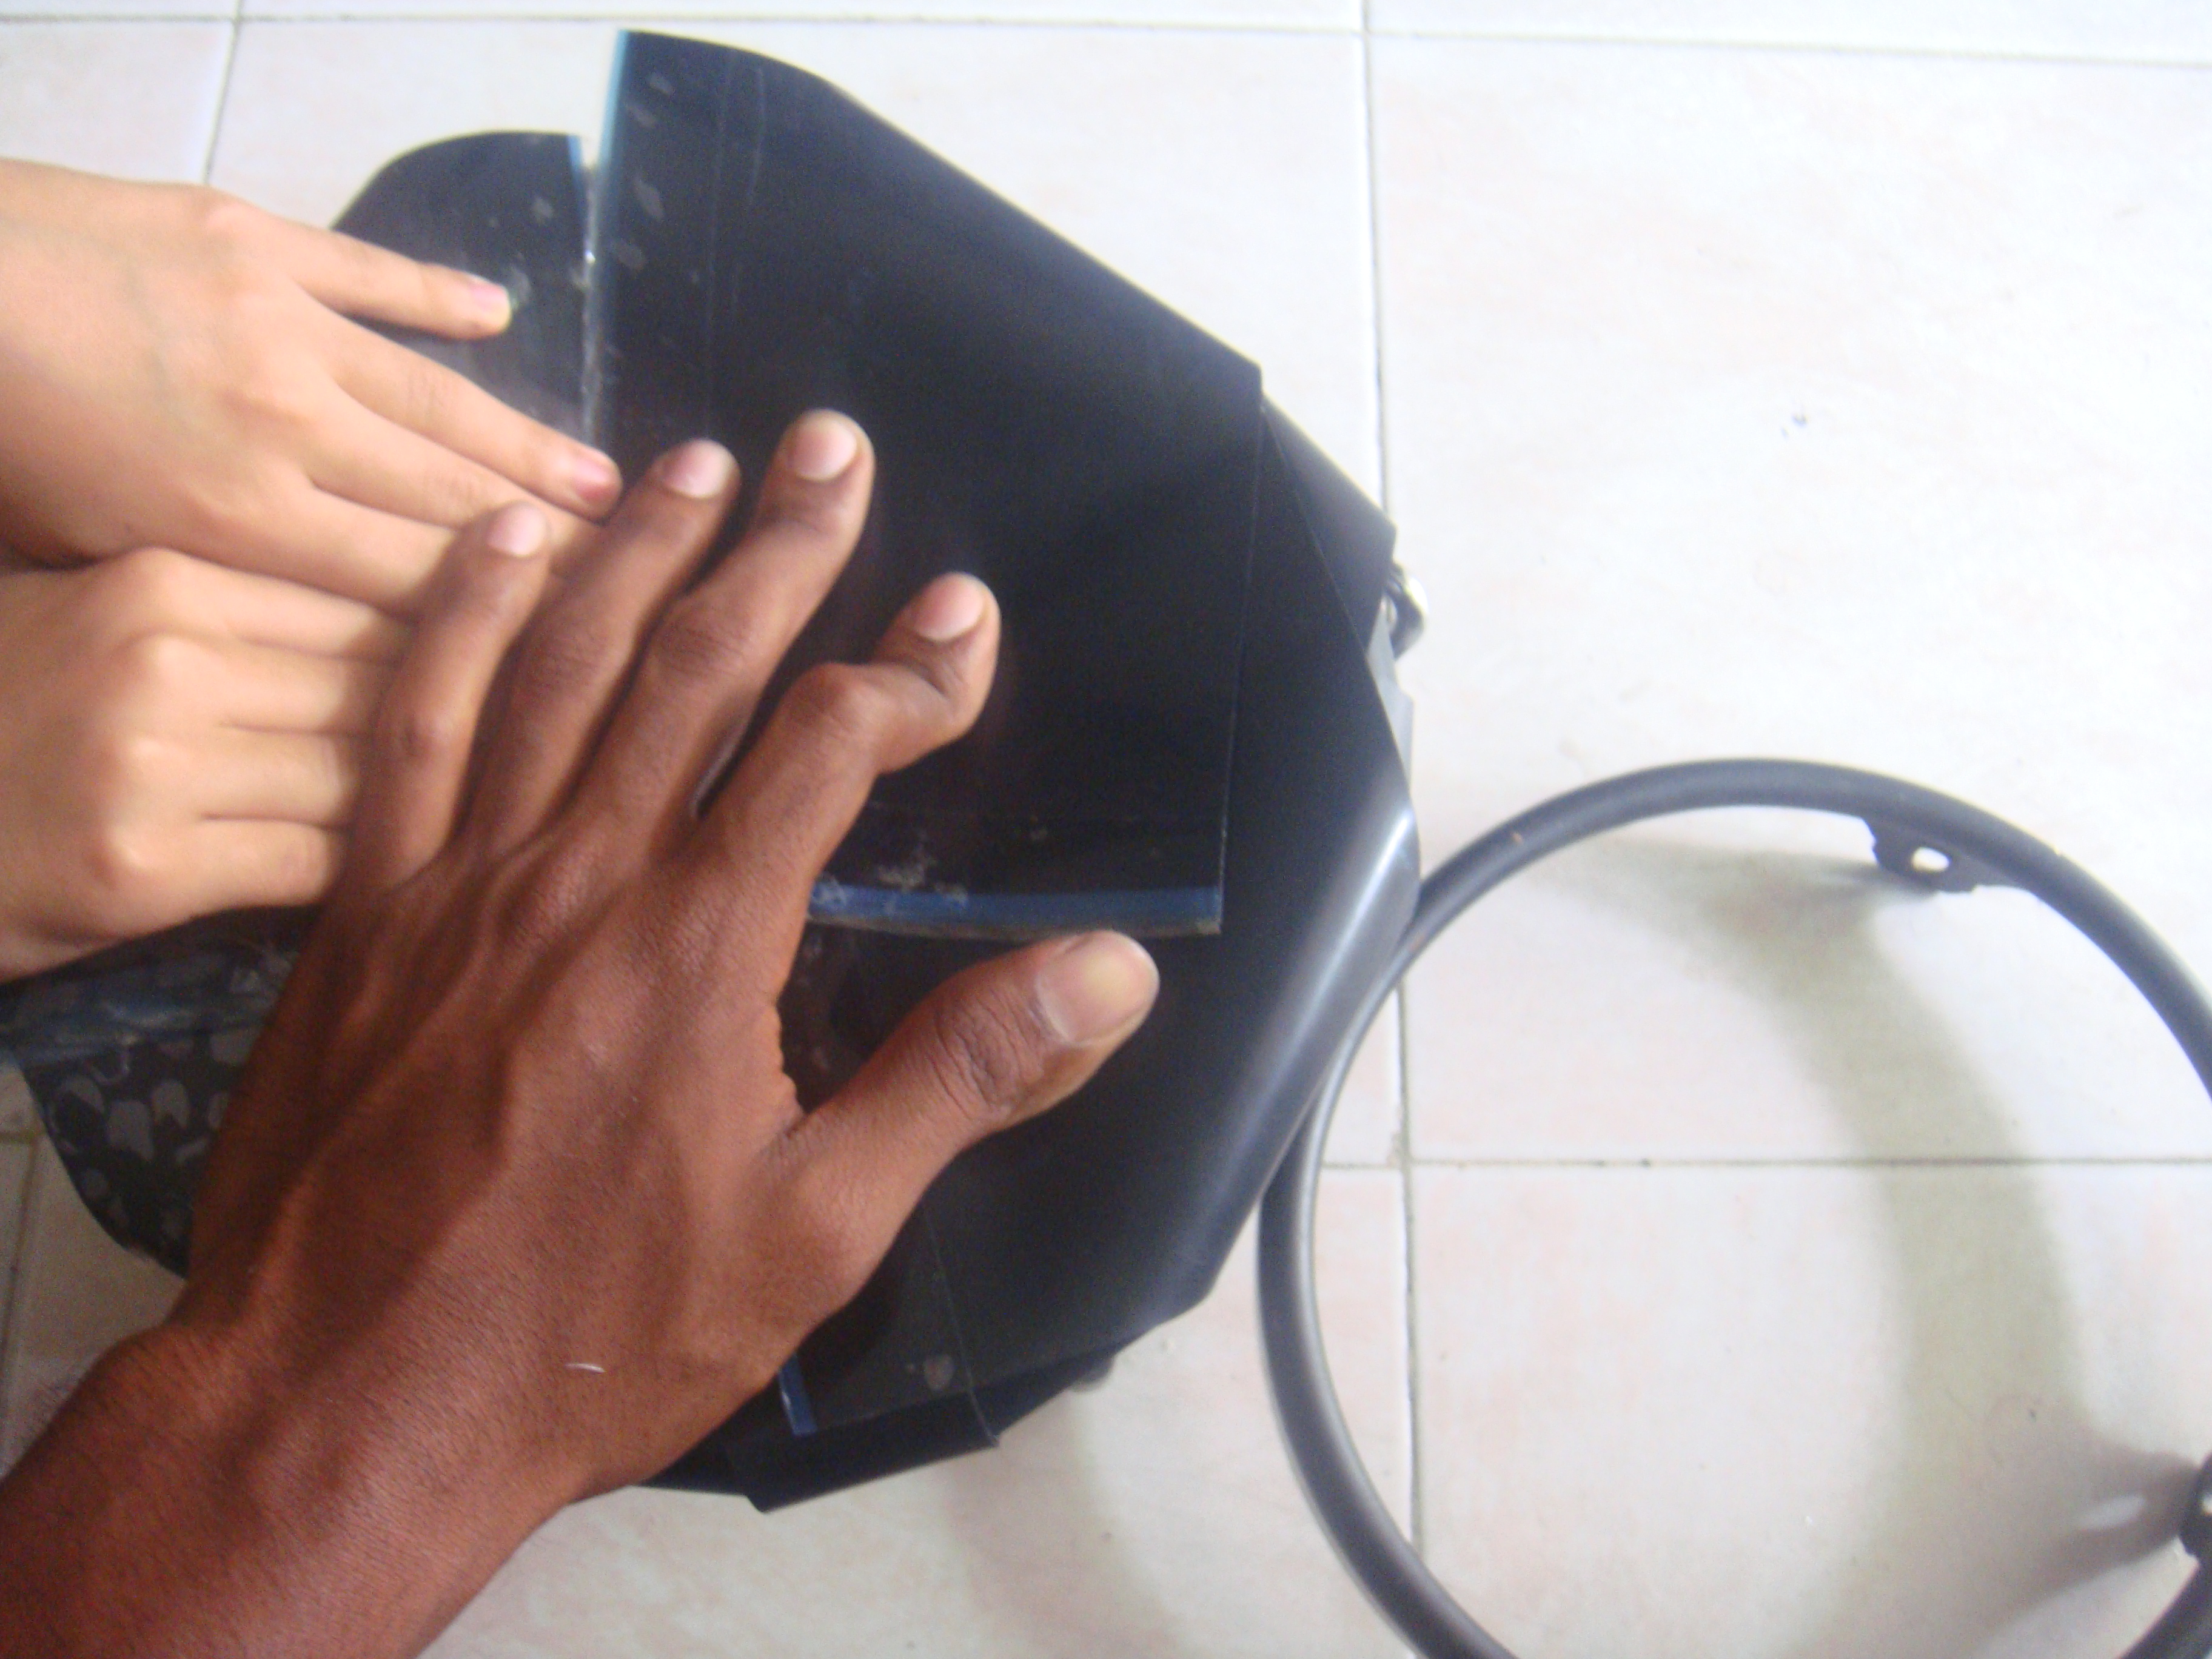
Lo siguiente será doblar las pestañas que cortamos, las vamos a doblar alrededor del circulo del aro, justo asi
The next thing to do is to bend the tabs we cut, we will bend them around the circle of the ring, just like this
Nos quedará algo asi
We will be left with
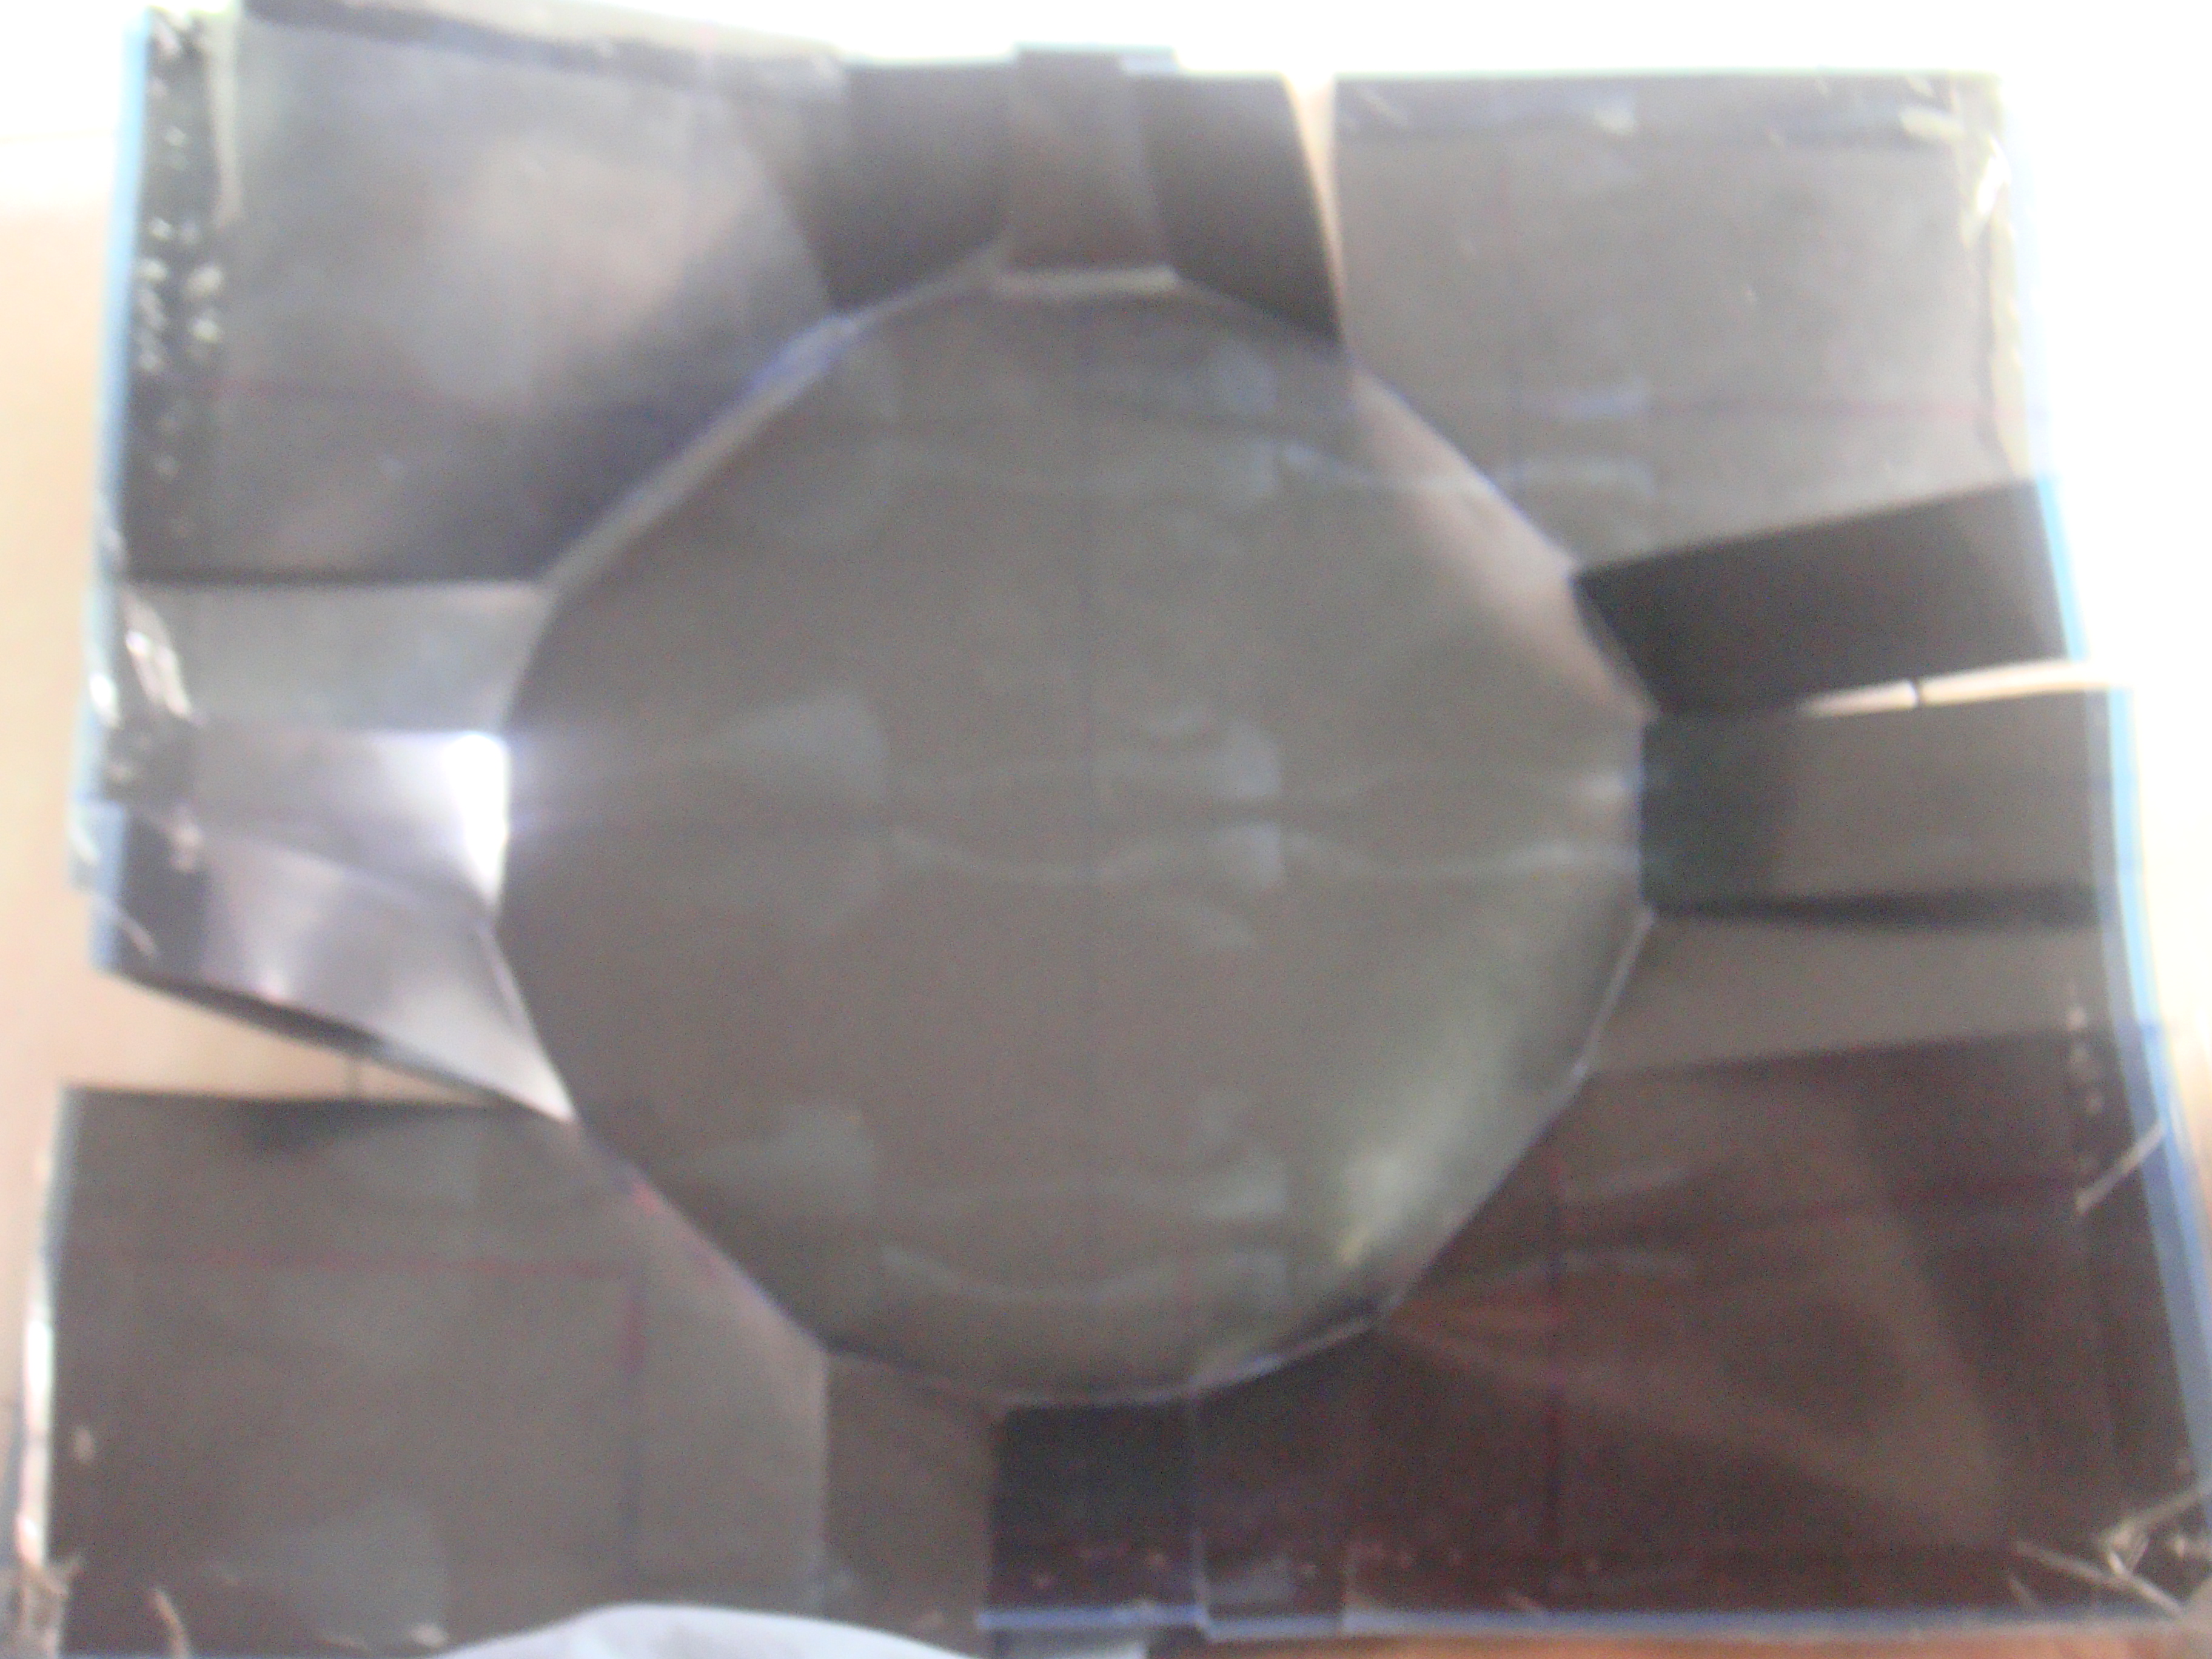
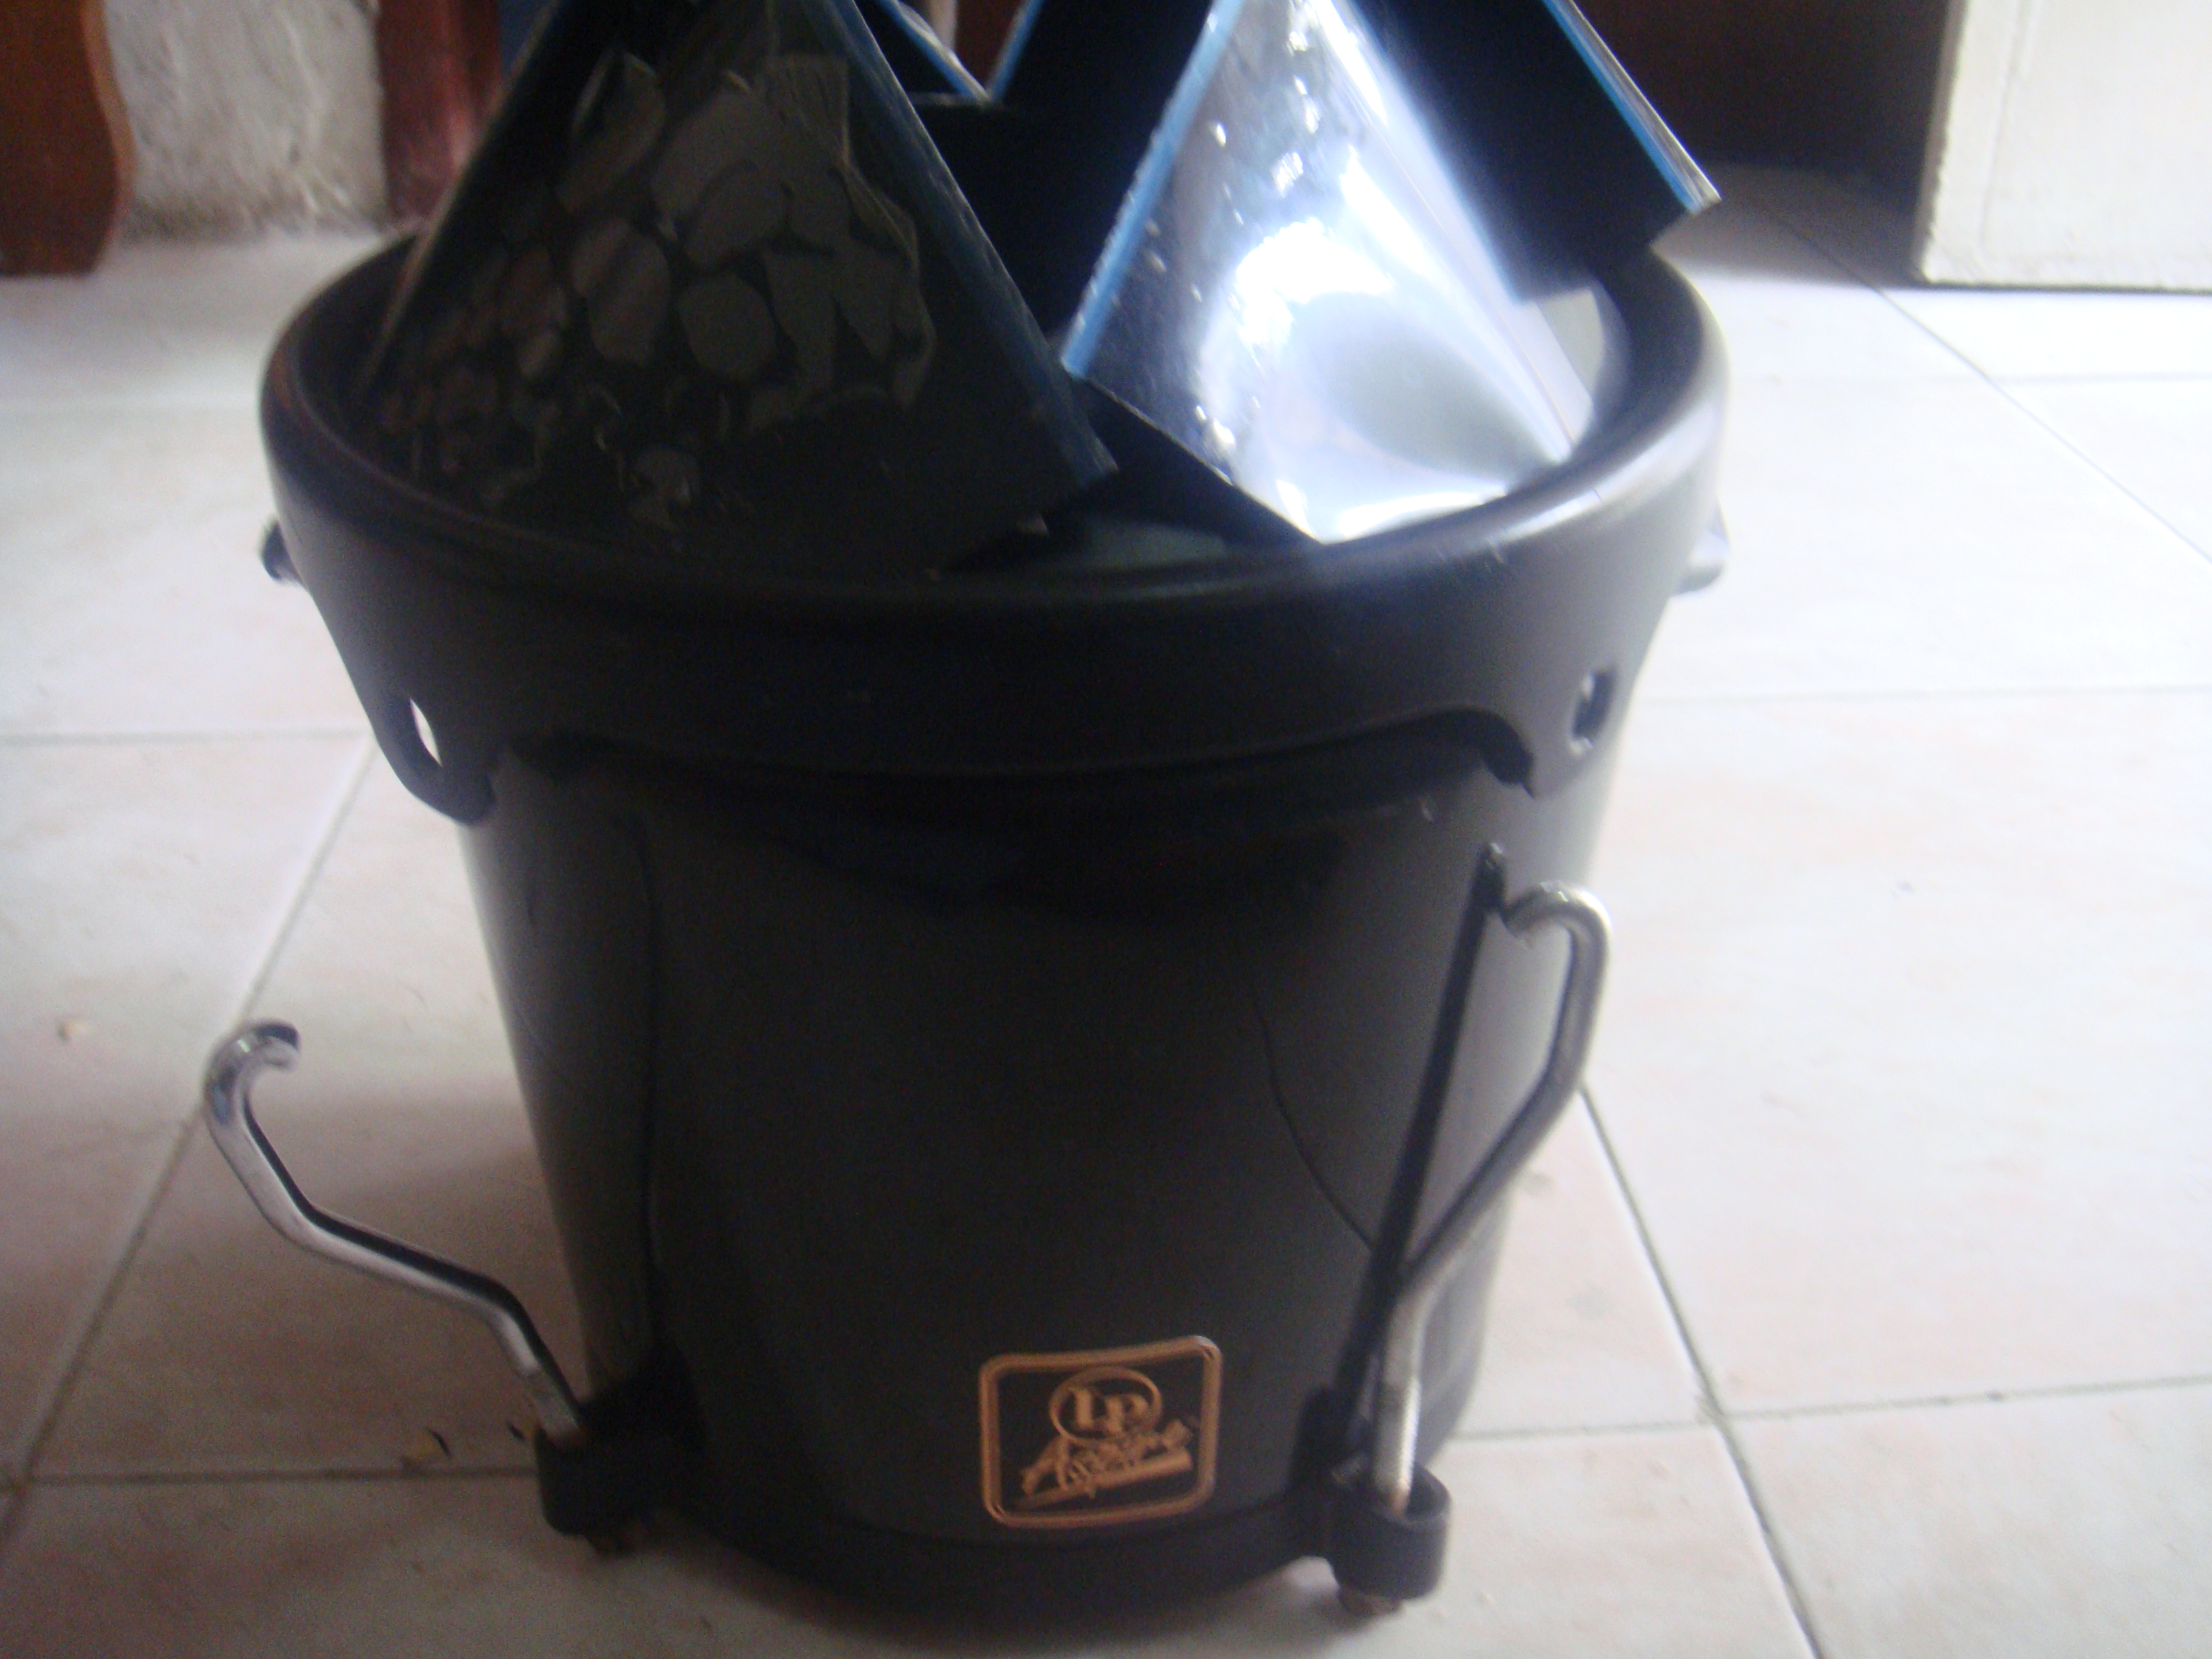
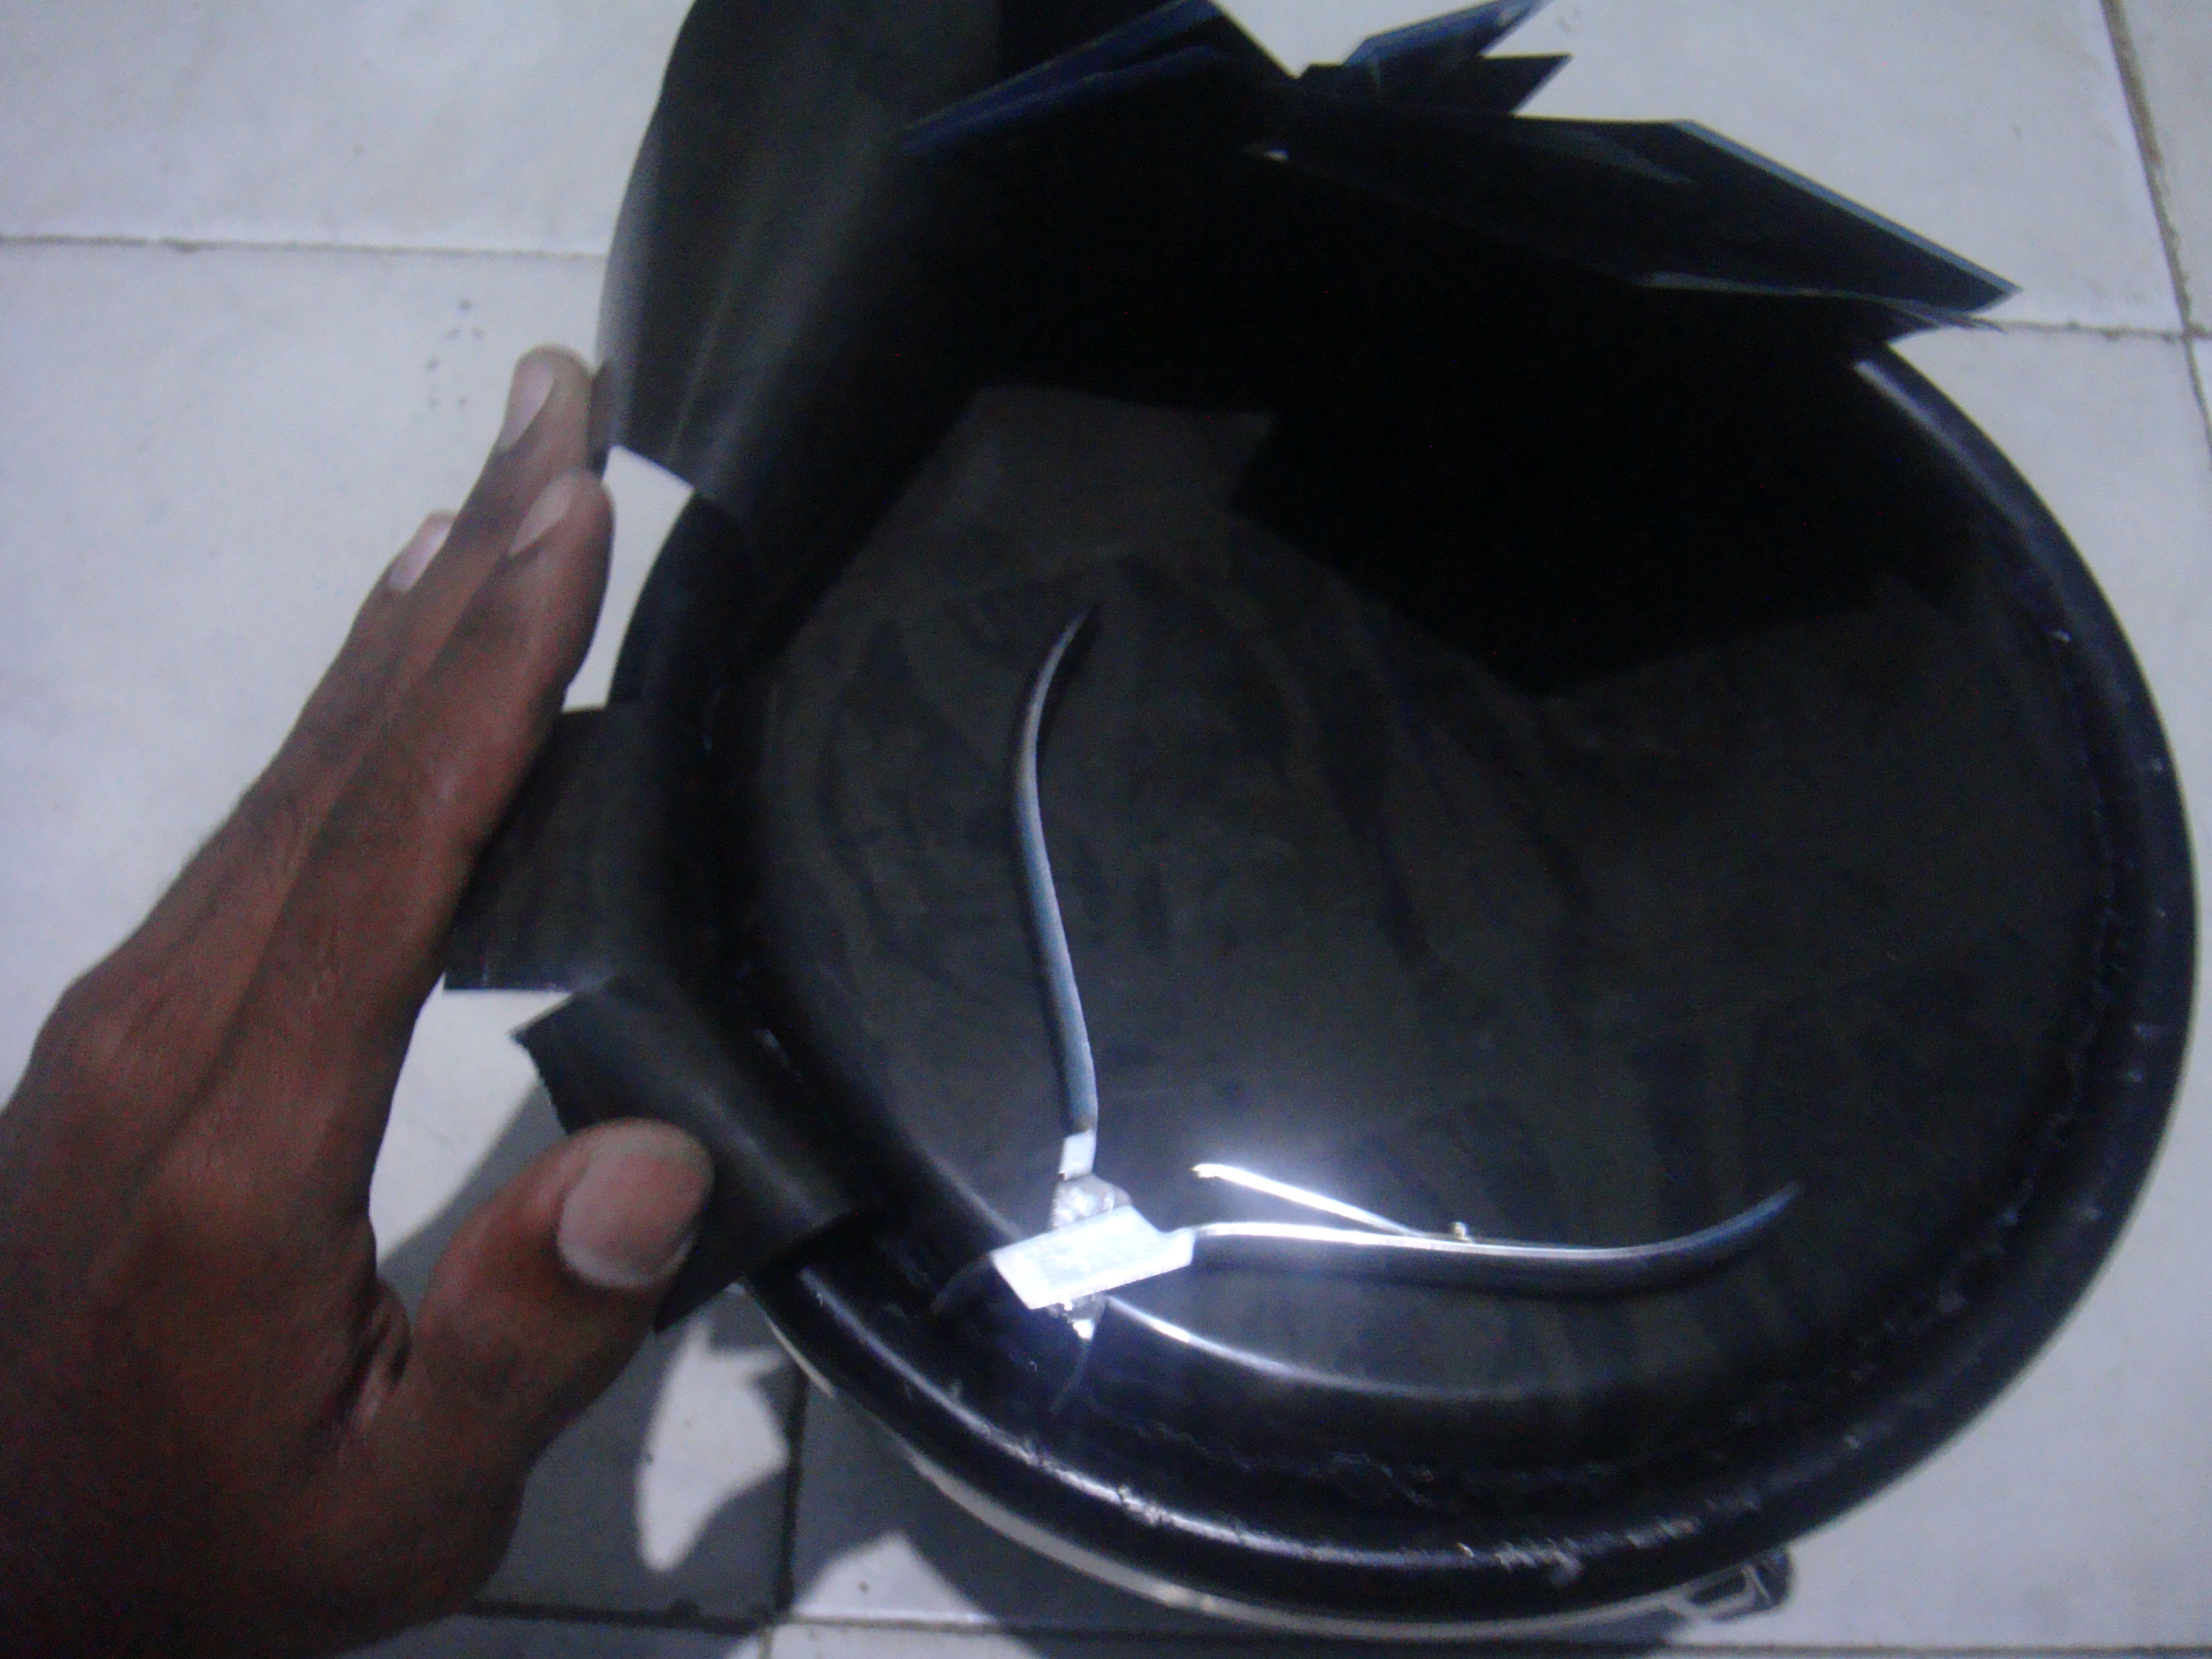
Ahora debemos montar la radiografía en los aros
Now we must mount the radiograph on the rings.
Hay que doblar todas las pestañas hacia el centro y luego colocar el aro, yo le pedí ayuda a una prima para sostener y montar
You have to bend all the tabs to the center and then place the ring, I asked a cousin to help me to hold and assemble the ring.
Debemos ir subiendo las pestañas para que nos quede bien estirado el parche
We must raise the eyelashes so that the patch is well stretched.
Aquí vamos a necesitar de ayuda, debemos hacer presión hacia abajo para llevar los tensores a su lugar en el aro. Alguien debe ir bajando el aro, y otra persona se asegura que el tensor vaya derecho
Here we are going to need some help, we must press down to bring the turnbuckles into place on the hoop. Someone must lower the hoop, and another person makes sure that the tensioner goes straight.

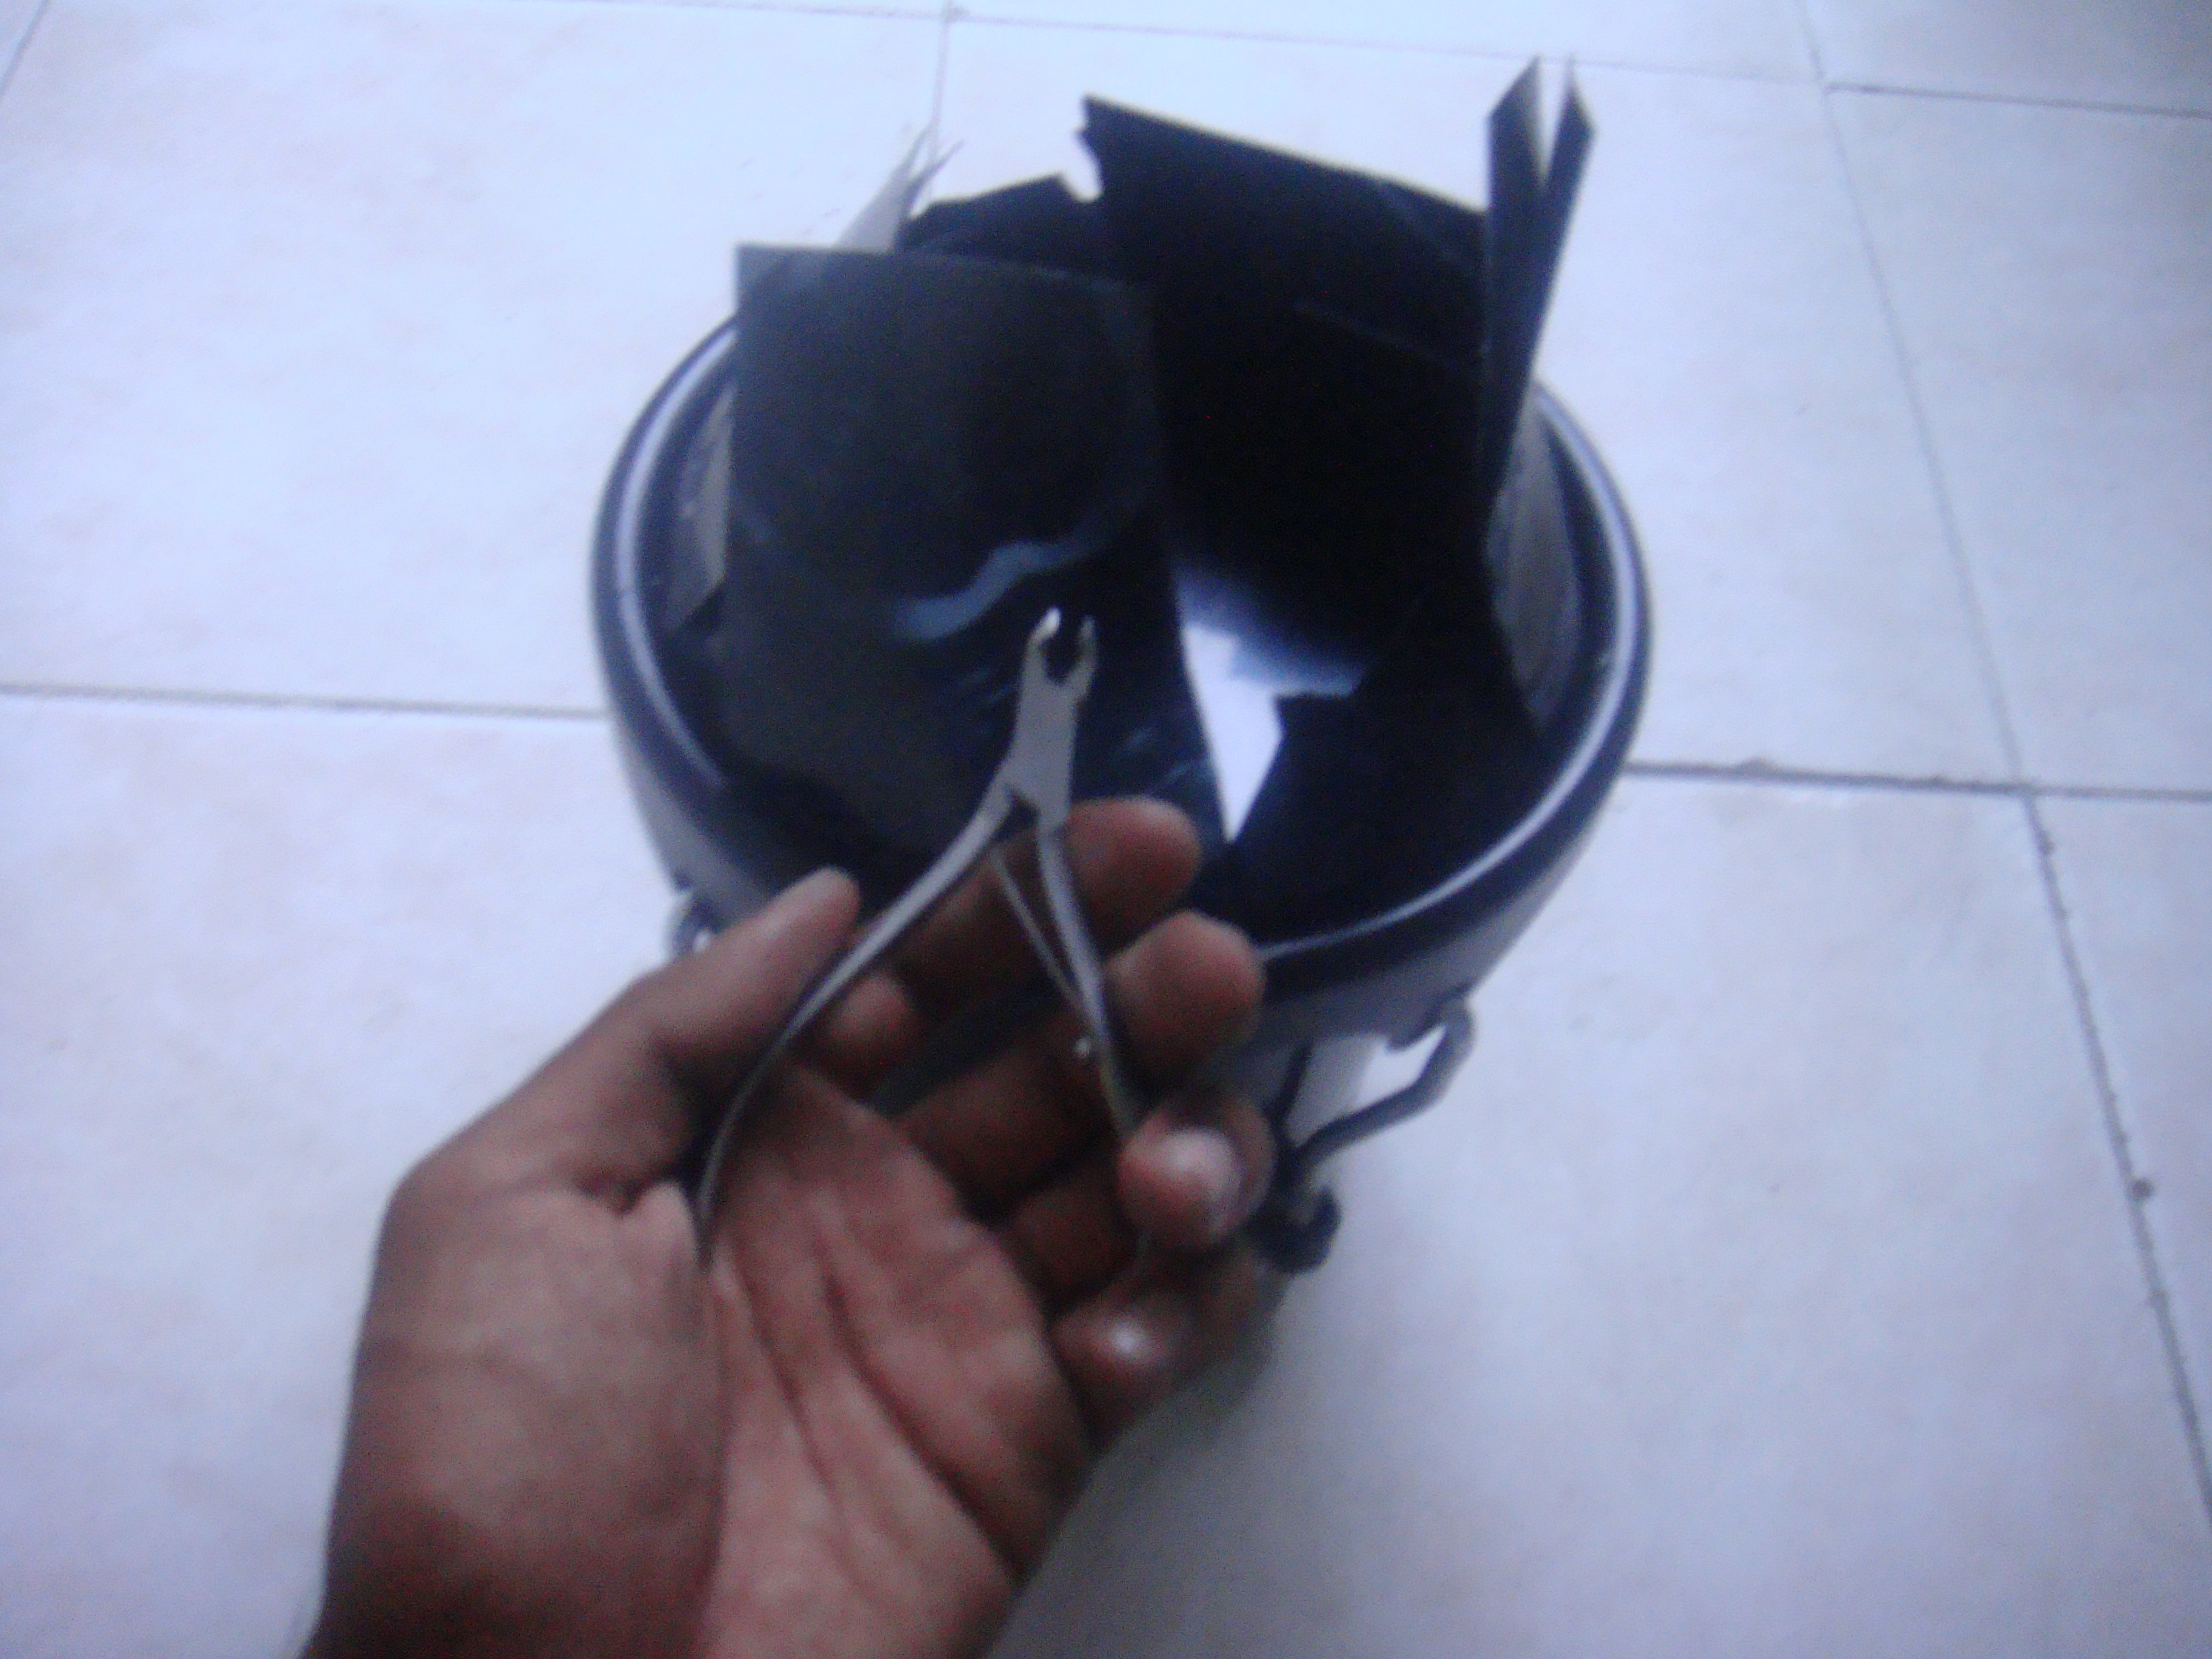
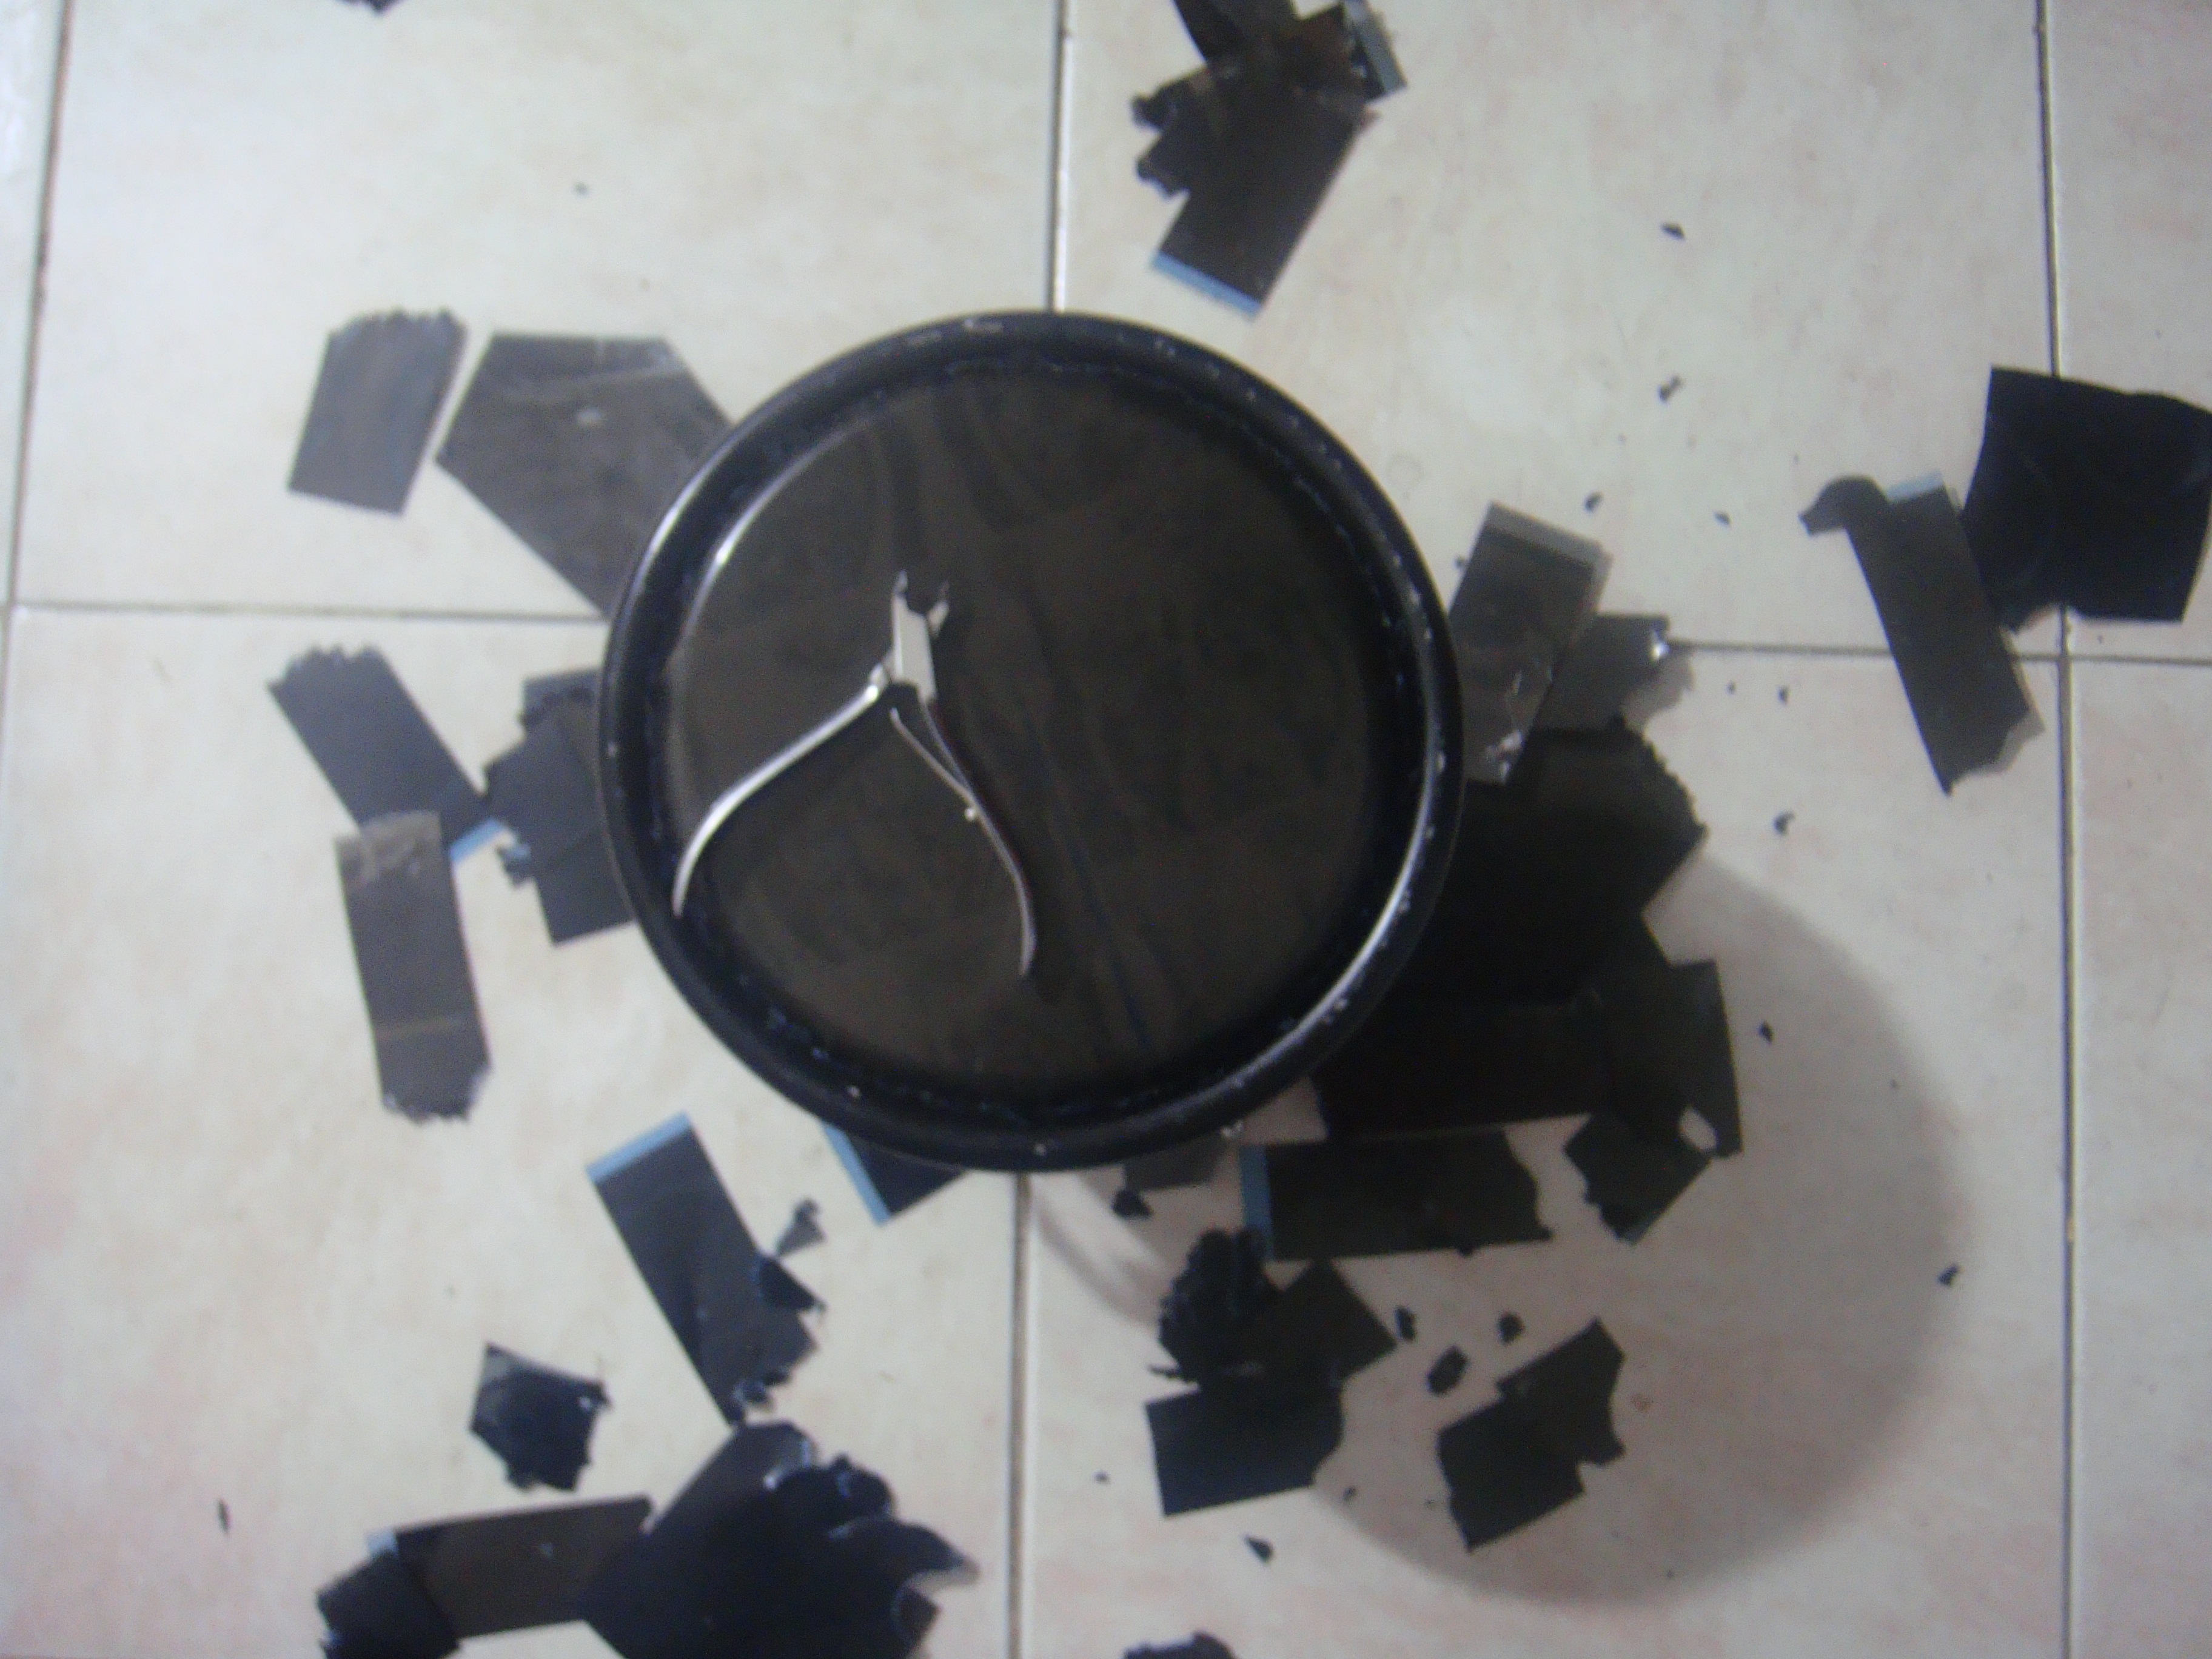
Ahora con un corta cutícula y mucha paciencia debemos cortar
el material sobrante
Now with a cuticle cutter and a lot of patience we must cut the excess
the excess material
Ya casi
Almost there
Listo!
Ready!
Por ultimo ensamblamos de nuevo el bongo y afinamos al gusto!
Finally we reassemble the bongo and tune to taste!
:D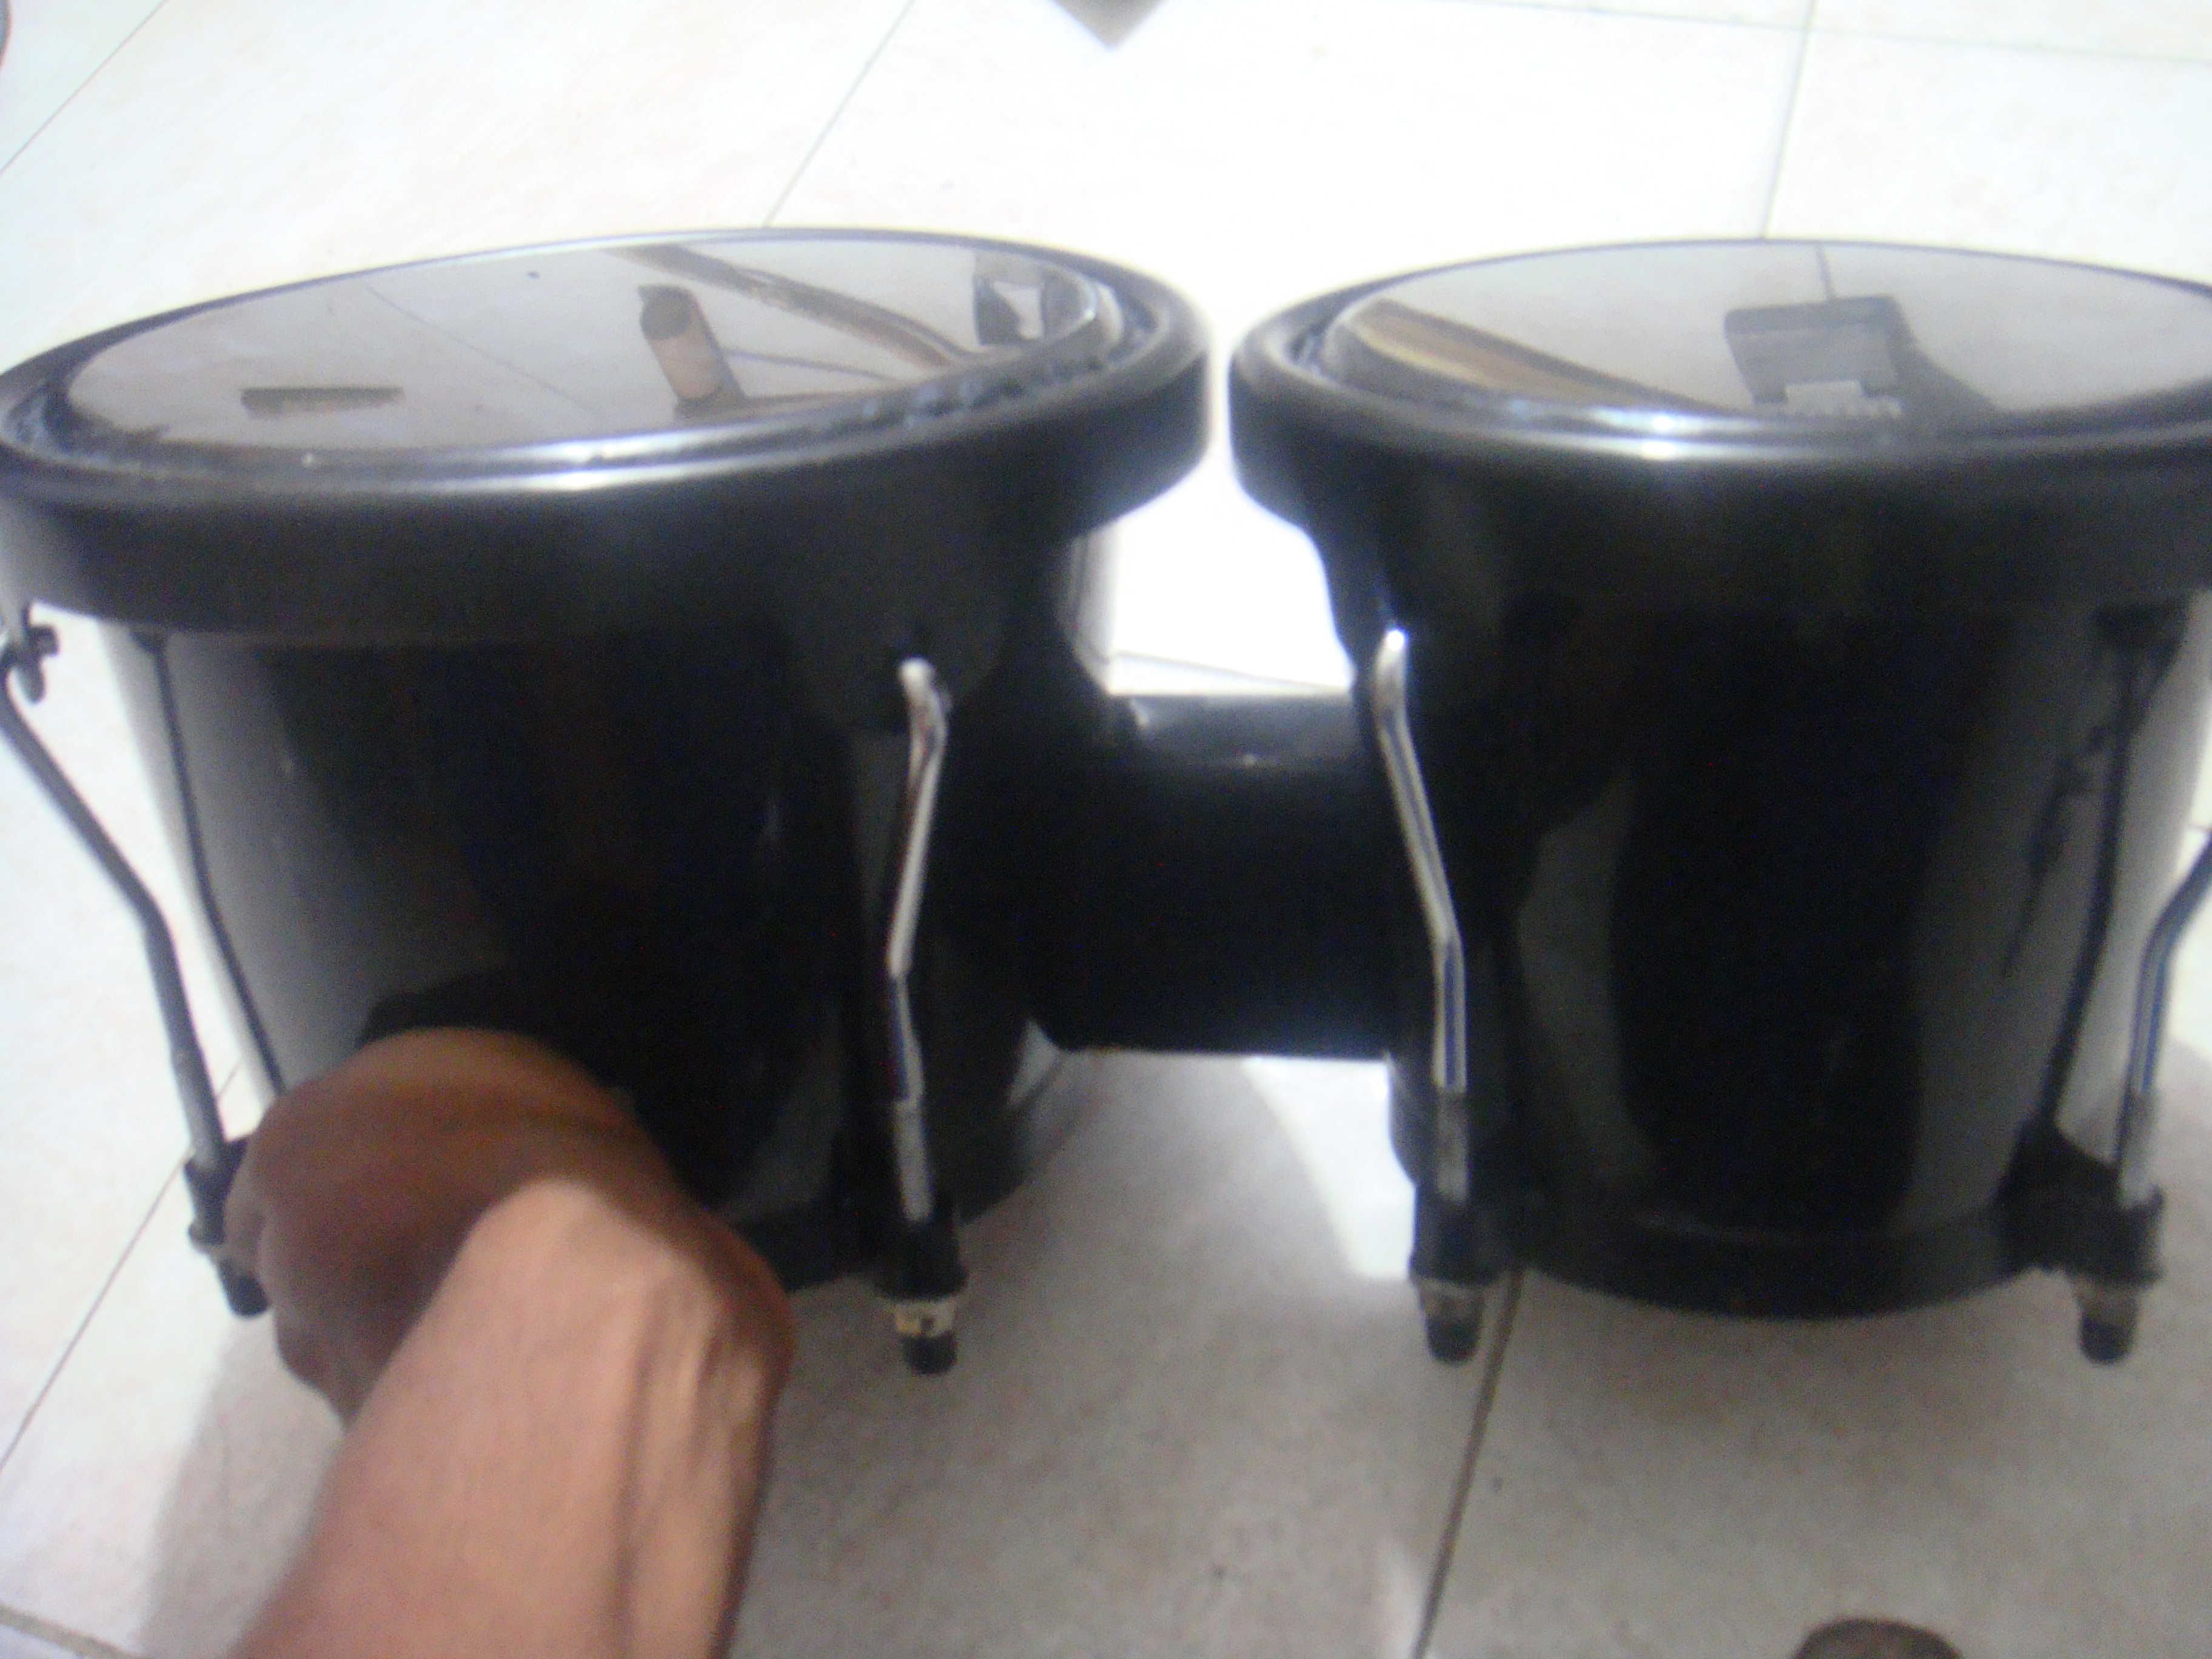
Estos parches tienen un buen sonido, y son casi indestructibles, proximamente subire un video tocando, y podran aprciar el sonido :D
These patches have a good sound, and are almost indestructible, soon I will upload a video playing, and you will be able to appreciate the sound :D
Espero les haya gustado y se animen a colocarle radiografias a sus bongos.
I hope you liked it and I encourage you to x-ray your bongos.

Esos rayos X sirven para casi todos esos tambores, el problema que tienen es el tamaño. Yo traté de ponérselo a un tambor veleño y terminé rompiendo el aro, por la tensión que había que hacer siendo tan chiquita la lámina.
¡Buen tutorial este!
Siempre es mejor que sobre y no que falte.
Y si! estos materiales necesitan mucha tensión y un aro que lo resista. Saludos!
Do you want to get involved? Do you want to support music and this project? Follow us to keep you updated and read our Introduction post!
Hola Eduardo! ¿Cómo estás? ahora me puedes encontrar por acá en Hive. Que original publicación me gustó mucho saludos
Hola!! Gracias. Saludos :D