Hi everyone!🤗📸
When I started my personal brand about healthy and sustainable living, I've always looked to create great content to add value to my followers. But, I felt that my publications were in lack of something, and I began to check out deeper my social media profiles and I realized that my food photos were looking bland and unappetizing. So, I decided to capture the vibrant colors and healthy ingredients of my meals in a way that makes my followers felt in love. For that reason; today, I’ll share with you my top 3 tips that will help you take your food photography to the next level.
Tip 1: Choose your Ingredients.
The first step in taking a great food photo is to start with great ingredients. After all, we can't make a tasty-looking meal out of bland, unappetizing ingredients. So, when we're shopping for our healthy meal, we need to be sure to choose ingredients that are fresh, colorful, and full of flavor.
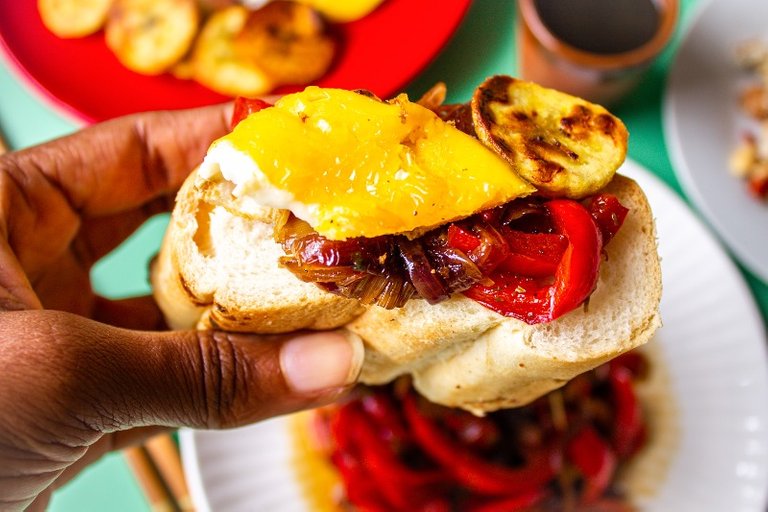
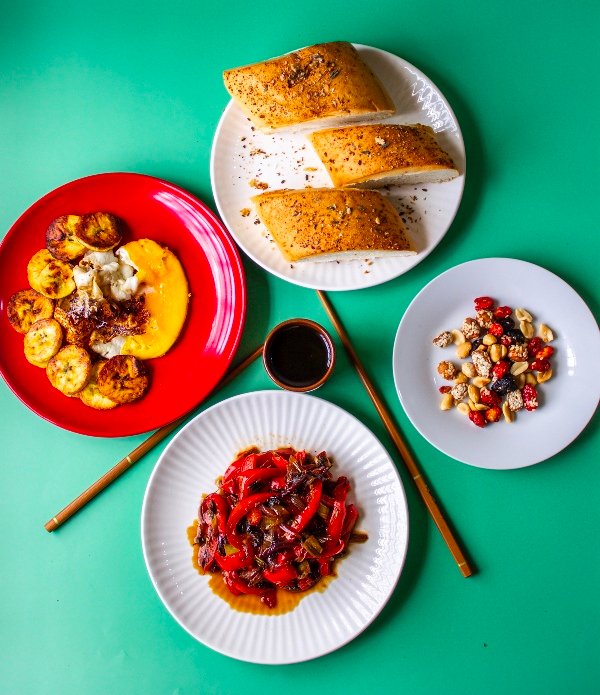
Choose a healthy meal that's packed with green and red ingredients. Think salads, smoothie bowls, roasted vegetables, and fruit platters. These meals are not only delicious and nutritious, but they also offer a range of vibrant colors that will look great in our photos.
Tip 2: Composition and Angles.
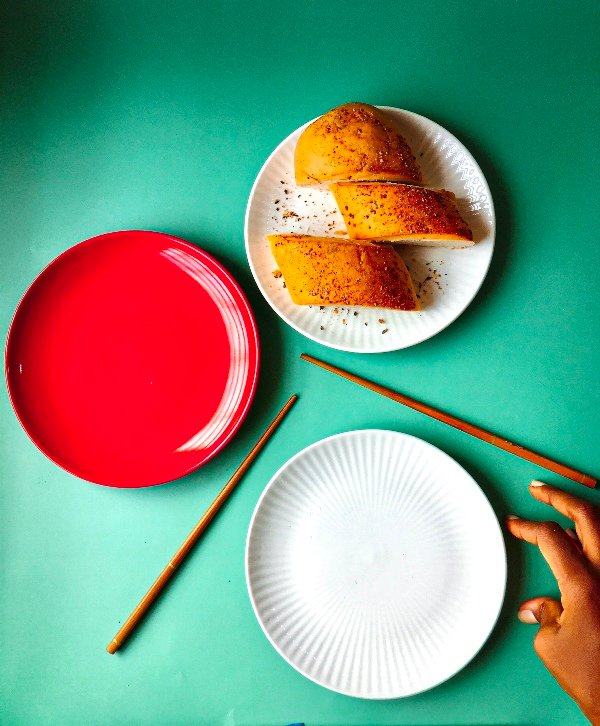
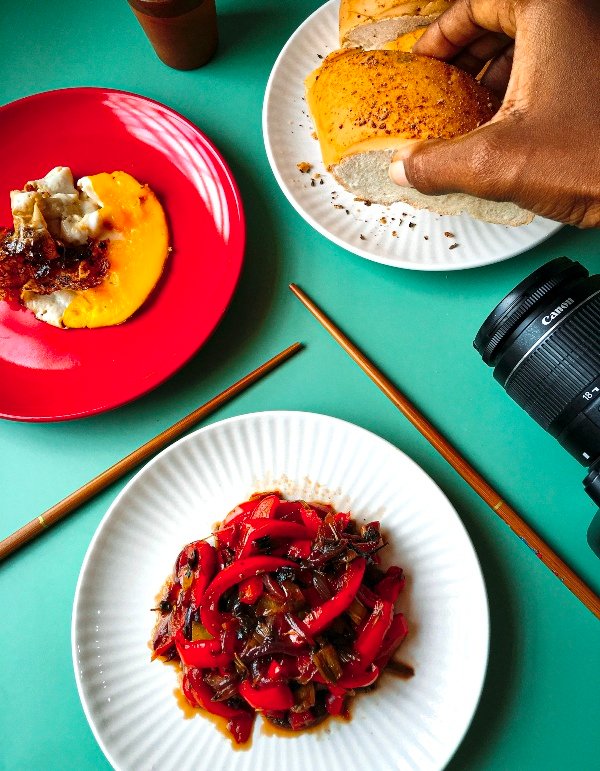
Before you start snapping pictures, you'll need to create the perfect backdrop for your meal. Whether we're shooting in a studio or in your own kitchen, we'll want to make sure our surroundings complement the colors and textures of our food.
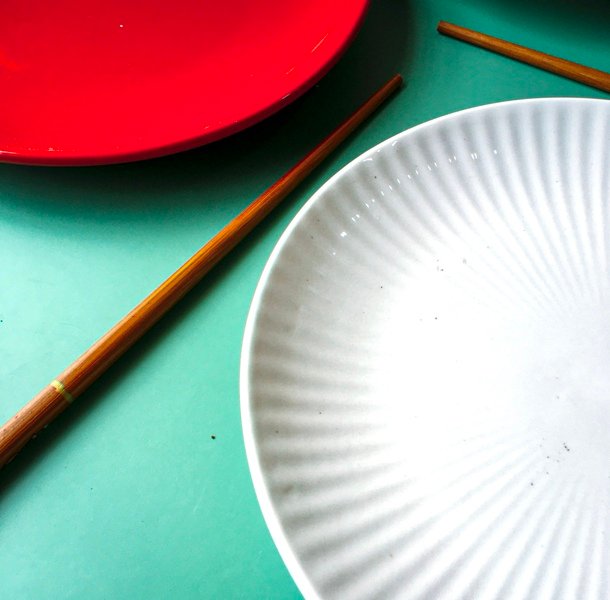
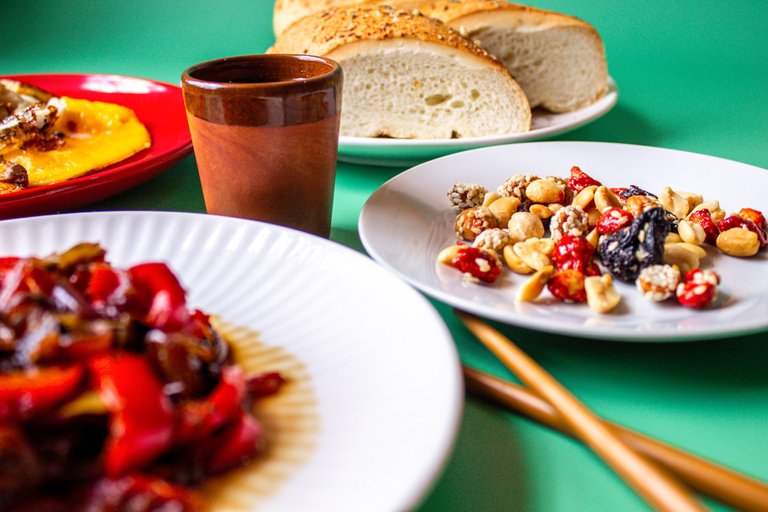
A simple white dish can be the perfect canvas for a vibrant green salad, while a rustic wooden table can add warmth and texture to a bowl of steaming soup. And don't forget to add some a sprig of fresh herbs can take our photo from ordinary to extraordinary.
Let's talk about color. One way to make your healthy meals look even more enticing is to play up the vibrant colors of the ingredients. Think about the different hues in your dish and try to highlight them in your photo. Maybe you want to focus on the bright green of your veggies or the deep reds and yellows of yours fruits. Whatever colors you choose, arrange your food and props in a way that's visually pleasing and tells a story.
Don't be afraid to experiment with different angles and compositions to find the shot that works best. Try shooting from above to capture the full spread of your meal, or get down low to capture the details of your ingredients. Play around with different compositions and see what works best for your particular meal and props.
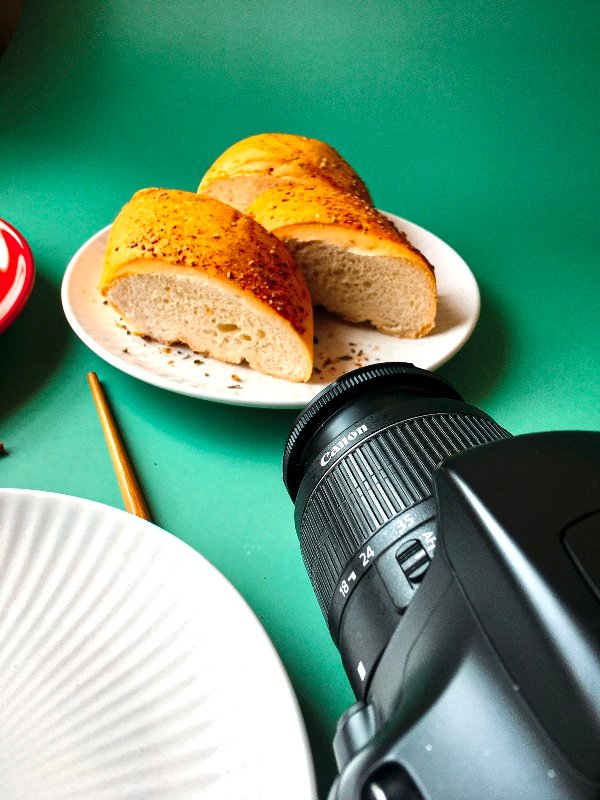
Tip 3: Get the Lighting Right
Lighting is key when it comes to food photography. You'll want to make sure your food is well-lit, but not so bright that it.
Natural light is your best friend when it comes to food photography. Find a spot near a window with plenty of natural light and set up your shot there. If you don't have access to natural light, you can always invest in some affordable photography lights to give your pictures that pop.
And now… “PLUS- TIPS”
Use colorful napkins, fresh herbs, or interesting utensils to add some visual interest to your shot.
Just make sure your props don't overpower the food itself, after all the star of the show is your delicious and healthy meal.
And don't be afraid to mix and match - a colorful combination of veggies can make a dish look just as appealing as a perfectly cooked piece of meat.
So there you have it! Some tips to help you take your food photography to the next level. Remember, the key is to have fun and get creative. And if all else fails, just add some cheese everything looks better with cheese. 😎🧀
