Hi friends!
I often make a color correction fop my shots to do them nice look.
I use a tools and owner filters in Photoshop for it.
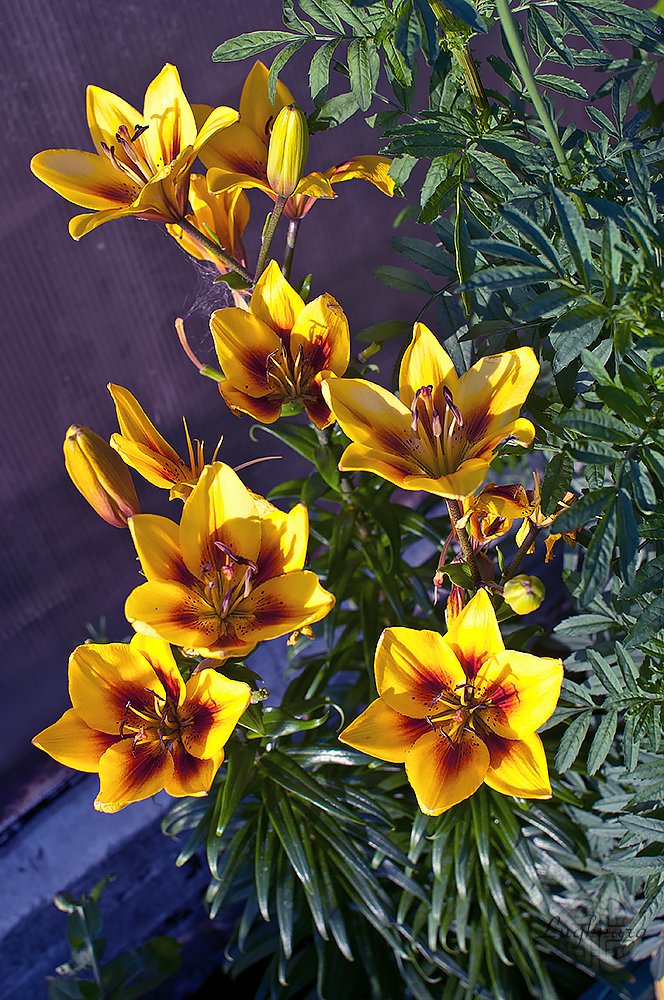
Photo color correction is one of the essential tools of a modern digital photographer who publishes on the Internet, who wants to become financially secure for his photographic work.
To date, various companies - developers of computer graphics - have released countless different and plug-ins for photo processing, for any, as they say, taste and color ...
But today we will not delve into the digital jungle, but again we will open our good old Photoshop. In it, if you suddenly do not know, it has enough of its own tools to make our photos much more interesting visually without even bothering with fine and precise settings.
So, today we will give our pictures fashionable or, as they say now, trendy colors.
Color correction with an adjustment layer
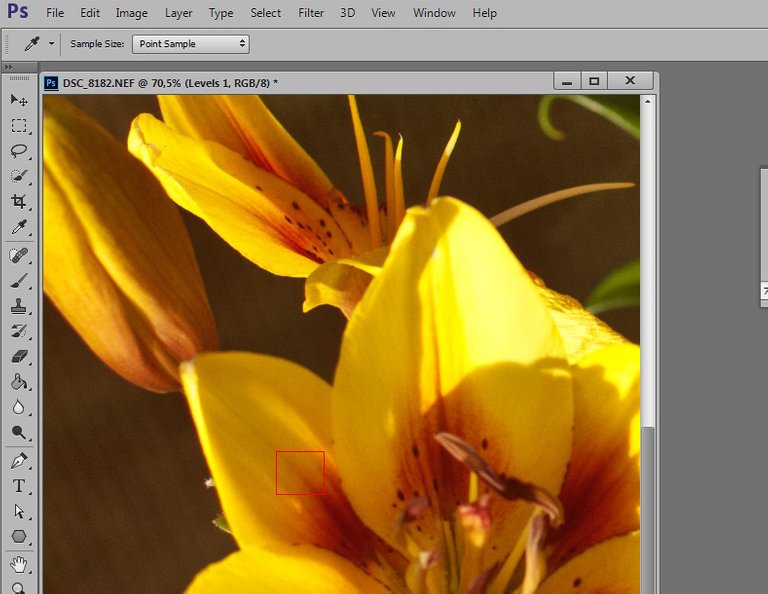
Let's say we have such a nice photo with lilies.
Good backlighting, contrasting flowers from the background, but the overall color scheme is somehow unattractive.
Let's try to fix the situation.
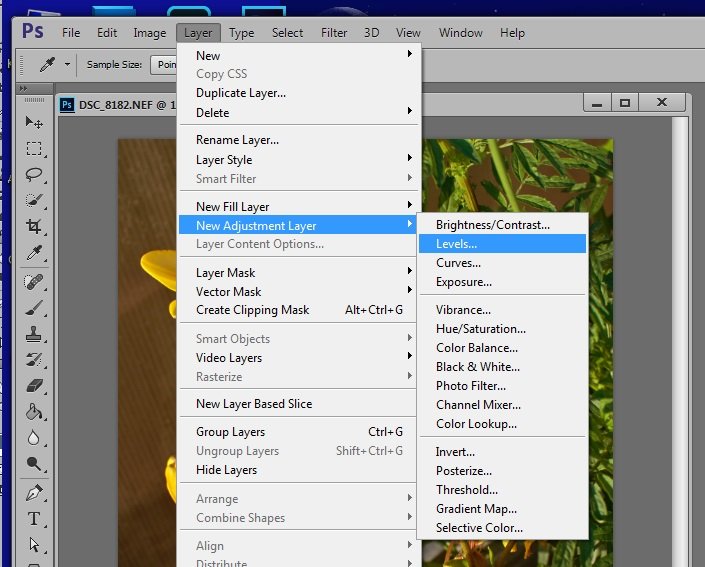
Add a Levels adjustment layer
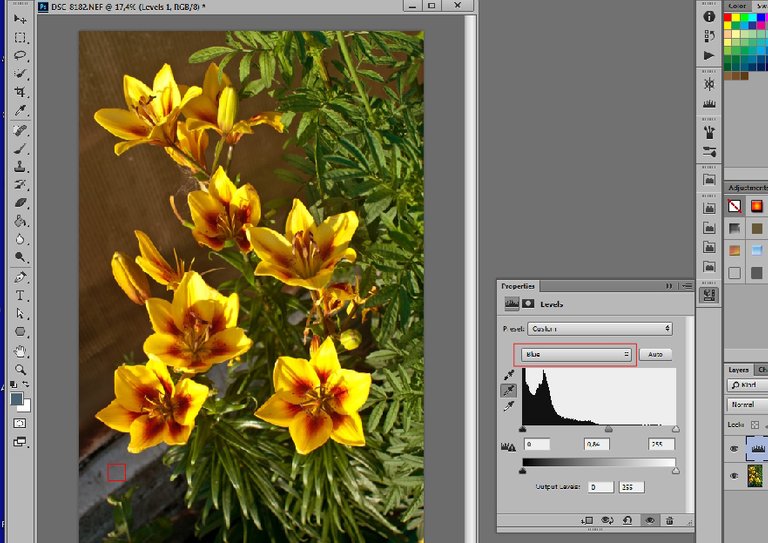
Select the Blue channel in the tab and the eyedropper for medium tones.
Select a point approximately in the place marked with a red square
Then I select Red channel and tis point
The picture changes dramatically, but we are not intimidated and we continue to work.
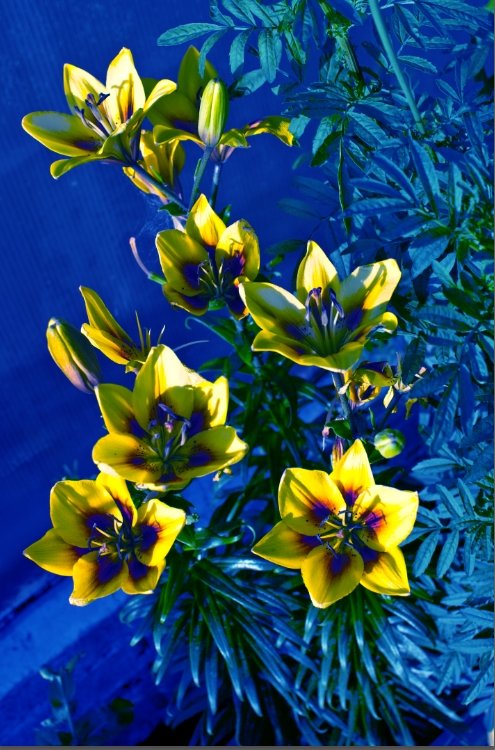
Select Green channel and point in marked place

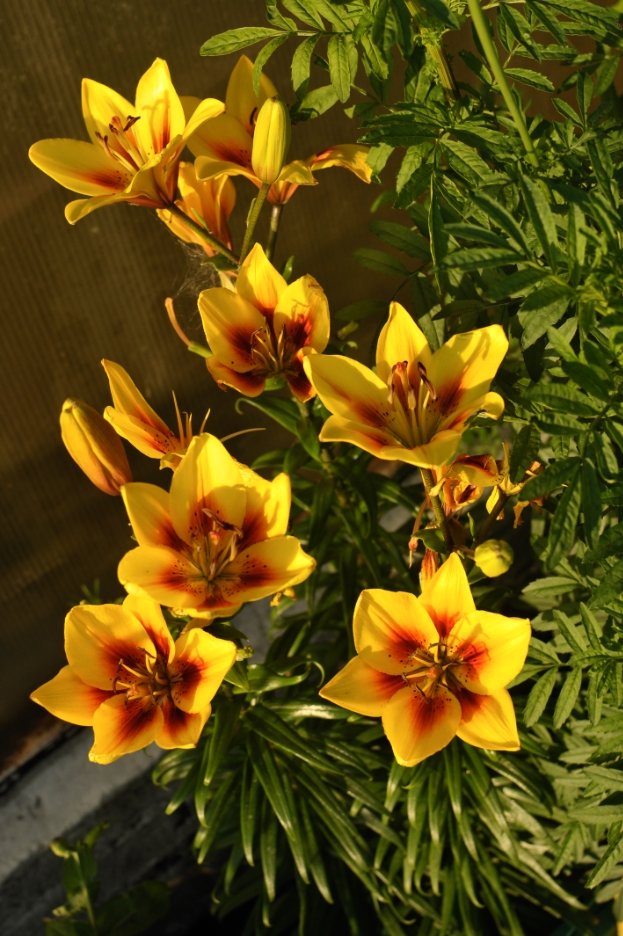
Now this is the view
That's right!
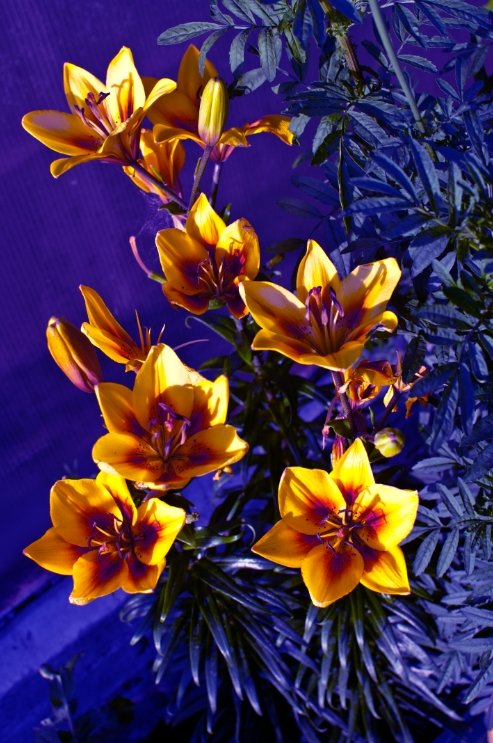
Finally step: change blend mode for adjustment layer to Color and reduce opacity to 40%
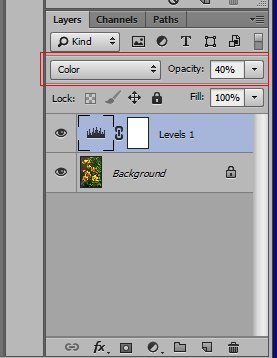
That's what I need!
To be continued next time!
Have a nice day to all!
@onno, thanks for visit, I'm glad)