Hi friends!
Today I'll tell you how you can do color correction of a photo using one of the favorite filters for photographers - Nik Color Efex Pro set.
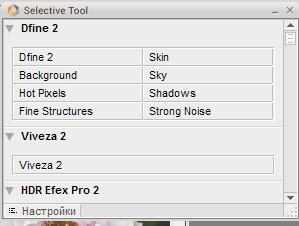
This is a set with a lot of possibilities, it consists of several separate independent plugins - each for its own tasks.
In Photoshop, this set is opened in a separate window above the main program window.
To select the plugin you need, you need to click on the name.
I will talk about each in several lessons...
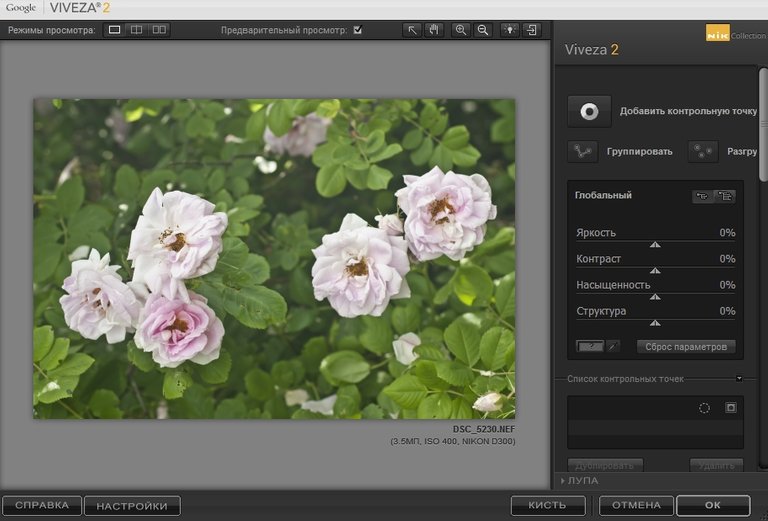
Let's start today's acquaintance with the plugin Viveza
Viveza lets you change colors, hues, tones, and saturation anywhere in an image.
And this is done very simply!
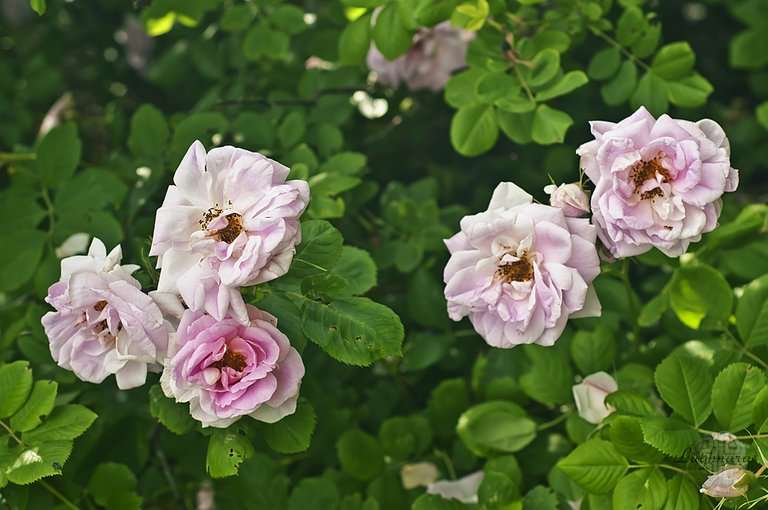
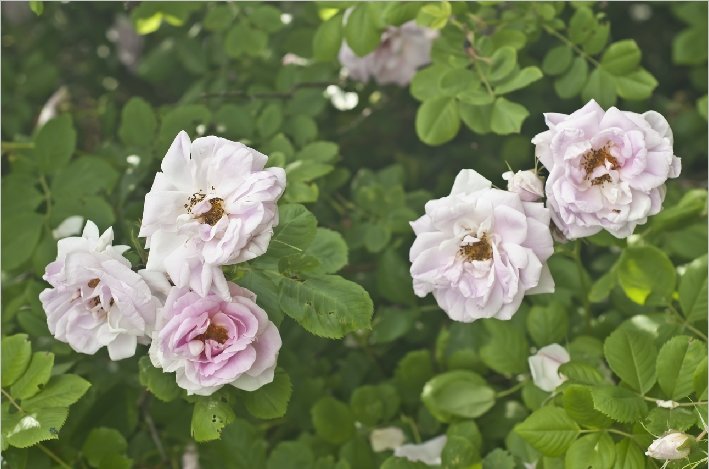
So, open thee photo we need to correct.
As you can see, it is too thick and unsaturated.
This is how the photo looks like when opened in the plugin window.
First, let's try to make a general adjustment using the Curves graph to the right of the viewer window.
The highlighted red label: Levels and Curves
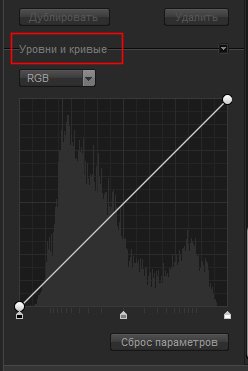
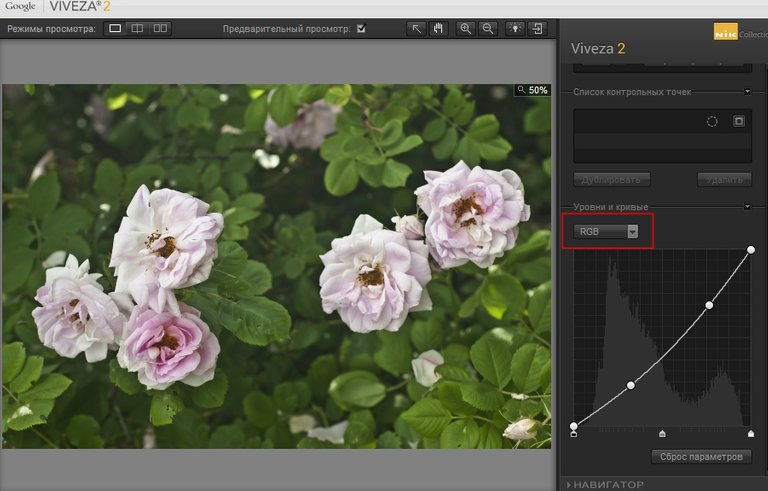
I change the curve line of the main RGB channel to make the photo more contrast
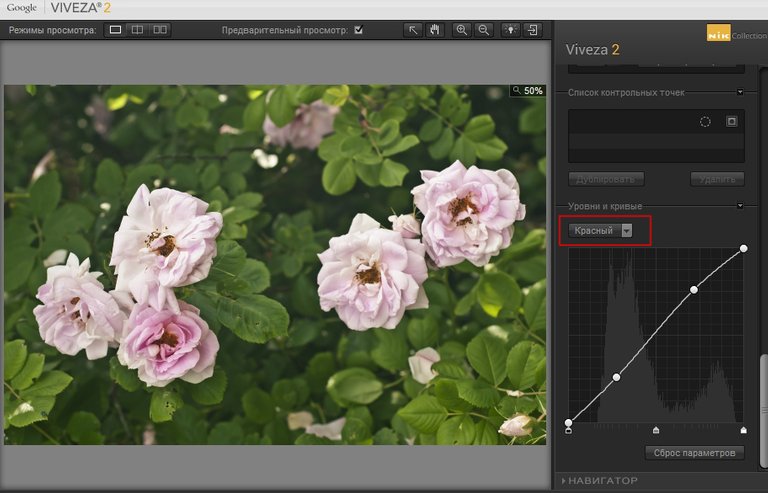
And te line of Red channel to make a warm tints
And now I will add saturation and sharpness using another group of settings located in the same place, on the right side of the window.
Slider names from top to bottom, by list
Brightness
Contrast
Saturation
Structure

As a result, the shot has become much more interesting.
To be continued...
Many thanks for your visit, read and upvote!
Have a nice and creative day!
Regards