Last week, I have finished my second pottery course, and I'm excited to share the results with you! 😊
During the first course I focused on small round dishes and this time I wanted to try some new shapes. It was challenging, but I'm really happy with what I created. The next course will only start in autumn, but I fell in love with pottery and can't wait until then, so I agreed with my teacher to buy some clay from her and create some products at home without the wheel that she would fire for me in her studio. I'm going to pick up the clay tomorrow, so get ready for plenty of flat products that I will show you going forward. I have so many ideas!
When the course started I had no idea what I should create. I watched many videos to get some inspiration, but most of my product ideas were simply created randomly when I put the clay on the wheel and started throwing. Once I worked with the clay I knew exactly what I wanted to achieve although it didn't work out perfectly, but I'm still learning, so I don't mind some imperfections. In the end, you need to accept that the clay doesn't always follow your lead.
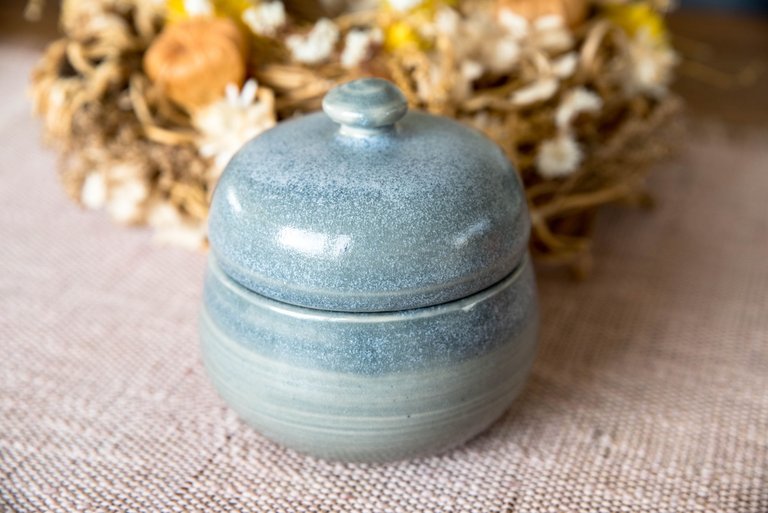
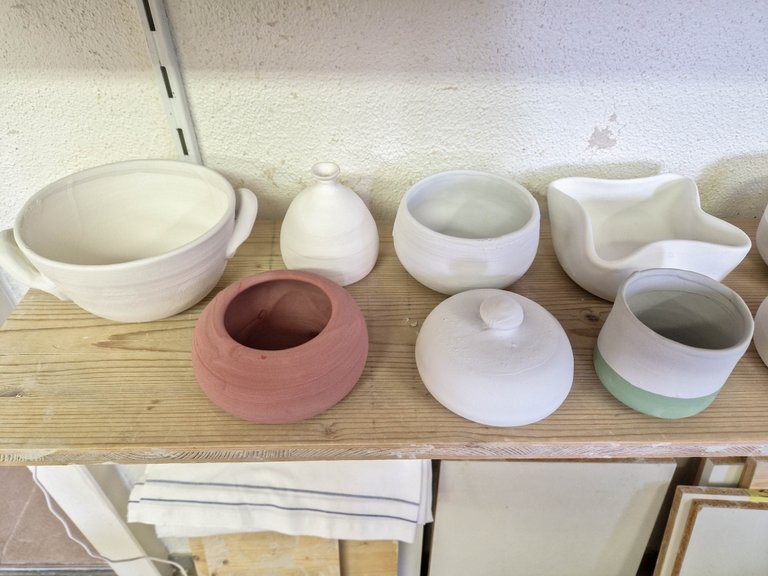
I'm so proud of my candy jar. First I made the jar itself and then I worked on the lid. This was the biggest pottery challenge for me until now. It's not easy to make it close properly, and I'm still surprised that it's fitting perfectly.
There is a lot of water in the clay when you work with it initially, so you need to count with some shrinkage. This type of clay has shrinkage of 10%, and when you create your product on the wheel it is much bigger than it will be once it dries. You need to work carefully when you have two parts that you want to bring together, and I must say that I didn't expect to do so much math while working on this jar 😊
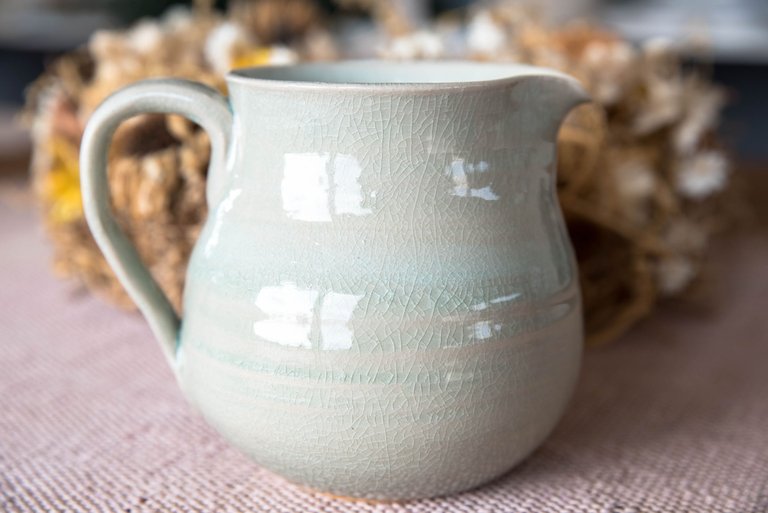
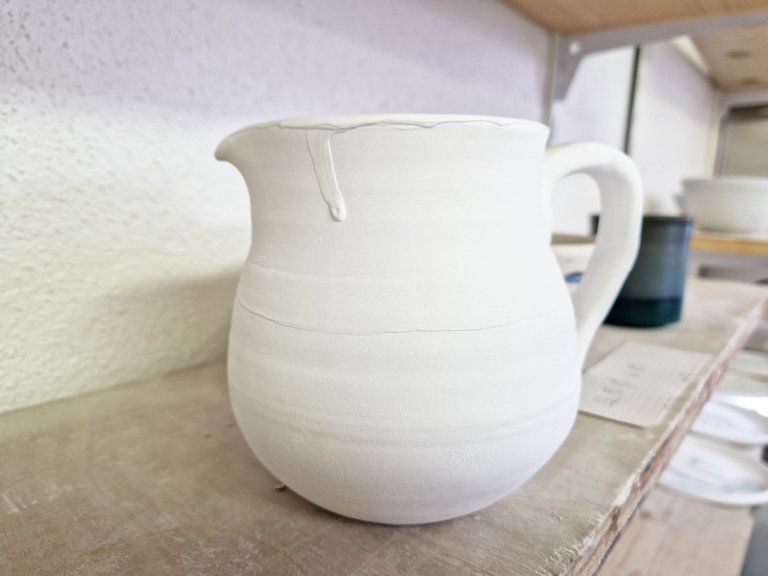
I made this jug in two steps. First, I made the form and let it dry, and then I attached the handle and made the spout. I was so nervous while making the spout as I was afraid to break the jug wall. It's only 0.5 litre, and I will try to make another one at least twice as big. Initially, I wanted to use it as a vase, but my husband started to use it for water already.
I need to work on the form a bit as well as on my handles. However, it's not too bad for the first try.
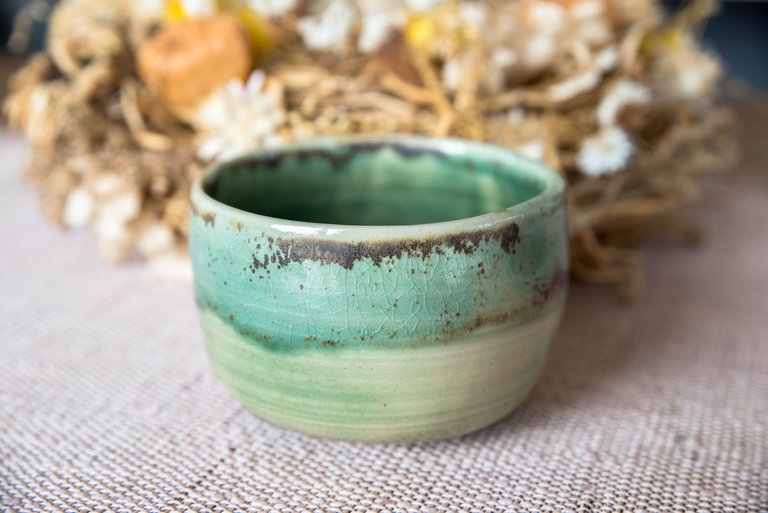
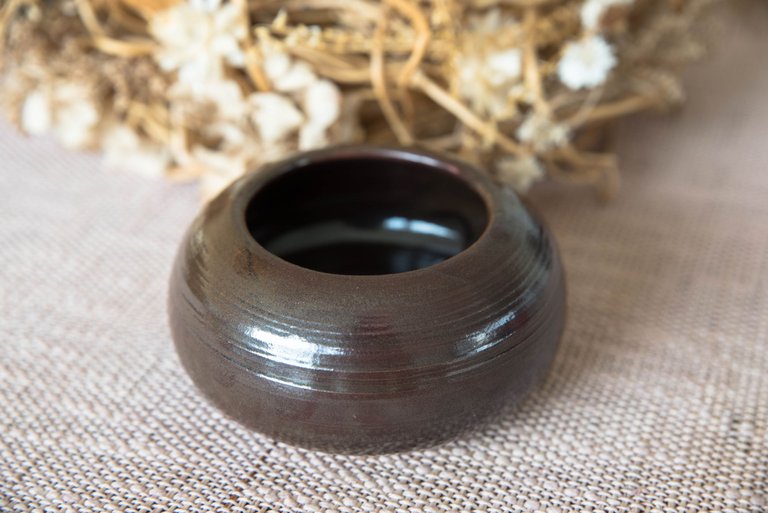
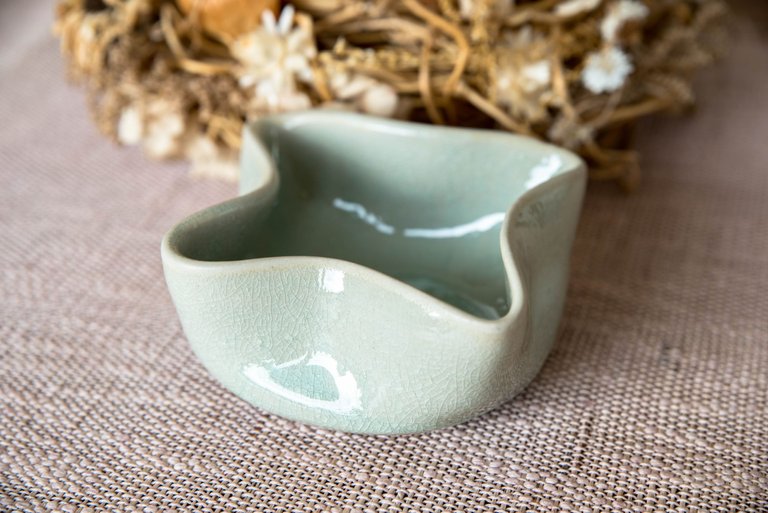
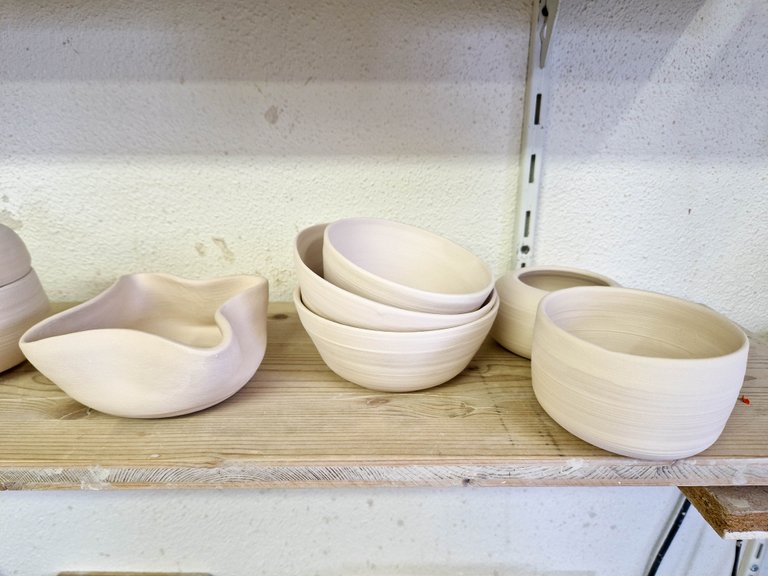
I'm in love with this small bowl. The beauty of glazing is that you never know how your final product will look like. Here I combined two glazes. The bottom is called Olive green, and I don't remember the name of the other glaze, but it's one with a special effect, and I really like how it came out.
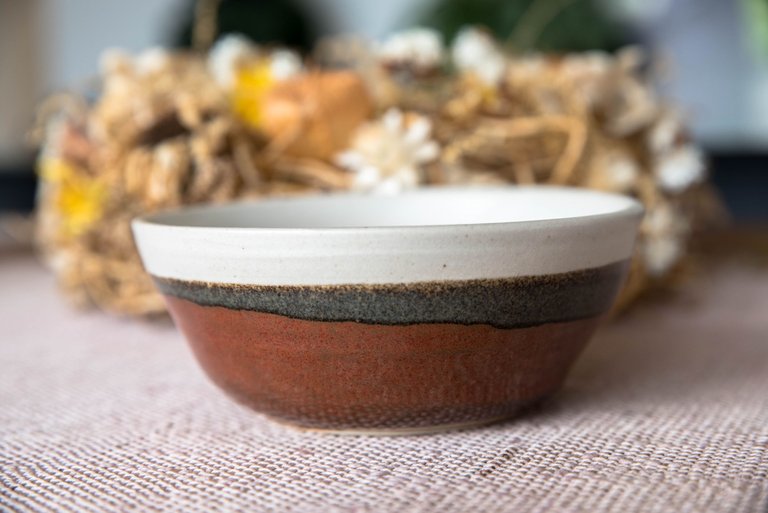
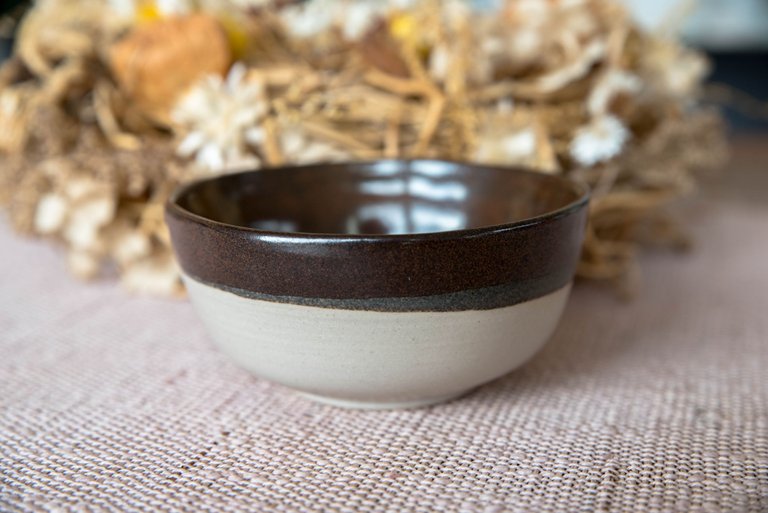
This is a breakfast bowl for my fruits. I used two colours: white and brown. The strip in the middle is a combination of these two (first brown and then white on top). It's the perfect size for breakfast!
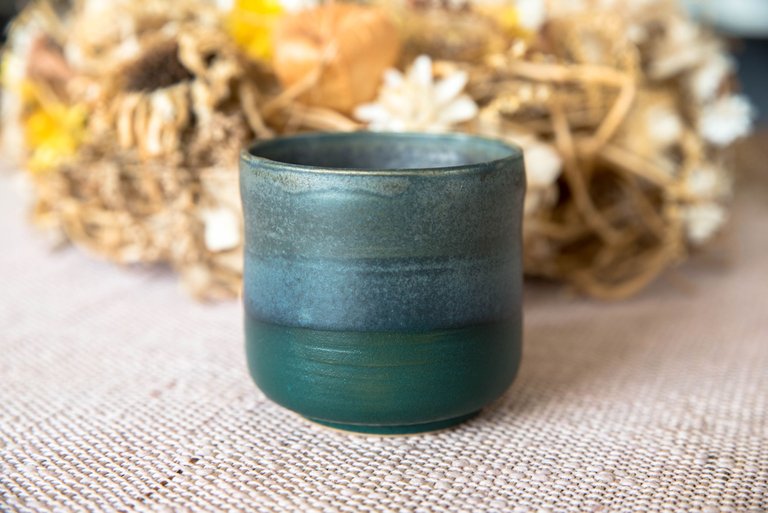
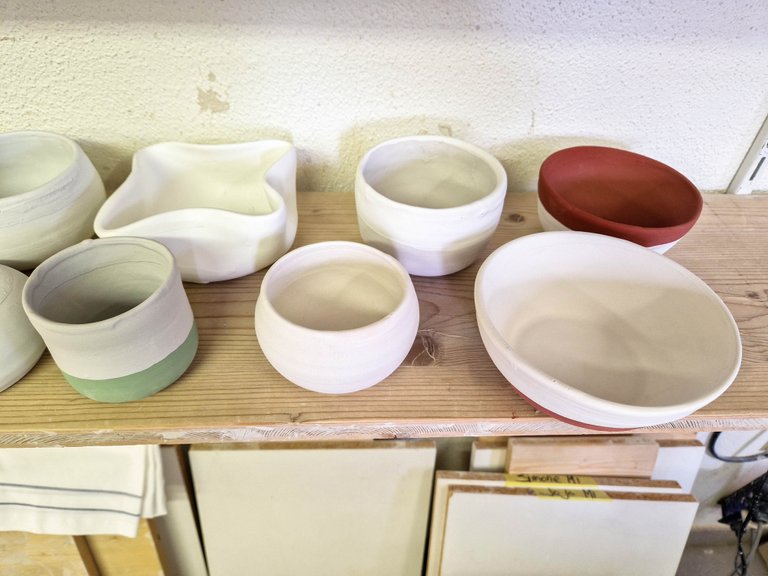
This is one of my favourite piece because of the colouring. It's also two colours with middle part blended. It's the perfect size for a double espresso. My husband started to drink more coffee since I brough it home 😊
Here we have a small bowl for dips. It's a combination of white and natural colour which makes the interesting effect. I haven't used it yet, but we're planning a dinner party with our friends, so I'm sure that I'll use it soon enough.

This is not a vase 😊 It's only about 10 cm and it's very heavy. When we open the windows in our apartment there might be a lot of wind, so it happens that papers that we have on our desks are flying all around the place. This is a heavy item to place on the paper pile, so that it stays in place. And yes, I might put one flower inside from time to time.
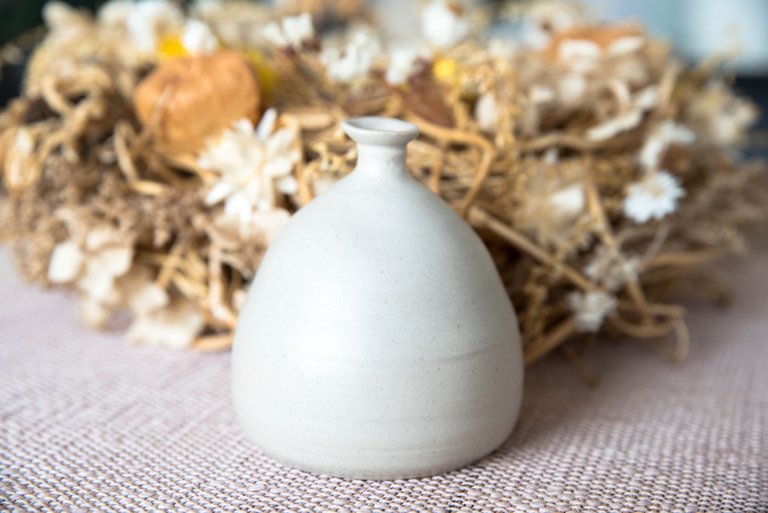
At first, I only thought of this item as a decoration, but then I realized that I can put a tea light candle inside too. And it works perfectly!
This is a breakfast bowl for my husband. It's more the same as my breakfast bowl, but I switched the colours, so that we know which one is mine or his.
Beautiful things happen when you go with the flow...
This was supposed to be a bowl, but the wall was too thin and collapsed, so I made a decoration item instead. I push the walls inside and shaped them until I liked them and forgot the idea of a bowl.
My brother 'placed an order' for a soup bowl with two handles and this is how I did it. I showed it to him and he seemed to be happy 😊 He is already planning to use it for goulash.

Simple, but nice - I like to eat nuts out of pretty bowls.

And a little bit of process...
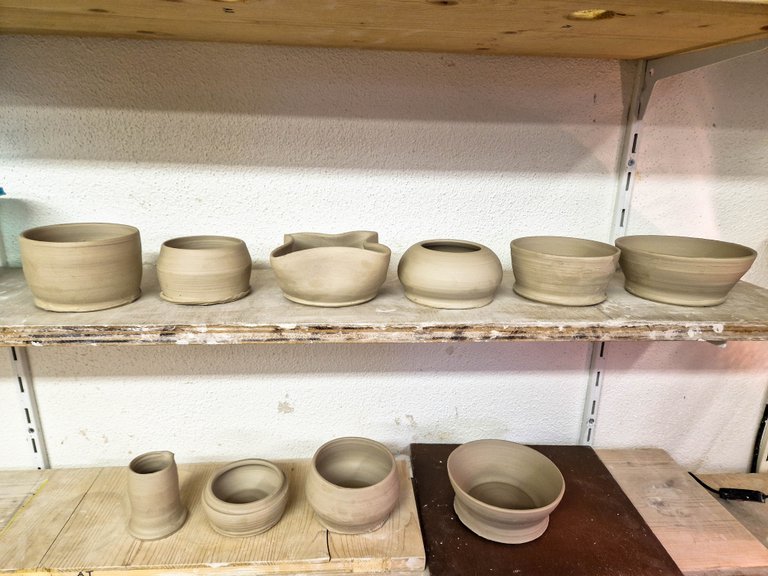
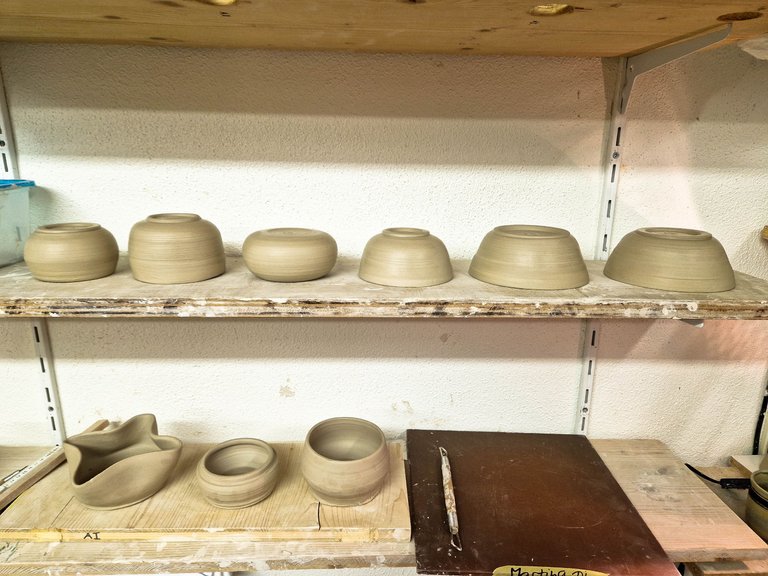
This is how it looks like once the products are leather dried and ready for trimming. Can you see the small jug on the bottom shelf? Well, I broke it while trimming.
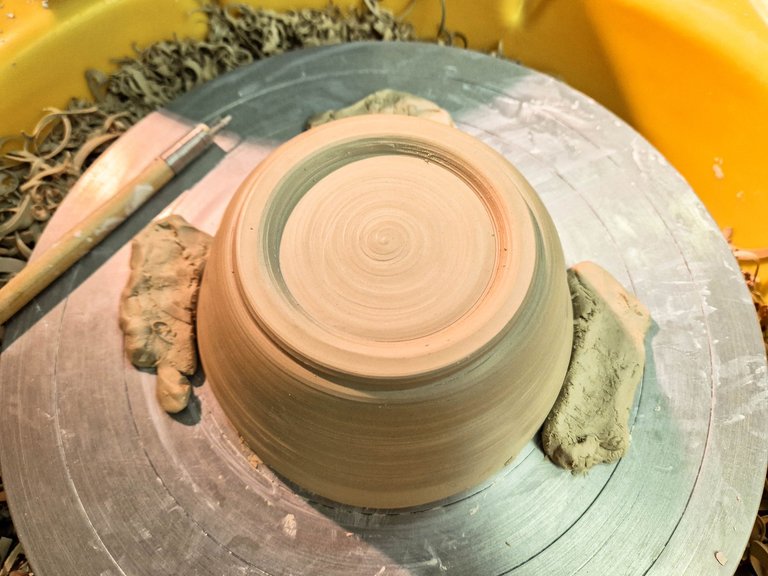
Trimming is my favourite part because you can shape your products in so many ways. I usually throw them bit thicker, so that I have some clay to work with while trimming.
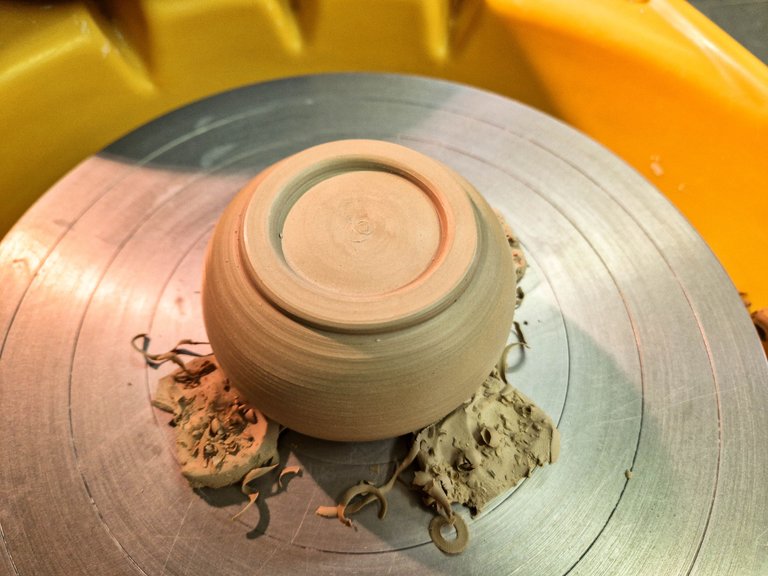
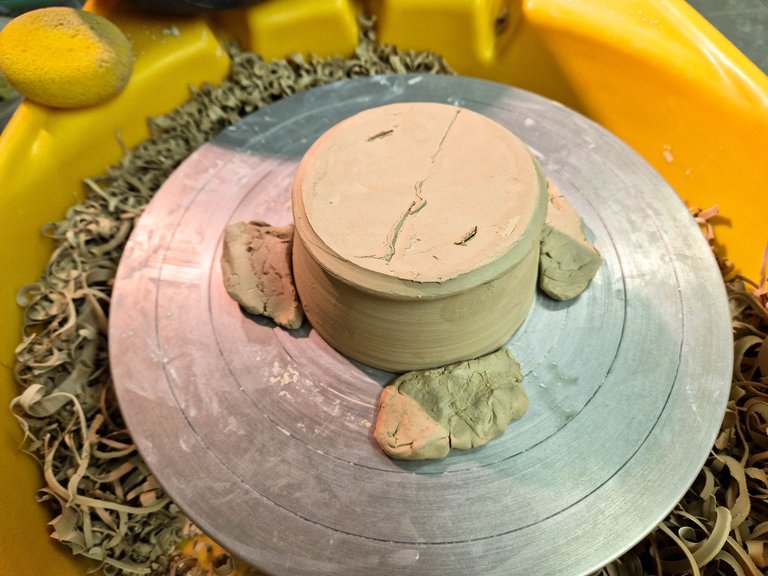
Once done I sign my products at the bottom. You need to find a sweet spot as if your signature is too shallow it will not show after glazing and if it's too deep you might go directly through the bottom of the product.

I like the smooth lines. It's so meditative to work with the trimming tools.

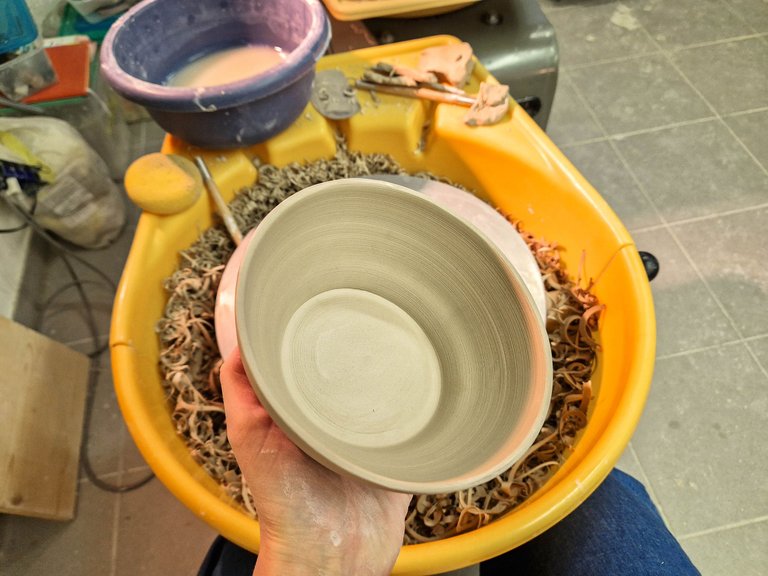
It took me a while to learn how to do a foot on the dishes, but every time I finish one I'm proud of myself for doing it yet again. I still use clay on the sides of the dish to help it stay in place.
You can get from the basin full of clay that it was a trimming day 😊
Before...
After...

And voila!
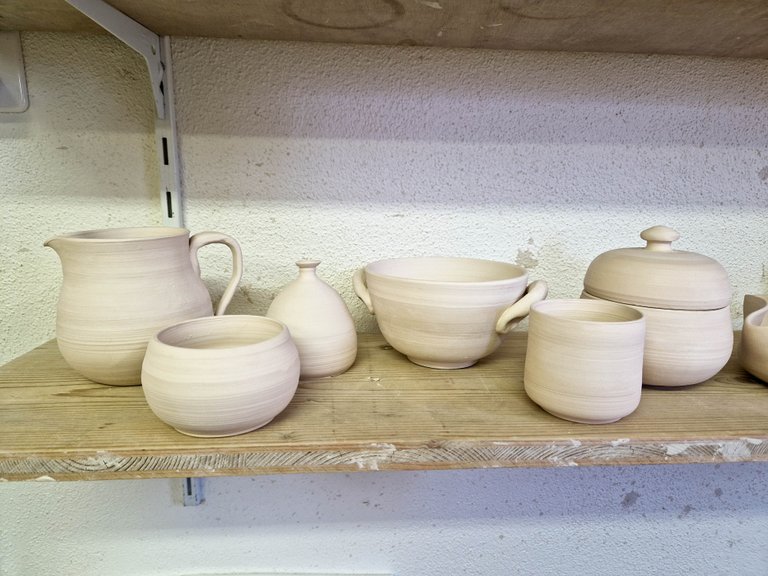
Look at the difference between the these two shells. On the top one I have the products that I trimmed already, and on the bottom one are those still waiting for trimming.
The colour of the clay changes after bisque firing. The products are ready for glazing. But first, the smallest imperfections must be cleaned with the sanding paper.
The glaze looks so different before the second firing. It's the most exciting part of the process as you don't know how they will look like. Of course I'm always scared that I won't like them, but so far I have always been happy with the result 😊
Thank you for following my pottery journey!
See you next time!
AMAZING work. This is !PIMP worthy. I hope the #pypt crowd finds this as interesting as I did.
You must be killin' it out here!
@wanderingmoon just slapped you with 1.000 PIMP, @plantfuljourney.
You earned 1.000 PIMP for the strong hand.
They're getting a workout and slapped 1/1 possible people today.
Read about some PIMP Shit or Look for the PIMP District
Aw man @wanderingmoon, you are out of PIMP to slap people.
Go Stake some more and increase your PIMP power.
(We will not send this error message for 24 hours).
Read about some PIMP Shit or Look for the PIMP District
Thanks a lot for your support! 😊
Beautiful work! Either your teacher is amazing or you are...maybe both! That candy jar is excellent.
She did tell me in the beginning that I was a natural talent 😁 I really found my passion in pottery, and I think this helps too 😊
I'm glad that you like my work 😊
If you in the near location with me, I will buy your work ❤️ You know what, all those bowl, cup, similar with the product on my waiting list 😊
Thank you for sharing your experience there
I'm afraid I'm not, but also these are not for sale 😊 HOWEVER, I will make many more which will be 😉
Thank you for the words of encouragement!
A great story in photos. The products are excellent.
Thanks a lot! 😊
Oh wow! This is very impressive. Beautiful craftsmanship. ❤️You must really be proud of yourself.
Oh, I am 😁 I have never thought that I can create something like that..
Thank you for your kind words! 😊
Wow, that is amazing works. Love to make my own coffee cup that way. It is very special when you make it yourself.
It's so amazing when you can use pottery at home that you made yourself 😊 Have you tried it already? I mean when you say that you would love to make your own coffee cup 😉
Haven't tried it yet. 😊