I've setup an indoor Hydroponic Grow System - I'm testing it's viability with Pepper, Basil, and Cannabis plants.
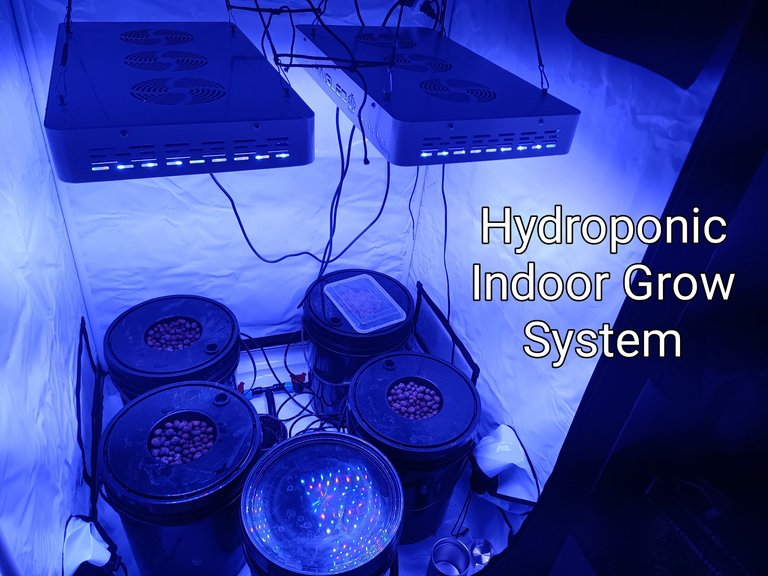
Hydroponic Grow System
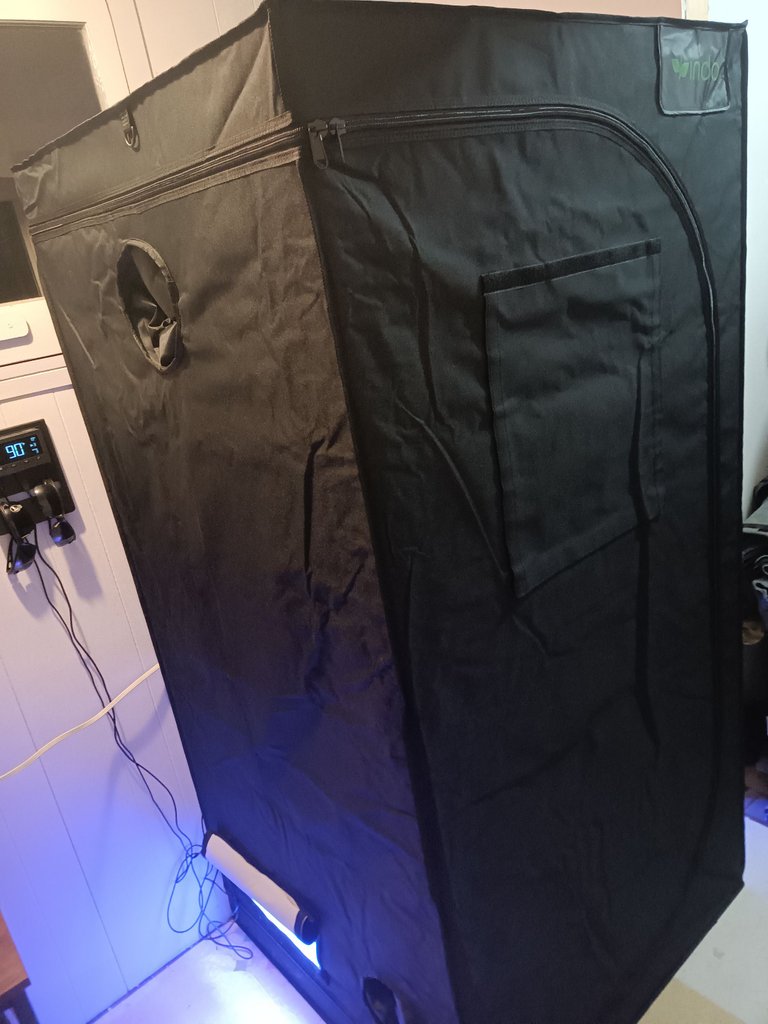
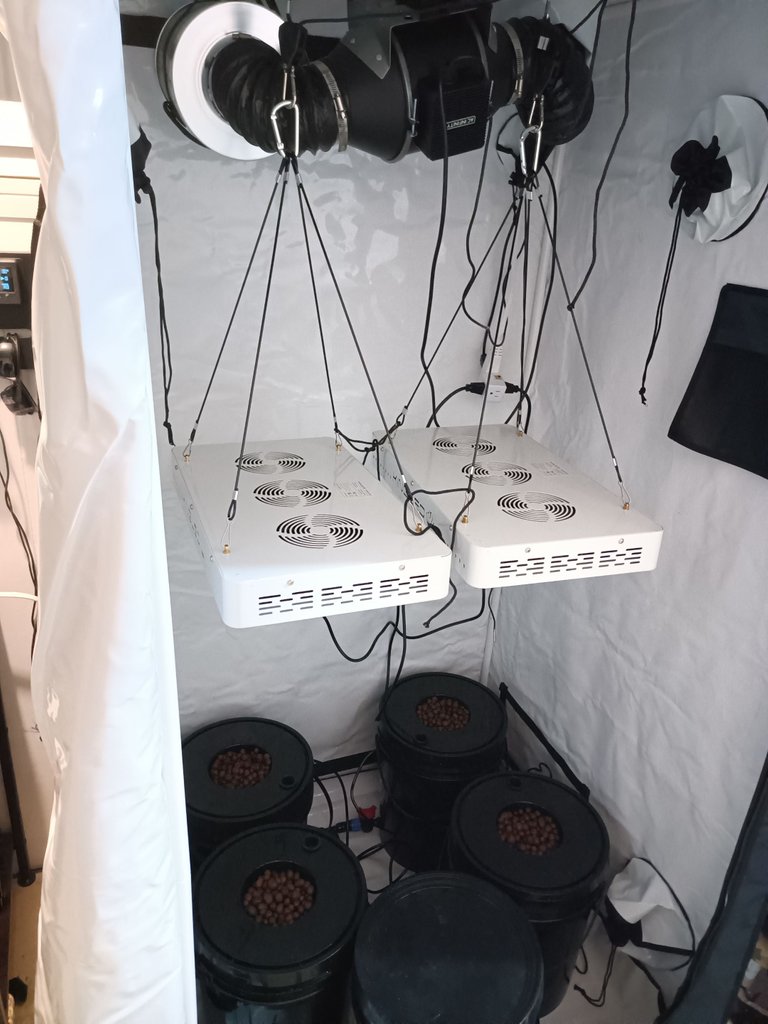
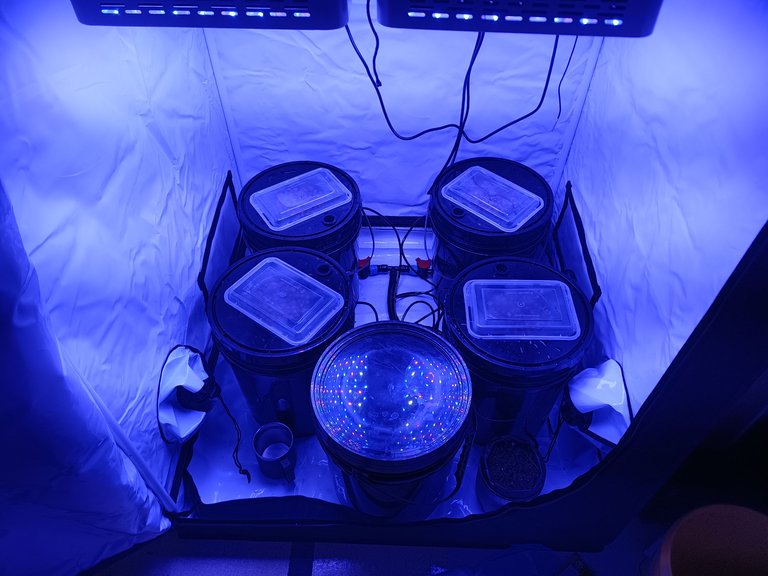
This indoor hydroponic grow system includes a grow tent enclosure, led grow lights, timer for the lights, and exhaust system for temperature and ventilation control, four hydroponic grow buckets connected together with a reservoir - bucket for water and nutrient adding.
 |  |
|---|
Each grow bucket has an air stone connected to an air pump for water aeration and root oxygenation.
Lights and Settings
The lights are automated, on a timer - the lights will be set to 18 hours on and 6 hours off during the seedling/vegetation phase, the set to 12 hours on and 12 hours off per day for the bloom/fruiting/budding stage.
 |  |
|---|
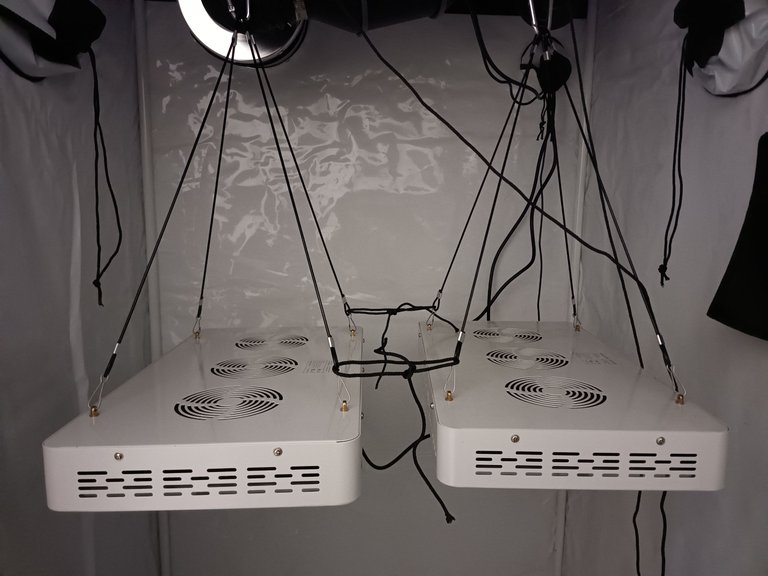
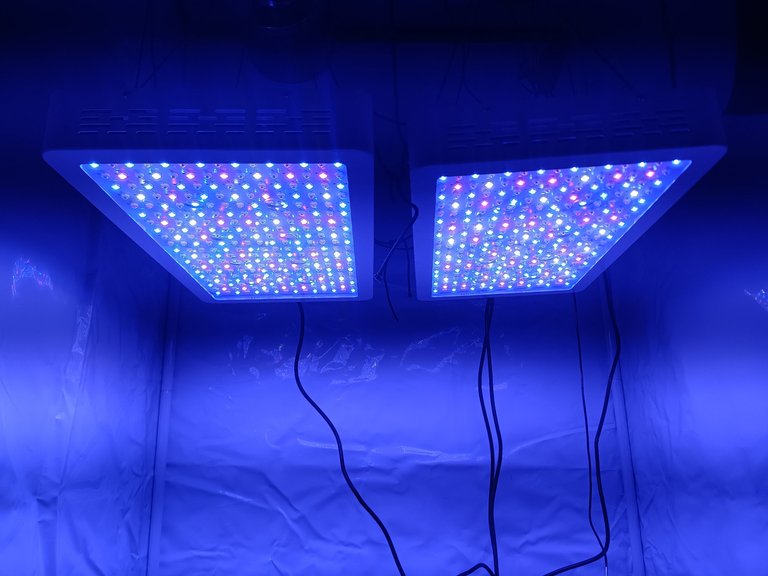
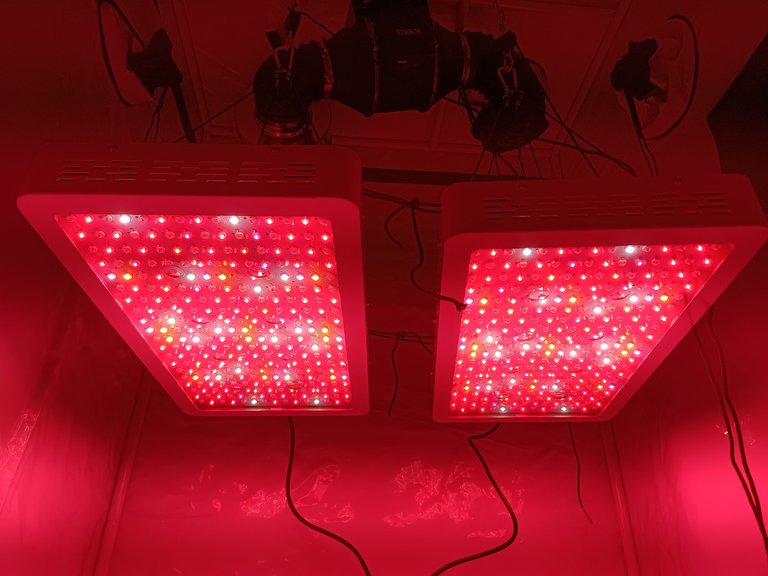
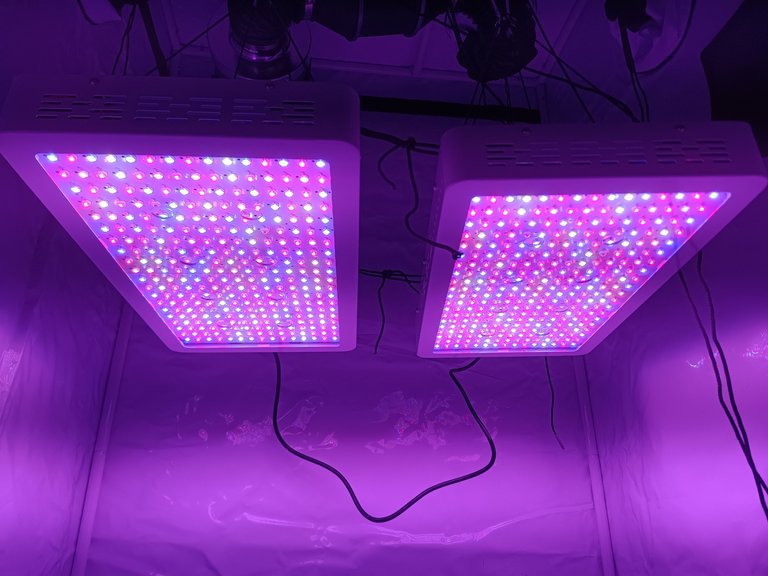
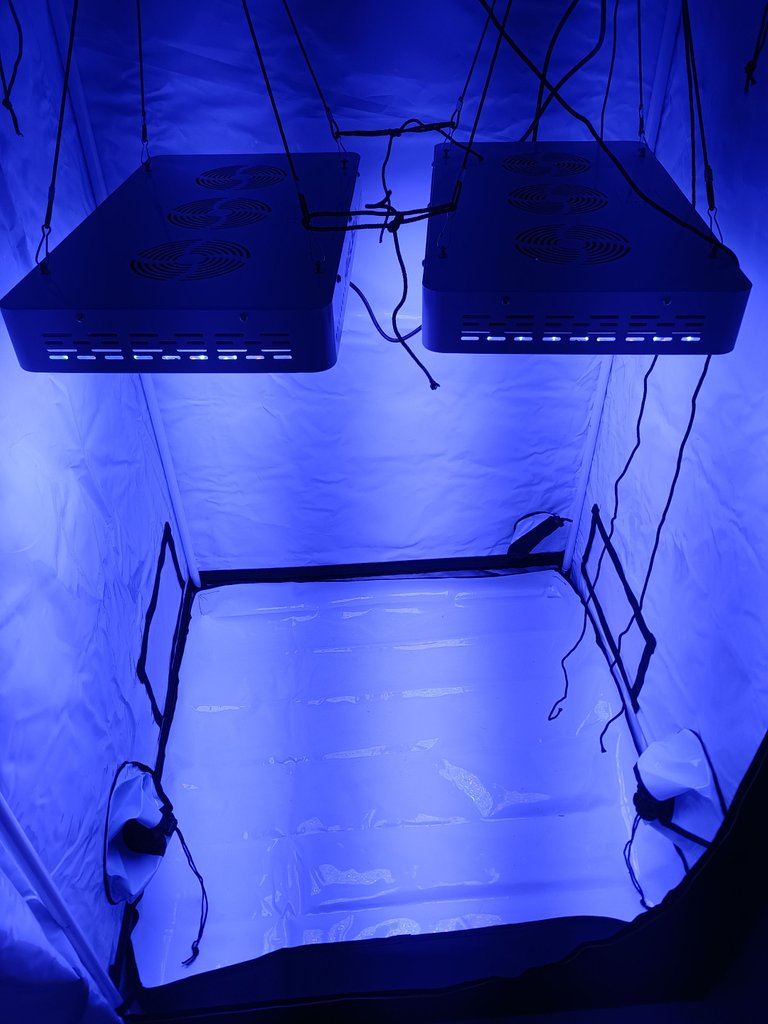
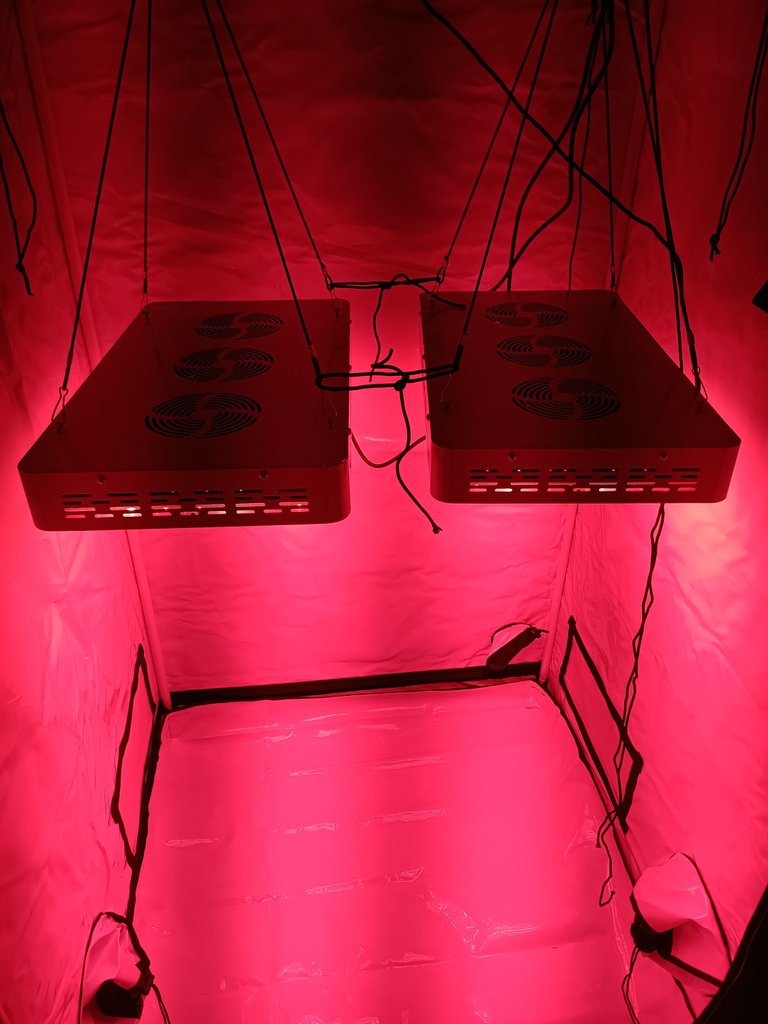
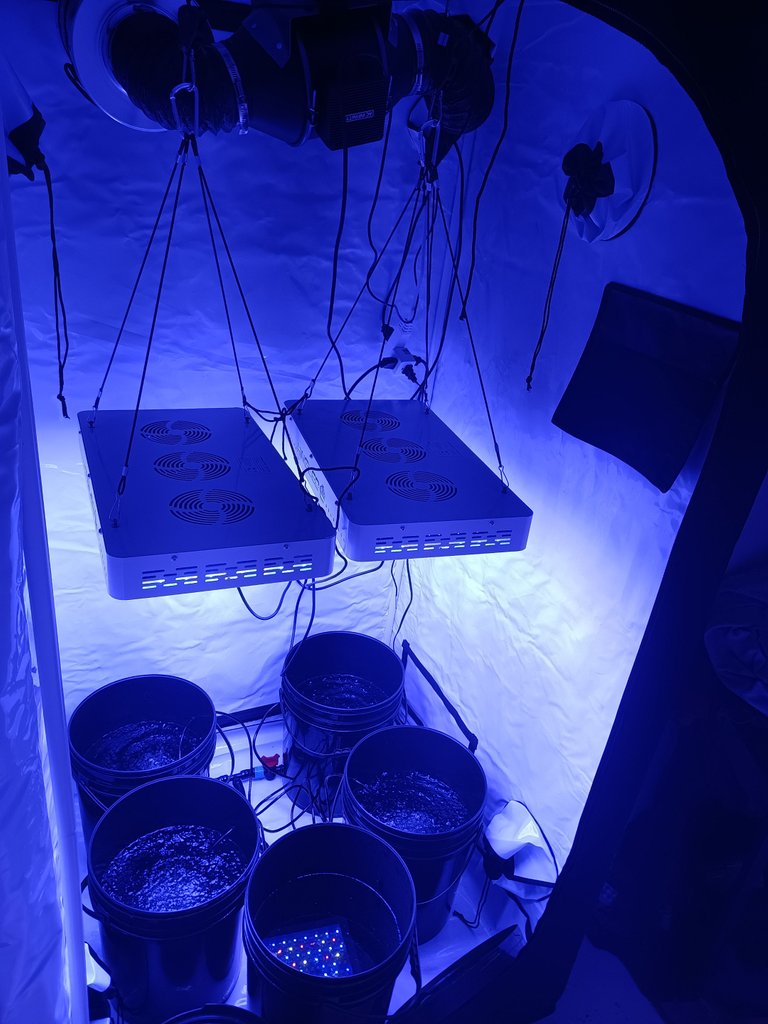
These 1000 watt LED grow lights have different switches for veg and bloom stages. Veg stage prefers light in the blue spectrum, bloom prefers and is partially triggered by the red spectrum.
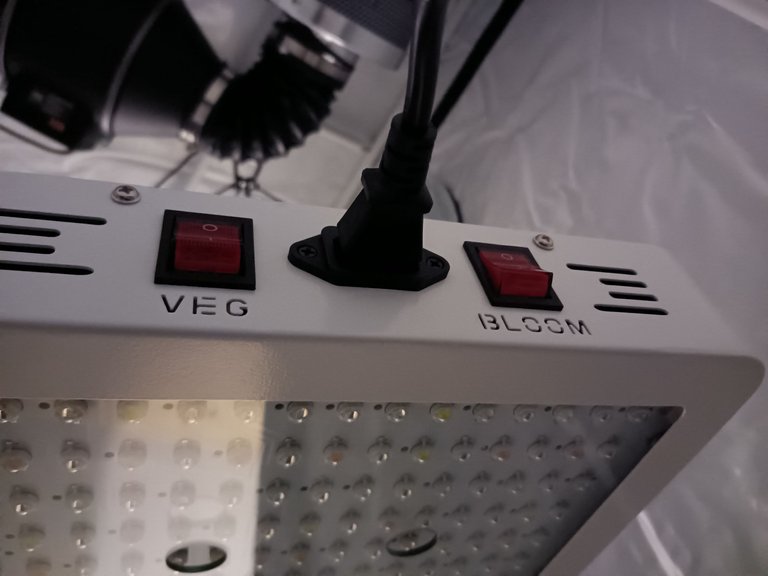
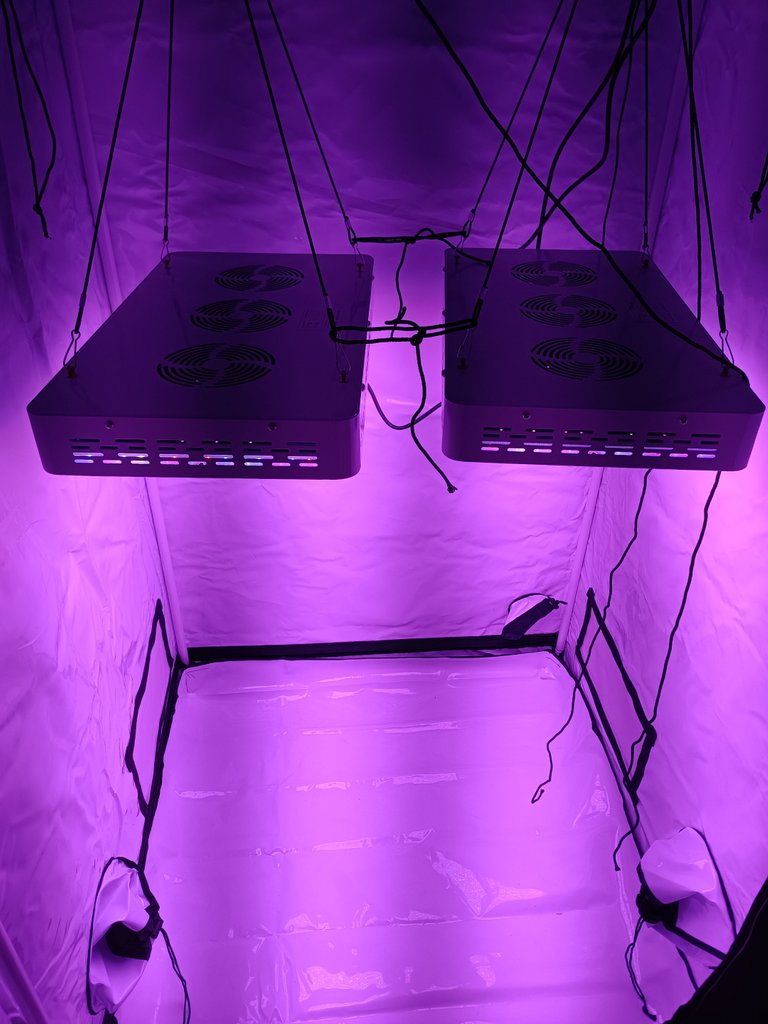
Only the Veg switch is turned on for the blue Veg stage grow light, the Veg switch is off and the bloom stage is turned on for bloom and flowering red spectrum grow light output. For budding and fruit growing stage, both Veg and Bloom switches are turned on for the high power purple spectrum grow light output.
 |  |  |
|---|
 |  |  |
|---|
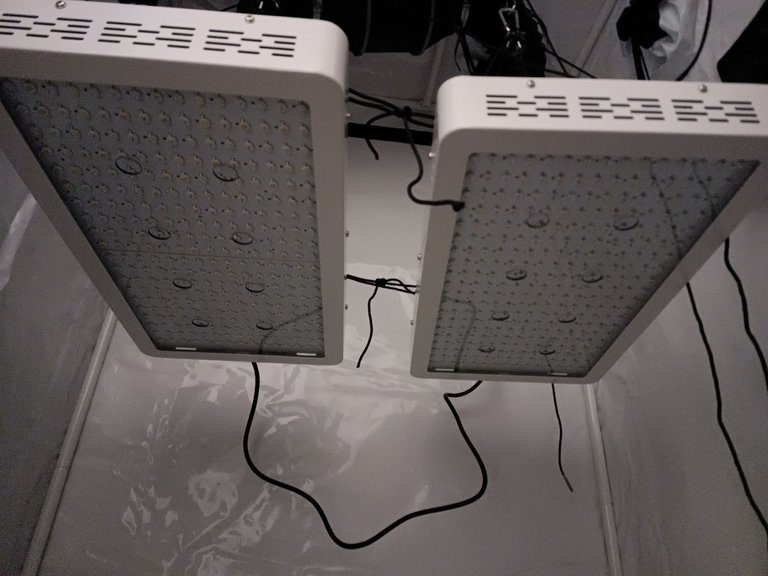
You can see from the grow light specs below that the essential light penetration is about 30 inches - more grow power the closer the plant is to the light, the lights can be raised and lowered for best results.
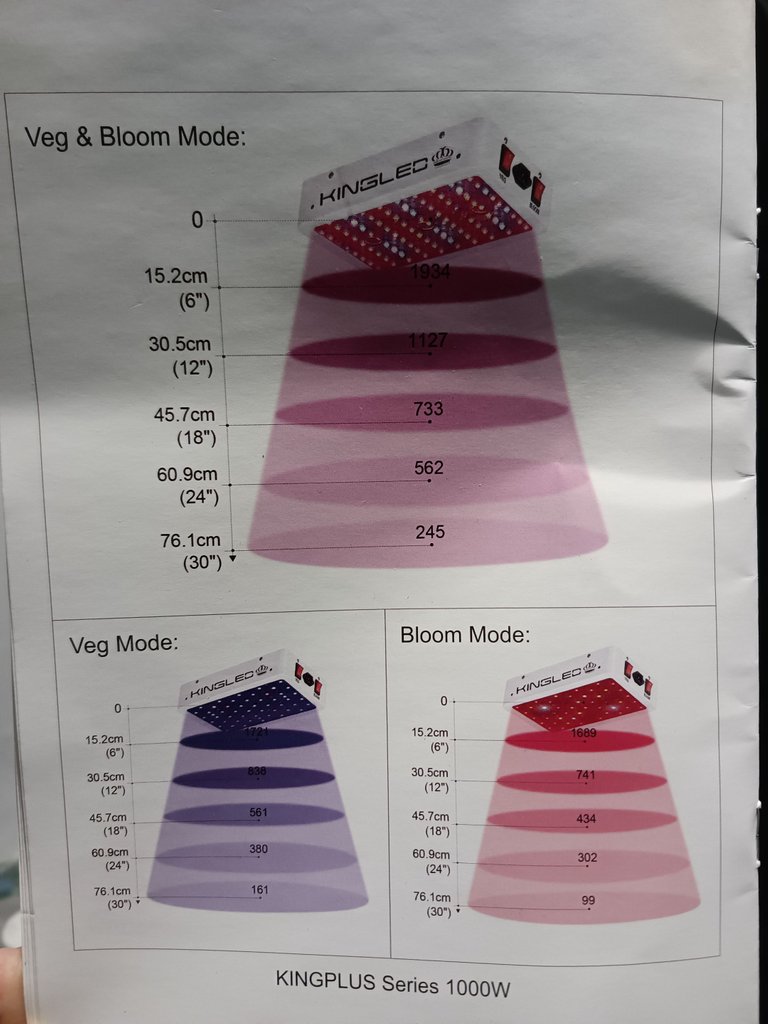
LED grow lights don't have same depth of light penetration as high pressure sodium, metal halide, or other high power grow lights - but they do use less power and run cooler, making it less likely to burn the plants and easier to manage heat build up.
Air Exhaust System
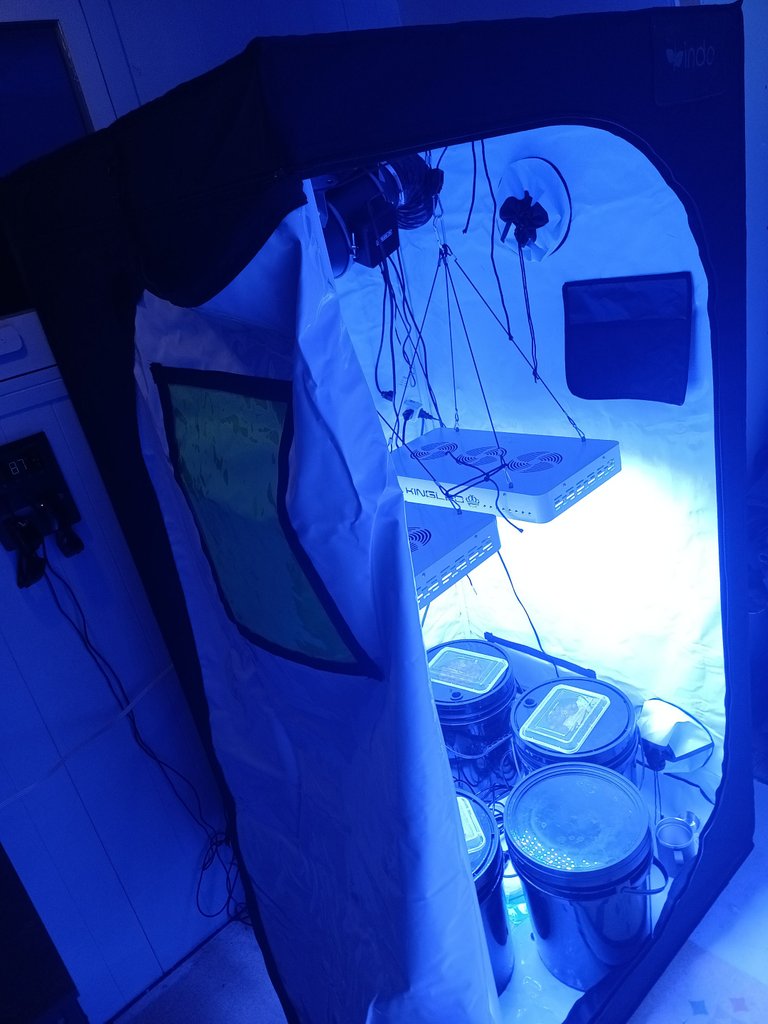
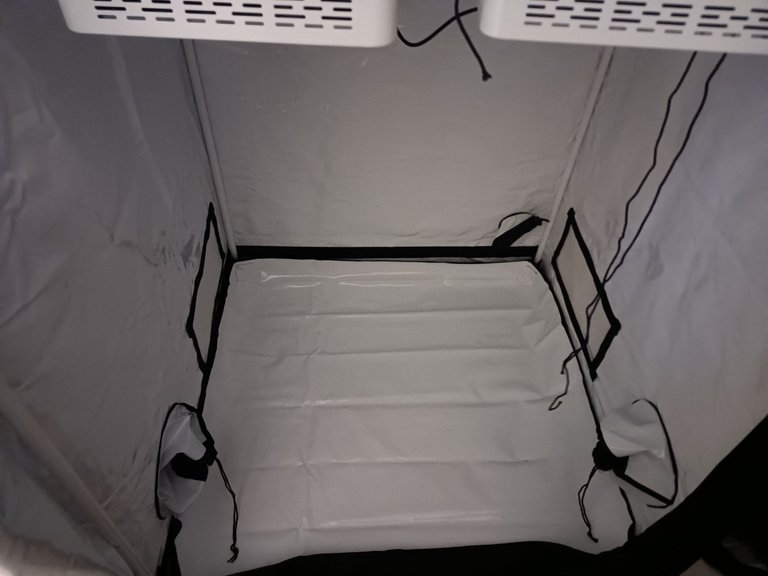
An air exhaust system is used to remove eat build up, and to provide fresh air ventilation for the plants.
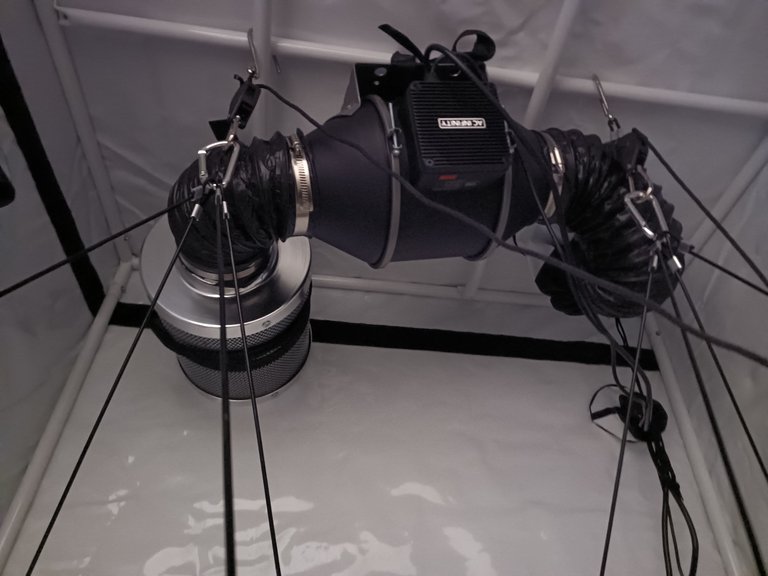
In the picture above you can see the inside ceiling of the grow tent - in the center is the exhaust air pump, on the left is a filter it is attached to for drawing and filtering air from the tent, on the right is the exhaust hose blowing the air out of the tent through the vent sleeve in the roof (see below-left roof picture).
 |  |
|---|
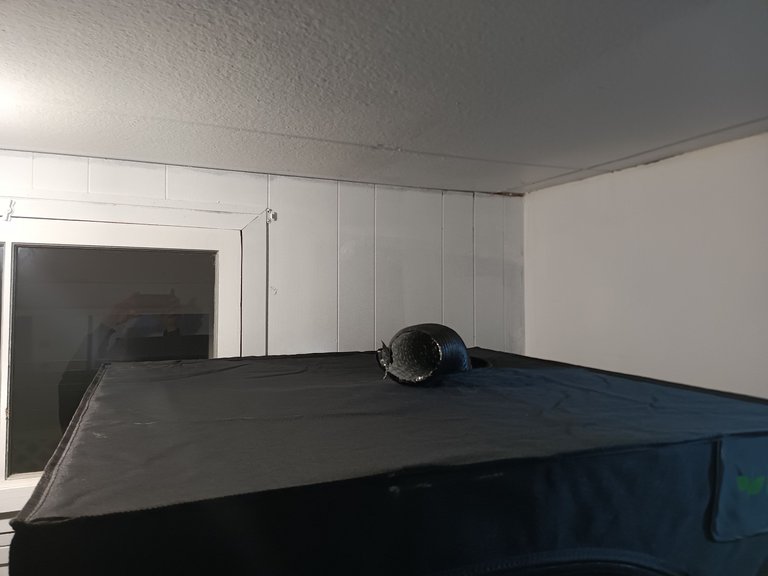
You can see the grow tent sleeves for adding more venting, the rectangle covers on the left and right at the bottom can also be opened for cool air fresh air to enter at the bottom with the plants.
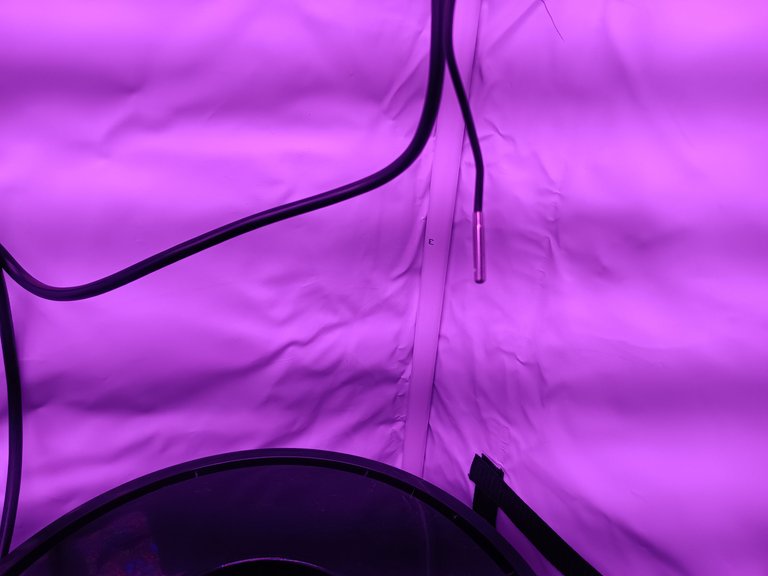
This exhaust system comes with a controller to turn the fans on or off, and to set to 1-6 fan speeds to dial in the desired temperature - I aim for about 90 degrees Fahrenheit. Attached to the controller is the exhaust fan and a temperature/humidity sensor, so the fan can be programmed based on temperature, humidity, and time schedule, or simply turned on and off.
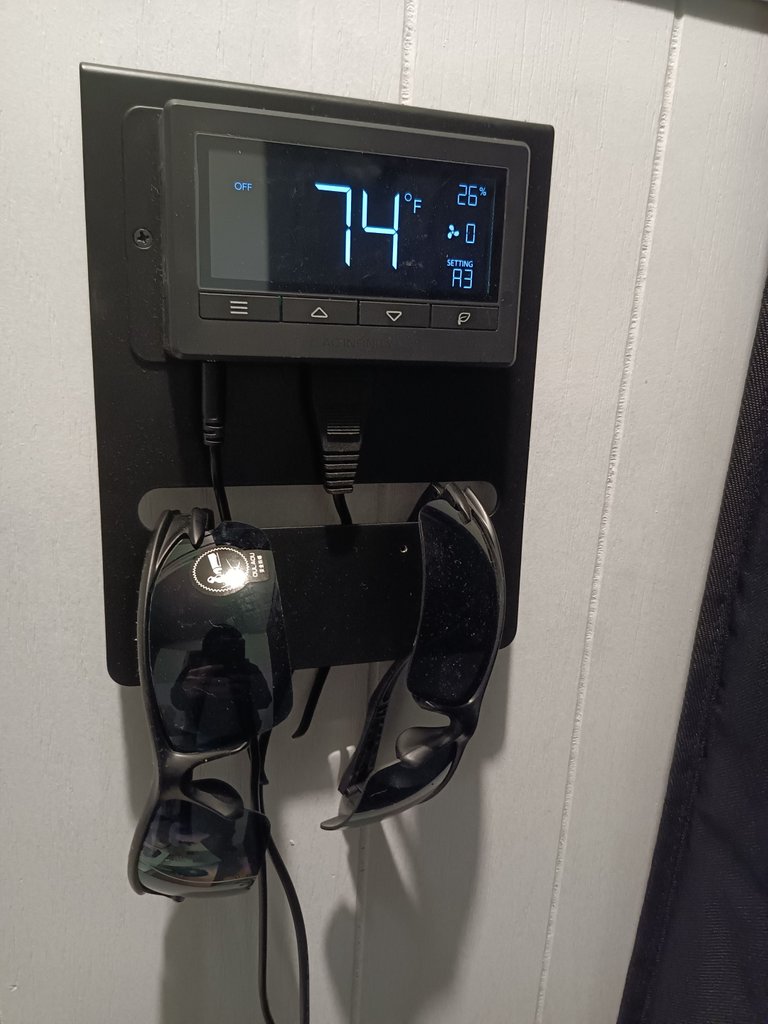
Notice the sunglasses, it gets bright in there!
Hydroponic Setup
The four grow buckets are interconnected with the reservoir bucket with hoses at their bottoms.
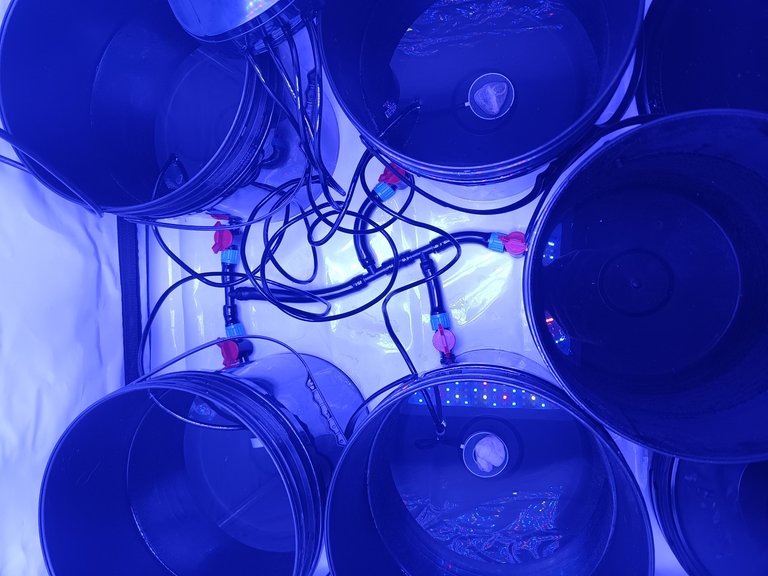
If water is added to one bucket, the other buckets will automatically passively fill until all their levels are the same.
This makes it convenient to check the water level, and to add nutrients and water to the system from the reservoir bucket.
Air Bubble Rock Rings
When the roots grow down into the water and nutrients, they'll need oxygen too.
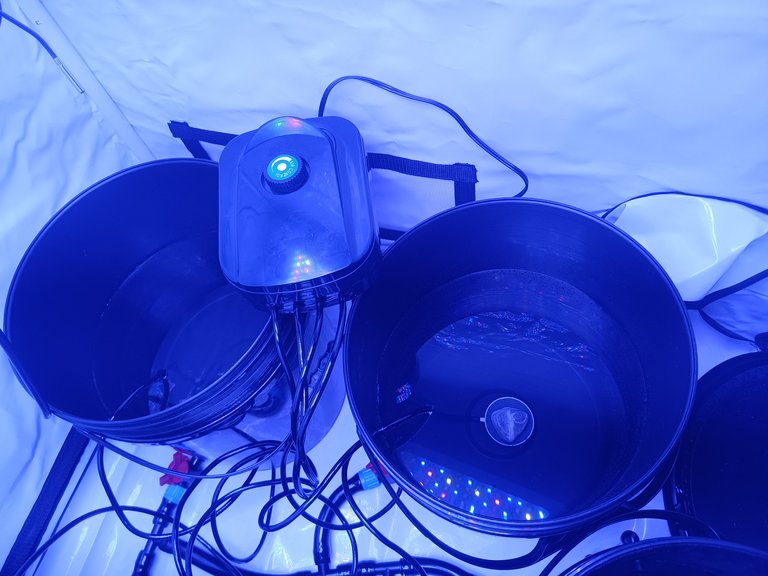
The little hoses bring air from the air pump down to the air bubble stones places in the bottom of the grow buckets - these will oxygenate the water for the roots.
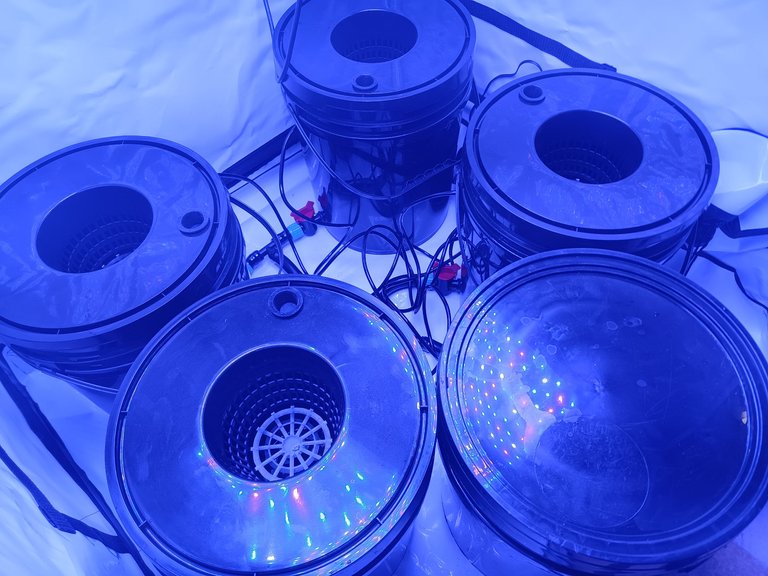
It looks like a day spa for the plant roots. In the picture below you can see the lids with grow baskets that go on top of the hydroponic grow buckets.
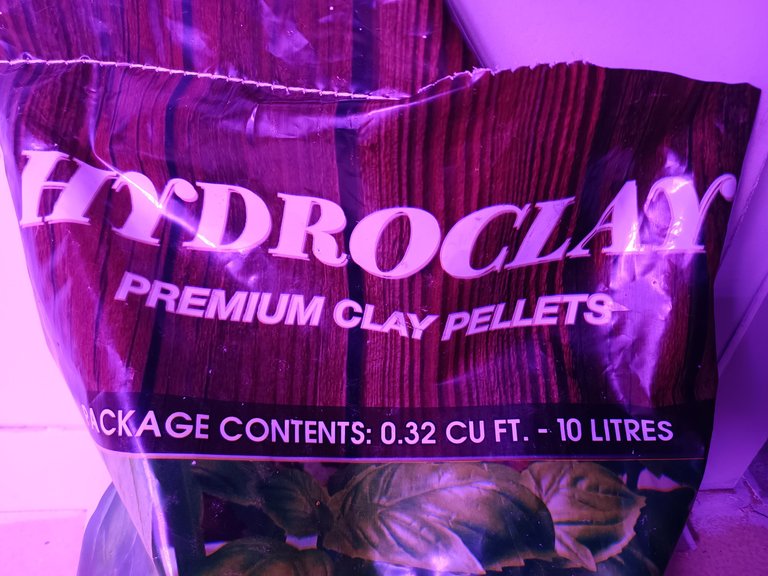
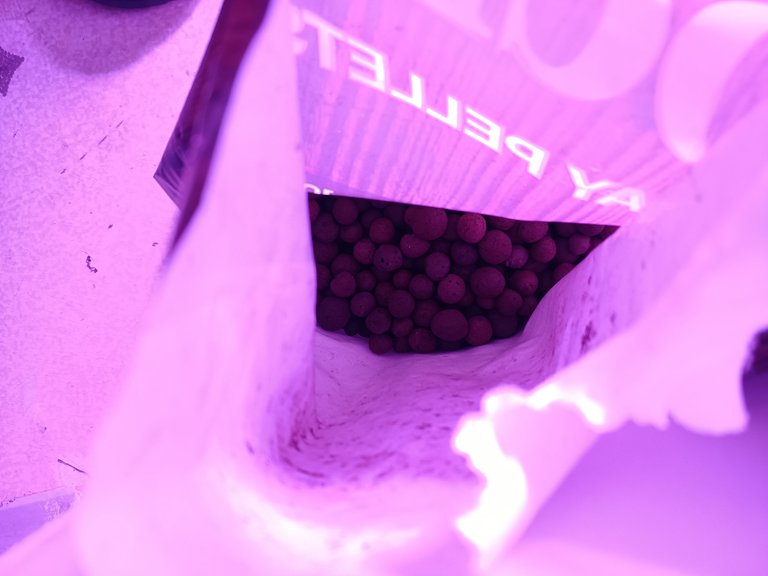
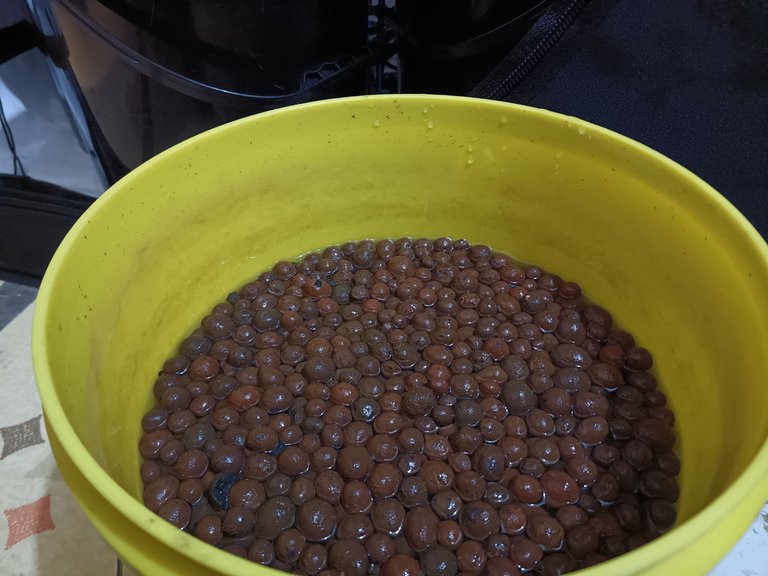
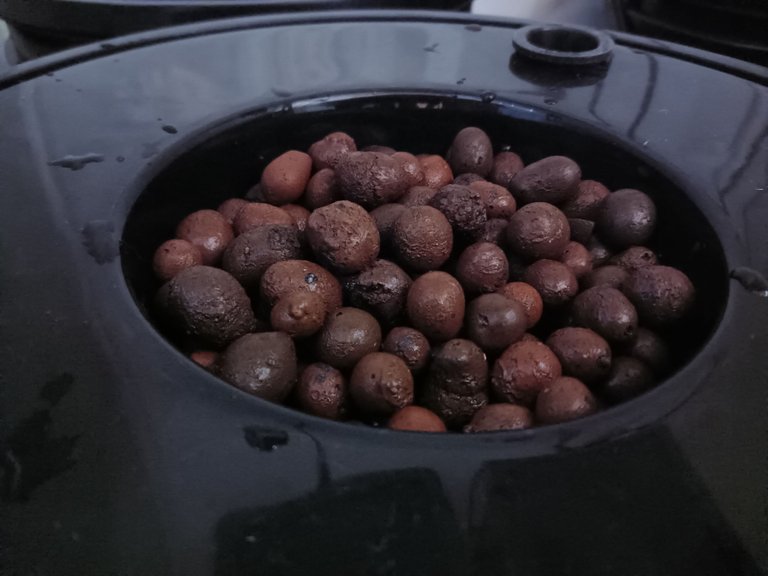
Grow Medium
I'm using baked clay pebbles for the grow medium for the roots to grow down into. The clay pebbles are sterile and porous to hold moisture.
 |  |
|---|
I rinse and soak the clay pebbles before filling them into the grow baskets.
 |  |  |
|---|
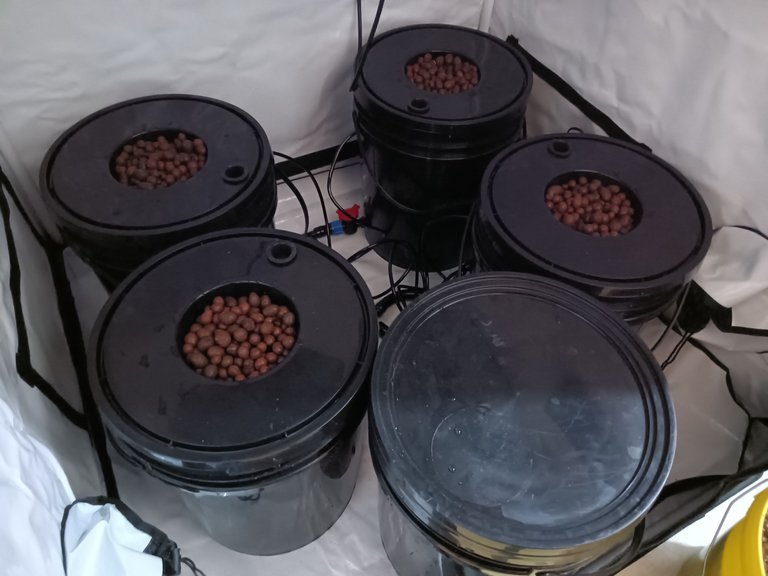
The hydroponic grow setup is ready for seeds and nutrients.
Grow Juice
Nutrients will be added to the water, formulated for seedlings, vegetation growth, or fruiting stages. The nutrients are added once per week, I'm using half of the recommended amount on the bottle instructions - per the hydroponic system water volume and number of plants.
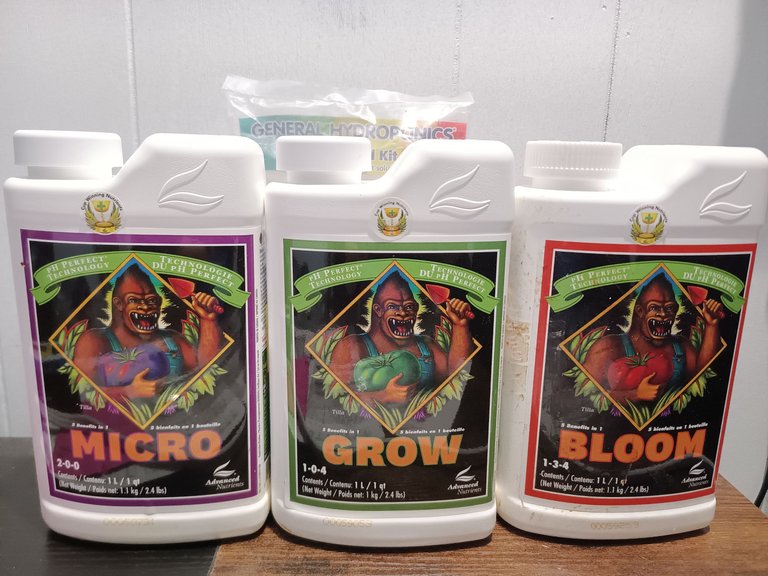
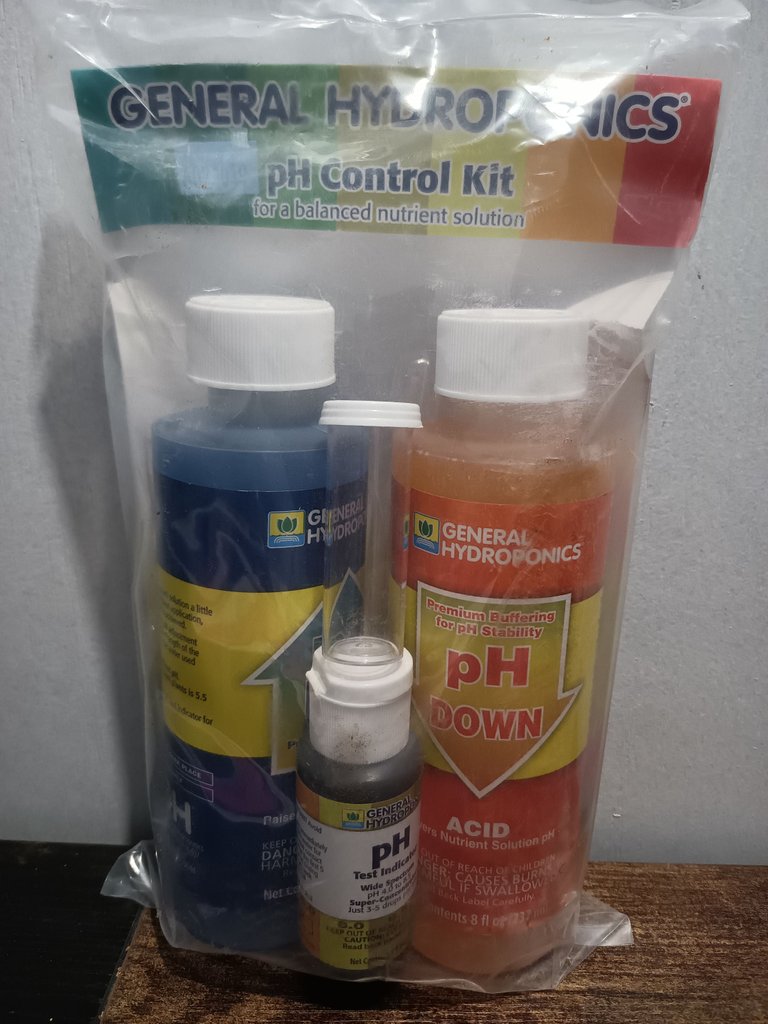
The nutrients are pH neutral, but I have a pH testing and adjustment kit just in case.
Seeds
This setup with the large buckets would be great for fruiting plants like tomatoes, peppers, or cannabis.
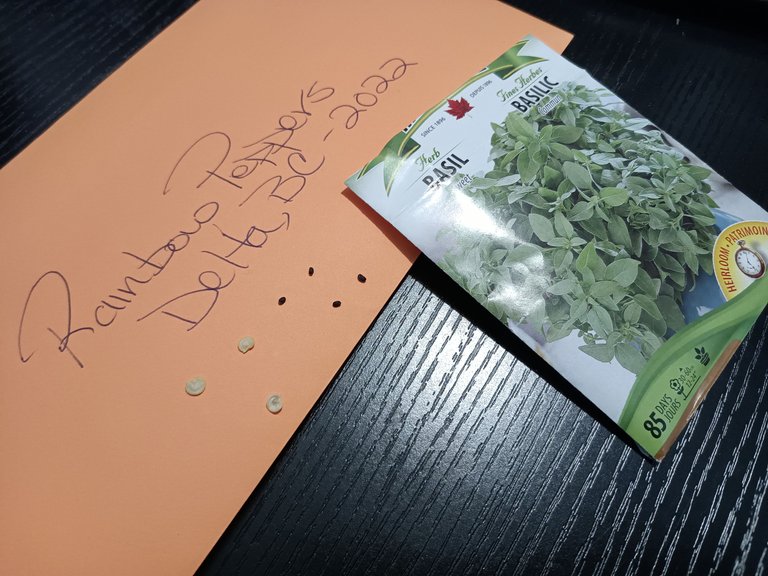
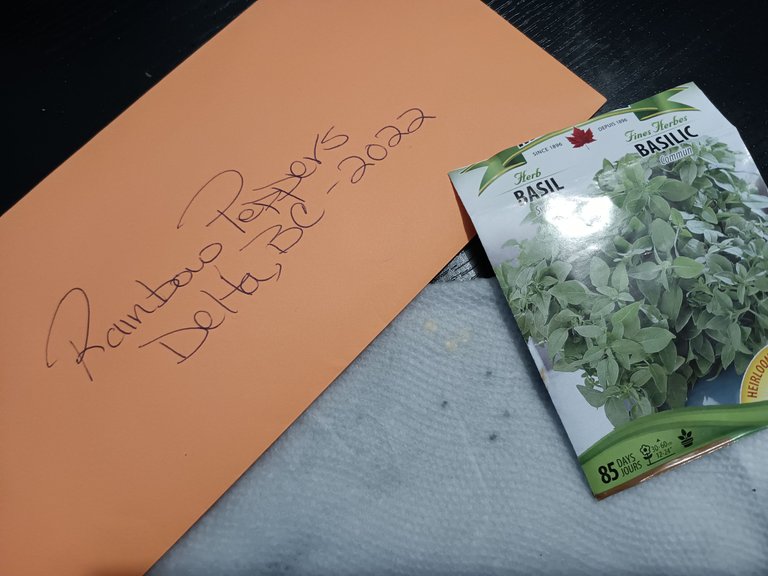
For this hydroponic grow I have , Cannabis, and Basil seeds. The basil seeds will be grown in the same basket with the tomato plant.
 |  |
|---|
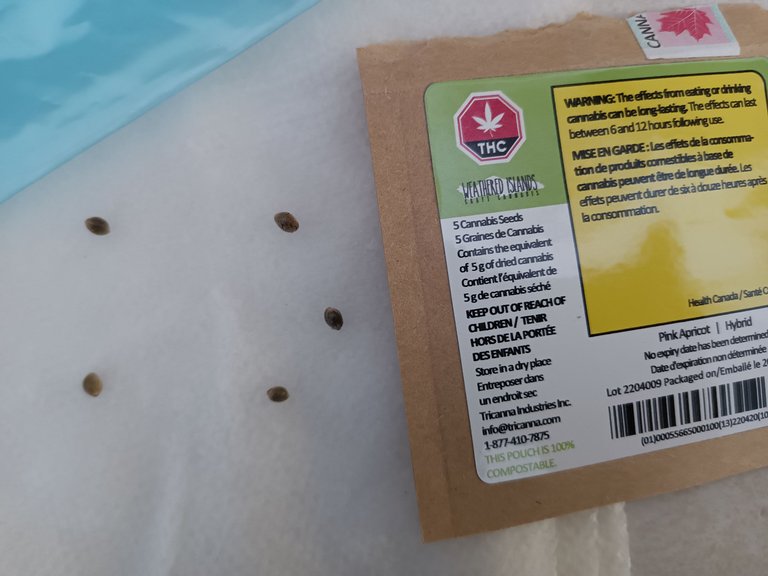
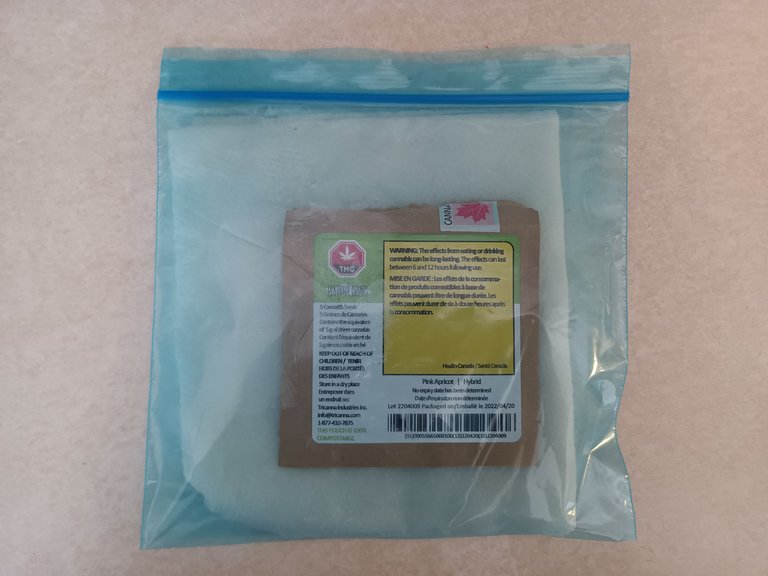
The seeds are all soaked, folded in a wet paper towel, placed in a plastic bag, then kept in a warm and dark location. The seeds are checked once a day to see when they've sprouted.
 |  |
|---|
The cannabis seed was first to sprout, I gently placed it in the clay pebbles where it wouldn't fall through them, then carefully placed a couple pebbles for shading. Once a day I would draw water from the reservoir bucket with a cup and pour it over the clay pebbles. I would also place plastic lids over the grow baskets to give them moist micro climates untill they established roots
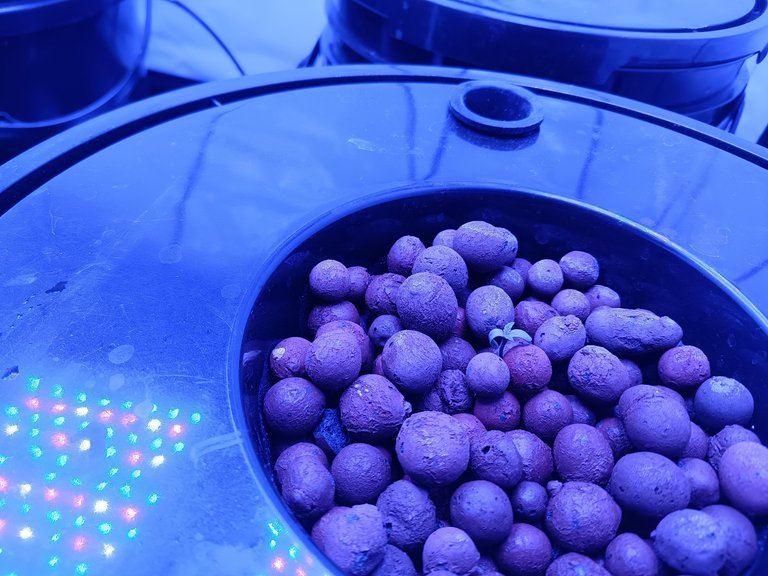
You can see the seedling rising from the clay pebbles after a few days.
I was motivated to try this hydroponic grow system for it's potential for automation and ability to grow in the winter . No need to decide when to water them, I just check the water level and add nutrients once a week. I was also curious to see the grow results, I'll post updates of progress.
What an amazing post, this box is really professionally prepared on every detail! I made a reblog, so I don't forget it, because one day I would like to try hydro too.
Happy holidays my friend!
Thanks man, I'll be sure to post updates and share what I learn with the system - happy holidays to you too, new year's coming up soon :)
With my delay the new year has come, happy 2023 man! Can't wait to see the updates.
Awesome setup man. I have been wanting to get a hydroponic setup for a while. Hopefully we see a bull run with crypto soon.
The rewards earned on this comment will go directly to the people( @canna-curate ) sharing the post on Twitter as long as they are registered with @poshtoken. Sign up at https://hiveposh.com.
Great setup Jack! I do like the idea of not guessing on when and when not to water.