Hola amigo, hoy quiero compartir con ustedes, este lindo organizador que cree en casa, con material reciclado y un toque de imaginación, muy fácil de hacer espero le guste.
Hello friend, today I want to share with you this beautiful organizer that I create at home, with recycled material and a touch of imagination, very easy to do, I hope you like it.
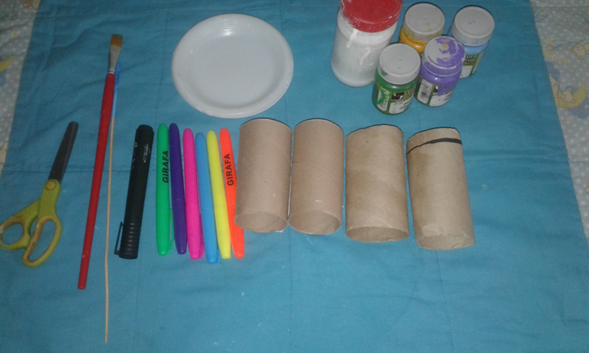
here I leave the materials.
Rollos de papel higiénico: 4
Pinturas: azul, verde, morado, amarillo, blanco.
Pincel: 1
Palitos de madera. 1
Tijera 1
Marcadores de colores.
MATERIALS:
Toilet paper rolls: 4
Paints: blue, green, purple, yellow, white.
Brush: 1
Wooden sticks. 1
Scissors 1
Colored markers.
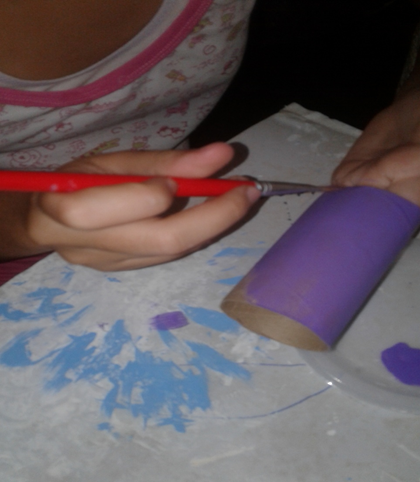
PROCEDIMIENTO:
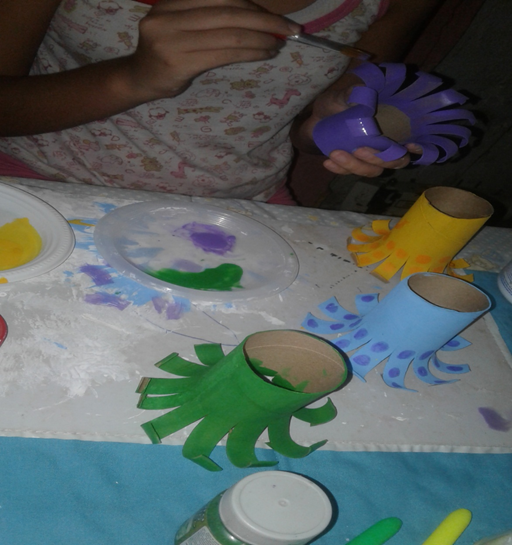
PASO: 1 Pintamos cada rollo de un color diferente.
PROCESS:
STEP: 1 We paint each roll a different color.
PASO 2: cortamos tiras a la mitad del rollo, con 1 cm de ancho, que serian los tentáculos, de los pulpos.
STEP 2: we cut strips in the middle of the roll, 1 cm wide, which would be the tentacles, of the octopuses
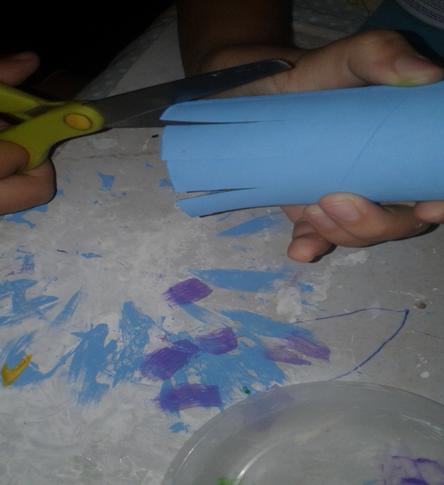
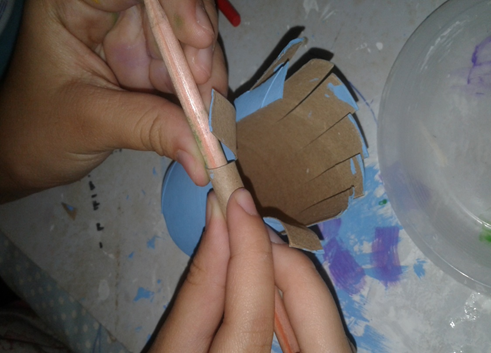
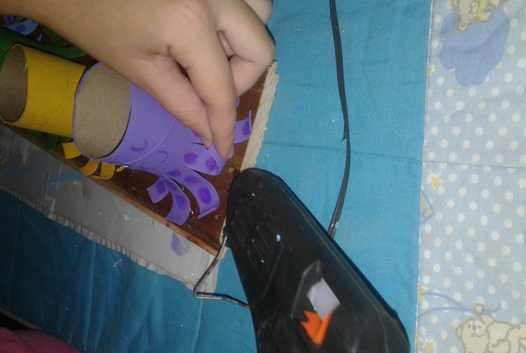
PASO 3: con ayuda de un lápiz le damos una pequeña curva a los tentáculos para darles forma.
STEP 3: with the help of a pencil we give a small curve to the tentacles to give them shape.
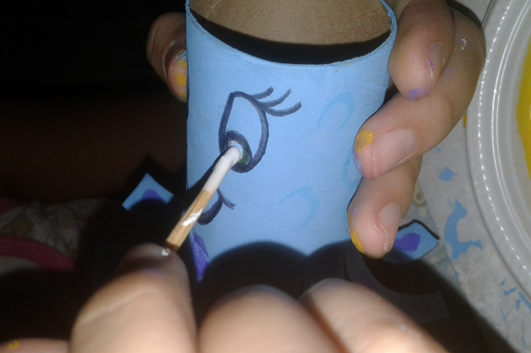
PASO4: con ayuda de un marcador negro dibujo los rostros de los pulpos.
STEP4: with the help of a black marker I draw the faces of the octopuses.

Con el palillo de madera tomo una gota de pintura blanca y les pinto los ojos.
With the wooden stick I take a drop of white paint and paint their eyes.
PASO5: Luego para hacerlos más llamativos, les hago manchitas a los tentáculos.
STEP 5: Then to make them more striking, I make spots on the tentacles.

PASO 6: Los pinto también por debajo para que no se vea el color del cartón
STEP 6: I also paint them underneath so that the color of the cardboard is not seen.
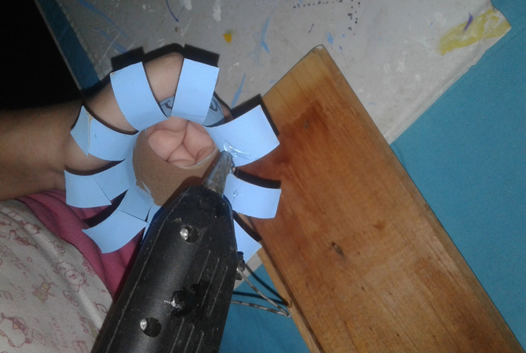
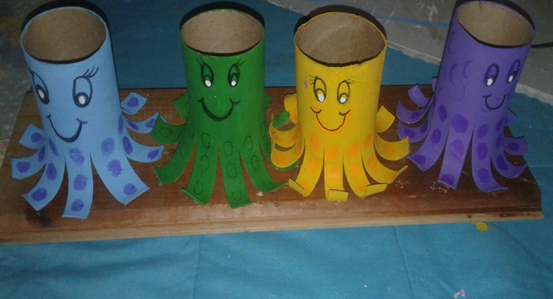
Ya terminados, los pego sobre una base de madera.
Once finished, I glue them on a wooden base.
LISTO!!!
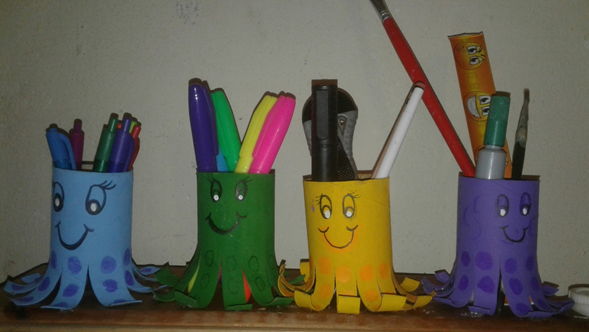
Así me quedo mi organizador en forma de pulpitos
mira que lindos quedaron
CLEVER!!!
This is how my organizer remains in the form of pulpits
look how cute they were
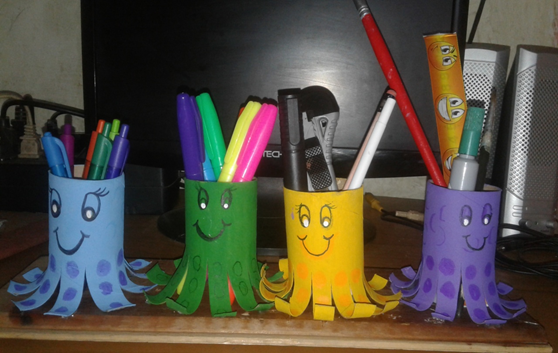
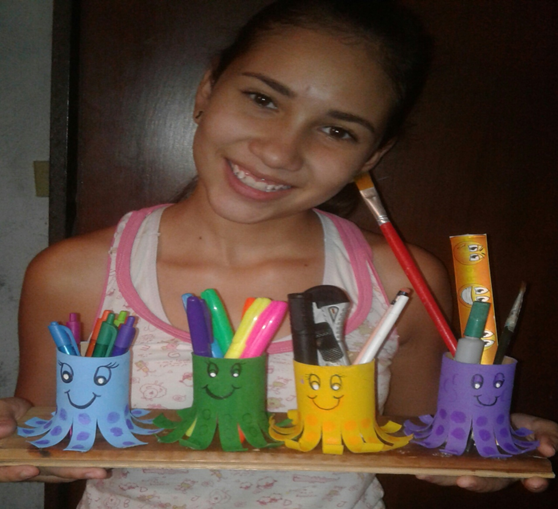
Vieron que fácil y divertido fue hacer este organizador, para mí ha sido muy útil, así puedo ubicar todos mis utensilios más rápido.
BUENOS AMIGOS GRACIAS POR VER MI PUBLICACION, ESPERO LES HAYA GUSTADO HATA LA PROXIMA, CUIDENSE MUCHO.
FELIZ DIA PARA TODOS.
They saw how easy and fun it was to make this organizer, for me it has been very useful, so I can locate all my utensils faster.
GOOD FRIENDS THANK YOU FOR SEEING MY PUBLICATION, I HOPE YOU LIKED IT UNTIL THE NEXT ONE, TAKE CARE OF YOURSELF.
Congratulations @irianliz15! You have completed the following achievement on the Hive blockchain and have been rewarded with new badge(s) :
Your next target is to reach 50 replies.
You can view your badges on your board and compare yourself to others in the Ranking
If you no longer want to receive notifications, reply to this comment with the word
STOPThose are happy pencil holders (^_^)
Fun crafting with the kids here!
Very good idea, full of creativity. I like the way you made the explanation of the step by step super didactic your post, the other thing is the recycling material also excellent. Thanks for sharing
Very creative and useful, this could be a good activity to do with children and take advantage of the material that otherwise would end up in the trash. Thanks for sharing your idea, greetings!