It's hot outside and the kids want to play. They are at home, ALOT and they play, ALOT!
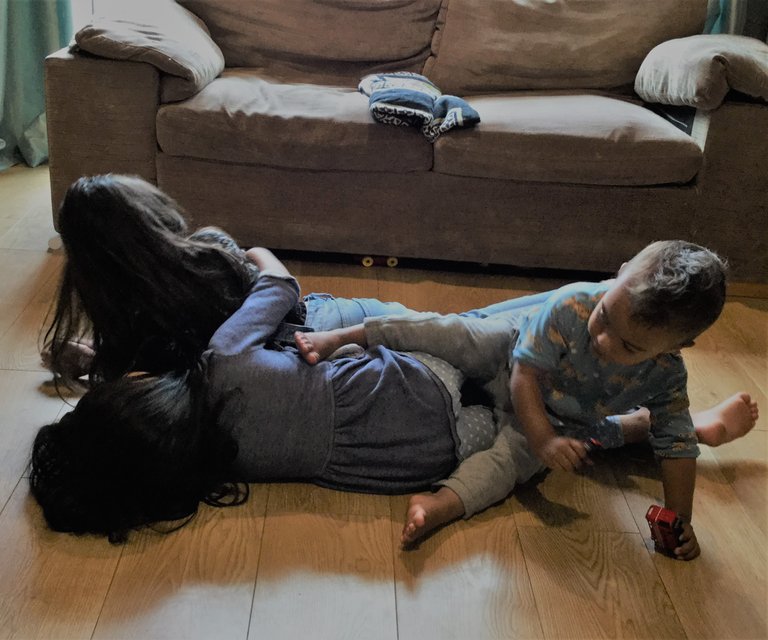
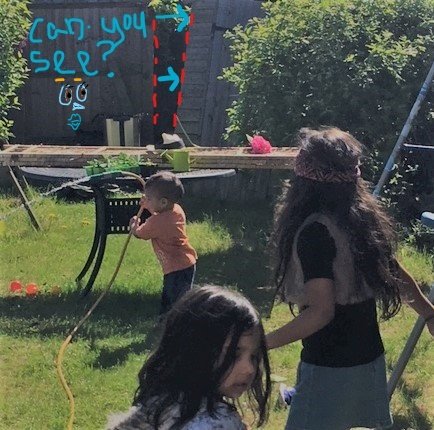
When the weather is nice they want to be outside. We do consider ourselves lucky to have a garden although by the look of it you may not think so?! So, one day we woke up to find that the Dwarf Willow Tree in our garden had collapsed and looked really sad next to the wonky shed we had installed 2 years ago!
.jpg) )
)We had a spot of luck though, the kids were away with @redrica #1 babysitter among other things! So, daddy emptied and knocked out the shed (with the help of our helpfully nosey neighbour!). A couple of trips to the tip and we had a wonderful vacant, semi shaded space... perfect for ..... a sandpit!
Sandpits are all the rage in the world of kids as they involve hands on sensory play. Kids generally love them and so do some strange grown-ups. I don't know who that could be? 😁
If anyone is interested- Friedrich Freobel has studied and written much on the topic of play and childhood. Born 1752 and passing in 1852, he was way ahead of his time and pretty much invented 'childhood'.
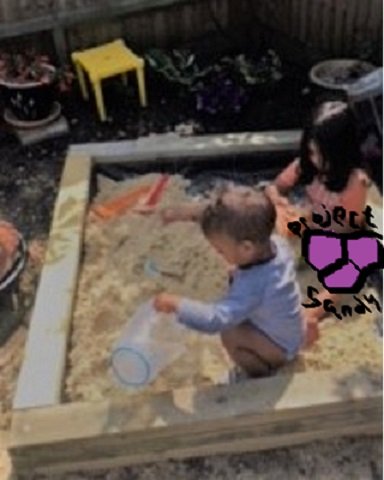
The games began. Over the next 2 weeks the kids and I sourced materials, watched YouTube tutorials and got stuck into Project Sandy Pants.
MATERIALS:
1- 2x4 timber cut into desired lengths (in hindsight, this should enable the staggering of joints)
2- Very long wood screws
3- Heavy duty weed sheet.
4- Sharp sand (we sourced from FreeCycle UK
5- A Drill
6- A Screwdriver
7- A sander (To be borrowed)
8- Play sand
9- A Spade
Other needs: Strength, Cheer and Mild Weather.
Please excuse the mess of the garden, we need alternative storage for some items now that we are shed-less and well... the turf was never good when we came to live here and only made worse by heavy activity. There is no point in fixing the lawn any time soon! We do still welcome everyone and most are kind enough to turn a blind eye!
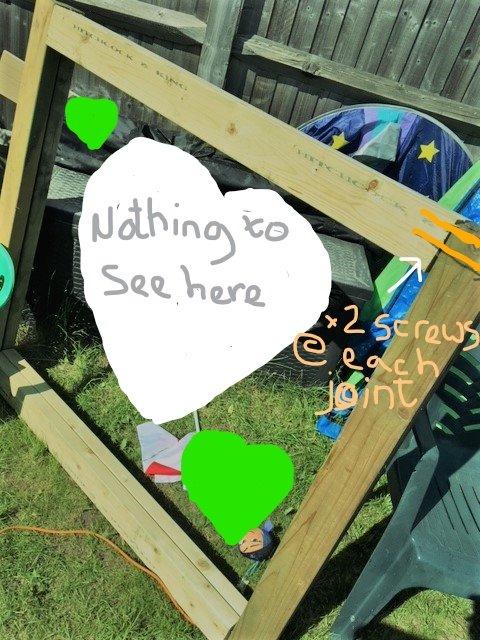
So there are a few ways to do this, a popular method is to use heavy weight sleepers but they are exactly that, heavy, usually expensive too or too difficult to transport if free. I opted for 3 tiers of 2x4's as I already had a few in the garden and only needed to purchase 2 more lengths. Our local builders merchant chops them down to desired sizes so I didn't need a saw.
I drew dots where I wanted the screws to go and drilled.
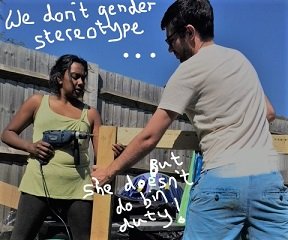
My eldest Willz stood on the lengths at times so that I could get the resistance I needed to drill. I screwed 1 tier at a time to get 3 individual rectangles.I drilled holes before drilling the screws in as the timber would otherwise split and need too much strength.
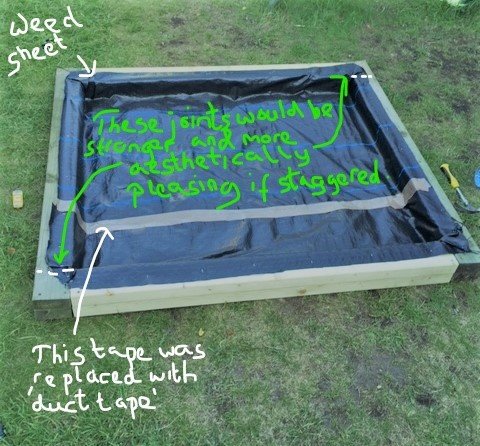
I then placed 2 of the rectangular pieces with one on top of the other. fixed them together with screws and staple gunned the heavy duty weed sheet to it. The weed sheet was not wide enough to give full coverage so I overlapped the sheet and taped it with duct tape.
.jpg)
Now I just had to place the last rectangle on top and screw into place. Voila....
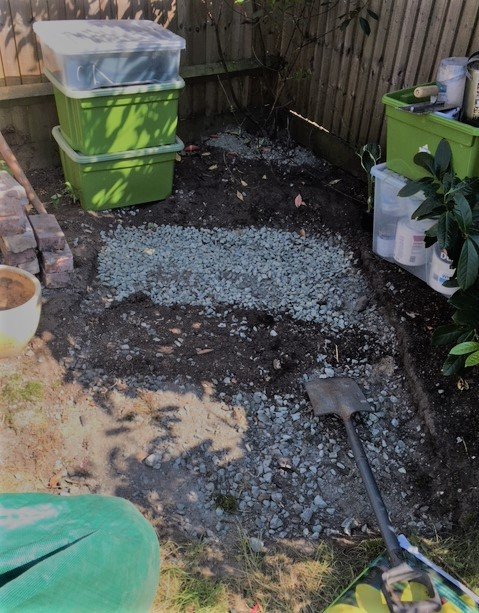
The earth where I wanted to place the sandpit was covered in gravel (don't ask why....Ok I'll tell you why.... it was a poor previous DIY attempt at a shed base 2 years back! (head hangs low). Anyway, I had to spade out the gravel (the kids helped here). I then used soil as well as my FreeCycle Sharp Sand to level out the ground. Once done the sand pit was placed and plants planted along the fence.... Kids helped to get the sandpit sand in and started playing!
The flowers around the sand pit were selected by the girls; Begonia Boliviensis and Garden Pansy :)
Things I would do differently (should I ever need to for myself or someone else): staggering the joints and keep ship lap from the shed to make a cover.
Things left to do: sand the corners and make a cover but it's a working sandpit so we're happy with that :) We are covering it with a tarpaulin for now.
The moral of this blog is... if we can do it, anyone can!
Disclaimer: This blog contains my personal opinion and is not professional advice nor does it reflect the opinion of any organisations. Injuries can happen as a result of life and Do-It-Yourself projects
Thank you for your support to date Steemy people! x
Thank you
Thank you :) much appreciated