As an HVAC/R technician with more than a decade of experience, I occasionally come across some rather strange anomalies with the equipment I work on. This particular unit was one of them. It's a 10 Ton Geothermal (water cooled) Heat Pump. It has had several compressors go out over it's 17+ years in operation. Inside are 2 separate compressors (one 10 years old, the other only 3) but on this last call I found BOTH compressors were completely out (running but not pumping anything). The other problem with this situation is, without the compressors operational, there is no way to determine what, or if, anything else went out prior to the compressors' failure. The price for a completely new unit is at least $12,000 NOT including labor to install. To replace the compressors (along with many other components) is approximately $8,000, WITH labor. The wait time for a new unit is 6 weeks and to top it off, this unit cools the entire kitchen of the local high school! What a predicament. So, after being given the options, the school decided to go with option B: Replace both compressors, both TXVs (thermostatic expansion valve), both reversing valves and both contactors, ASAP!
Since this job required me to start around 2pm on a Friday and continue through the weekend, I decied to take the time and document this procedure as thoroughly as possible. So here goes...
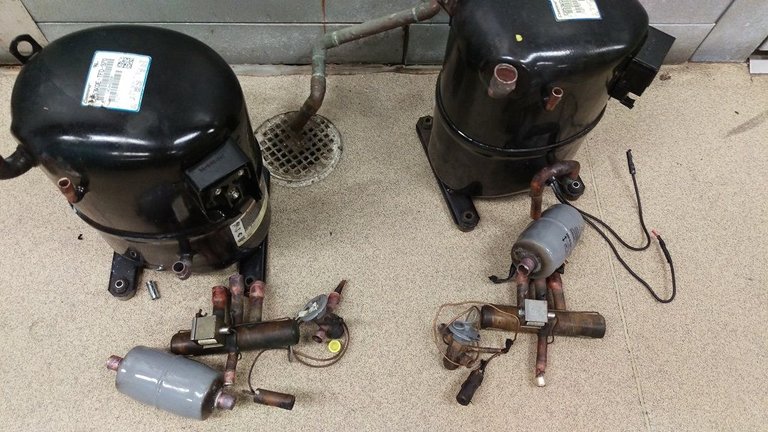
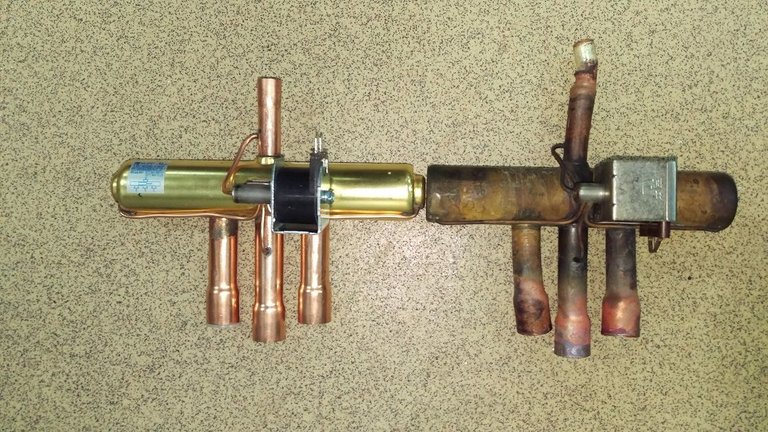
Here are all the old components that were changed: Compressors, TXVs, reversing valves, and filter/driers (contactors not shown).
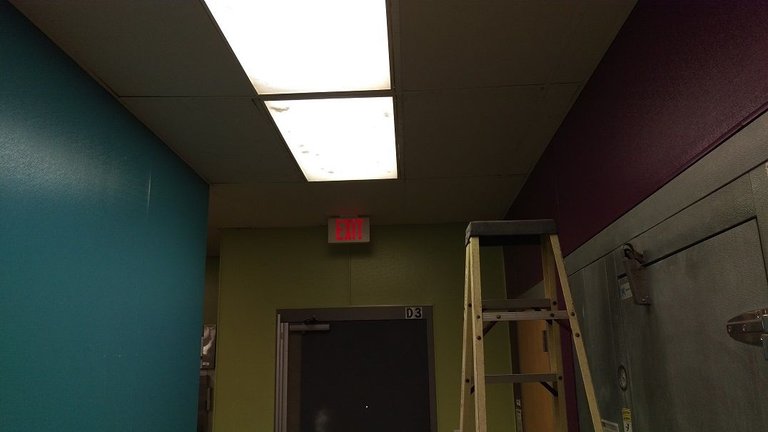
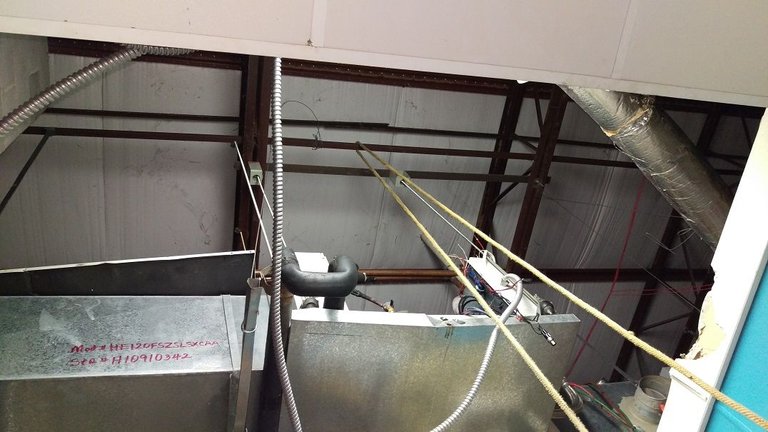
First things first. Drop in ceiling grid has to be removed before work can really begin.
All refrigerant from both systems has to be recovered (removed)
Recovery machine and recovery cylinder. I'm weighing the drum to make sure each system had the proper amount of refrigerant. A system with a leak would be low on charge and could be the cause of compressor failure.

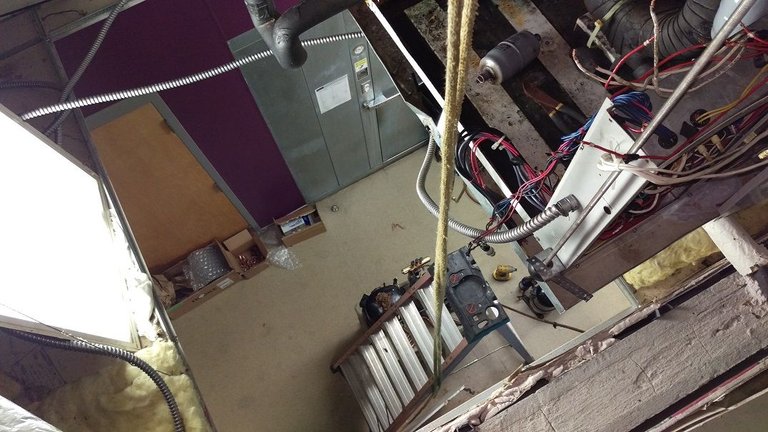
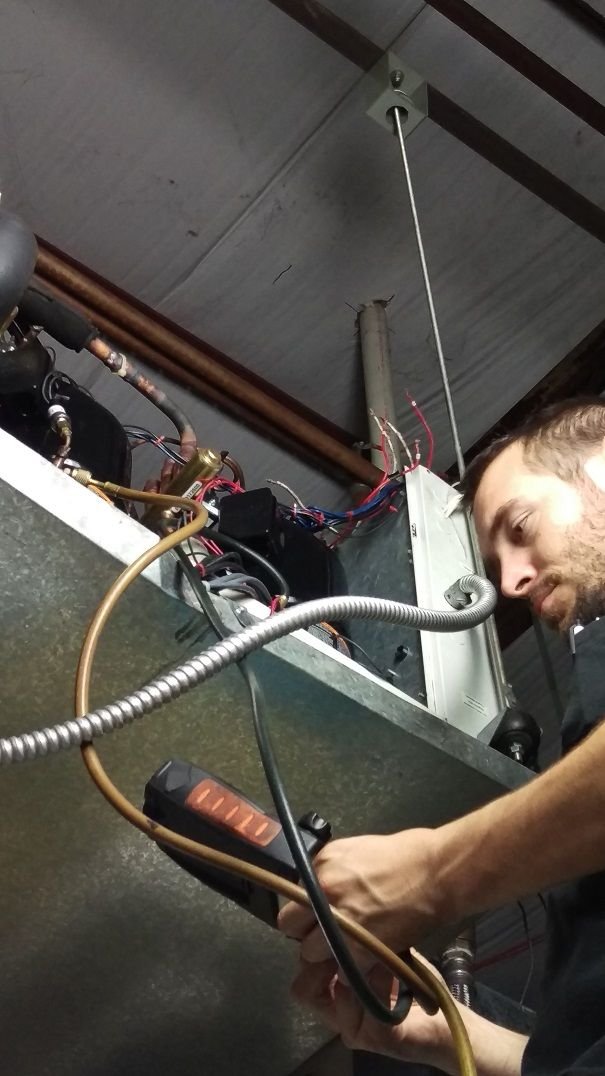
After all the refrigerant has been removed and lines cut, it's time to remove the compressors. The safest way I've found to get the compressors up or down, is with a rope. They weigh about 80#s each so, not something you want to go up or down a ladder with.
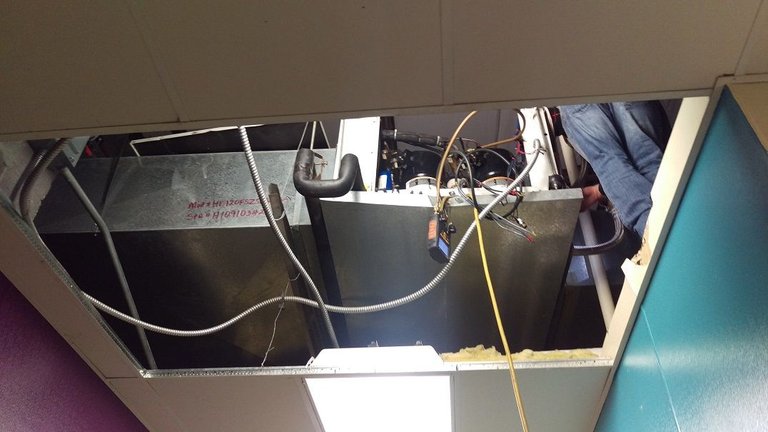
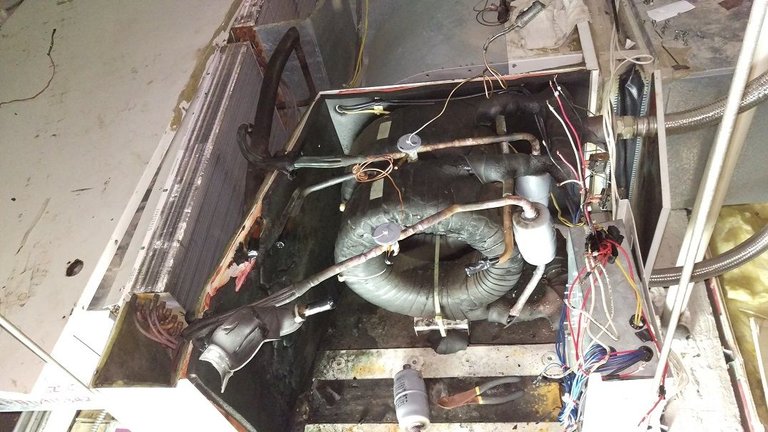
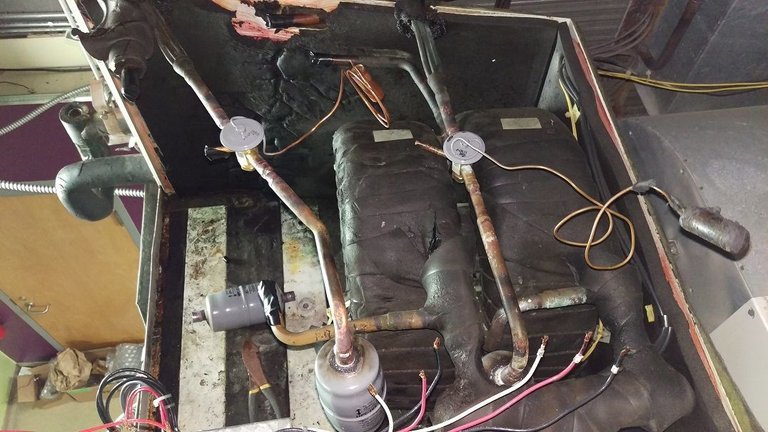
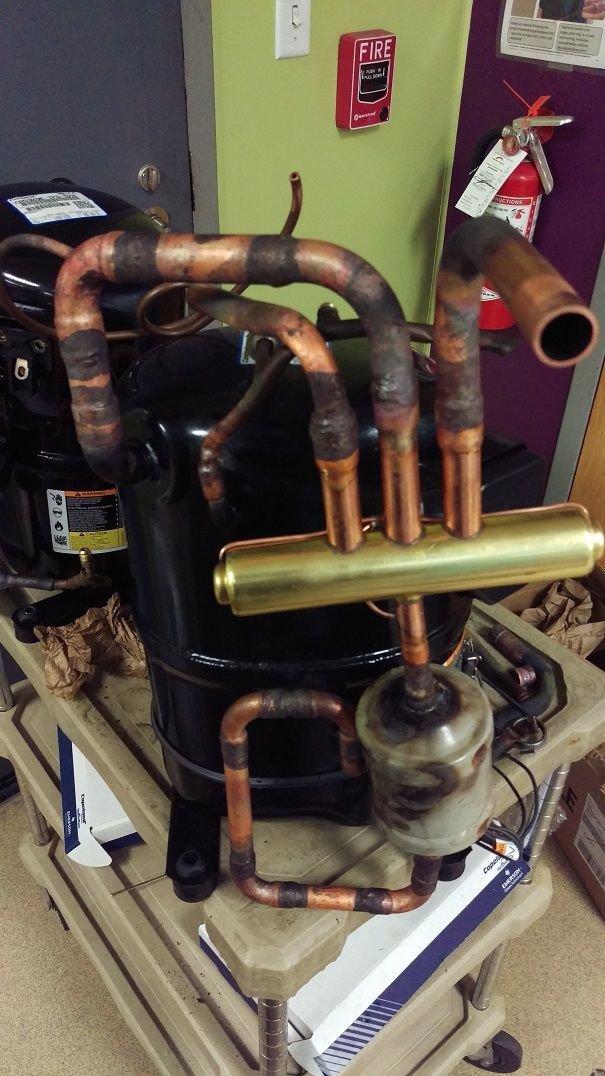
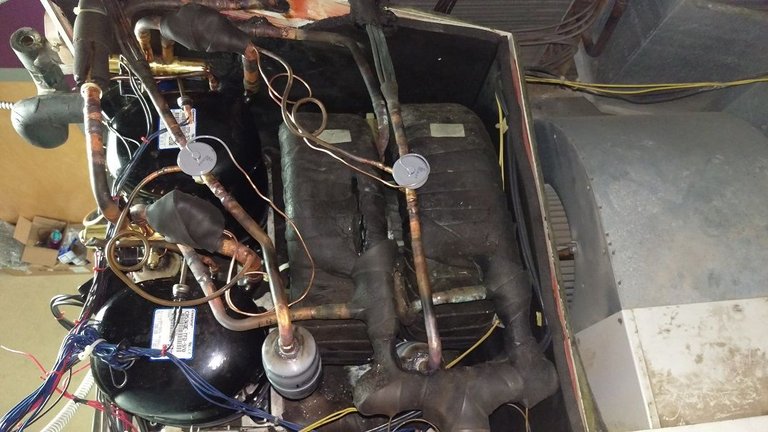
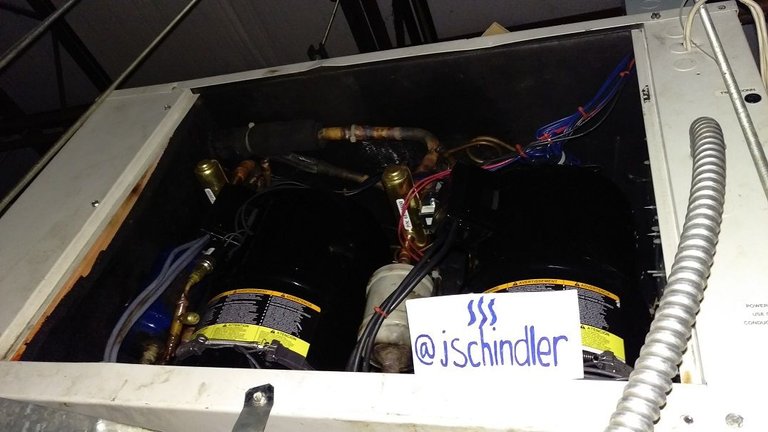
Unit with both compressors out
#2 Old compressor
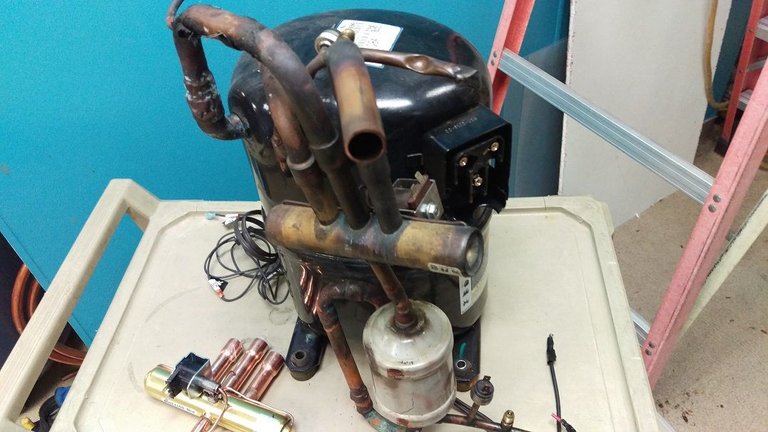
Both old compressors (they are actually closer together than this when installed)

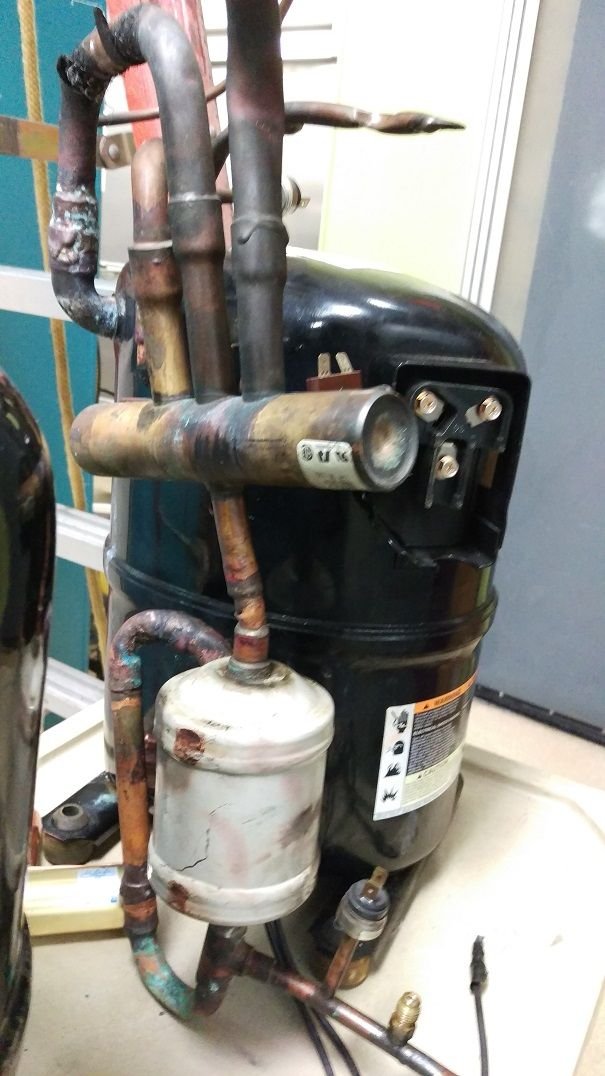
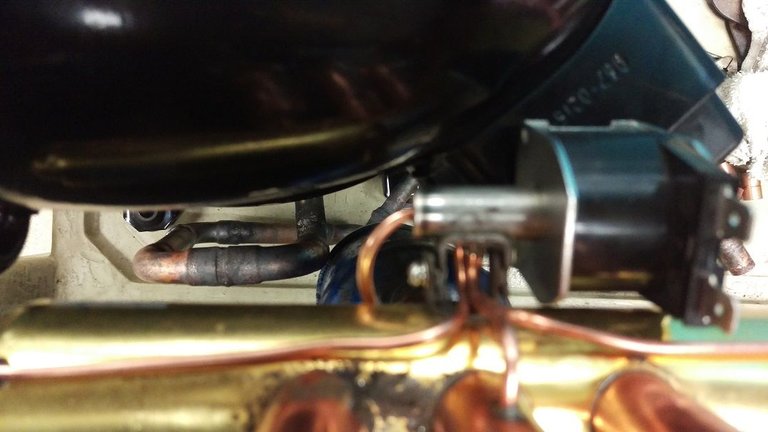
Close up of old reversing valve and compressor #2
New #2 compressor, reworking/replacing copper lines.
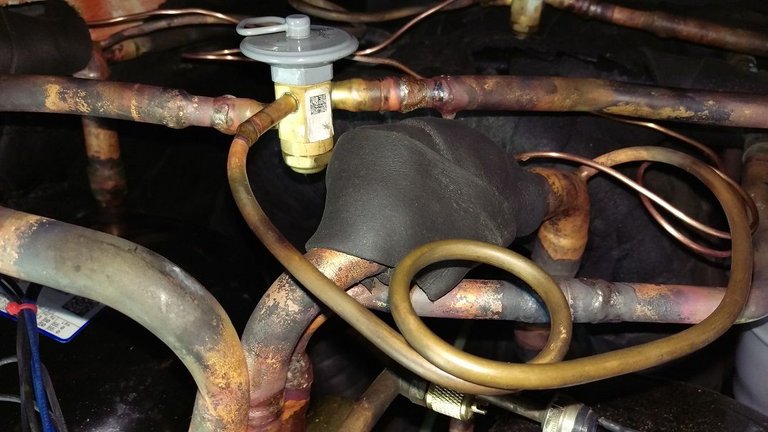
TXV
New and old (3 way) reversing valves
Test fitting copper lines before the torch, wet rag to keep the reversing valve from overheating while soldering.
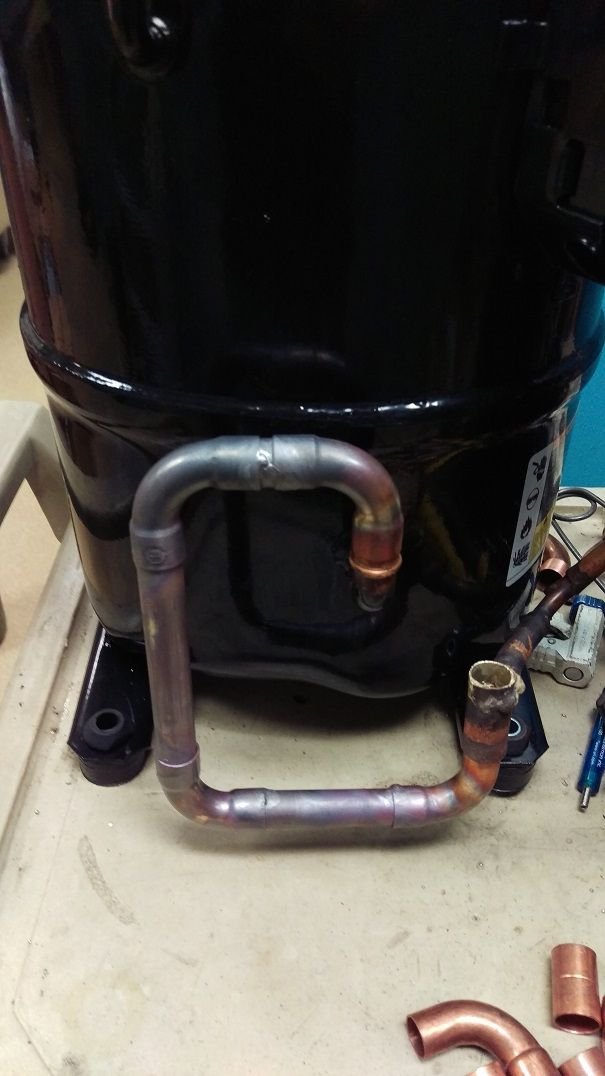
Close-up of suction line and hole drilled for equalizer tube.
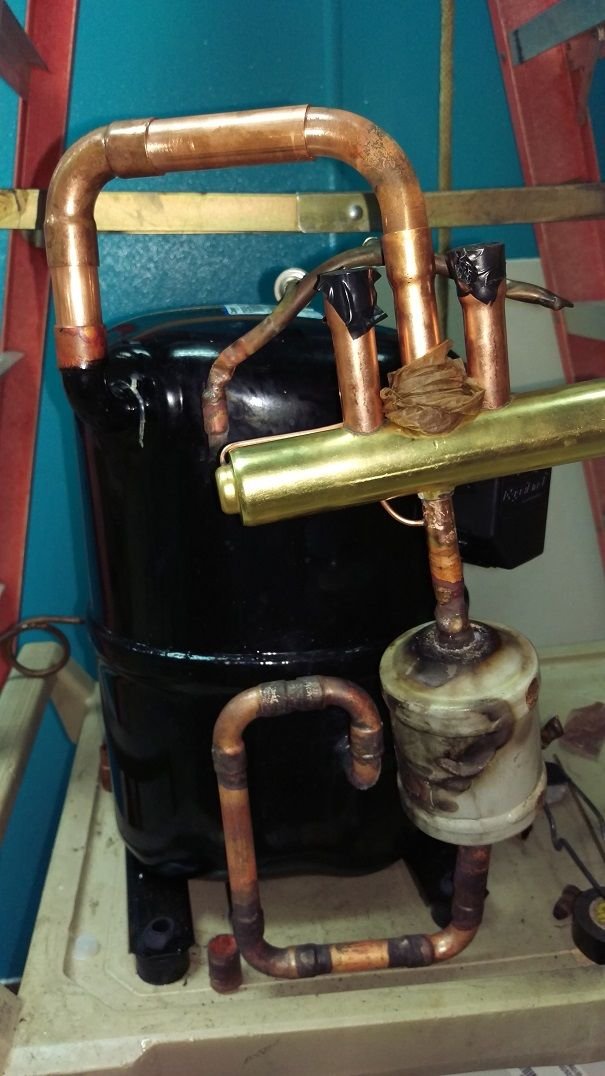
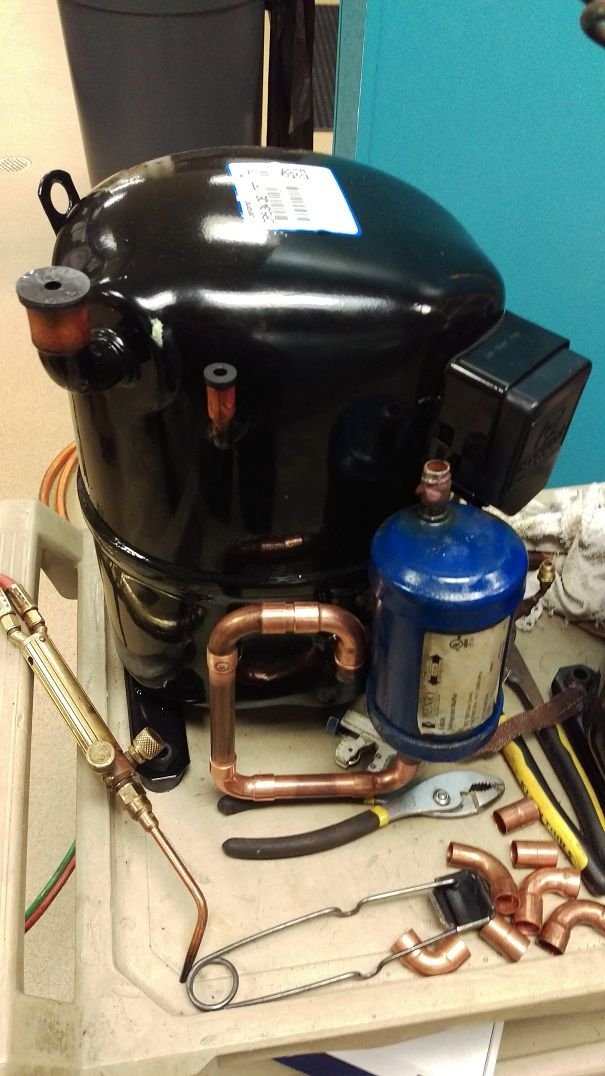
After a test fit and lining up copper lines, it was then lowered back down to complete all soldering. #2 compressor all done!
Old #1 compressor

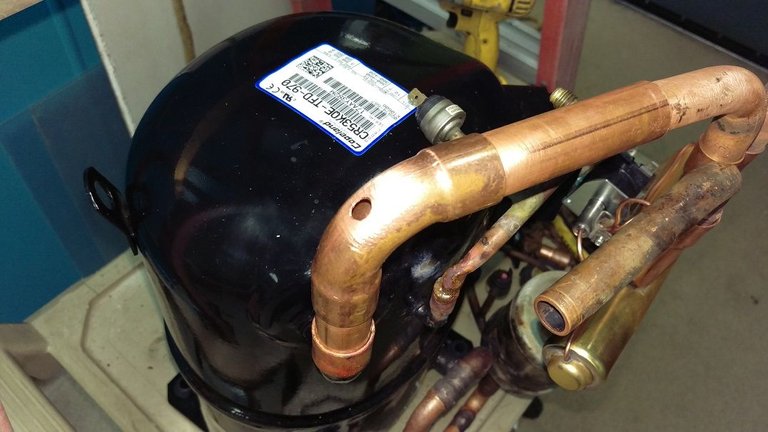
New #2 compressor
Soldering 'tack' welds to keep copper lines in place for fitting purposes.
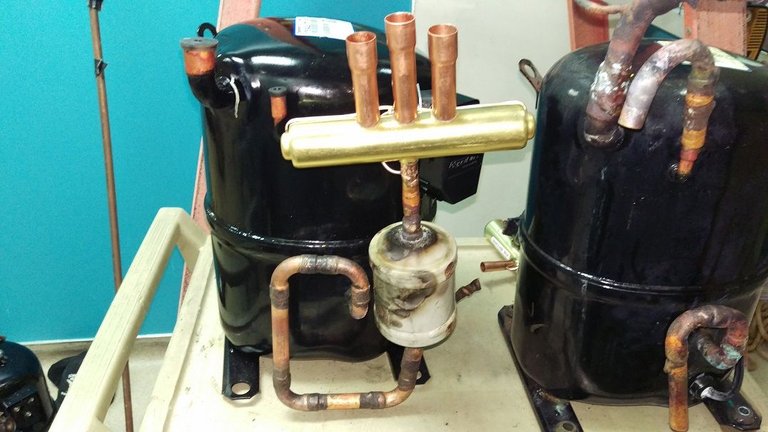
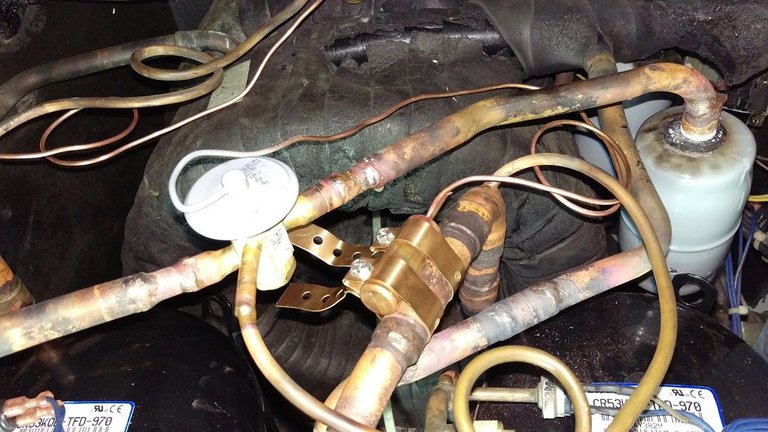
3 way reversing valve, muffler and discharge lines all in place.
VERY small clearances, this has to be done right or else it won't fit.
Raising up for test fit and aligning of copper lines.
Test fit
Completing the final solder connections.
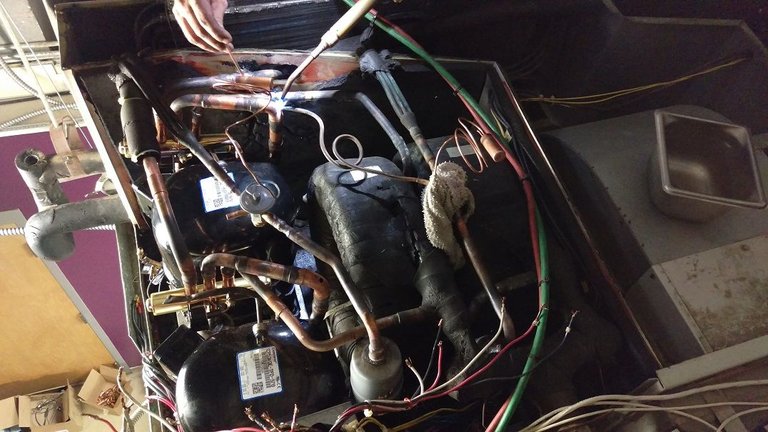
All connections sealed, time for pressure test @ 100psi, left overnight to sit.
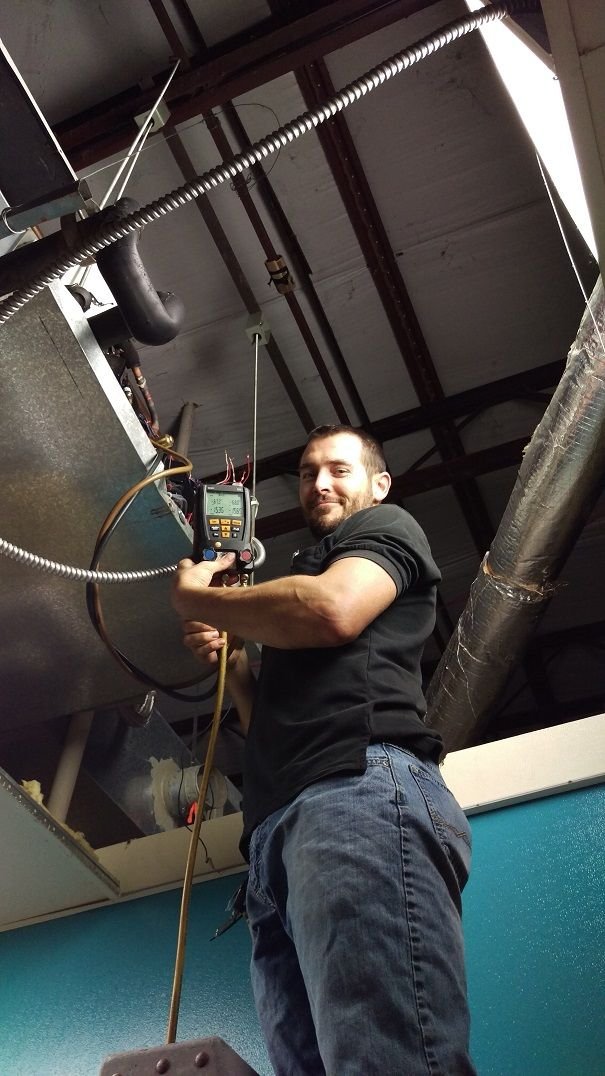
Returned following day, both units held perfectly overnight (no pressure drop). Time to evacuate both systems.
Mounting TXV sensing bulb
Close-up of mounting straps and sensing bulb. This is what 'tells' the TXV how much refrigerant to feed.

Insulating TXV sensing bulb.
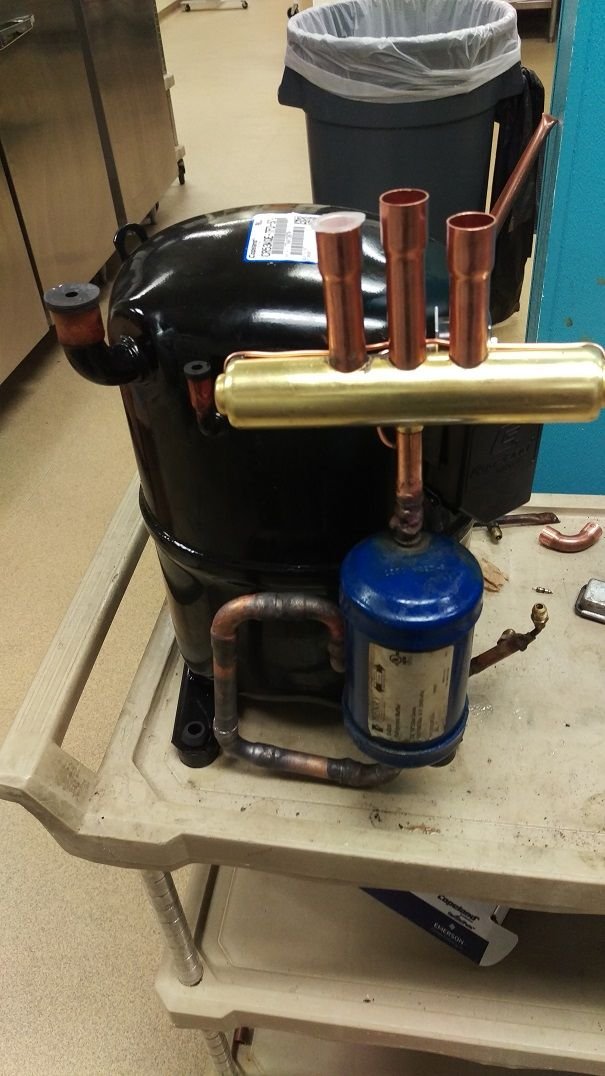
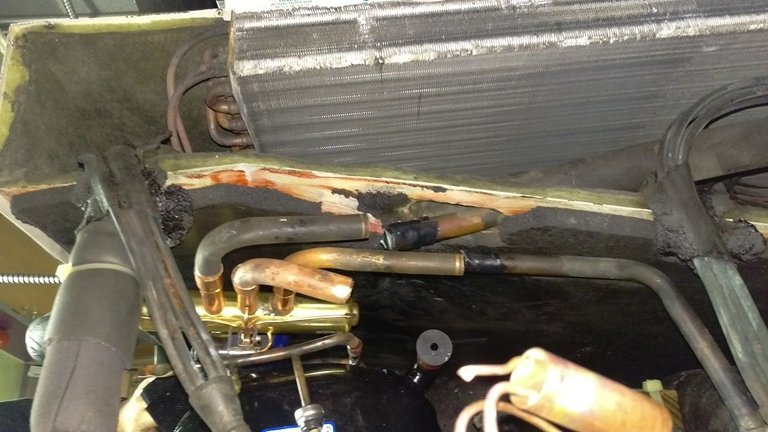
Top view with all components installed. Time to reassemble the rest of the unit.
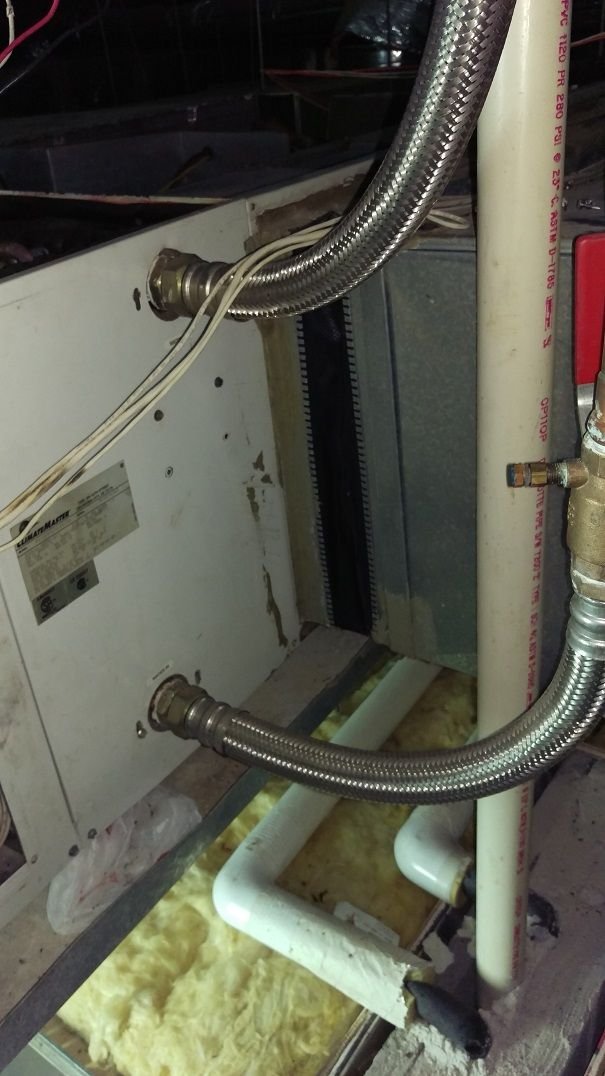
Water inlet/outlet, this goes back to the cooling tower outside.
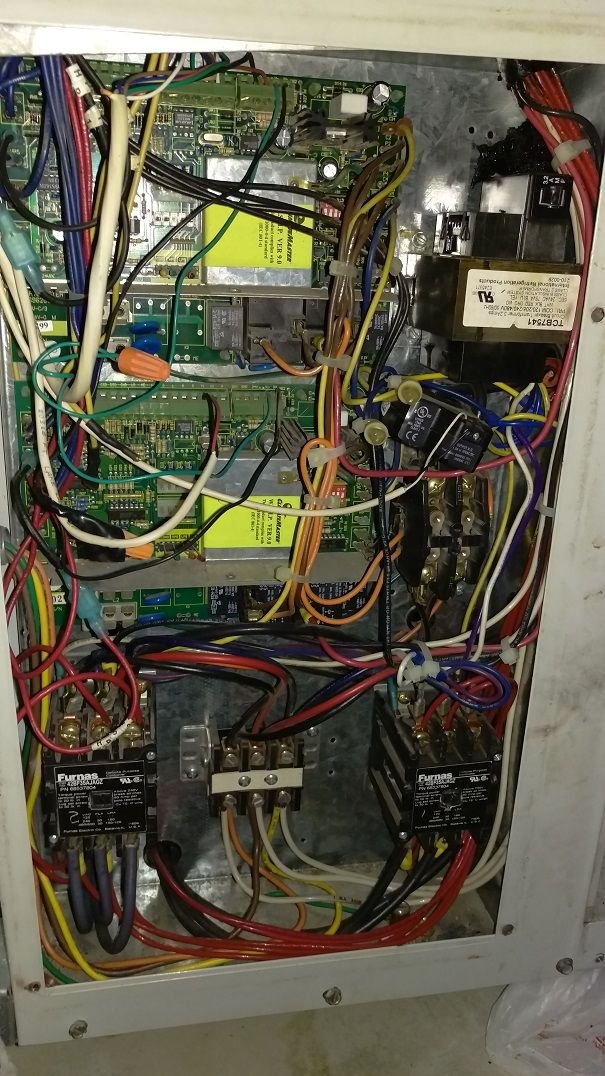
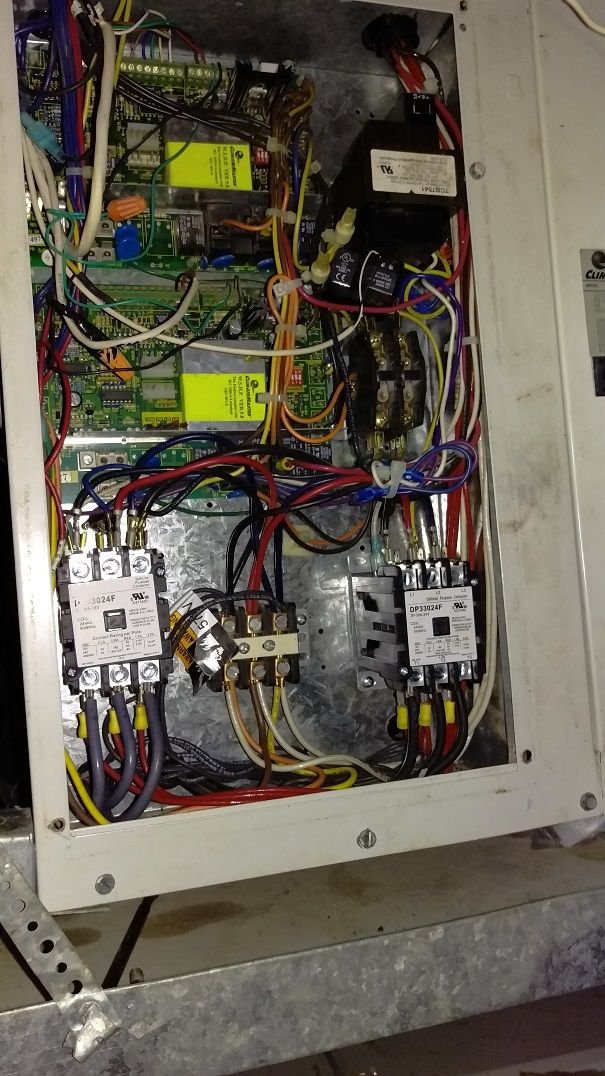
Electrical panel and control boards.
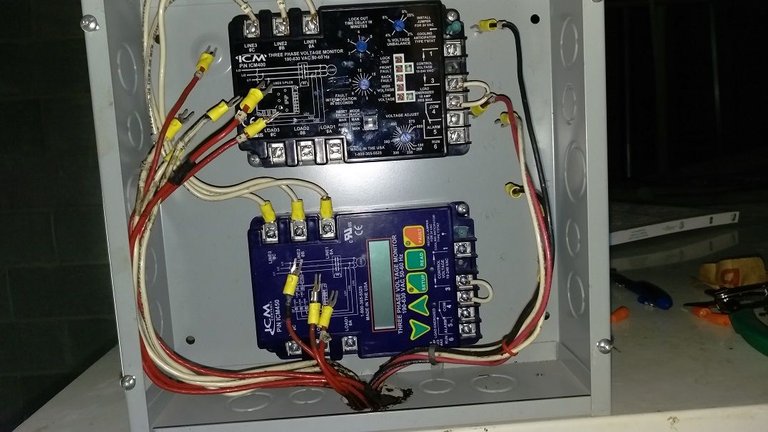
These are 3 phase monitors connected to each compressor (offer protection in case of contactor or other power supply failure)
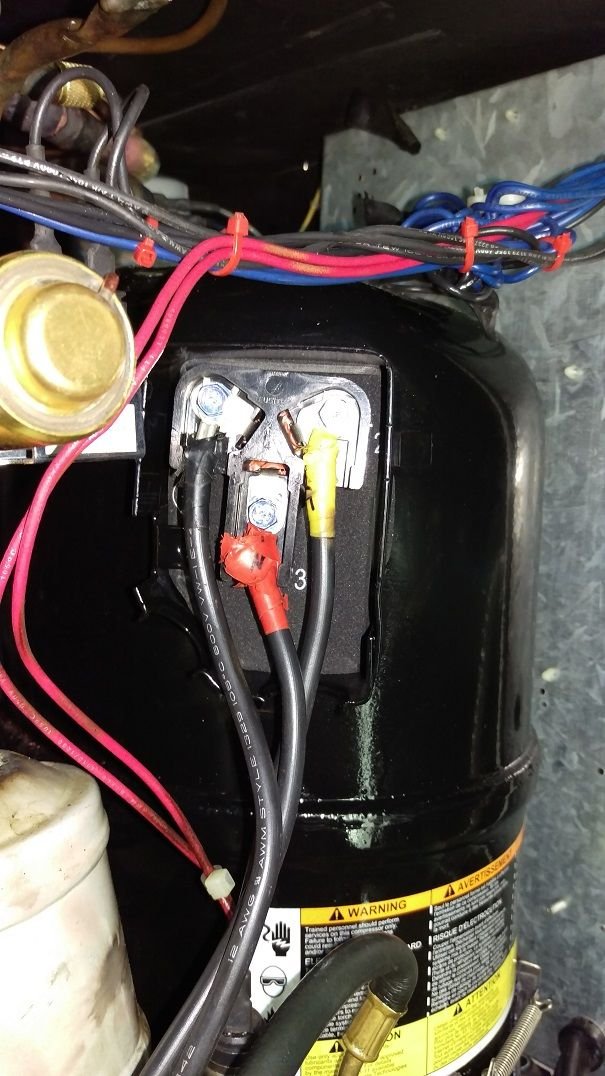
Connecting wires to compressor terminals.
The systems now need refrigerant. Each circuit requires 74oz of R-22 to be weighed in with scale.
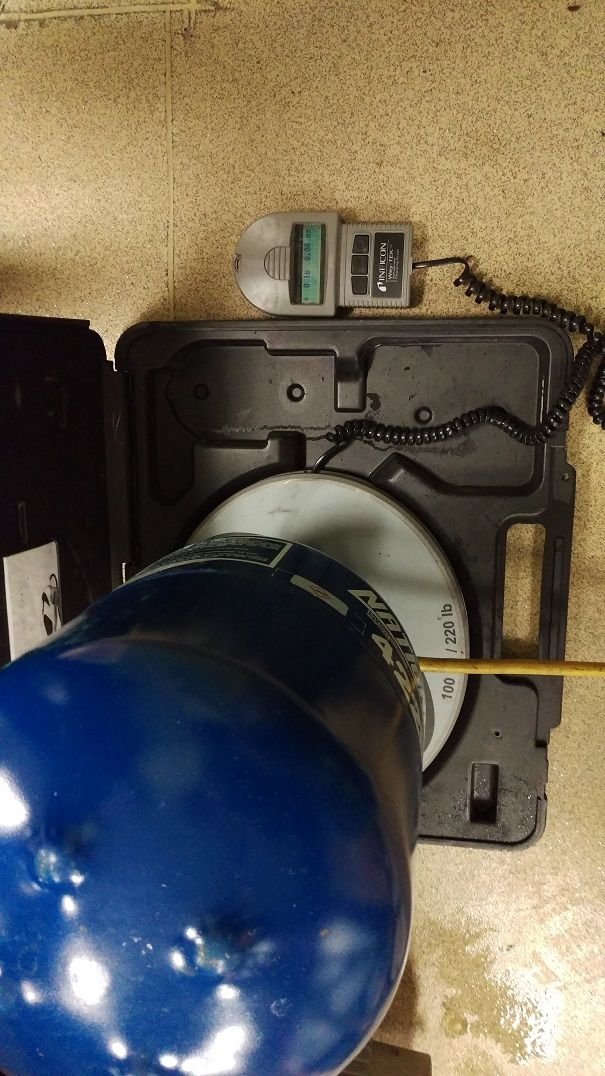
Another shot of the scale/drum. R-422B is a retrofit/replacement for R-22. I actually ended up taking this all out and putting new R-22 back in.

Time to replace contactors. These are what provides power to the compressors. The old ones didn't look bad, but with this amount of work, EVERYTHING that could cause a problem is worth replacing to ensure the longest compressor life possible.
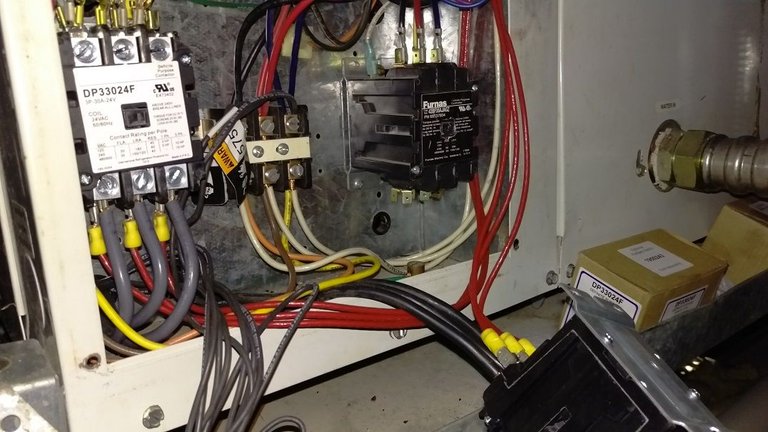
Both contactors installed.
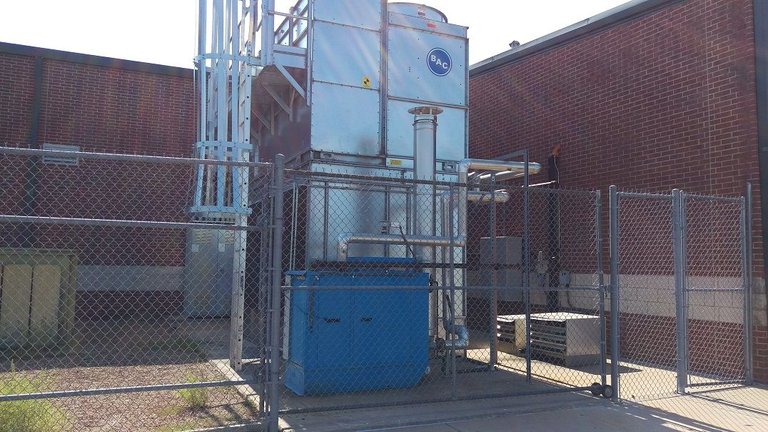
Here is the cooling tower that gets rid of all the heat picked up by every A/C unit in the school.
All ready to fire up and test!
Everything started up without any problems. What a weekend! Hopefully the kitchen staff stays cool/warm for many years to come!
Comments or questions are welcome.
Thanks for looking!
@originalworks
The @OriginalWorks bot has determined this post by @jschindler to be original material and upvoted it!
To call @OriginalWorks, simply reply to any post with @originalworks or !originalworks in your message!
To enter this post into the daily RESTEEM contest, upvote this comment! The user with the most upvotes on their @OriginalWorks comment will win!
For more information, Click Here!
Special thanks to @reggaemuffin for being a supporter! Vote him as a witness to help make Steemit a better place!
Congratulations @jschindler! You have completed some achievement on Steemit and have been rewarded with new badge(s) :
Click on any badge to view your own Board of Honor on SteemitBoard.
For more information about SteemitBoard, click here
If you no longer want to receive notifications, reply to this comment with the word
STOPNicely done!!
Thank you!