How to Clean a Mechanical Keyboard
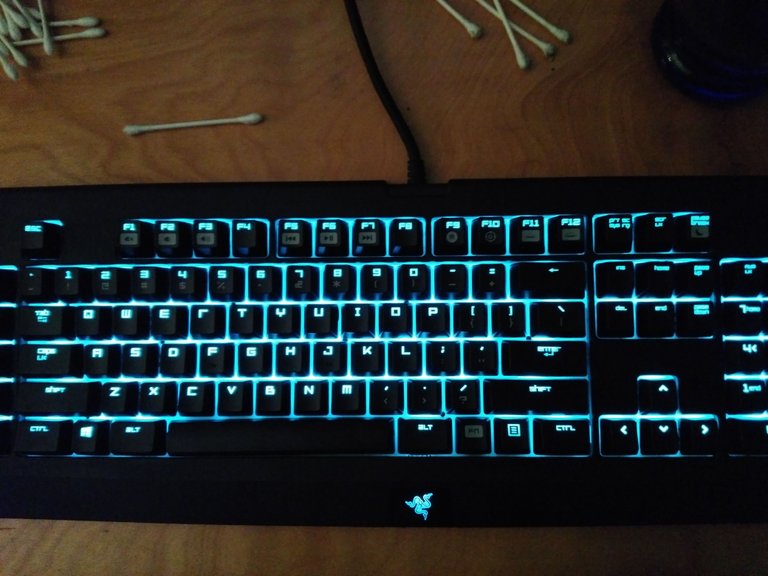
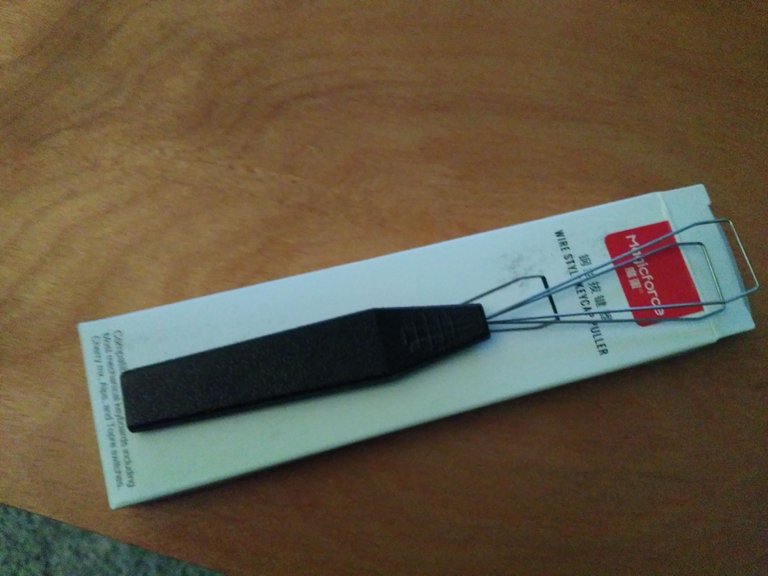
Hello! Going to be doing a quick and easy guide on how I cleaned my mechanical keyboard. Some mechanical keyboards can be pricey, and I was worried that I would hurt mine when doing this. Not to worry, this is an easy and very fun process. The only hard part was leaning over the keyboard pulling off every keycap, haha. FYI, I’m using the Razer Blackwidow Ultimate for this. They use a clone of Cherry MX key switches, so I would guess every keycap puller would work for this. I tried to pull off a keycap without the tool and didn’t finish the job. It felt like I wasn’t putting enough even pressure on the keycap and might break it. It’s also very hard to get your fingers in between the keycaps.
Alright, as for the keyboard, I had never cleaned this thing and it collected quite a bit of junk. Hair, crumbs, and dust littered the insides of it. I finally got around to cleaning it, and bought a keycap puller from Amazon for around $5.

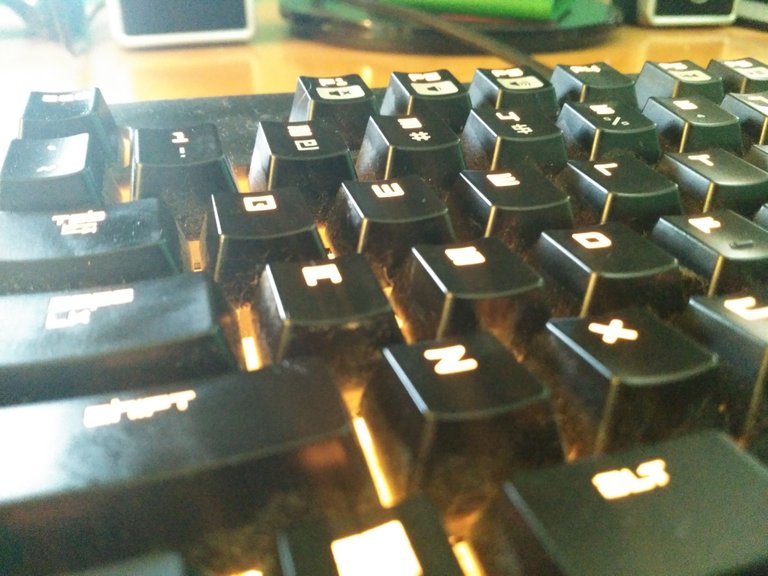
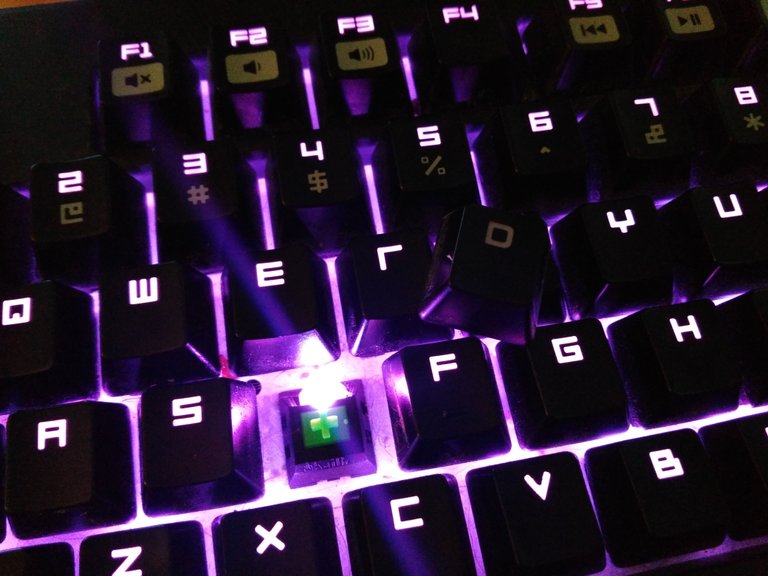
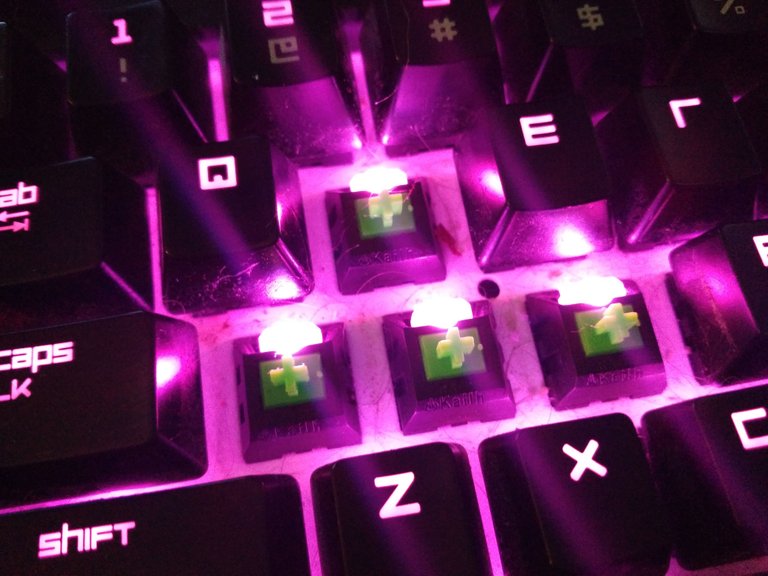
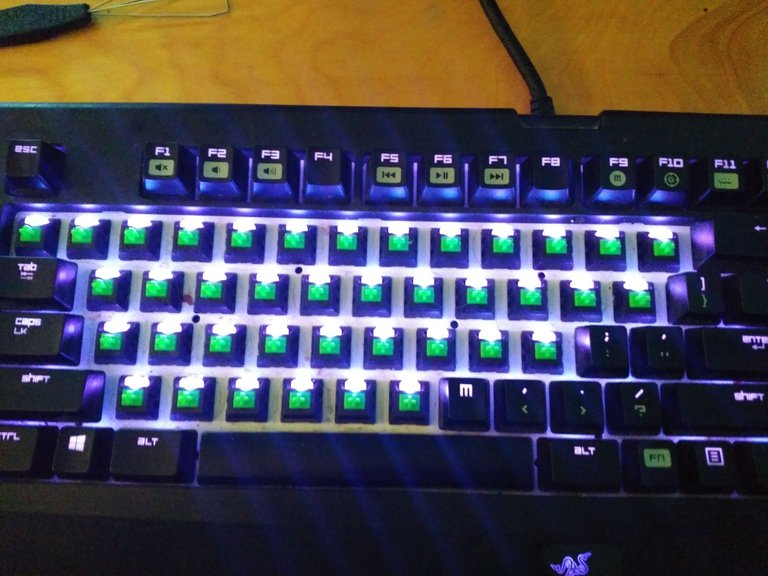
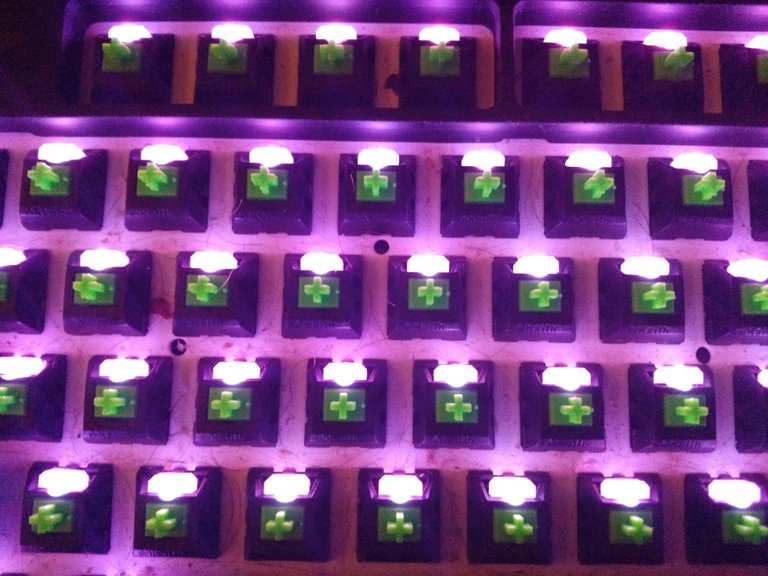
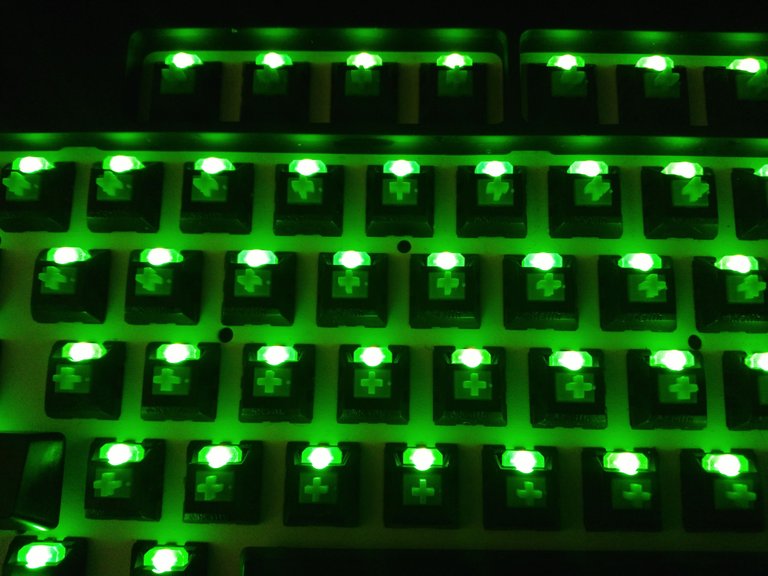
After taking some pictures of the layout of the keyboard, I started to pull off the keycaps. Its hard at first but gradually became easier as I got used to using the tool. I wouldn’t mess with big keys like the spacebar, it’s a more complicated procress that I didn’t feel nessecary. By the way, if your keyboard has lighting turn it down – without the keycaps the LEDs are blinding.
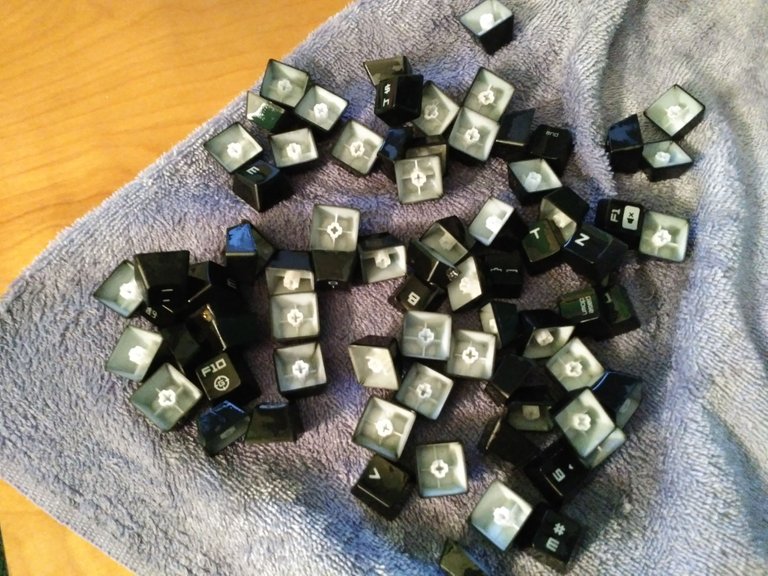
After pulling off the keycaps, I decided to use a hot water solution to get all the gunk off them. I didn’t know if soap could harm the keycaps and didn’t want to risk it. It went surprisingly fast, and after I laid them on a table to completely dry off. I also put a fan on them to speed up the process.
While waiting for the keycaps to dry, I started working on the keyboard itself. I used a vacuum to quickly get all the loose stuff and used a Q-tip with some water to finish it off.
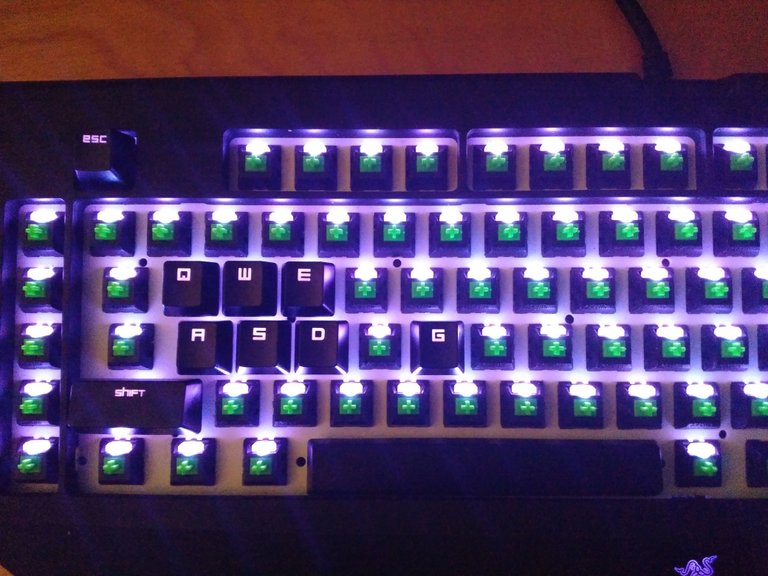
After doing some general cleaning to the body of the keyboard, it was time to reassemble! I was familiar with the keyboard’s layout, so I didn’t need to reference the pictures too much.
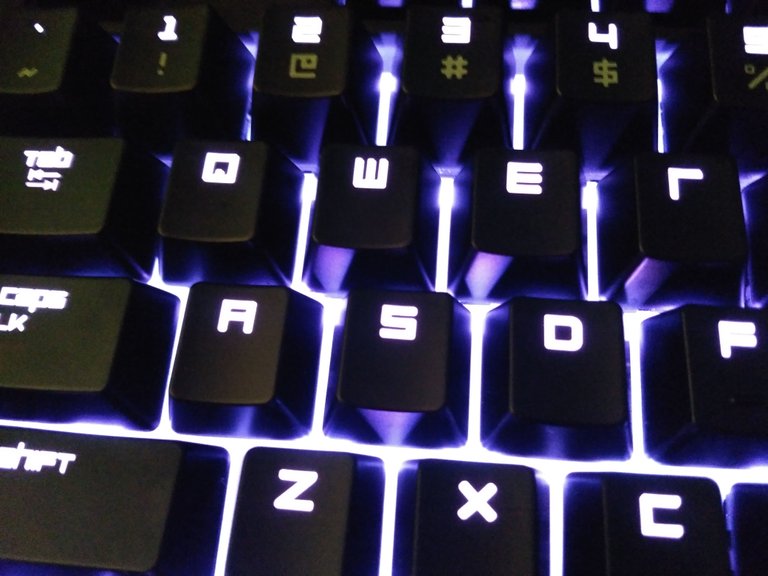
All done! Took about an hour. The keyboard was very noticeably cleaner and sounded better too. Some keys were getting sticky from all that gunk. I’m very happy with the results.
You did a good job fixing your keyboard. Keep up your posting!
Good work! I thought a bit of vacuuming is all she needs, haven't done anything as extensive as you did here.
That is a very in depth clean for sure, I have never bothered cleaning keyboards too much - bit of a hoover and wipe with a damp cloth mostly suffices. This sort of attention to detail obviously does a far better and rewarding job - plus the added bonus of better responding keys with less typos!