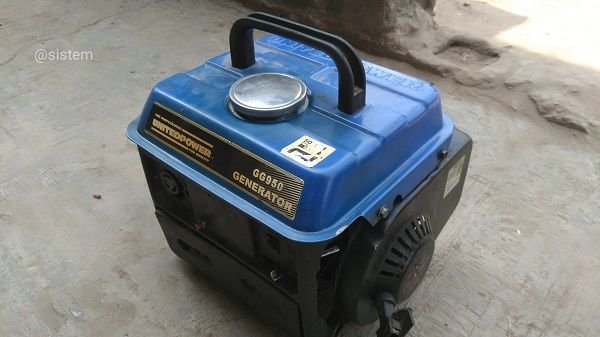
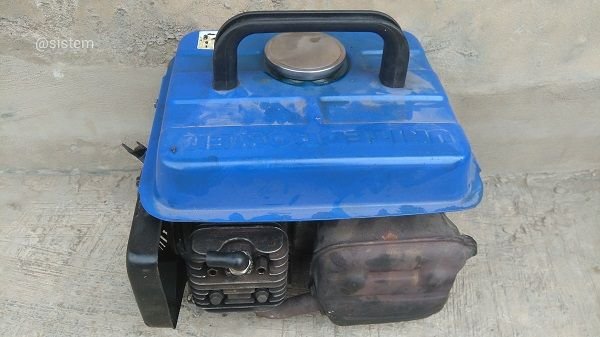
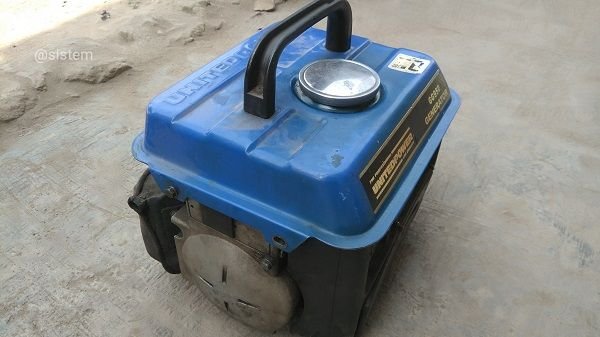
Finished Job
Hello everyone, it’s your boy @sistem here again with yet another interesting article which is bent of teaching you how to repair your small generators without having to take it to a generator repairer.
With this tutorial, you will get to save a lot of money and as usual, this post isn’t meant for science inclined individuals alone but I will try as much as possible to break down every term so that even the dumbest individual can relate and at the end be able to repair his own small 600watts generator popularly known as “I PASS MY NEIGHBOUR” here in Nigeria.
I am an Electrical Engineer and many of you would ask what business I have with learning how to repair a generator meant for Mechanical Engineers. We live in a world of diversity and in a world where everyone needs to know a little about everything to be able to survive or get accepted. Everything we learn today can come in handy when we least expect it to and that’s why I decided to venture into what isn’t directly related to my course of study and here I am trying to impact same knowledge to you today and I hope you enjoy this.
Before we start up with the tutorial on how to fix your personal generator, let us understand a few things about the generator so that we can fix it effectively.
What is a generator?
I am quite sure many of you have a knowledge about what a generator is and atleast can explain to anyone in shallow terms, what a generator is and what it can do. And I also want to believe that many of us have seen a generator before.
A generator is basically a device that converts mechanical energy into electrical energy which is used to power an external electrical circuit.
Now looking at a domestic generator, we will easily notice that the generator is basically made of two parts, which is the mechanical part and the electrical part and both of them must work in tandem to produce electrical power output.
There are two types of generators, the 3-phase and the single phase or 1-phase generator. The 3-phase generators are basically used for industrial purposes but can also be used for domestic purpose by rich men who have very heavy loads(Appliances) installed in their houses such as large horse power (hp) air-conditioners, water heaters, large cooking ovens in their kitchens, hand dryers and so on. All these culminates to high level of current consumption and so the 3-phase generators are used. The single phase generators are used basically for domestic purposed and are used by people who don’t have very heavy loads (Appliances) like the elites do and so their appliances tend to consume little amount of current compared to those of the elites.
The basic difference between a single phase and a 3-phase generator is that the single face has only two output wires going into the building which consist of one live wire and a neutral cable, but the 3-phase generators have four output wires going into the building which is comprised of three live wires and one neutral cable.
So whenever you see a generator set having four output cables, it will be safe to conclude that it is a 3-phase generator. But for the purpose of our tutorial today, we will be looking at how to fix a single phase generator.
Now that we know what a generator is and can identify it without professional assistance, let us take a brief look at the history of generators. No knowledge is a waste you know!
Brief history of power generators….
Now, before the discovery of the connection between magnetism and electricity, which are the basic principles upon which a generator operates, electrostatic generators were first invented. These electrostatic generators operated on electrostatic principles which uses electrically charged plates and disks that carried charges to an electrode with high potential. These charges were generated by either electrostatic induction or triboelectric effect.
These electrostatic generators earlier produced were inefficient because they produced very high voltage and low current and so had very low power ratings which made them impossible for use in the production/generation of commercially significant quantities of electrical power. Because of this inefficiency, they were basically used to power early x-ray tubes and some atomic particle accelerators and so further studies continued which gave birth to the idea and actual production of power generators with high power ratings as we see today.
What is the basic working principle of a power generator?
Power generators work based on Faraday’s law of electromagnetic induction which states that when a conductor is placed in a varying magnetic field, EMF(Electro Motive Force) is induced and this induced EMF is equal to the rate of change of the magnetic flux linkages. The EMF is generated once there is a relative motion between a magnetic field and a conductor and so the two basic elements of a generator are;
• Magnetic field
• Motion of the conductor in the magnetic field.
Generators are made up of basically made up of coils of conductors, which are usually copper wires, wound tightly around a metal core and mounted to turn inside an arrangement of large magnets. When the electric conductor rotates on its axis surrounded my magnets, the conductors cuts across the magnetic fields of the large magnets and going by Faraday's Law, the magnetic flux will interface with the electrons in the conductor to induce a flow of current causing electricity to be created.
Now for this coils of conductor to rotate, it needs a prime mover. A prime mover is that which aids in the rotation of the shaft connected to the cols of conductors. The coils of conductors and the metal core are both called Armature(rotor) while the arrangement of magnets is called the Stator.
To make you understand better what the prime mover is, do you know that rope you often pull when you want to switch on your small generator? That is what rotates the prime mover which in turn rotates the armature.
For big generator sets, this isn’t often the case as they make use of a battery and a key. They make use of a system called the motor-generator system. In this system, the battery is used to start up the motor whose shaft is the prime mover in this case. This motor shaft rotates the generator armature and so electricity is produced.
How do we troubleshoot our generators?
Troubleshooting a generator is the first step to generator repair. It is the process of trying to find out the possible problems the generator might have so as to be able to proffer easy solutions for the generator repair.
My generator got spoilt and have been lying around for sometimes now. I hadn’t the guts to go take a look at it because I thought that as an Electrical Engineer, I wasn’t qualified enough but today I decided to take the bull by the horn and I brought the generator out to repair myself. I didn’t know exactly what was wrong with the generator, it just wouldn’t come on when I pull the rope and then I rushed to the internet for possible solutions to a generator that wouldn’t start. I came across a number of problems which are as a result of troubleshooting a generator that wouldn’t start.
The problems listed where;
Faulty spark plug
Clogged up Carburetor
- faulty Ignition coil
- Damaged Capacitor
- Damaged Fuel Tap (which prevents supply of fuel to the ignition chamber)
- Check the recoil starter (The starter rope should recoil back when pulled)
- Faulty On/off switch
- Damaged Flywheel key
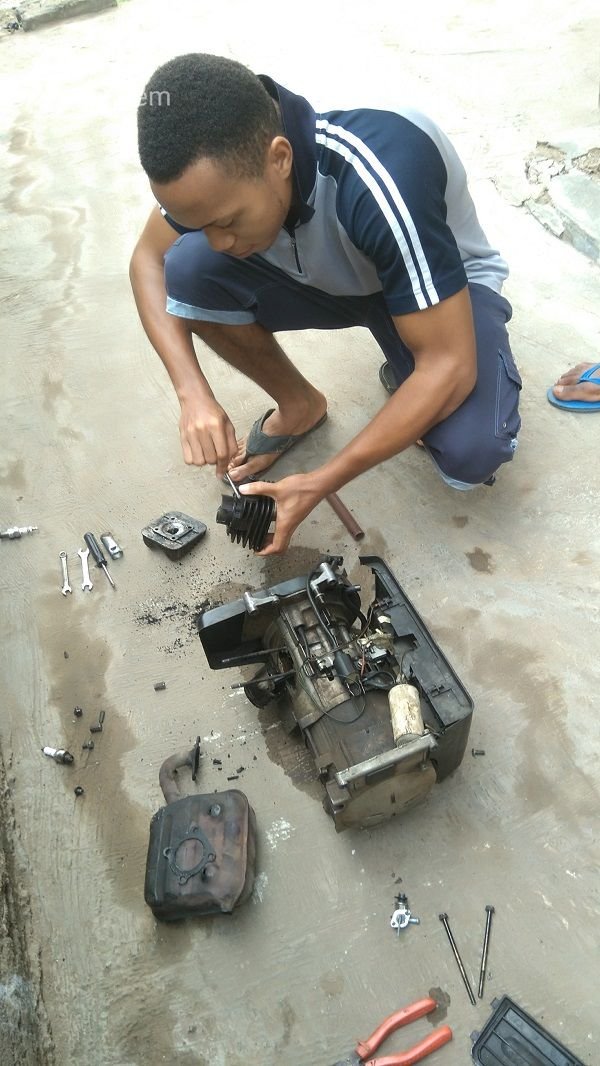
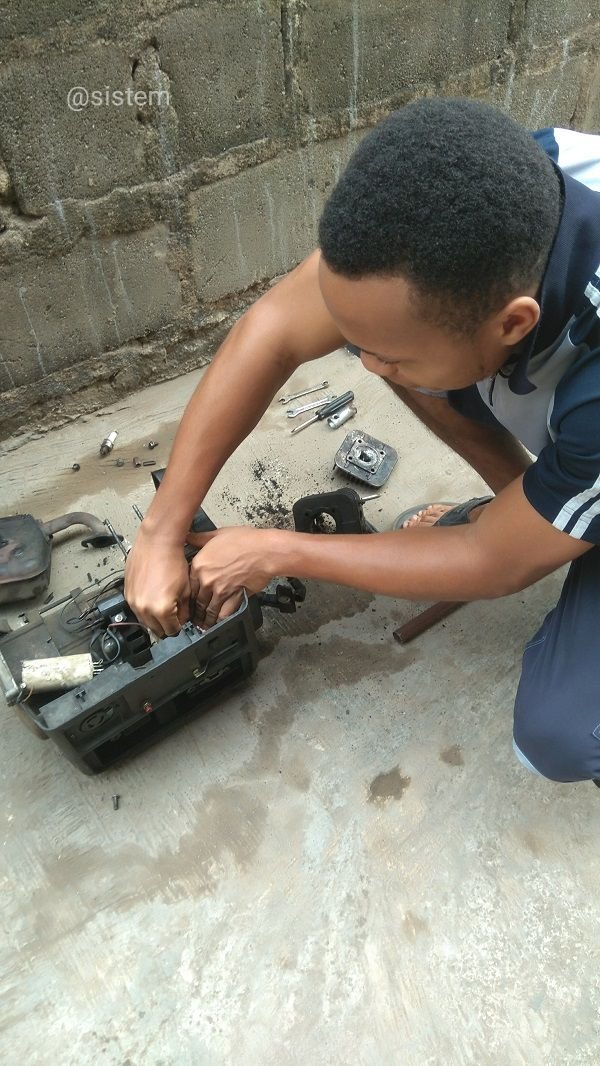
Seeing that the generator could possibly have one, two or three of these problems, I decided to dismantle the generator so I can reach and access the components being mentioned here.

Here are the tools I used to dismantle the generator and these are tools you can use as well when you want to fix your own generator.
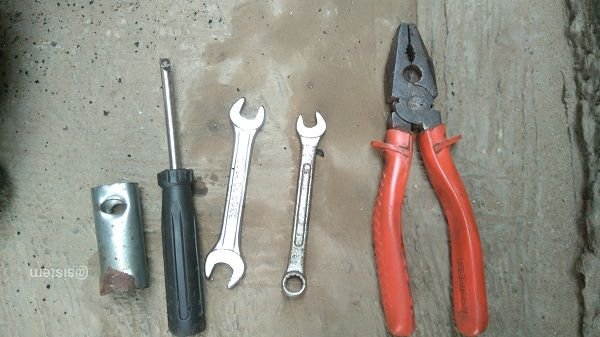
Here we have the spanner, plier, screw driver
I checked the spark plug to know if it was faulty but realised it wasn’t, I only got to clean off the little sooth found around the electrode with fuel and it was ready for use again.
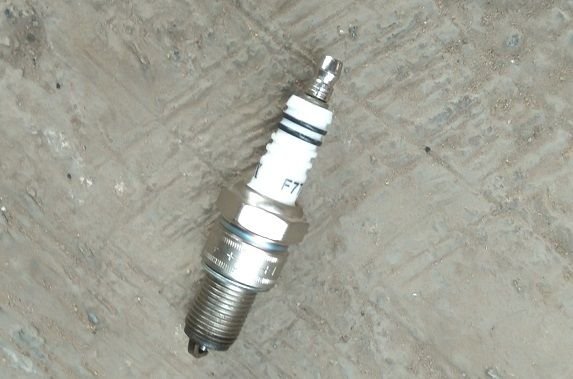
The spark plug
This is me checking out the capacitor to know if it was faulty and also realised it wasn’t and so I didn’t have to change it.
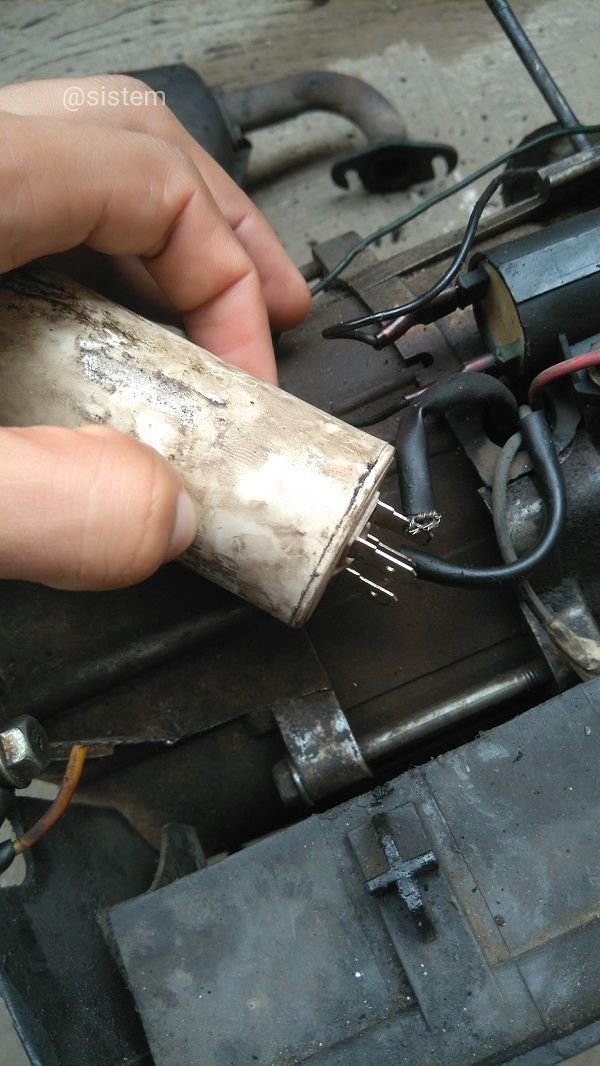
The capacitor
I checked the starter switch and the on/off switch and couldn’t find any break in the connecting wires and so I concluded it was also good and didn’t have to worry about that anymore.
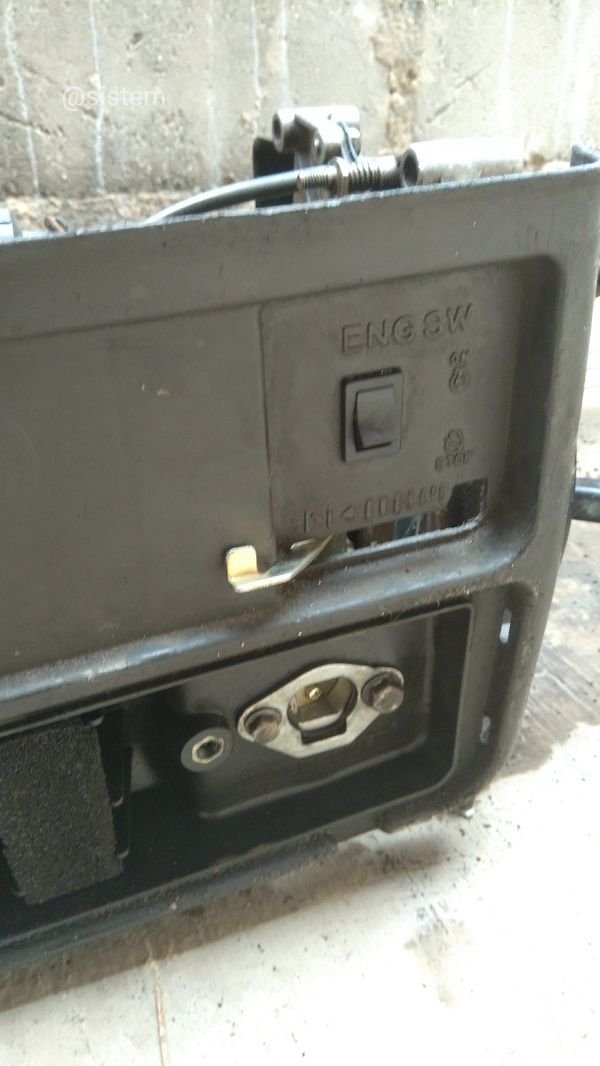
The on/off switch
Me checking out the on/off circuit
The next thing I did was to remove the Block Engine and scrapped off the black sooth that was all over it after which I washed it with fuel and it was ready for use again.
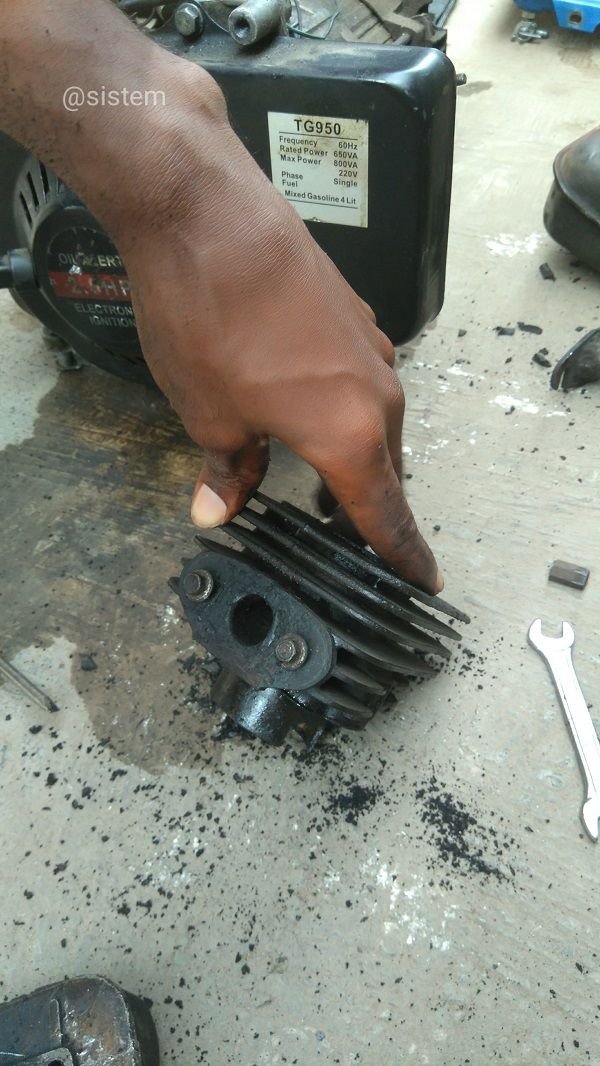
The block engine
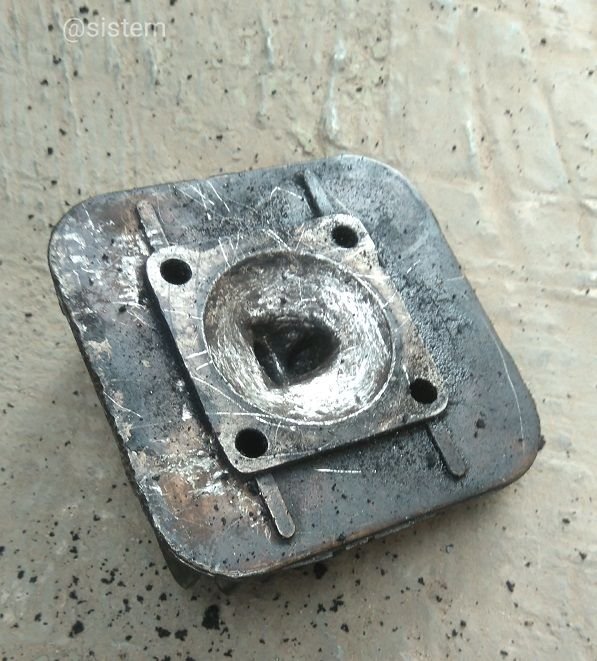
The block engine cover

Me scrapping the block engine
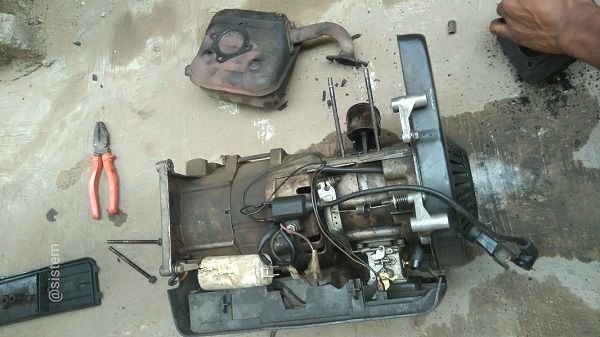
The final thing I did was to check the Fuel Tap. That was when I finally realised what the problem was. The fuel tap was faulty and so couldn’t supply fuel to the ignition chamber. I had to unscrew the fuel tap and removed the clogging in it and then coupled it back and it was ready for use.
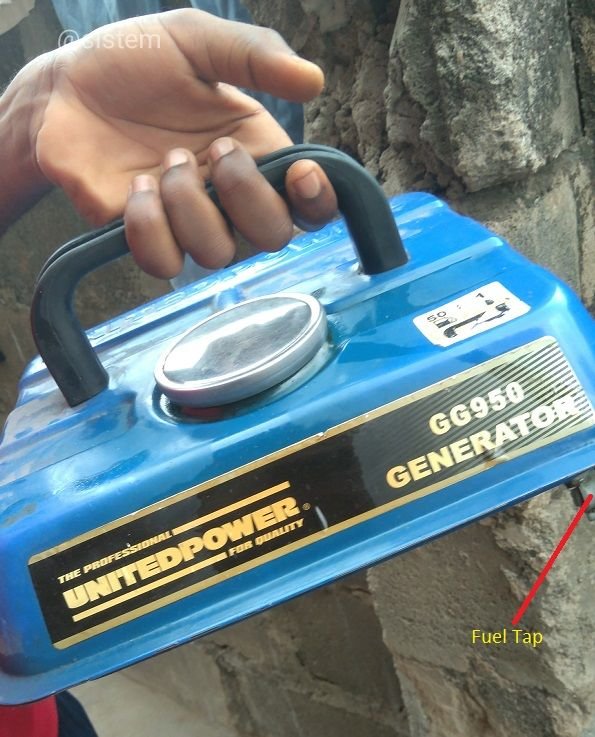
The fuel tap located under the fuel tank
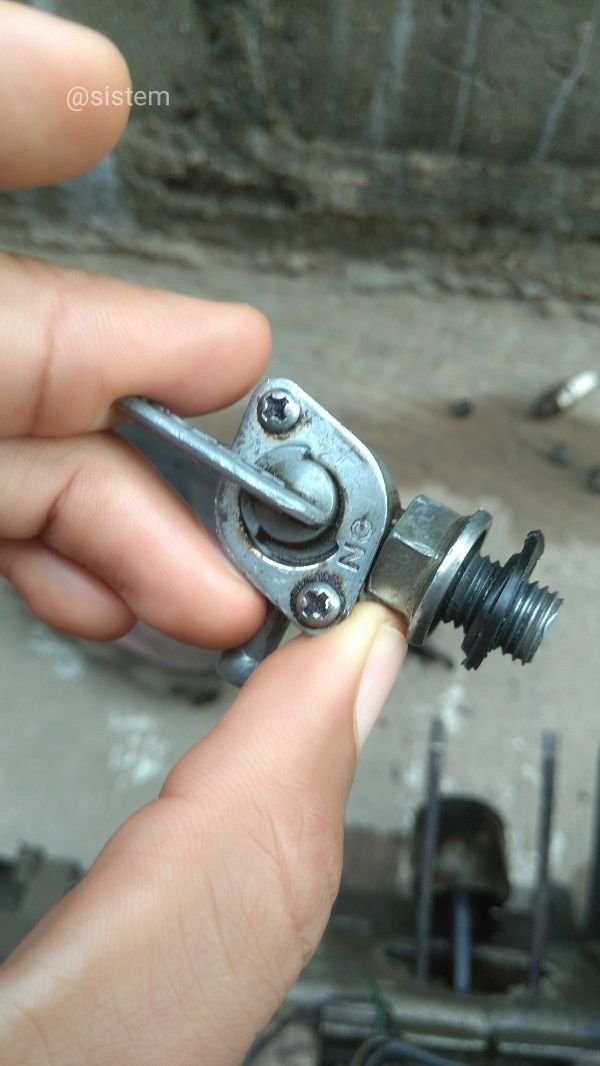
The clogged fuel tap
once I was done with that, having found out the true problem of the generator and having ascertained that there was no other issue to be checked upon, I quickly coupled the generator back and as soon as I was done, the generator was back to life and ready for use once again.
So guys, this is how to troubleshoot and finally fix your generator. The internet is your friend and you can check for solutions online and do the actual job yourself while saving yourself a lot of cash and learning in the process. It is fun and you have to try doing this yourself someday.
This is where we come to the end of this series of DO IT YOURSELF(DIY). Till we meet again, I remain your humble tutor @sistem
A big shoutout to @greenrun, @pangoli, @churchboy, @infovore, @teamsteem, @surpassinggoogle and a host of other amazing steemians out there.
This is a test comment, notify @kryzsec on discord if there are any errors please.
Being A SteemStem Member
really helpful post
This is supercool
I bet you are an engineer
Great work
Yea dear I am...
Thats good
Thats good
great talent you have got alongside with knowledge into application in real life. kip it up.