Hello friends,
Thanks so much for your overwhelming response and appreciation for my previous post after my return to this block after almost two years due to some personal reason.
And going forward my posts will be regular and I make it point to post at least once a day :-)
Today I am presenting one of my photo color illustrations for the TARANGA weekly magazine.
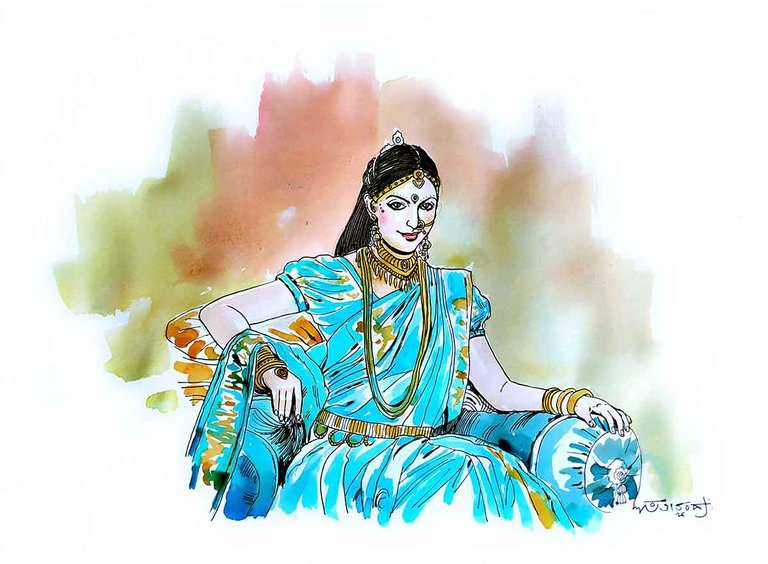
I use Adobe Photoshop to create special effects for the illustrations drawn on paper.
I use two techniques usually
Technique 1. First, draw the sketch using Artline 0.5 pen and then put the photo color
Technique 2. First, put the colors to the sketch drawn by pencil and then give the finishing touches using Artline pens ranging from 0.3 to 0.8.
Both techniques work well, however, technique 2 is my favorite.
I use the following:
Paper: Cartridge Paper 200 gsm
Color: Camlin Photo colors (12 shades)
Pen: Artline Pens 0.3 to 0.8
Digital: Adobe Photoshop
Once I finish the illustration, I scan it and take it to Photoshop. I take a couple of images, give special effects like twirl, dry brush etc. Then blend the effects of the layer like Overlay, Hard Light, Pin Light, etc. till I get desired look. Finally, I use special effect brushes to finish the edges as shown below.
I use the level adjustment and sharpen edges feature to enhance the scanned image.
Hope you liked the post.
Please comment, upvote, and share if you liked this post
Till my next post, happy painting.
WOW. You have AMAZING art! Your pieces are brilliant!
Thank you @amphlux