Cooking is an important part of my life. I love how a great dish can pull everyone together in a shared moment of happiness. Today I will share with you my recipe for Goulash. This is the iconic Hungarian dish, of which I am very proud! I hope this will be a practically useful Steemit introduction article.

In this case, I will be showing you how to make Goulash Soup, which is a thick soup and is simply known as gulyásleves. In America we often think of Goulash as a stew which is known as pörkölt in Hungary.
Goulash has a flavor profile that is robust, buttery, a bit sweet, and a little spicy. The key to a good dish is the quality of the paprika, the proper meat cut, and heat management for the frying stage.
Paprika
Paprika is such a core component of this dish, you really want to spend the time to get the best. I recommend Hungarian semi-sweet paprika with a some hot added for kick. The paprika must be fresh and should be bright red. Don't use the ancient container in the back of the cupboard that looks like dirt, it will impart very little flavor. I prefer not to use Spanish paprika in this dish as it has a somewhat different flavor and I do not use smoked paprika, I think it would be too strong.
Paprika is fickle. I don't know why people sprinkle it raw on anything, it is almost tasteless in that form. It truly comes alive with heat and oil. However, it burns quickly at those temperatures and it will quickly become acrid. The key to frying it is to add Paprika after you turn off the heat and let the pan start cooling. You can also add it right before adding water which will cool down the pan immediately. In this recipe, it is added right before adding water.
Meat
The meat must be full of fun rubbery things like tendons and cartilage. Since paprika should require no flour, the collagen from the meat must do the job of thickening the soup. Don't use a good steak cut. Use a shanks, shin, or shoulder. Include the bones while the soup is simmering. I cube it into 1 inch pieces. Do not remove all the fat, it will give a silky flavor and texture to the soup.
Make sure when you fry it you actually brown the surface of the meat. That means you must wait until any water the meat releases boils off and you are frying in oil. If you don't do this, you will just have bland steamed meat which looks grey. The key to this is to start with medium high heat to boil the water off, and slowly reduce the heat as the water vanishes. You should be at medium low by the time all the water is gone to avoid burning it the moment the water steams off.
Onions
There are lots of onions, so I prefer white onions to avoid making it too sweet. They should be fried until transparent and just slightly golden. Don't try to brown them too much. This can take a while if you use gentle heat to avoid burning them, more than 10 minutes for me.
Tomatoes
I prefer to use firm hearty tomatoes like plum tomatoes so they don't disappear entirely.
Cookware
Prefer a deep flat frying pan, this way you don't have to transfer anything. Remember to use one large enough to handle the water you will add after the frying is done.
Bay Leaf
Be careful with this, too much bay leaf and the eucalyptus flavor will be really strong, it should not taste like menthol.
Don't Forget the Carraway!
The carraway is important! It gives a nice unique sweet flavor and should not be omitted, but be conservative, just a pinch. Otherwise it will actually overwhelm the dish.
Ingredients
- 2 Strips of Bacon / 2 Tbs Lard
- 1lb or 2 medium onions diced
- 1 tb Oil
- 2 lbs beef shank, shin, or shoulder
- 2 Cloves Garlic
- 1 Green Bell Pepper
- 2 Diced plum tomatoes
- 2 Tablespoons Paprika Sweet + Hot mix
- One pinch carraway
- 1 Parsnip
- 1 Celery stalk and leaf
- 2 Carrots
- 2 tsp black pepper (careful, add slowly and taste)
- 1 cup warm water
- 1 Bay Leaf (optional, avoid if you don't like a menthol taste)
- Pepper and Salt to taste
Process
First, we need some fat to fry with. If you have lard, just add 3 Tbs to a large frying pan. If you have bacon, render down the fat from them with medium low heat, about 10 minutes, then set aside the bacon for breakfast tomorrow! If you have neither, oil / butter mix also can work.
Then, we will fry the onions to get them nice and sweet. This requires much care, cook the diced onions on medium low heat while stirring them almost constantly. You are done in about 10-15 minutes once they start to turn slightly golden. Take them off the heat! I transfer the onions to a temporary bowl and set aside.

Then, we will brown the meat. You need to be ready with the 2 cups of water to cool this as soon as they are browned since we do this dance with the paprika at the end. I fry the meat cubes in the same pan as the onions were in. I fuss over them, turning them over on each side and making sure they are evenly browned. They usually release a little to a lot of water depending on the cut. I turn the heat up a bit to boil off the water entirely, then low to brown.
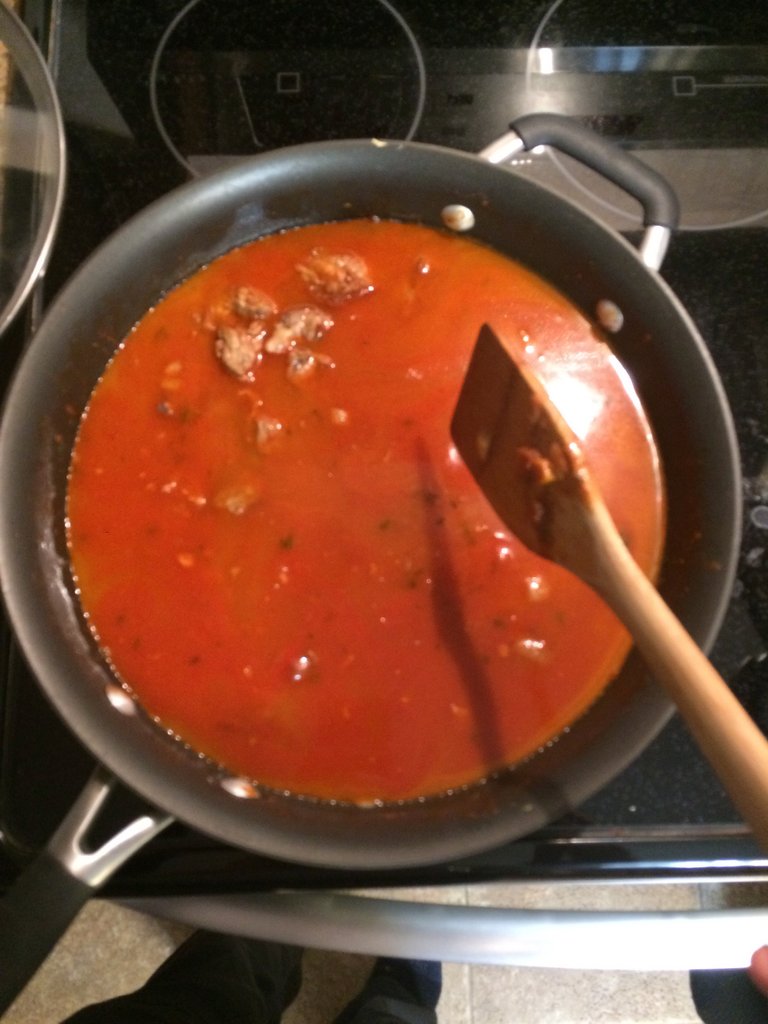
Now this is critical. At the moment they are done browning, I turn off the heat, let it the pan stand for a minute off the range. I then add the paprika and stir it into the still hot oil and coat the meat cubes. I ensure the paprika is completely absorbed in the hot oil. Once it is, quickly add the warm water to cool the pan. Put the pan back on medium heat, now we are safe and slow cooking can begin.
Now, add the onions back to the pan. Add bay leaf, a pinch of salt, pinch of black pepper, and caraway seeds to the pan. I let it cook lidded for about an hour, which is about half way. It should be lightly simmering, no strong boil here.
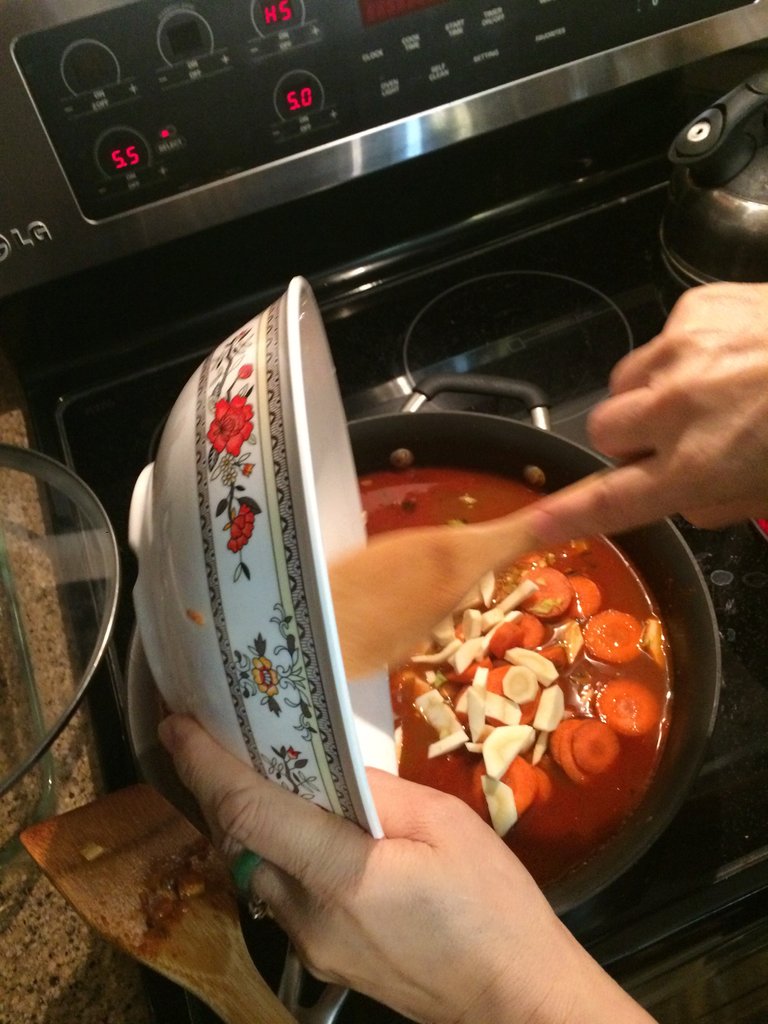
After the hour and a half, I open up the pan. Add the carrots and parsnip. Now taste the broth. It will still be watery, but add salt and pepper with the thought in mind that it will lose water and will be stronger at the end. So don't go crazy with the salt.
In about 45 minutes I add the chopped tomatoes and green bell pepper. I reduce heat and let that cook for just about 10 more minutes.
After that it should be done cooking! Now do a final salt and pepper check, add if necessary. If it still seems to watery, cook it with the lid off until it reaches the desired consistency. Remember that it will thicken as it gets cooler. You don't need to go all the way to stew thickness.
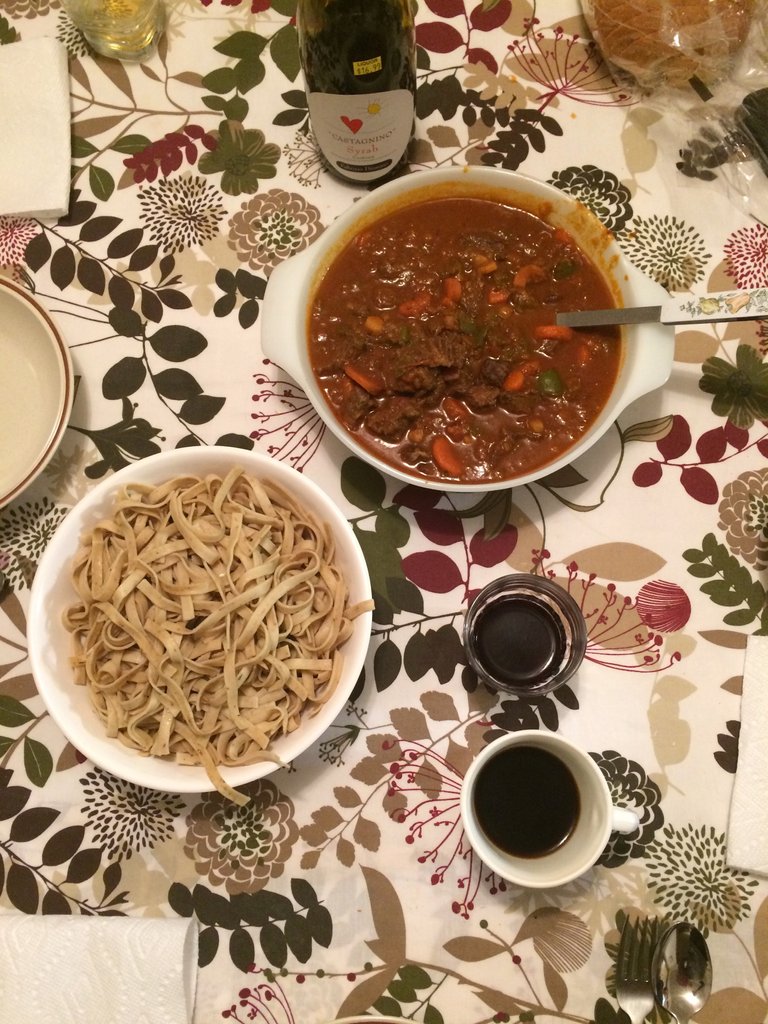
At this point, plate and enjoy! I had it with egg noodles, but it can work with just rye bread!
One Last Thing
Hey its me! If you like this type of recipe I would love to share more, let me know! Also let me know if you try and it turns out great/terrible, or need help!

Hello @anoether, welcome to Steemit! :-)
Welcome to steemit! followed ;)
Nice intro. Now I'm hungry. Do you deliver?
Welcome to steemit @anoether. Interesting intro, enjoyed your breakdown of how to make your dish. Keep these kind of posts coming and you'll do well.
this looks good!
Welcome to Steemit, @anoether.
Yummy, welcome to Steemit! :))
Thank you! I'll be posting a nice Bolognese pasta today or tomorrow that will have even better pictures and clearer instructions.