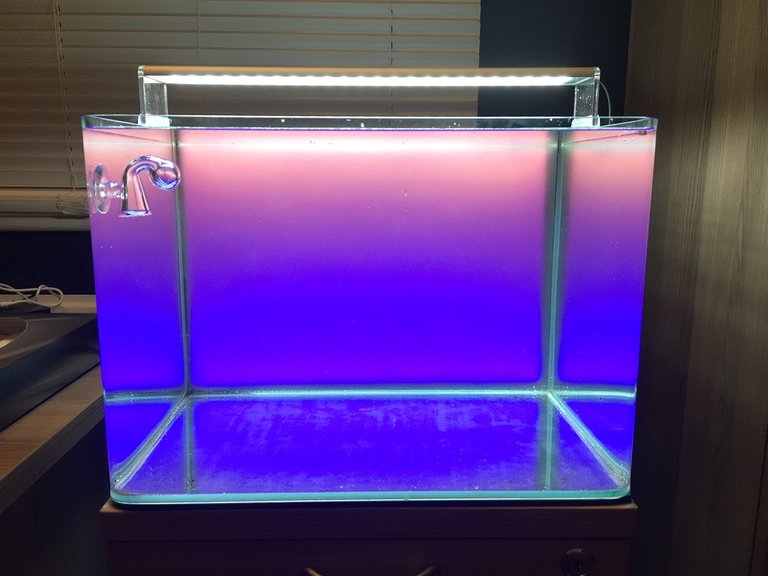
For a while now I have wanted another "nano" fish tank in my office to house a single betta fish and some cherry shrimp. For Xmas I got a lovely Dennerle Nano Scapers 35 litre tank. One thing I really wanted to do was create a dynamic colourful background for it. You can buy ones from companies such as Flux Aqua but they are pricey and I like to have full control over what they do so decided to do what i usually do and make my own!!
The basics are very similar to my previous post where I added WLED to my lego batwing. The LED setup is exactly the same as that, with an ESP8266 connected to a 2 meter, 5 volt LED strip. I wont go into the details of how to wire this up as its described in my previous post
So the basic hardware setup for the light screen is a wooden frame with LEDs embedded into it. The interesting thing is the diffusion material that I used. Believe it or not, I pulled the diffusion material out of a broken LED TV
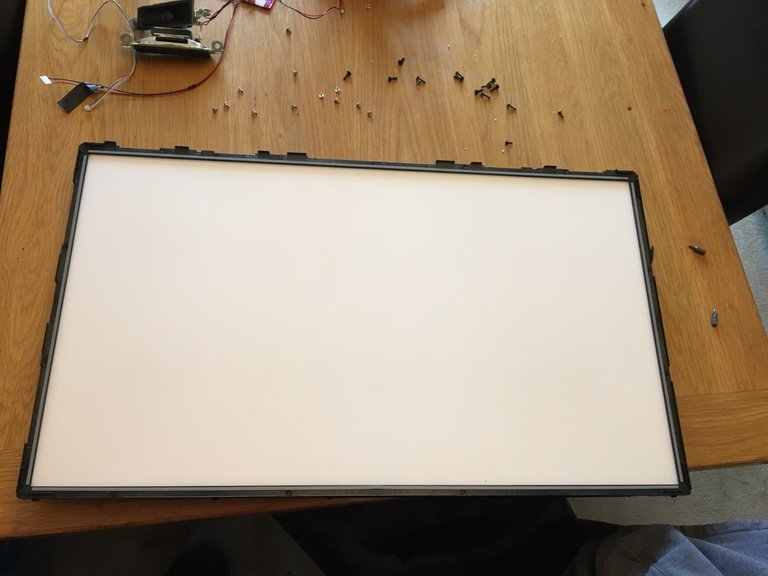 | 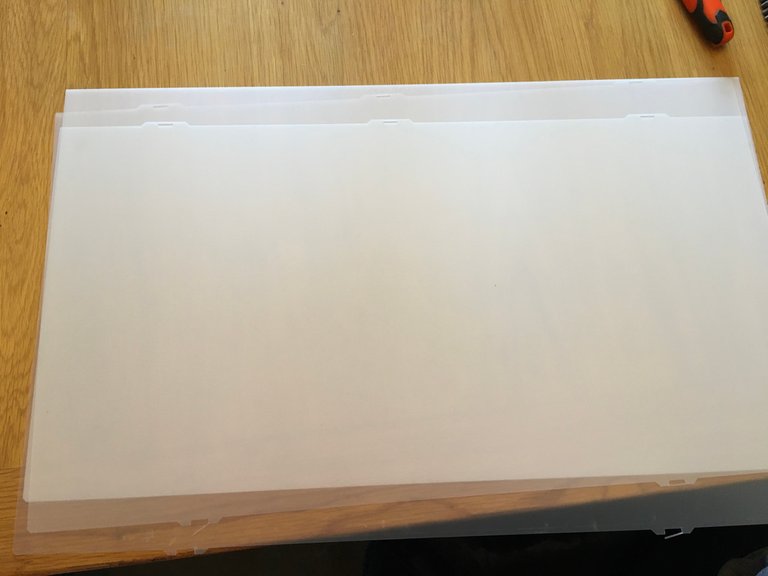 |
Behind the digitiser (which is the bit that actually shows the picture) most LED TVs have a backlight which sits behind a load of diffusion material. In this case, it was a couple of thinner pieces of flexible material and what seems to be a 1mm piece of acrylic. Together, they diffuse the light brillianty so that the whole screen is lit evenly, perfect for a good colour rendition on the fish tank light screen.
Here is a closer look at the wooden frame. It is a simple construction, the same size as the rear of the tank, 45 degree cut battens of wood that are glued and stapled. I routed out a 5mm deep channel for the LEDs to sit in and covered them with some of the thin diffusion material from the TV.
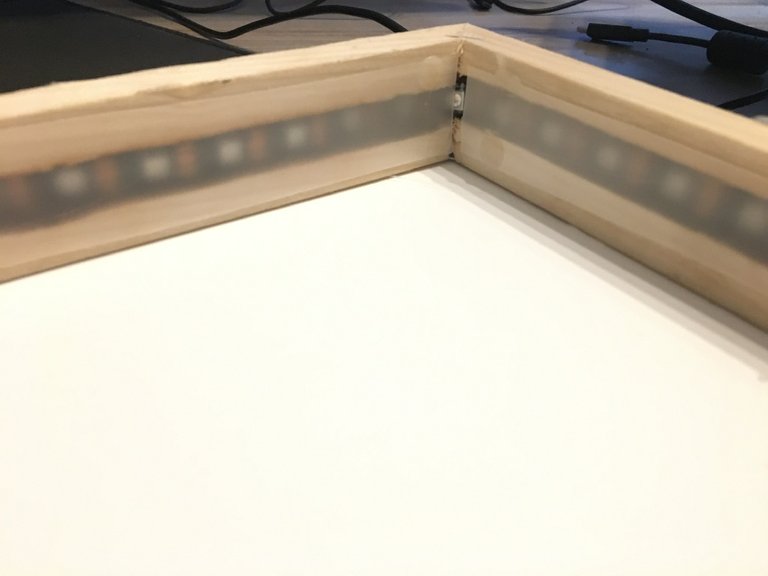
The backing of the light box is a small bit of foamcore board cut to size. I just glued this to the back and made a hole through for the wiring.
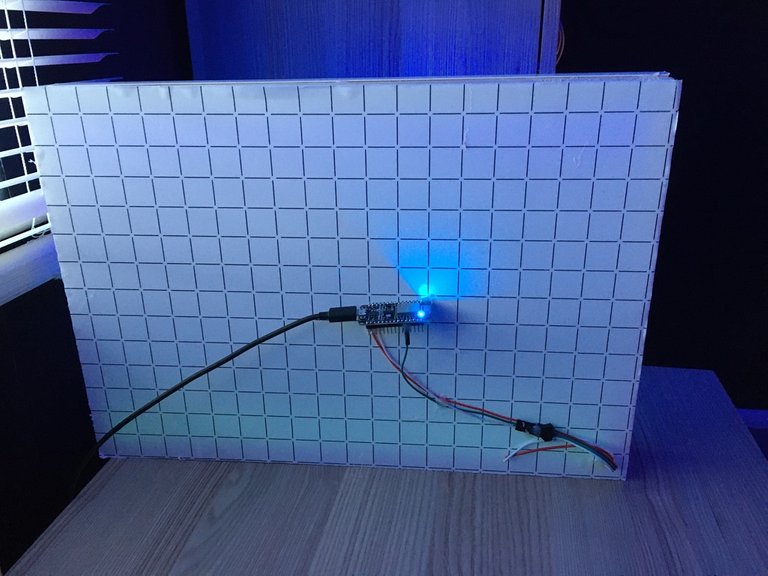
On the front of the lightbox I mounted the three pieces of diffusion material cut to size with hot glue. Initially i framed this with some pvc edging strips, but I didnt like the way these looked behind the tank, so they are now removed and there is no edging.
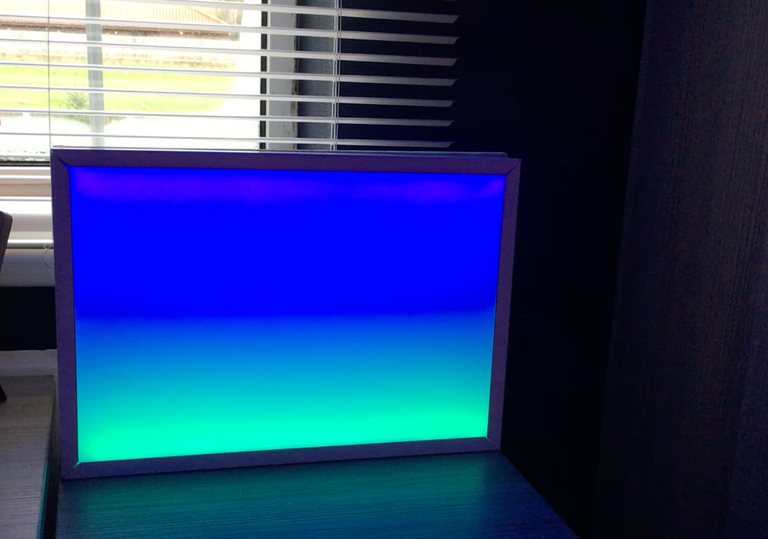
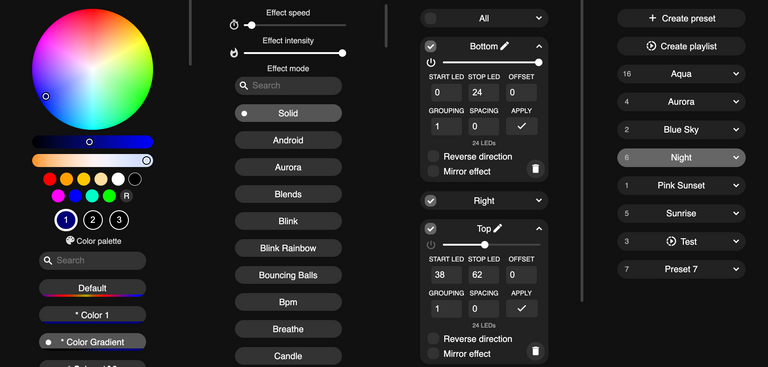
The config on the WLED itself is pretty straightforward. I have set up 4 segments, one for each side of the lightbox. That way I can set a different colour for the top and bottom to give a gradient effect as shown in both of the above images. I've also configured a number of presets for things like daytime, sunset and sunrise.
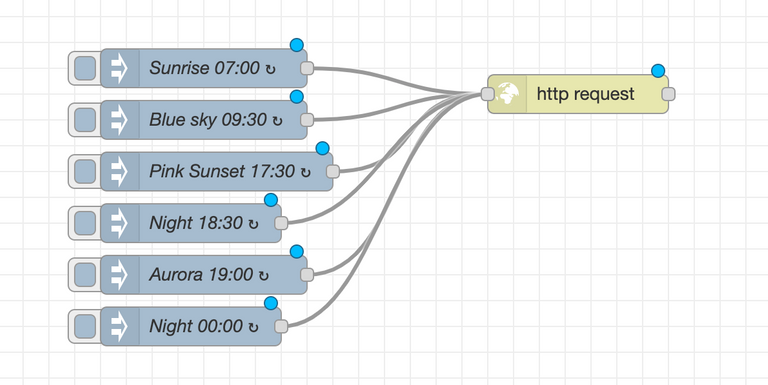
I use these presets to configure my home automation system to move between them at specific times. They make JSON HTTP requests to the WLED software on the EPS8266
And here is a quick video of the transition from sunset to night time. The phone video does not do it justice however :)
Cant wait to get the tank filled with hardscape and planted in the very near future. I'm sure i'll be doing a post on that when it happens.
This looks lovely :)
Thanks, I hope it will look amazing with hardscaping and some plants and fish in it.
.
Your content has been voted as a part of Encouragement program. Keep up the good work!
Use Ecency daily to boost your growth on platform!
Support Ecency
Vote for new Proposal
Delegate HP and earn more
oh this is going to look amazing!
Looks very nice, cyberpunk from 80. Big up!