Hello, this is my first posting. My name is Louis. Guitar and Music Talk In the future, we will post articles about routine IT information. English is poor, but I look forward to working with you.
안녕하세요 첫 포스팅이네요 . 제 이름은 루이스라고하고 앞으로 기타(Guitar)와 음악장비 및 음악얘기 그리고 일상적인 IT정보글을 올릴 예정입니다. 앞으로 잘부탁드려요 ^^
This time, I'll upgrade my MacBook Pro 2011 late 13inch
이번 시간엔 제 맥푹프로 2011 late 13인치를 업그레이드 해보도록 하겠습니다.
Prior to upgrading, my specifications are : intel i5 2.4 Ghz, 4GB ram 10600S, 500GB HDD this spec.
업그레이드에 앞서 우선 제 사양은 intel i5 2.4 Ghz, 4GB ram 10600S, 500GB HDD 입니다.
I bought a new product from 2011 and felt the limitation of using it, so I decided to upgrade it.
2011년 부터 새 제품을 사서 잘쓰다가 한계를 느껴 이번 기회에 업그레이드를 결심했습니다.
Let's take a look at the products we'll be meeting today.
자 오늘 업그레이드를 할 제품들을 만나볼까요?
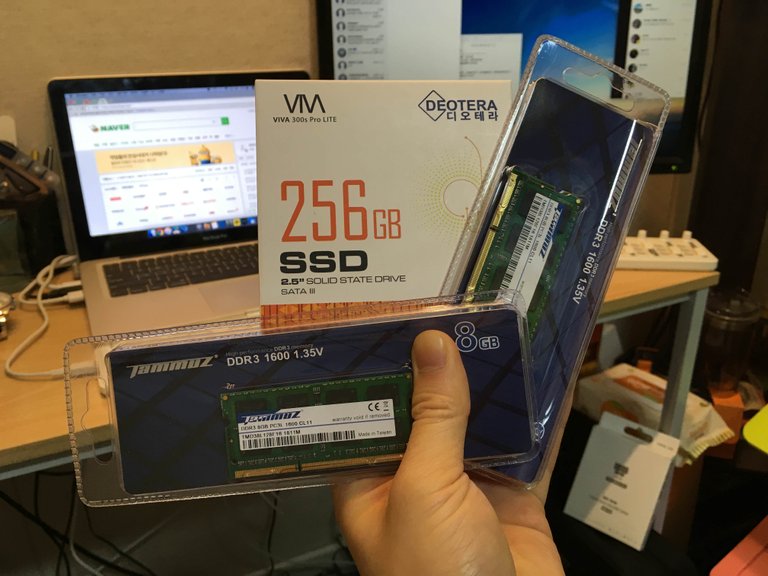
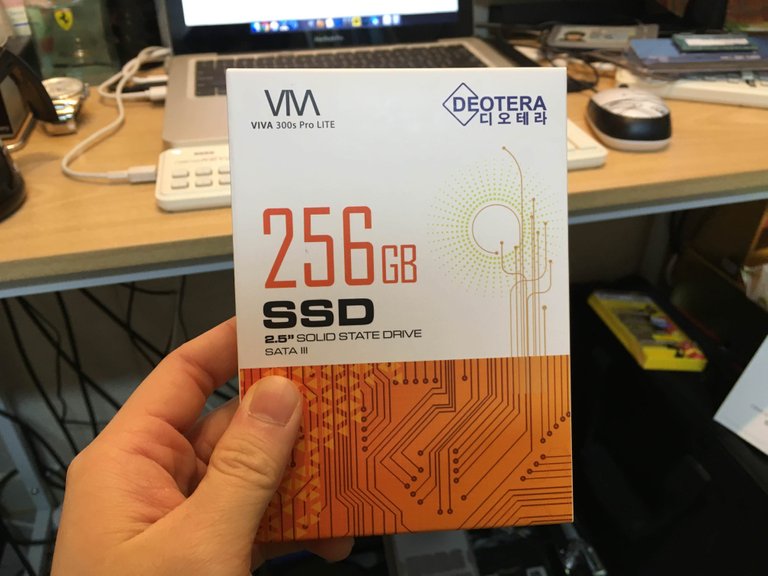
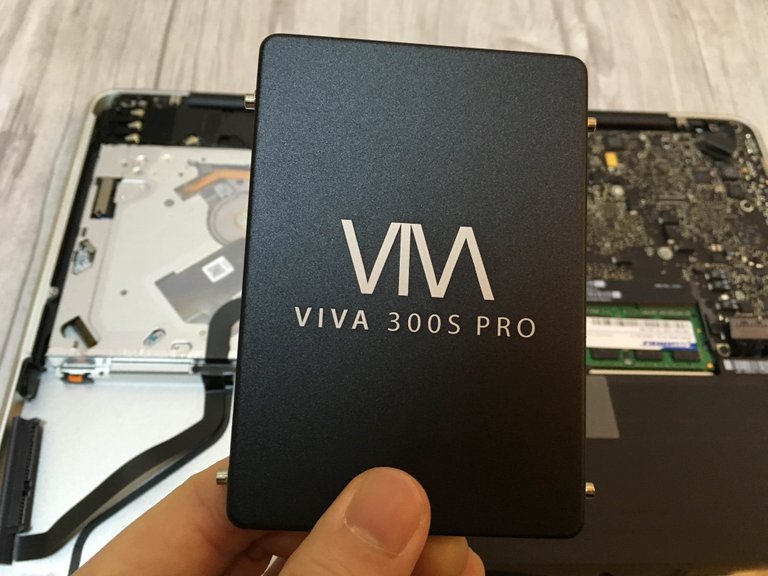
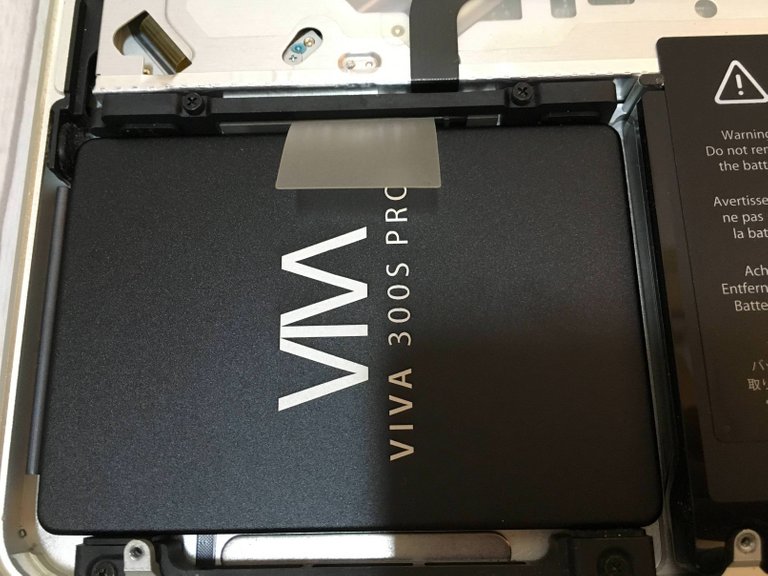
First, it is DEOTERA's VIVA 300s Pro LITE 256GB SSD 2.5 SATA 3 and TAMMUZ DDR 3 1600 1.350V 8GB*2
우선 DEOTERA의 VIVA 300s Pro LITE 256GB SSD 2.5 SATA 3 와 TAMMUZ의 DDR3 1600 1.35V 8GB *2개입니다.

We will skip the detailed explanation since we think TAMMUZ will be easily accessible.
우선 타무즈는 다들 쉽게 접할거라 생각해서 자세한 설명은 생략하겠습니다.
This is my first time using it, so let's take a look at the contents.
저도 이건 처음 써보는거라 내용물을 살펴볼게요
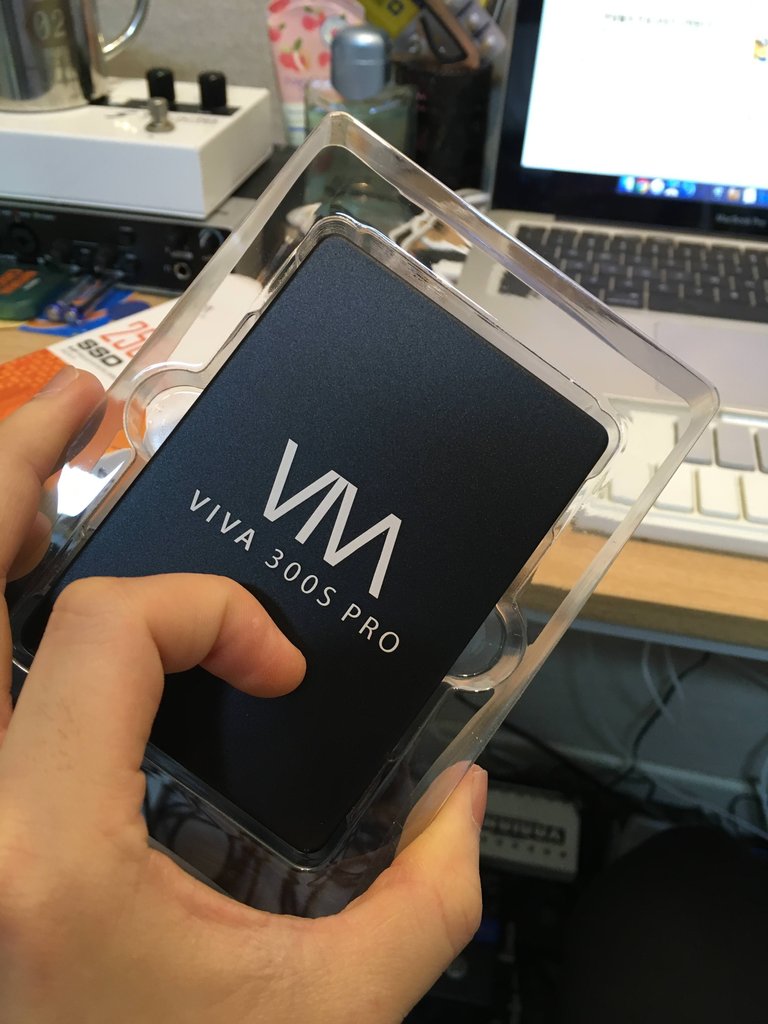
When you open it up, it's all about the body.
개봉해보니 본체가 전부입니다.
Well, before we replace, my article informs you that I am not responsible for any damage caused by your mistakes.
자 우선 교체에 앞서 제 글은 여러분의 실수로 인한 피해를 전혀 책임지지않음을 알립니다.

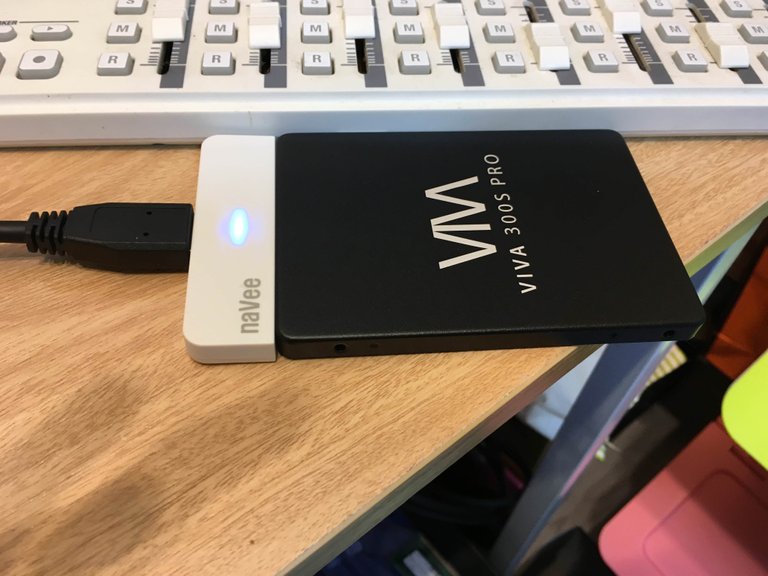
First, it connects the SSD to a computer using a gener like this.
우선 SSD를 이와 같은 젠더를 이용해 컴퓨터에 연결해줍니다.
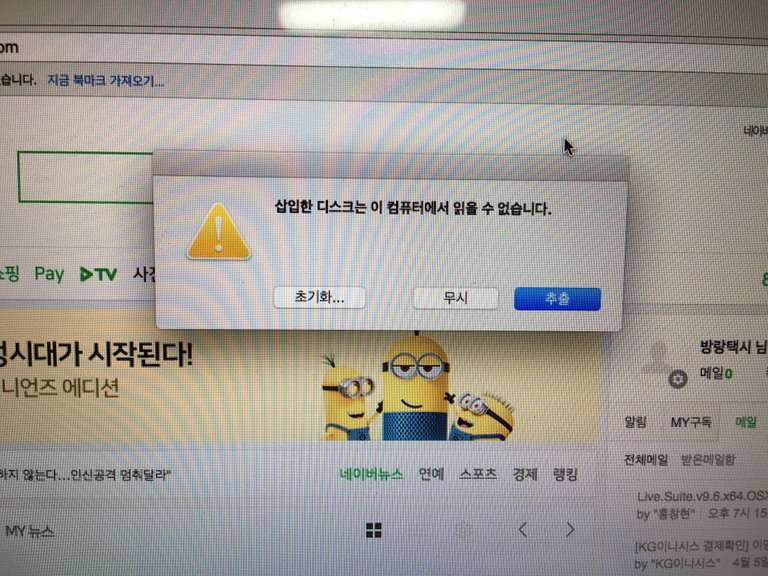
Once connected, a screen like this is created. Let's try the format.
연결해보면 이와 같은 화면이 생성됩니다. 사용하기위해서 포맷을 합니다.
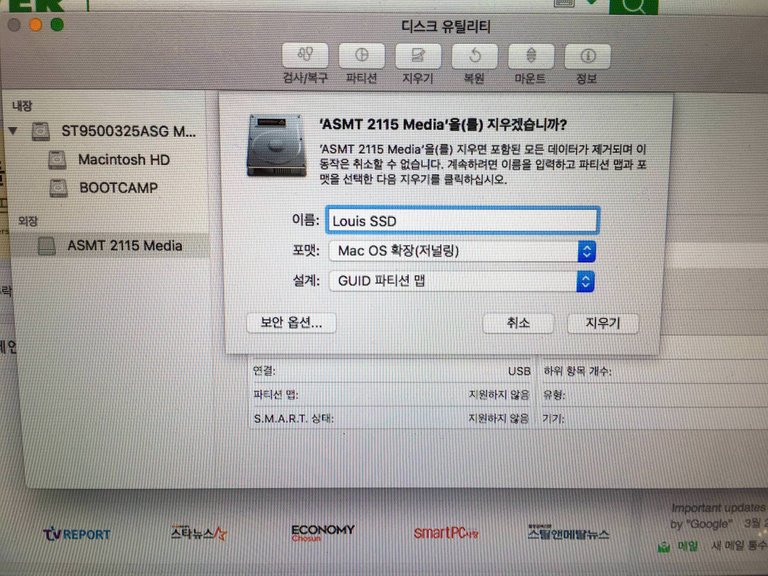
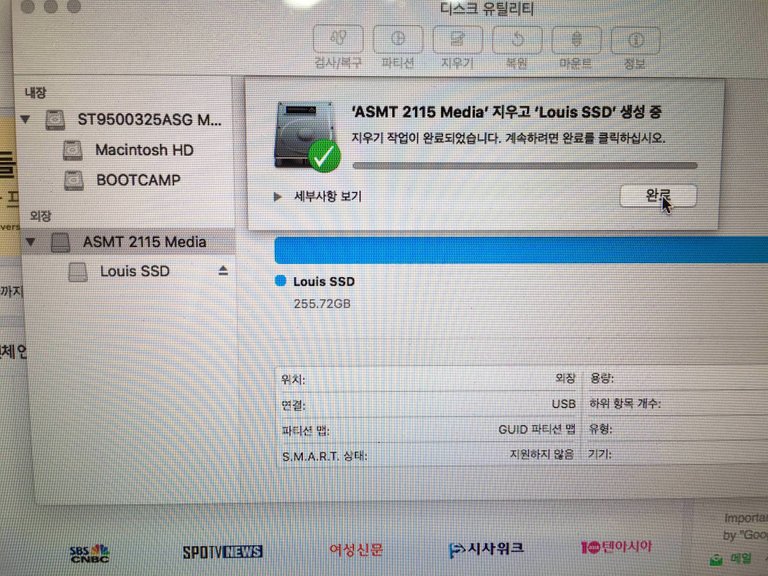
You can try the settings above.
위와 같은 설정으로 시도하시면됩니다.
Now let's copy the hard drive. I'll use Carbon Copy Cloner for the copy. It's free for 30 days, so download and install it.
자 이제 하드를 복사해볼까요? 복사를 위해 저는 Carbon Copy Cloner를 사용하겠습니다. 30일 무료로 이용가능하니 다운로드해서 설치해주세요.
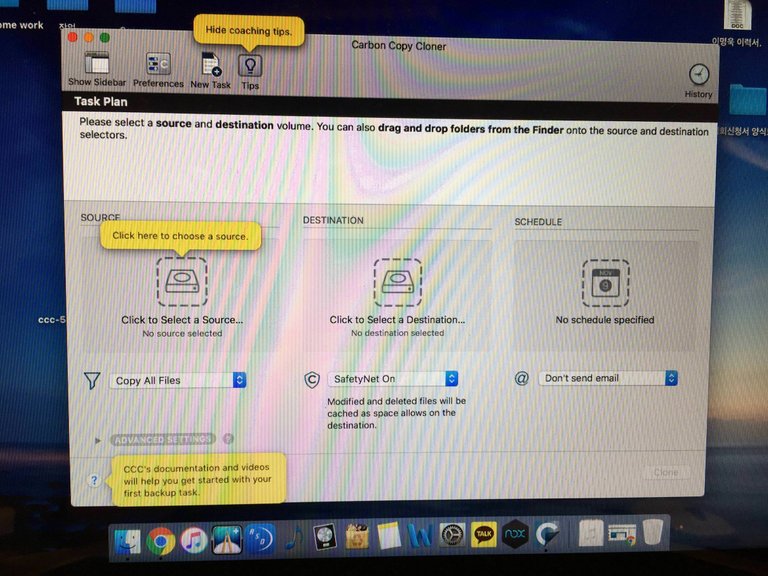
Running the program creates a screen like this.
프로그램 실행하면 위와 같이 화면이 뜹니다.
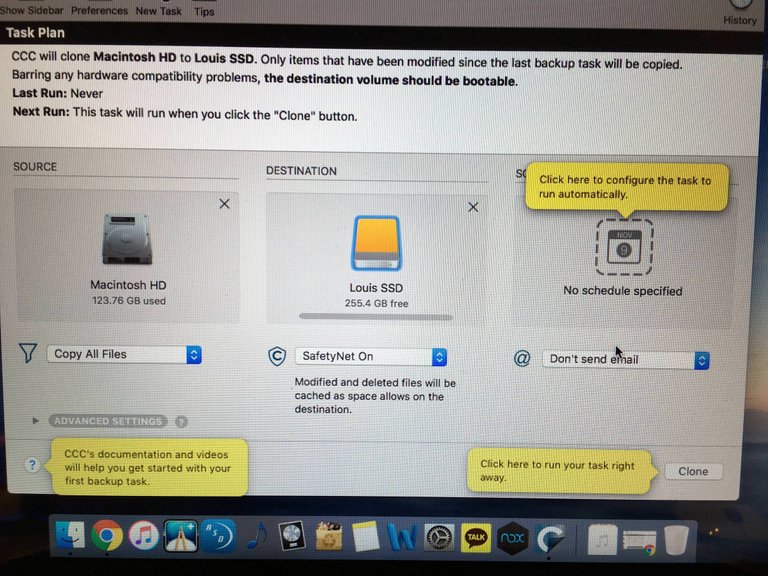
If so, please set it up as above. Set the first and second half of the old hard drive to move.
그렇다면 이제 위와 같이 설정해주세요. 첫번째는 기존에 장착중인 하드 두번째칸은 옮길 하드로 설정해주세요.
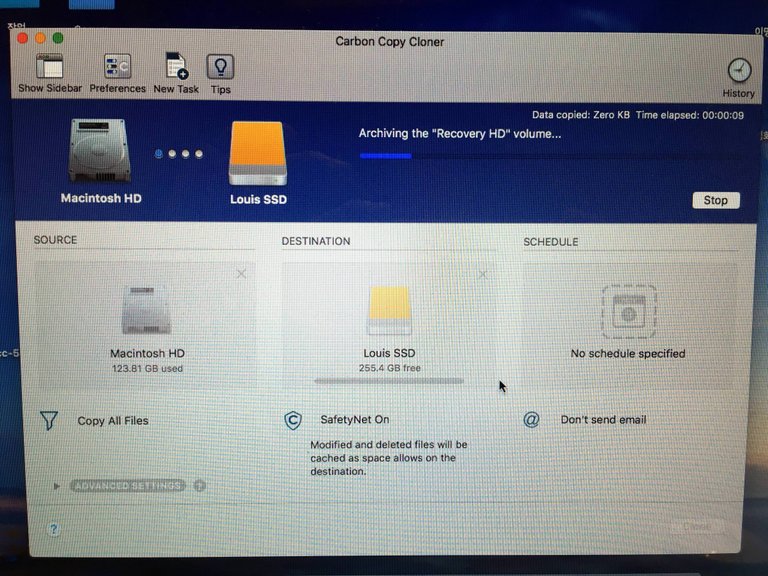
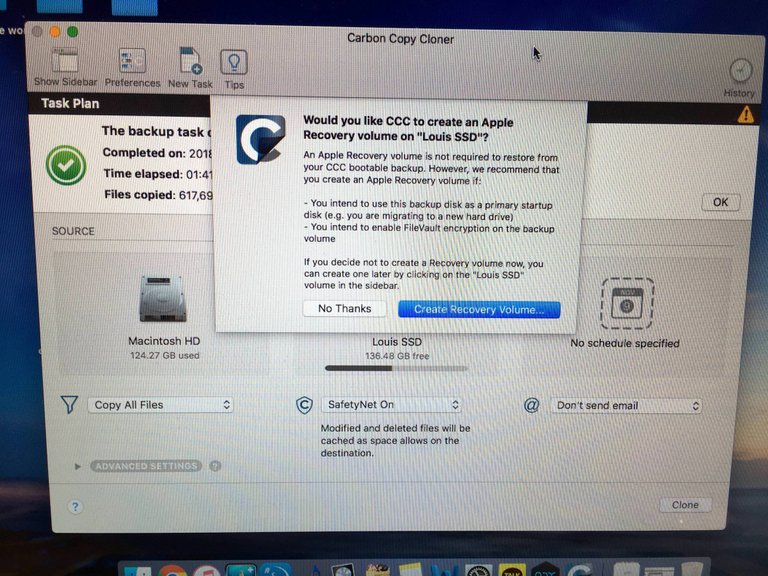
Click the Clone button to execute it. I was using 123GB and it took me about an hour and 40 minutes to copy it. When the copy is complete, the time machine and program save settings are created, but I haven't used them all.
클론 버튼을 클릭해서 실행시키면 됩니다. 저는 123GB를 사용하고있었는데 복사하는데 걸리는 시간은 1시간 40분 정도 였습니다. 그리고 복사가 완료되면 타임머신과 프로그램 세이브관련 설정이 생성되는데 전 다 사용하지않았습니다.
Now, why don't you shut down your Mac and attach the SSD and RAM? I'll post the pulse back later and link it up.
자 이제 Mac을 종료해주시고 SSD와 RAM을 장착해볼까요? 맥 뒷판을 여는건 나중에 포스팅해서 링크걸겠습니다.
When you open the back plate, first stop connecting the logic board. I apologize for the omission of the photographs because of my carelessness.
자 우선 뒷판을 열게되면 로직보드의 연결부터 해제해주세요. 제가 깜빡하고 사진을 잊어먹었네요 ㅠㅠ...
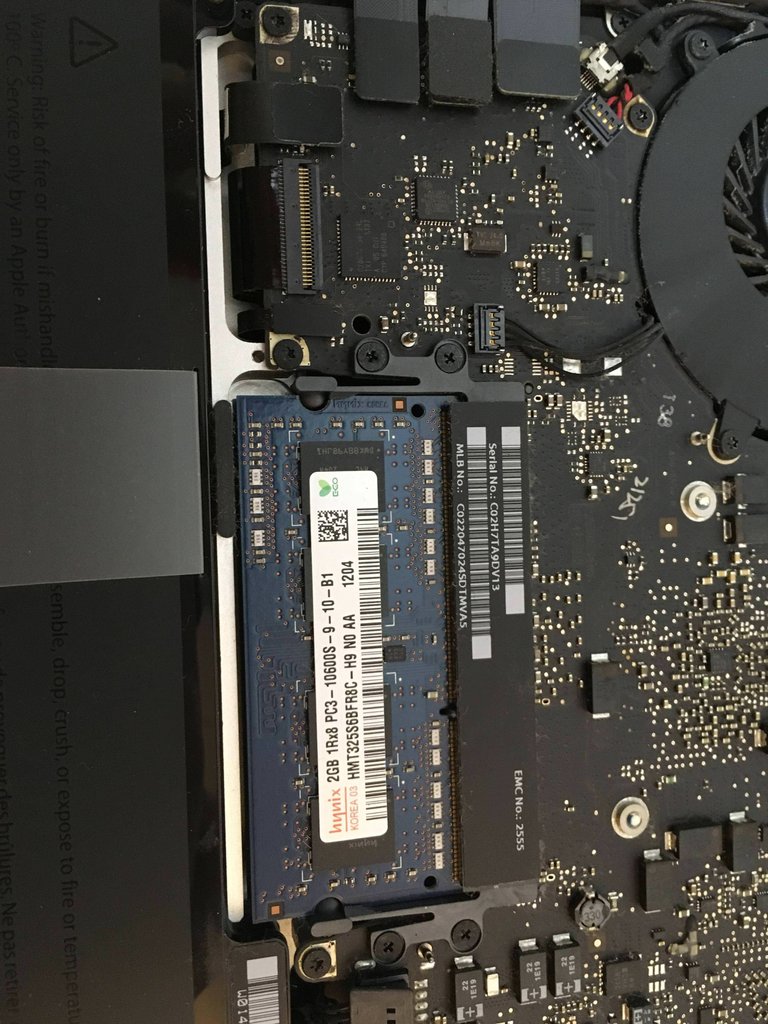
We will then add RAM. First, pull out the black sidebar next to the RAM to pop the RAM. Carefully detach it and install it with the RAM to be replaced.그 후에 램을 장착해보겠습니다. 우선 램 옆에 검은색 사이드바를 밖으로 당겨주시면 램이 툭 튀어올라옵니다. 조심스레 탈착해서 교체할 램으로 장착시켜줍시다.
We'll be finished with the lampshaking and now we'll move to hard replacement. Use a screwdriver to release the Sidebar, as shown in the picture above.
램장착을 완료하고 이젠 하드교체로 넘어가보겠습니다. 위 사진과 같이 사이드바를 드라이버를 이용해 해제해주세요.
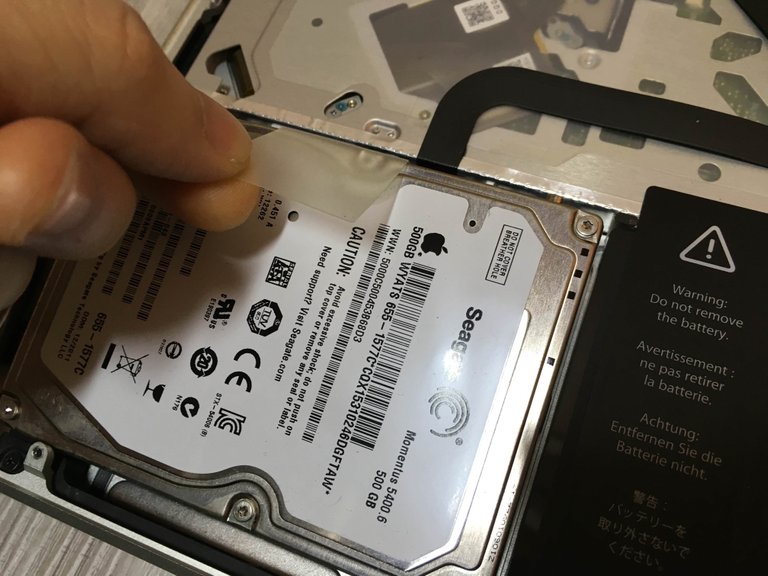
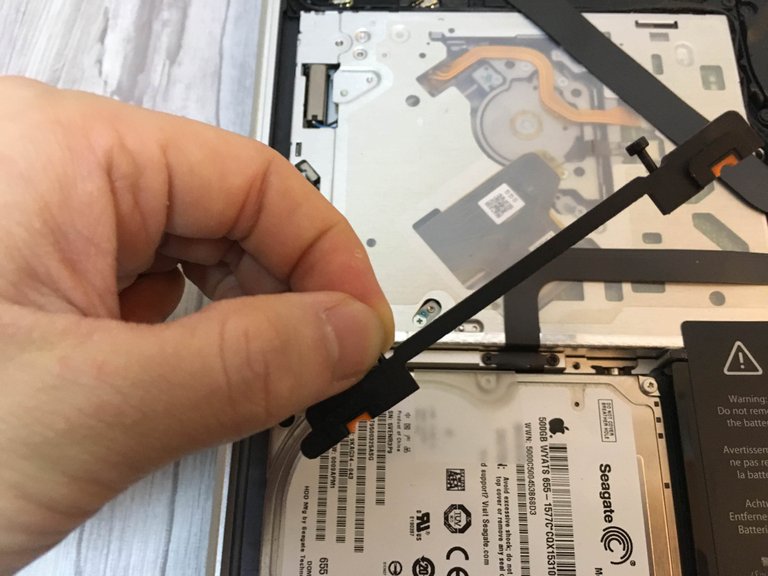
Then carefully eject the sticker from the old hard drive. Be cautious not to raise a sticker or other than a strong one, as it can cause the line to be opened.
그 후 기존의 하드에 부착된 스티커를 이용해 조심스럽게 꺼냅니다. 여기서 주의할것은 스티커등이 아니라 연결된 라인을 강하게 들어올리면 라인이 단선될 위험이 있으니 가급적 스티커를 이용해주세요.
Then release the four screws from the hard drive and mount them on the SSD to be replaced. I can see the RAM being replaced at the back.
그 후에 해체한 하드에서 4개의 스크류를 해제해 교체할 SSD에 장착해 줍니다. 뒤에 교체된 램이 보이네
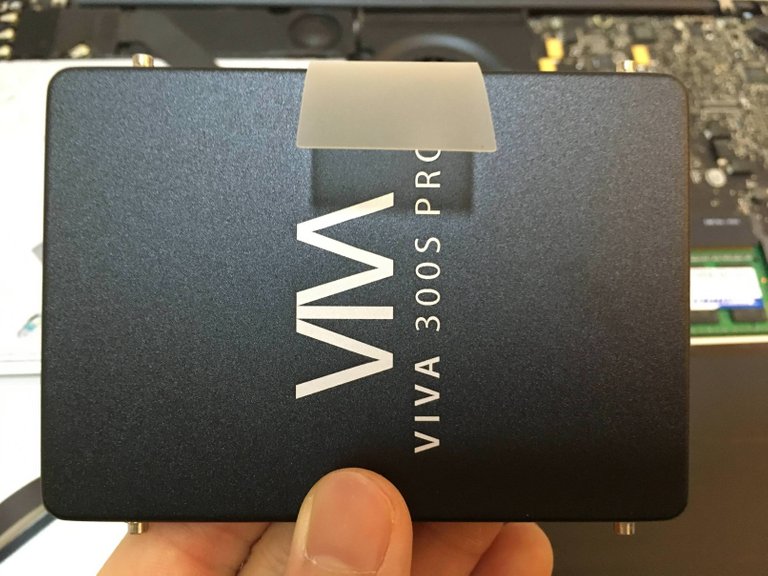
Here's a tip : Take the sticker off your old hard drive and paste it onto the SSD you are replacing. Then, you can replace it later in this way.
여기서 팁을 드리자면 기존 하드에 부착된 스티커를 떼어내어 교체할 SSD에 붙여줍니다. 그럼 추후에 교체등을 할 때에 지금과 같은 방법으로 교체할수있습니다.
Now, let's reassemble in reverse order, close the back panel, and try to boot up. I'm nervous. :)
자 이제 역순으로 다시 조립하고 뒷판을 닫은 뒤 부팅을 시도합시다. 떨리네요 오랫동안 써왔는데 어떻게 바뀔지 :)
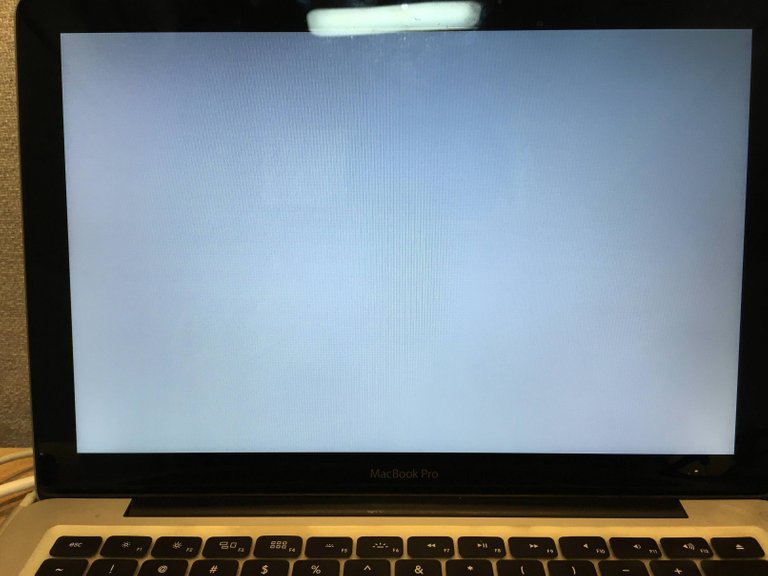

Wait a moment even if boot is slow at first. Immediately you'll see the usual apple logo on the screen.
처음엔 부팅이 느리더라도 잠시 기다려줍니다. 그러면 곧이어 평소와같은 사과로고가 화면에 보일 겁니다.
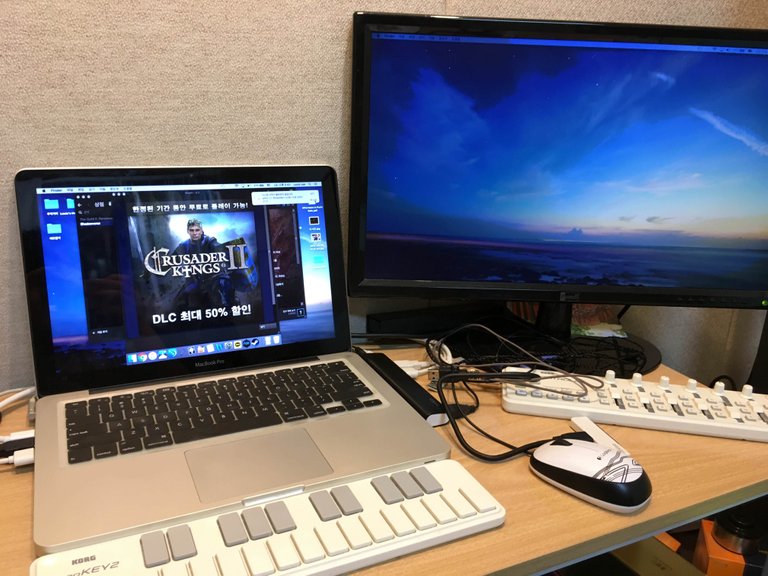
Boot completed without any problems. I think it's good to see that the replacement doesn't work very well.
문제없이 부팅이 완료되었습니다. 교체한 게 티가 잘 안나는걸보니 잘 된것같군요. 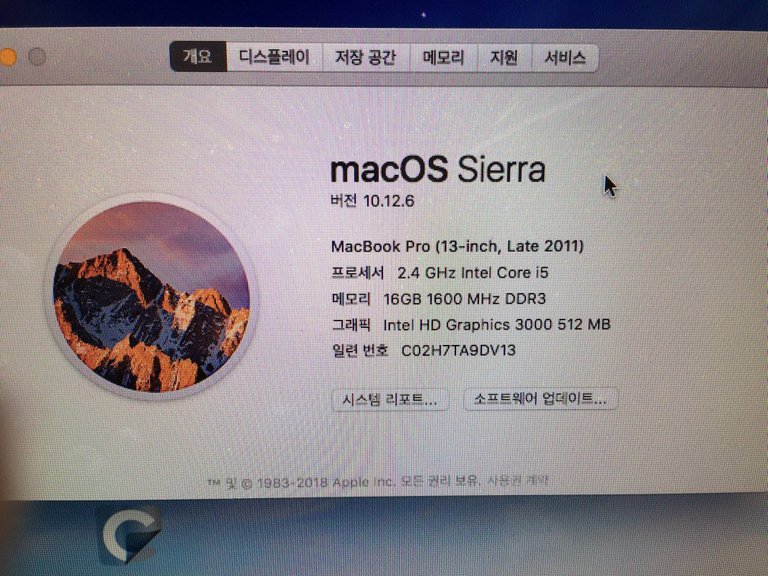
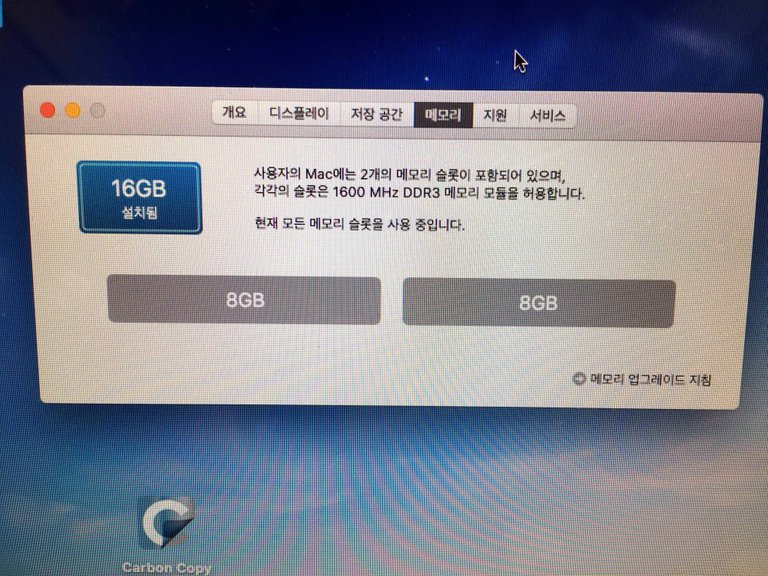
First, RAM is well recognized.
우선 램은 잘 인식이 되었습니다.
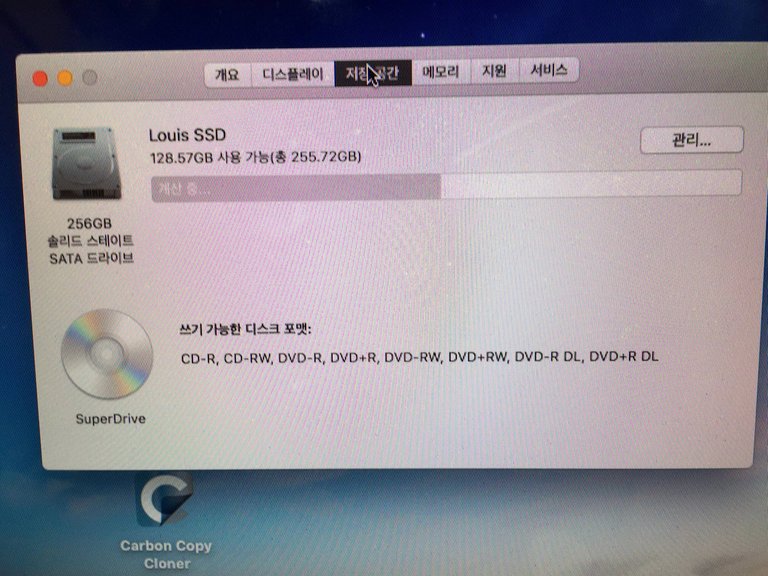
SSD are fine, too.
SSD도 역시나 문제가 없네요
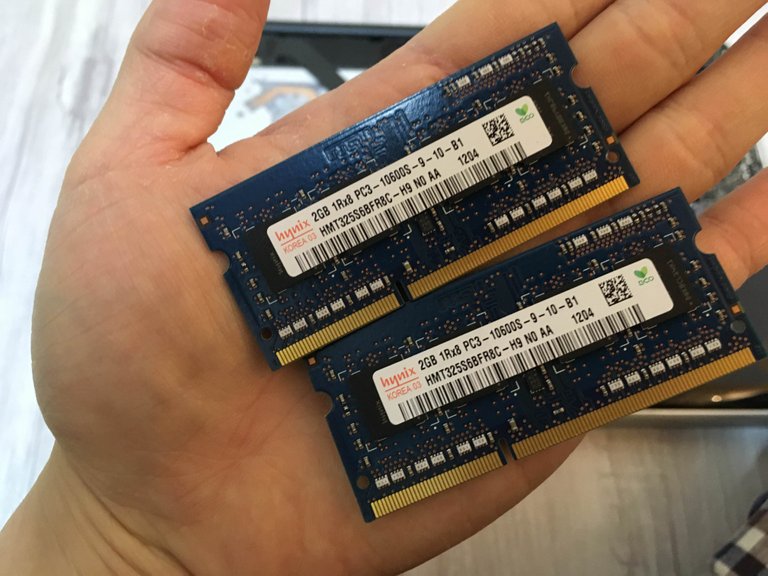
Thanks for the long-suffering RAM! and bye find new mater for use in ebay...
오랫동안 잘 견뎌왔던 램들아 고마워! 이제 잘가렴 새로운 주인을 찾아 중고나로...
If you leave a brief review, you can not learn from the speed point of view. It's a little bit like your old desktop. This has proven my model is still available.
간단한 후기를 남겨보자면 속도측면에서는 비교과 안됩니다. 기존에 사용하던 데스크탑과도 어느정도는 견줄 작업능력이네요. 이로서 아직까지 제 모델이 사용가능한 현역임을 증명했습니다.
At the end of one's writing
It is my first post on the steam and I post a post on the blog after a long time. Although I feel heavy and lacking in contents after I write the first time, I will visit you more often as I continuously post hard. See you later ~
글을 마치며
스팀에 첫 포스팅이고 블로그에 정말 오랫만에 글을 포스팅해봅니다. 첫 글 치고 무거운 느낌도 있고 내용도 부실한 면도 있지만 앞으로 꾸준히 열심히 포스팅해서 자주 찾아뵙겠습니다. 다음에 봐요~
Congratulations @guitaristlouis! You have completed some achievement on Steemit and have been rewarded with new badge(s) :
Click on any badge to view your own Board of Honor on SteemitBoard.
For more information about SteemitBoard, click here
If you no longer want to receive notifications, reply to this comment with the word
STOPDo not miss the last announcement from @steemitboard!
보팅하고 갑니다 ㅋㅋㅋ 팔로하겠습니다 ㅎㅎㅎ
감사합니다 자주 뵙도록 노력할게요 ^^
반갑습니다! @환영해
감사합니다 자주 포스팅 할게요 ㅎㅎ
@guitaristlouis님 스팀잇에 오신것을 환영합니다!
스팀잇 정착을 도와드리기 위하여 @bramd님의 부탁을 받고 찾아온 @easysteemit 입니다. 힘찬 출발을 응원하는 의미로 서포터 보팅을 해드립니다. 그리고 더 많은 분들에게 소개해 드리기 위해서 @krguidedog을 통해 @홍보해 드립니다.
[이지스팀잇]
@easysteemit은 처음에는 낮설고 복잡해 보일수 있는 스팀잇을 더욱 쉽게 접할수 있도록 만들어진 스팀잇 안내서입니다. @easysteemit 을 팔로우하시고 필요한 것들을 하나하나 익혀보세요! 스팀잇 활동이 더욱 더 즐거워질거에요 :)
도움에 감사드립니다 앞으로 좋은 포스팅으로 자주 찾아뵐수있도록 노력할게요 ^^
감사합니다 아직 낯설지만 조금씩 적응해가면서 도움되는 글 많이 올리도록 하겠습니다.