This is a job very nearly completed that I just been doing the last week, adding it to my portfolio of work I am doing in Mexico.
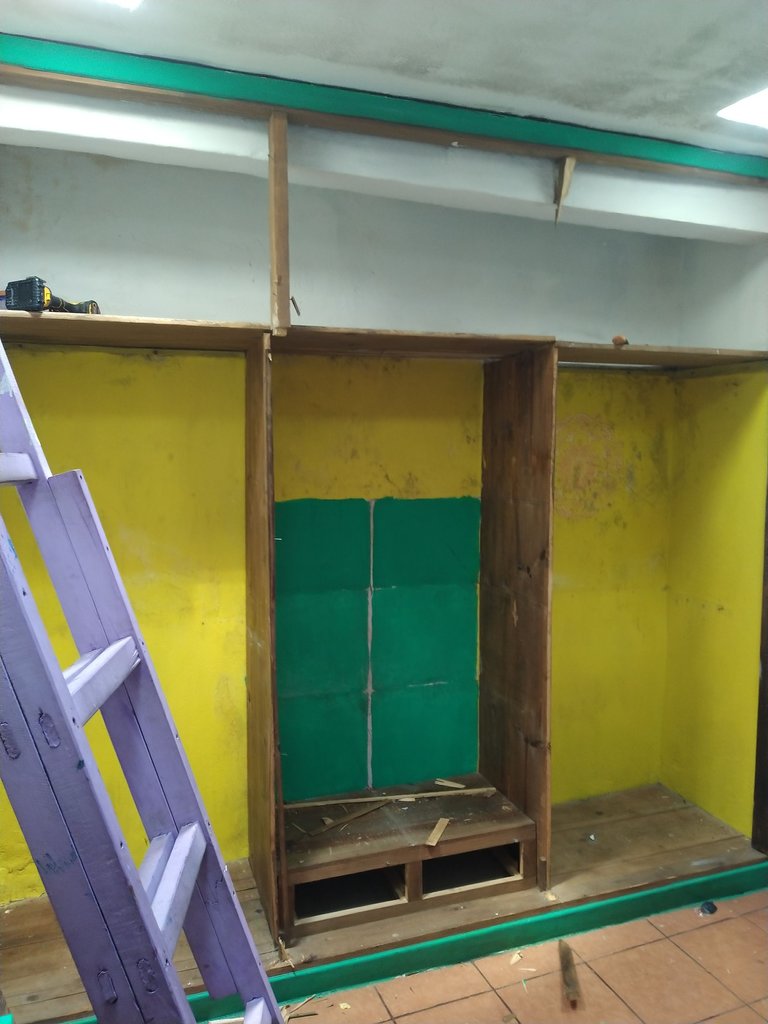
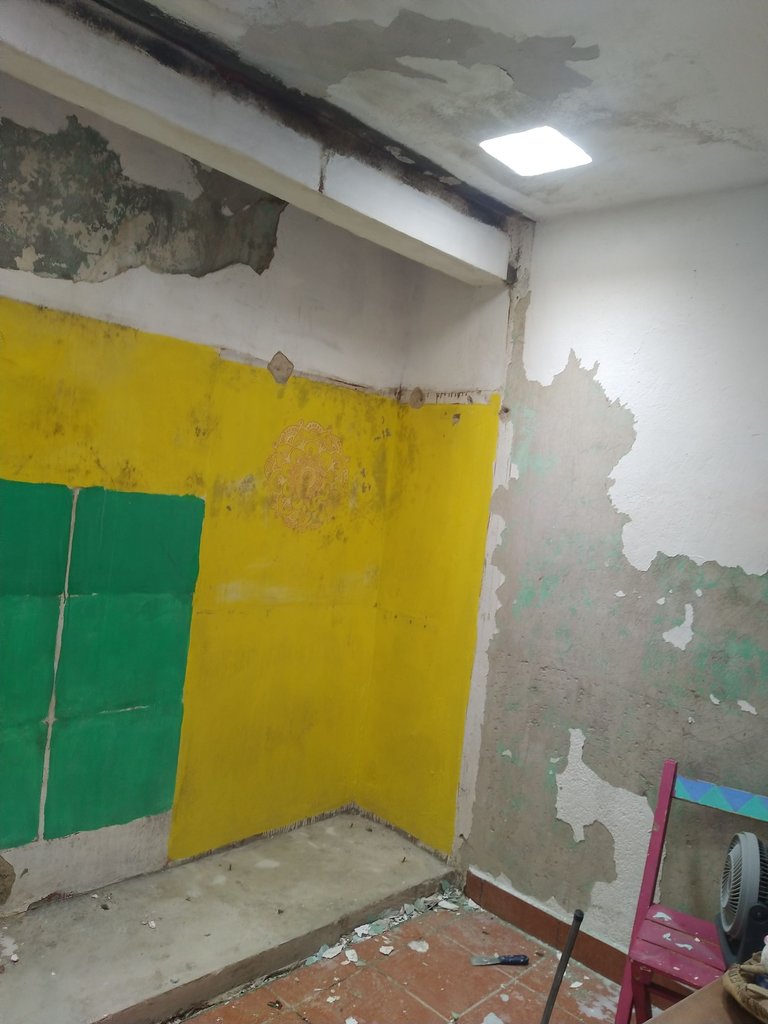
Its at La Isla hostal in Sancris and its the second room doing the same thing, taking out the built in furniture and decorating the room.
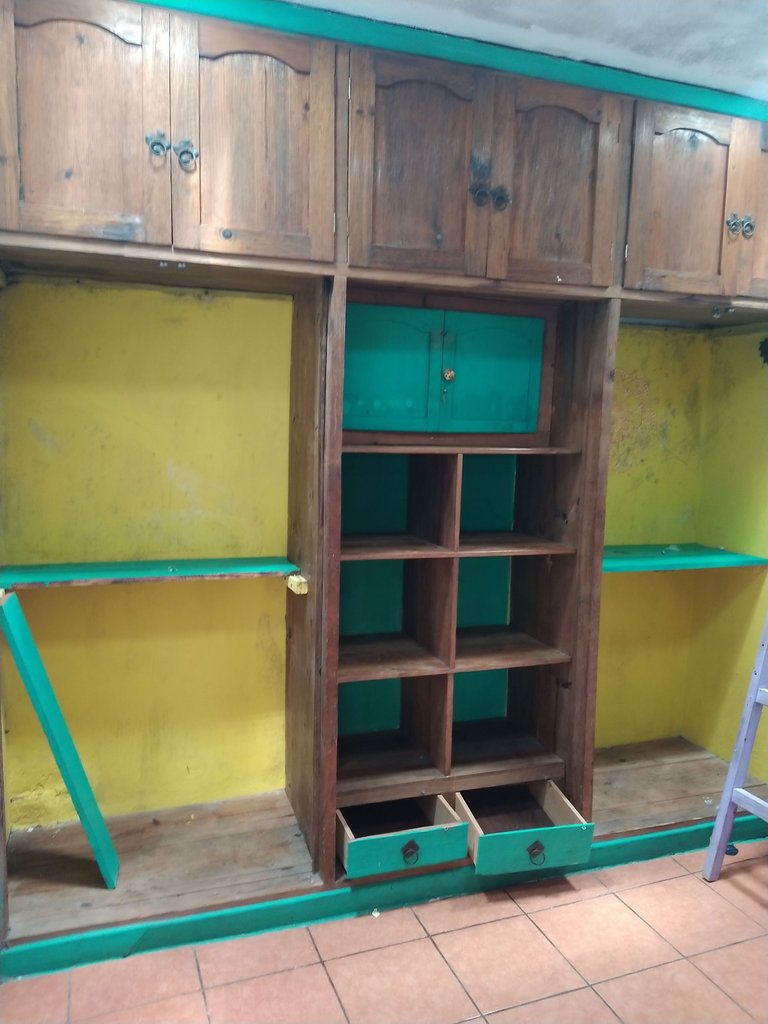
Making the walls good
I haven't yet been in a room that had some kind of ventilation, heating or insulation here in chiapas, or anywhere come to think of it apart from the odd bathroom.
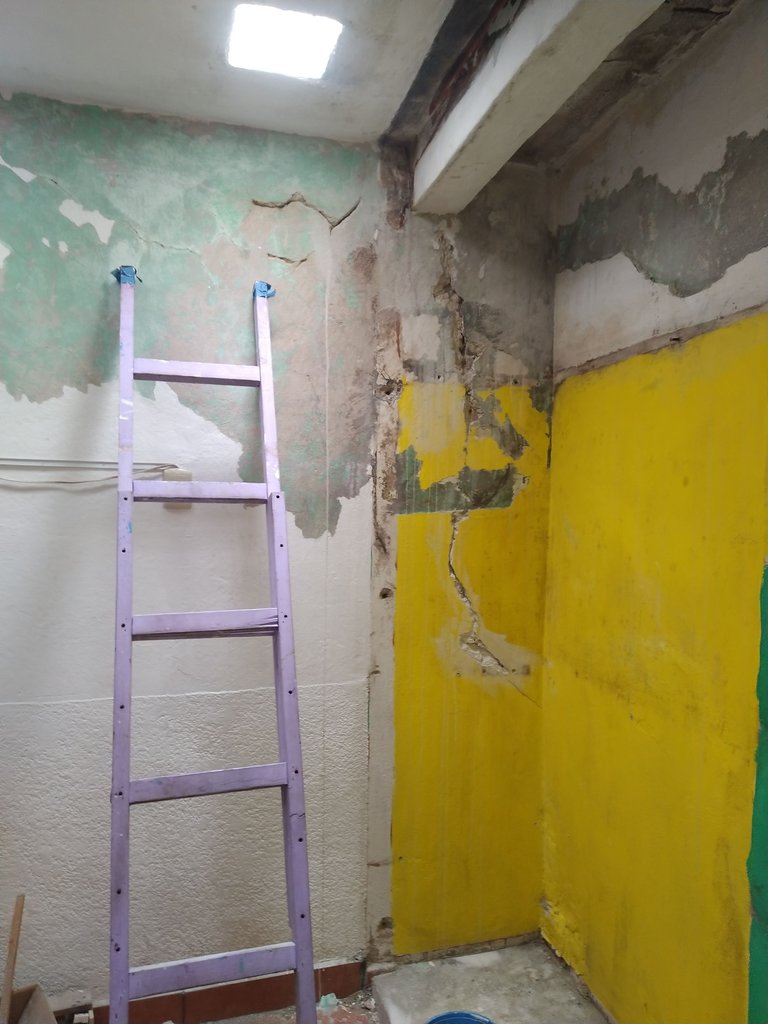
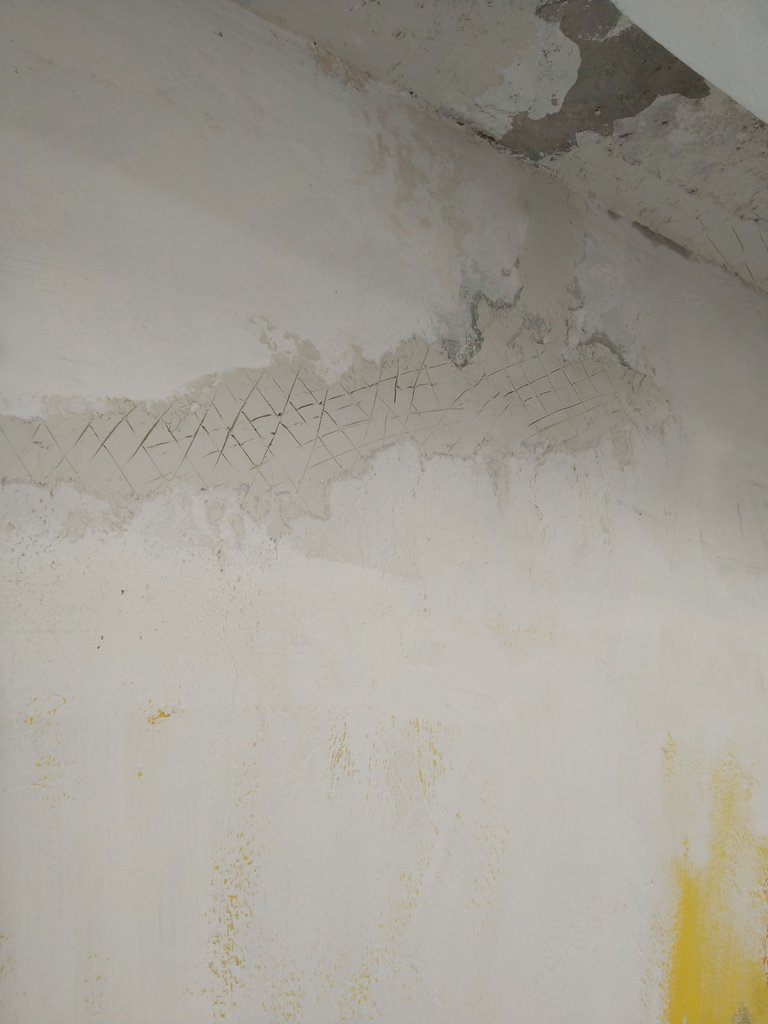
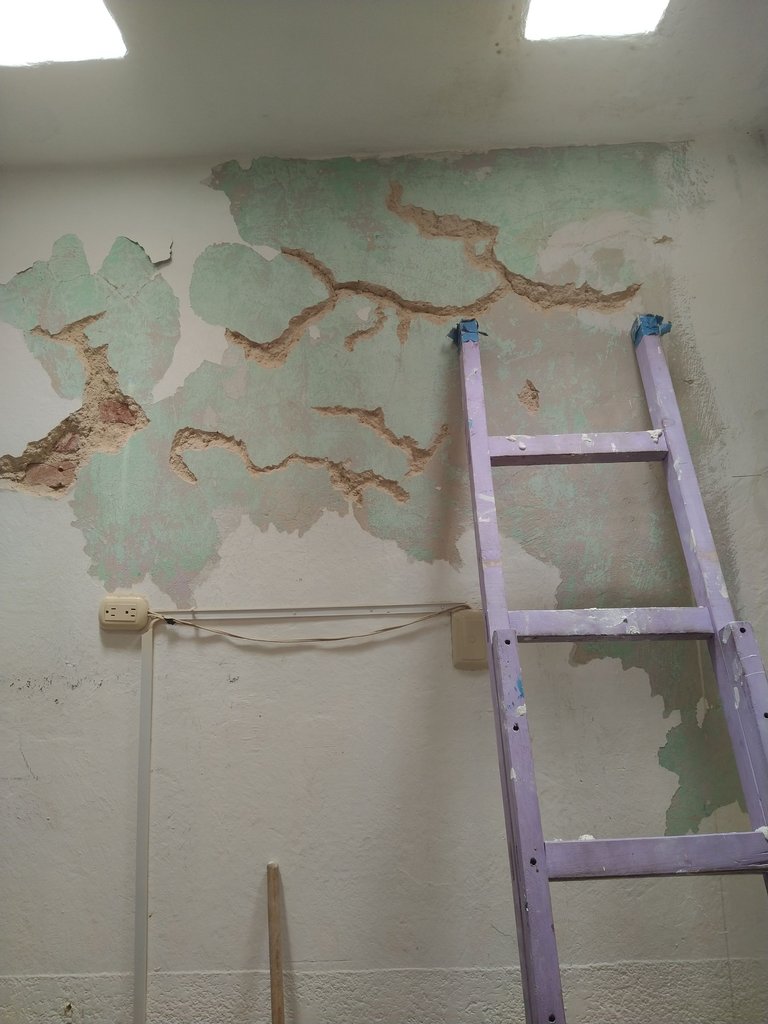
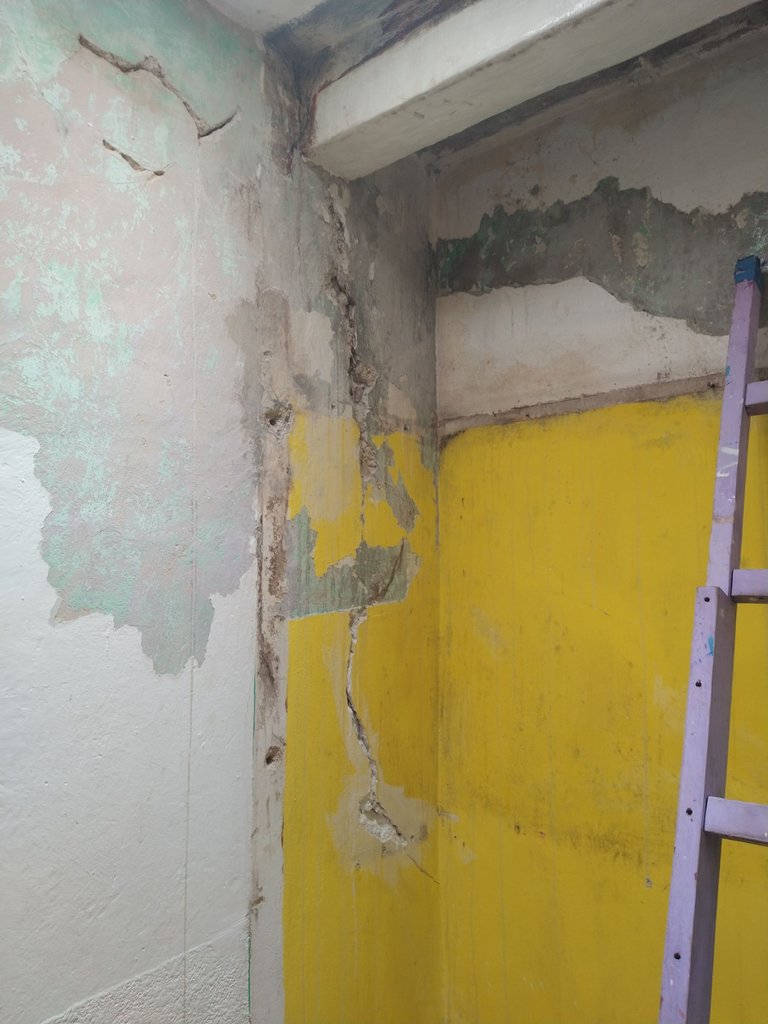 (the wall was not like this, the cracks have been dug out ready for sealing and filling)
Humidity stays in the wood and at a hostel theres a lot of people breathing, and this room doesn't even have a window to outside or a vent. I always try to fox the ventilation problem but most people dont see the need, even foreigners from places where it is standard to have ventilation!
Having a window, definitely doesn't count as having ventilation, unless there is one of those microvents built into the window, or its leaking air.
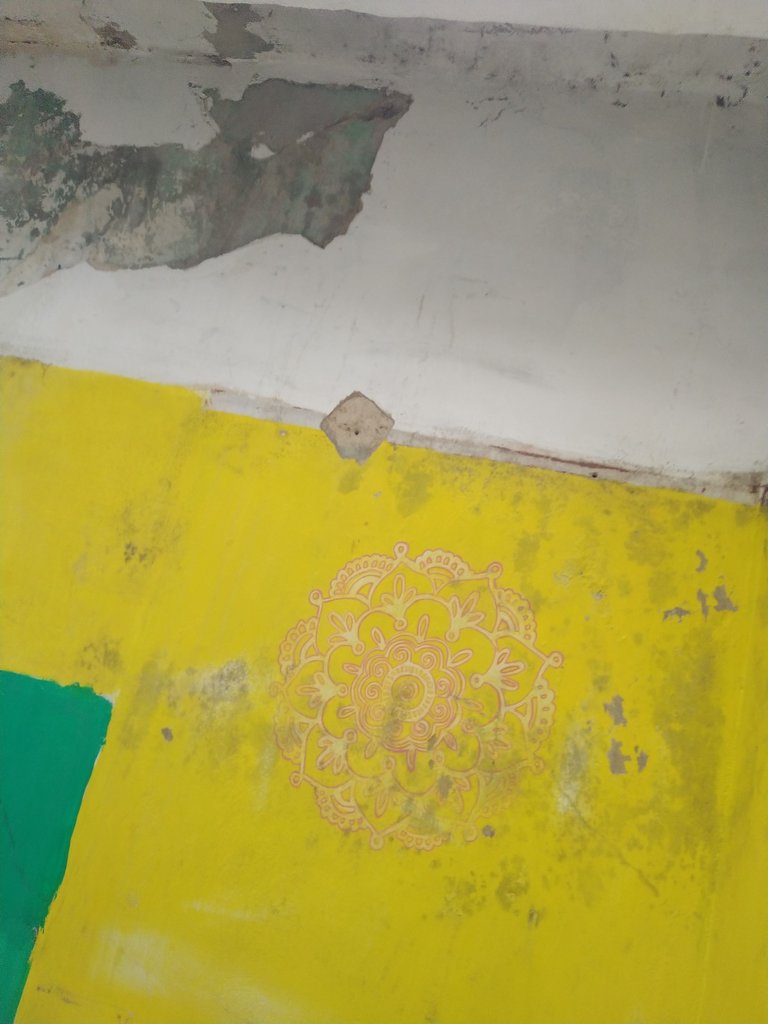
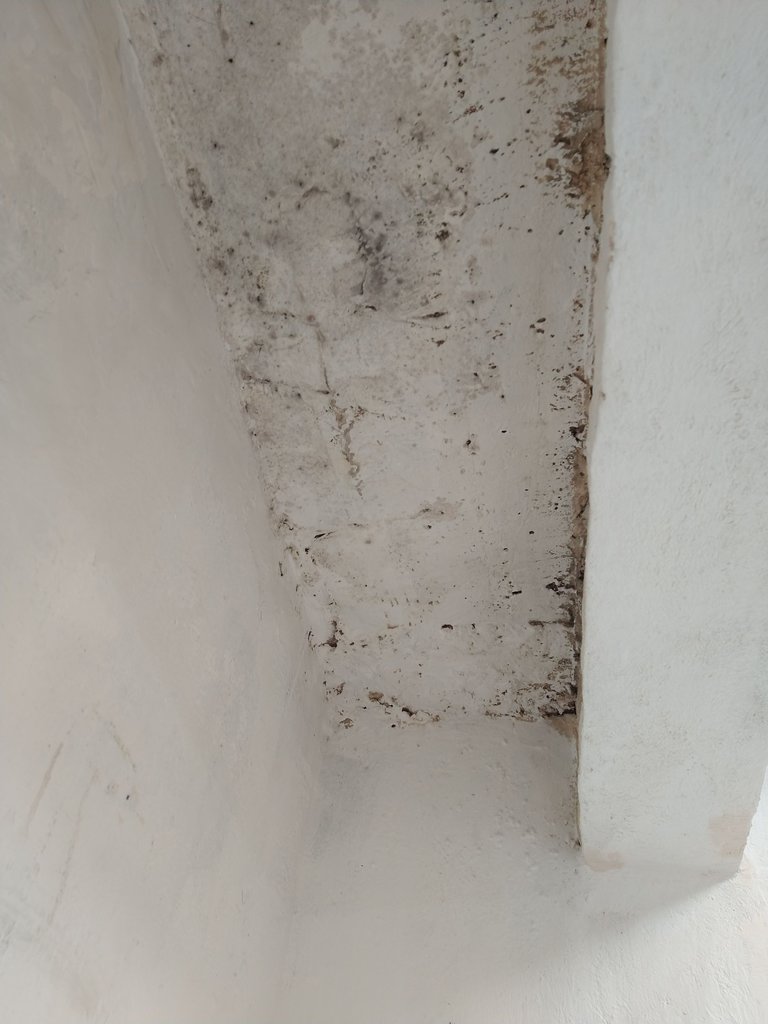
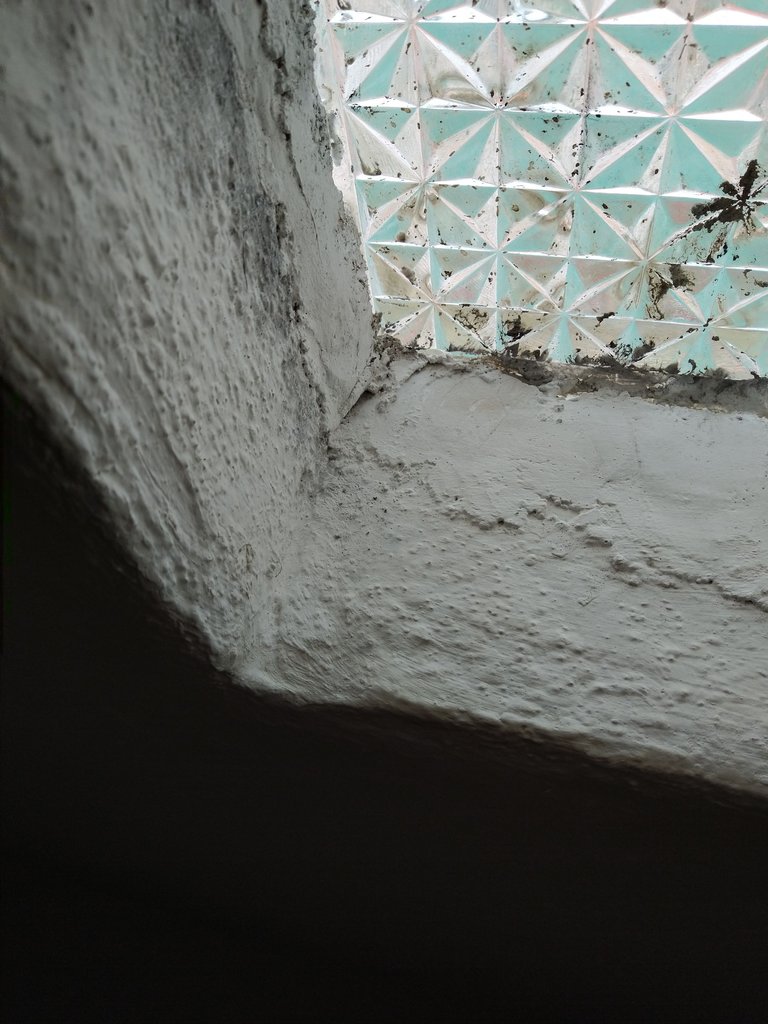
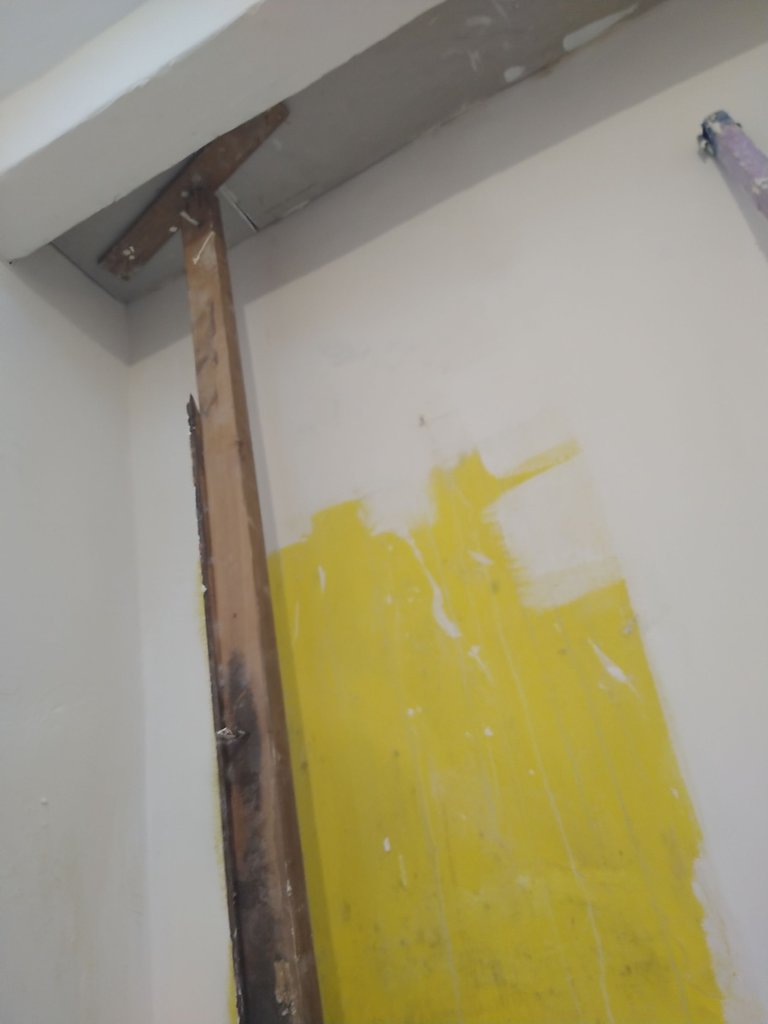
The black mold, you see it?
It was worse up high, hot air rises and so does the moisture, having no ventilation is very bad for your health and not to mention, the building itself start to degrade.
Concrete is a sponge for water and with no membrane at the start of the build or anywhere, rising damp is always the problem as well as humidity created by humans. Can't win really!

This is PVA glue and water at a 1 to 5 mix. Normally it would be considered as a light moisture bartier, but here its having no effect on that due to the constant moisture held in the walls. It also let's other adhesives stick to walls and ceilings by creating a skin to stick to.
This gets put everywhere once the walls are ready for the first fill, 2 coats on bad walls like these.
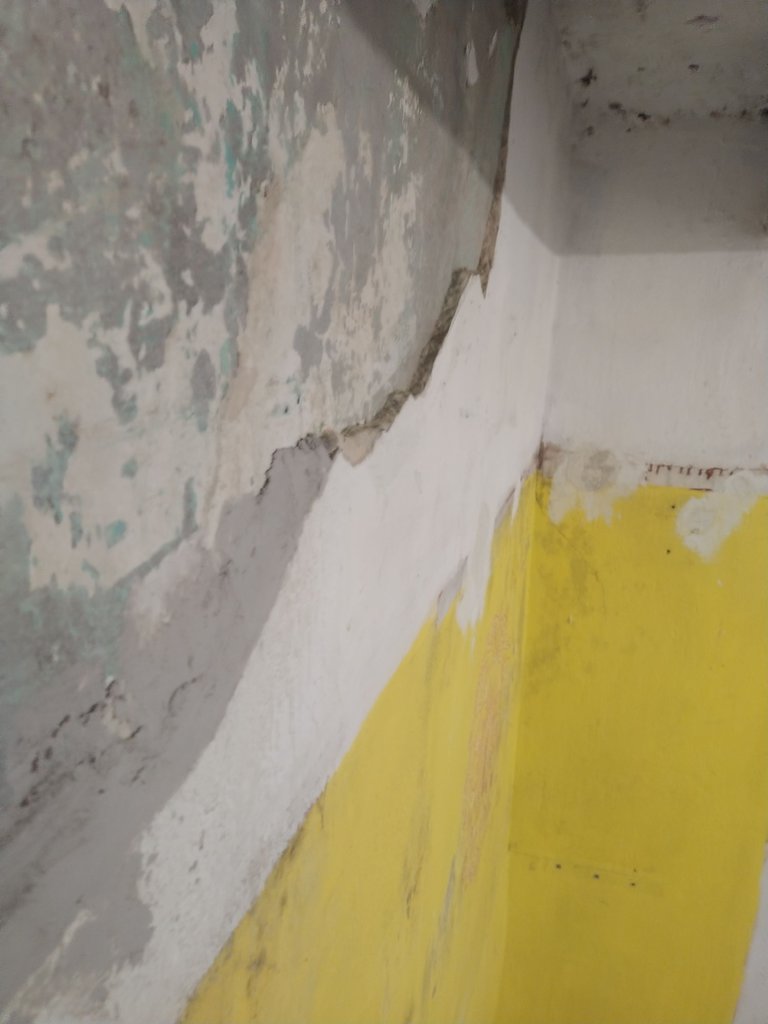
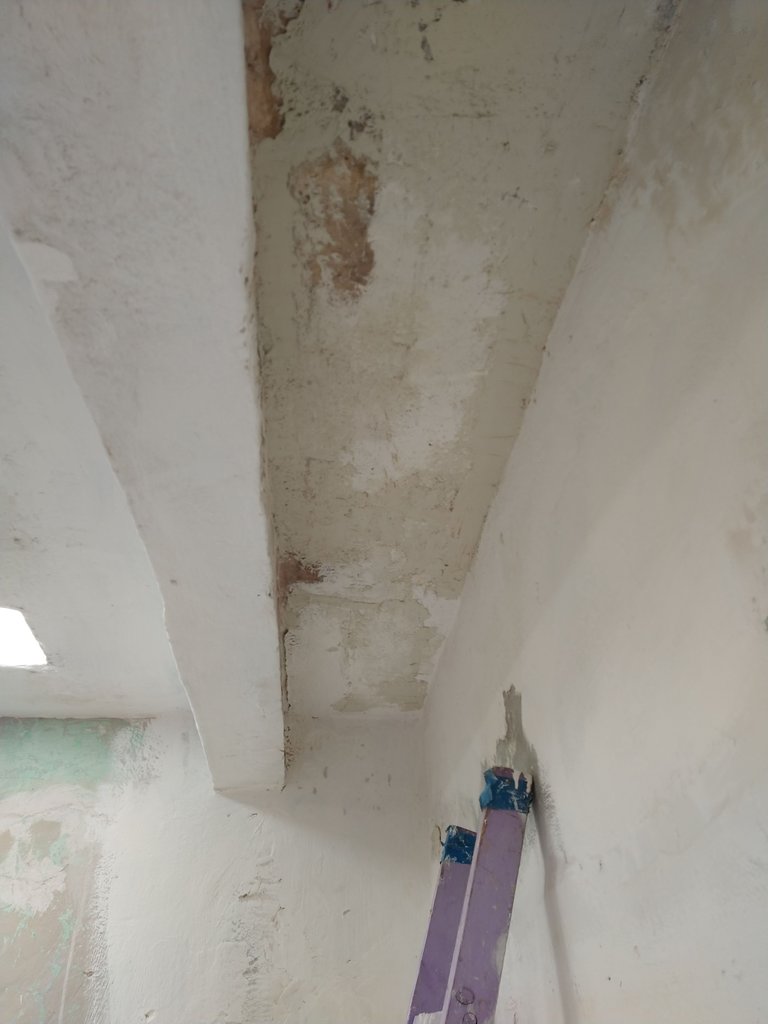
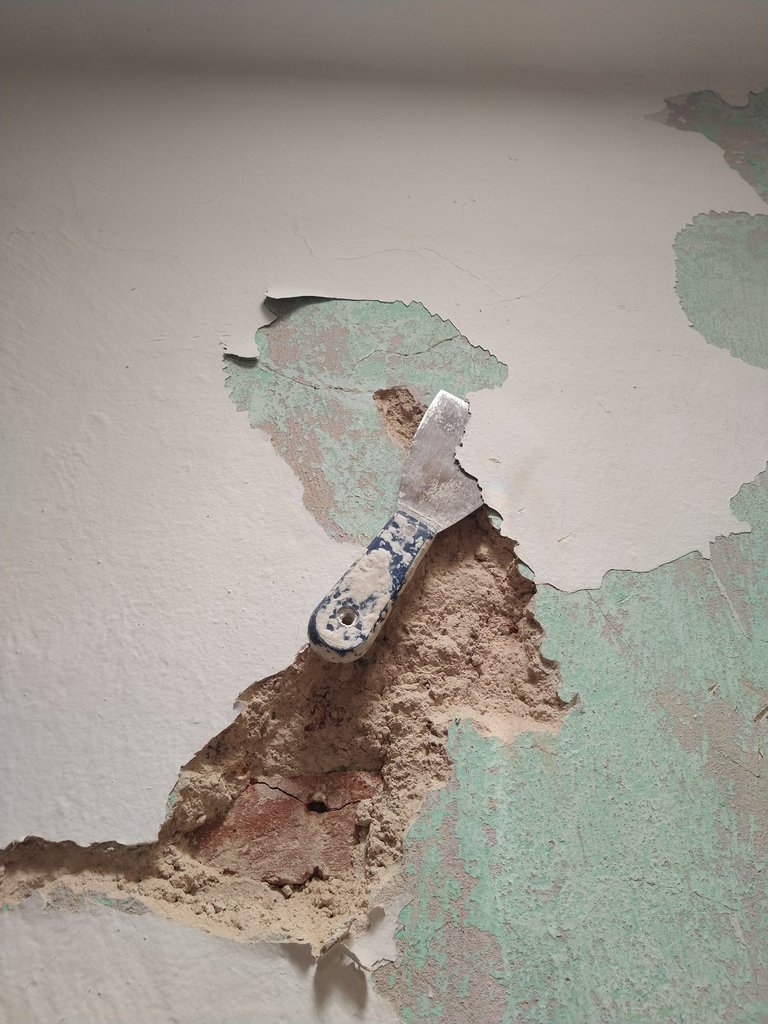
 (old paint and loose plaster)
I use 3 different types of filler here, Yeso - which sets before you can mix it and get it out of the bucket, and is to be honest, totally useless
"Cement"- its lasting a tiny tiny bit longer than Yeso before going hard, and is definitely not cement. I think it might be like "hard wall" as called in England.
And finally, PanelRey Filler like "easyfill" finishing filler easy to sand. Without this it would be impossible, I tried already before I knew about it.
Once the selant had dried, I started to fill.
One part was quite thick in what had to be removed and what could stay, and the client asked if we needed a lot more Cement/Yeso and patch it with plaster.
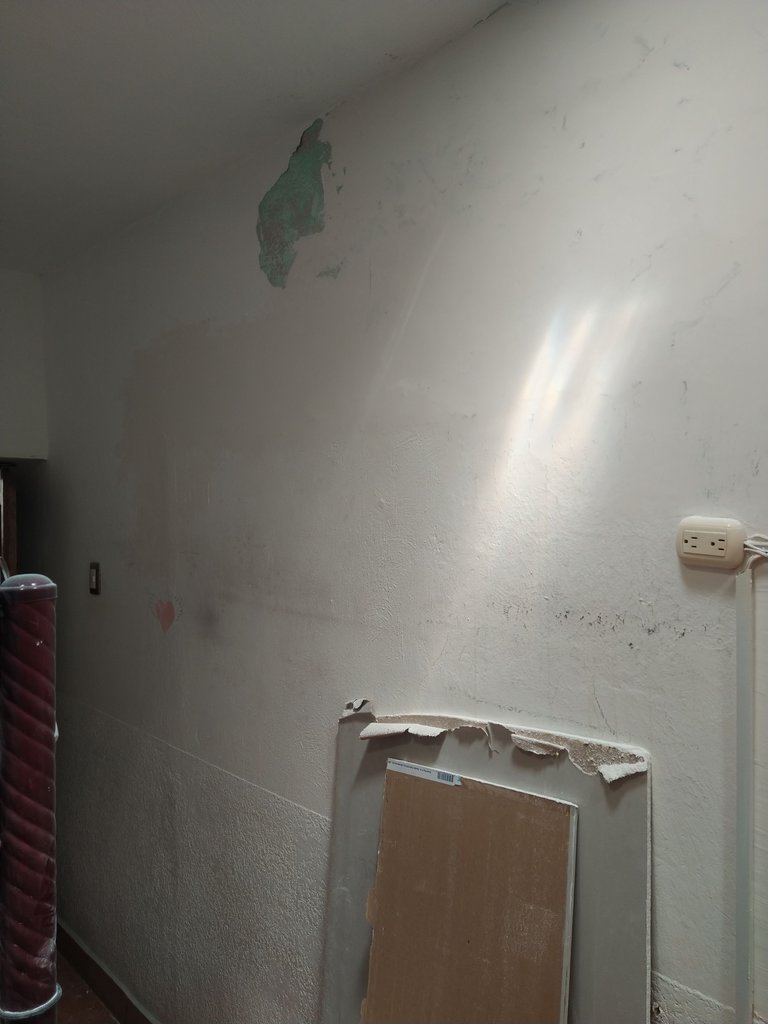
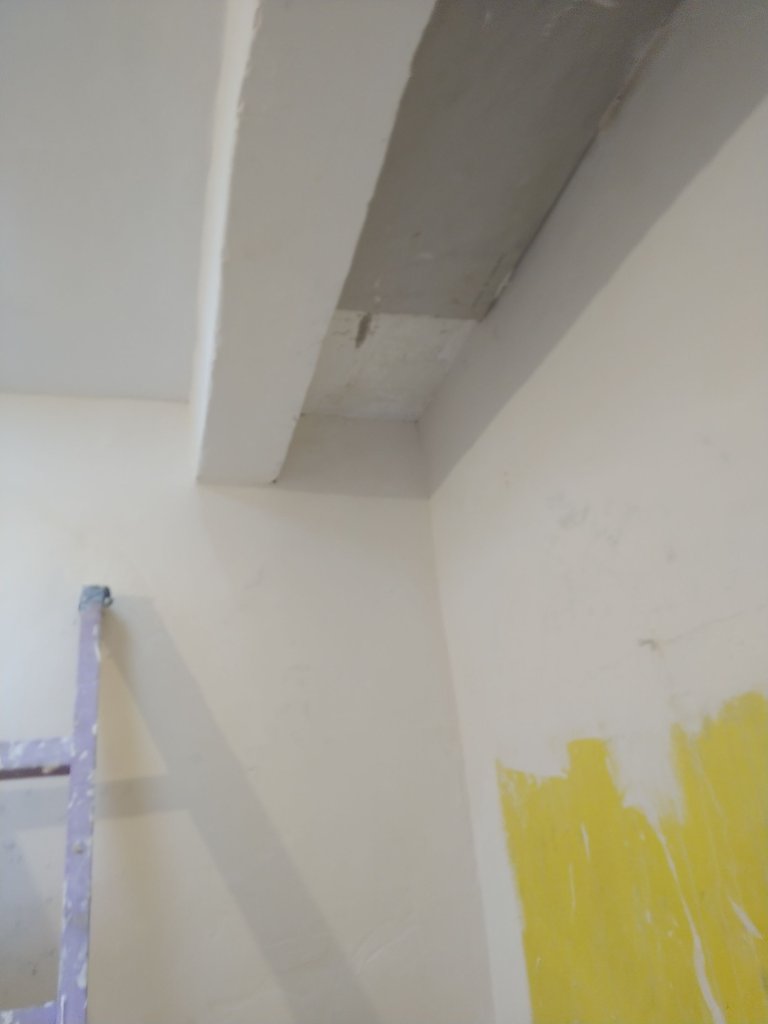
In this photo, I had already started to do something different which would save time and materials and not effect the final result. "fading out" is when you want to smooth out two different level into one so its not visible to the eye.
Starting with the super fast drying Yeso swearing never to use it again, I start the slope part all the way along and let it dry.
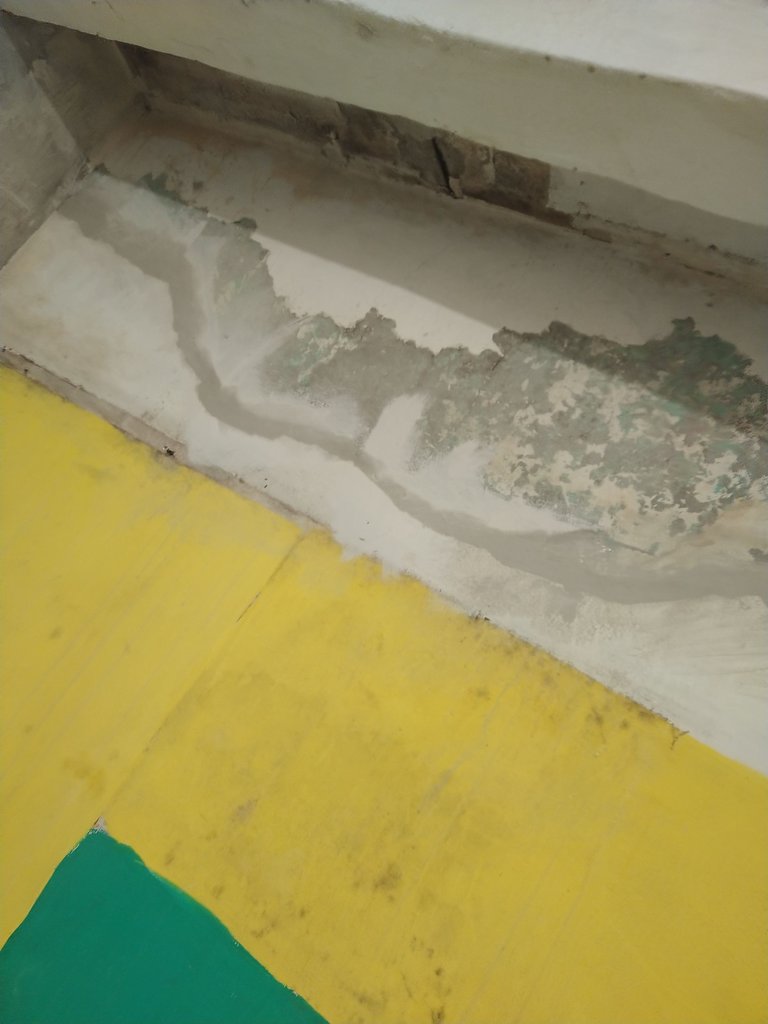
Then I use the finishing filler for another layer,a and "key" it, scraping a mesh pattern into it, ready for the next layer to stock to it.
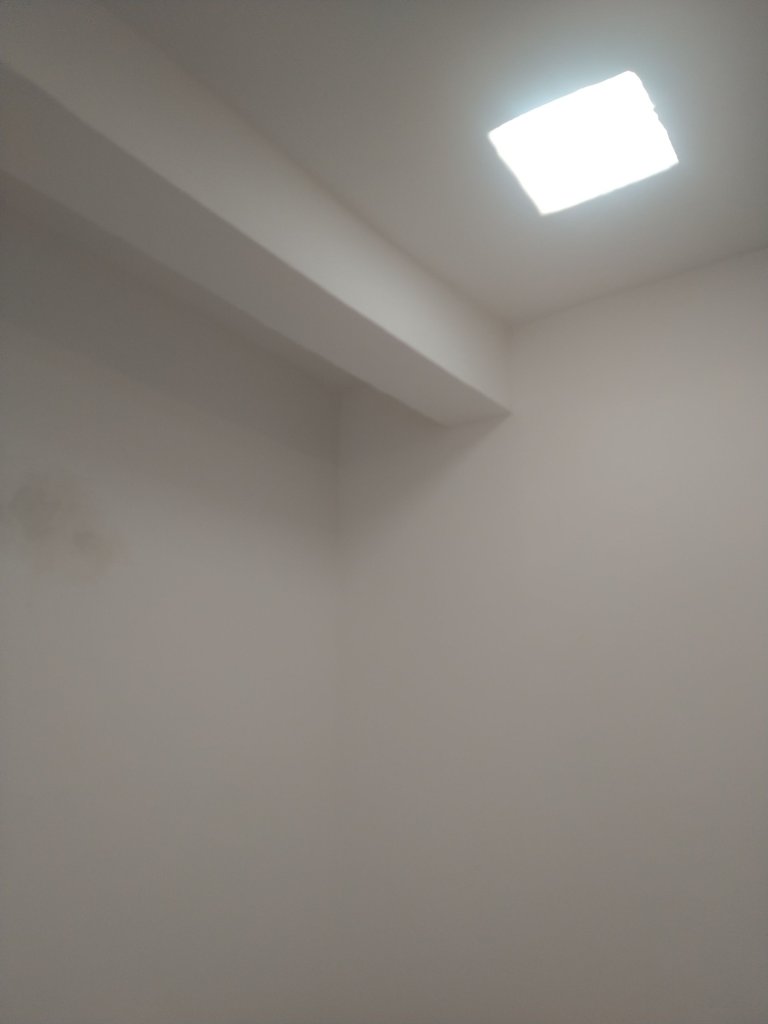
You can't see it any more, I was above the ladder..
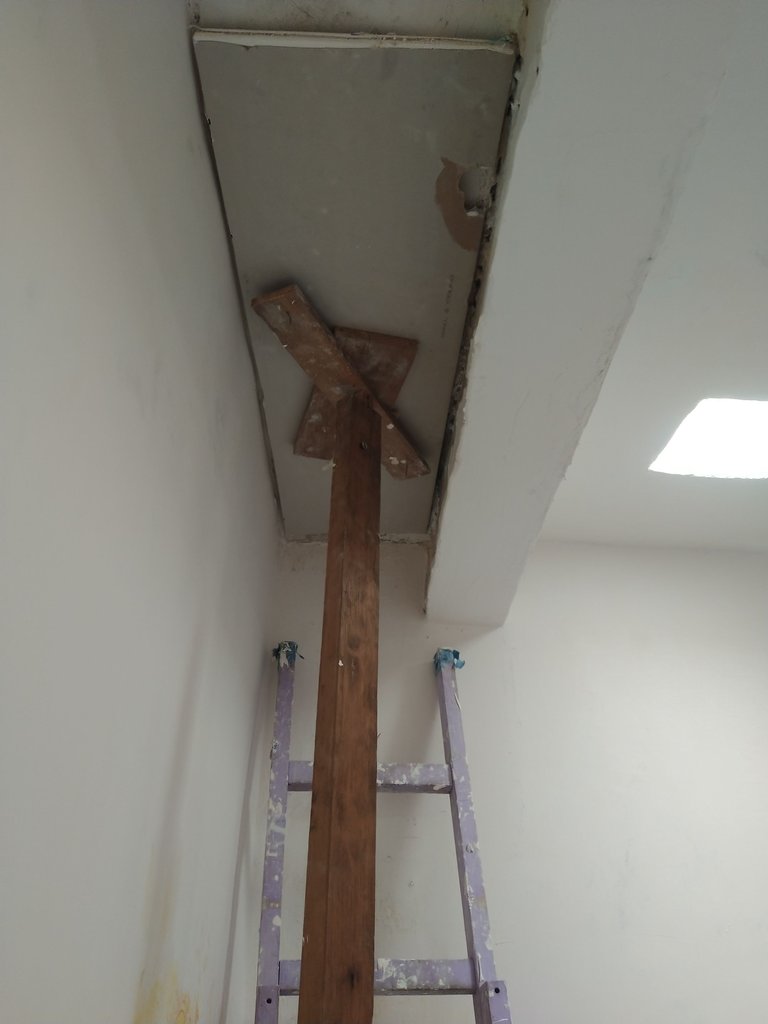
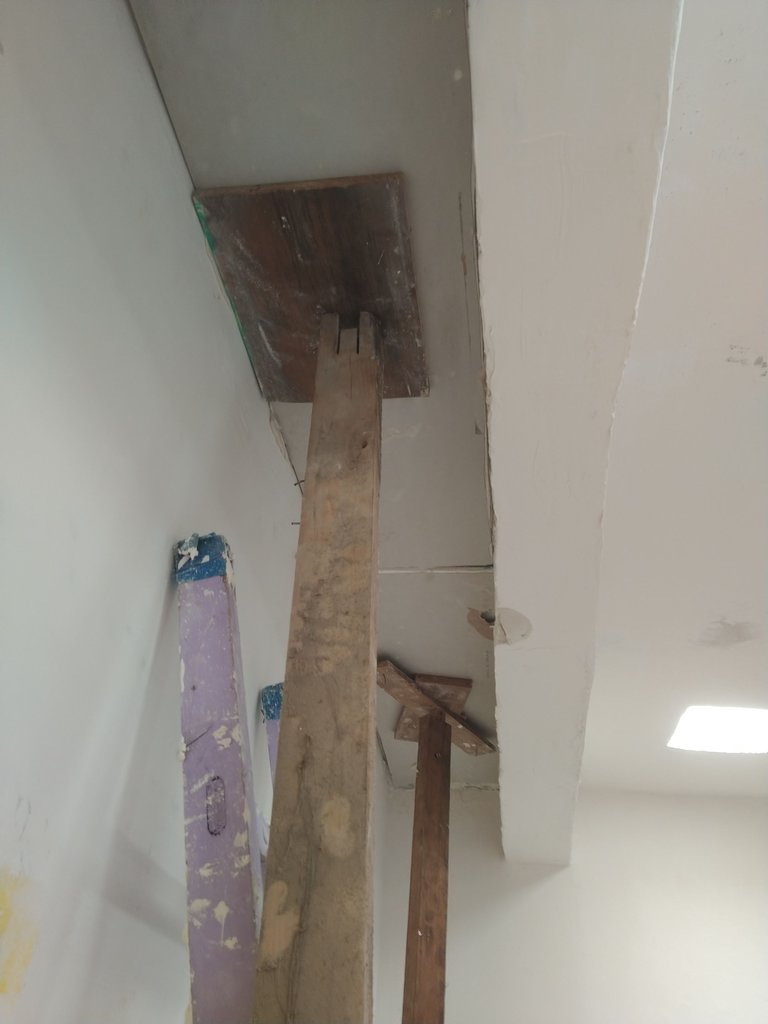
Normally always start on the ceiling!
True true, the part you see in the above photo behind the beam was so bad that I had already decided to put plasterboard there. The client didn't want the ceiling filled or sanded, but there were these skylights that needed doing and I had already started the ceiling..
Back to the walls
"Chasing out" cracks where anything that is loose comes off, you can hit it with the scraper and if it doesn't lift off the wall, then it can stay.
Some free plasterboard, enough to do what was needed.
This was 12mm thick, usually I would use 9mm for ceilings as its lighter, but here it didn't matter as it would be stuck on with "dot and dab"
 ready to measure and cut

First piece
2nd piece
This is Dot and Dab
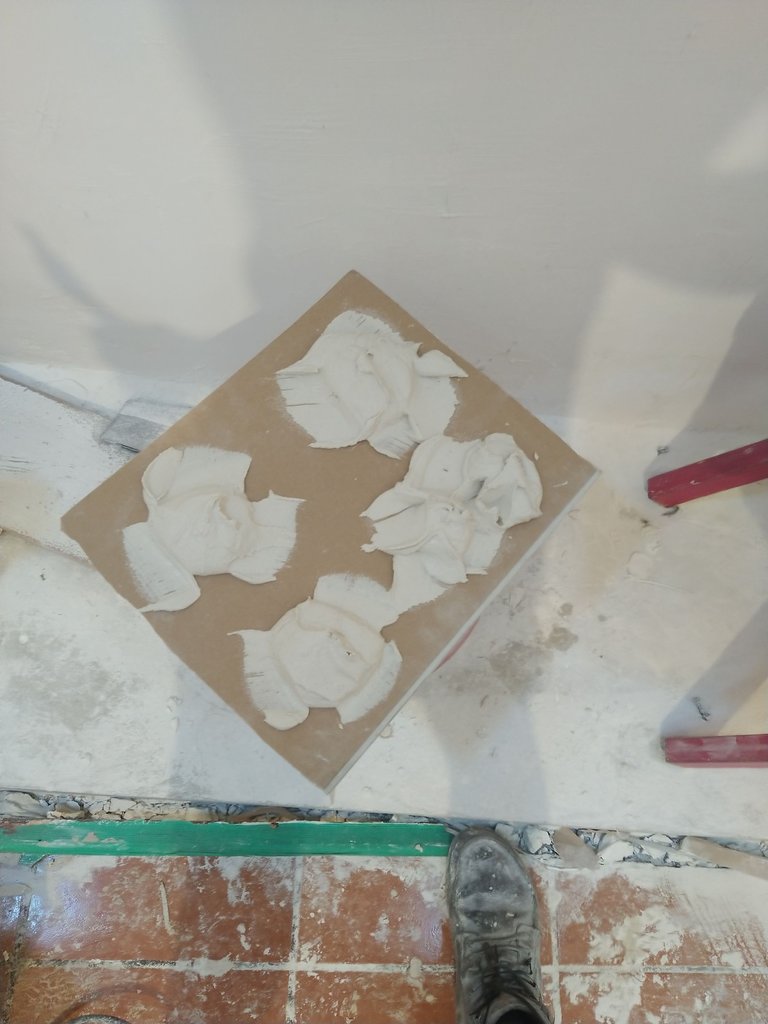
how it looks finished

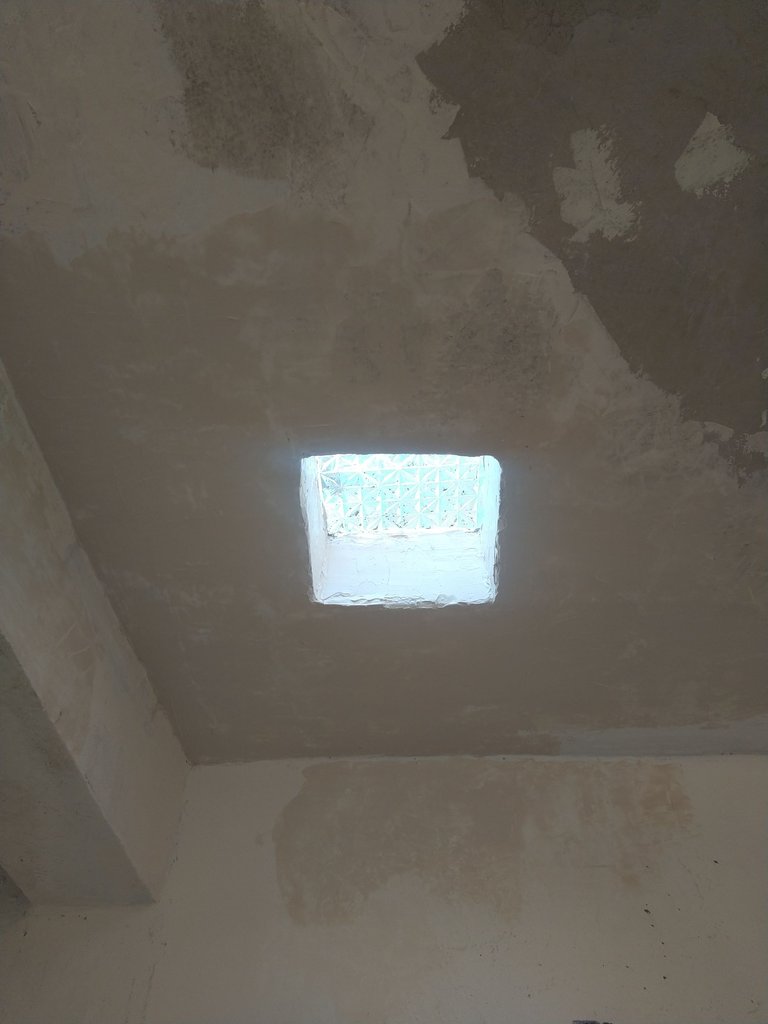
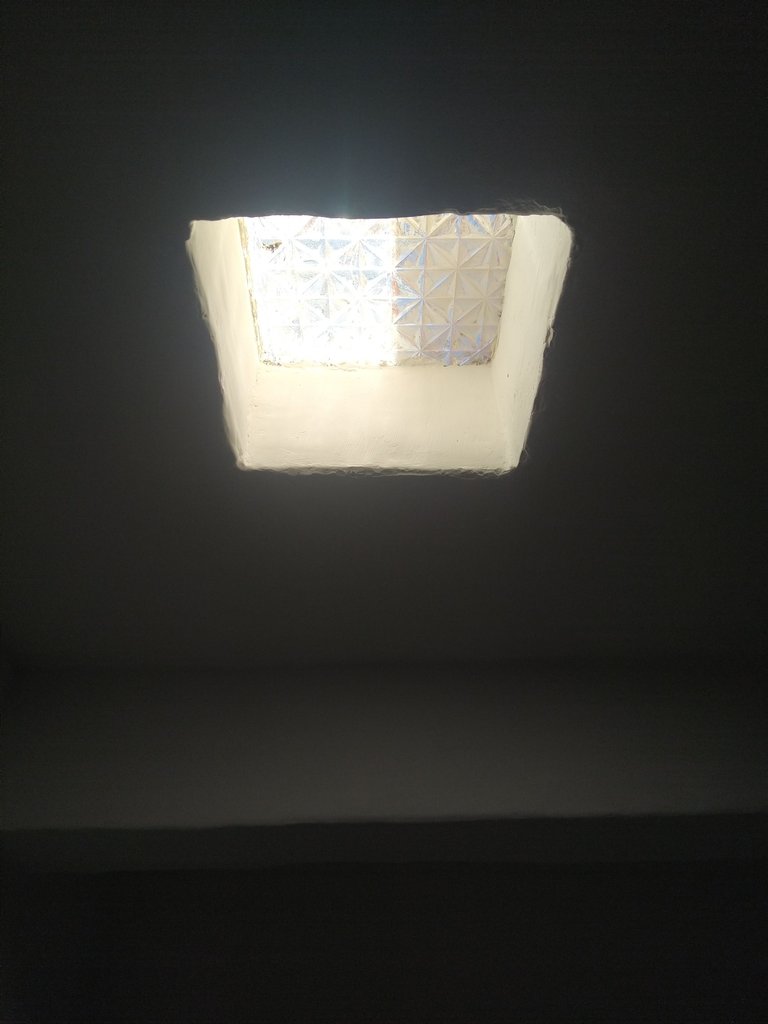
skylight loving
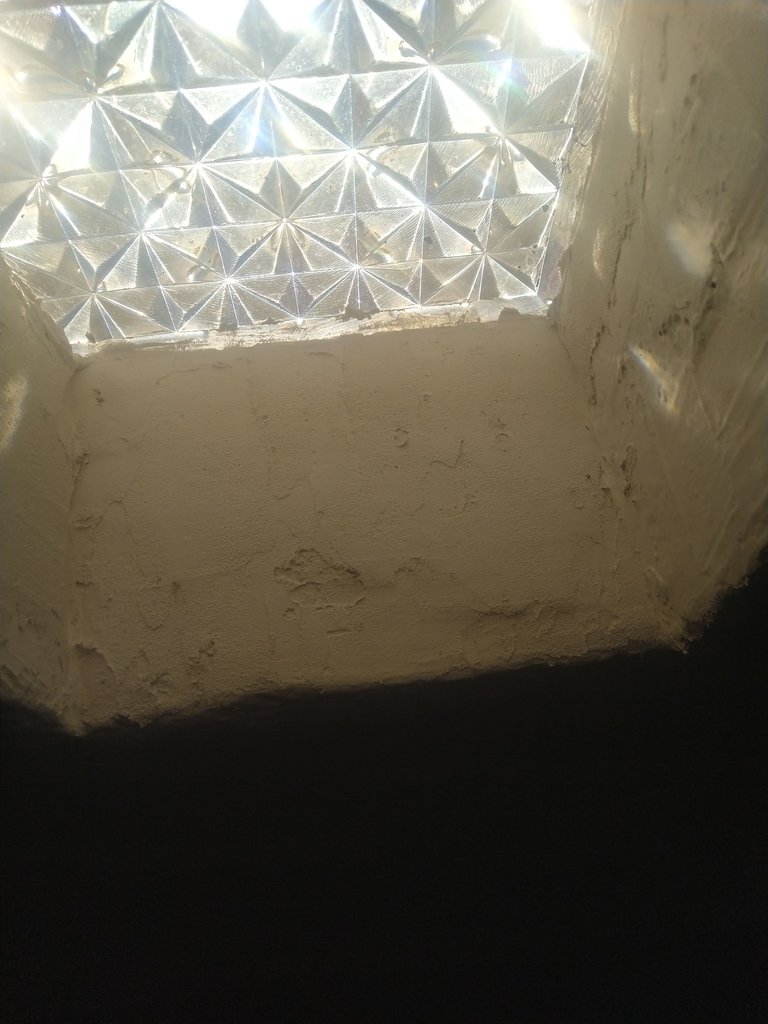
They got a good fill and sand and a lick of paint. Looking much better although I would have done them to perfection, the client didn't wish that.
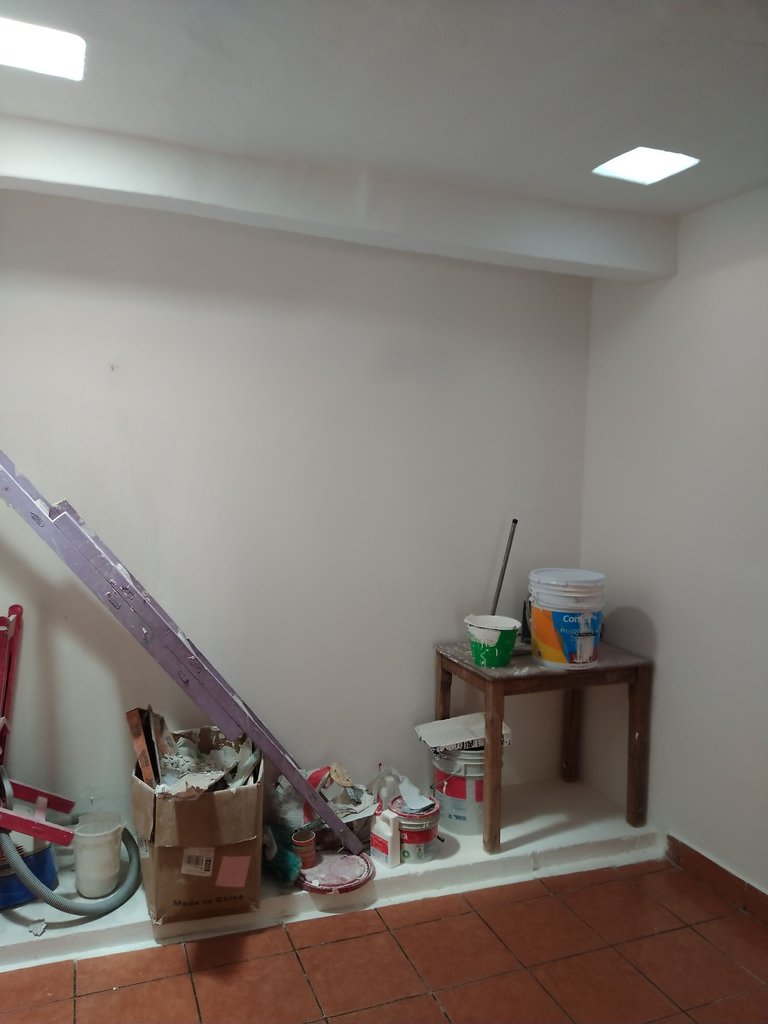
I just cleaned up and am done!
Damn, your hired! lol. I hate drywalling which doesn't even come close to what you just tackled. That was a mess, nice transformation. The closest I've ever come to that was having a foundation crack, chiseling it out enough to get waterproofing cement into it and resealing the wall with waterproofing paint.
I know what you mean about stuff that hardens faster than you can use it. I decided to use Bondo wood filler where tenants would manage to let shower end up flowing over the edge and keep rotting out the drywall over time. After years of continually replacing the drywall I got the idea of using the bondo. You have to mix fast and apply and sand within a reasonable amount of time, even sometimes that doesn't work out as intended, you end up wasting a lot of product, better to do it in smaller batches. It's been years now and no rot though, so it was worth it. So worth it I did a bit further up near where the shower surround meets the tub. Time consuming as sometimes you have to fill in a gap and let it dry before reapplying more, but it saves one a bundle of time from having to constantly replace drywall.
Hi! Haha yeh is as taught well and was always doing work on expensive houses, time to bring some high standard work to Mexico hahah
Nice result. How many hours/days of work was that?
45 hours give or take on my own, including having to go get materials too :)
hey that looks great!
bookmarked for later use, i have zero competencies in this area yet ahahahha