Use images even if it can be frustrating to get them where you want them. Images liven up posts and help to catch the eye. And of course, you absolutely need them for photography, art, travel, even food...
My Rant (What to Do is further down)
I come to Steemit from years of using Wordpress. I know how to to run the text alongside an image, how to center an image, and variations on those things. I quickly found advice on Steemit for how to do them. But dang! They didn't work the way I thought they would. I would go into the Raw HTML and add some code as I was advised to, and then go back to the Editor. The image would not have centered or done whatever I had asked it to... and when I went back to the Raw HTML, the code I had added had disappeared.
BTW, You switch between those two by hitting the gray underlined words just below your title bar and on the right.
So this is partly a tip and partly a rant! Some things won't work the way they tell you they will.
In the past, there have been other websites where something didn't work as expected on Chrome, so I tried another browser, Opera, but that made no difference.
So here is some code to try:
<div class="pull-right">IMG HERE</div> And according to https://steemit.com/steemit-help/@krnel/how-to-align-images-in-steemit-posts-left-right-and-center
that should do the trick... But it disappeared like other code for me.
Well, what finally worked for me is the 6th point in this post: https://steemit.com/steemit/@fabiyamada/the-most-basic-guide-for-new-steemians-in-8-points
What to Do
Wait till you have your text written. It's not a bad idea to save it to a text file on your computer before doing the images. Then put your cursor where you want an image, and click on the little rectangular image of an image just above your post. Put the URL of your image there, hit the check mark, and DON'T go look at the raw HTML. If you have more images, do the same thing with them.
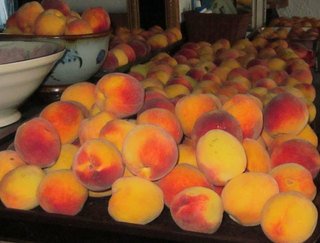
Nothing will be centered, nothing will be tweaked, but they WILL be there! As my peaches are.
And if someone know something better that really works, please do share it!
I also discovered that it's pretty easy to add an image to a comment. It needs to be on the internet someplace and of course you need to have the right to use it... go and get the url of the image, not the page it's on. You do that by right-clicking on the image and opening it in a new tab and then taking that url. Here is a photo from a webpage on my blog about simple green living, and the page is about being an expat in Uruguay: