Simply mention DIY (do it yourself) and some people will start to develop beads of sweat on their forehead. We totally get it. Not everyone considers themselves the crafty type and some would never settle for anything less than perfection, which requires big money for the professionals to get the job done. GunSkins are made for every gun, but maybe not everyone is made for GunSkins.
However, if you consider the non-permanence of vinyl wrapping, and our 60 day money back guarantee, there's really no risk to giving it a try. You might just be surprised to discover DIY isn't as scary as it seems. We offer an extensive library of installation tutorial videos to guide you every step of the way. Additionally, we've composed a list of common mistakes people encounter when installing GunSkins. These usually occur for first time installers but that shouldn't spell doom for those of you who are still on the fence.
We have the advice to overcome these challenges so that you are as satisfied with your install as possible.
Not Using a Gun Specific Degreaser
One of the most frequent concerns that customers share with us is that the vinyl isn't sticking to their gun. More often than not, we discover they prepped their guns with rubbing alcohol or presumed it didn't require any cleaning because it was factory new or they've never fired it before.
Gun oil is tough stuff, for good reason. Unfortunately, rubbing alcohol alone isn't strong enough to cut through it. New guns are especially prone to this problem because they are heavily lubricated for preservation. We suggest using a gun specific degreaser, such as Froglube solvent or Gun Scrubber. Use a small brush and scrub it well, especially in the recessed edges, pins, grooves, and other areas where buildup is likely to form.
A clean gun makes for a clean install. There's wisdom in these words and if you spend a little extra effort during the prep stage, you'll be all the happier with your finished GunSkins.
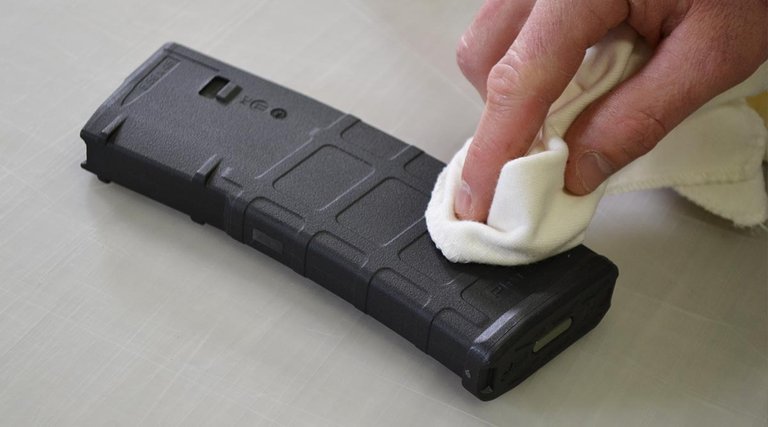
Rubbing alcohol helps remove moisture, but may not be enough to cut through gun oil.
Not Changing Out Blades Often
If all you're doing is installing a Magazine or Magwell Skin, you're likely not going to trim away any material. However, for a full gun installation it is required to use a hobby knife to trim the vinyl away so it conforms to the shape of your personal firearm. A typical install requires at least three or four blades, maybe more depending on the level of detail on your gun.
A new blade will cut the vinyl like butter. This is most helpful when trimming away the hollow areas of an AR-15 handguard or the individual notches of the picatinny rail. As the blade wears down you'll start to notice the vinyl fighting against you. The edges of the material will begin frilling instead of having a smooth edge. You'll be surprised just how tough GunSkins are. They wear down blades sooner than you think.
When this happens to you, it's time to change the blade. If you do encounter frilling on the edges, it's an easy fix. Simply hit the vinyl with heat from a heat gun or blow dryer, and press down with a towel. The edges will clean up and conform to the surface, creating an air and water tight seal.
GunSkins will dull blades sooner than you expect. Change them out frequently.
Trimming Soon After Applying Heat
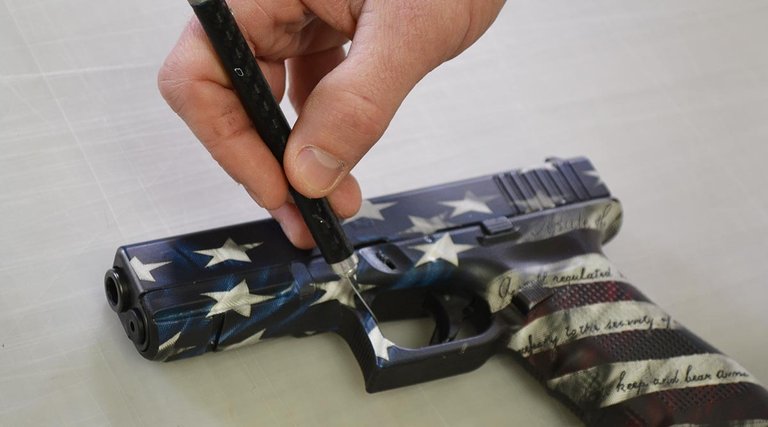
Applying heat to the vinyl is a must when stretching around corners or pressing into recessed grooves and edges. A good example is when installing on the mag release of a pistol. Pressing the vinyl down when warm will allow it to stretch and hug the button without wrinkles. Use your knife to trim at the base of the button. Remove the cutout to allow the button freedom of movement.
Trimming the vinyl while it's still warm will cause it to stretch if it catches on the blade, which can happen if it's starting to dull. It can be frustrating when this happens, to say the least. To avoid this common mistake, simply hold the vinyl into place after heating it (using a towel or foam to protect your hand) and letting it cool completely. This hardens the vinyl, locks it into place, and allows it to be cut away without tearing or stretching.
Installing Difficult Surfaces using a Single Piece
When installing GunSkins on an irregular shaped surface, such as a scope, tactical buttstock, or handguard, it can be tricky to get the vinyl to lay flat without creating wrinkles, air bubbles, and the need to heat and stretch like no tomorrow. Unfortunately, we can't provide video guides for installing on absolutely every gun and accessory. This means that most of you have to embark on the install using your own creativity and a lot of patience.
The team at GunSkins have been doing this for years, and some of them have expertly wrapped many unique items with minimal pieces and hidden seams (paintball gun, anyone?). But for first time installers, it's better to use several smaller pieces instead of laying an entire sheet of material and forcing it to conform. Understandably, more pieces means more overlap and seams. Trust us when we say that overlap is much easier on the eyes than wrinkles.
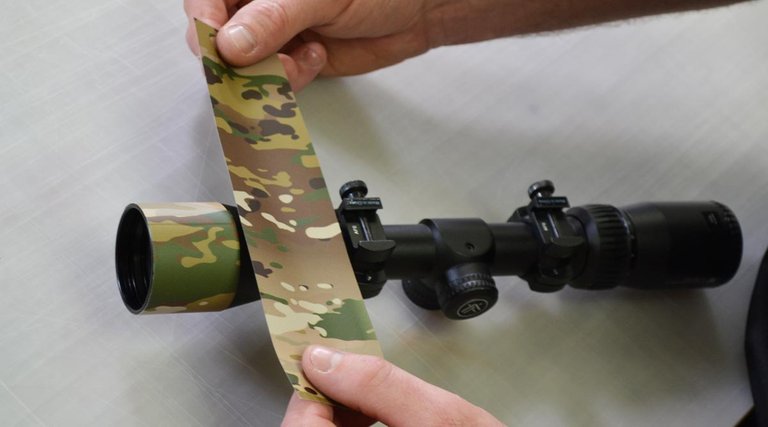
Use multiple small pieces instead of a large single shape for easier installation.
The nature of camouflage makes it ideal to use the piece it together method because of the break up of shapes and color in the pattern. When overlapping a piece, we recommend being creative in your trimming. A straight line is going to be more noticeable than a meandering wavy cut. Better yet, use the camo to your advantage and trim along the edge of a stick, leaf, or other shape. It may take a little more time to carefully trim like this, but the blend will be so much better in the end. When done right, the seam becomes nearly invisible.
A GunSkins vinyl wrap installation is as good as the time and the effort you put into it. If small imperfections and the headache of DIY are a concern, perhaps paying for hydro dip or Cerakote is the solution for you. With an open mind and some patience, it's definitely possible to have your gun looking just as good as the alternatives! It's quite common for onlookers to mistake our GunSkins for a factory finish when they walk by our show booth.
The majority of our customers are highly satisfied with their rifles and pistols wrapped in GunSkins, despite them not being "perfect installs". They all agree, the first installation is a learning experience and every subsequent install looks better and better than the previous. When comparing the price to have a similar finish with the other guys, you have to admit it's at least worth a try. If you are unhappy with your installation for any reason within the first 60 days, we'll make it right!
Congratulations @gunskins! You received a personal award!
You can view your badges on your Steem Board and compare to others on the Steem Ranking
Vote for @Steemitboard as a witness to get one more award and increased upvotes!