Hello everyone! Today is Monday and it means it's #NeedleWorkMonday! Last week after posting my DIY blog, I happened to bumped into this tag and I was surprised to see the posts related to this. It was awesome! I liked what I saw! I am not a seamstress but trying to be one... hoping that I have our mom's seamstress genes that just needs cultivating, she always nailed all the crafts she had done and still doing! Anyway, this initiative was started by @crosheille and later on joined by @crystalize and they are the one who are responsible in bringing those needle workers into this platform together which is now a community! The @needleworkmonday Yey! Head over to this introduce myself post and read all about this community. Come and join us! ^_^
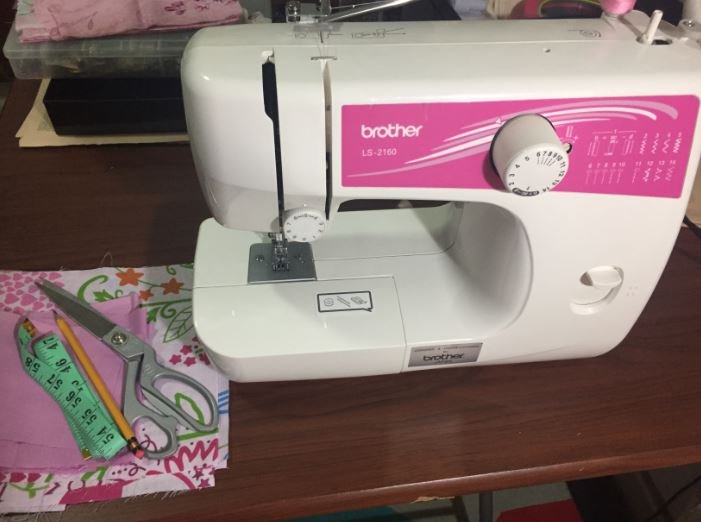
Without further ado, I just joined their team and this is my first post. As I mentioned earlier, I am not really a seamstress but I can do some needle works, aside from cross-stitching and DIY’s I can also sew and for today’s post, we will be sewing a simple and very easy scissor cover.
Most of the time whenever you buy scissors you will not get a cover to safeguard yourself on that sharp and pointed portion of it, hence, I decided to sew one and maybe you want to do it for yourself and kids as well. As we all know, safety first – everywhere!
Things you need:
Instructions:
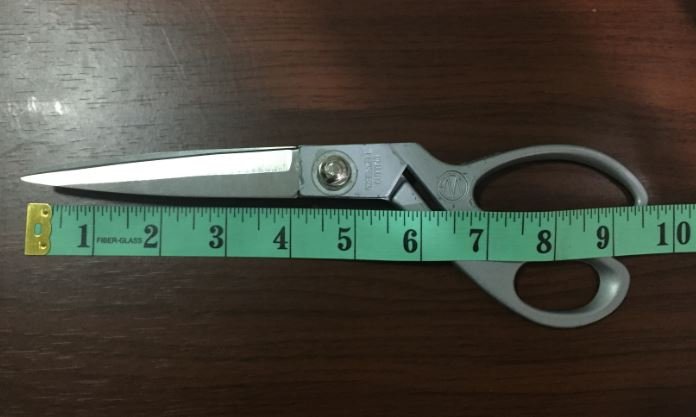
1.) Measure the length of your scissor.
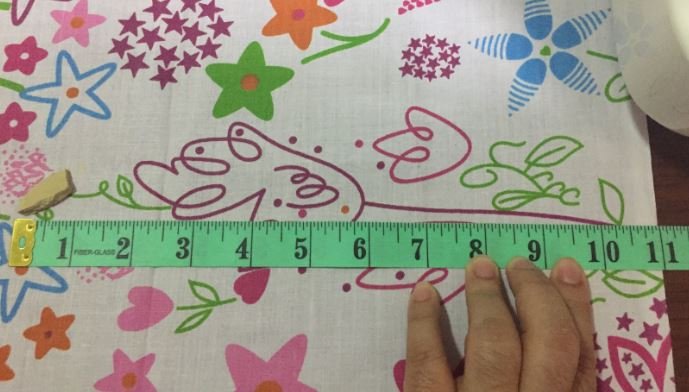
2.) Now measure the length of your fabrics (I used 2 different fabrics 1 with prints and the other one is plain - I have 2 plain scrap fabrics that I put together earlier as my scraps are not enough) add 1 inch for edges to sew. I suggest you use a thick fabric or use 2 fabrics together to make it stronger and thicker.
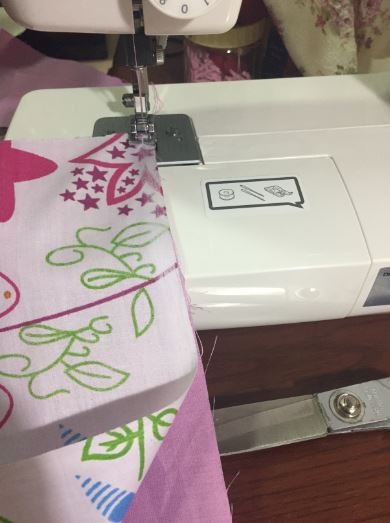
3.) Now sew the 3 sides in full (in some sewing terms there is a word called “the wrong side” it means the inner side of the fabric, the not so designed one. I’m not sure if I make sense though…). Once you are done, sew the last side but leave one corner open by at least 3 inches. From your 3-inch measurement til the other corner, sew them together.
4.) Next, pull out ”the right side” and put in ”the wrong side” through the open corner.
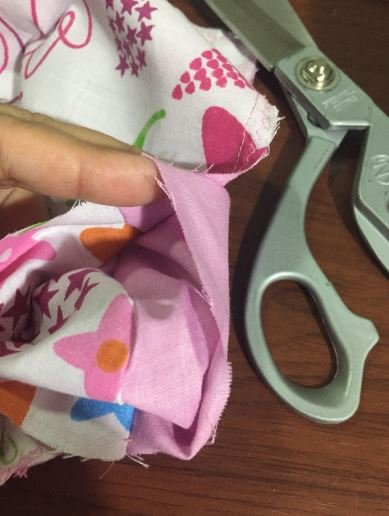
5.) Once ”the right side” is out, fold the edges of the open corner and sew them together to close it out.
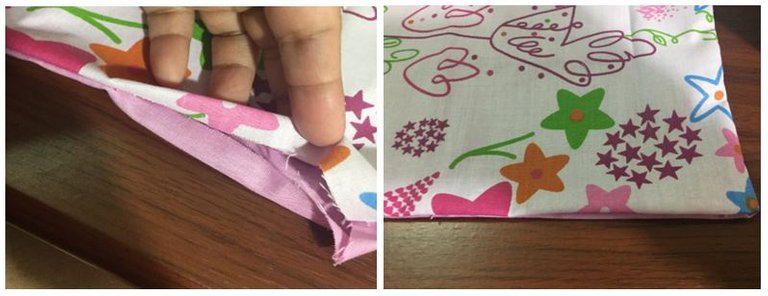
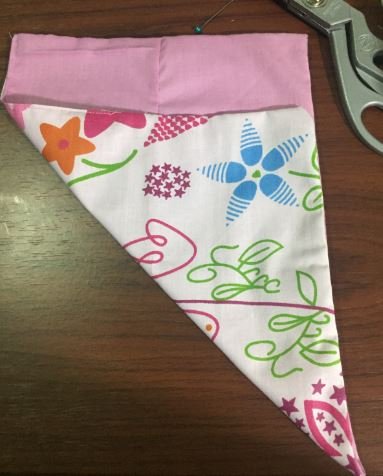
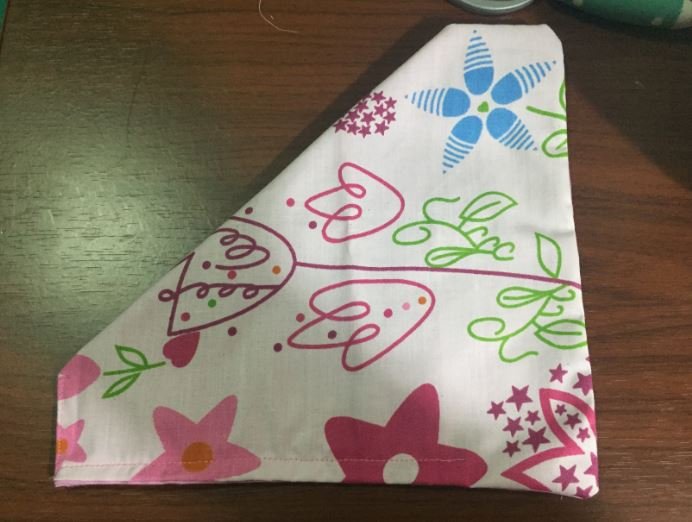
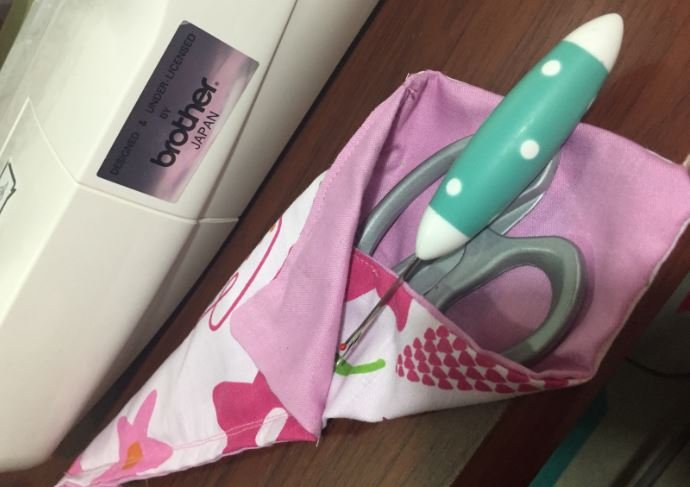
6.) Now that you’ve sewn all the sides together, fold one side making it a triangular shape. Note that my inside fabric is the plain one.
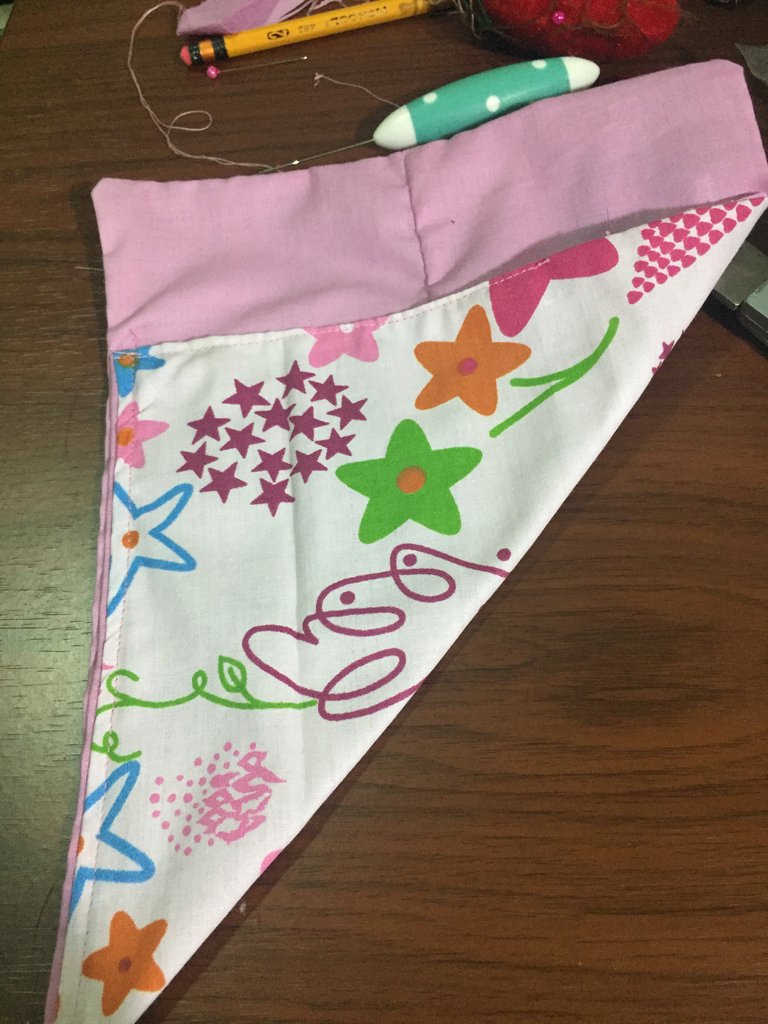
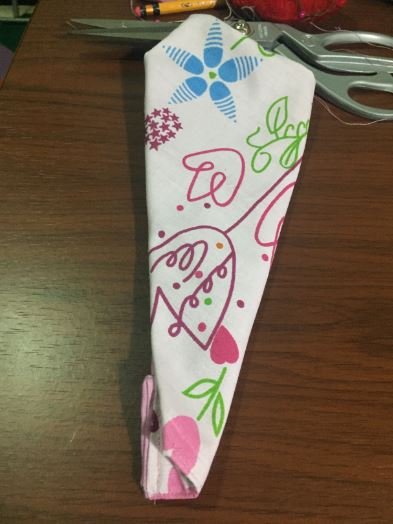
7.) Sew one side of your triangle.

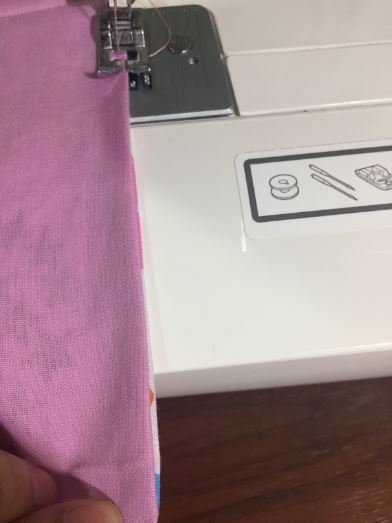
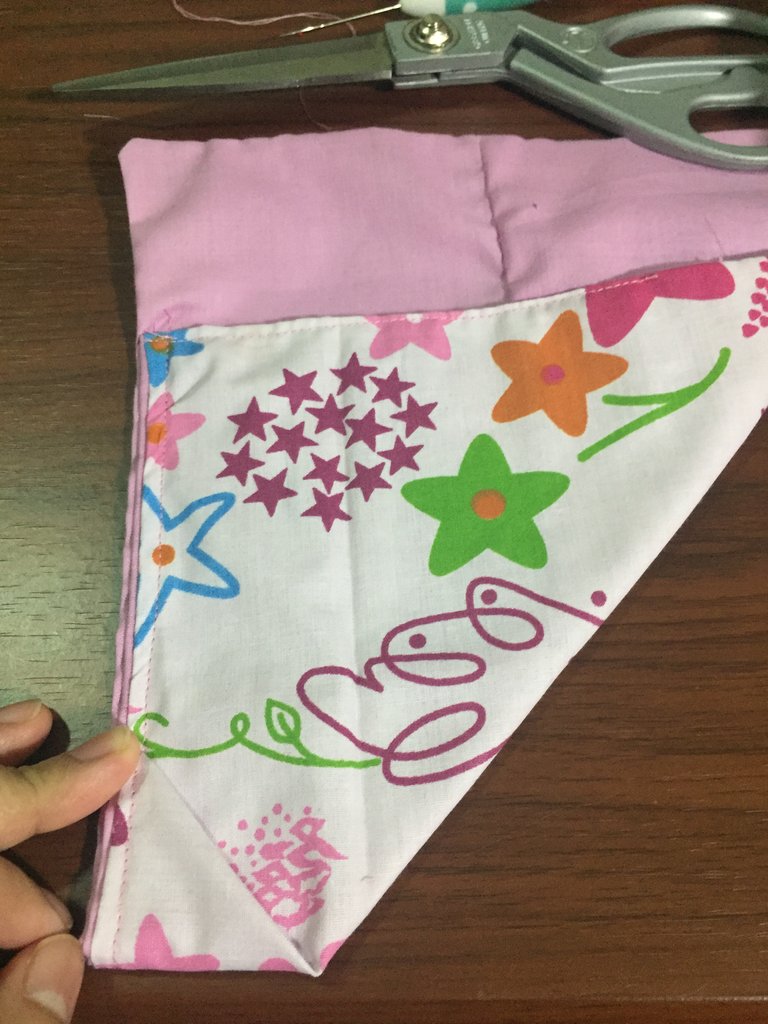
8.) Fold the tip corner of your triangle by 1 inch and then sew it. This will hold the tip and sharp side of your scissor.
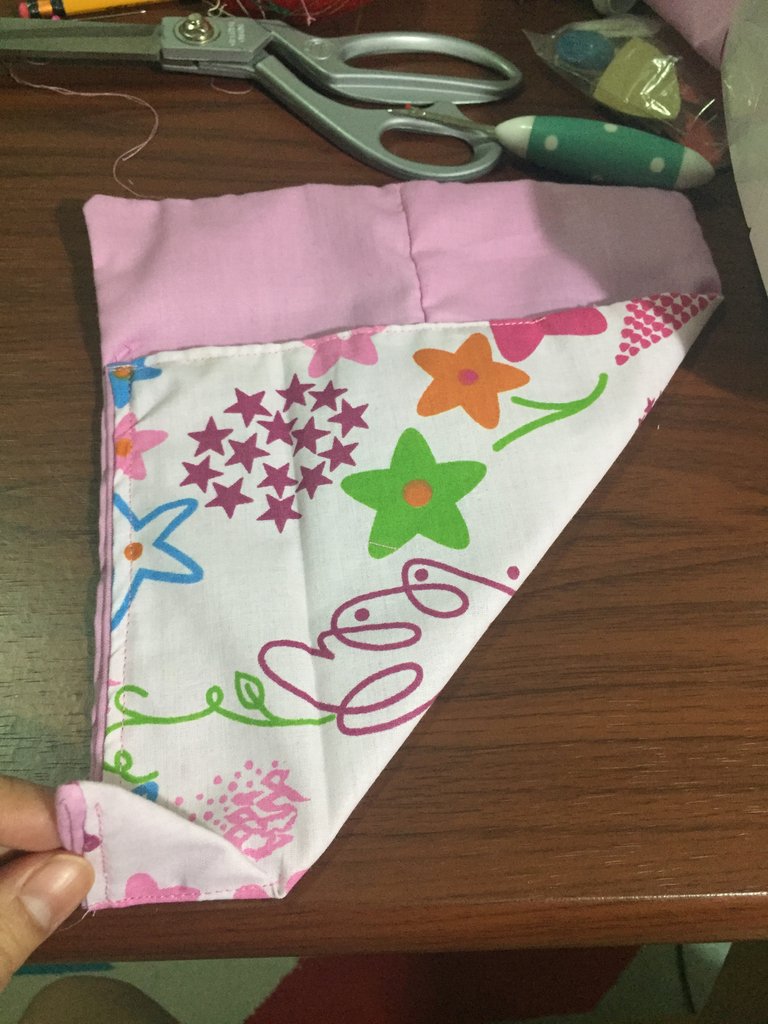
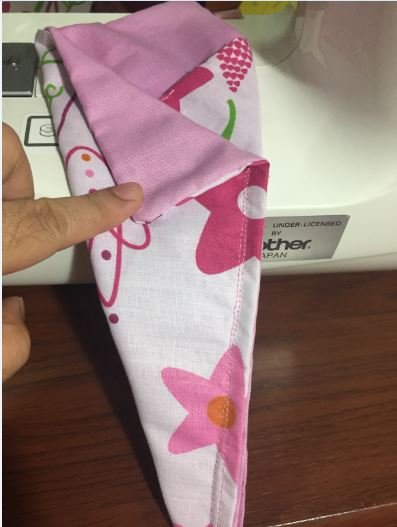
9.) Now put down your fabric and flip it, showing the back side of your fabric. Fold the other side once more and sew it.
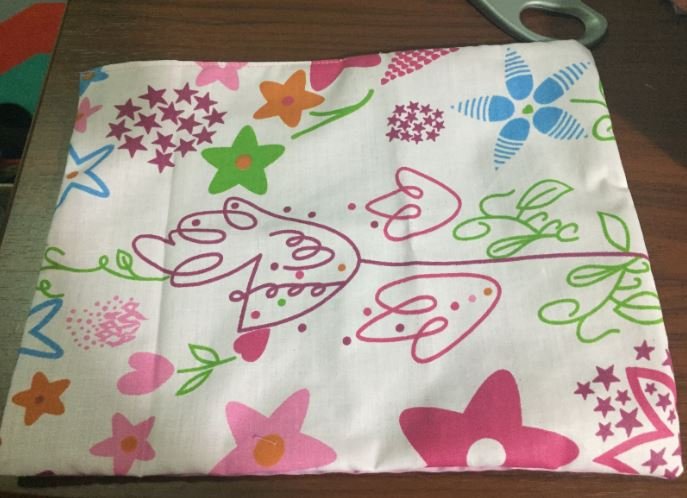
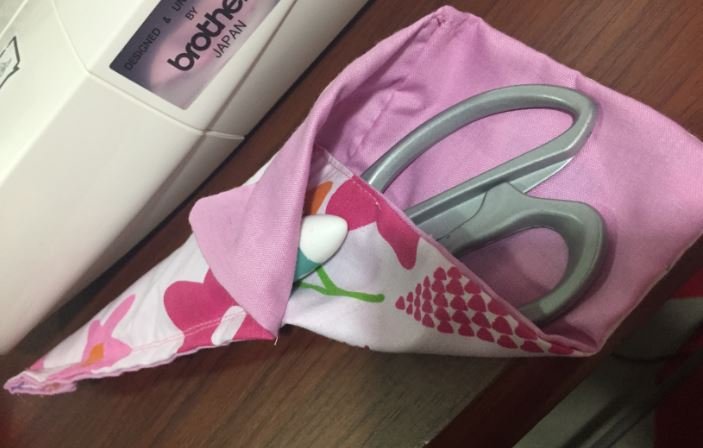
10.) Now that they are close together, open the top side a little and sew it. This will now give you a small window for your scissor and this will look like the back side of a collar.
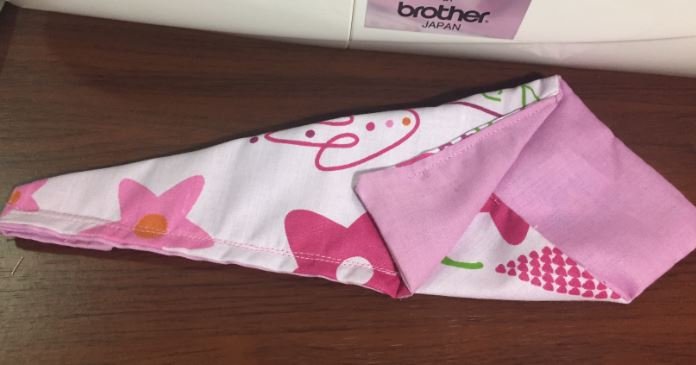
This is how you do a simple yet safety cover for your scissor. Not only that, you now have 2 covers in 1 sewing, aside from my scissor I can also put my seam ripper! C”,)
I hope you enjoyed this simple needlework of mine. Next week we will do another simple tutorial that even a child can do. If you have anything in mind that you want to see, I will be happy to do a tutorial as long as I can c”,)
As always, thank you for dropping by… until next #NeedleWorkMonday!


Two of my favourite tools : scissors and seam ripper @lhyn. Thank you for your great way of keeping them tidy :D
aww thank you for your kind words. c",) i love these tools as well, very helpful! hihihi
Yay it’s great to see your first #NeedleWorkMonday post!! Thank you for spreading the word about the communal account! I’m so excited about it!!
This is so handy and cute!! I loved the way you folded it to make it fit the scissors. I definitely love safety especially since I have a house full of curious little hands. Thank you so much for sharing this tutorial with us! Did you make this from the top of your head? Do you follow patterns or mainly freestyle? I’m excited to see more from you and learn from you. Sewing has been some what of a challenge for me in my adult life (I missed the opportunity to learn while I was young) so I’m taking it all in and learning from everyone :)
aww i agree with you, with so many little hands around the house, you really need to safe guard them from sharp pointed tools. Most of my crafts are being taught to me by my mom though sometimes I just spice up a little but mostly ended up with a trial and error craft hihihi If sewing is a challenge for you, it is crochet for me c",) but will definitely try it out at the soonest since I have all the things that I need even though I don't have the knowledge how to use those things that I have c",) thanks for dropping by! ^_^
That’s so awesome your mom is teaching you! My mom is about to work with me again. Sewing doesn’t come as naturally as crocheting did for me...I seem to always give up on it lol!
You know I do a crochet series? You can always join in and learn with my beginning tutorials!! 😉
Thank you for sharing this @lhyn! I really like the fabric you use. Makes you want to keep the scissors and seam ripper nicely tucked in, seam ripper - my favourite tool too :)
thank you, love that you liked it! c",) most of my scrap fabrics are actually given to my mom from the shops where she normally buys her fabrics and it happened that I was with her when they gave it to her so I got some of those hihihi i like seam ripper as well, they are so cool and so easy to use! haha
Ooo I like scrap fabrics too! I like how we can get a bit of different designs and then decide what we can do with them (and better still, when we can get them for free!). Hi-five to seam ripper! Hehe.
Lovely tutorial - it is structured and very clear to understand (I am just startig to sew and it does not come naturally to me :-DD) Your choice of fabrics is super cute.
And I love your seam ripper, I think I saw it on amazon from Prym. I love the dots and the color <3 (WAAAANT :-D)
thank you c",) you will surely love sewing once you started learning it. you know what I like about sewing? you can sew your own clothes and it is cheaper than buying it from the mall. I bought my seam ripper from a shop near our place for US$ 2.72 only it is actually expensive than the other seam rippers which you can buy for US$ 1 but because it is cooler and bigger I just need to buy it hihi.
What a good tutorial, I loved it. Thanks for sharing
aww glad that you loved it! thank you for dropping by! c",)
As a follower of @followforupvotes this post has been randomly selected and upvoted! Enjoy your upvote and have a great day!
Congratulations! This post has been upvoted from the communal account, @minnowsupport, by lhyn from the Minnow Support Project. It's a witness project run by aggroed, ausbitbank, teamsteem, theprophet0, someguy123, neoxian, followbtcnews, and netuoso. The goal is to help Steemit grow by supporting Minnows. Please find us at the Peace, Abundance, and Liberty Network (PALnet) Discord Channel. It's a completely public and open space to all members of the Steemit community who voluntarily choose to be there.
If you would like to delegate to the Minnow Support Project you can do so by clicking on the following links: 50SP, 100SP, 250SP, 500SP, 1000SP, 5000SP.
Be sure to leave at least 50SP undelegated on your account.
Welcome to needleworkmonday! And I like to sew as well, so Yayy! one more sewing friend, I like the scissors cover you made, I had one previously but its old and torn, will try this, it's good especially when we need to pack the scissors for traveling. Thanks for sharing
aww thanks for dropping by my sewing friend! c",)