An easy and quick garment to make are the Shorts, in addition to being comfortable for your child. Today my dear friends of the Hive platform and especially the #needleworkmonday community I will talk to you about how to make this garment.
Una prenda fácil y rápida de hacer son los Short, además, de ser cómoda para tu niño. El día hoy mis apreciados amigos de la plataforma Hive y en especial a la comunidad de #needleworkmonday les hablaré sobre cómo hacer esta prenda de vestir.

First we will start mentioning the materials to use: fabric, chalk, scissors, thread, elastic rubber, sewing machine, sewing rulers, pins and mold shorts.
Primero iniciaremos mencionando los materiales a utilizar: tela, tiza, tijera, hilo, goma elástica, máquina de coser, reglas de costura, alfileres y short para molde.
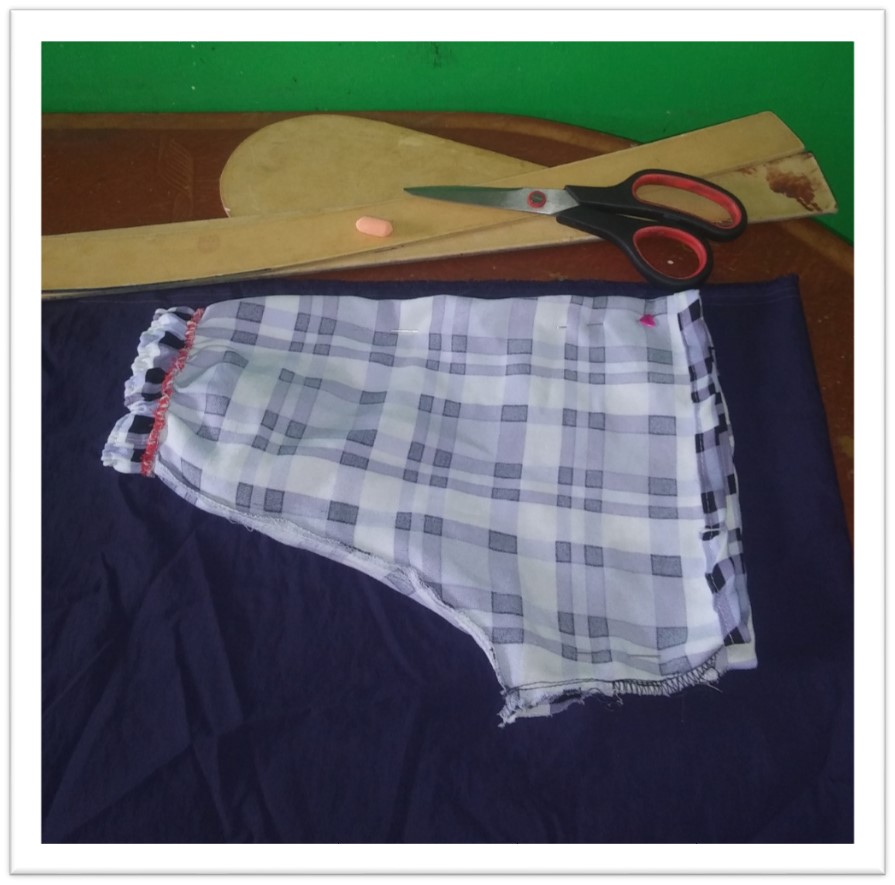

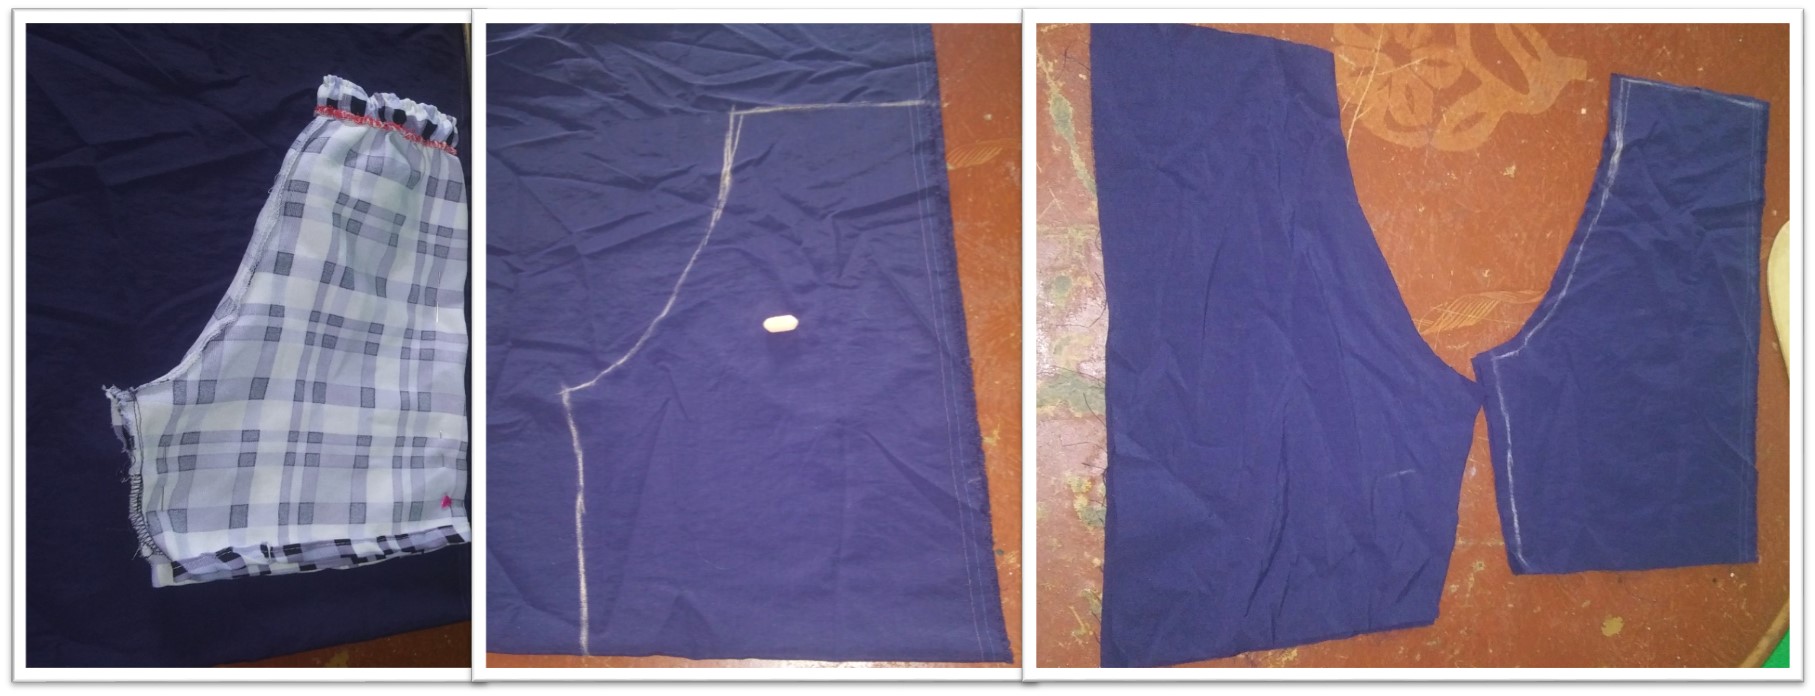
To start, look for a short for your child that will serve as a mold to cut the new one. Then, mark the edge with chalk and cut leaving 1 cm apart for the seam, at the waist you leave 4 cm and at the contour of the leg you leave 2 cm. In total you must remove 4 pieces.
Para comenzar, busca un short de tu niño que te sirva de molde para cortar el nuevo. Luego, remarcar con tiza el borde y cortar dejando 1 cm de separación para la costura, en la parte de la cintura dejas 4 cm y en el contorno de la pierna dejas 2 cm. En total debes sacar 4 piezas.
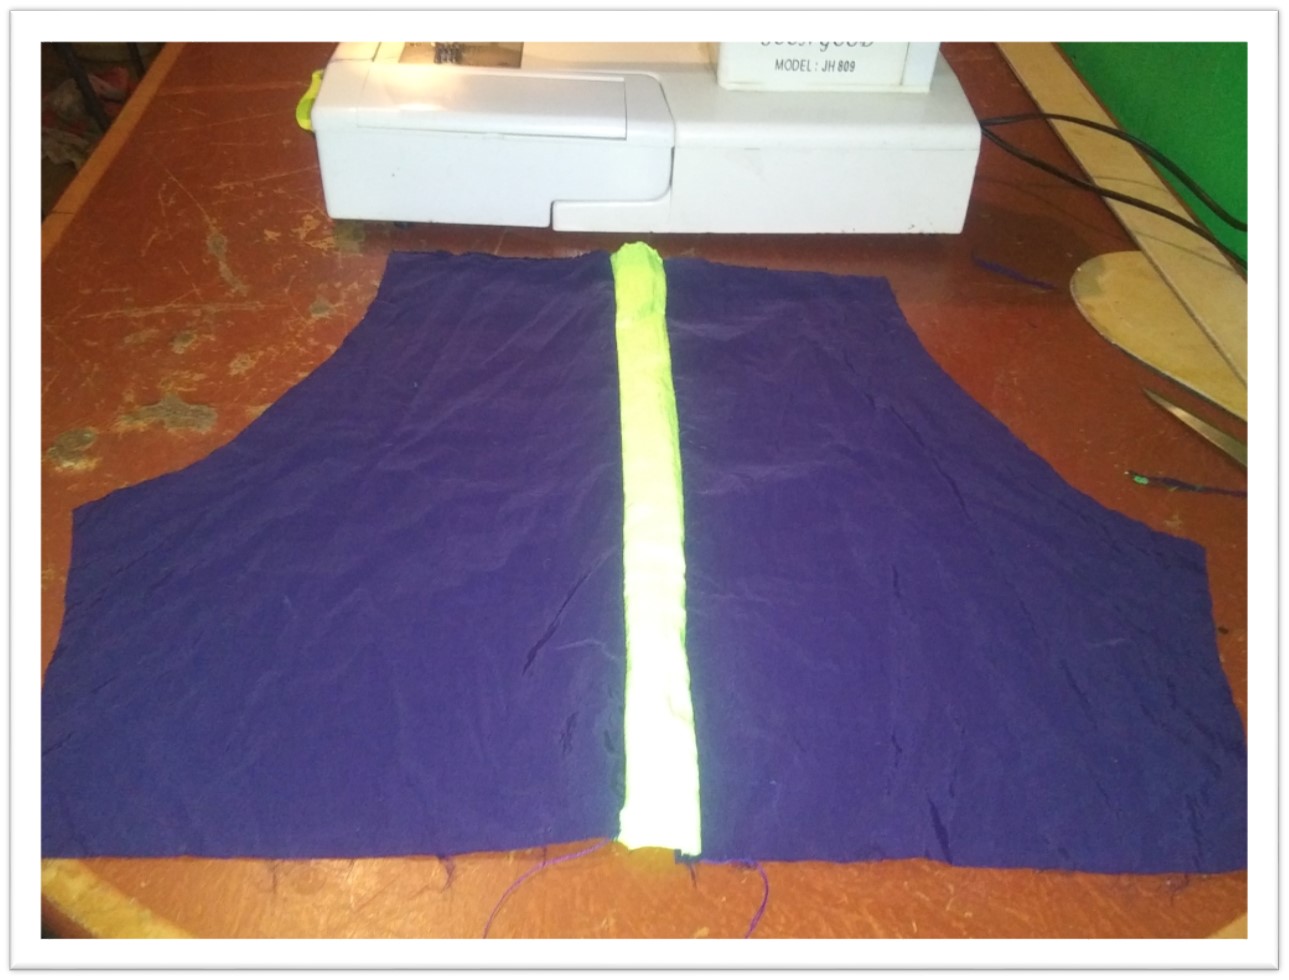
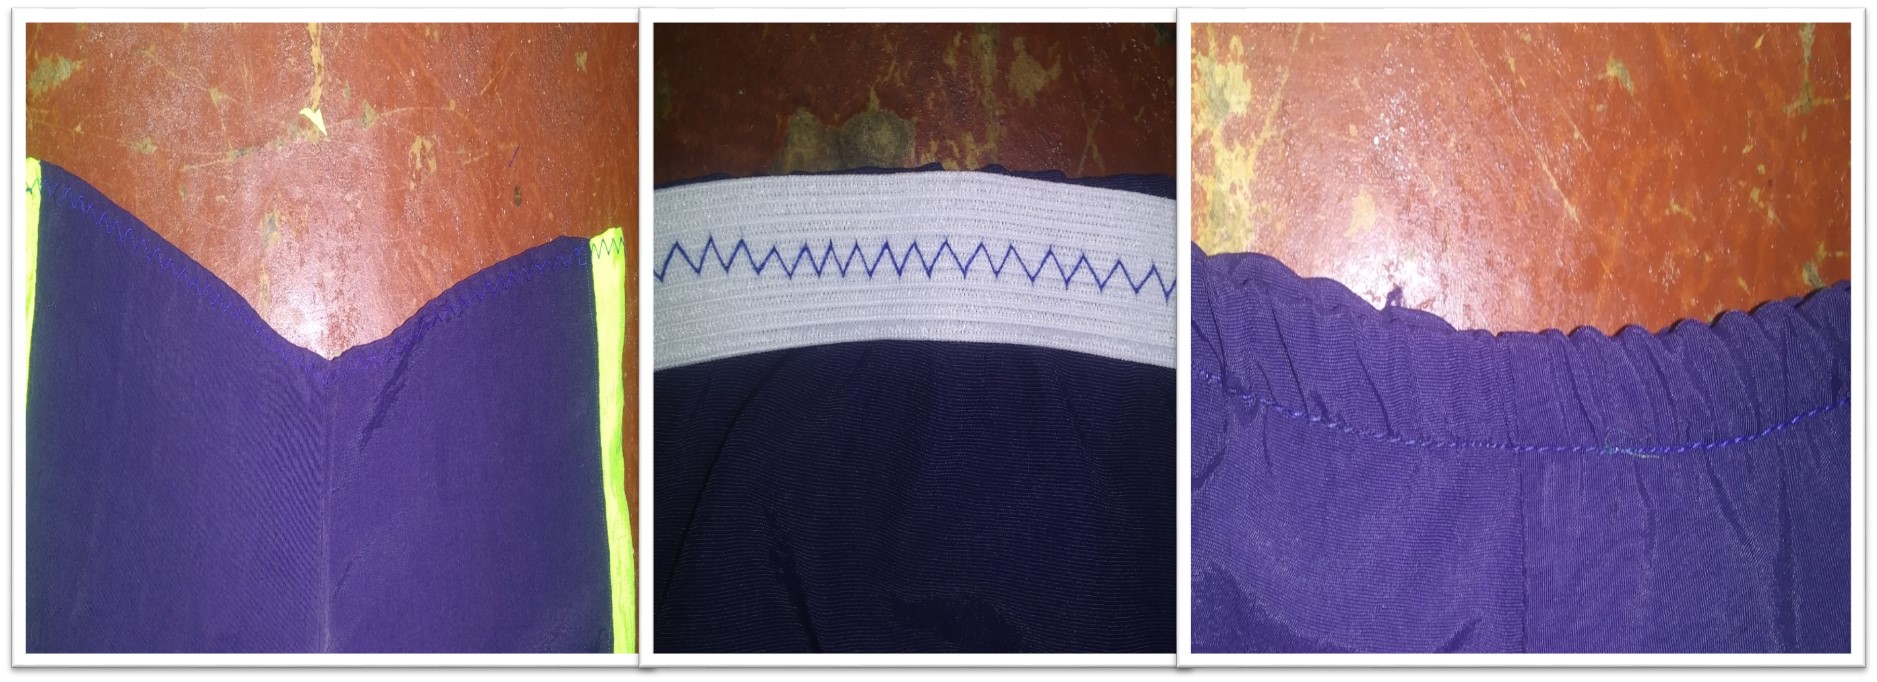
We start sewing, first we sew the side by joining a piece from the front with another from the back (in this case, as we put a strip of another color, we join them with that strip). This procedure should be repeated on both sides. Then we proceed to sew the front and back bottom from the waist to the bottom. Later we join the part of the leg.
Iniciamos a coser, primero cosemos el costado uniendo una pieza de adelante con otra de atrás (en este caso como se le coloco un ralla de otro color las unimos con esa tira). Este procedimiento se debe repetir en ambos costados. Luego procedemos a coser el fondo delantero y trasero desde la cintura hasta el fondo. Posteriormente unimos la parte de la pierna.
At the waist we put the rubber around it, first measure the child's waist and subtract a quarter. We join the rubber leaving a circle and we zic-zac the entire contour, stretching the rubber. After the rubber is glued, we fold inwards and pass a straight seam to finish.
En la cintura colocamos la goma alrededor de esta, primero medimos la cintura del niño y réstale la cuarta parte. Unimos la goma dejando un círculo y cosemos en zic-zac todo el contorno, estirando la goma. Después de que la goma está pegada, doblamos hacia el interior y pasamos una costura recta para finalizar.
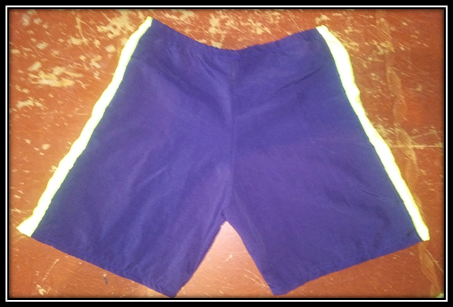
Finally we shake the shorts and cut the threads that are hanging.
Finalmente sacudimos el short y cortamos los hilos que queden guindando.
@tipu curate
Upvoted 👌 (Mana: 0/21)
Congratulations, your post has been upvoted by @dsc-r2cornell, which is the curating account for @R2cornell's Discord Community.
It looks so easy in your instructions and I admire how well you can sew. I always need a pattern and find it difficult to copy existing clothes, they mostly do not fit afterwards ... But I will take heart in the next week and try out your method of copying a well fitting garment.
Thank you for sharing the process <3