Introduction
RAM is a key component in the performance of a computer or notebook computer, a lack of RAM can be unpleasant. In this article, I'll teach you how to change or upgrade your notebook without the help of a technician.
What is RAM?
RAM is a type of technology that allows access to files stored on the computer. Unlike HD memory, RAM does not permanently store content.
What is the function of RAM?
It is responsible, however, for reading the contents when required. That is, in a non-sequential way, therefore, the English nomenclature of Random Access Memory (Random Access Memory). To simplify the logic behind the function of RAM, it is possible to make an analogy with a study table, where all the necessary material to carry out the homework is gathered: such as pens, pencils, notebook, and books. The materials would be the files and the RAM, the table, where everything comes together and the work is done. Thus, the RAM can be understood as a temporary workspace, because after the task is done, the files (study material) are removed from the memory (table) and kept in the HD (cabinet).
Why do I need a ram upgrade?
Over the years, new softwares are demanding more and faster RAM's. So the more RAM you have, the more software you can run. If you are experiencing frequent crashes when using your notebook, it may be a lack of RAM. To check how much RAM is being used by your notebook in real-time simultaneously press the CTRL + SHIFT + ESC keys, in this way a window will open:
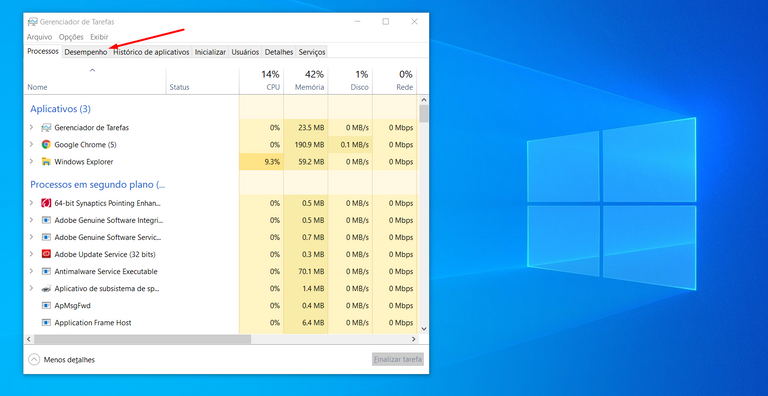
Then, click on the Performance tab and then on the Memory tab:
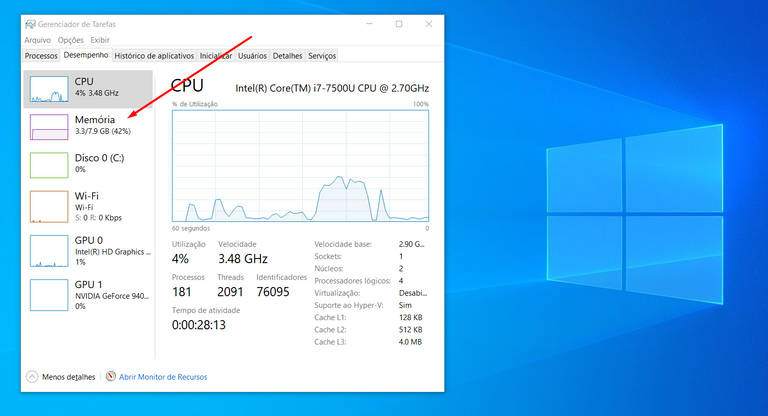
You should see a brief summary of the use of your RAM in real-time. Note: in the first image window you can check how much RAM each program is consuming.
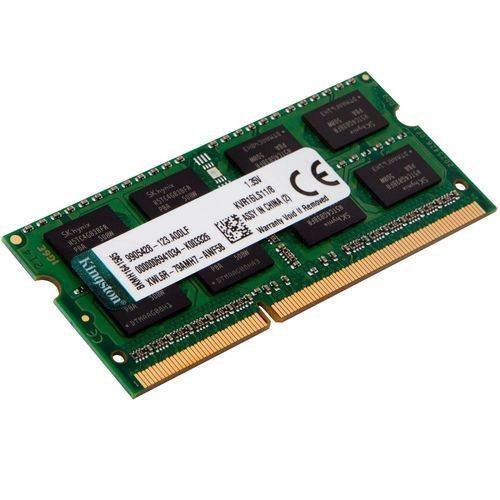
Types of RAM
RAM's have different colors, frequencies and formats. The rams of the notebooks have a different form than the desktop computers. In addition, over the years, new RAM standards are developed, such as DDR4, the latest and fastest. This way, newer notebooks tend to support DDR4 memory standards. You do not need a specific frequency. In order for memory to work, only the correct pattern is needed, so the RAM form will be the correct one.
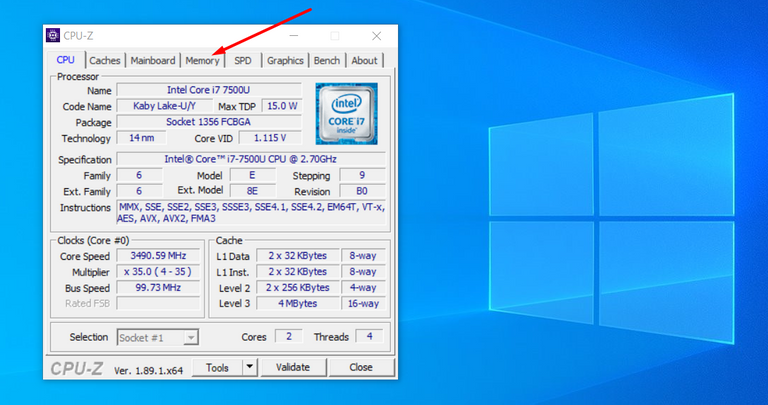
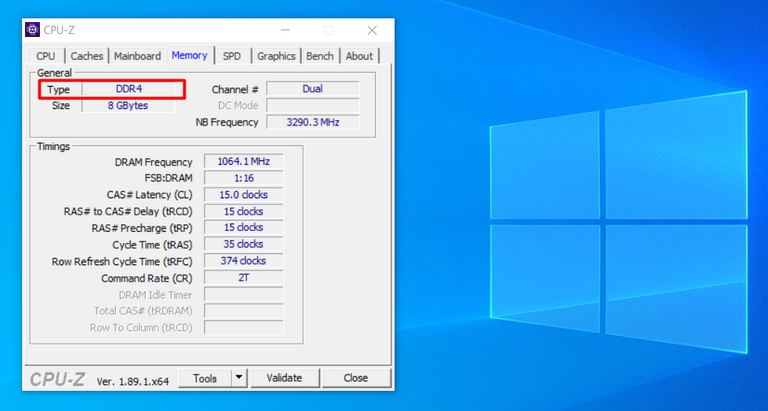
How to check the RAM standard of my notebook?
Download CPU-Z here, run it and then click on the Memory Tab to check your RAM standard.
The Guide
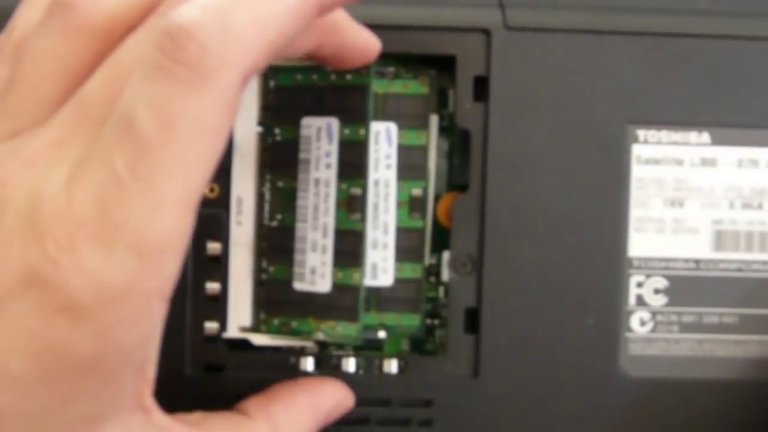
For this tutorial, I'll be using a Lenovo Ideapad 330, which needs to be completely open for the ram to be replaced. However, there are models of notebooks that have a dedicated external drawer that make it easy to exchange RAM. In the image below you will see a notebook that has this drawer:
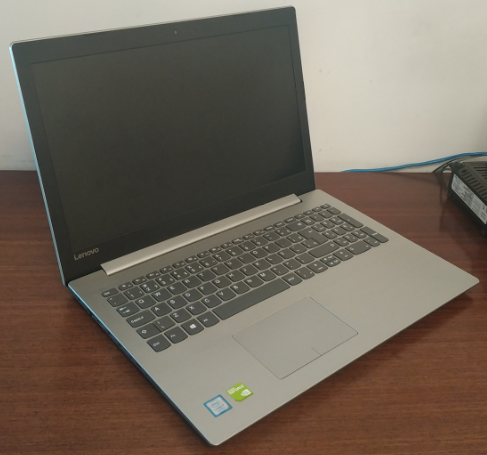
1. Opening the Notebook
Be sure to turn off your notebook and, if possible, remove the battery.
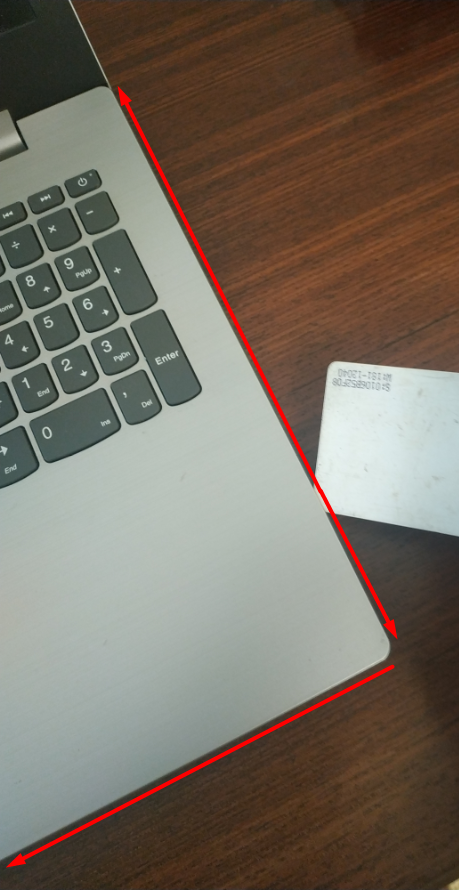
In my case, as my notebook does not have this drawer, it will be necessary to open it. So, remove all rear screws and then open it with the help of a card or something thin.
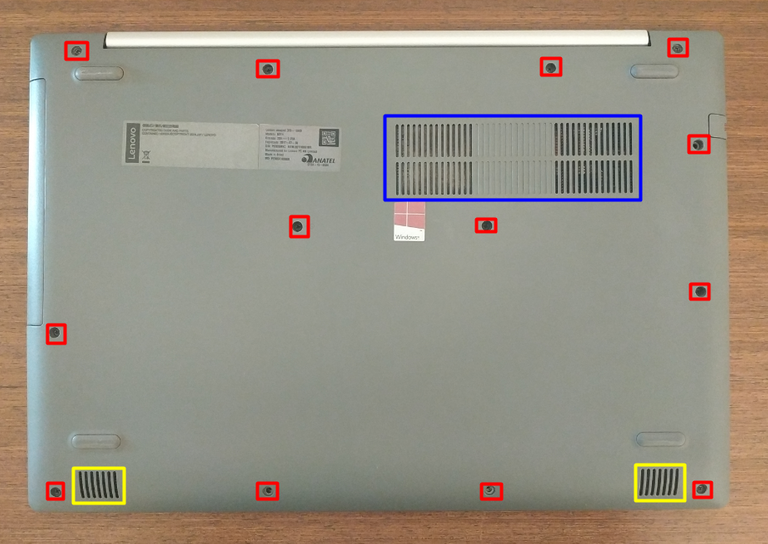
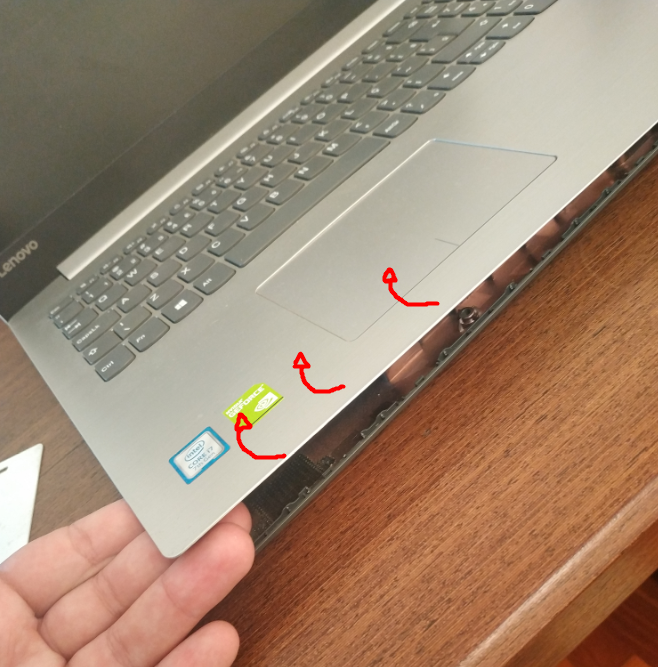
In red we have the screws. In blue we have air outlets and in yellow we have sound outlets.
Remove the plastic housing and position the notebook on a flat surface back-up.
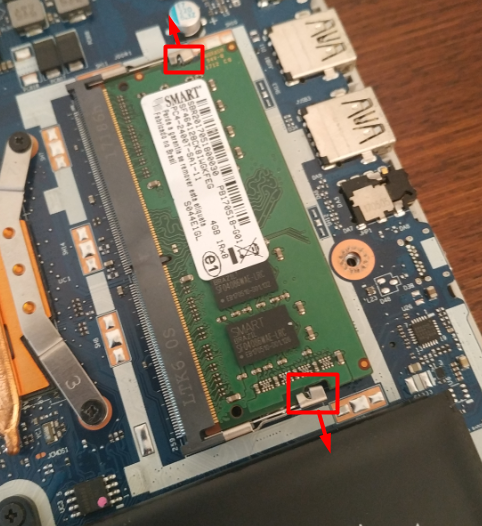
2. Identifying the RAM slot
The RAM slot is in red:
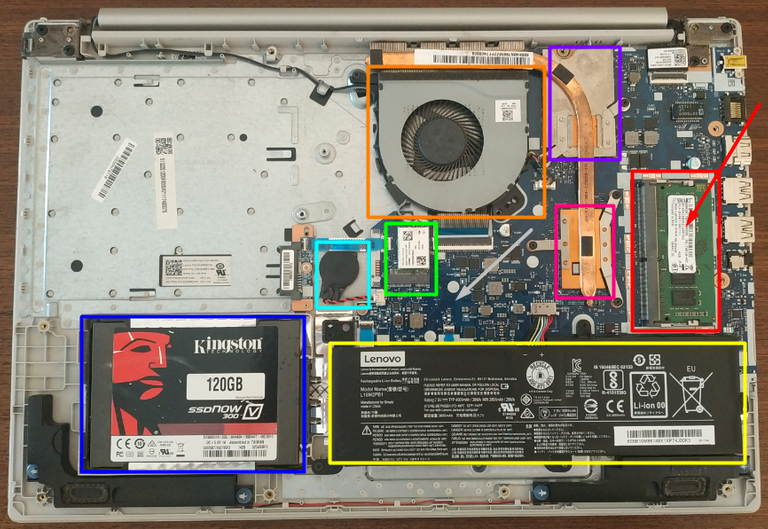
Curiosity
Red = RAM
Dark Blue = ROM
Light Blue = Motherboard Battery
Yellow = Notebooks' Battery
Green = Wi-Fi Card
Pink = Graphics Card
Purple = CPU
Orange = Cooler
Grey = Motherboard (the entire blue plate)
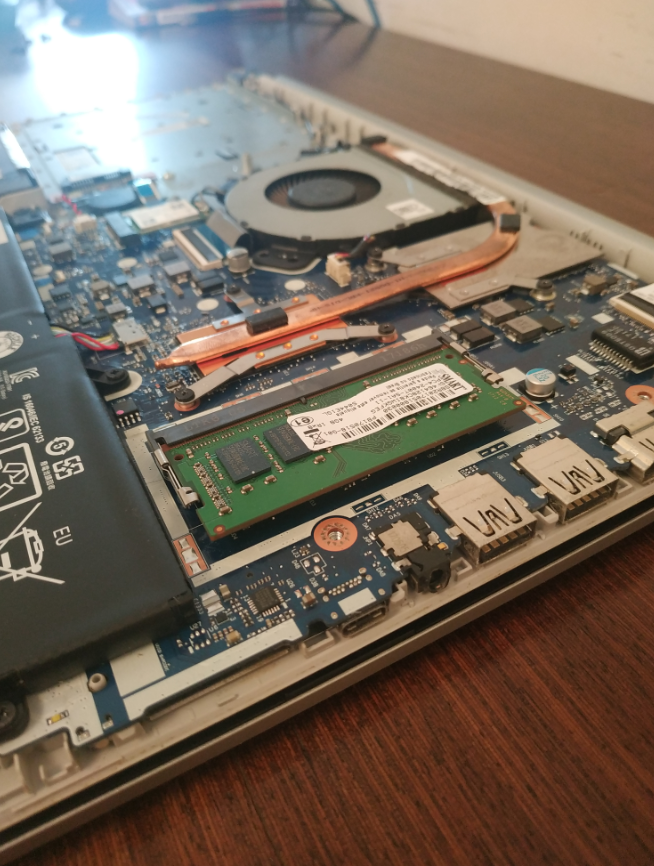
This is how the ram slot looks like:
Removing the Old RAM
To remove an old ram simply pull the metal sticks in opposite directions:
Then the ram will jump off as in the image:

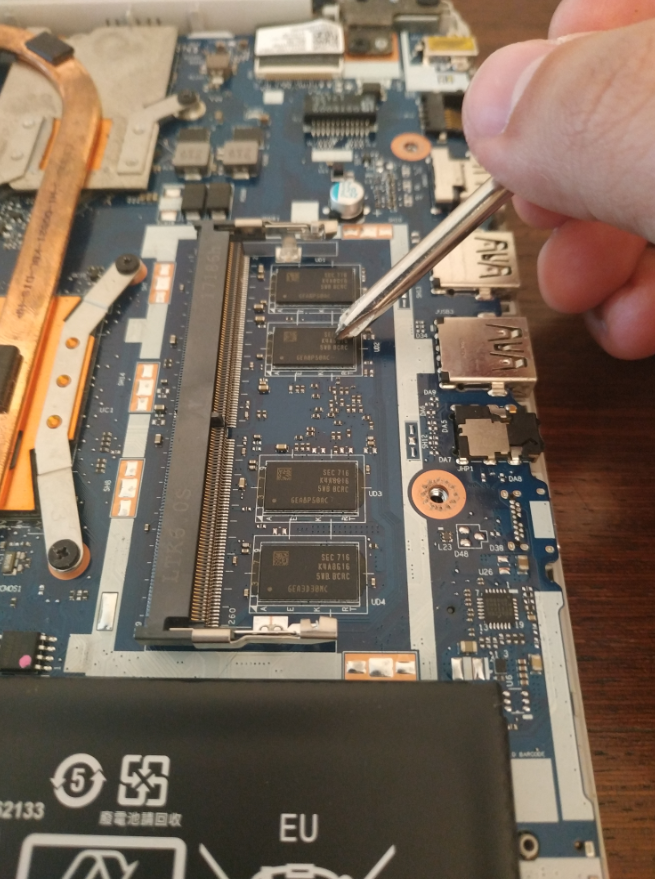
Note: notebooks tend to have 2 RAM slots, one lower and one upper (the memory removed was the upper one). Not always the two slots will be used and in some cases, notebooks can come with rams memories soldered directly on the motherboard, as in the photo
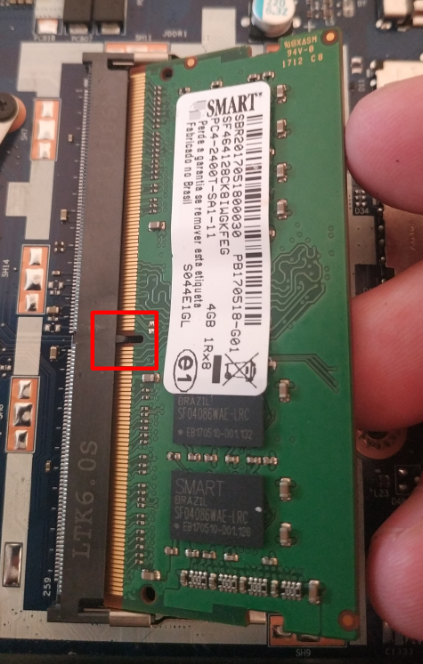
Plugging in the new RAM
Fit the memory paying attention to the characteristic slot:
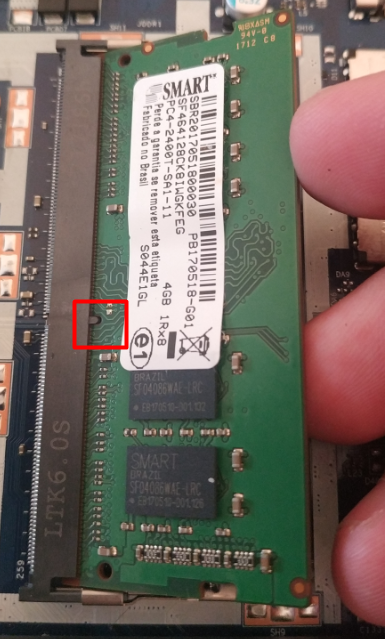
Press down and you should hear a click:

Done! Now just reassemble the notebook and screw it.
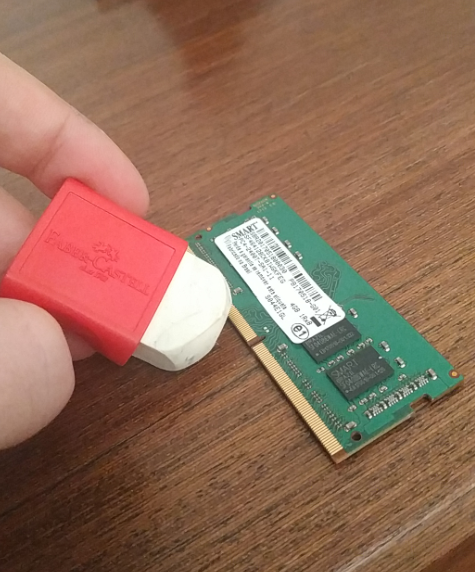
Note: If the memory is not recognized, try cleaning the connectors lightly with a clean white eraser
Feel free to ask and thank you!