Hello Everyone!
First I want to apologize for so much time of absence, I was working a lot and had little time to publish. However I have been able to draw a lot since I am doing many projects with respect to this and at the moment I can publish more drawings, I will do it.
I want to show you another practice that I did, I have been practicing a lot using only charcoal and it has given me good results, I think the textures and the softened is more pronounced.
First I will talk about my materials.
For this illustration I used:
- Mechanical Pencil 2mm./Hb Lead.
- Charcoal Pencil Medium.
- White Pastel Pencil.
- Moldable Eraser.
- Brush.
- Diffuser.
- Charcoal Powder.
- A4 Opaline 180G.
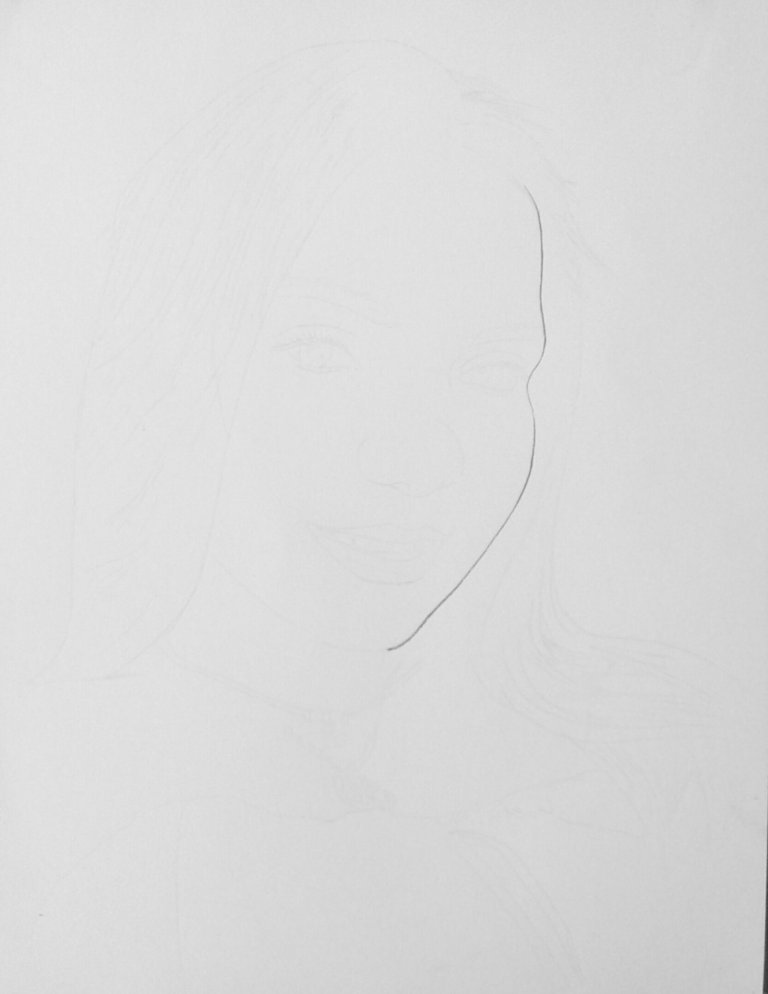
This was the only time I used graphite, just use HB to do the initial sketch.
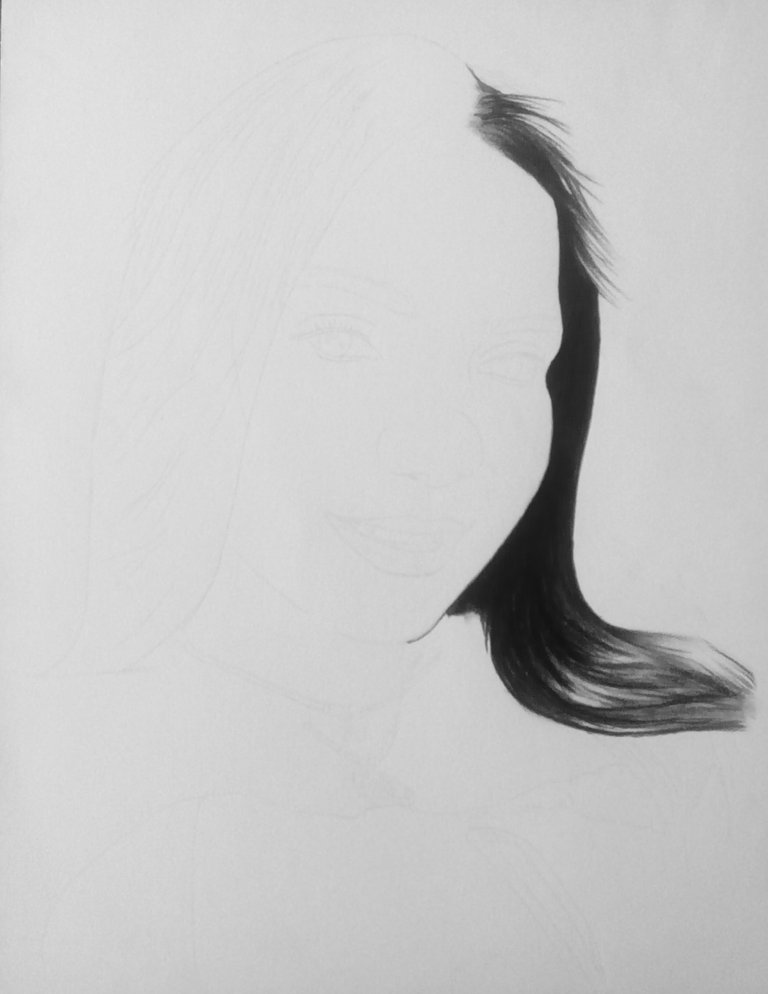
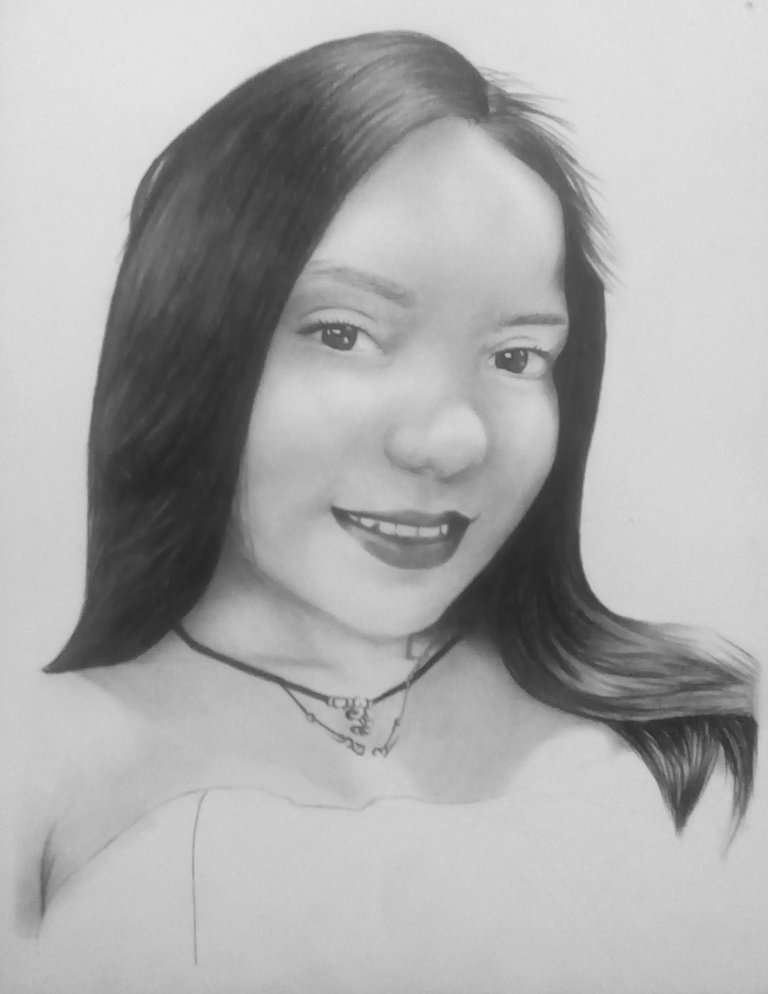
I started by illustrating the hair, it is not common to start by illustrating the hair or with the dark areas, but for me, it is more comfortable since from those areas I could use the charcoal to degrade in the rest of the drawing.
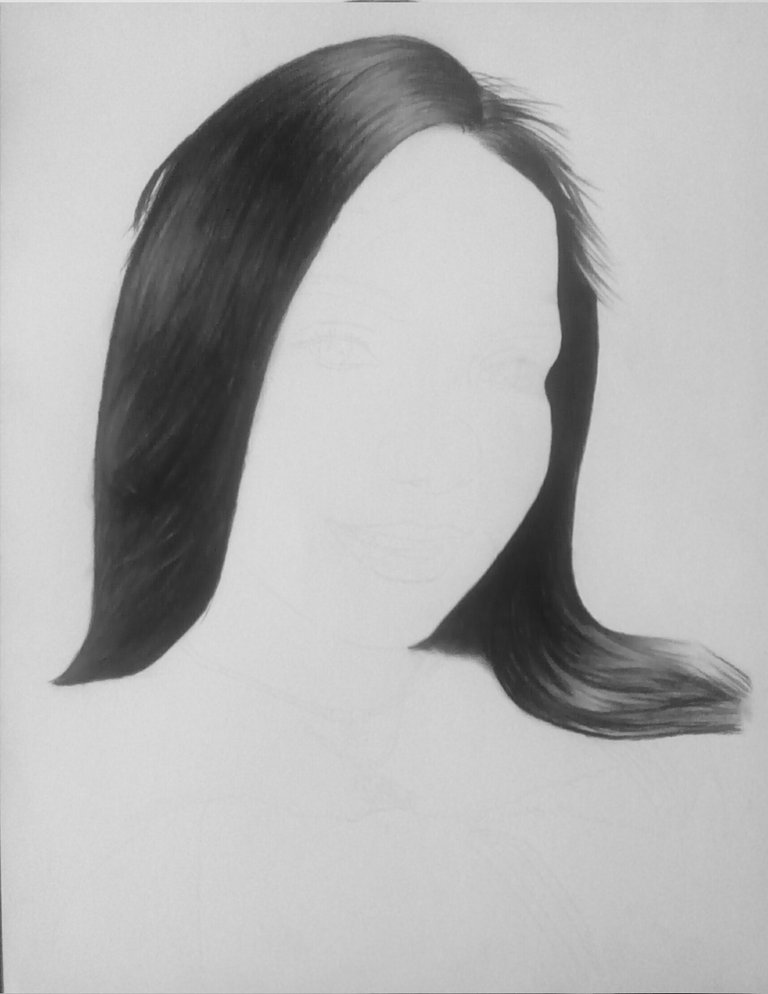

I illustrated the hair making strokes with the charcoal pencil, degrading in the curves where the light is reflected and using the white pastel to pronounce them.
Next, I outlined the eyes, with the fine brush I illustrated the skin using the charcoal of the hair and measuring the quantity, here it is illustrated from dark to light.
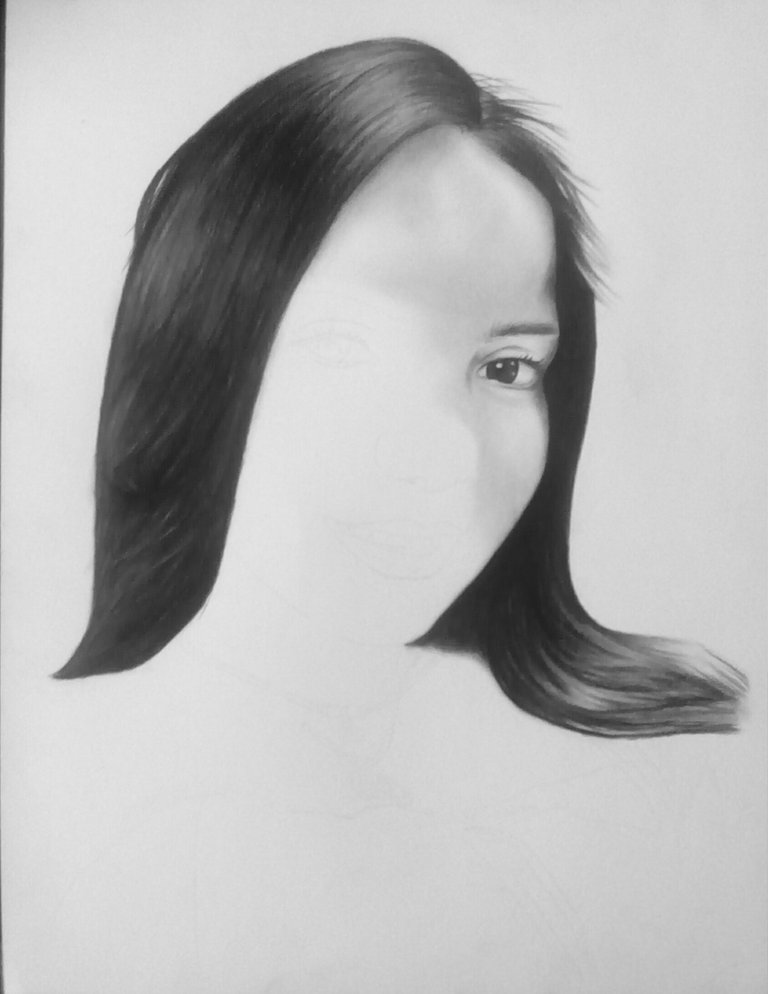
Also on the left side, delineate the eyes, eyebrows, and eyelashes and those dark zones serve to illustrate the face.
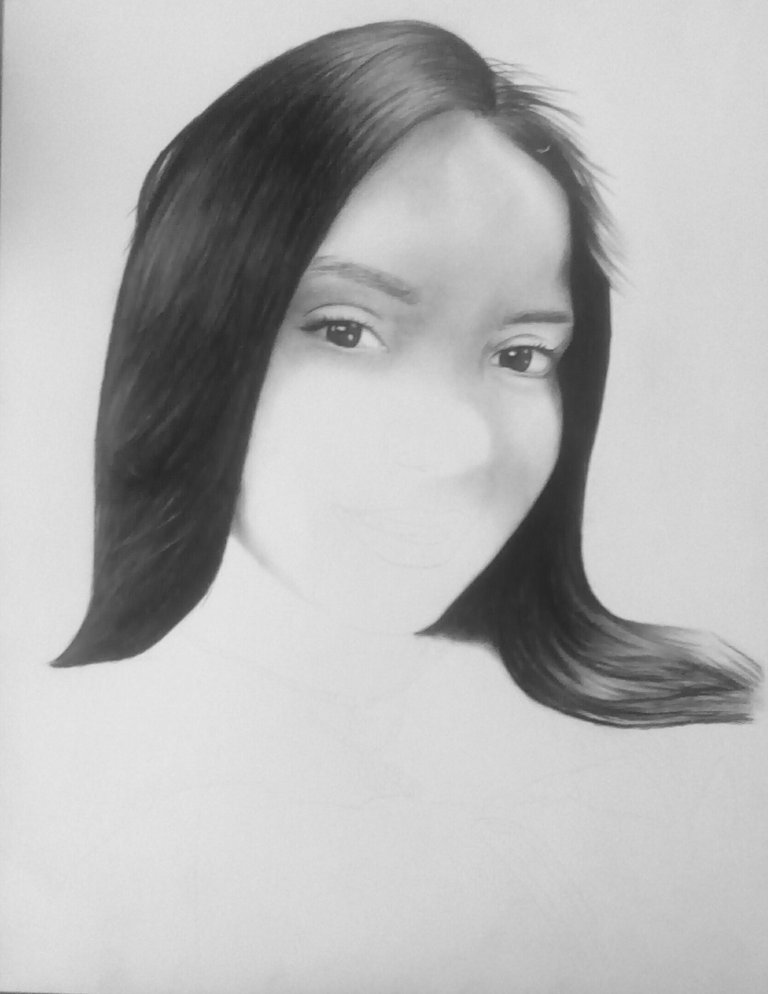
It is a little complicated to use the charcoal to degrade and to give volume, but the brush and the diffuser help a lot given that effect of softness and gradient. However, it is also important to know the scale of gripes and each artist handles his own scale in his mind, so it is a matter of common sense and instinct the way in which the gripes are used.
With the brush and a blur we make the deepest shadows, we must also have knowledge of the amount of light that impacts the body as well as the distance, so we will know how deep the shadow is, in what areas it is more pronounced, more expanded, etc. These are things that with experience and much observation we are learning.
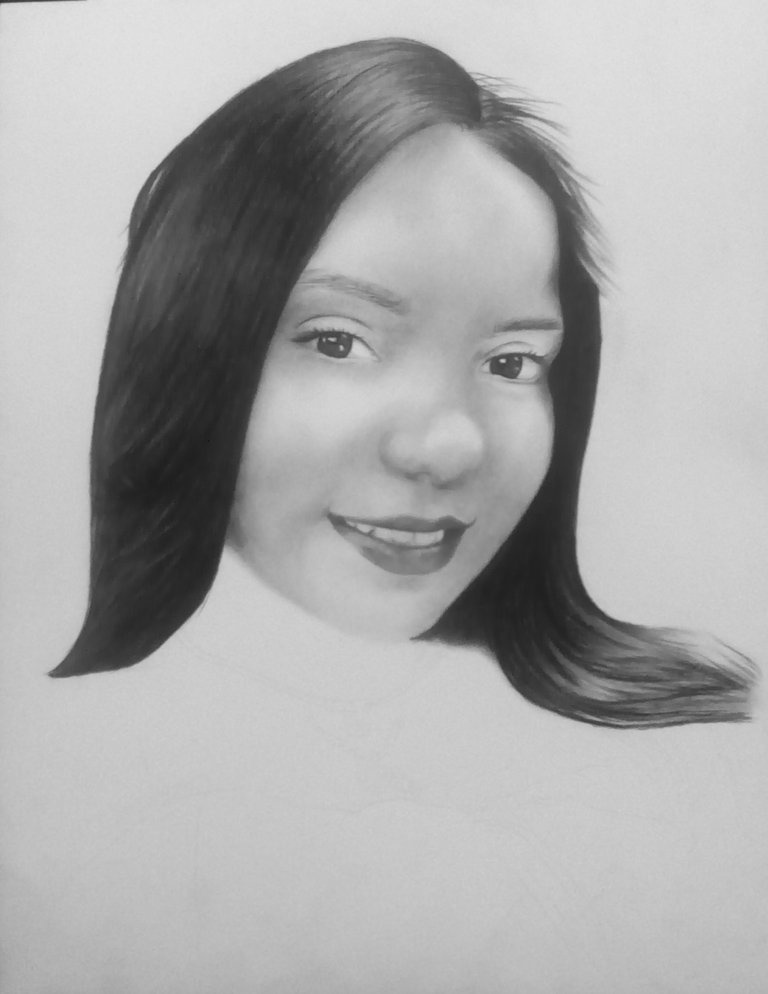
I used a not very dark tone on the lips and smoothed them with the diffuser, using the moldable eraser I made lights on the lips, also on his nose, I must confess that the nose was complicated but I managed to draw it.
- Finally, I was doing details, polishing a bit and with the charcoal powder, I made the dress. I used charcoal powder this time and not graphite because it is a stronger tone and gives me fewer brush strokes more darkness than graphite.
This is the Final Art


This work is licensed under a Creative Commons Attribution 4.0 International License.
This work is licensed under a Creative Commons Attribution 4.0 International License.
Thank you for visiting my post and I hope you have enjoyed this illustration!
Until the next Time!!