Smartphones have been a big part of our daily lives.
And even in our most creative ways in expressing ourselves, can be done on our phones, through the help of these geniusly developed apps that can be downloaded in just one click!
As for me? For someone who is drawn to the wonders of the photo editing industry, who is mostly on the go, I have this special favorite Photo Editor that I use all the time. And I could hint that if you're like me who loves to give a little touch to your photos, continue reading and you might be downloading this app right after.
VSCO CAM
Ever heard of this app? As a fan of this app, I feel much obliged to share with you the wonders of VSCO! From a simple lifeless photo, to eye-catching, stunning picture.
It is pretty simple and neat. Unlike some mobile photo editing apps that are complex. You'll get the hang of it quite easily.
Let's begin!
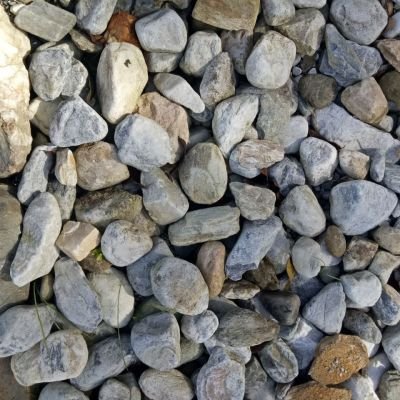
I'll start it off with the original photo taken.
Plain, isn't it? We've got a good angle and perspective here but it really isn't that interesting.
Now, let's work the magic here and I'll guide you all the way through.
- Download the app from Play Store if you're an Android user, or AppStore if you're an Apple user.
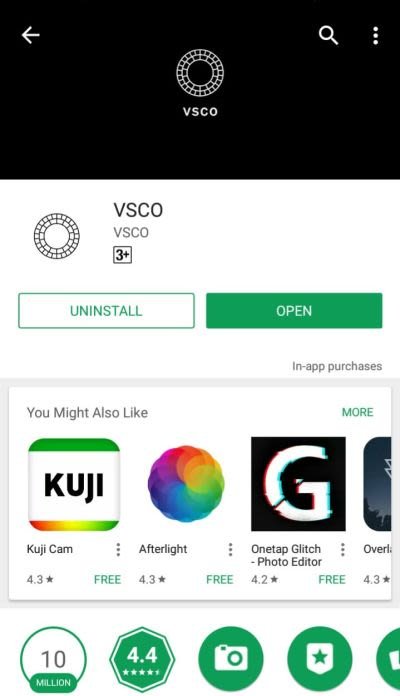
- Launch it from your App drawer

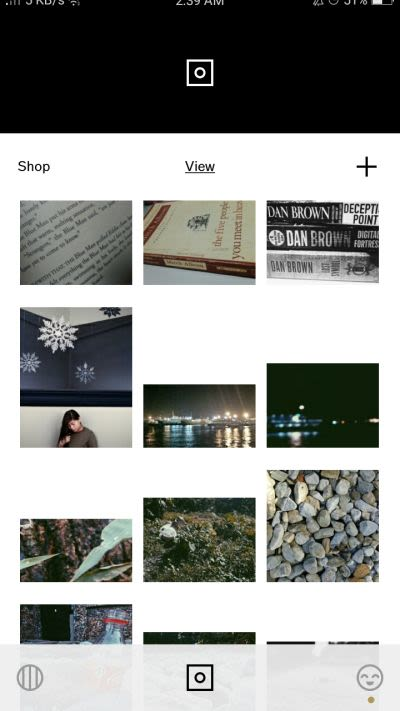
- The app should mostly look like this, it may vary from the type of phone you are using (Android, Apple, Windows phone)

- Now select the camera-like icon in the middle bottom part of the user interface of the app. This will show you your own VSCO gallery where your edited and unedited photos are placed inside the app. If it's your first time using the app, then your gallery must be empty.

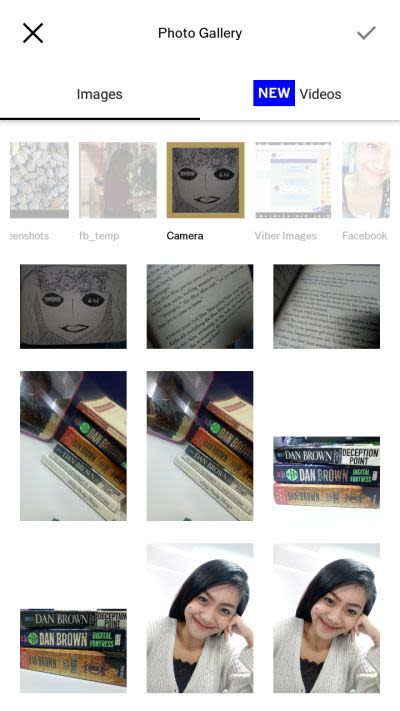
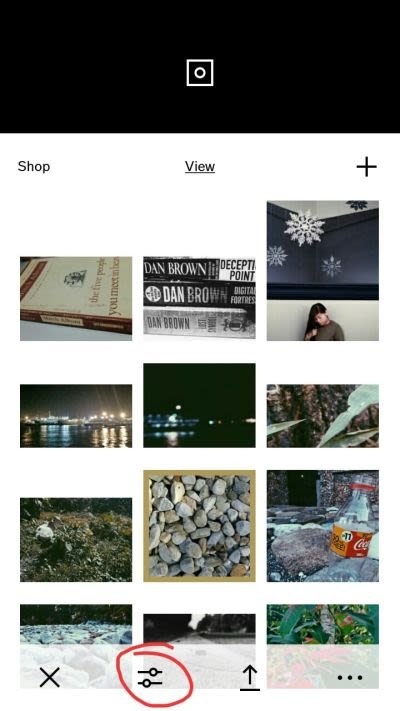
- As you can see, my gallery shows some of the photos I edited and some are still unedited. On the next screenshot, I'll show you how to import a photo. Refer on the screenshot from the previous instruction, just click the "+" sign on the top right corner of the screen. And you'll have this:

- Choose from your photo folders which is the one you'll pick for your editing. As this is only an example, I'll pick any random photo. (Please excuse my selfie photo lurking at the corner of this screen. LOL)
- Once you have chosen the photo of your liking, click on the check mark on the top right corner of the screen.
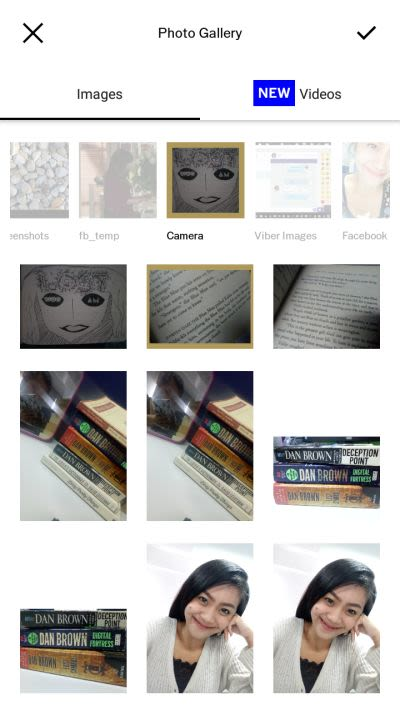
And now you have successfully imported a photo, well done! Let's move on now to the editing part.
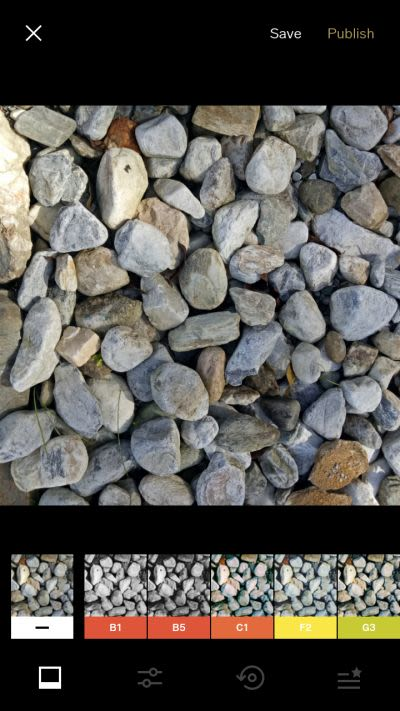
- Select your photo and click the adjustments icon to start.
Your raw photo is ready to be cooked!
- Navigate to the color adjustment section, in layman's term, the second button, to make the color adjustment on the photo to make it more interesting.
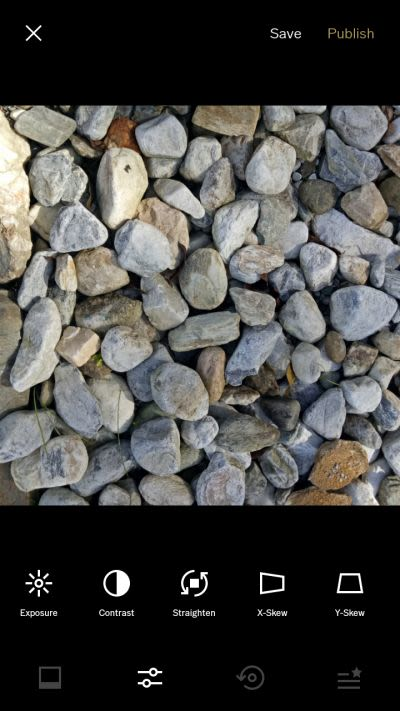
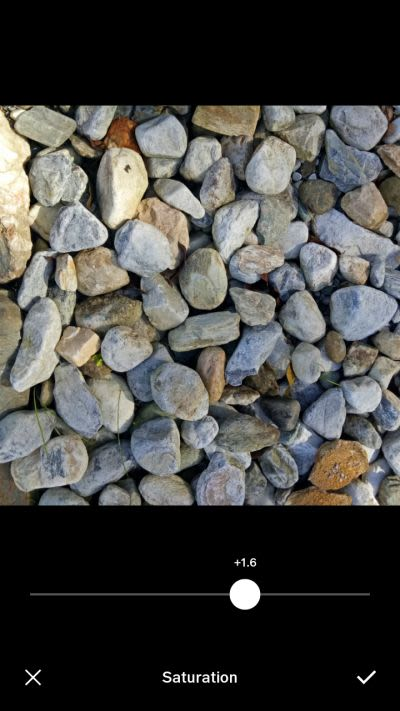
- It doesn't really matter how you start. It all depends on how comfortable you are in mixing your adjustments to the photo. But if you'd take my advice, I'd start with adjusting the saturation because it might be confused with the exposure and temperature. I start off with saturation to get the level I am aiming for.
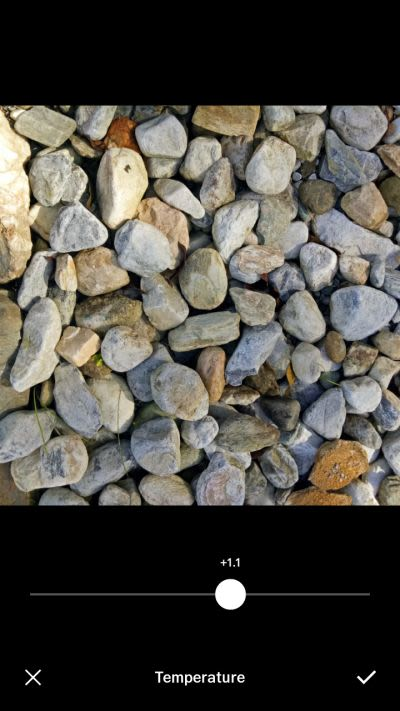
- Adjusting temperature. For what? Adjusting the temperature of the photo gives you that option to change the mood and scene of your photo. Giving it some life. If you're into gloomy shots, go colder. If you're into bright scenes, go warmer. Whatever you feel like, go for it. Make sure you don't go too much as you still have to consider that adjustment blending in with the other adjustments.
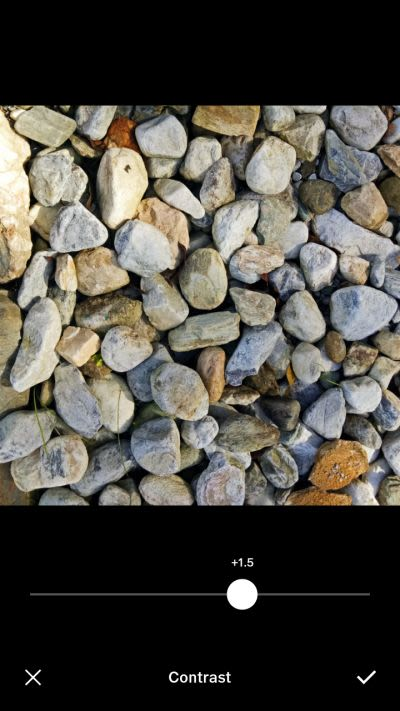
- Time for a little contrast action! Adjusting the contrast to a darker shade sort of gives the image a more intensified look. So, depending on your preferrence or on the photo, contrast must be carefully adjusted.
- Moving to the exposure, just hang in there folks and we are almost done here, setting the right amount of brightness for your photo. Do not apply too much exposure or you just lost all the ingredients of this photo we have meticulously applied.

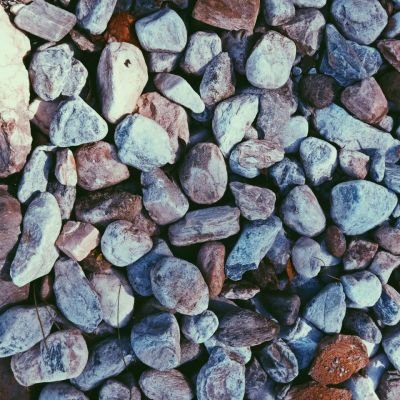
- Lastly! (OMG, we are almost done) Navigate back to the Filters' Section. Scroll through the filters and choose! In this photo, I went with P5. It kinda gives that old cinematic effect. And perfect filter for the stone landscape.

So here's our the finish product! (I describe it like we just cooked some food or created some handcraft, LOL)
This is the end of the tutorial. I do hope I was able to give not only a useful information but hoping you might find it really satisfyingly entertaining too. Let me know in the comments if you have some questions or suggestions. 😊
*Chow!
Keep on steeming!
Please check out our Ohana's blog @steemitfamilyph and join us! Be part of our family who each gives out a helping hand to every member. Or Check out our tag, #steemitfamilyph and discover amazing talents! :)
Thank you for the usual support!


Congratulations @xeccedentesiast! You have completed some achievement on Steemit and have been rewarded with new badge(s) :
Click on any badge to view your own Board of Honor on SteemitBoard.
For more information about SteemitBoard, click here
If you no longer want to receive notifications, reply to this comment with the word
STOPThank you @steemitboard!
I had to see your selfie and Zia's photo :p hahaha
Excellent tutorial on a very good app to use for photo editing.
I am so proud of you Meow!
If you consider on taking smartphone photogtaphy, this is perfect for those shots 😁😀
Apologies on seeing the faces of your favorite dalagang bukids! OMG hahahahahaha
cool! i like how u cooked it! :)
Hahahahahaha I did some cooking there, huh? Thanks! I appreciate you always leaving a comment on my postS 😊😊😊
You were featured on the #36th edition of steemitfamilyph's featured posts. Congratulations!
https://steemit.com/steemitfamilyph/@steemitfamilyph/daily-steemit-family-ph-featured-posts-36
Thank you my dear Ohana!
Very informative! Thank you for the detailed post! :) will definitely try this.
Great! I'm sure you'll like that app specially if you like to take photos thru your phone. I sometimes use it on photos taken through dslr and it turns out magnificent! 😊
And now I've got the app installed on my phone thanks to this. Lol. Great tutorial! Thanks for sharing!
You're most welcome! Happy to share it with you guys here on Steemit 😊
Enjoy editing! Im sure you will love the app 😊
Great tutorial... hoping to learn more from your photography techniques...