In this lesson we are going to discuss the metering on images:
Before taking a photo we have to decide on the following:
- Size of the photo (quality) RAW or JPEG
- Shooting functions – fully automatic or fully creative .
- Lighting meter
- Decide on the lens opening and shutter speed.
- Which method of focussing are you using?
- Composition
- Take a test photo
In this lesson we will discuss the lighting meter (1.2.3)
1. Size of the photo (quality) RAW or JPEG
See Digital photography - Storage
2. Shooting functions – fully automatic or fully creative
See Different shooting functions - Creative photography
3. Measuring methods (Exposures – light meter)
3.1. Light measuring
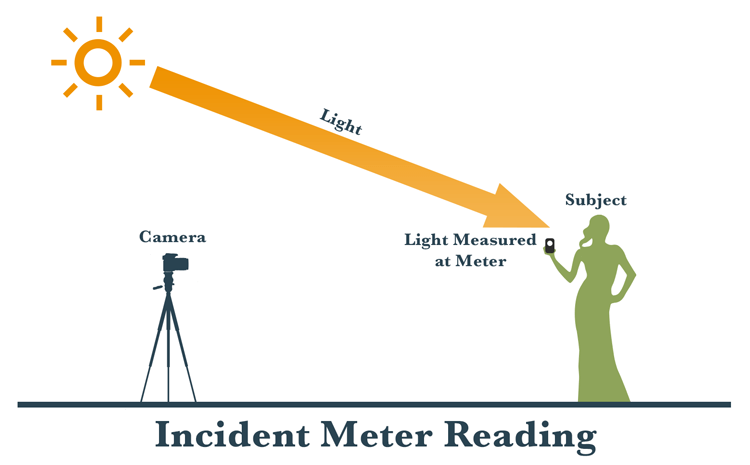
To get a photo, which is not over-or, underexposed, the digital camera needs some help to determine how much light is available.
Years ago, photographers used light meters to measure the amount of light on an object. Today, there are still photographers using the light meters, especially in studios.
The digital cameras of today, has built-in light meters, which measures the reflecting light from the object.
There are 3 common metering modes, all digital cameras has at least 1, but there are also cameras that has all 3.
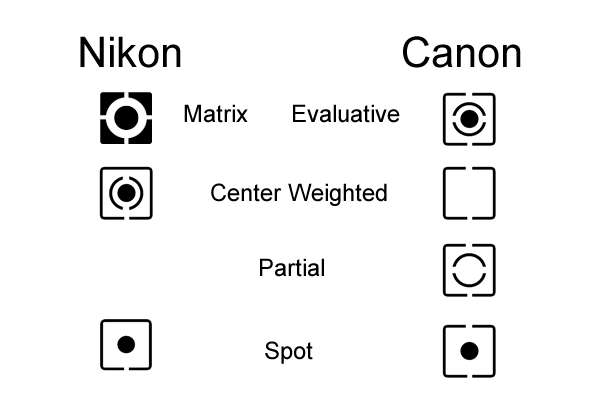
3.2. Centre weighted metering

This is the most common measuring meter. The metering usually takes place in the middle of the photo and sets off to the sides.
The argument for this is that, in most photos, the object will be in the middle of the photo and that therefore there will be enough light.
If there is a very big difference between the lightest and the darkest parts of the image (for example: between the ground and air), the camera will try to find the best setting to give the best lighting.
The metering is good for portrait photos, especially where the person is standing in front of a light background. (Backlighting)
If the object we are trying to capture is not exactly in the middle or the fore- or background is very dark, the light reading won’t be correct.
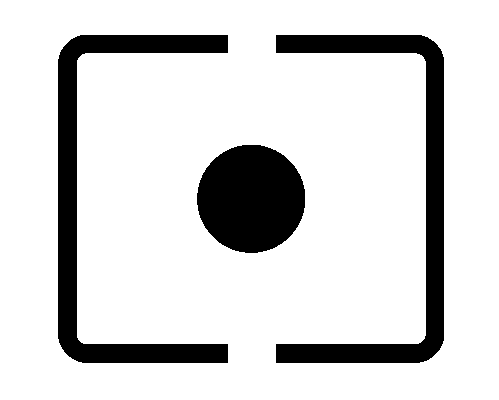
3.3. Spot or partial metering

A light meter reading is only taken from a center point of the object and is set by the camera according to the reading.
Partial measuring only measures about 1-2% of the photo, while central metering measures 9-10% of the photo. This method is used only when the light on the object is totally correct and it doesn’t matter how much or little light falls on the areas around it.
3.4. Matrix/Evaluating metering
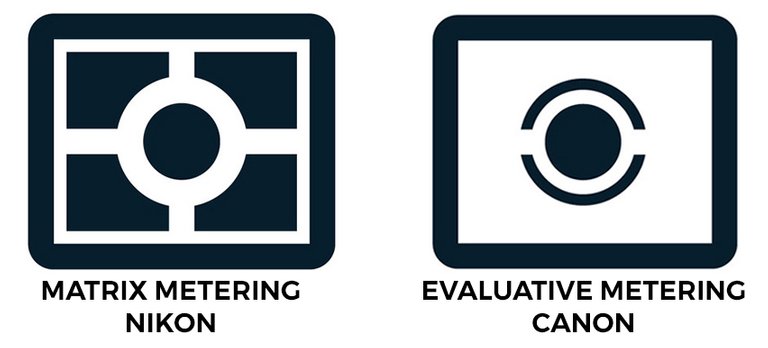
This is the most sophisticated of all the metering’s.
Metering takes place all around the image, from the main object, the fore-and-background etc.
The camera compares this reading with a database of typical photo images and chooses the lighting closest to the database.
In other words, the camera guess which type of photo is taken, for example a portrait during sunset or a landscape with a dark background. With this metering method, the photographer might loose control over some of the camera’s functions.
3.5. Centre weight metering
Between the spectrum of matrix and spot metering, we get the center weight metering. With this method the camera’s light meter will give a reading on both sides of the spectrum and gives the command to the camera to focus on the center of the photo but also a wider area than spot/partial metering.
This method is usually used in bad lighting.
Which one is the best?
So now, which one to choose when taking a photo?
If there are not too much light or darker areas in the image, the matrix/evaluating metering will give the best results.
If there are light and darker areas on the objects or if there is light behind the object or if a certain area of the object must receive light, it will be wise to use one of the other metering methods.