When photographing landscapes, one has to work with available light and this requires continuously improvising and responding to any lighting changes in order to create the desired look.
You can limit the light entering the lens by placing certain filters in front of it but you cannot manipulate the light in the surroundings to become brighter given the intensity and vastness of the landscape.
The amount of light digital cameras can record in a single exposure varies greatly from camera to camera but even with most of the latest cameras, it is difficult to record beyond a range of 7-8 stops when the scene contrast might be as wide as 22 stops.
There are two main techniques employed by landscape photographers in such instances.
The purist approach is to use graduated neutral density (ND Grad) filters which are pieces of glass or resin that are completely transparent at one end and dark at the other.
These filters are available in normal, hard and soft graduation between light and dark, and, in varying intensities.
These filters are essentially used to bring the exposure of the sky down, closer to the exposure required for the ground so that the overall exposure is within range of the camera sensor.
Whilst these filters work very well for landscapes with a straight horizon, they end up darkening any landscape features that may poke up cutting across the horizon, such as buildings, hills or mountains.
Another relatively recent approach that has gained popularity in digital photography is high dynamic range (HDR) photography where the photographer takes multiple images of the scene, without moving the camera, at different exposures to expose correctly for different elements in the scene.
These exposures are combined and blended together, either within the camera or through the use of a photo manipulation software, so that only the desired pixels from each exposure appear in the final image.
The aperture and ISO are kept locked when photographing in HDR as changing the aperture changes the depth of field across images and ISO changes result in different patterns of noise.
The only variable, therefore, is the shutter speed which is used to vary the exposure levels in the sequence.
There are a number of challenges that the photographer needs to be wary of when photographing landscapes in HDR.
Scenic elements, such as clouds, foliage, water, fog etc., are in constant motion and may not line up properly between one exposure to the next and appear as semi-translucent “ghosts” that require manual intervention.
And whilst each exposure brings more dynamic range to the final image, it also brings all the lens and camera sensor artifacts, such as chromatic aberrations and noise, that can get compounded in the final image.
Nevertheless, the latitude and flexibility that HDR photography provides is a huge benefit when pushing and pulling pixel values around during post-production as there are a lot more values to play with in order to create the image you previsualised.
Most of the images in this article have been created using this technique. The camera, lens, aperture, ISO and shutter speeds used to create each image are also listed.
Being far up in the northern hemisphere, the quality of light in the UK is very different and much softer than the harsh sunlight in Pakistan. The constantly changing weather and cloud formations add more drama to the scene.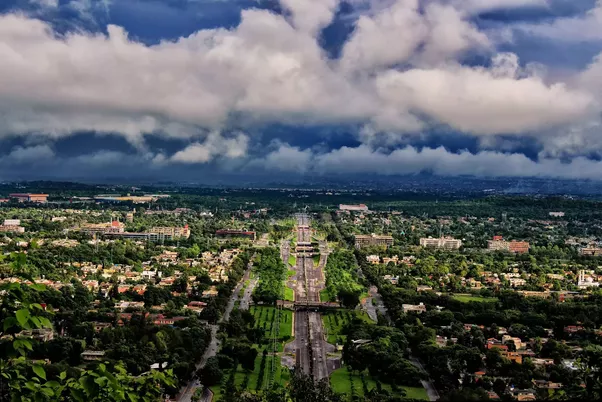
Hi! I am a robot. I just upvoted you! I found similar content that readers might be interested in:
https://www.dawn.com/news/1385622
oh thats mine post