1 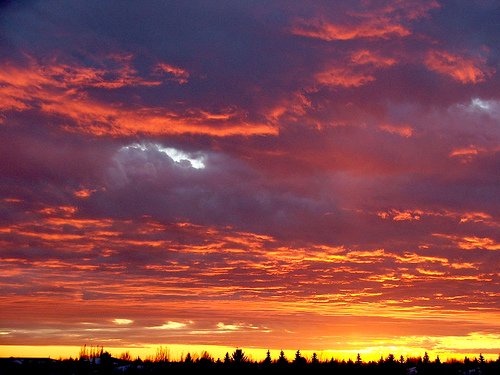
Get out there early. You never know when the best and most beautiful light is going to happen, but it usually happens in a one-minute window, which can be any time within 15 minutes before and after sunset (this, plus the half-hour window at sunrise, is what the folks in Hollywood call "magic hour"[1]). Consequently, you want to be on location at least half an hour before the sun sets, to give you time to look around and set up.
Image titled Photograph a Sunset Step 2
2 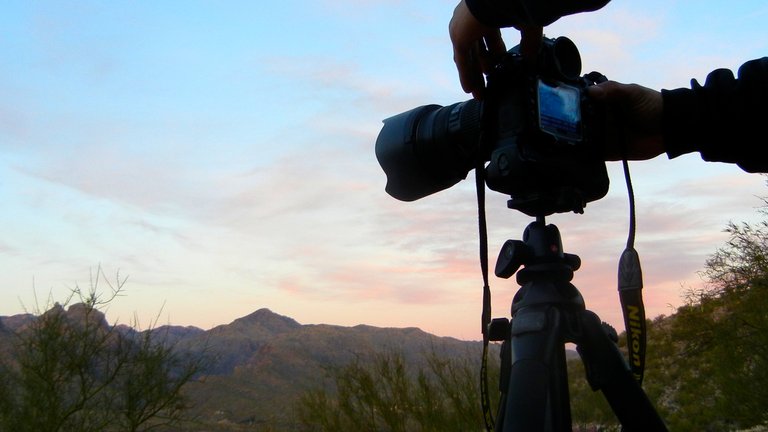
Set up your camera. Alternatively, don't, and skip the technical trivia below if it bores you; some proficiency with these things is useful, but not essential. More important is being out there at the right time. With that said...
Play with exposure compensation (the feature of your camera that makes pictures lighter or darker). You want to make sure that you don't end up with large parts of your sky blown out to pure white. Remember, on digital cameras, you can always recover from all but the most terminal underexposure.
Set your ISO to its lowest setting on digital cameras. The sky at sunset is still bright enough that you can get away with doing this. It'll also give you much more latitude for correcting underexposure, as per the above (since doing this in post-processing inevitably brings out any noise present). Don't increase it unless you have to.
Set your white balance; again, this only applies to digital cameras. Many cameras do a reasonable job of this in "Auto". Others don't; they may see too much red in your scene and try to balance it out (which is not what you want -- the whole point of being out there is to capture these great colours). "Daylight" or "shade" settings are a good bet, but you'll doubtless want to experiment with this. Every camera is different, and some are much smarter than others. Which brings us around to the last point.
Get to know your camera. Few cameras will get a perfect exposure all the time, and many will require tweaking every time. Some cameras are smarter about photographing sunsets than others. Many will require some degree of exposure compensation. If you're using center-weighted or spot metering, you may find it useful to meter on one of the brighter (but not the brightest) parts of the sky, use your auto-exposure lock, and then recompose.
3
Get in the right place. Move around as much as you can and find the perfect angle. There are an infinite number of angles, locations, and compositions you can play with; some ideas, if you're out of them, follow below.
Use reflections off bodies of water, if you're near one. Get down as low to the water as you dare, or do the opposite and go to the highest angle you can get at, to get an entirely different reflection in the water. Try making your picture near-symmetrical, or don't, or try taking a photograph of the sunset through its reflection alone.[2] Experiment! 
Look for interesting silhouettes. Try silhouetting trees, people, or anything else against the sky or the sun.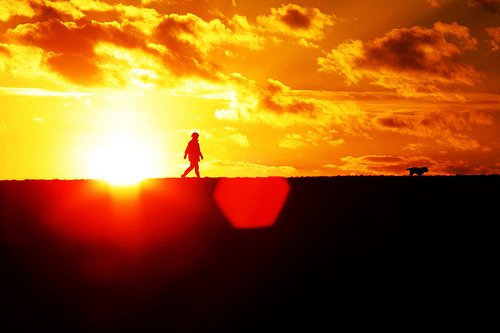
Image titled Sunset_silhouette_681
Play with panoramas, if you don't feel that you're getting enough sky into your picture (this is especially so for those of you with small-sensored digital SLRs). Take several photos with the intent to stitch them together later in software. 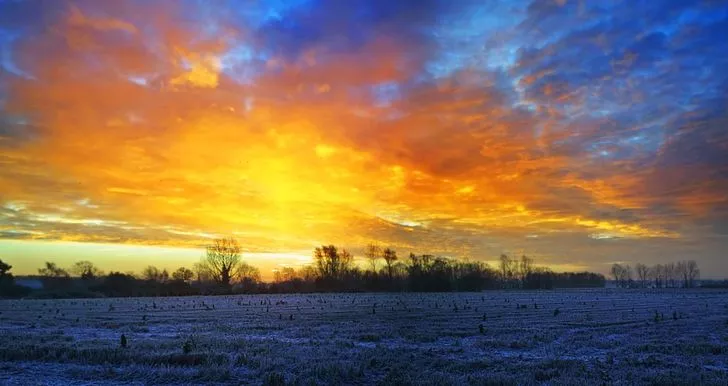
Try using your flash to illuminate things in unexpected ways. Make sure that your shutter speed doesn't go any faster than your camera's rated flash sync speed; it'll either refuse to fire or (in the case of off-camera flashes) cause a large part of your image to be blacked out (of course, if you're clever about it you can use this to creative effect).
Experiment with everything. Doing so is free on digital cameras. The more photos you take, the better equipped you will be in future to recognise peak lighting conditions, to figure out what looks good and what doesn't, and so on. If you're on film, shoot as much as you can afford to get developed.
4
Wait for the sun to be in the perfect spot, and then snap a picture (multiple ones if you have the film or memory card space). Exactly what is the perfect moment is a matter for your artistic judgment. If you're out of ideas, try waiting around for the sun to hide behind a cloud; more often than not you will get very visible sun rays coming from the cloud.[3] 
5
Wait around. Sometimes the most spectacular lighting happens a short while after the sun has gone down. Don't miss it! You don't want to find yourself on the way home (and, worse, stuck in your car) when the sky turns spectacular colours.
6
Develop the film or print out your picture and then enjoy your work of art!
Hi! I am a robot. I just upvoted you! I found similar content that readers might be interested in:
https://www.wikihow.com/Photograph-a-Sunset
Congratulations @muhammadfauzul! You received a personal award!
You can view your badges on your Steem Board and compare to others on the Steem Ranking
Do not miss the last post from @steemitboard:
Vote for @Steemitboard as a witness to get one more award and increased upvotes!
Congratulations @muhammadfauzul! You received a personal award!
Click here to view your Board