Robotic Eye
In this tutorial I will be showing you how to create a futuristic robotic eye. The idea for this tutorial comes from the Droid X commercial were the users eye transforms into a robotic eye after overexposure to the awesomeness of the droid X.
This is an beginner level tutorial so for the most part all the steps should be easy as long as you know how to use a layer mask.
Tutorial Details
Type: Sifi Software: Photoshop Difficulty: BeginnerEnd Result
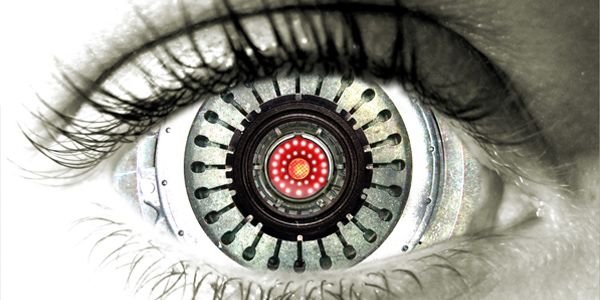
a preview of what you’ll be creating.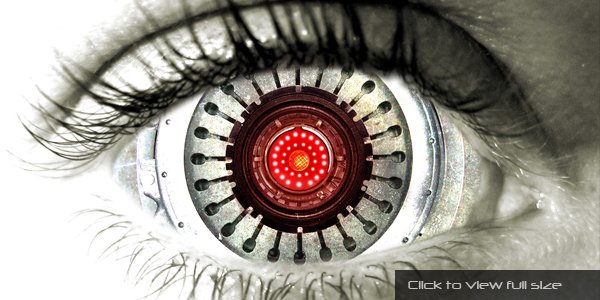
Step 1
The first thing you need to do is find a picture of a human eye. If you want free stock photo that you can use as you please I would suggest that you go to http://www.sxc.hu/. After you pick out a eye you’ll need to select it and go to Images > Adjustments > Black & White and click “OK”. Then go to Image > Adjustments > Color Balance and add these settings.  )

 )
)
Now we need to gather a few source images together and extract the usable parts by using the Lasso Tool to roughly selected an area around the desired region.
Then we need to copy and paste each part into a new document for easy access later on.
I tried to select as many segments of varying size, shape and textured objects, so that I would have a nice selection of parts to use. I ended up using just four parts but it was the huge selection of various images that I had collected that helped me select the best parts for my robotic eye.
Step 2
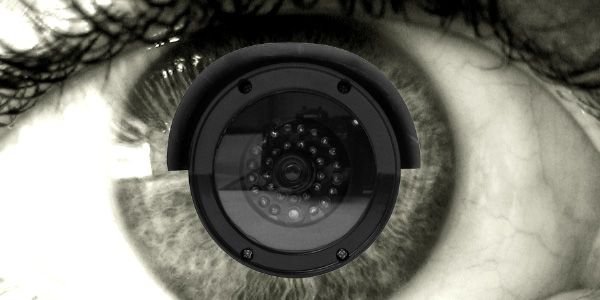
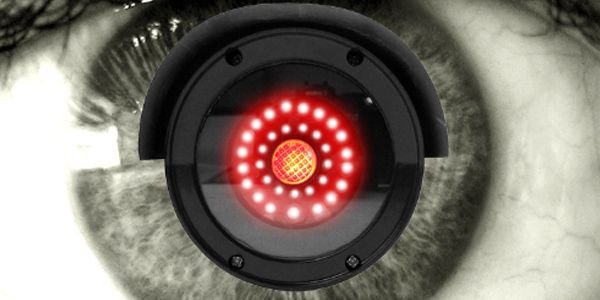
What we need to do now is break up the eye into three basic segments: Cornea, Iris and Pupil. Then we need to take each segment and find a mechanical image that best represents each segment.The first segment that I worked on was the Pupil. The image that I used was a optical lens from a security camera.
Ps. For the best results I would suggest that you find a image that corresponds to your eye. You can always use my images but your best option would be to find your own images.
Step 3
Now that we have our Pupil in place we are going to add a small ring of lights to the inside of the lens. To do this we will need to use a soft white 15px brush and set the following layer styles for each light.  )
)
Step 4
Repeat Step 3 and make a ring of lights that is slightly bigger and surrounds your original ring of lights.
Add this image red-center.png in the middle of your ring of lights.
Step 5
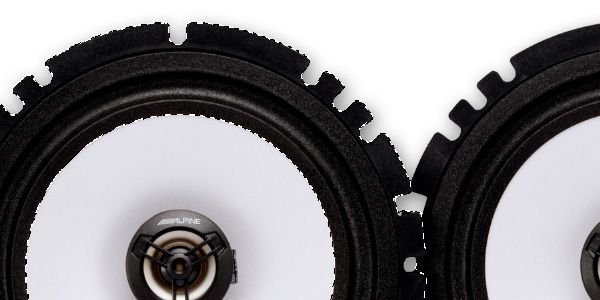
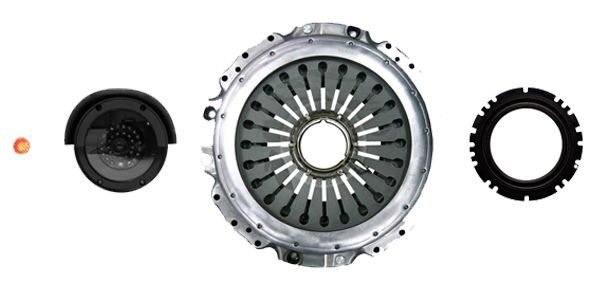
The next segment that we are going to work on is the Iris. For this segment I used a picture of a clutch cover from a car as my iris. I also used the outside edges from a speaker as my inside circle for my iris.  )
)
Step 6
For the last segment: cornea, we are going to use this picture 1engine.jpg of a airplane engine and place it behind our other pictures.  )
)
Step 7
Now we’re going to duplicate the image of our eye and place it at the top of our layers panel. Then we are going to use the layer mask to paint away the inside of the eye so that it reveals our newly created robotic eye.  )
)
Add this texture 127rock.jpg and set the blend mode to Color Dodge.
The last thing that we are going to do is create a new layer and use the brush tool to paint the inside of the eye red. Then were are going to set the blend mode to Soft Light.

Examples
Here are a few other projects that I have used the robotic eye effect with.

End Result
a preview of what you created.
(click to see full size at Deviant Art)
super cool! I like to draw stuff myself, ( although I struggle~) and am barely getting started on digital stuff. This is really helpful! :)