Getting started with 3D printing requires a relatively large learning curve and a lot of effort. This gets even more complex when you consider tools for 3D Printing to increase the quality of your prints. In order to e.g. prevent the printed material from warping and increase the general print quality, we have summarized the most important tools, tipps and tricks to help improve your 3D Printing experience.
Our top 3 tipps and tricks for 3D Printing:
1. Blue Tape
Even if many makers with heated print beds use glue (like Uhu) or spray, we will alsways recommend blue tape first. The reason is that the tape protects the printing plate while glue leaves a sticky surface with remaining filament. Therefore even for ABS which requires a heated printing bed, we advise to use blue tape which you can also find in heat resistend forms. Still, you should always consider that the blue tape may be too hot causing problems. Therefore, you should pay attention to the material specifications and heat resistence of the blue tape in use.
Nevertheless, especially for PLA we recommended using glue (or spray) whenever you print. The biggest two advantages of the blue tape are the increased adhesion and protection for the printing platform. Since the tape is replaceable at any time, no filament or glue remain on the platform.
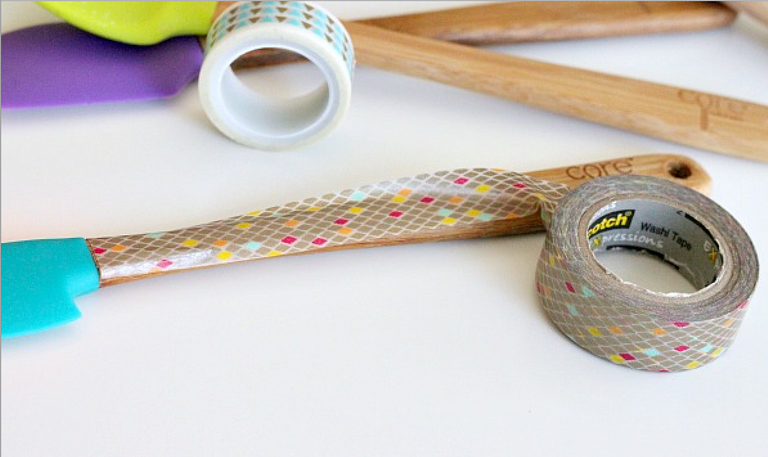
2. A Spatula
Many 3D printers, such as the Flashforge Dreamer, already contain spatulas in their delivery content. After printing an object, it is often surprisingly difficult to solve the object from the printing bed. The spatula helps removing it at the bottom of the 3D object with a low likelihood to damage the 3D object or printing plate (which is unlikely due to our blue tape right? ;)).
Newer and higher-quality devices require fewer tools for 3D printers as the Makerbot Replicator + 5th generation which has a flexible printing plate. Everything is stable and not movable to enable a perfect print as long as the bed is placed on the printing board. After removing the surface of the platform from the board, a very flexible bed remains. Through bending this, the 3D object is easily detached from the ground - this is beautiful innovation!
3. Tweezers / scissors
This auxiliary tool is often included in the delivery packages of 3D printers. It helps with detailed post-printing works in the like cutting off filament that is sticking out. We tend to use scissors rather than tweezers, but everyone has their own favourite. Especially when printing support structures for overhangs, a small and fine pair of scissors is very useful for removing the unnecessary from your actual 3D object. In this case of our tipps and tricks, we recommend you to find a small scissor at home and otherwise buy one from small money.
Conclusion
There are constantly new tools developed for 3D Printing and here we listet our top 3 tipps and tricks for you. Nevertheless, you have to look at each machine separately and analyze what already exists and what you are missing. Just pay attention not to overpay regular tools like small scissors just because they are branded as "3D Printing tool xyz" online.
Feel free to ask us question or have a look at our website my3d.guru/en for more information.
Enjoy creating the world you want at home :)
Join our Discord Channel to connect with us and nominate your own or somebody else's posts in our review channel.
Help us to reward you for making it ! Join our voting trail or delegate steem power to the community account.
Your post is also presented on the community website www.steemmakers.com where you can find other selected content.
If you like our work, please consider upvoting this comment to support the growth of our community. Thank you.