
Welcome to my Blog, which I have decided to start by talking about the interesting distribution of Python called, Anaconda.
Anaconda is an open source Python distribution with a large number of packages used in data science and machine learning. Anaconda is in a nutshell "Python with vitamins". This distribution is developed by Continuum Analytics
It is available for Windows, MacOS and Linux, I must personally tell you that I use Anaconda due to the large number of libraries and tools it offers; otherwise it would take me much longer to install and start up.
Anaconda Installation
The installation of this Distribution is extremely simple, the first thing to do is to visit its Official Website, where we will find you on your homepage with a Button on the top navigation bar, which will allow you to download it. When running it, we will see the typical Windows application installation wizard, with which in a few clicks we will have our application installed and running.
1. In the first step it welcomes us and indicates some recommendations, close the other applications that are running, since the installation may require updating system files and need to restart.
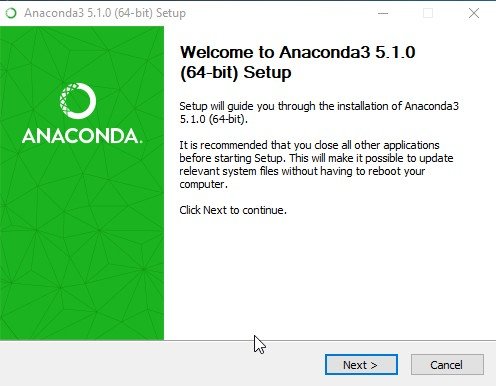
Step 1
2. It shows us the license agreement.
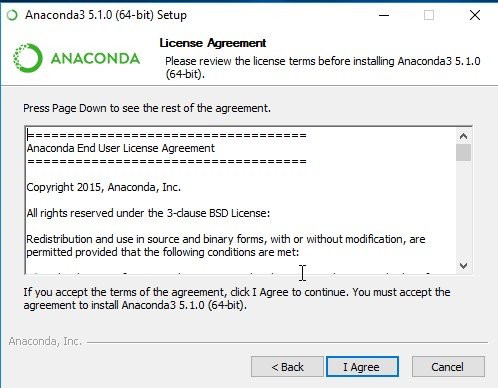
Step 2
3. In the third step, we must select whether Anaconda and all its tools will be available to the current user or to all users..

Step 3
4. We must select the route where the Anaconda distribution will be installed, I personally recommend a short route, for example c:/anaconda3
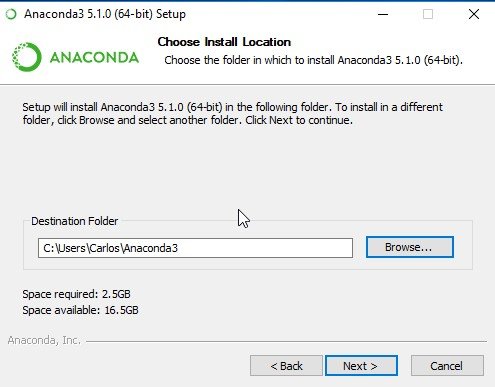
Step 4
5. Then it shows us the advanced installation options, by activating the first option we will be adding the path where Anaconda is installed to the environment variables of the operating system. (This option is disabled by default). In the second option, we register Python 3.6 as the main version of our system, making it detectable and usable by different code editors.
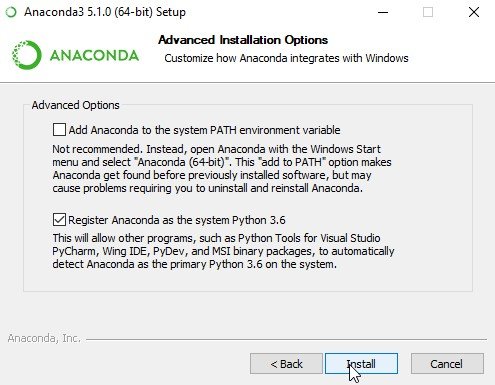
Step 5
6. Once the Install Button is pressed, start the installation process, which unzips the files corresponding to this distribution in the path selected in previous steps.
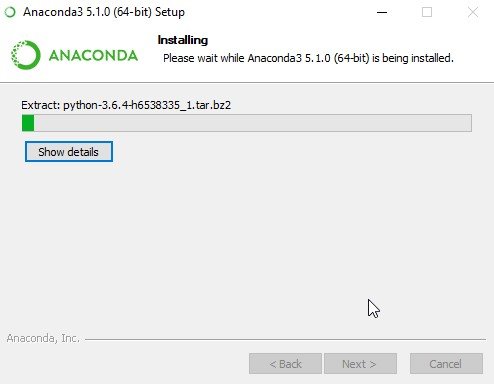
Step 6
7. Once the installation is complete, it offers us more tools, it puts within our reach the installation of Visual Studio Code with just one click..
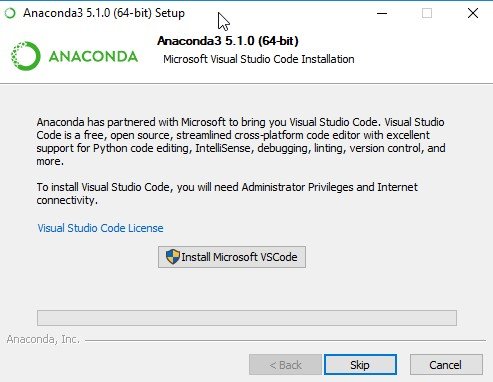
Step 7
8. To finish the installation process, it shows us a message where we can learn more about Anaconda Cloud (which I will explain later) and also a quick start guide with Anaconda.

Step 8
Let's take a look at the start menu...
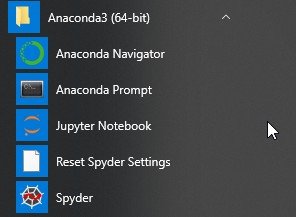
We can see that by accessing the start menu of our operating system, we will have some shortcuts to the main tools that have Anaconda.
Let's see some of the tools that this distribution has:
Anaconda Navigator
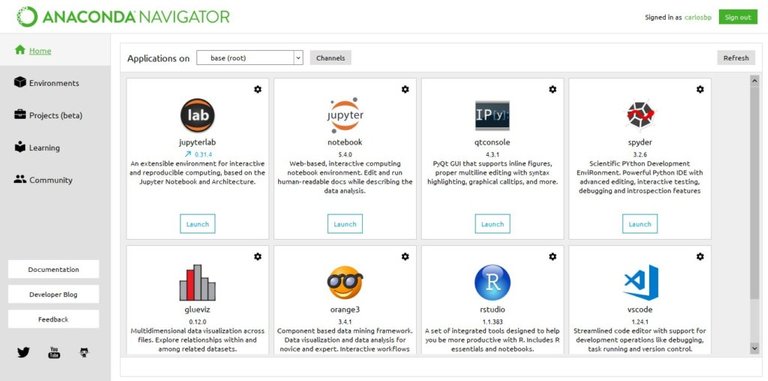
Anaconda Navigator is a graphical interface that allows us to quickly access different applications that will make our programming tasks easier, but that's not all; in addition, Anaconda navigator allows us to create custom development environments, something really useful. For example, if you need to create a project with a particular version of Python, with this option you can do it quickly and easily, avoiding version conflicts between different libraries
We can also view the installed libraries, what version is available, update them if necessary, among others. Undoubtedly Anaconda Navigator is an all in one, it also makes available in the Learning section, a large amount of resources and documentation that will facilitate our learning.
Jupyter Notebook
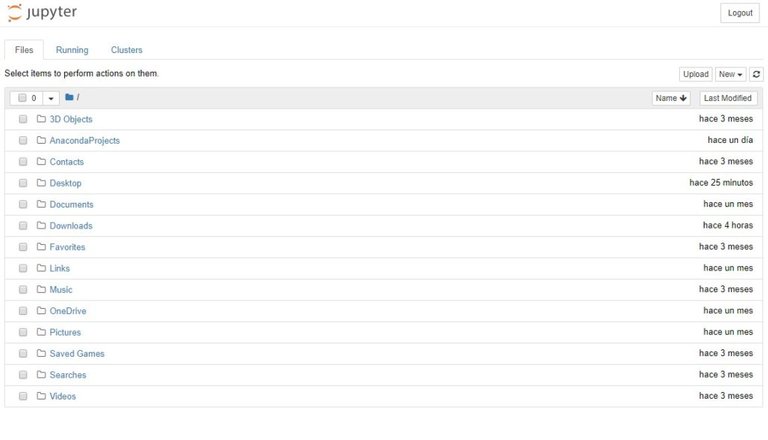
Jupyter Notebooks allows us to use our browser as an interactive shell, with which we can create our projects using different languages, we can also use Markdown, write complex mathematical formulas, visualize graphs, and if that were not enough it allows us to share our notebooks with other users through email, Dropbox, Github, among others.
Anaconda Prompt
For those who use a graphical interface seems boring, Anaconda has a command line, from which we can install libraries, update applications, create custom development environments among others.
Its use is very simple, let's see it, let's check the version of Python we have available, by typing the following command:
python -V.

We see how in this example everything works correctly and we get back that we are using Python version 3.6.4.
As we see the installation and implementation of this great distribution is very simple, saves us having to install different libraries and also in a few clicks we have a lot of tools, this has undoubtedly made it the favorite distribution of many data scientists.
I hope this description will be useful and allow you to take your first steps in the exciting world of programming.
With this I say goodbye, I'll wait for you in the comment section..
Congratulations! This post has been upvoted from the communal account, @minnowsupport, by carlosbp from the Minnow Support Project. It's a witness project run by aggroed, ausbitbank, teamsteem, theprophet0, someguy123, neoxian, followbtcnews, and netuoso. The goal is to help Steemit grow by supporting Minnows. Please find us at the Peace, Abundance, and Liberty Network (PALnet) Discord Channel. It's a completely public and open space to all members of the Steemit community who voluntarily choose to be there.
If you would like to delegate to the Minnow Support Project you can do so by clicking on the following links: 50SP, 100SP, 250SP, 500SP, 1000SP, 5000SP.
Be sure to leave at least 50SP undelegated on your account.