
I decided this weekend I would like to try and fly a plane. Only problem, I've never tried this before... and I have no remote control, no plane, no idea how to fly one. (OK, that's a few problems, but lets not get bogged down counting problems here, or it'll be a really big post)
I then spent a day or two researching controllers, prices, shipping costs, factored in receiver types and intended uses. This took me a while all by itself. All links are just examples, and I'm not trying to advertise them, they are for price and visual effect.
Step 1: Remote Control
There are many options for a remote, but, I wanted to have the most options and pay as little as possible. Some remotes by can cost upwards of a thousand dollars for the top end, or as low as 30 for a 3 channel controller. Each 'channel' can give you the option for controlling a motor or servo, so, the more the better as it will give more options for future builds.
I also wanted a transmitter that has a removable module, so I have the option to connect to as many receivers as possible, specifically, the DSM2 Bind and Fly (BnF) which is quite popular for mid range drones and planes.
All of my googling came to an end with the FlySky FS-TH9X 2.4G 9CH Transmitter
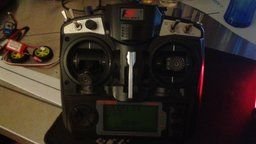 Which I then upgraded using Smartieparts.
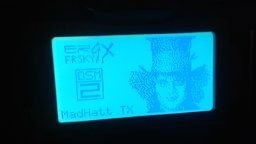 Downloaded EEPE and then I flashed a new ROM.
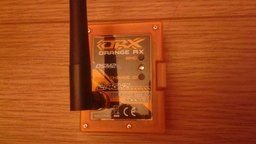 Purchased the Orange RX DSM2 BnF module.
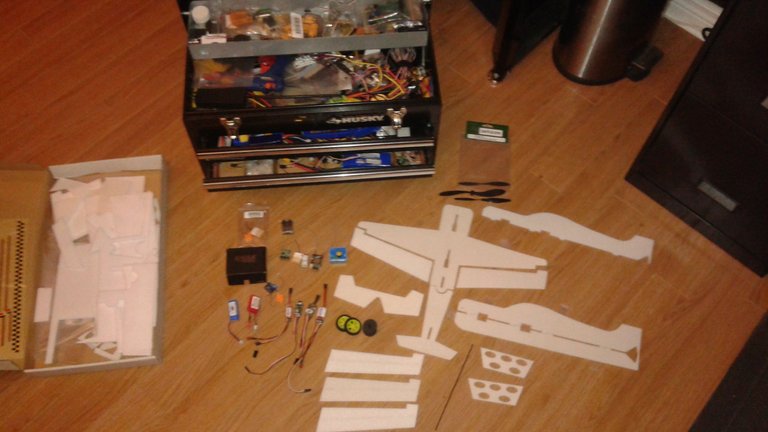
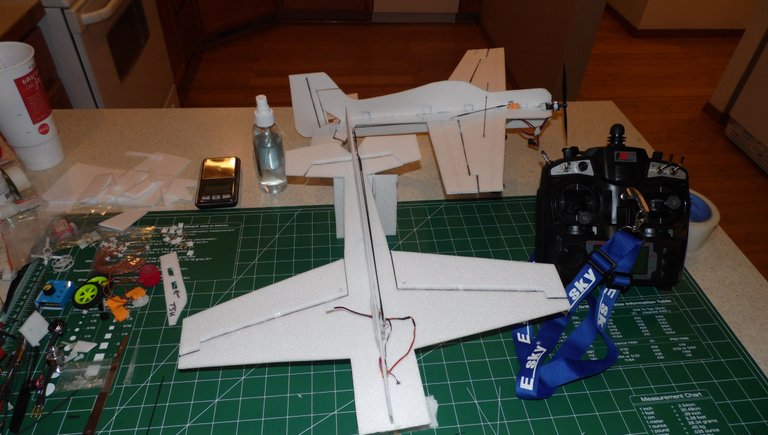
Step 2: Airplane Construction
There are many options available here.- Build your plane from scratch.
- Purchase a plane that someone crashed and try to fix it, might get lucky on ebay
- The easiest, yet most expensive, is to purchase a fully built plane.
I picked all of the above for this step, as it was more for my education than anything.
After some more googling, I stumbled upon UMX™ Beast 3D BNF Basic with AS3X®. It is a small, indoor, outdoor flight stabilized 3D plane that seemed to be a pretty good suit for what I was looking for.
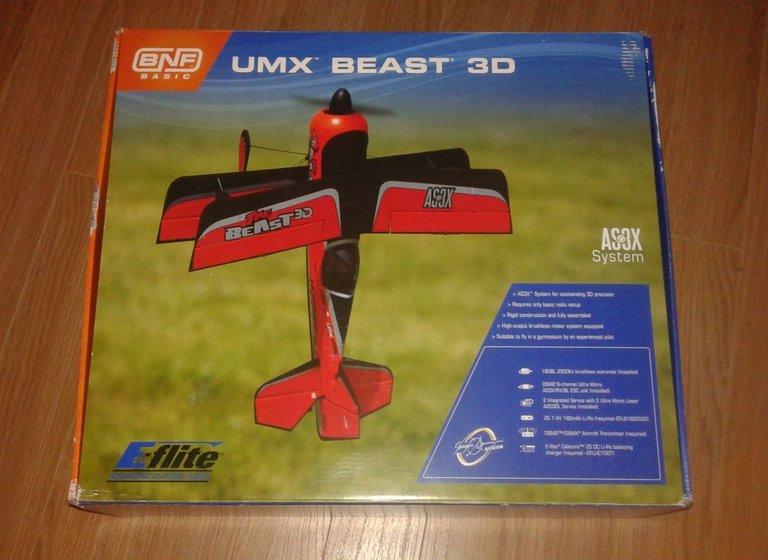
The orange module installed on the transmitter now works perfect with the Beast and is very simple to bind . But, there is no way I want this plane to be my first flight, as it would be destined to crash, so for now, this will be a treat for when I master this hobby, as I'm just starting out. I also happen to to be lucky enough to pick a listing off ebay, where it was just the motor and receiver. It was listed as working, for 50 bucks.
When looking up the properties for this plane, I see the plane has a Flying Weight of 2.54 oz (72 g). So, while making my test version, Ill need to stay under that.
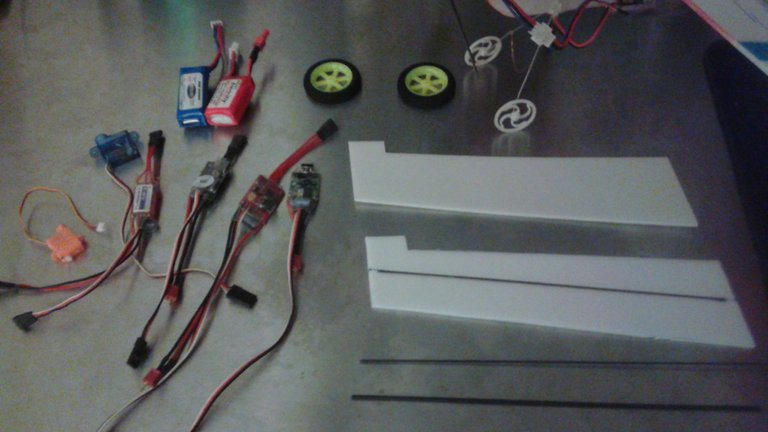
 Foam supply for future crashes.

There are many ways this can be completed but I wanted light weight, as it would do less damage when hitting something. The all in one receiver from Ebay would be easiest, plus some carbon fiber reinforcement of the wings for stability in flight.
Step 3: Flight
I take my new plane out, and head to the beach. Its a beautiful day.
While flying my plane I quickly notice one major error. The plane hasn't been colored in. Its completely white. While I can see it in the distance, I cant tell which way is up, and my barrel roll turns into a death dive and only bits of foam wash up on the beach. Lesson learned. I head back home. Time to decorate.
Problem number two was I neglected to balance the plane.
Step 2: Airplane Construction
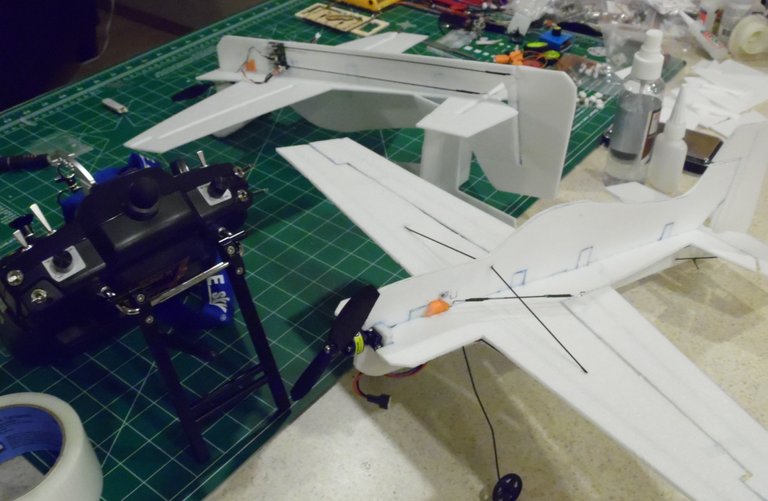
I used sharpies to color this in, as that was on hand, and some chemicals will melt through foam, I was careful with my selection of glue as well.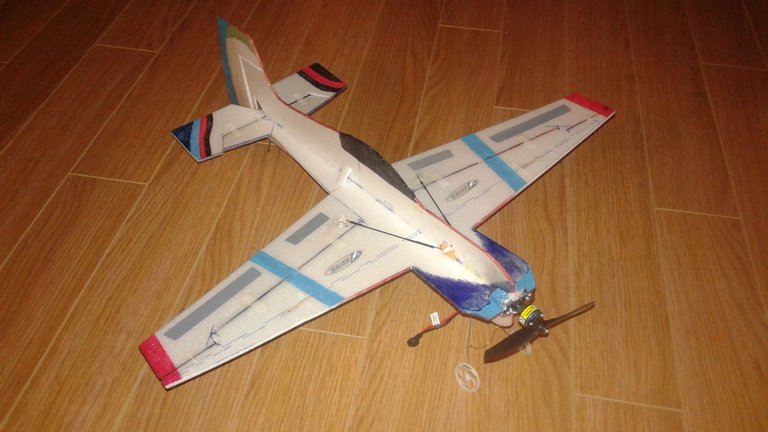
The plane should be balanced so while holding it its level, and close to the front edge of the plane. Hold the plane by the front and back to make sure it doesn't twist too much left or right. Make modifications now to minimize problems later.

I made a few, and I'm learning as I go. Just thought Id take a minute to share the progress.
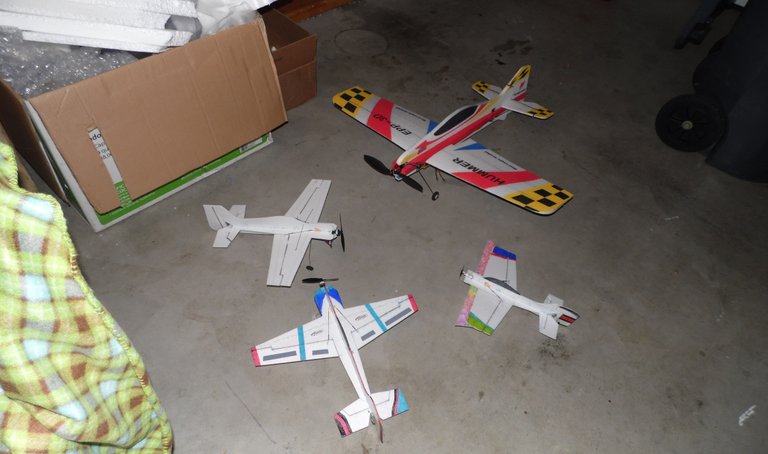
With the large supply of foam, I can now fly these until I break it, then rebuild and try again. It gives me a lot of freedom with creativity and to try and come up with something new.....
There is a pretty good supply of premade planes you can print out found here.
Thanks for coming by to check out my
WEEKEND

This post received a 34% upvote from @randowhale thanks to @illestbambi! For more information, click here!
Awesome build dude!
Building your own R.C models is something I've been wanting to get into.
Interesting stuff.
Resteemed!!!!
I have the follow up post for a quadcopter coming.
I've found that is a much better place to start, as it is cheaper, and much easier to fly indoors.
It's a fantastic toy.
http://www.top10drone.com/top-10-best-indoor-drone/
Very nice build! I learned how to fly RC planes on a foamie as well. How much did the entire setup cost including materials and electronics?
Controller - 122.00
Smartiparts - 35.00
Batteries - 200.00
Plane parts - 120.00
Electronics - receiver/motor - 150.00
Its expensive to start, but, the plane parts was mostly a huge box of foam and some carbon rods.
I can make many more designs in the future, or after a crash. :D
Thanks for checking out my post!
Hi! Have you heard about @krwhale? It is similiar with @randowhale. For your information please click on.
THIS SCAMMER IS NOT THE SAME AS @randowhale! @randowhale is the ORIGINAL UPVOTE BOT. THIS BOT IS A SCAM AND A RIPOFF. Only use @randowhale!!!