Wallet Demo: http://ripplerm.github.io/ripple-wallet
Source Code: https://github.com/ripplerm/ripple-wallet
Overview
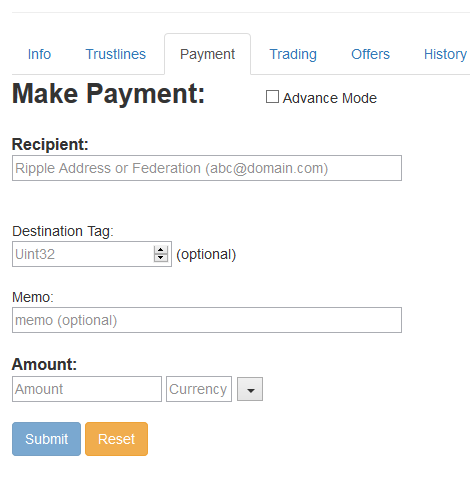
The GUI should be self-explanatory.
Recipient Input from Contacts list:
Besides normal ripple-address, you can also choose to input a name of Gateways or your Contacts, a list will show up for your selection when you are typing:
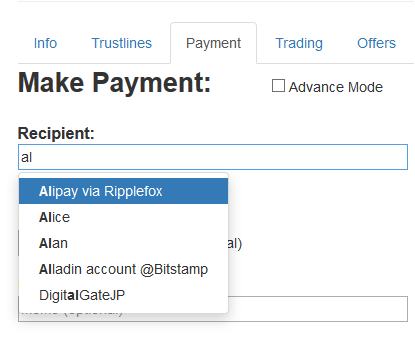
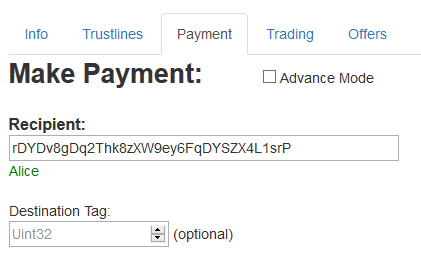
When selected, ripple-address of the gateway/contact will be filled in Recipient box, and the short (nick)name will appear below the box, in green-font. A destination Tag will be auto-filled if it's saved in the Contact list.
Path Options:
After input an amount & currency, ripple-wallet will start searching for payment paths, then displaying some options that's could be sent out from the user account:
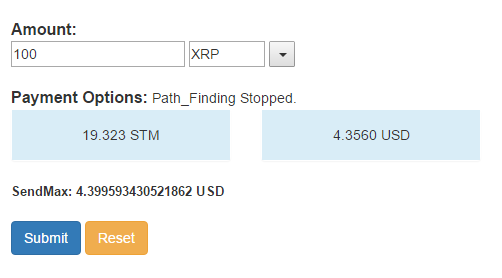
Simply make a selection by clicking on any of the Payment Options. By default, the value of SendMax will be set 1% (slipage can be configured on the wallet's Setting tab) higher than the calculated path.
For XRP-to-XRP payment, just click Submit without selecting any payment path.
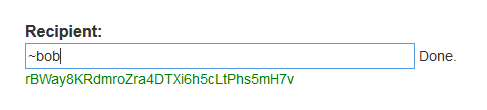
Ripplename
The Recipient input support using of ripplename (start with ~):
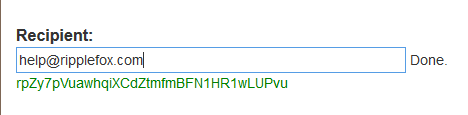
Federation Address and Services
Support for email-type address:
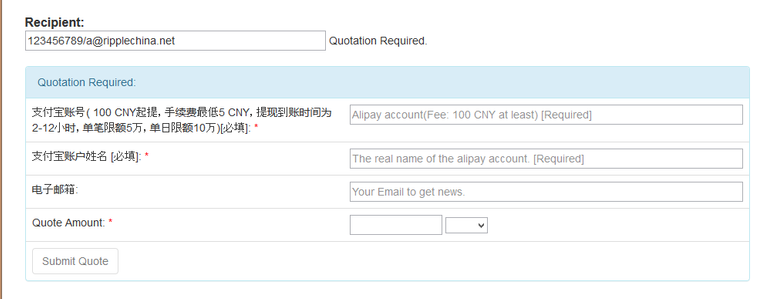
Some services provided by gateways require quotation. For example, to use the withdrawal service by RippleChina (federation address <phone-number>/[email protected]), you will see:
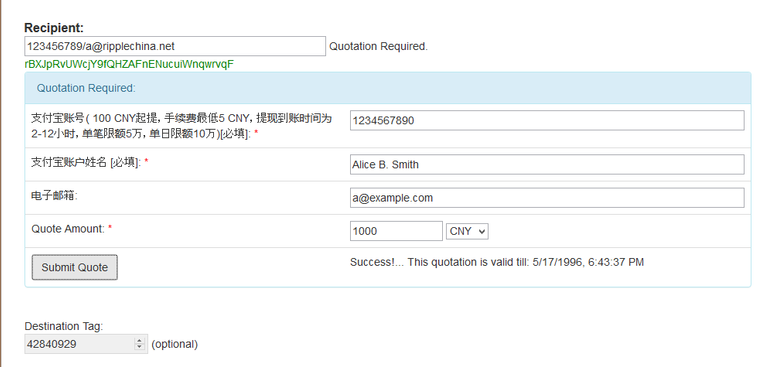
Only after filling and submiting the quotation form, you could get a receiving ripple-address and destination-tag (and InvoiceID) from gateway's server:
Advance Features
Ticking the box Advance Mode will allow users to construct a Payment with more advaced features. Only for those who understand the details of RCL's transaction format.
Related Articles:
Previous: Managing Trustlines
Next: Trading / Exchange