English
Hello friends of Hive!
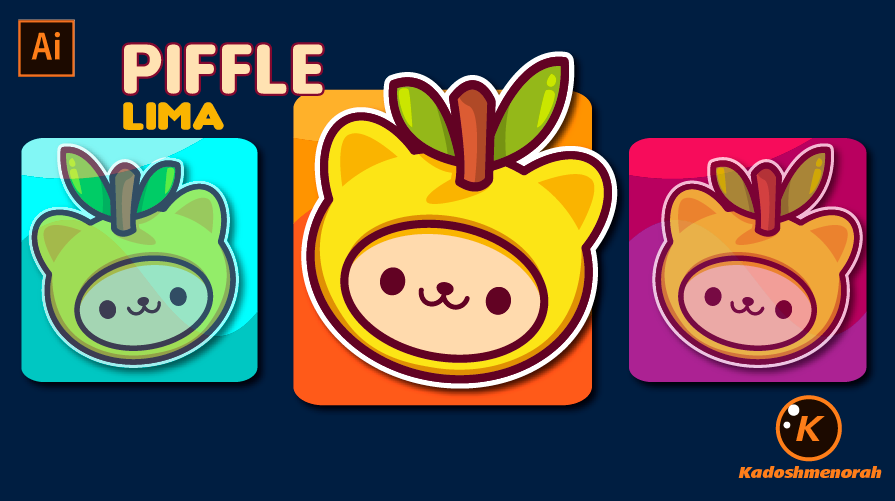
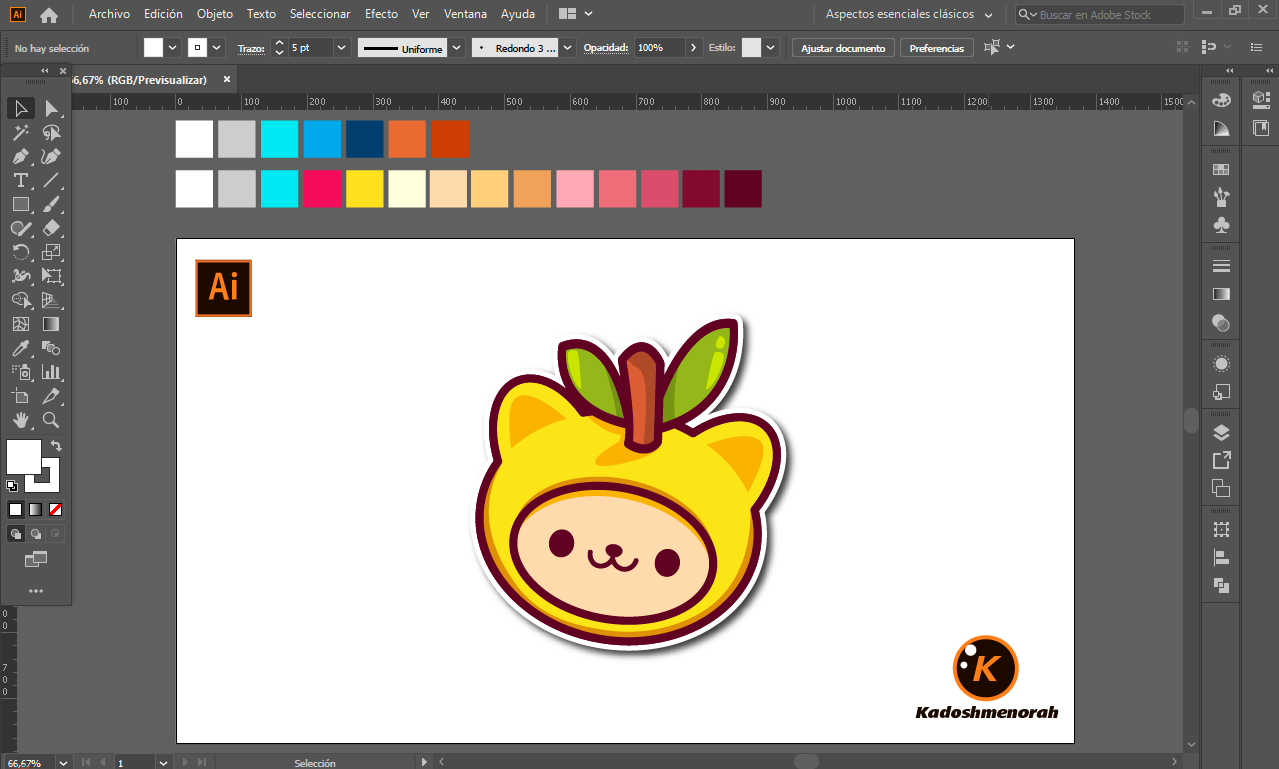
Happy Friday everyone, today I share with you a drawing for the little ones of the house, a drawing of Ball Lima, from the Piffle world. Lima, is a fictional kawaii character from the Piffle video game, which is a puzzle game full of challenges with cute animal balls. This work, is a vector drawing made in adobe illustrator sticker style. I hope you like it.
Español
¡Hola amigos de Hive!
Feliz viernes a todos, les comparto el día de hoy un dibujo para los más pequeños de la casa, un dibujo de Ball Lima, del mundo Piffle. Lima, es un personaje kawaii ficticio del video juego de Piffle, el cual es un juego de puzle lleno de retos con tiernos bolas de animales. Este trabajo, es un dibujo vectorial hecho en adobe illustrator estilo sticker. Espero que les guste.
Translated with www.DeepL.com/Translator (free version)

PROCESS / PROCESO
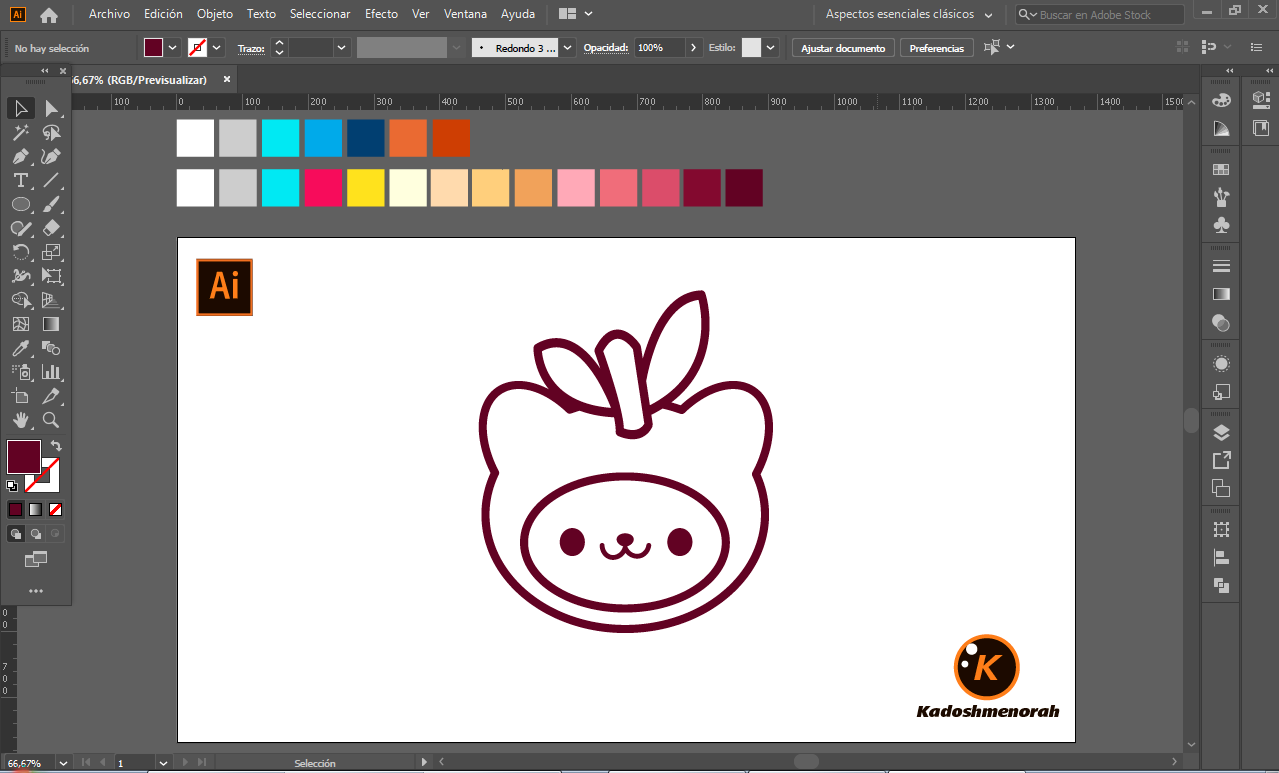
Paso 1 / Step 1
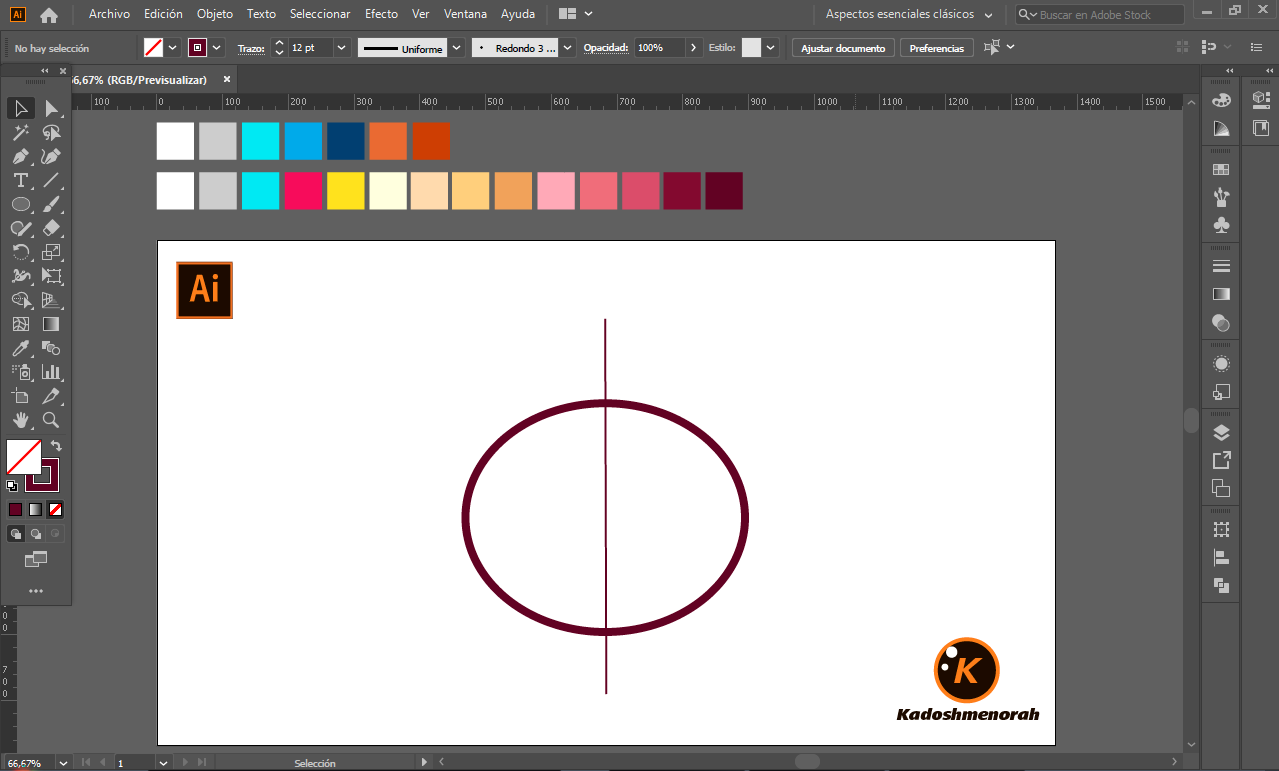
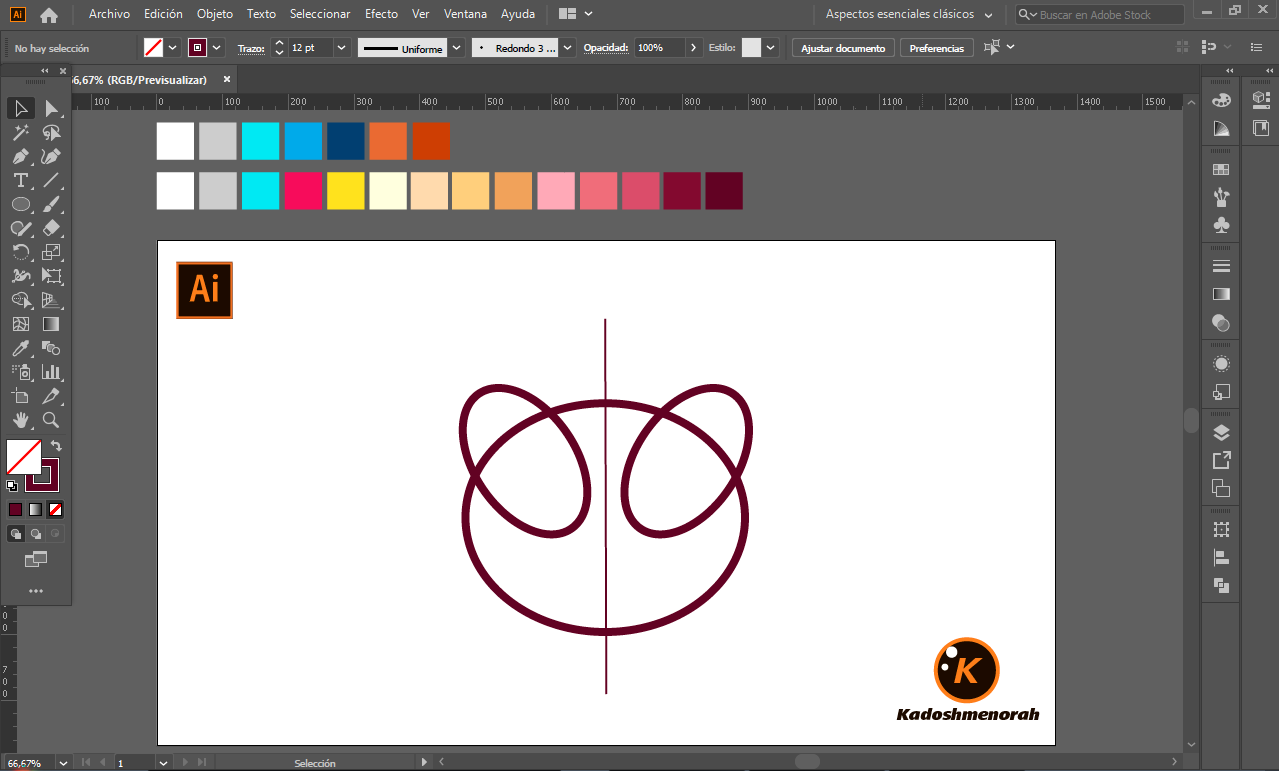
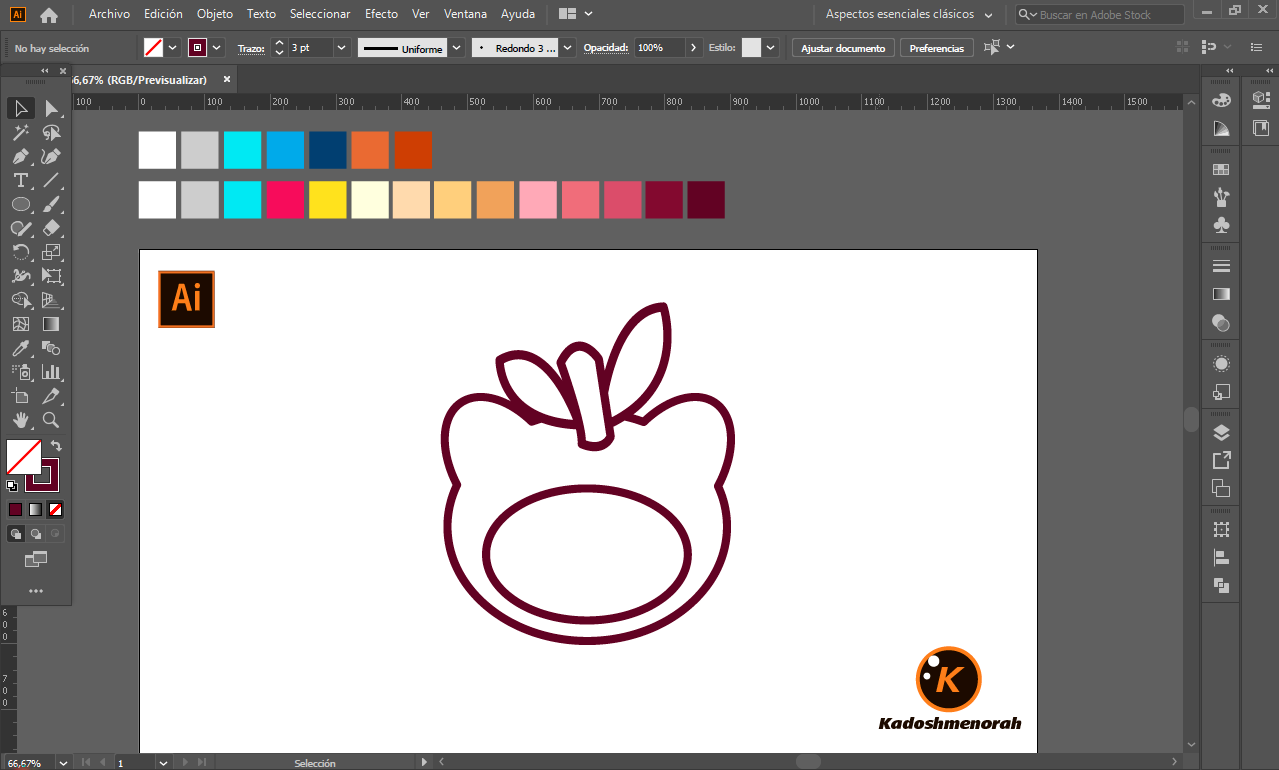
Lo primero que hice, fue dibujar una línea guía vertical para realizar la estructura del boceto, luego un ovalo principal para la cabeza y otros para las orejas y la cara, luego dibuje una rama de lima o limón y por último los ojos y la boca para así tener el line art.
The first thing I did was to draw a vertical guide line to make the structure of the sketch, then a main oval for the head and others for the ears and face, then I drew a lime or lemon branch and finally the eyes and mouth to have the line art.

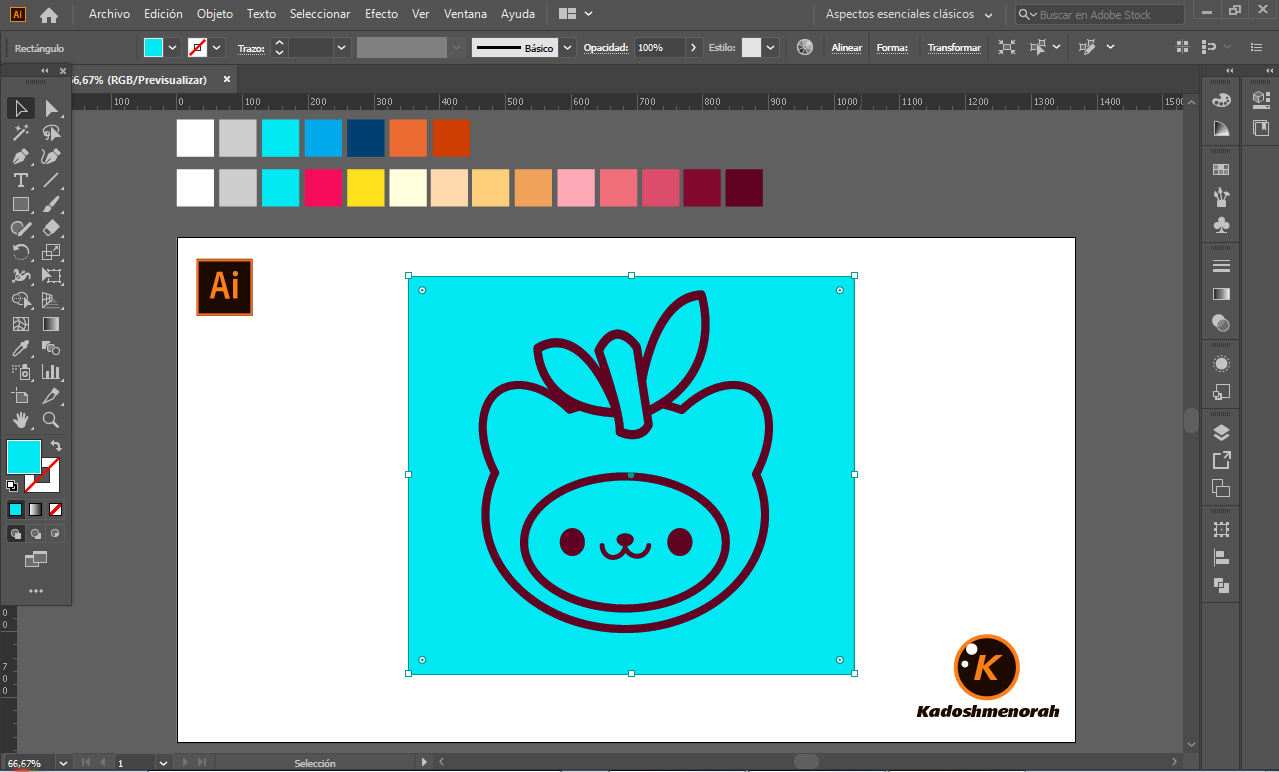
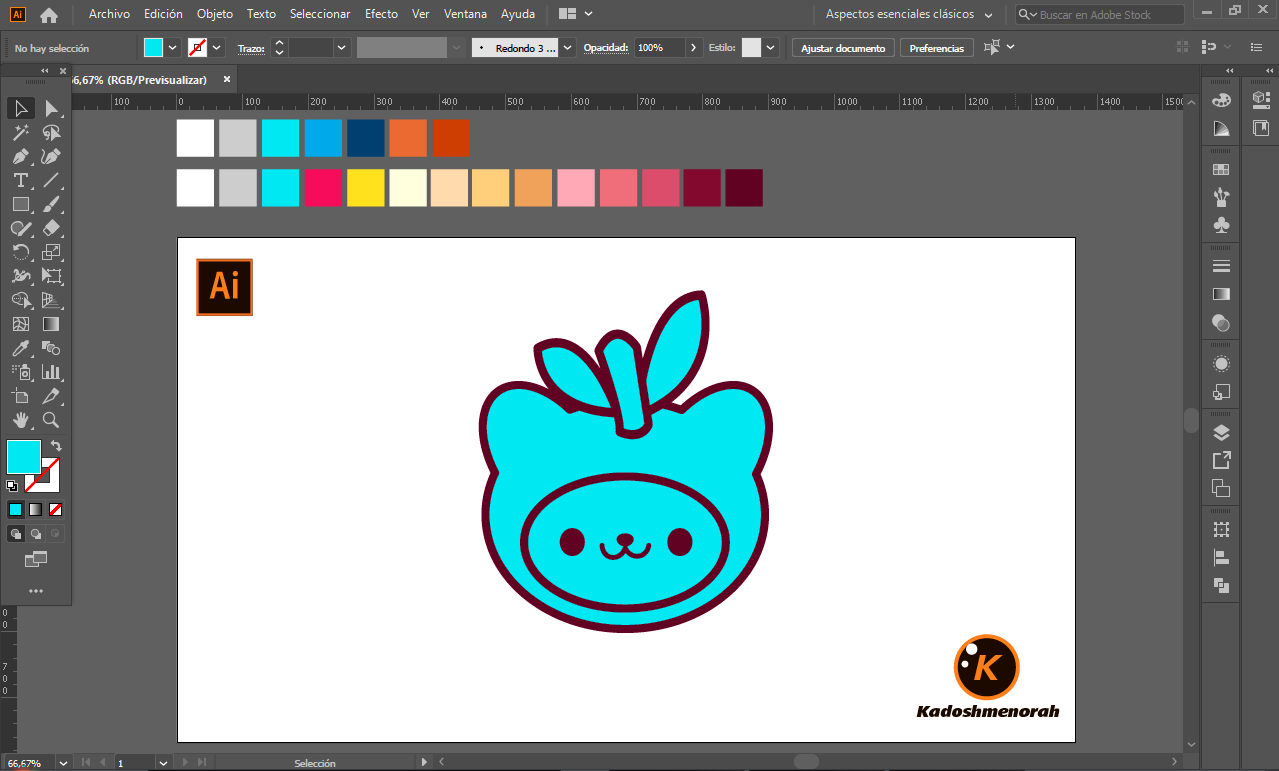
Paso 2 / Step 2
Dibuje un rectángulo y lo envié atrás y lo dividí con el busca trazo para tener por separado el área de color y el trazo como formas independientes y así facilitar el coloreado.
I drew a rectangle and sent it to the back and divided it with the stroke finder to have the colored area and the stroke as separate independent shapes to facilitate the coloring.
English
Hello friends of Hive!
Happy Friday everyone, today I share with you a drawing for the little ones of the house, a drawing of Ball Lima, from the Piffle world. Lima, is a fictional kawaii character from the Piffle video game, which is a puzzle game full of challenges with cute animal balls. This work, is a vector drawing made in adobe illustrator sticker style. I hope you like it.
Español
¡Hola amigos de Hive!
Feliz viernes a todos, les comparto el día de hoy un dibujo para los más pequeños de la casa, un dibujo de Ball Lima, del mundo Piffle. Lima, es un personaje kawaii ficticio del video juego de Piffle, el cual es un juego de puzle lleno de retos con tiernos bolas de animales. Este trabajo, es un dibujo vectorial hecho en adobe illustrator estilo sticker. Espero que les guste.
PROCESS / PROCESO
Paso 1 / Step 1
Lo primero que hice, fue dibujar una línea guía vertical para realizar la estructura del boceto, luego un ovalo principal para la cabeza y otros para las orejas y la cara, luego dibuje una rama de lima o limón y por último los ojos y la boca para así tener el line art.
The first thing I did was to draw a vertical guide line to make the structure of the sketch, then a main oval for the head and others for the ears and face, then I drew a lime or lemon branch and finally the eyes and mouth to have the line art.
Paso 2 / Step 2
Dibuje un rectángulo y lo envié atrás y lo dividí con el busca trazo para tener por separado el área de color y el trazo como formas independientes y así facilitar el coloreado.
I drew a rectangle and sent it to the back and divided it with the stroke finder to have the colored area and the stroke as separate independent shapes to facilitate the coloring.
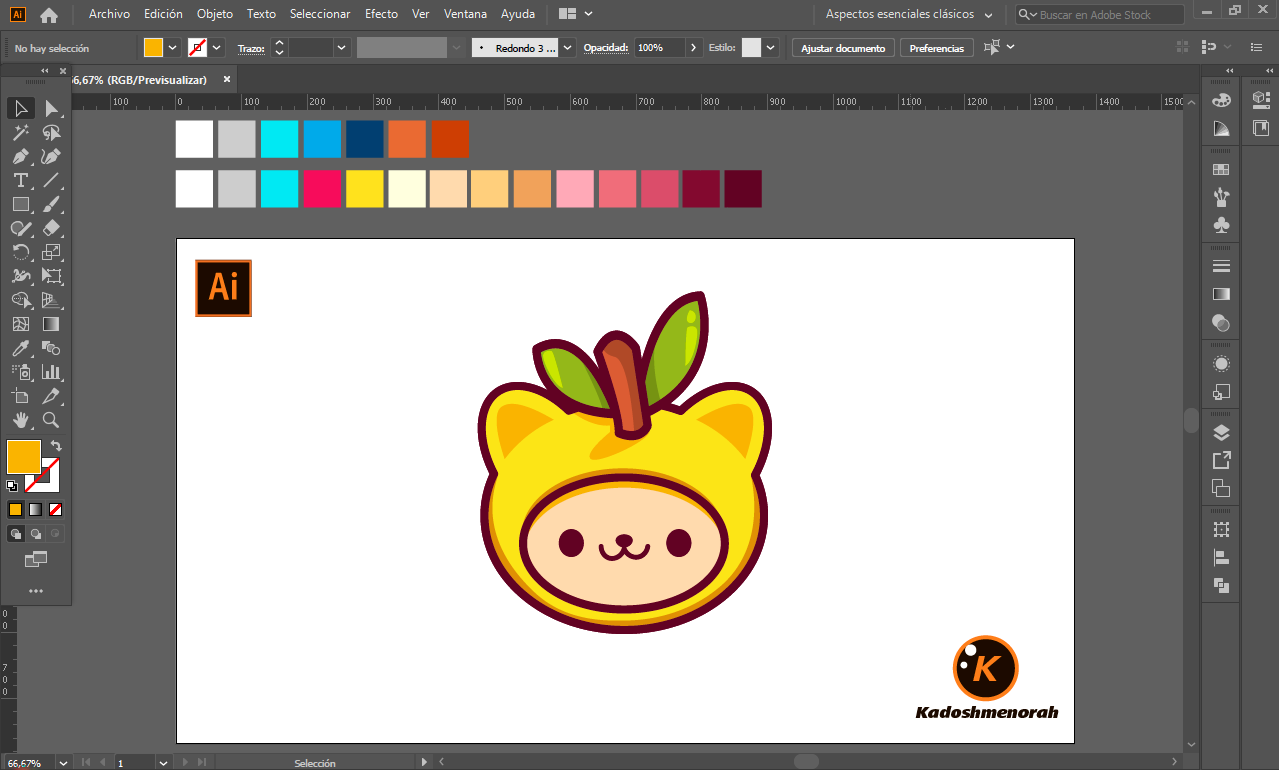
Paso 3 / Step 3
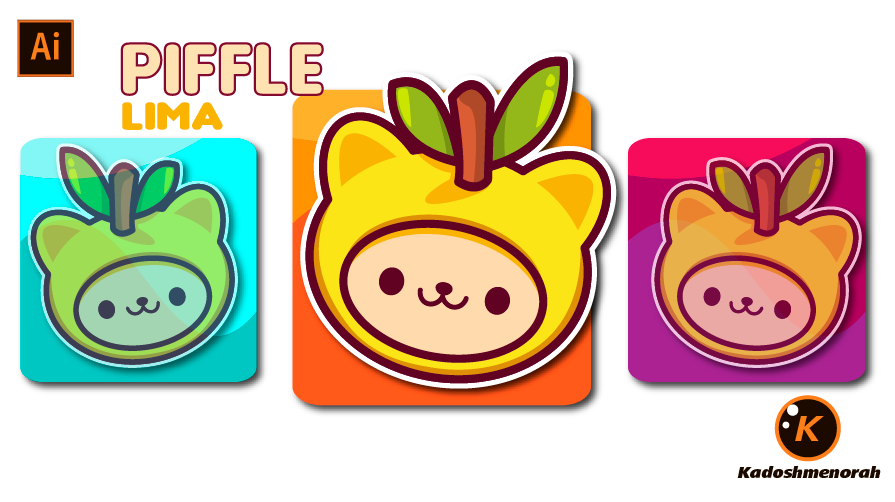
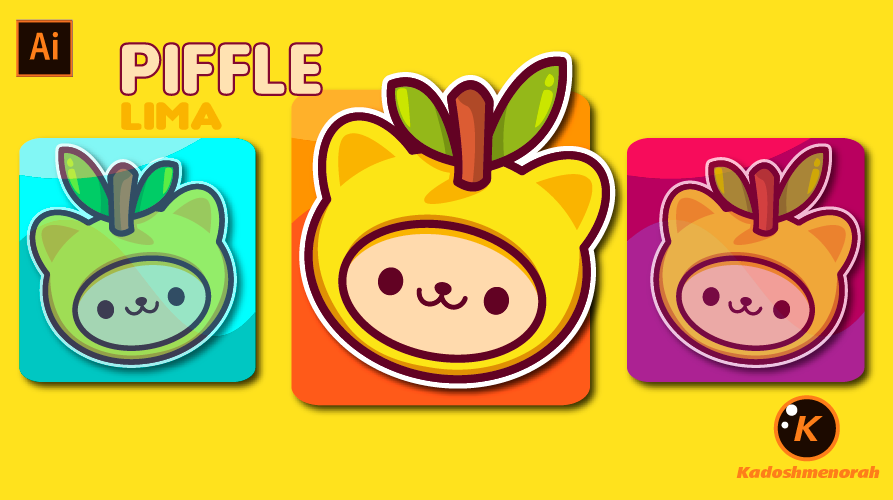
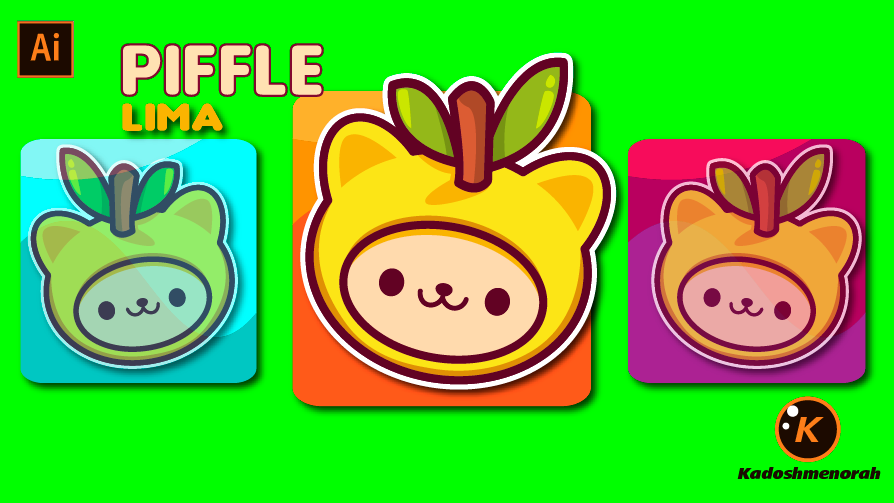
Empecé a darle un color base, luego agregue zonas de sombras y detalles de luces. Y por último, le di un color de fondo a fin de tener varias presentaciones para compartirlas con ustedes.
I started by giving it a base color, then I added shadow areas and highlight details. And finally, I gave it a background color in order to have several presentations to share with you.
Referencia /Reference
Captura/Screenshot
Soy kadoshmenorah y hasta una próxima oportunidad y no olvides dejar tus comentarios acá abajo.
 --- Abrazos ---