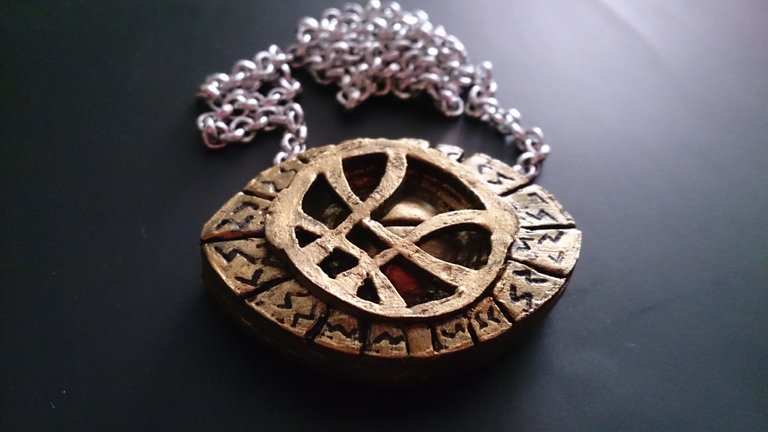
Hello Steemit people, today I bring you a Tutorial of a Comic character known as Doctor Strange belonging to the MARVEL Franchise; the piece to be made is the Agamatto Necklace where the Gem of Time is found, with which you can control Time and even Temporary Travel. Without more to add, let's start.
 Materials
- Flexible Mass
- White glue
- Hand Cream
- X-acto
- Work Area Lined with Contact Paper
- Water
- Stylet
- Brushes
- Acrylic Paint (Black)
- Metallic Paint (Gold)
- Metallic Powder (Mining Gold)
- Jewelery Earrings, Chains and Eyepins.

Drawings
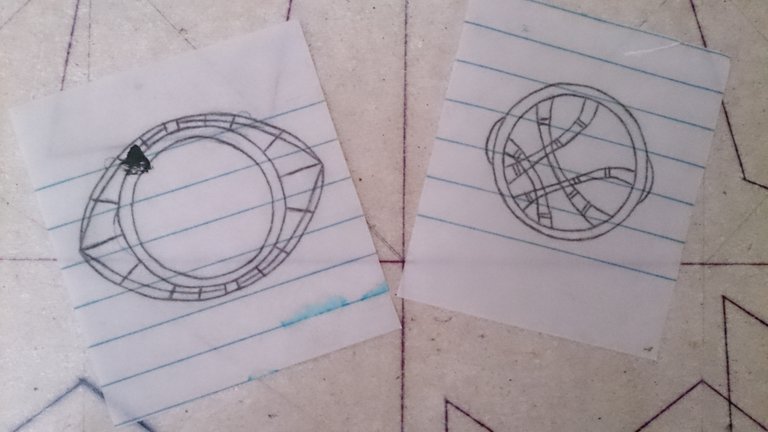
As in the previous tutorial, take in this case 2 pieces of paper of low grammage to which you apply with your fingers or a brush the baby oil to the whole surface, then make the drawing with a mechanical pencil or a pencil 3B on both sides , in this case, to be able to make this piece you must make 2 drawings, one of the central area or the cover and another of the body in general and once finished proceed with Step 1.
Step 1
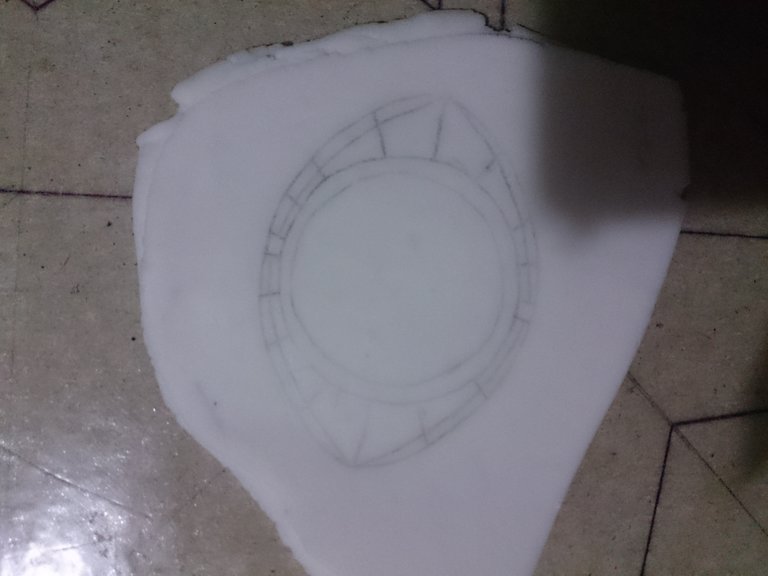
First you must moisturize the dough with a little water, once the dough is manageable proceed to place hand cream on the surface and then extend the dough with the help of a rolling pin until it has a thickness of 2 to three 3 mm, We put the drawings on the surface, passing the finger gently so that they are transferred.
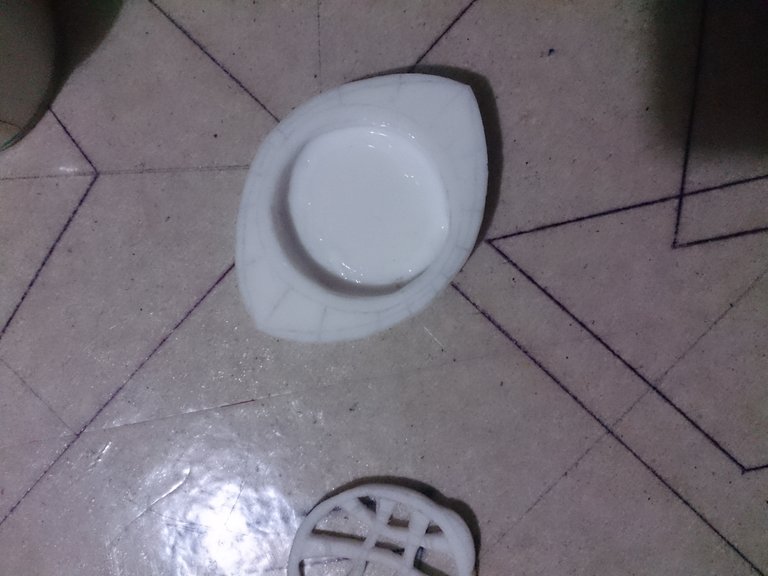
Step 2
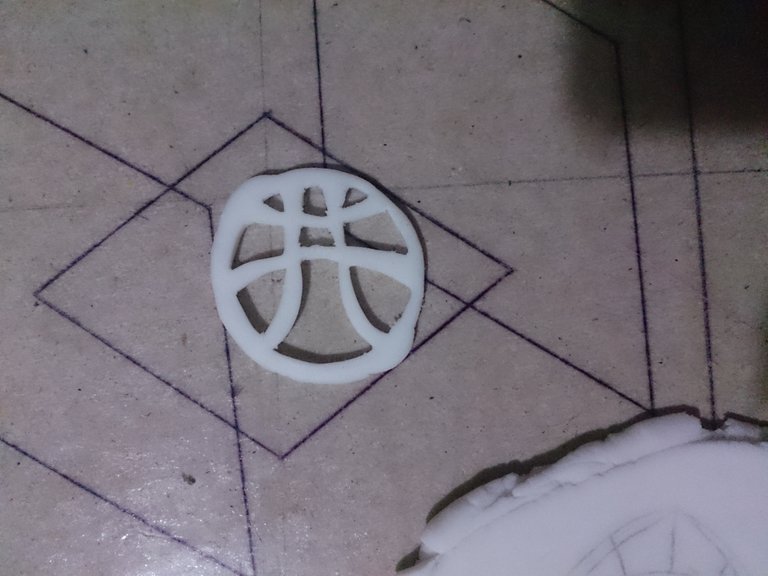
Once the drawings have been transferred to the Flexible Mass, you proceed to cut the excesses of the pieces with the X-acto, being very careful not to deform them. When the body of the pendant is cut, spread on the surface another piece of flexible dough with the help of a rolling pin and fix the body of the collar to the dough with the help of the white glue, then cut is surplus.
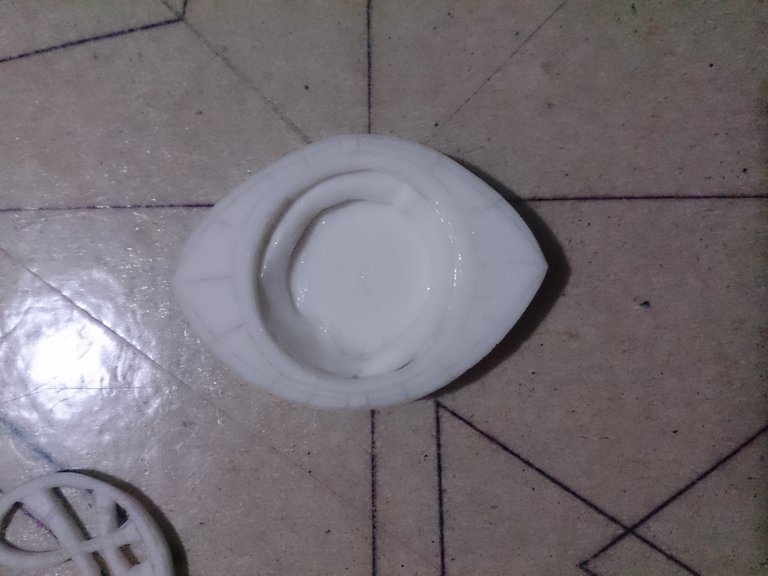
Step 3
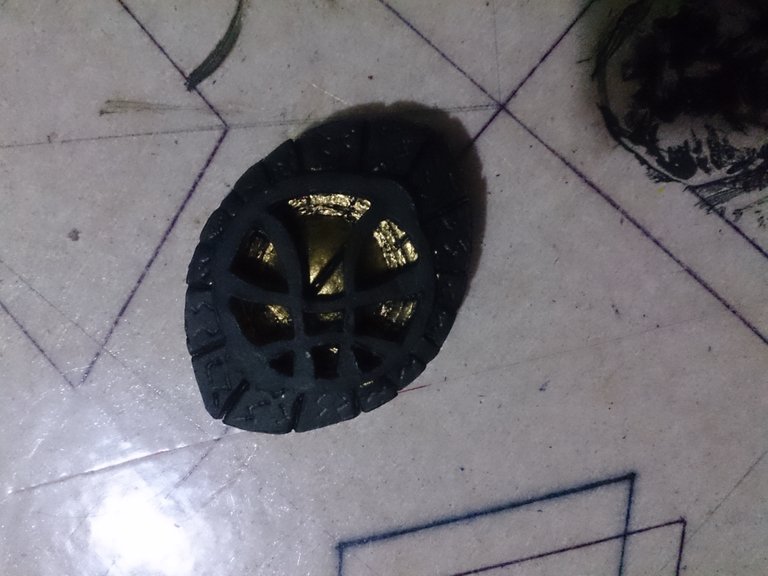
To the body of the pendant internally you will place a strip of Flexible Mass with a little White Glue to make the depth of the pendant, with the help of the Stilettos and Hand Cream you will exert pressure until it joins the body of the pendant.
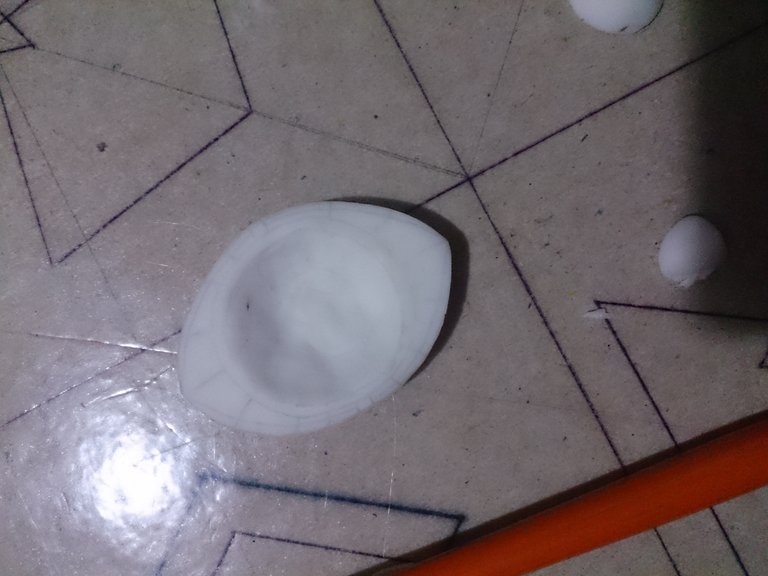
Step 4
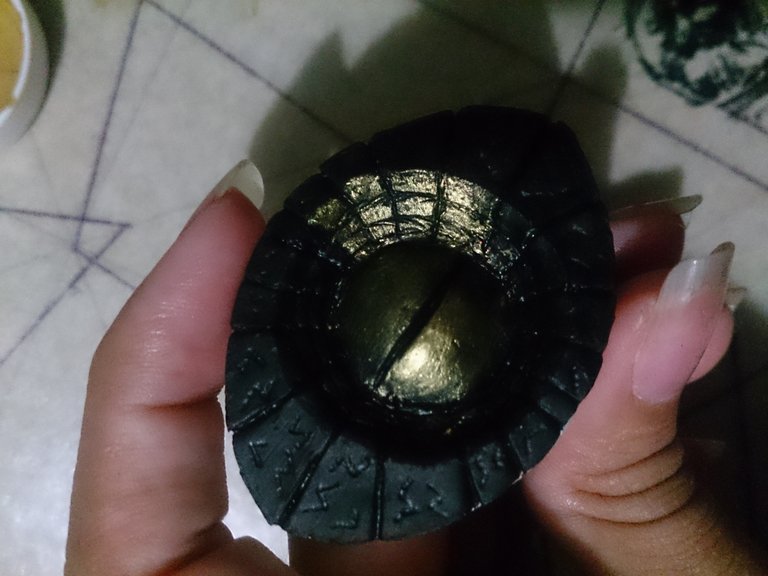
Once the depth is finished, place with glue a sphere which, with the help of a stylet, will fuse with the base of the collar; then proceed to add all the relevant details to the pendant and black anchors.
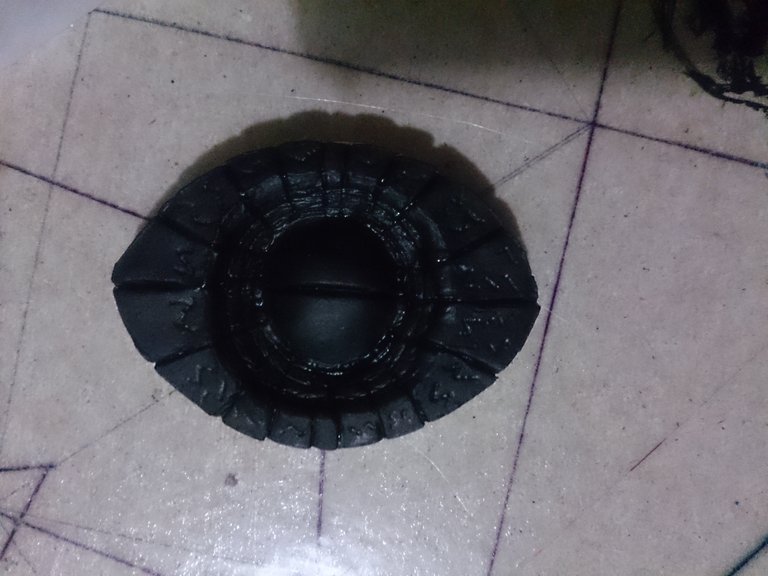
Step 5
When the piece is anchored in black, you proceed to apply the Metallic Paint and the Mining Gold to the central area of the pendant, to later glue the cap of the necklace which is previously anchored in black and finish applying the Metallic Paint and the Mining Gold to the whole piece, finally we put the Eyepins, the Earrings and the Chain with the help of some jewelery tweezers.
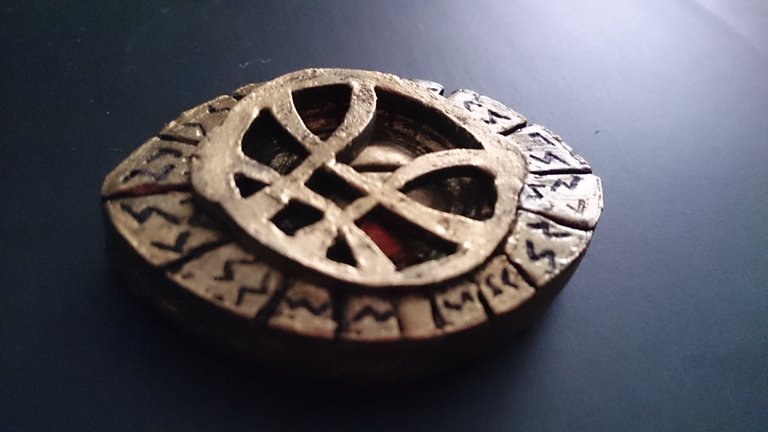
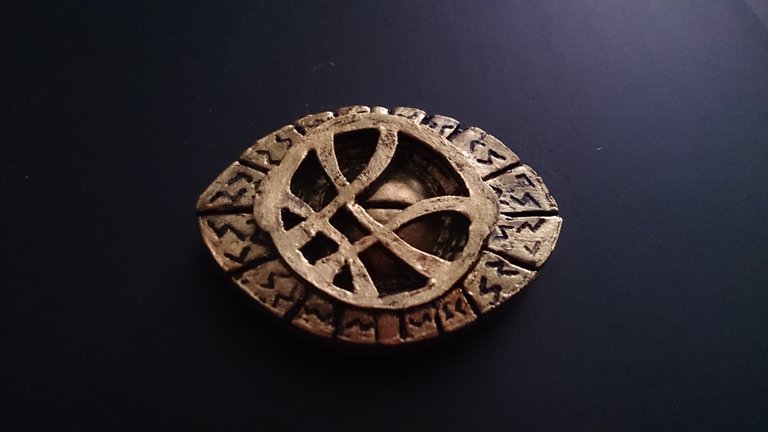
Final Score
Final Score I hope you liked the final result of Dr. Strange's Agamotto Necklace, if you want a particular piece do not hesitate to say so, Bye <3 <3
I hope you liked the final result of Dr. Strange's Agamotto Necklace, if you want a particular piece do not hesitate to say so, Bye <3 <3 Images of my authorship, taken with a Sony Xperia Cell of 13MP the graphic elements were made in Adobe Illustrator CC 2018.

This work is under a License Creative Commons Atribución-CompartirIgual 4.0 Internacional.
Images of my authorship, taken with a Sony Xperia Cell of 13MP the graphic elements were made in Adobe Illustrator CC 2018.
This work is under a License Creative Commons Atribución-CompartirIgual 4.0 Internacional.


Peace, Abundance, and Liberty Network (PALnet) Discord Channel. It's a completely public and open space to all members of the Steemit community who voluntarily choose to be there.Congratulations! This post has been upvoted from the communal account, @minnowsupport, by Mailein from the Minnow Support Project. It's a witness project run by aggroed, ausbitbank, teamsteem, theprophet0, someguy123, neoxian, followbtcnews, and netuoso. The goal is to help Steemit grow by supporting Minnows. Please find us at the
If you would like to delegate to the Minnow Support Project you can do so by clicking on the following links: 50SP, 100SP, 250SP, 500SP, 1000SP, 5000SP.
Be sure to leave at least 50SP undelegated on your account.
Interesting work.. Curious to see more with flexible mass.. I'm use to silicone and cornstarch...
Click Here to Read our New Curation Policy And Updated Rules
You've received an upvote from @slothicorn! (@karmachela)