Hello everyone! It's a new week and a new battle challenge. And in this challenge, the lucky monster comes from the dragon splinter. Only this time it's not a specific one. We can play and feature any dragon card we want.
I decided to feature two fights as my main dragon card worked like a charm in both fights and I wanted to showcase them both so you could see the use in various scenarios.
Only the first battle will be discussed in more depth while the other will show only the possible use of Diamond Dragon in a different scenario.
I'll review two dragon cards:
Both of them are a bit costly to use, but boy they do pack a punch in the right situations.
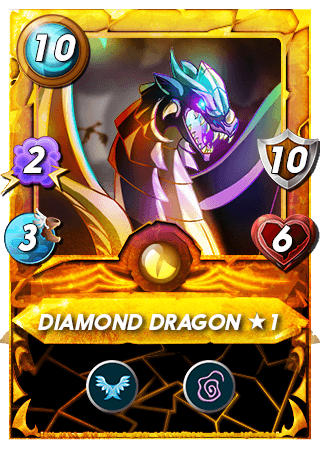
The main card that I had the pleasure to use for the first time comes from the untamed edition - Diamond Dragon.
It's a legendary card and it performs just as legendary. Let's take a closer look at it.
Stats:
- 2 magic attack
- 3 speed
- 10 armor
- 6 health
- 10 mana to use
While the mana cost of summoning this card is high, the stats for that are just amazing. If it goes against a physical team, then they need to go through at least 16 points of survival points if not boosted higher by other cards. That's a lot!
Plus the abilities it has are just as amazing.
Abilities:
- Flying
- Slow
The first one - flying gives an extra evade chance against other physical damage dealers. Coupled with 3 speed this card gains even more survivability.
But that's not all. It also has the slow ability which decreases the speed of the opponent's deck. Increasing further not only its own survivability but also for the whole deck.
An amazing card to have in higher mana cost battles. If you're wondering about the price then it goes for ~100$ for a level 1 regular foil edition.
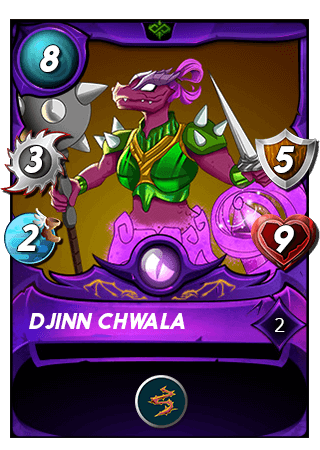
And the second dragon card comes from the latest Chaos Legion edition. It's an epic card - Djinn Chwala.
I've been using this card quite frequently due to its high survival stats and raw attack power.
I used a level 2 version of this card, and the stats for it is as follows:
Stats:
- 3 physical attack
- 2 speed
- 5 armor
- 9 health
- 8 mana to use
If we compare this card to the Diamond Dragon then this card has a bit less pure survival stats, but at the same time, it costs 2 mana less to use.
Abilities:
- Thorns
If you don't have access to Mylor Crowling then this guy makes up for it as thorns ability is gained right from level one.
As we all know, then this ability can be punishing for the opponents' team if he decides to use a physical formation.
A must-have card in your deck if you ask me. At the same time it's not that expensive - currently going for ~4.25$.
Ok, that's enough about these two dragon cards. Let's go on with the battles themselves.
Battle I
In the first battle, I used both of these dragon splinter cards.
Match rules where as follows:
- 34 mana
- All splinters allowed, except death
- 5 Target practice
- 9 Heavy hitters
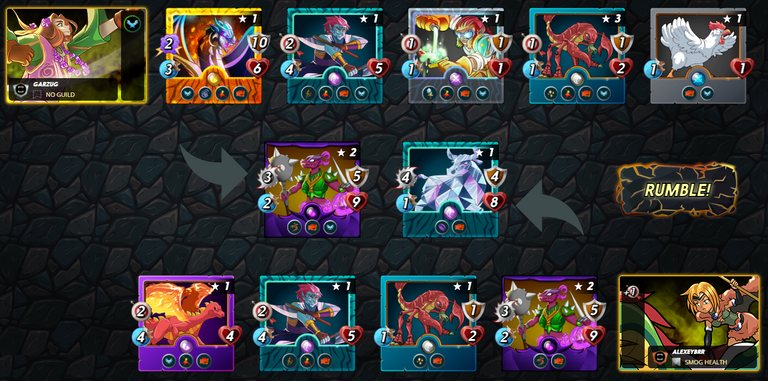
Click on the image to see the full fight
In this match, I was up against a legendary summoner - Selenia Sky which gives +1 ranged damage.
I however used a level 2 Brighton Bloom which gave me the flying ability for my whole deck. That gives an extra 25% chance to the evade chance against monsters that don't have it.
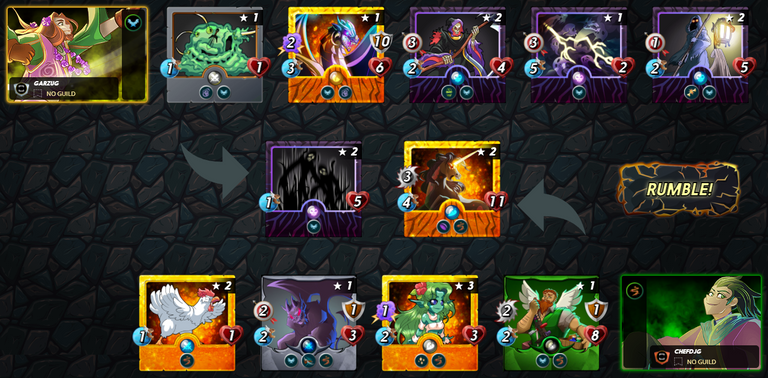
About my team and positioning:
Spot 1: Djinn Chwala
I added this monster in my first spot as my tank due to the thorns' ability and the cards' high survival stats.
Spot 2: Diamond Dragon
As this match had the snipe rule, then I placed this card in the second position. As you know, then cards with snipe attack monster that is not in the first position and has ranged, magic or no attack.
With 10 armor and 6 health, this card could take on multiple hits. Shatter ability could have changed everything, but there were no such cards on the opponents' deck.
Spot 3: Axemaster

Placed it after Diamond Dragon in case it was taken down as this card has more health stats than my remaining cards. Included it in this battle because it's a heavy damage dealer.
Double strike ability allows it to attack twice in a row. To no surprise, it was also on the opponents' deck as with even level 1 version + Selena Sky he becomes a beast.
Spot 4: Halfling Alchemist
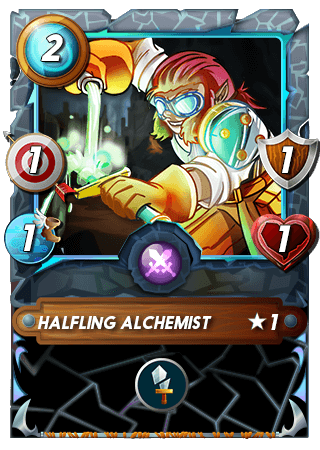
This is a card that I use quite frequently. It's a neutral splinter card, so it can be used in any deck. It does not have high damage, but it makes up for its ability. If it lands on the opponent's monster then it cuts its damage in half.
This has helped me in numerous battles as it effectively turns a heavy hitter into a heavily diminished version. Plus it costs only 2 mana to use.
Spot 5: Crustacean King
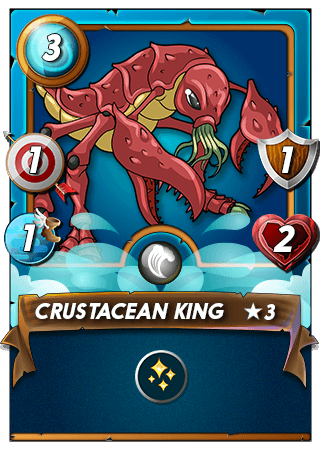
Added a healer to keep my front row alive a bit longer. On top of that, I used a level 3 version where this card gains 1 ranged attack. That way from a simple support heal card it transforms into a support damage dealer.
Spot 6: Furious Chicken
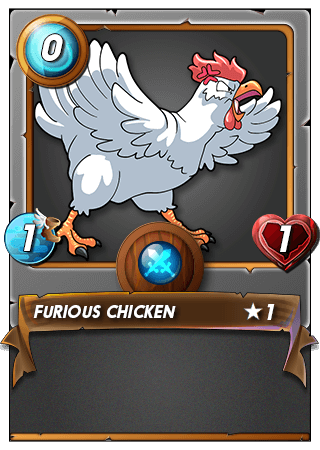
And lastly, I added the old and trustworthy chicken at the end just to take a hit before my other cards get damaged in case the opponent used a sneak card.
Now how did the battle go?
It took just 4 rounds.
Thanks to the speed debuff ability I gained an advantage right from the beginning. After the first round, opponents' Crustacean King was dead and his biggest damage deal Axemaster was nearly dead and affected by Halfling Alchemists ability.
At the start of round 3 opponent only had 2 monsters remaining and the fate of the match was already sealed as my cards were barely damaged.
And after one more round, it was over.
Diamond Dragon worked just perfectly in the Snipe ruleset. It took all the ranged hits that the opponent managed to get through, and it was still standing strong after that.
My other dragon splinter card - Djinn Chwala worked just as great took the melee hits and returned extra damage with the thorns' ability.
I probably should have swapped out the chicken with another ranged damage dealer, but now I'm not sure why I didn't do that. Maybe I was a bit tired as I battled late in the night and overlooked the used mana.
But despite that, the match ended just about perfectly.
Battle II
And secondly, I wanted to share this battle as well. Mylor can be quite a pain in the ass if you're not prepared for him. One way is to out damage the thorns in a melee-oriented play.
Or you can keep the distance like in my given example. Throw in the death splinter to counter the healing of Wood Nymph or Flesh Golem. and bombard the opponent with ranged damage.
Click on the image to see the full fight
All in all, in the end, I wanted to say that I really enjoy playing with dragon splinter. The possibility to combine them with any other splinter brings out quite a lot of options.
In this case, I was surprised by the Diamond Dragon and the way how it can alter the course of the game.
A copy of this card could find its way to my deck sooner rather than later.
Thanks for sharing! - @ashikstd

Congratulations @garzug! You have completed the following achievement on the Hive blockchain and have been rewarded with new badge(s) :
Your next target is to reach 100 upvotes.
You can view your badges on your board and compare yourself to others in the Ranking
If you no longer want to receive notifications, reply to this comment with the word
STOP