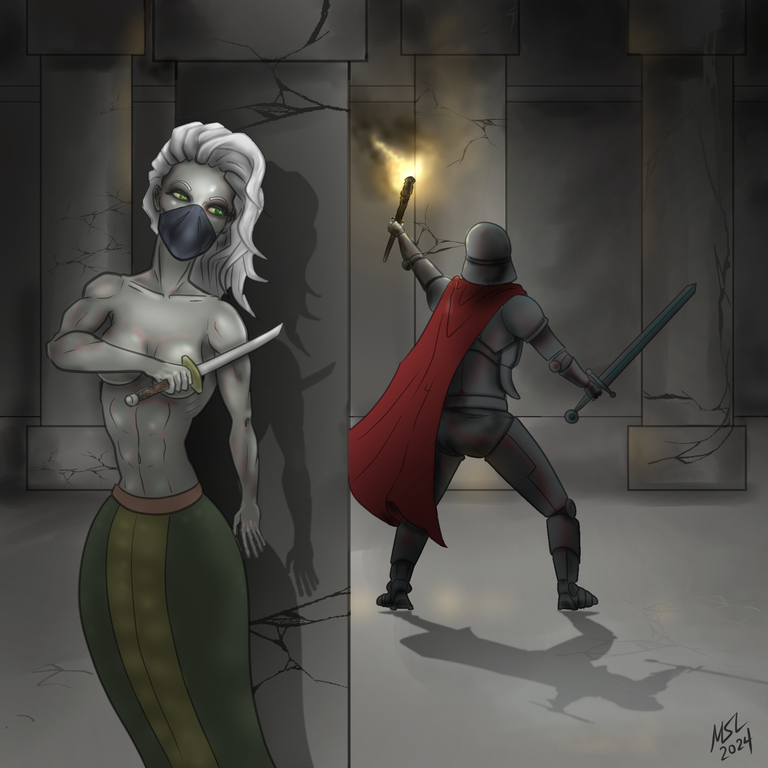
This is my entry for the weekly Splinterlands Art Contest found HERE
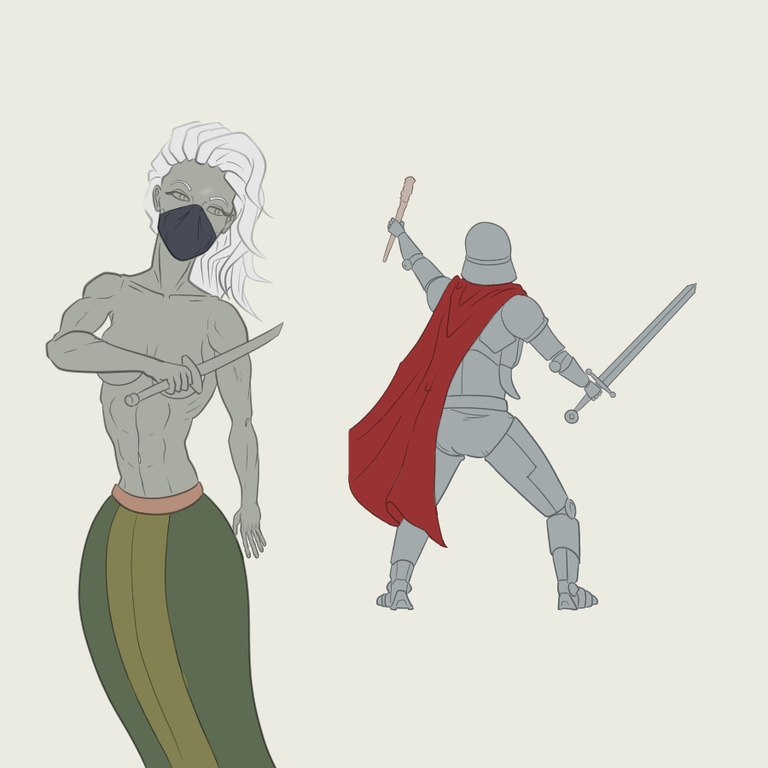
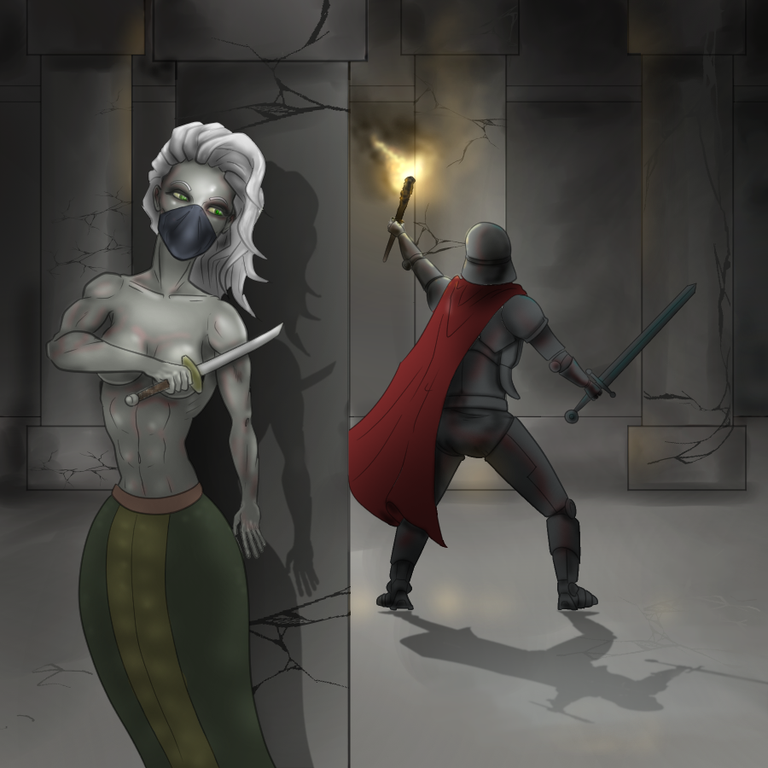
Here is the original card art:

From the Splinterlands Wiki: https://www.splintercards.com/chaos_reward_naga-assassin
The most important unspoken agreements among the doers of shady deeds throughout Draykh-Nahka are “stay on your own territory,” and “call a Naga Assassin for your dirty work.” Naga come in many different varieties, sizes and cultures depending on where they live. No matter how well they fit into cities and societies, naga always have a certain ruthless edge left over from the recent wild roots of their people. The desert naga of Draykh-Nahka are especially strong and skilled at killing.
Naga Assassins are so quick and deadly at their work that there is rarely a need for a fight. They simply slither in unnoticed, plunging a quiet knife into the most vulnerable place on their victim.
Created in Clip Studio Paint Pro on a Microsoft Surface Pro 7+. Here is the timelapse video:
https://rumble.com/v51nx3i-naga-assassin.html?mref=18dagn&mc=d3obe
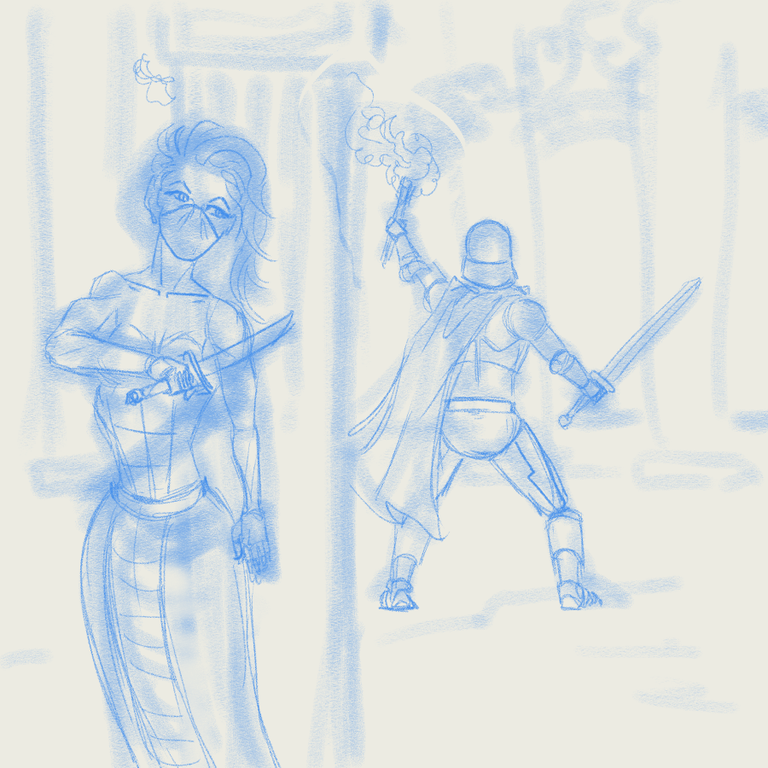
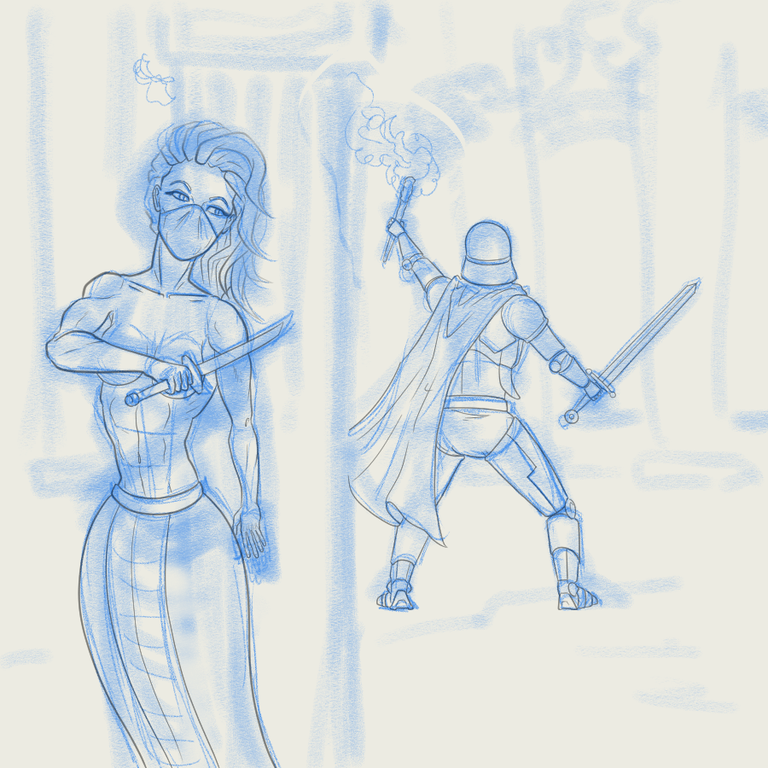
And here is the step-by-step drawing process:
Step One: Rough draft. I use a 40 px pastel pencil to block out the rough shape
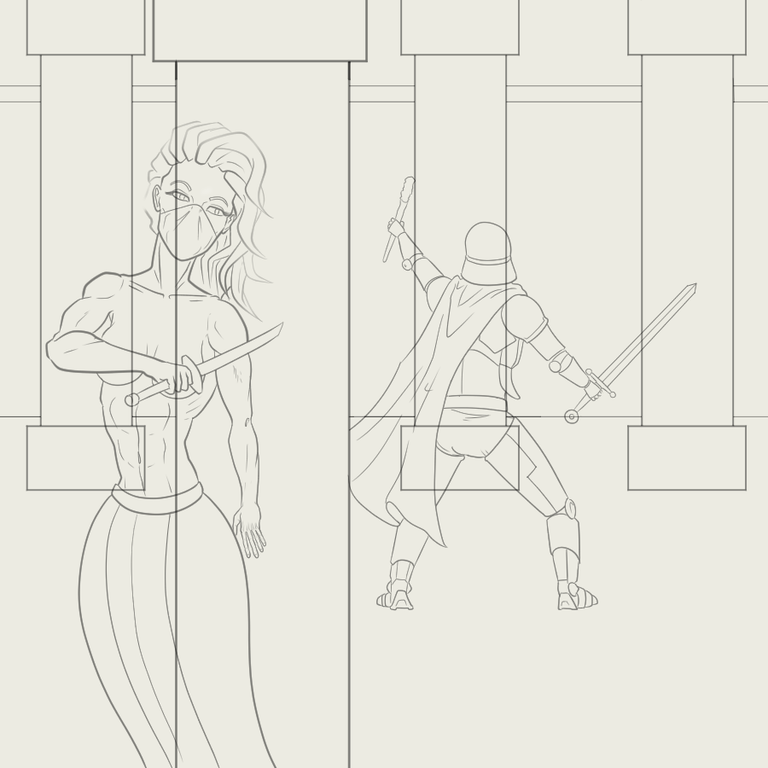
Step Two: Line art, one for the characters and one for the background
Step Three: Hide the rough layer, here are the two line art layers
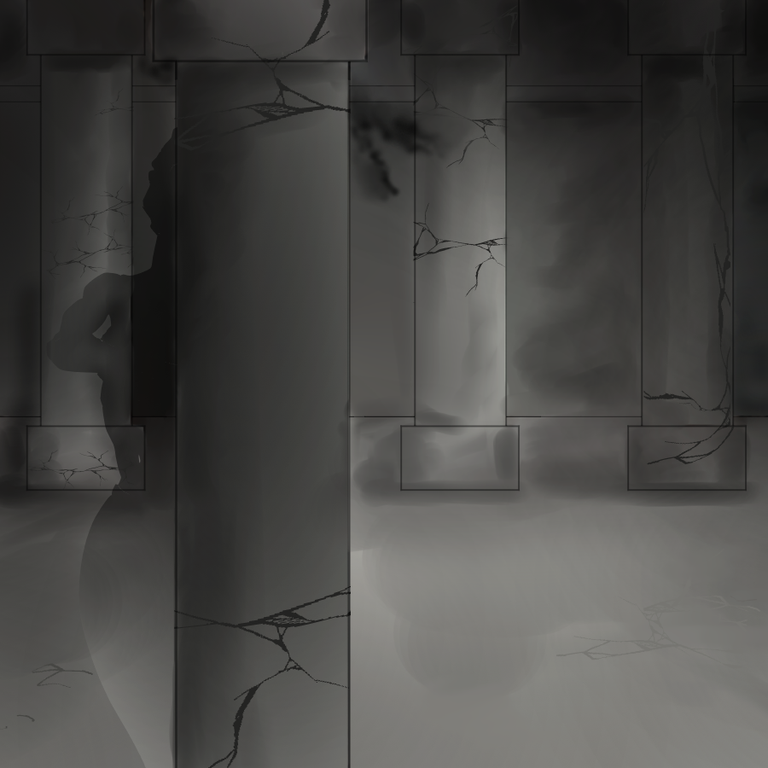
Step Four: Hide the characters so I can color the background layer. I used the CS Colorize feature then just added in some additional details with an oil paint brush. Later added some cracks using a crack brush that turned out pretty nice
Step Five/Six: Hide the background while I work on the characters. Flat color layer first for each of them
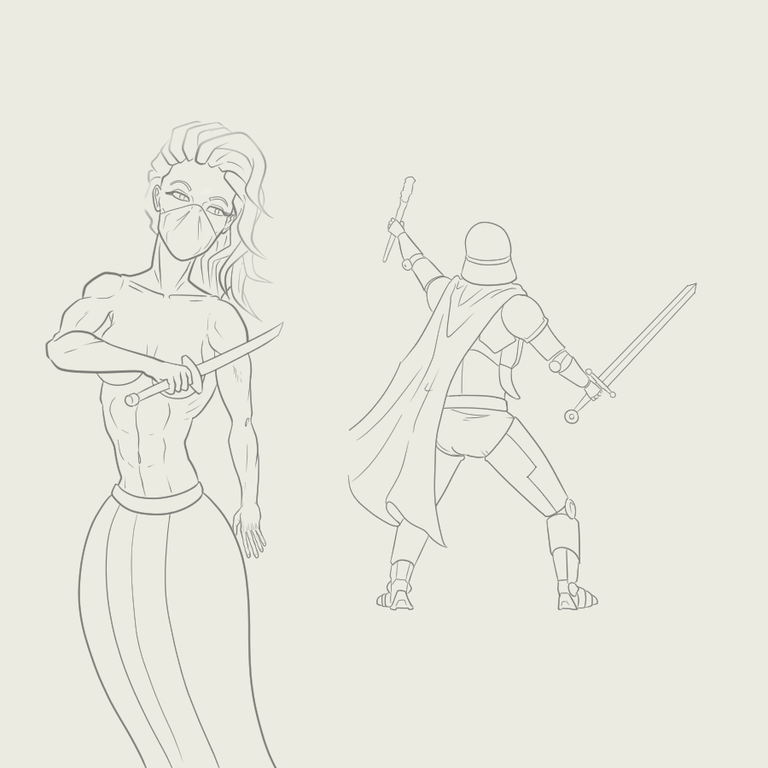
Step Seven: Separate flat color layers for each character
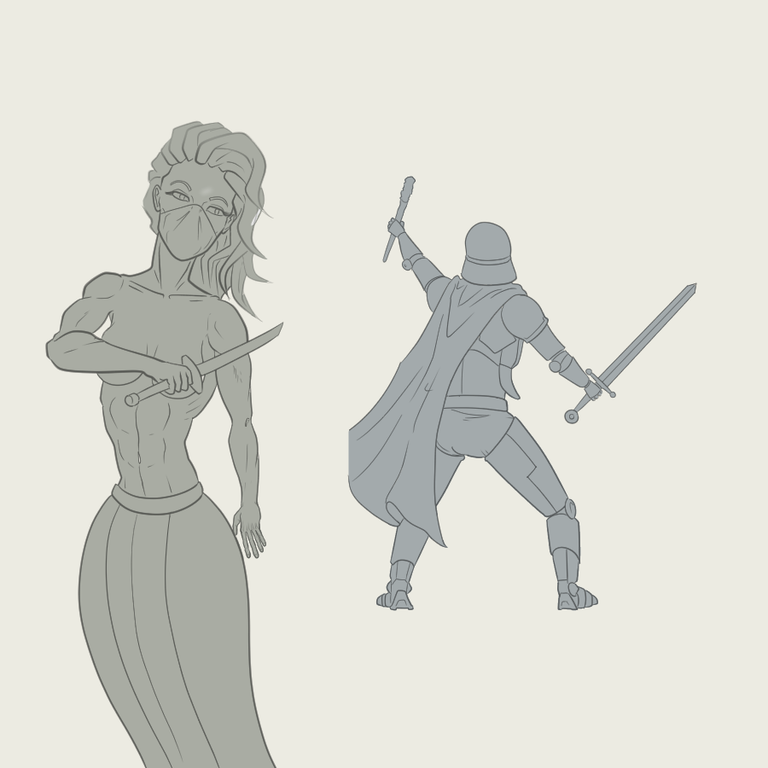
Step Eight: Shading! Combination of a smooth watercolor brush and soft airbrush on a multiply layer on top of everything else
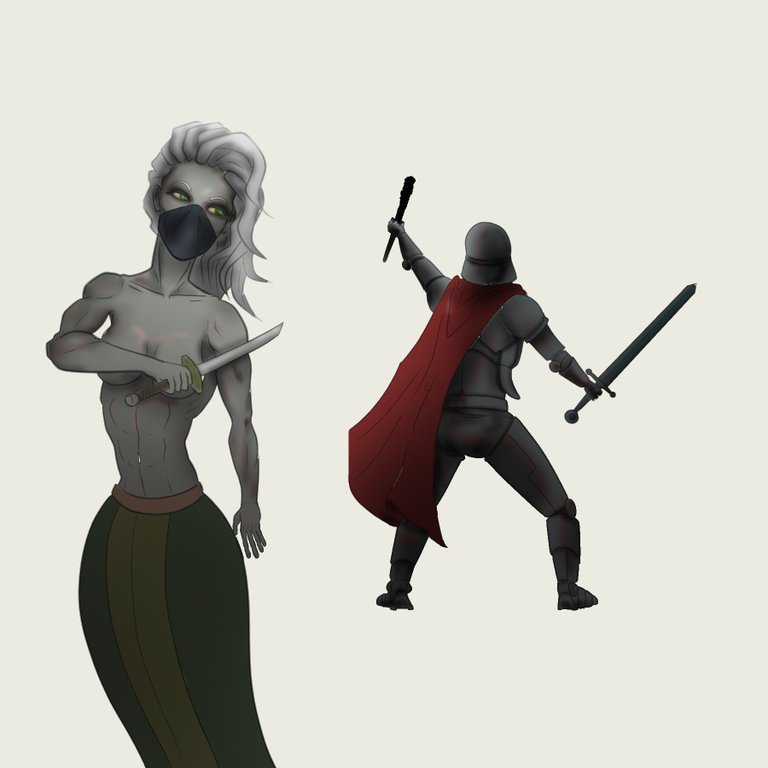
Step Nine: Here are the characters with their background
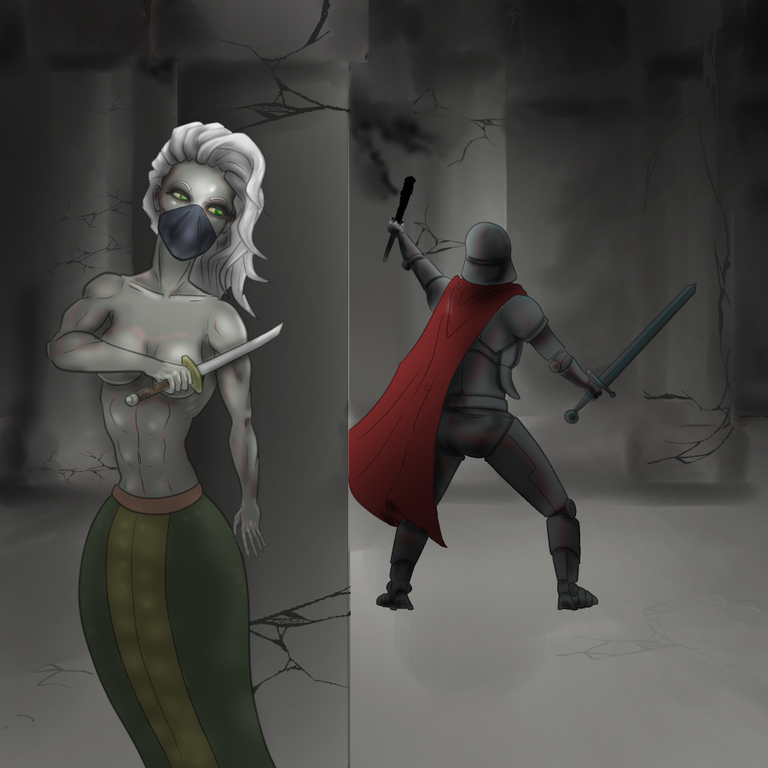
Step Ten: Create cast shadows for the characters. Just duplicate the first flat layer, paint it black, then use the free transform tool to skew the angles. Reduce the opacity of the layer to 50% and blue and erase some bits so it is not so opaque
Step Eleven: Add a glow layer for the torch flame and some highlights
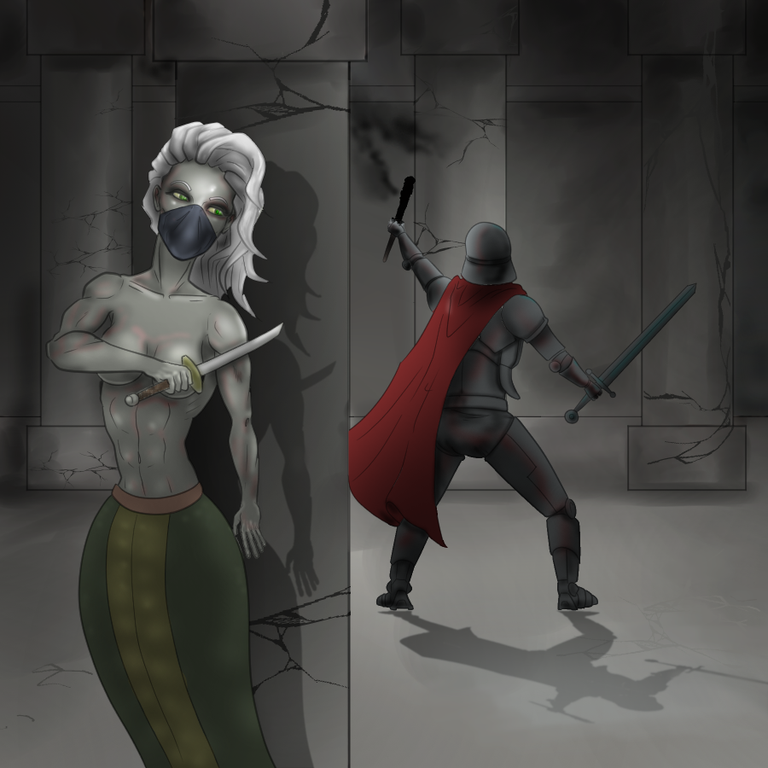
Step Twelve: Sign my initials
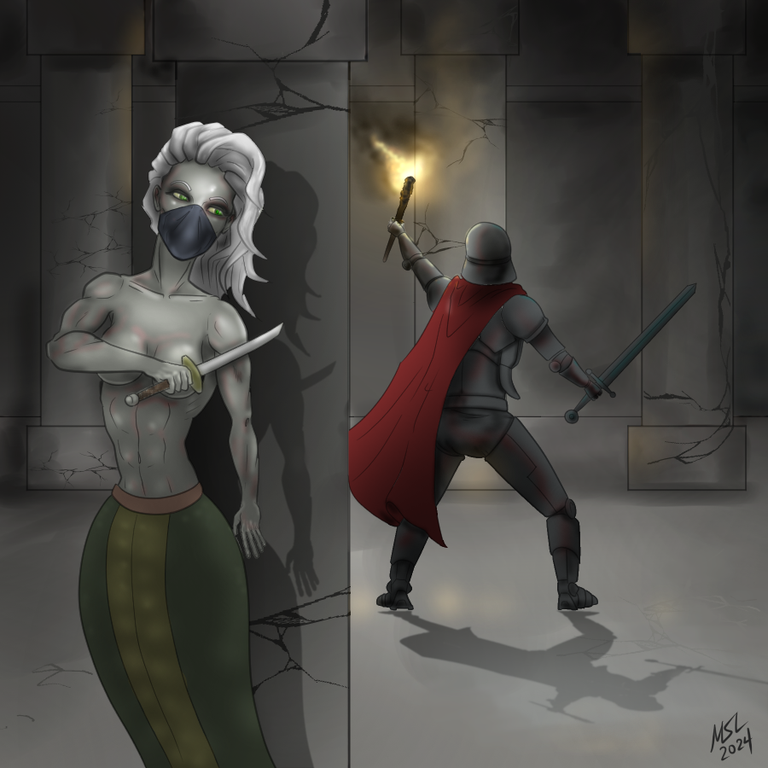
Step Thirteen: Honor and glory!
See you all next week
Nice Work!
!PIZZA
Thanks, man!
$PIZZA slices delivered:
@lolodens(2/5) tipped @sidekickmatt
Are you looking for Tier 5 brawl guild? THE GUILD OF NEOXIAN looking for brawl players who have good win ratio on brawls. If you are interested then join our Discord & Let our Guild officer
xawiknow that you are interested for guild brawl participation and Also Don't Forgot to Checkout our BDVoter Daily Hive Showcase & Participate into our Daily giveaway to win various prize. Best of Luck 😉