Creating a Character
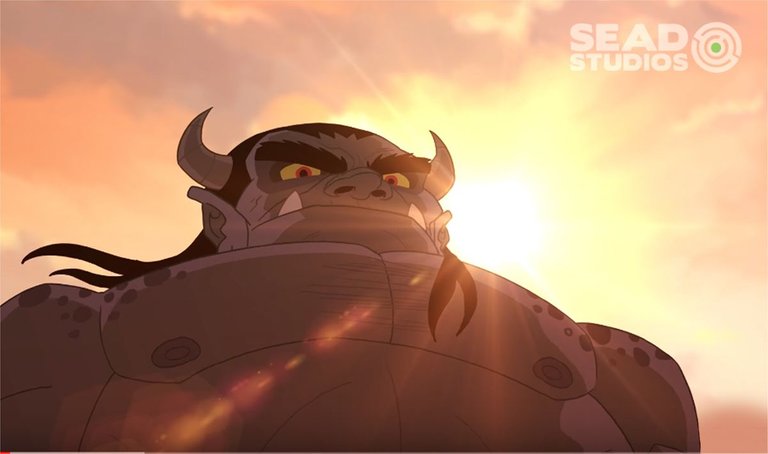
The main idea behind creating a character is capturing the essence of the creation. If we are set out to create a monster, we have to identify the few characters that we want the monster to possess. For instance, the skin of the monster, whether he is hairy, pimpled skin, wart infested skin and others. After all these characteristics are detailed out, we would want to create a full picture of the character from various angles just like a mugshot. This is to ensure that even as time passed and even if the artist changed, the character will remain the same. So the initial hatching of the idea and acceptance of the character by the entire production team is an important one.

We first create the character at various pose. The character could be smiling, laughing, crying or running. All these facial movement and physical movement help us tell any other artists that is involved in the production the essence of that particular creation. It is just like knowing a new friend. Usually after knowing someone we would usually describe that person to another person who has not seen him by saying,
'Hey, I met Matt for the first time, wow that guys is tall but overall he is a nice guy. He bought me dinner and he is quite friendly and chatty. I took a picture with him yesterday, here it is.'
So, in short, we have introduced Matt quite successfully through the conversation where a very basic idea it etched out from a sentence. That is what we want when we produce the first character design draft.
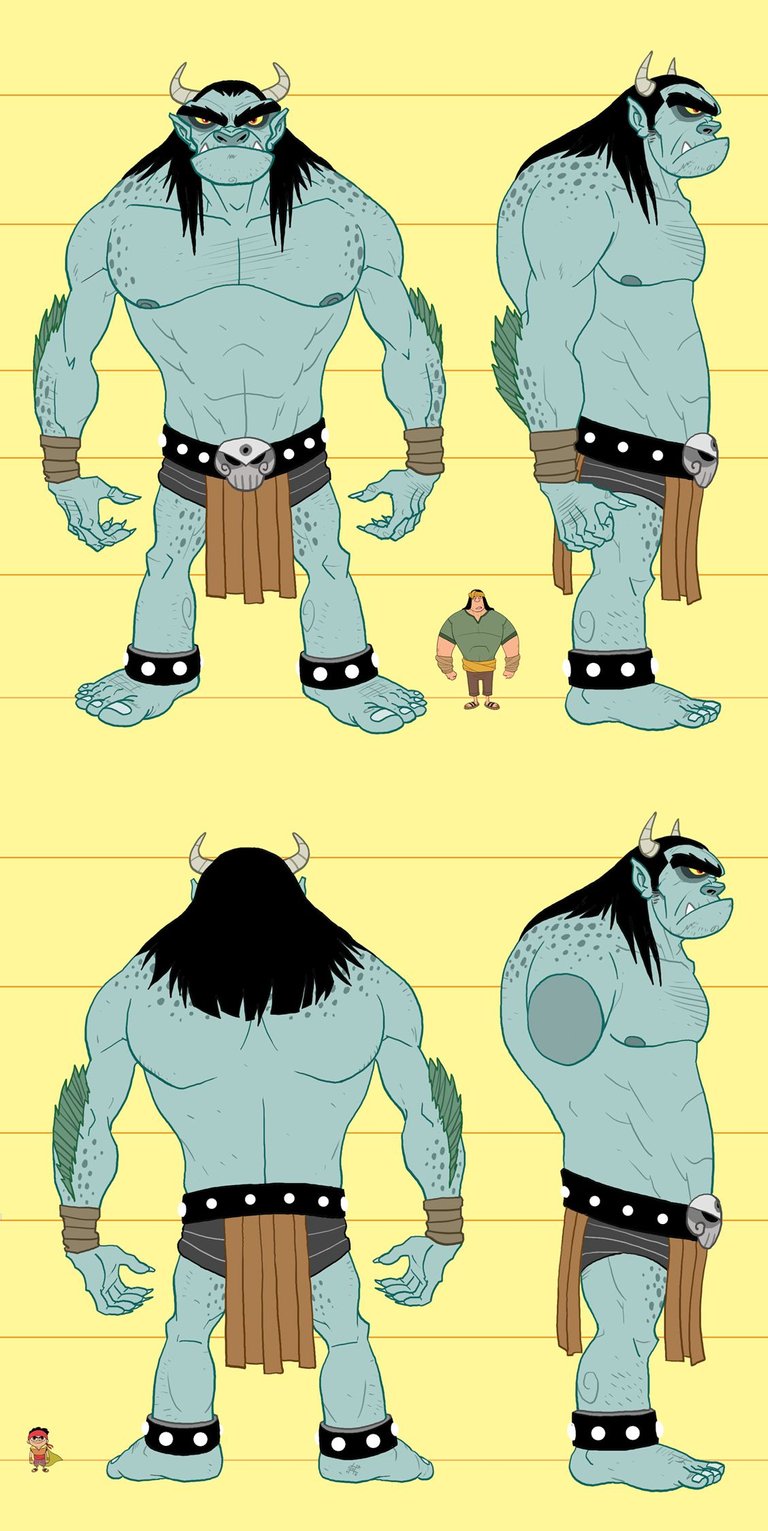
The other part of the character design is actual size scaling. A good reference would be scaling to our existing characters. We would be giving a good idea as to the height and width of the character by comparing to our more established characters. We find this a more accurate match than using metric measurements because being animation, our gauge of proper standard unit of measurement are way off.
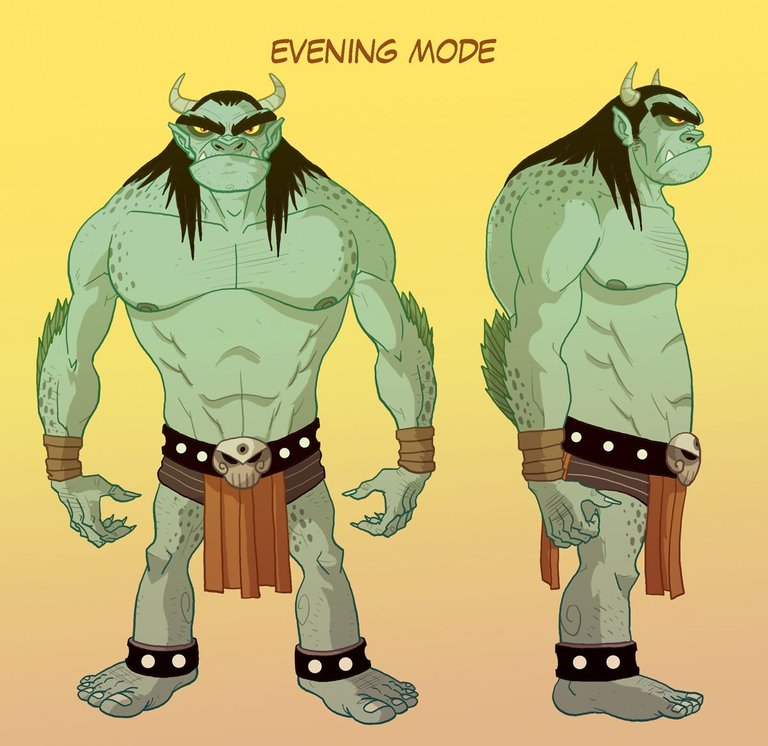
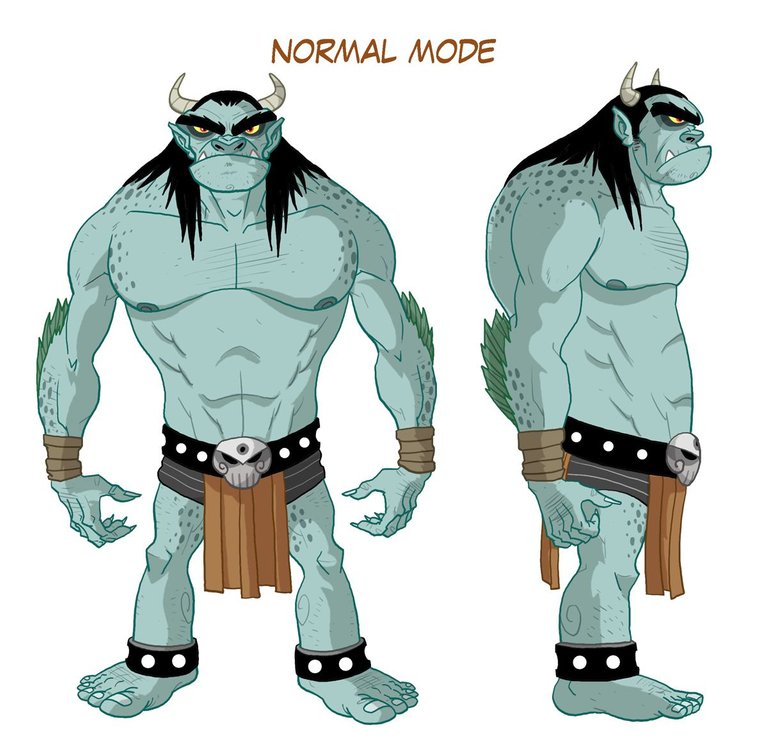
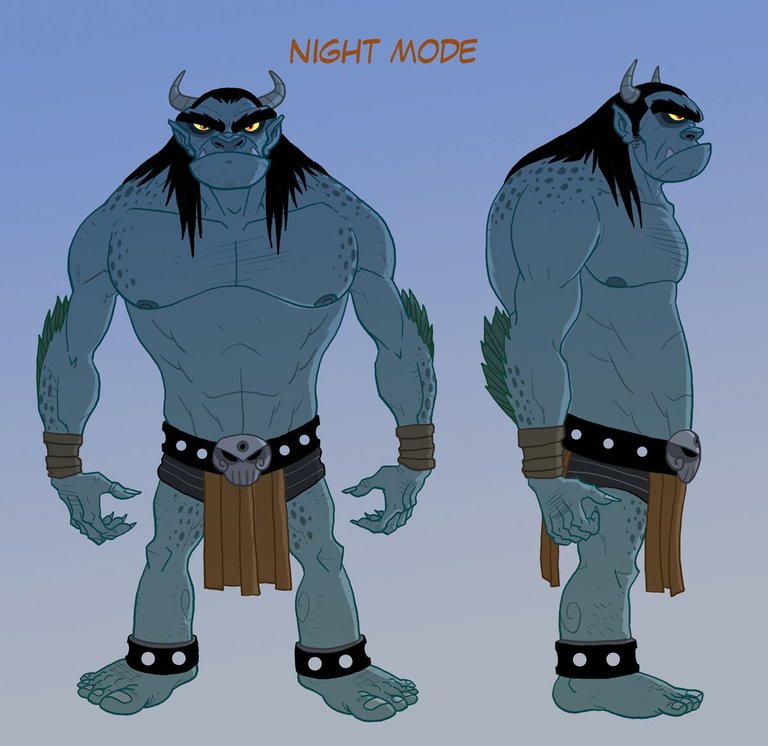
We then start to add colour to the character. After putting colours to the character, we would have it tested against different time mode. There will be the morning mode, the afternoon mode, the evening mode and the night mode. This is to give a good appreciation as to how the character would look in various mode. One person's imagination may be different from another artist.
Character Building (Part II)
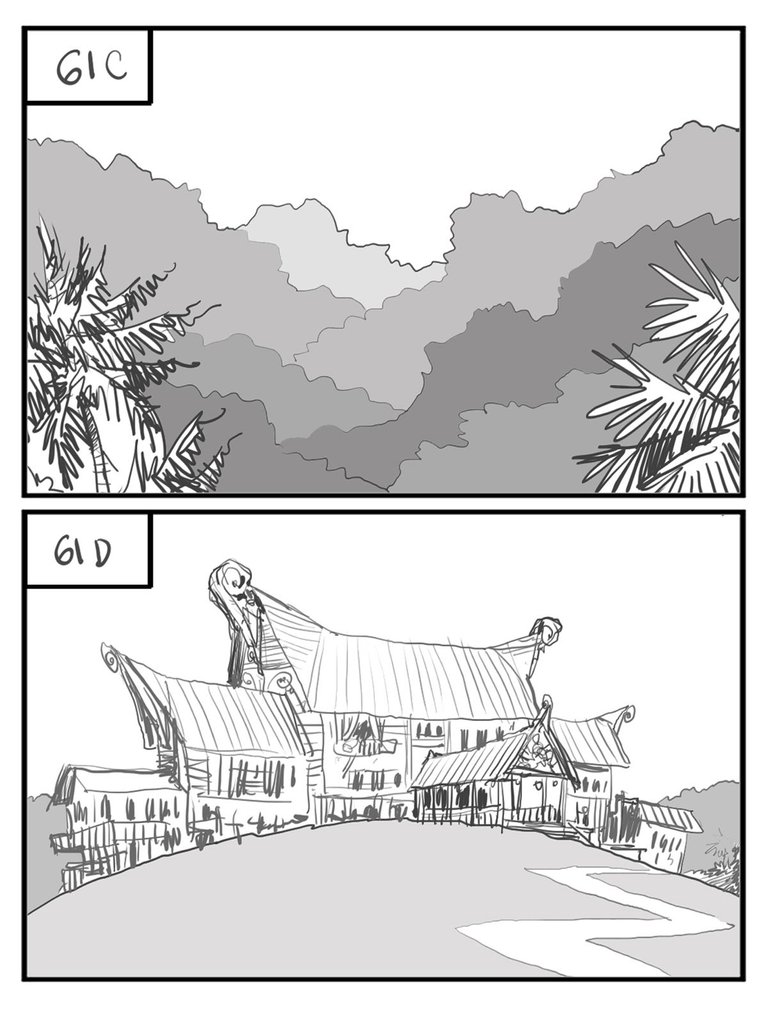
The first part of character design is finding the physical character, the second part of character design is creating its other characters such as its temperament and other characteristic. The idea is to make it as life like as possible. That is the part where we hit the story board and the story board always start with some sketches...

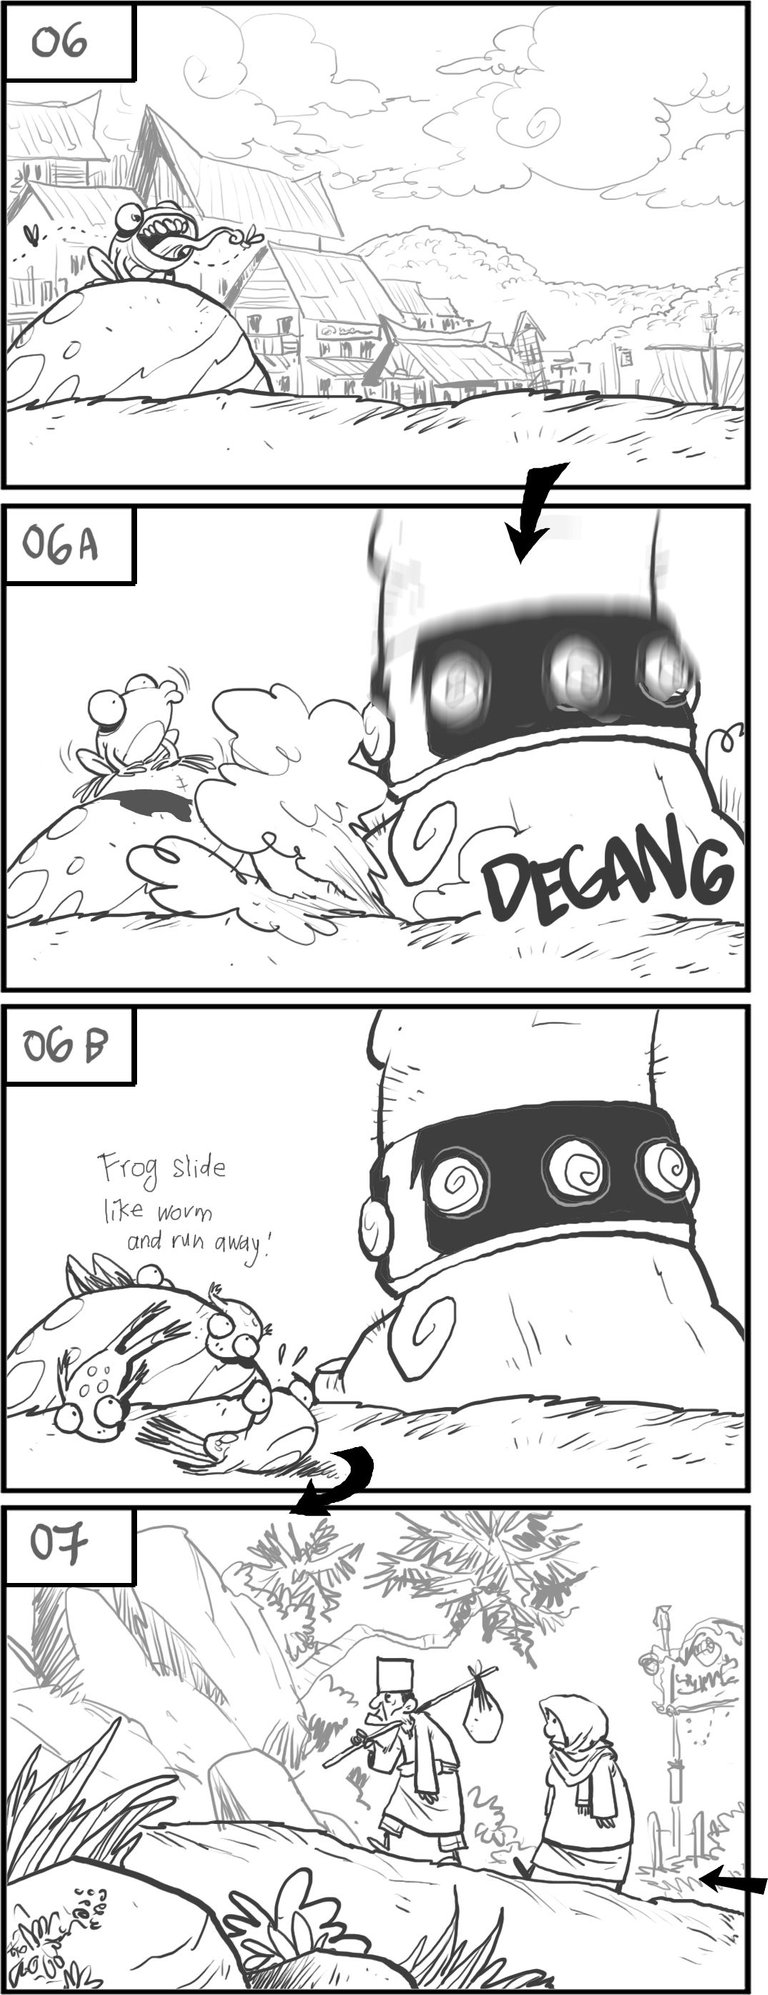
For me it is always a nervous act in introducing a character. Sometimes we slowly slide in characters, and other times, we introduce characters with a 'BANG'. We have to be careful because if everything is a 'BANG' it makes no difference to the audiences, there must be subtle but appreciable differences.
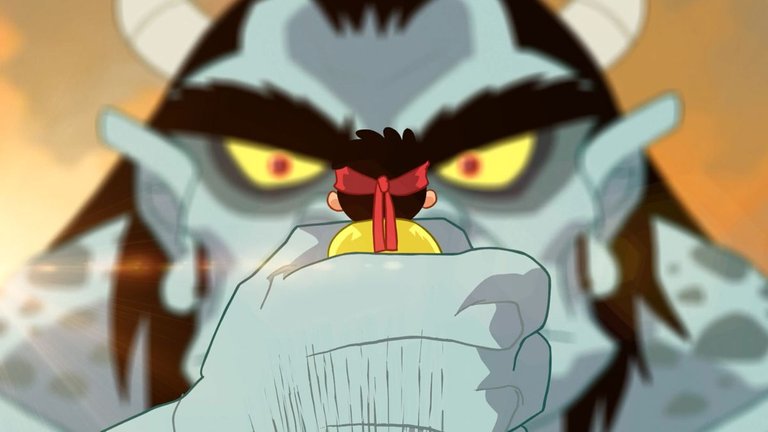
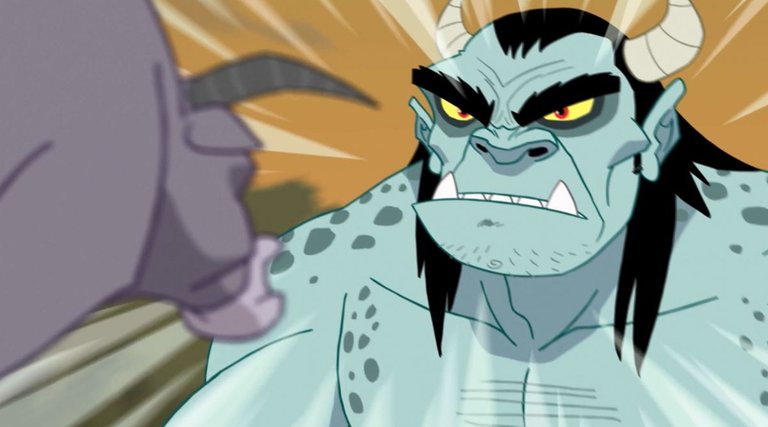

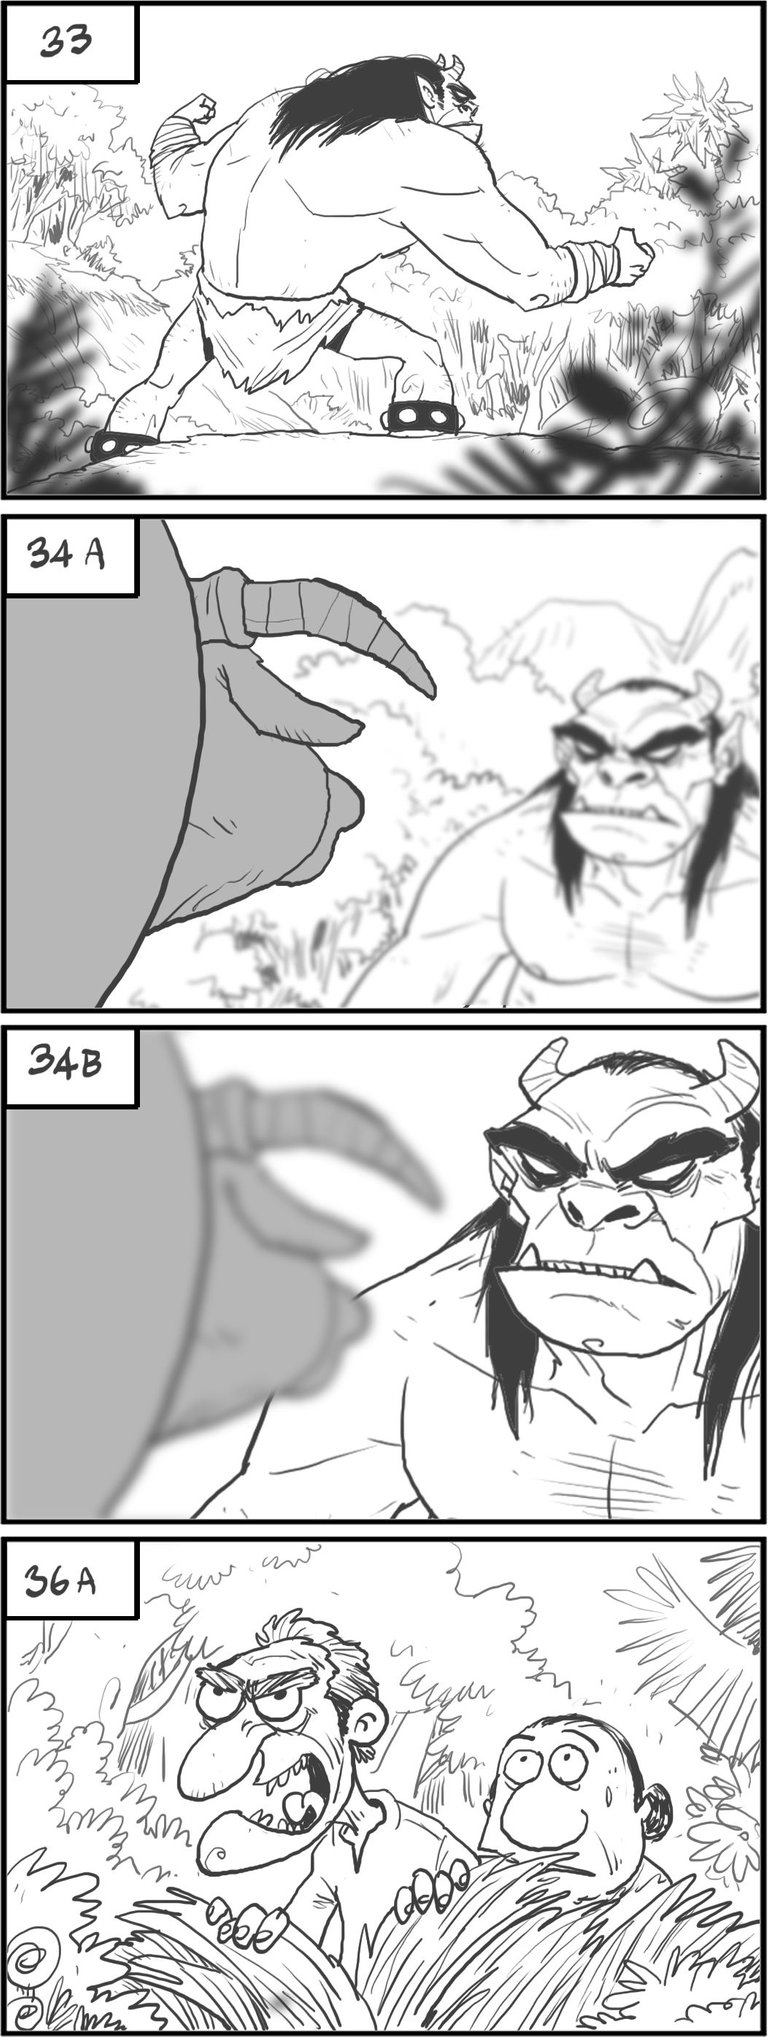
Just like how Hollywood works, different angles do wonders in striking some dramatic effect.


![]()
credit to @zomagic

Awesome! here you have a follower
yay..tq divisionespacial :D
Congratulations @rambai! You have completed some achievement on Steemit and have been rewarded with new badge(s) :
Click on any badge to view your own Board of Honor on SteemitBoard.
For more information about SteemitBoard, click here
If you no longer want to receive notifications, reply to this comment with the word
STOPHello friend, could you know with what program do you make such excellent drawings?
hello cain1914 ..photoshop cs or cc..you can use bamboo or wacom tablet for drawing.
I’ve always admired your sense of design, your tasteful color pallete and your sharp eyes for composition.
tq my friend :) ..still improving!!..lots of other things that i still dont understand.Hope we can help each other.
waa..haha
Awesome Work!
thnks stevenfletcher
Great post. Lots of insights on animation.
What software are you using ?
The different focusing is really cool. Is it done by a software effect or drawn manually ?
im using photoshop. For the effect it can be done in pshop or adobe after effects,if you have pshop..it can do the same result.
Thanks for the info, rambai 😊
Awesome bro @rambai. You are master in character design. Tunjuk ajar ku sifu!
not master laa..haha..just sharing my design that can easily done by everybody.
I agree with the assessment of balancing the way you introduce a character, whether with a loud bang or at a gradual pace. You don't want to be the Michael Bay of character Introduction. :D
haha..i'm like a pebbles looking across the grand canyon
Excellent work !
tq master wan :)
Nice work.
It showed professional quality.
tq soyo..semi-pro i think haha